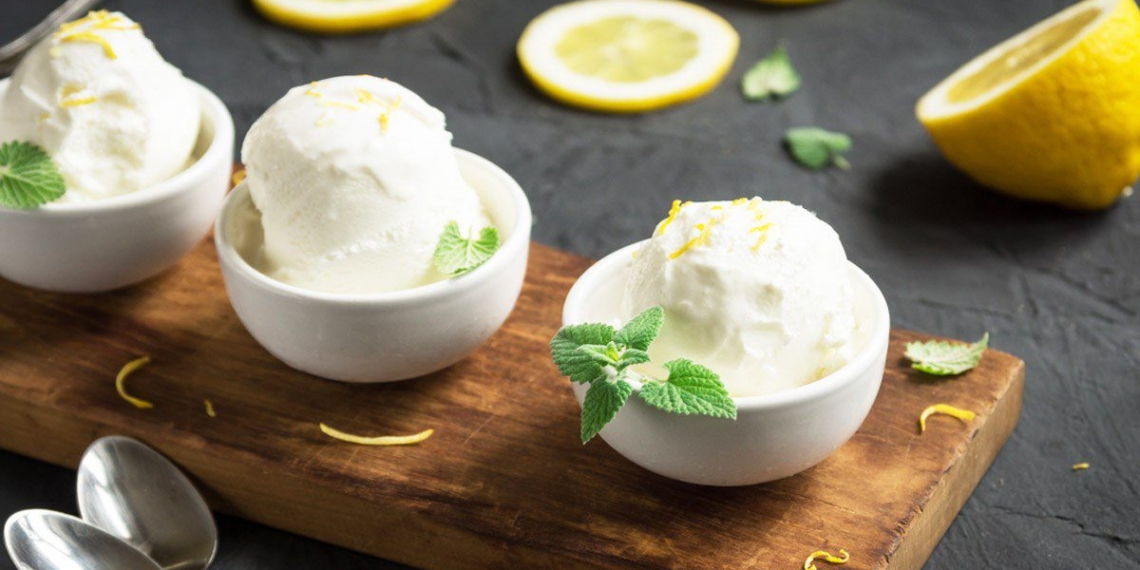
With fresh, juicy lemons and a few very simple steps, you can quickly make refreshing ice cream to cool off this summer. Let’s head to the kitchen with TasteVN to learn how to make two delicious flavors: coconut lemon ice cream and cherry lemon ice cream right now!
1. Coconut Lemon Ice Cream
-
Preparation
15 minutes
-
Cooking
15 minutes
-
Difficulty
Easy
Ingredients for Coconut Lemon Ice Cream For 2 people
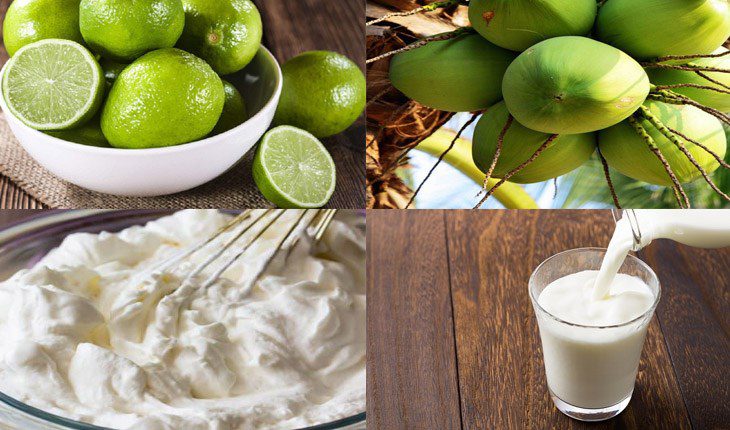
Coconut 1 fruit Lemon 1 fruit Fresh milk 500 ml Whipping cream 150 ml (fresh cream)
blender, knife, peeler, ice cream molds, sticks.
How to choose a good coconut:
- Gently tap the coconut with your hand. If it makes a loud sound, the flesh will be thick and the water will be very sweet. If you hear a low sound, the coconut is still young, the flesh is thin, and the water is not sweet yet.
- You should choose coconuts that are still in bunches and have not been peeled.
- Choose coconuts that are small or medium-sized, weighing about 1 to 1.5 kg. If the coconut is too large, the water will be diluted because it is a hybrid coconut.
How to make Coconut Lime Popsicle
-
Prepare the ingredients
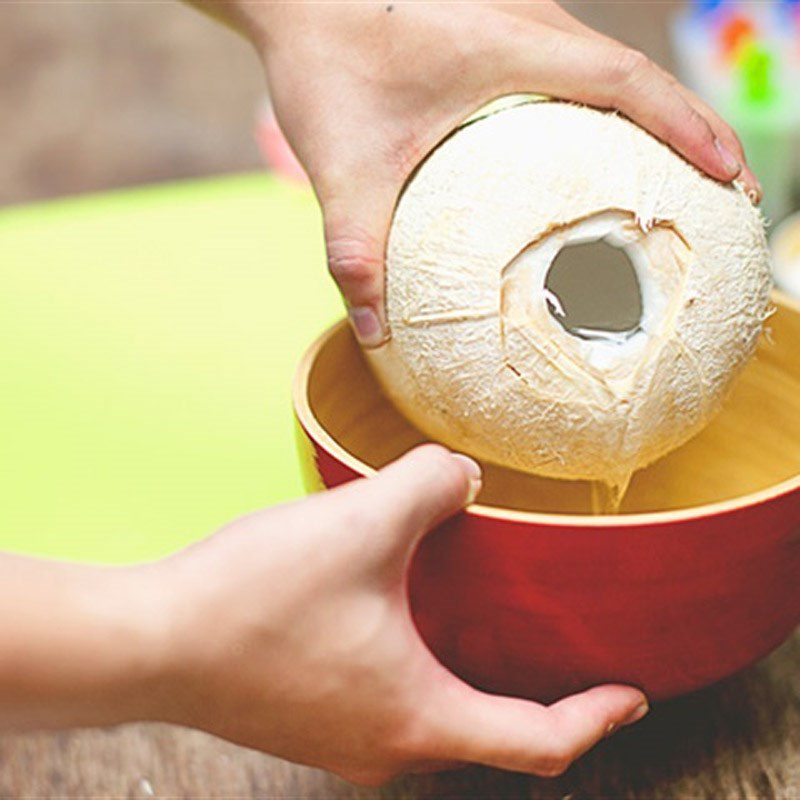
Cut the top off the coconut and pour the coconut water into a separate bowl.
Use a grater to shred the lime peel, then add the lime peel to the coconut water bowl. Next, cut the lime in half, remove the seeds, and squeeze the lime juice into the coconut water.

-
Make the ice cream mixture
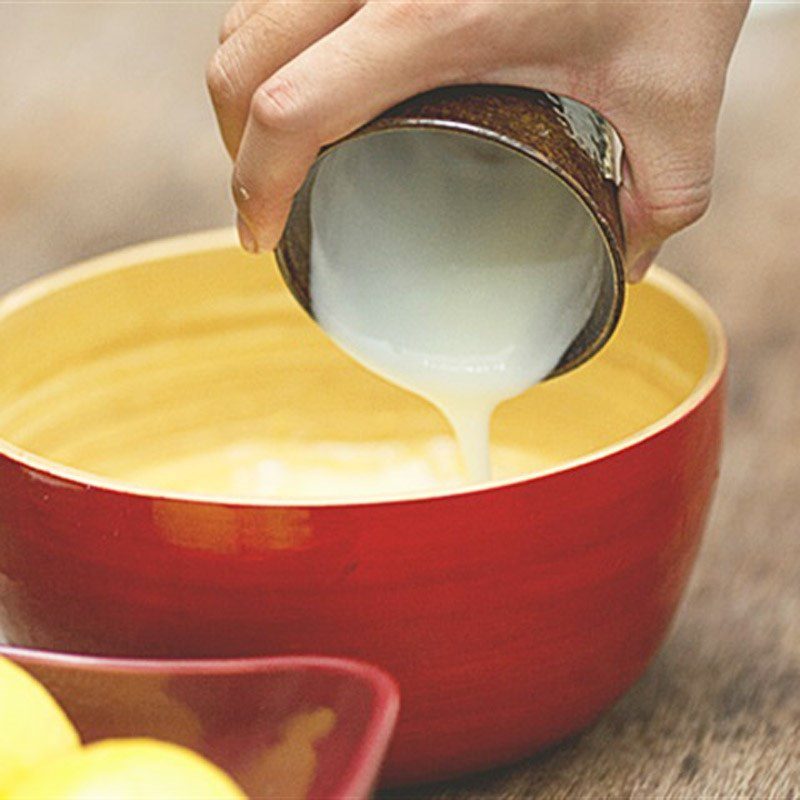
Add 500ml of fresh milk to the coconut lime mixture, and mix well until combined.
Then pour everything into a blender, add 150ml of whipping cream, and blend the mixture until smooth.

-
Finish
Pour the blended mixture into the popsicle molds, wait for the bubbles to settle, then insert the sticks and place them in the freezer for 7 – 8 hours until the popsicles are frozen and ready to enjoy.

-
Final Product
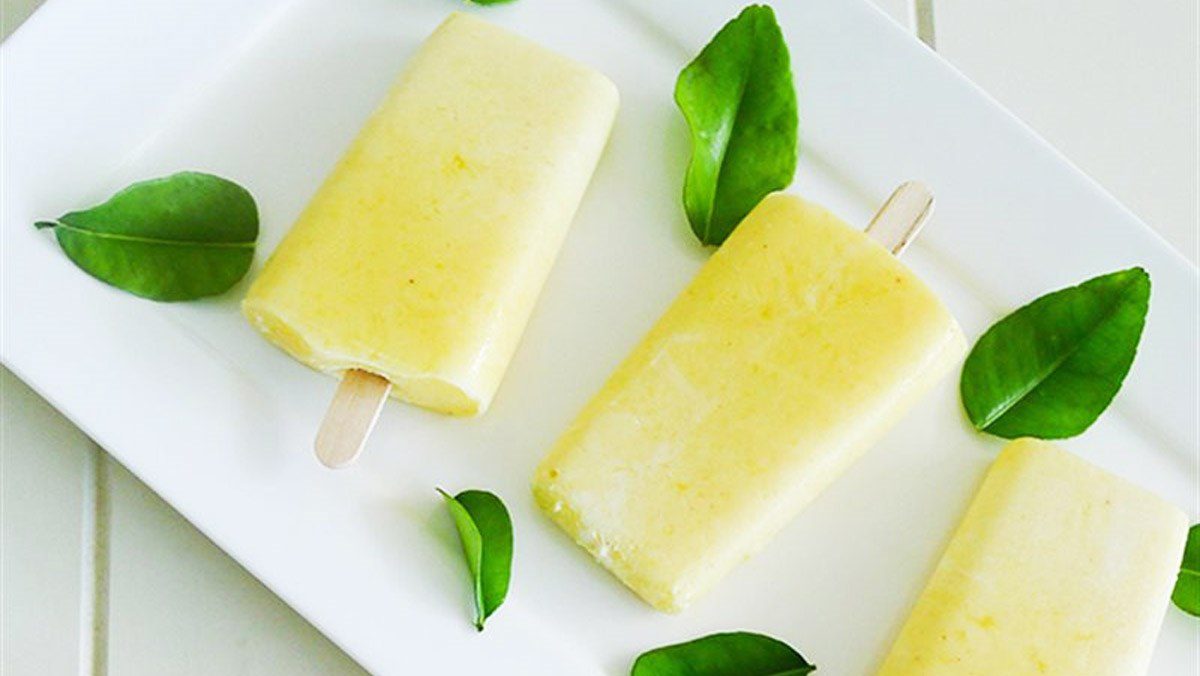
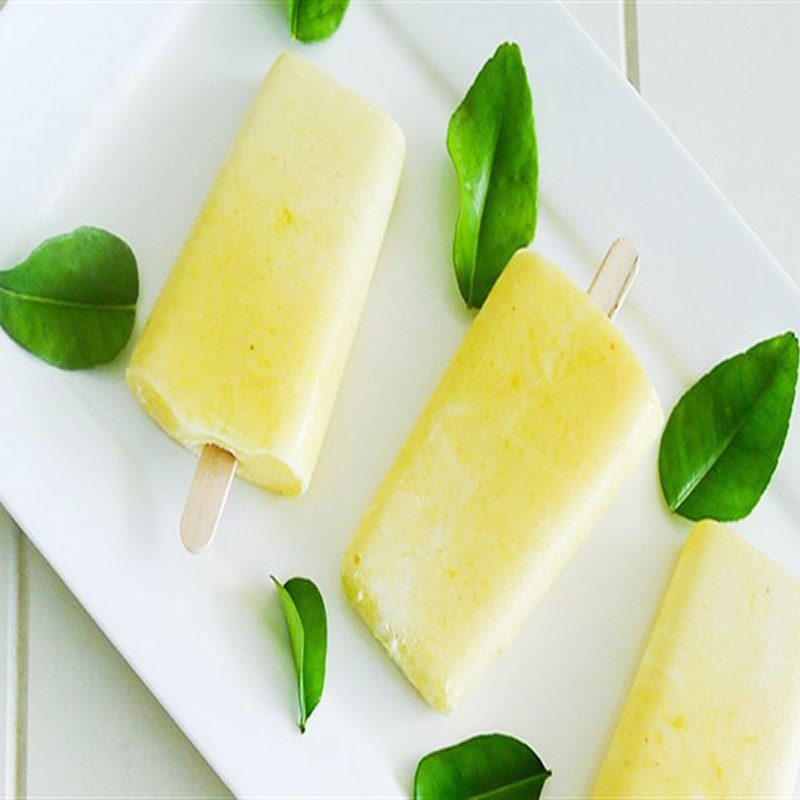
Ice cream bars that are cool, with the creamy flavor of milk ice cream and the sweetness from coconut blending with the slight sourness of lime help to cool off during hot summer days.
2. Lime Cherry Ice Cream Bar
-
Preparation
15 minutes
-
Processing
15 minutes
-
Difficulty
Easy
Ingredients for Lime Cherry Ice Cream Bar For 2 people
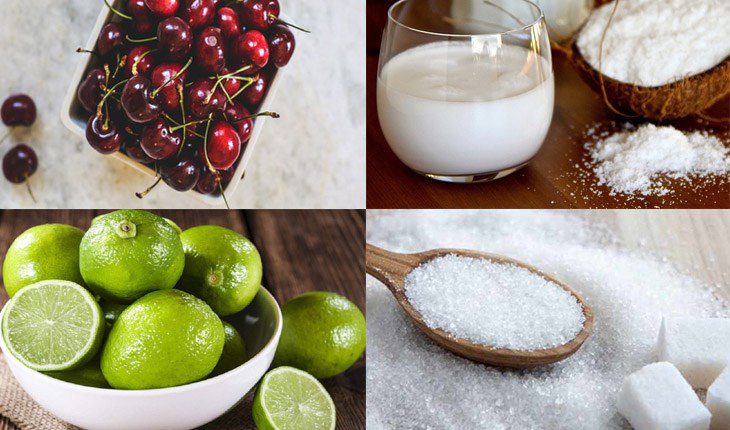
Cherry 2 cups Lime juice 1/4 cup Coconut milk 720 ml White sugar 2 teaspoons
blender, bowl, ice cream molds, sticks
How to choose fresh cherries:
- You should choose dark red cherries, as lighter colored cherries that are preserved with chemicals are not good for health.
- Pay attention to the stems, they should still be bright green.
- Use your hand to squeeze the cherry; if it feels firm and not mushy, it’s good.
- The surface should be smooth, without blemishes.
How to Make Cherry Lemon Popsicle
-
Prepare the cherries
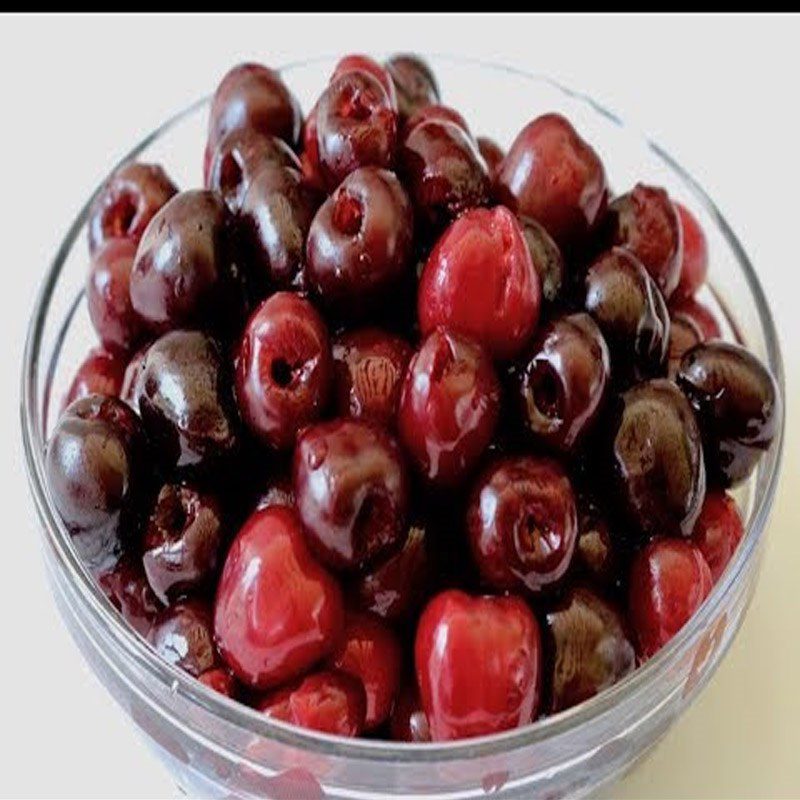
Soak the cherries in diluted salt water for about 15 – 20 minutes, then rinse them thoroughly with water and let them drain.
Then remove the stems, cut them in half, and remove the pits.
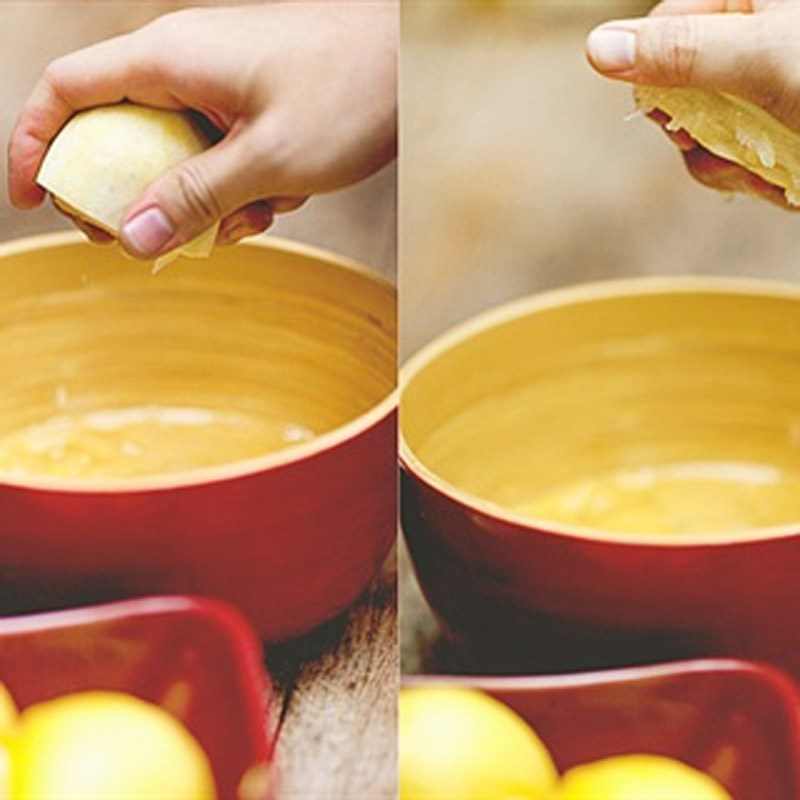
Cut the lemon in half, remove the seeds, and squeeze out the juice.
-
Blend the cream mixture
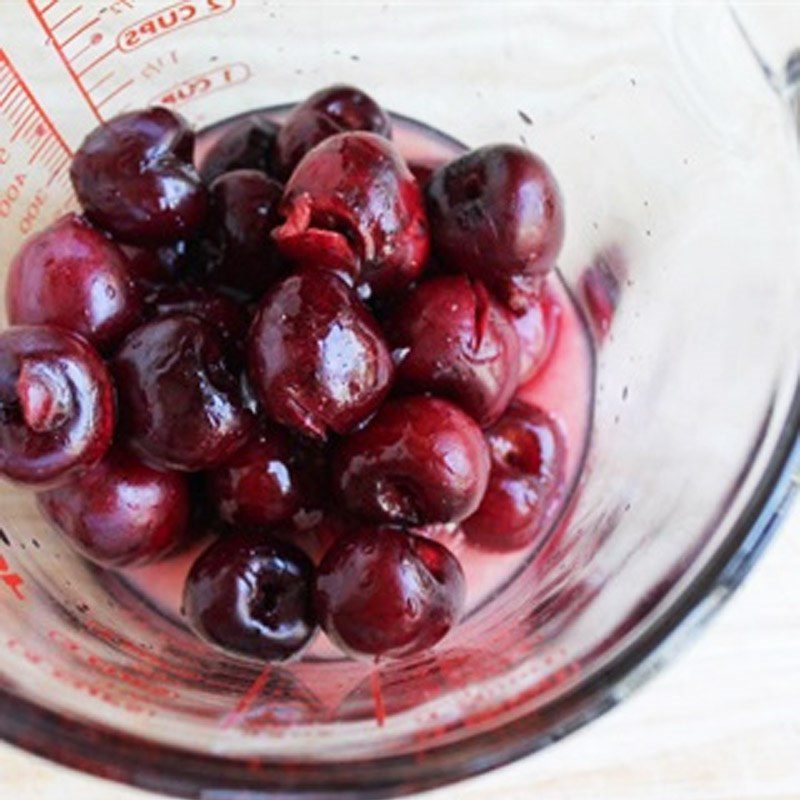
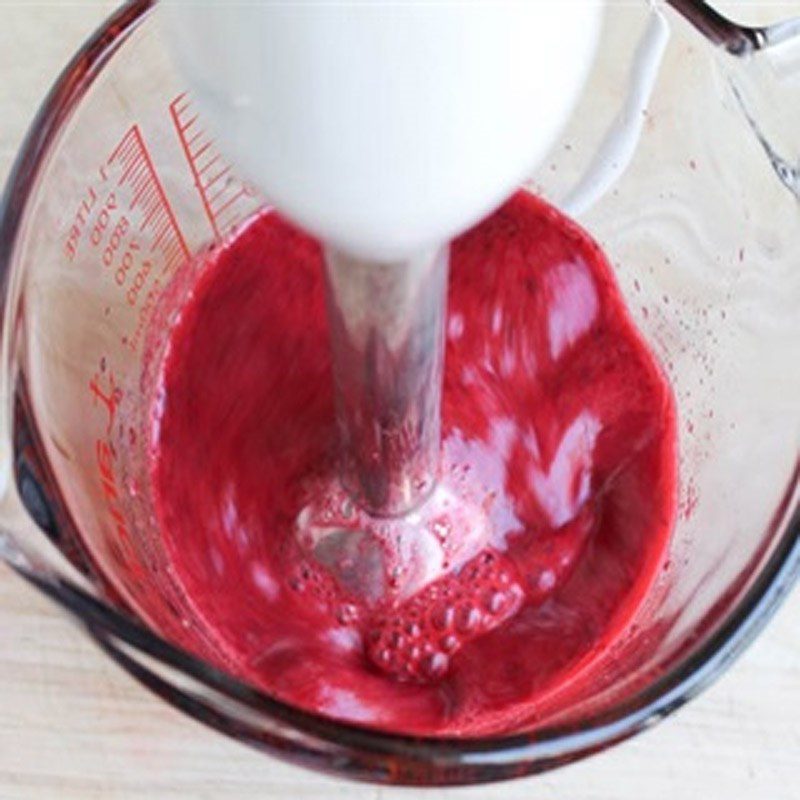
Add the cherries, lemon juice, and sugar to the blender, and blend the mixture until smooth.
-
Finish
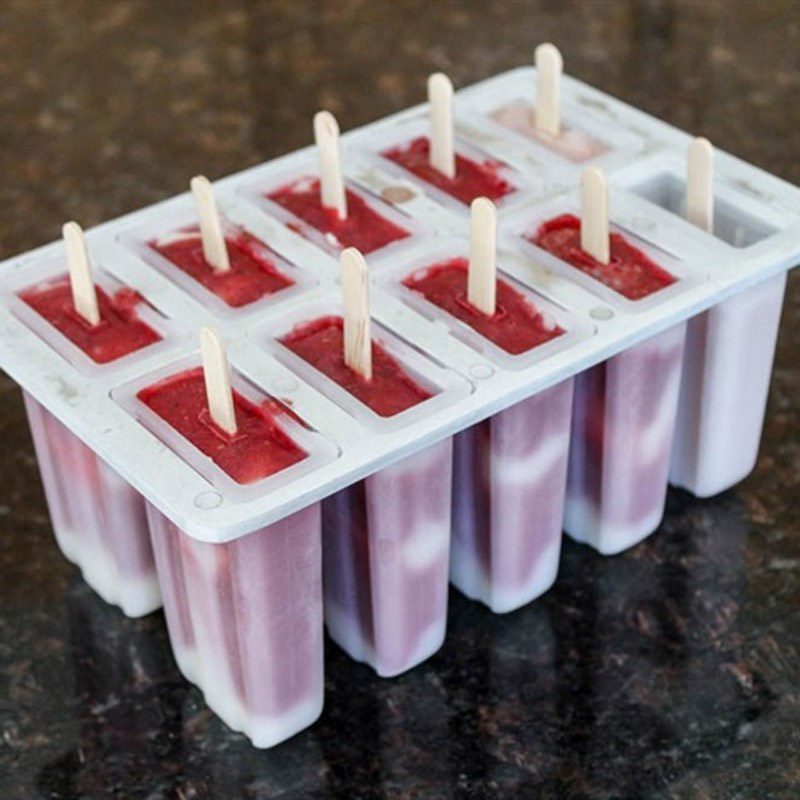
Pour the coconut milk into the popsicle mold first, then slowly pour the cherry cream mixture into it, use a popsicle stick to cover it, and then place it in the freezer for about 6 – 8 hours for the mixture to set.
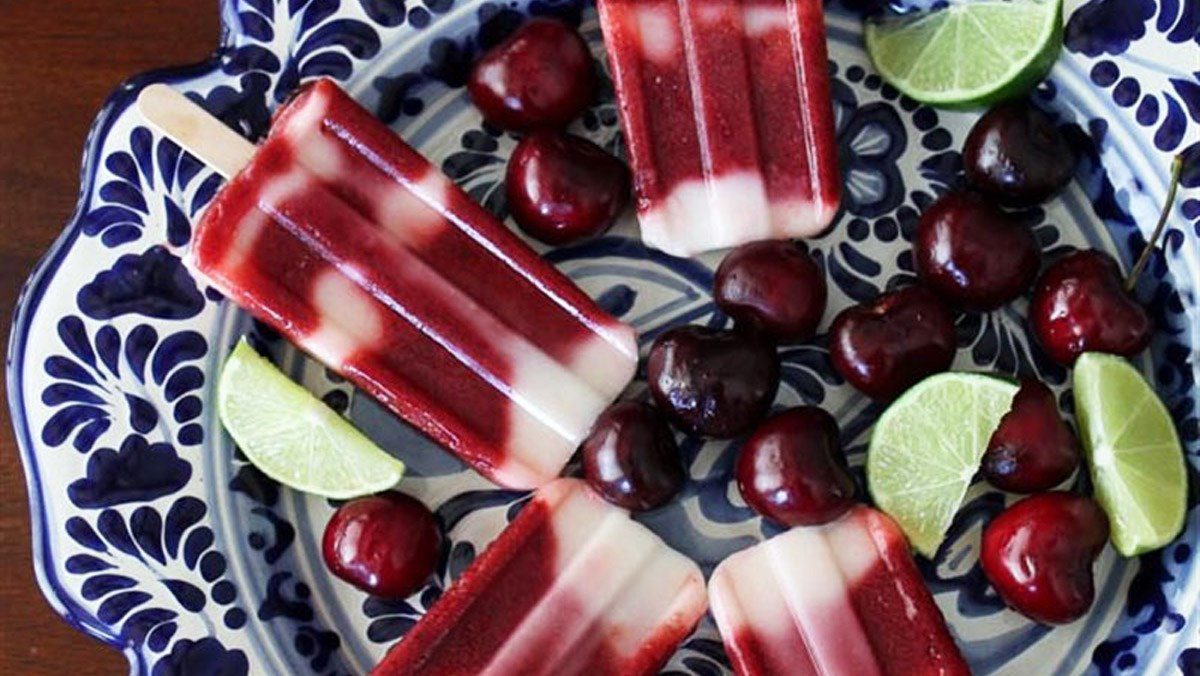
Tip: Use a popsicle stick or spoon to gently stir the cherry and coconut milk mixture to create a visually appealing color transition between the two colors. Do not stir evenly.
-
Final Product
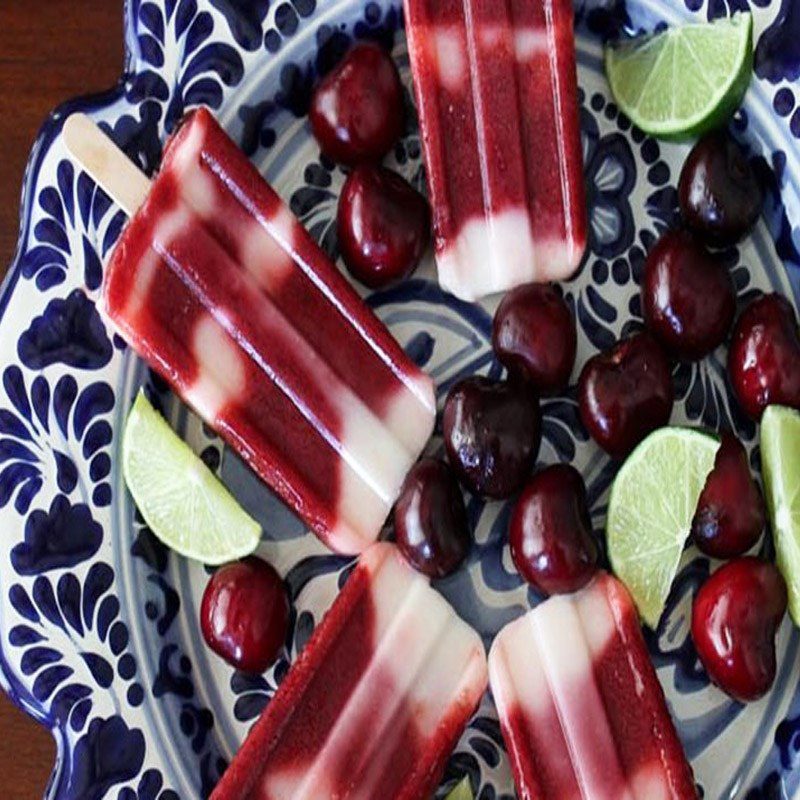
The popsicle with its eye-catching red and white colors, along with the light fragrant smell of cherry and the creamy taste of coconut milk, not only cools the body but is also good for health.
How to choose good, juicy lemons:
- Juicy lemons are usually small, have thin skin, and when you touch the skin, it feels smooth, not rough.
- When you gently press the lemon, a little essential oil should come out. The lemon essential oil has a pleasant smell, not a pungent odor like medicinal lemons.
See more:
So the lemon popsicle is complete. It’s really simple, isn’t it? I wish you could make some really cool and delicious popsicles!
*Refer to the images and recipe from the channel: Cooky.vn
