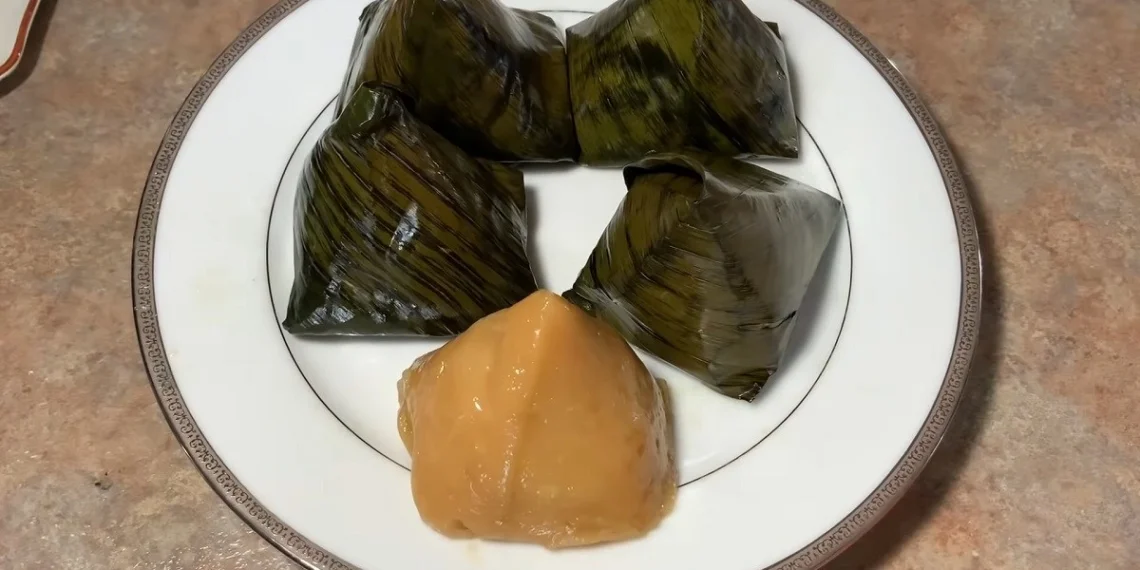
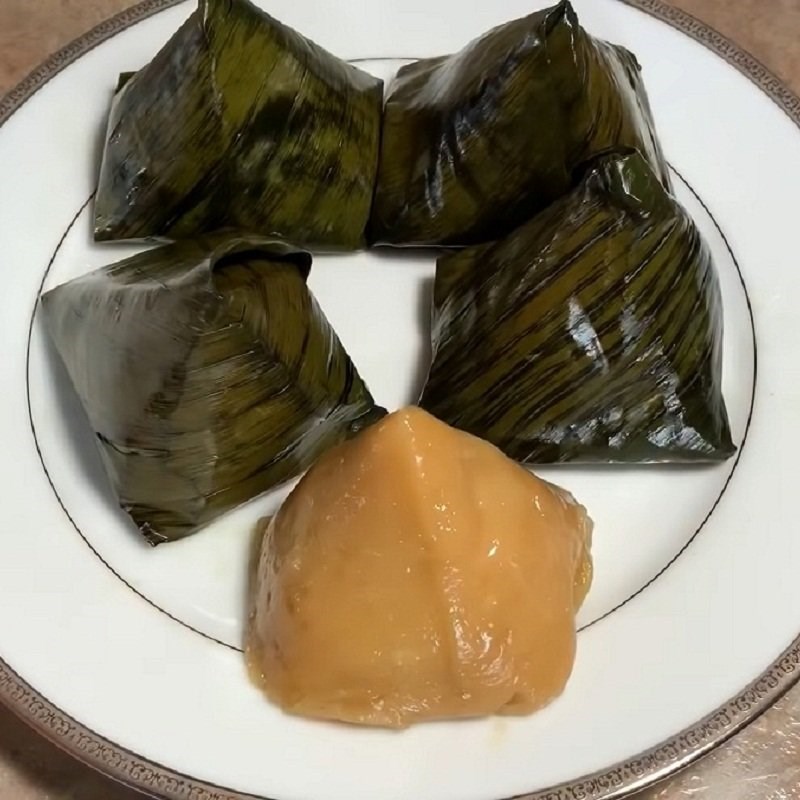
Steamed rice cakes with mung bean and coconut filling are a cake dish that is traditional, delicious, and quite familiar to any family in the Mekong Delta. With easily accessible ingredients and a simple recipe, you are guaranteed to succeed on your first attempt. Let’s get cooking with TasteVN right away!
1. Steamed rice cakes with mung bean filling
-
Preparation
15 minutes
-
Cooking
45 minutes
-
Difficulty
Medium
Ingredients for Steamed rice cakes with mung bean filling For 30 pieces
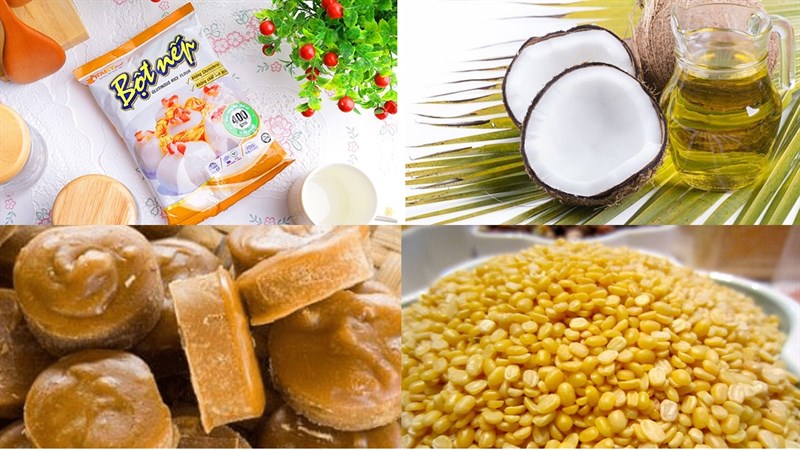
Glutinous rice flour 1 kg Mung beans 400 gr (peeled) Palm sugar 650 gr Cooking oil 2 tablespoons Coconut oil 100 ml Ginger 1 tablespoon (minced) Shallots 1 bulb (minced) Salt 2 teaspoons Banana leaves 5 leaves
How to make Green Bean Stuffed Cake
-
Cook the syrup
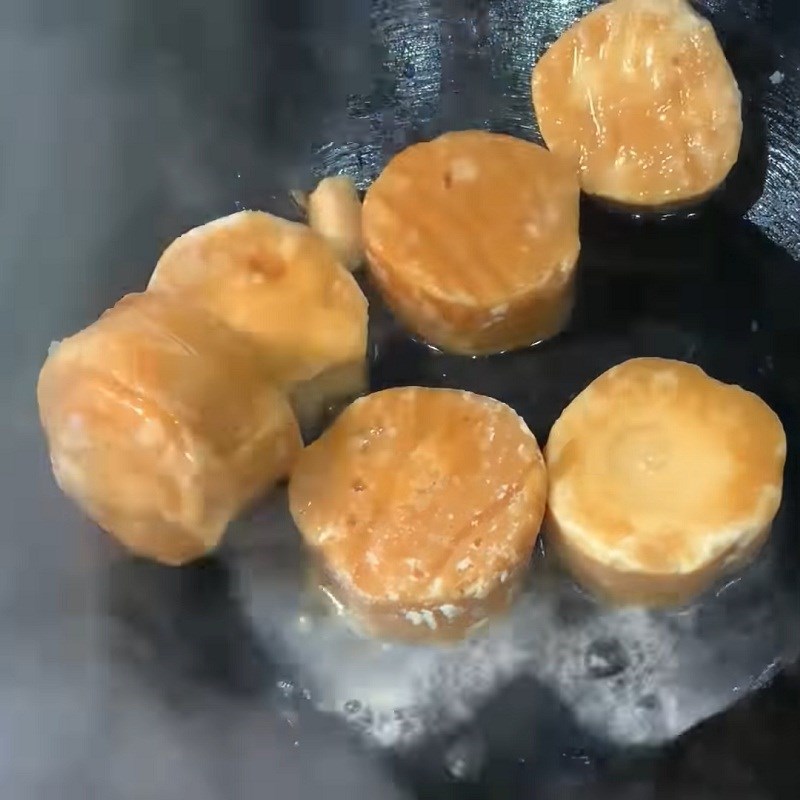
Put 650 gr of palm sugar into a pan with 100 ml of water. Keep the heat medium until the sugar dissolves and boils, then add 1 tablespoon of finely chopped fresh ginger and stir well.
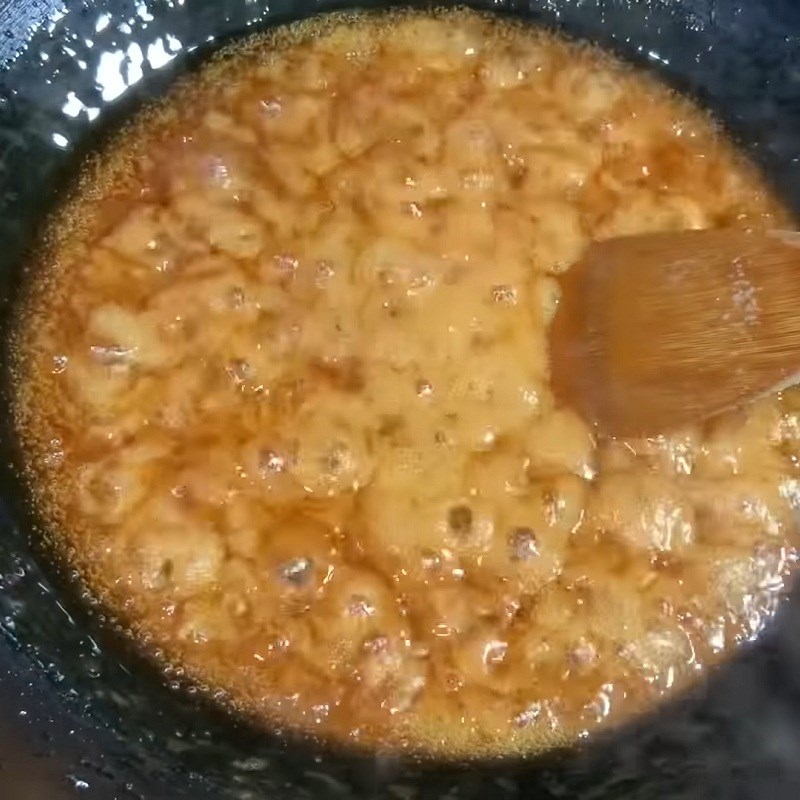
Next, reduce the heat, add 1 teaspoon of salt, and continue stirring until the syrup turns a light brownish-yellow color.
Then add 750 ml of warm water, stir well, and turn off the heat. If there is foam, skim it off. Now you have finished cooking the syrup.
Tip: Stir the sugar quickly to make it dissolve faster.
-
Prepare the filling
Soak the peeled green beans for about 1 hour, then rinse them clean, and cook in a pot until soft. When cooking, pour enough water to cover the beans so that when they are cooked, the water is just gone.
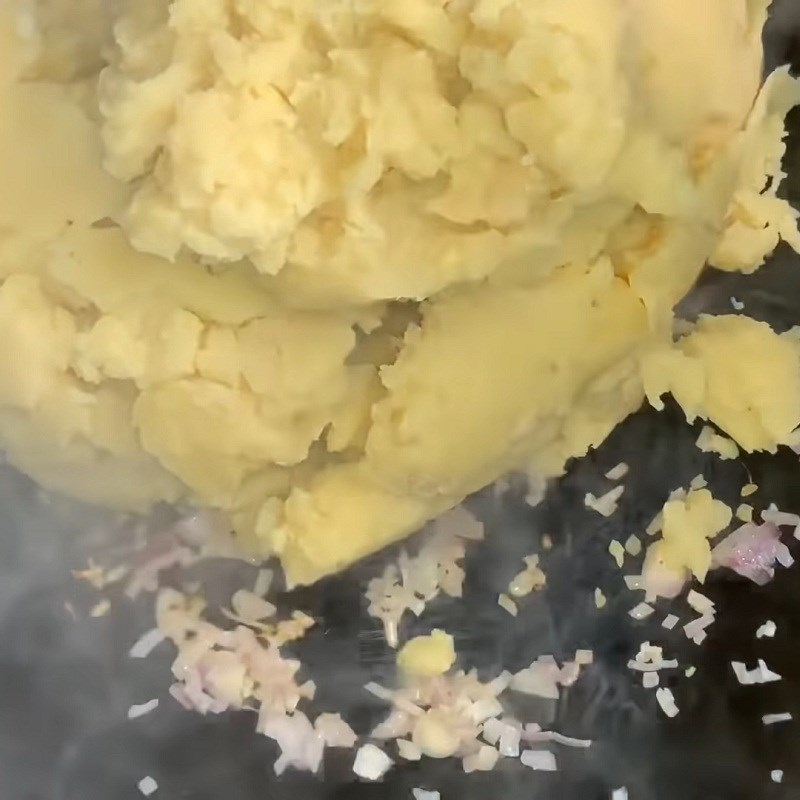
Heat a pan on the stove, add 100 ml of coconut oil, then add chopped shallots and sauté until fragrant. Once the shallots are fragrant, add the cooked green beans and stir-fry. While stir-frying, add 1 teaspoon of salt and keep stir-frying until the green beans dry out.
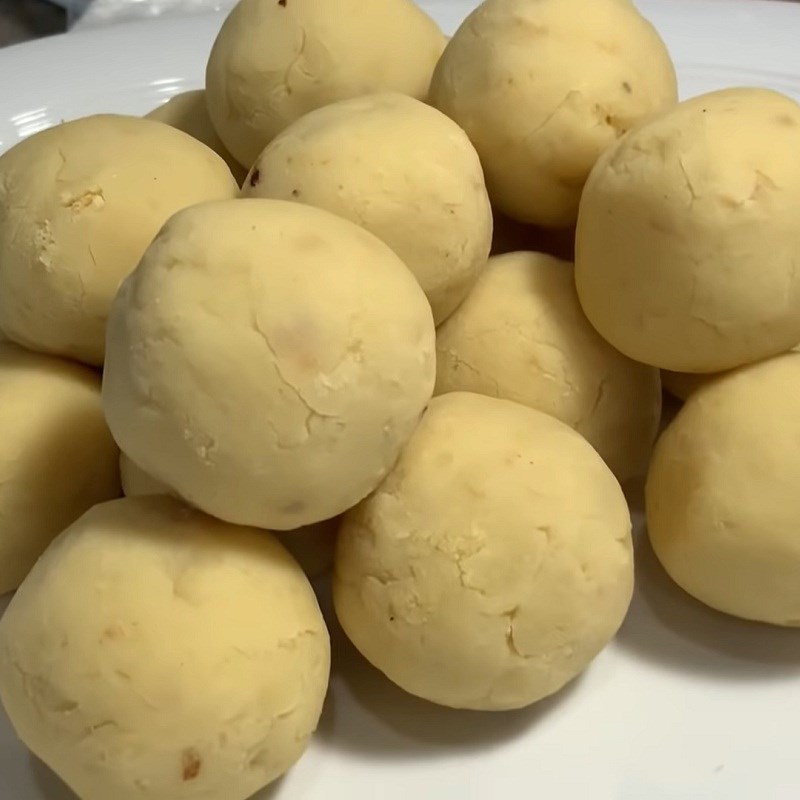
After stir-frying, let the green bean filling cool and roll it into round balls.
Tip:
- Stir-fry until the filling is dry to preserve the cake for a longer time.
- You can replace coconut oil with cooking oil, but coconut oil will make the filling smell better.
-
Kneading the Dough
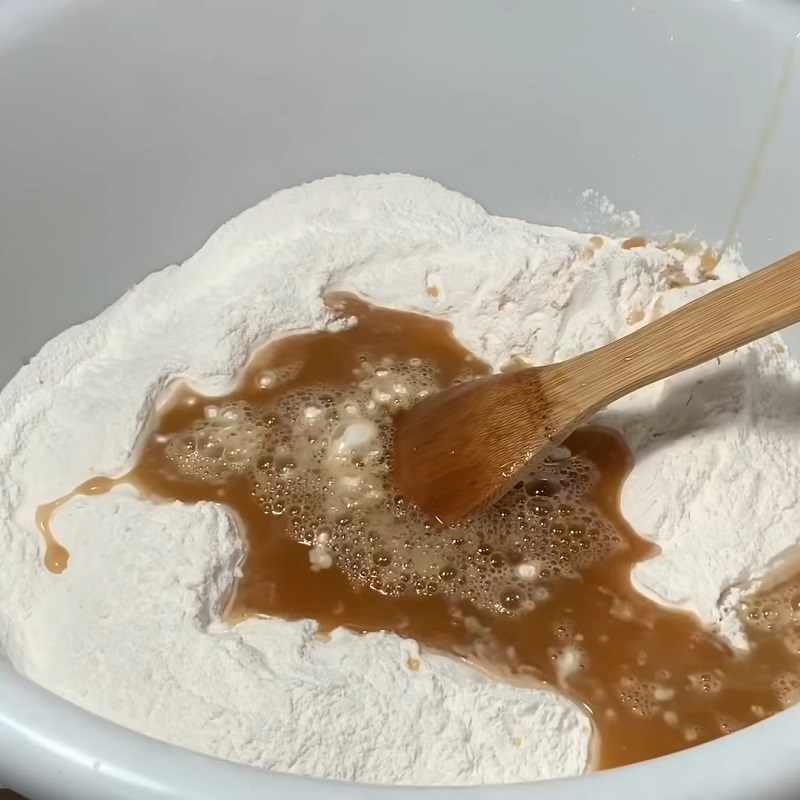
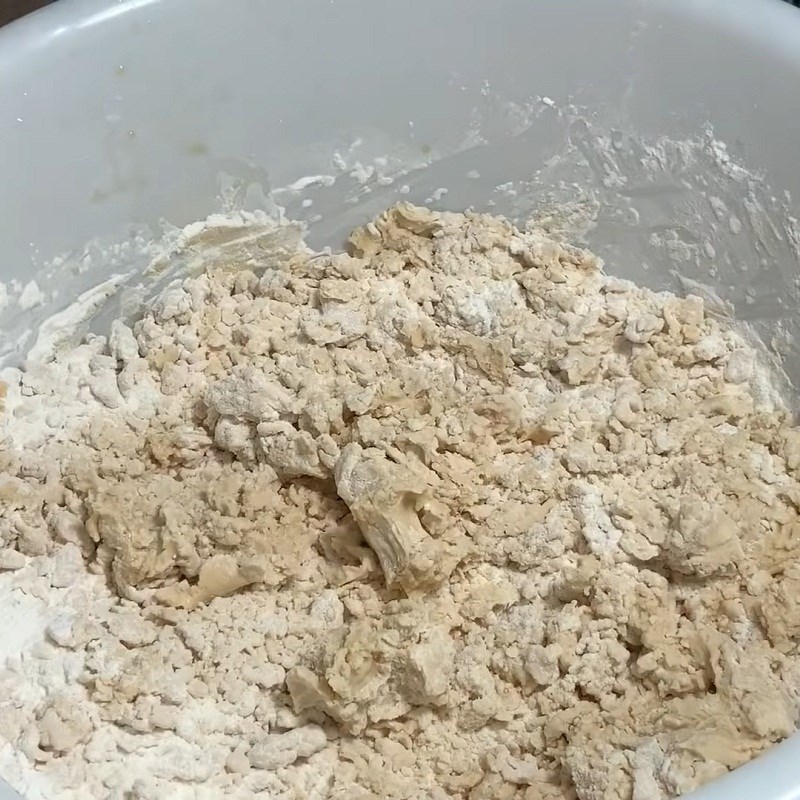
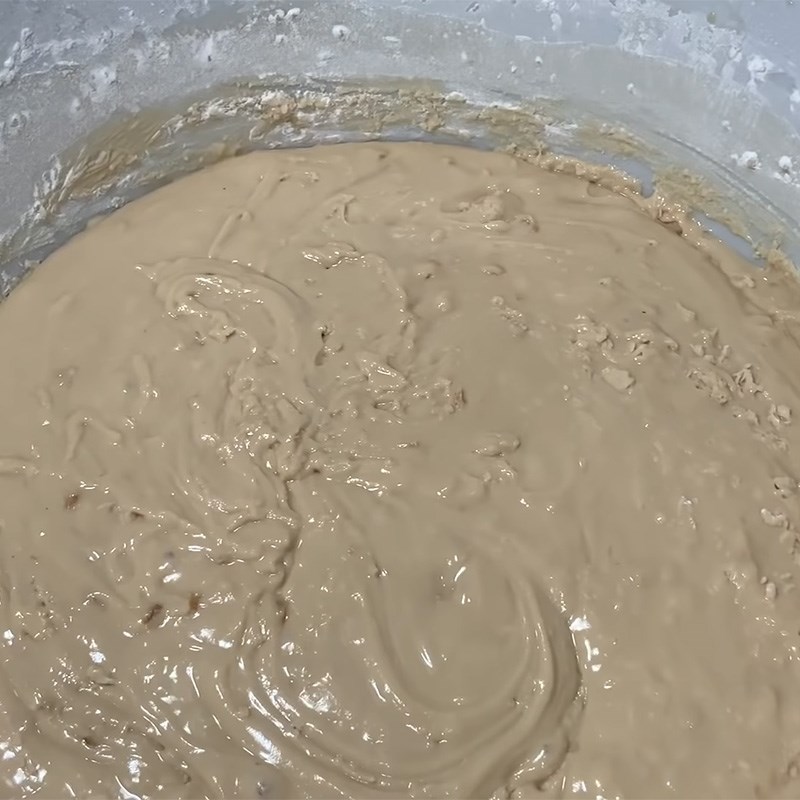
You put the glutinous rice flour in a bowl, then gradually add the warm sugar water mixture and mix well. Use your hands to knead the dough until it no longer sticks to your hands, is not too wet, and not too dry.
Tip:
- You should knead the dough by hand to feel the elasticity and decide how much sugar water to add.
- Add the sugar water gradually to check the dough’s elasticity, avoiding it being too wet or too dry.
-
Arranging the Leaves
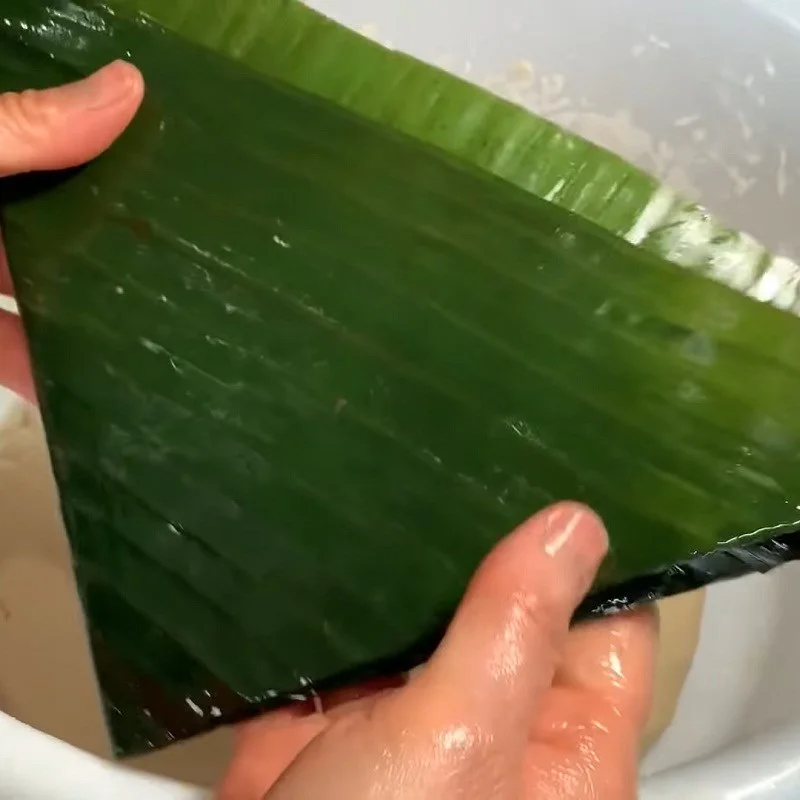
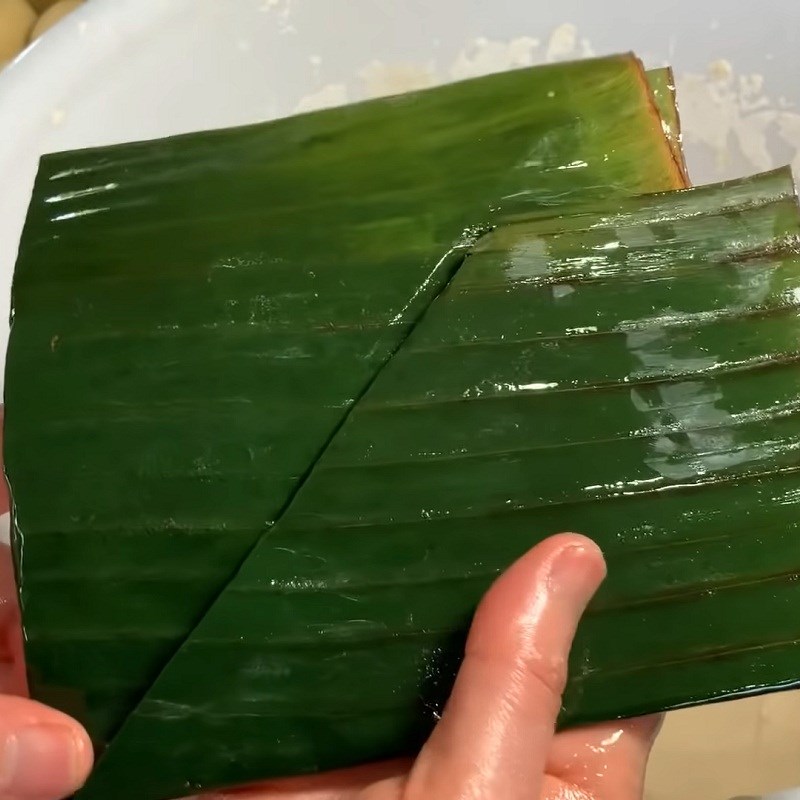
Sun-dry the banana leaves for about 1 hour to soften them, then wash them clean, dry them, and brush some cooking oil on the leaves.
Tear the leaves into pieces about 20 cm wide, fold the leaves diagonally and smooth them to create a straight line, then fold them once more to form a triangle. Open the leaves to create a funnel shape, using your hands to press the two sides together to form a square with a crease in the middle.
Tip: You can sun-dry or briefly boil the banana leaves to soften them for easier wrapping.

-
Wrap the Cake
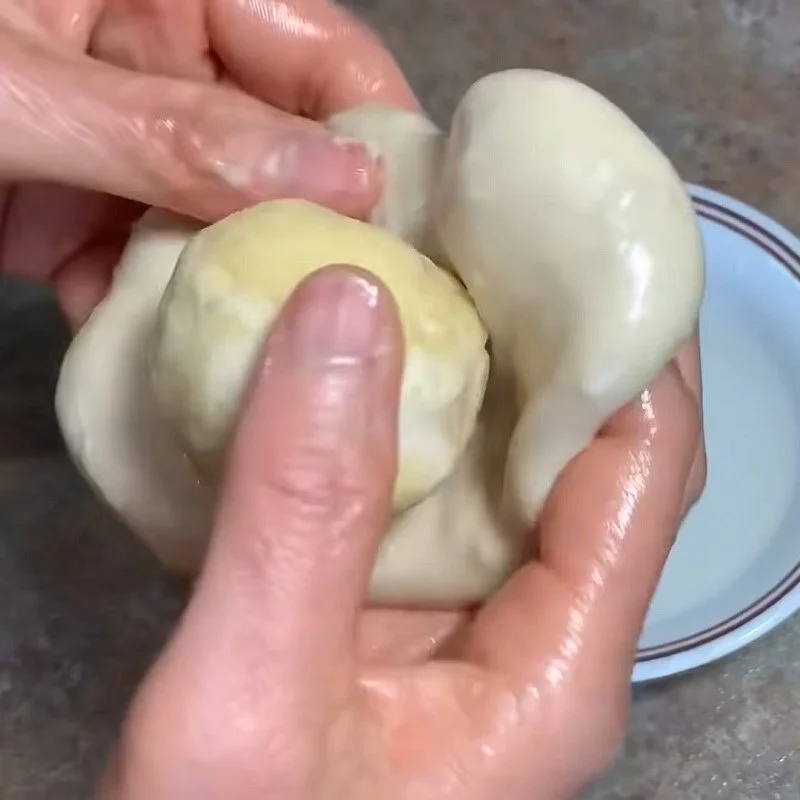
You apply cooking oil to your hands, then take a round ball of dough, press it flat with your hands, then place the green bean filling in the center. Carefully use your hands to pinch the dough to fully cover the filling.
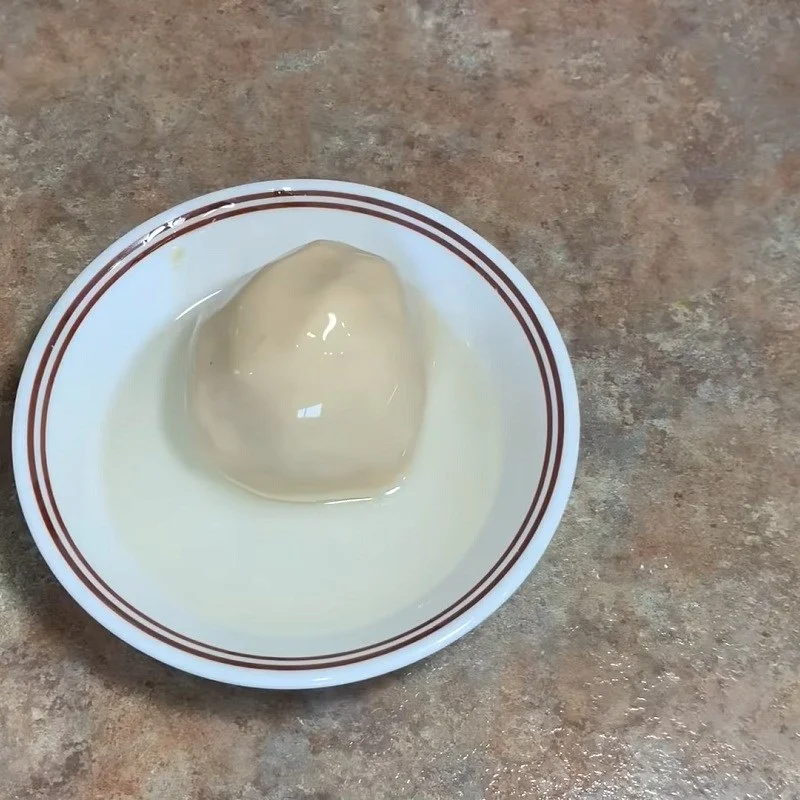
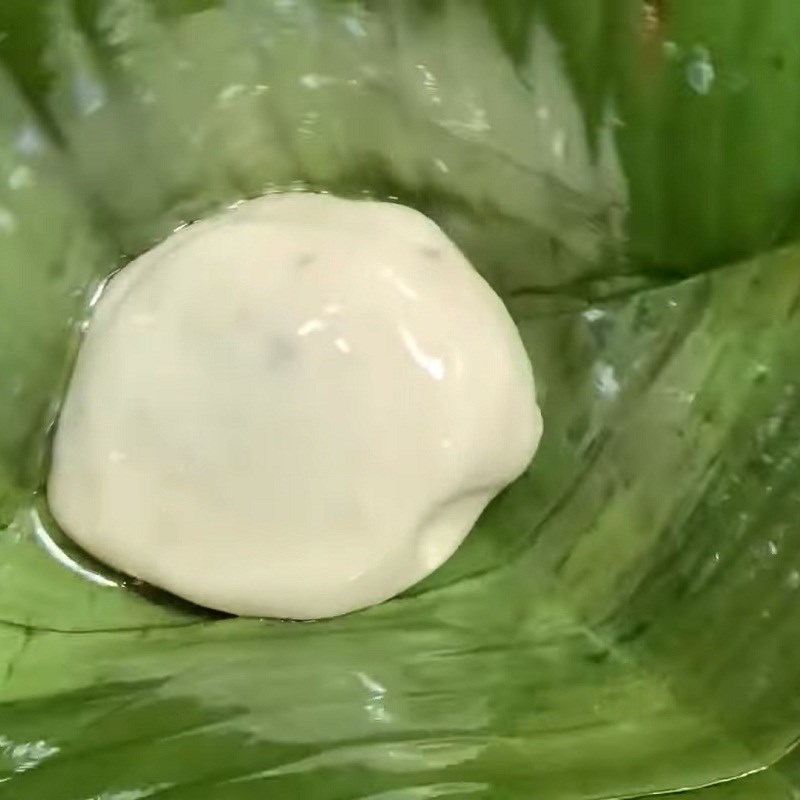
Coat the cake with a layer of cooking oil, place the cake in the banana leaf, and then fold the edges.
Note: Dipping the dough in oil will help prevent the cake from sticking to the wrapping leaves.
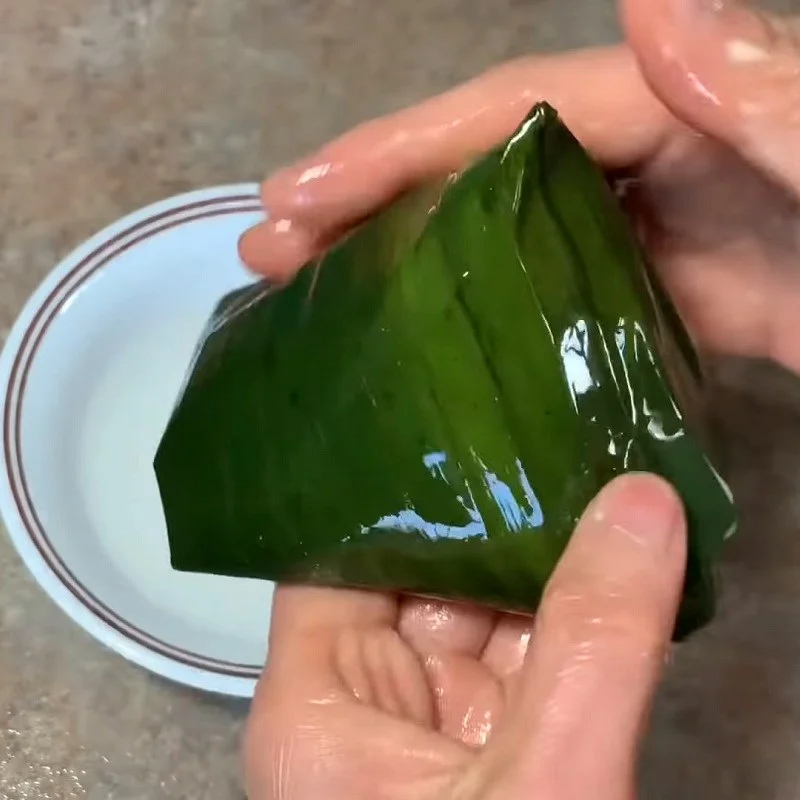
Place the cake on the second layer of banana leaves, positioning the top of the cake to align with the corner of the banana leaf.
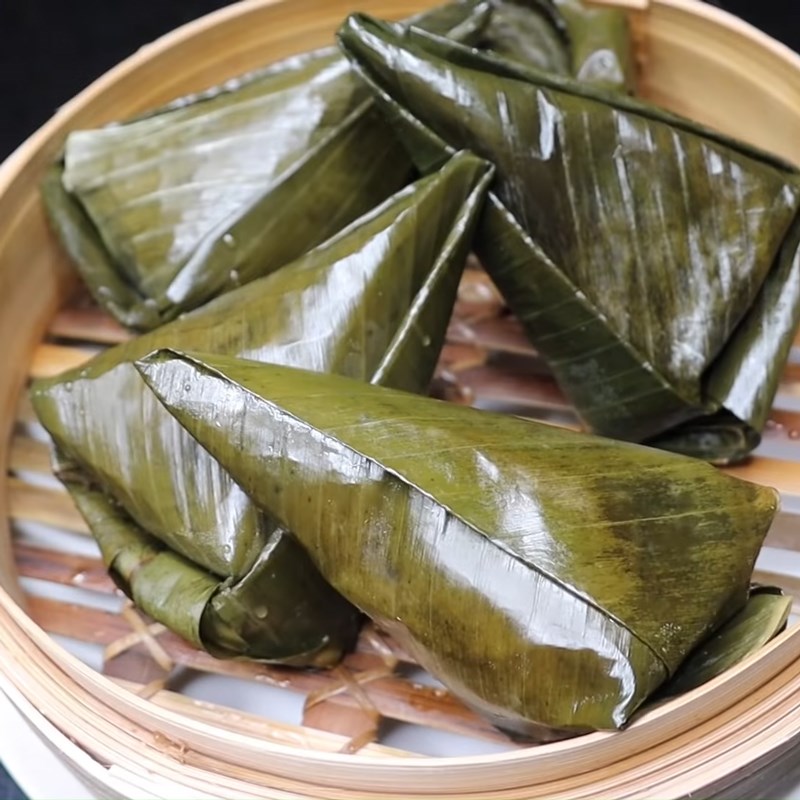
Fold the top leaf down and then tightly fold the two sides twice. Finally, fold the bottom edge of the cake neatly to finish.
-
Steam the Cake
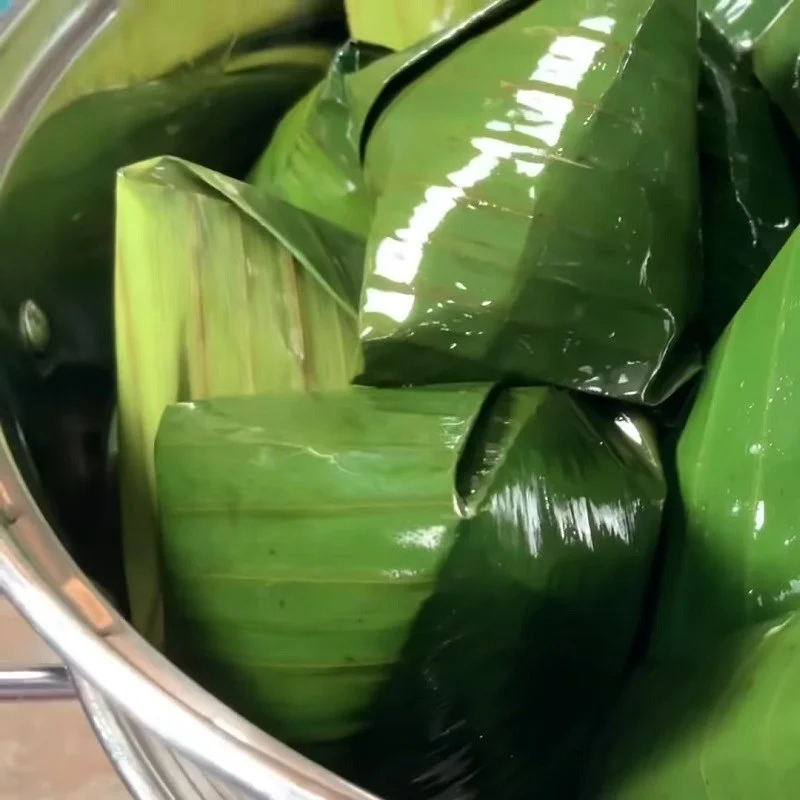
You arrange the cakes in the steamer tray.
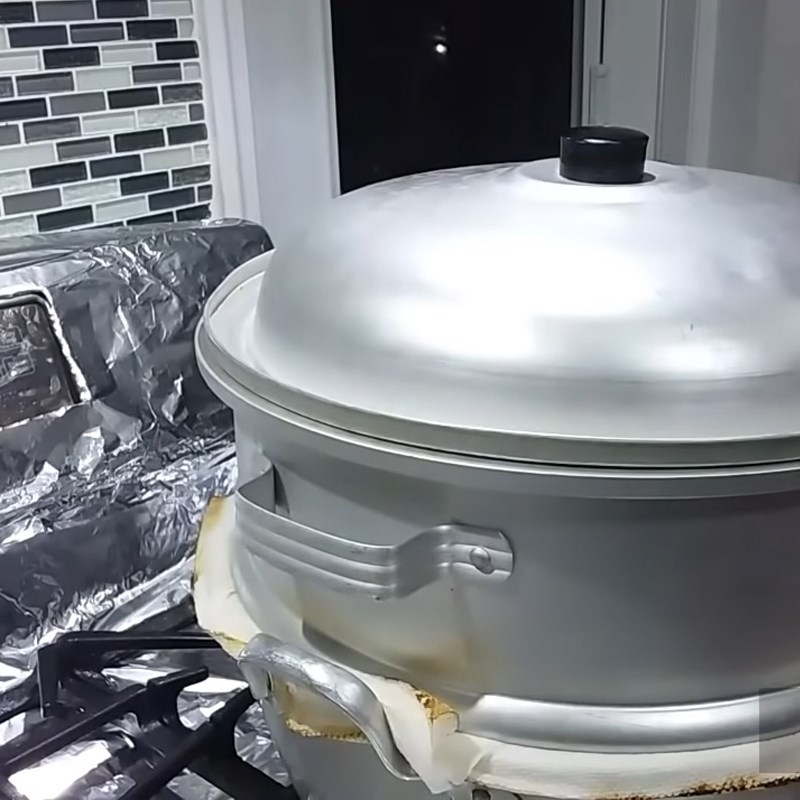
Place a pot of water on the stove and turn on high heat, wait until the water boils, then place the tray of cakes in to steam for 25 – 30 minutes until the cakes are cooked.
-
Final Product
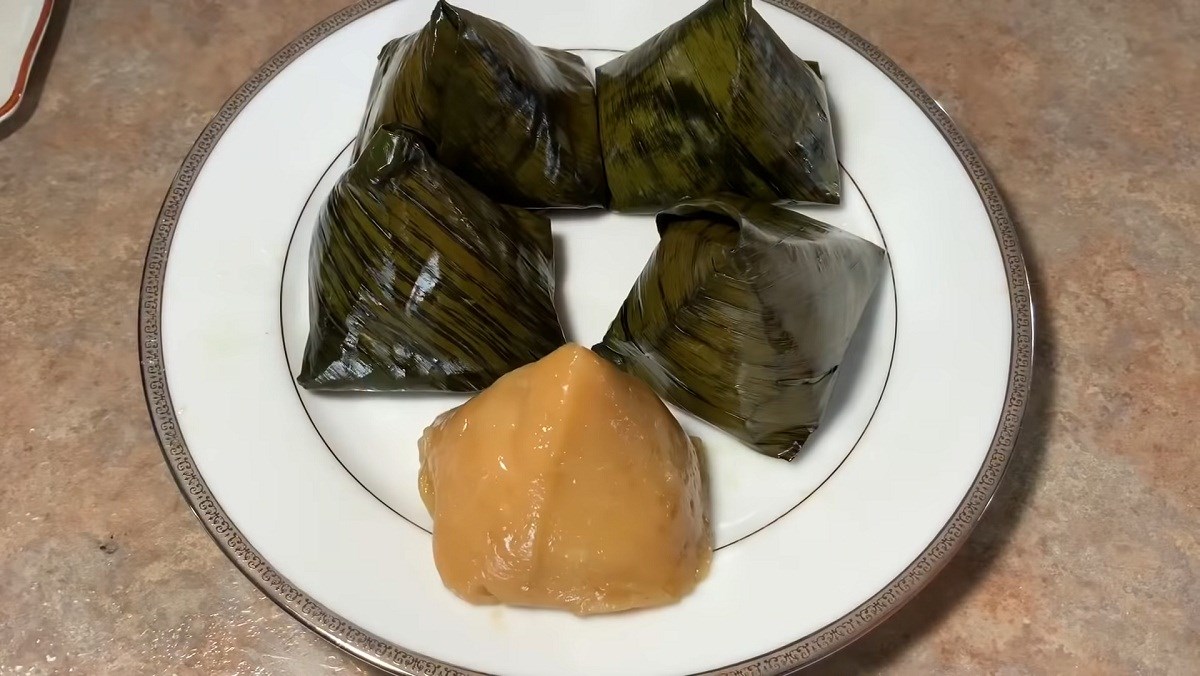
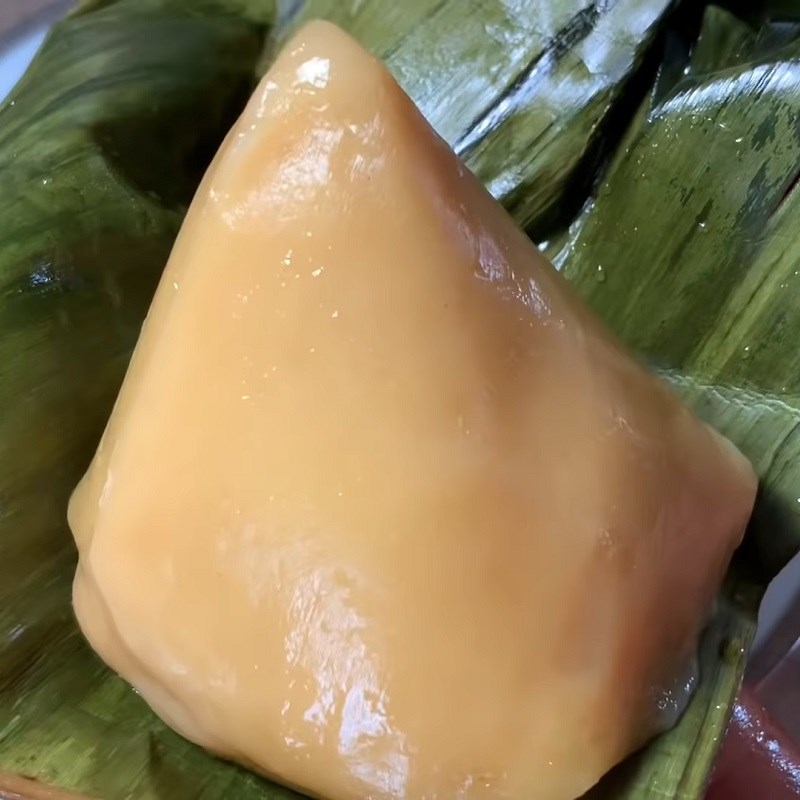
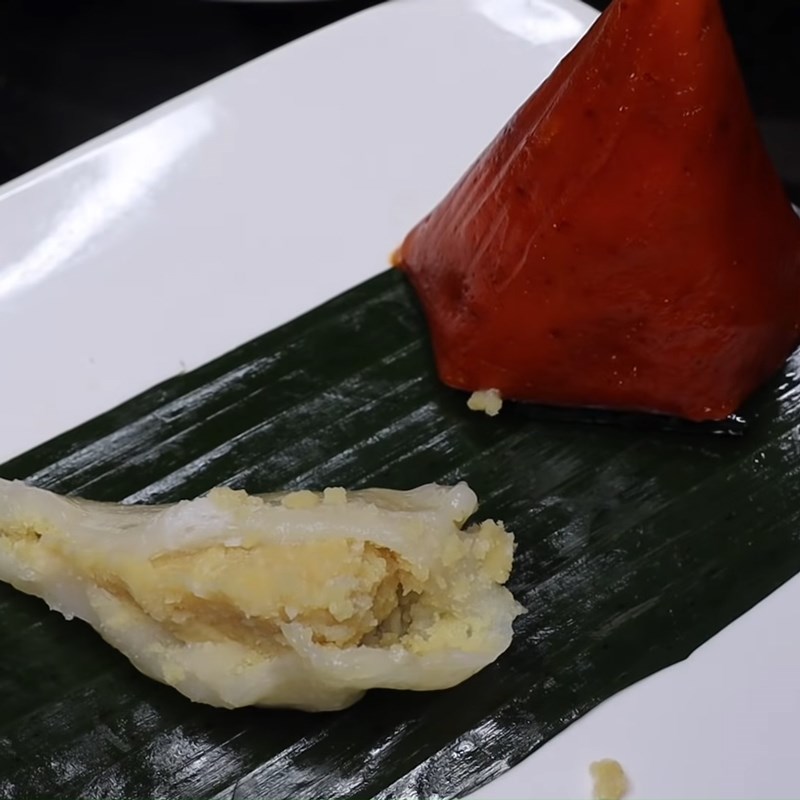
The green bean cake after completion is delicious and attractive, with a chewy and soft outer layer, and a sweet and fragrant filling inside. Let’s invite the family to enjoy it together.
2. Coconut-filled cake
-
Preparation
15 minutes
-
Cooking
45 minutes
-
Difficulty
Easy
Ingredients for Coconut-filled cake For 6 pieces
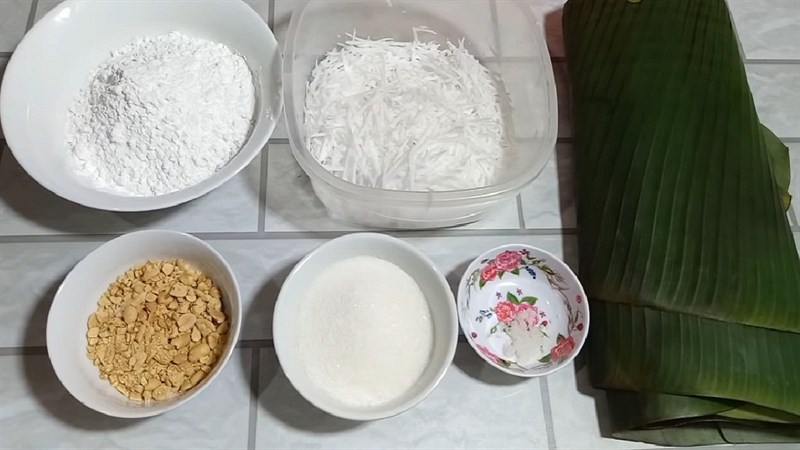
Glutinous rice flour 250 gr Grated coconut 150 gr Roasted peanuts 50 gr Seasoning A little (Sugar/salt) Tapioca starch 1 teaspoon
How to make Coconut-filled Banh It
-
Make the syrup
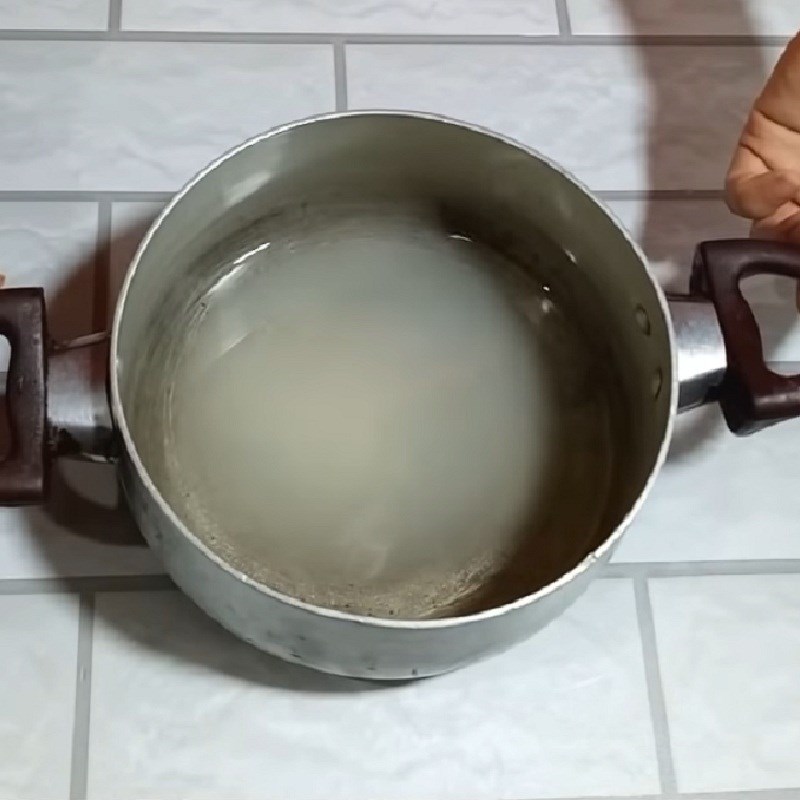
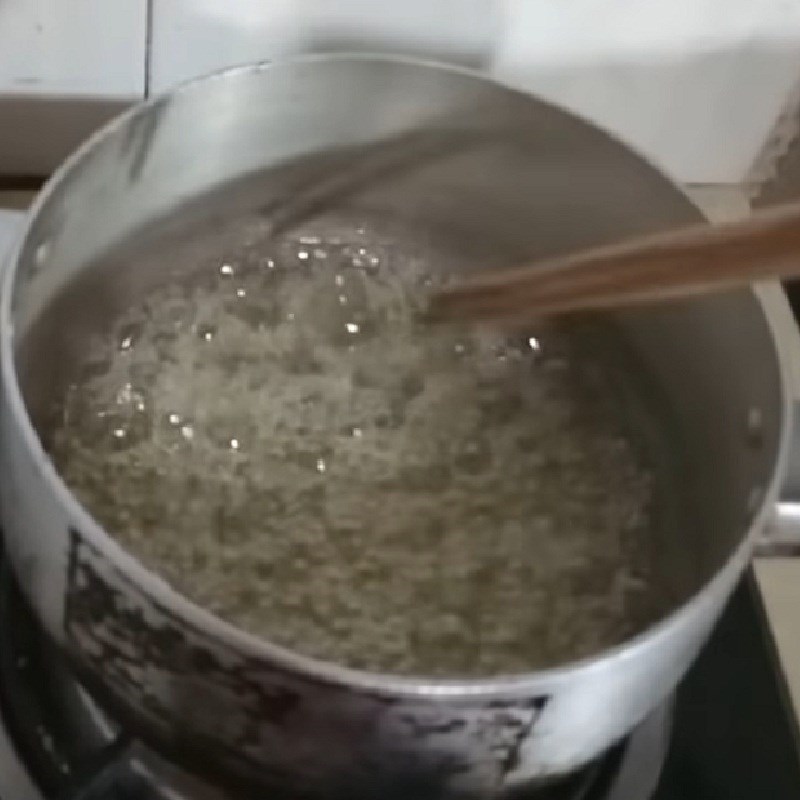
You add 150 ml of water and 100 gr of sugar into a pot, gently shake it and place it on the stove to cook on low heat until the syrup turns yellow.
Tip: Let the sugar dissolve on its own without stirring; otherwise, the sugar will clump and may burn.
-
Mix the dough
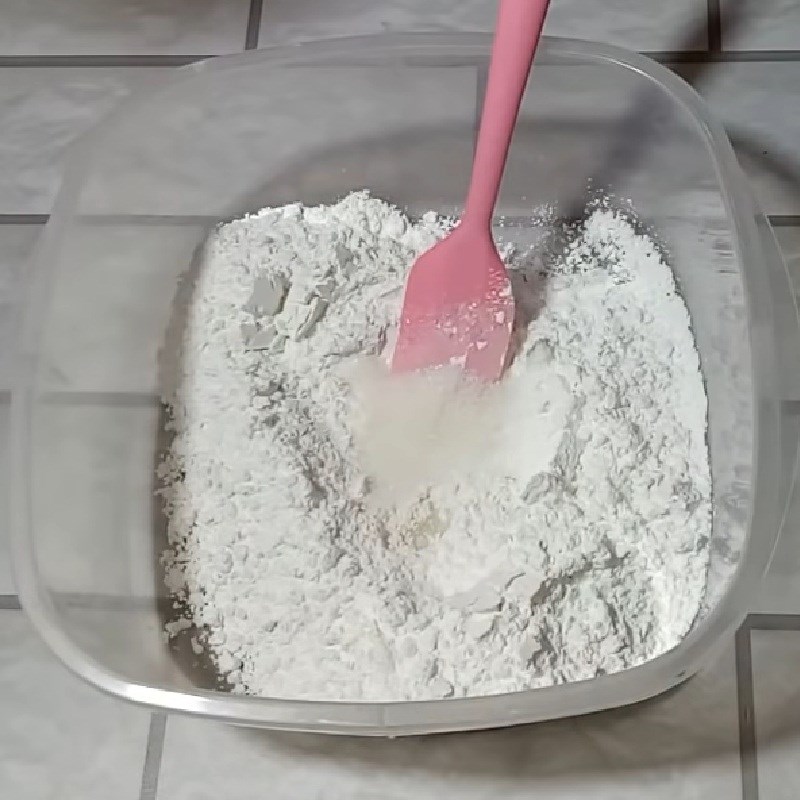
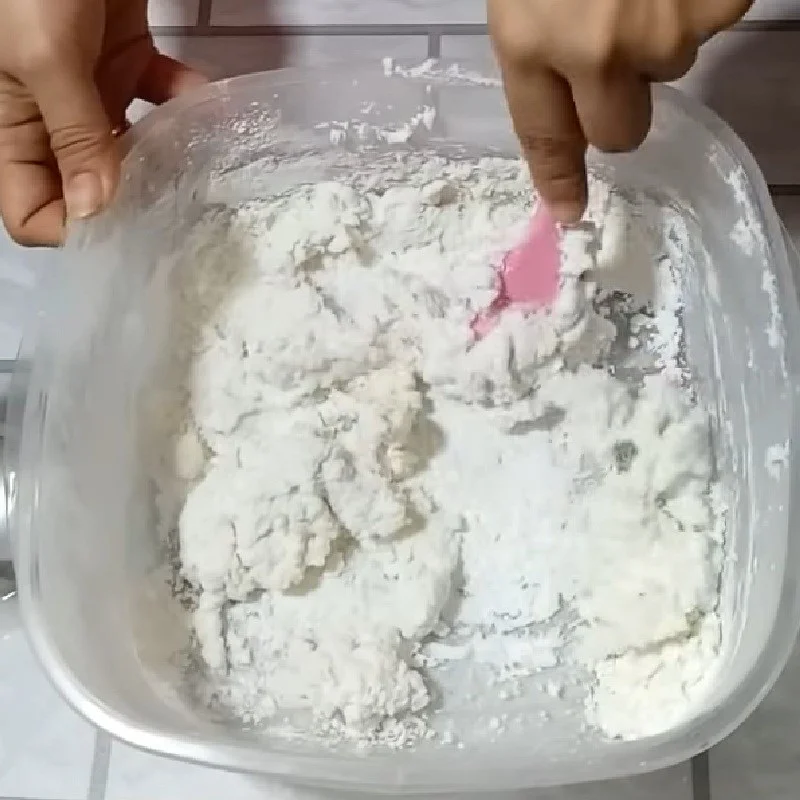
You add 250 gr of glutinous rice flour into a bowl, then add 2 tablespoons of sugar, 1 teaspoon of salt, mix well, and gradually add warm water while mixing.
Tip: Mixing the flour with warm water will help the dough become elastic and easier to shape; you can also use pandan leaf water to mix for a beautiful green color.
-
Knead the dough
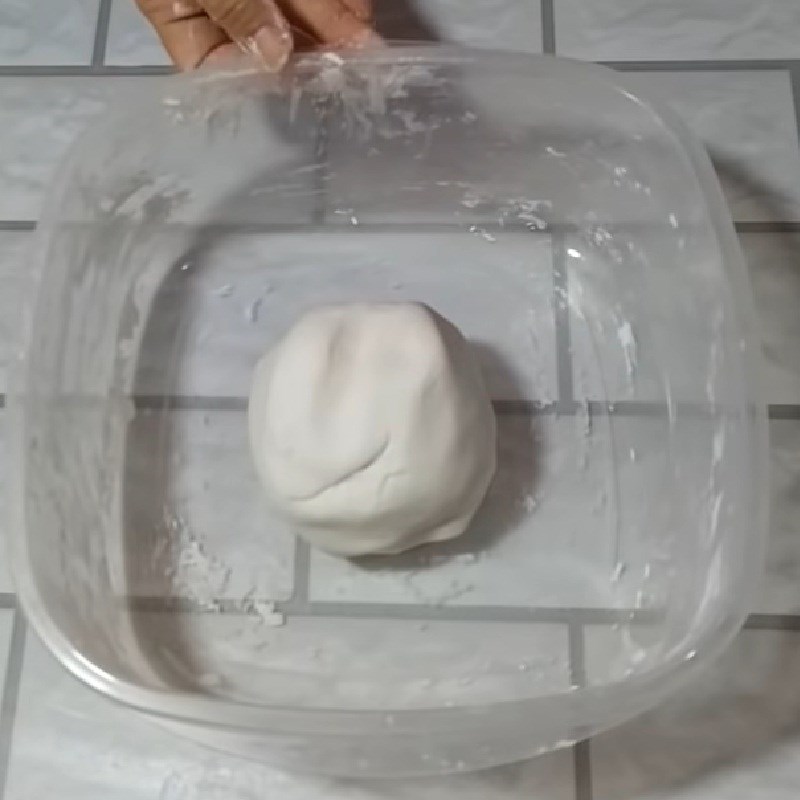
You add more dry glutinous rice flour into the bowl and use your hands to knead the dough until it becomes elastic, smooth, and does not stick to your hands.
Tip: Wait until the dough cools slightly before kneading to make it easier.

-
Cook the filling
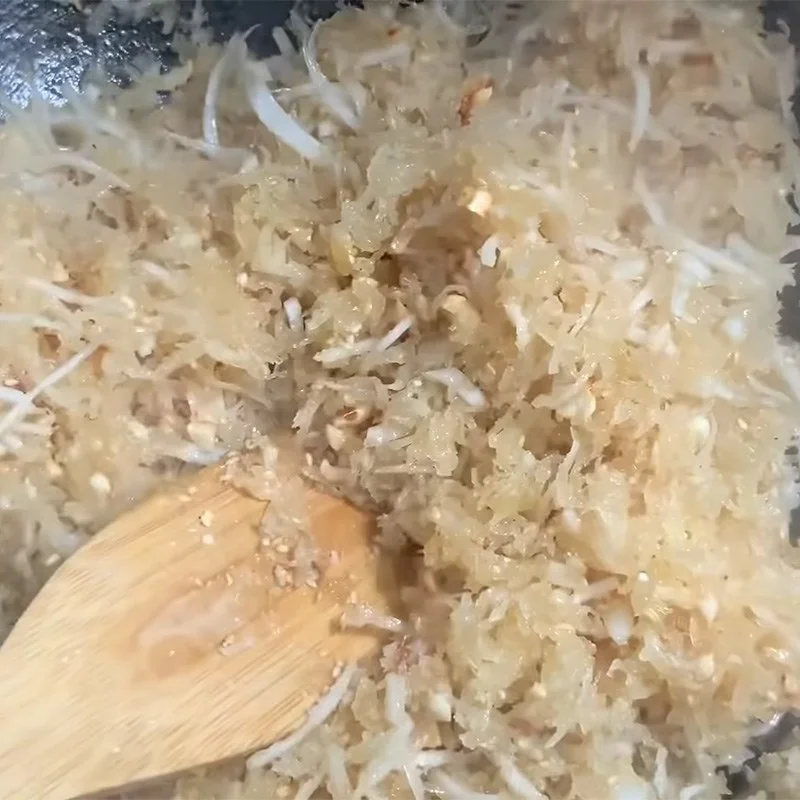
When the syrup is cooking and turns a light yellow, add 150 grams of grated coconut and stir constantly until the coconut becomes chewy and turns yellow. Then add 50 grams of roasted peanuts, crushed, and mix well.
Next, dissolve 1 teaspoon of tapioca starch in 3 tablespoons of water and add it to the pot with the filling. Continue to stir until the filling becomes sticky; turn off the heat and transfer the filling to a plate to cool.
Tip: You should stir constantly to prevent the filling from burning.
-
Divide the dough and filling
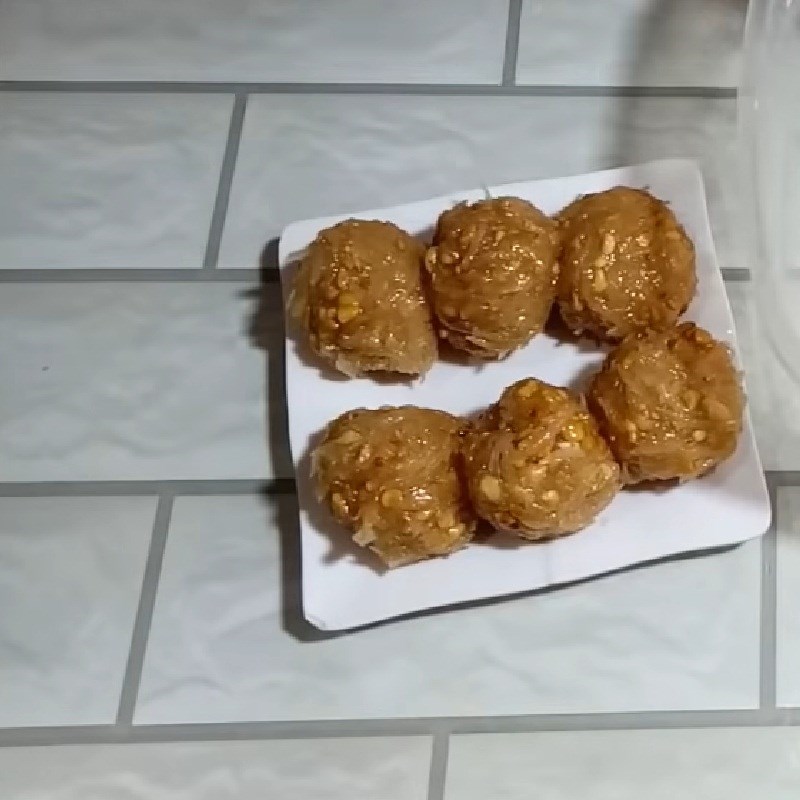
When the filling has cooled, divide it into 6 equal parts and roll them into balls.
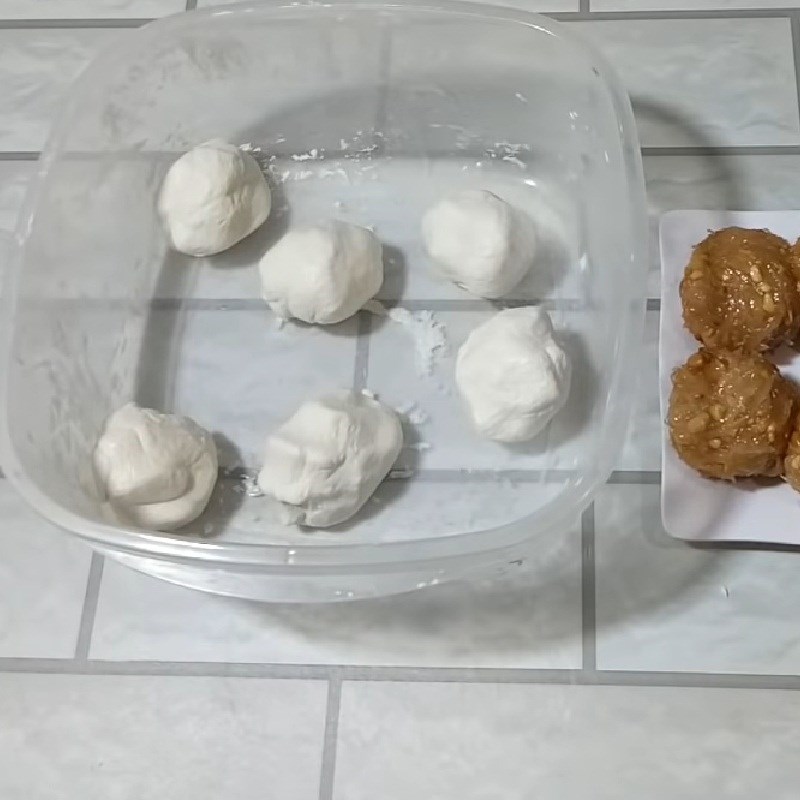
For the cake dough, divide the dough according to the number of fillings and roll them into balls.
Tip: You should divide the cake dough moderately so that the cake has a thick enough skin to completely encase the filling without being overly thick, which can be unappetizing.
-
Wrapping Leaves
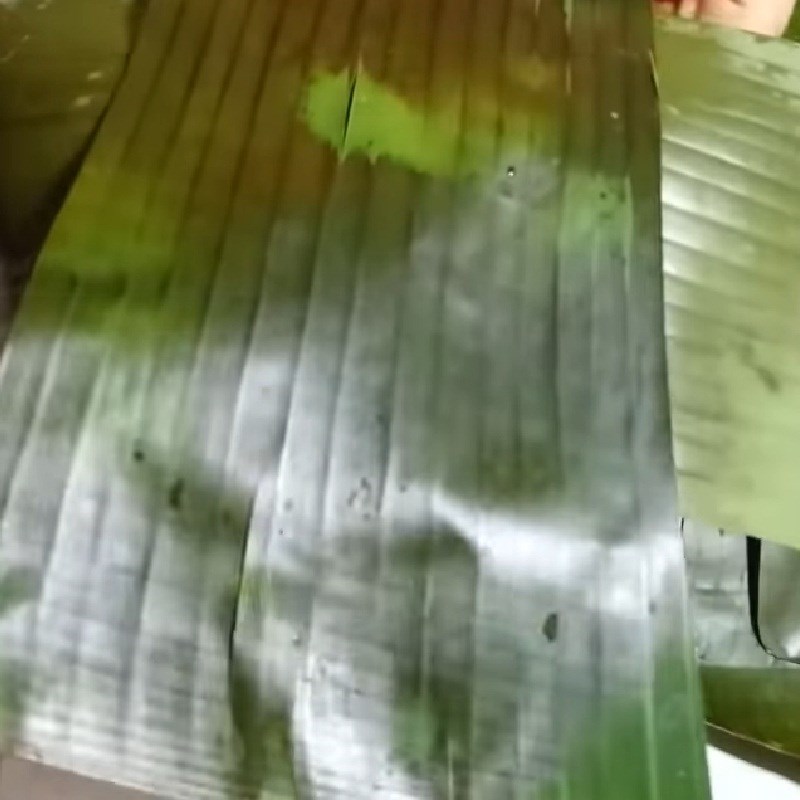
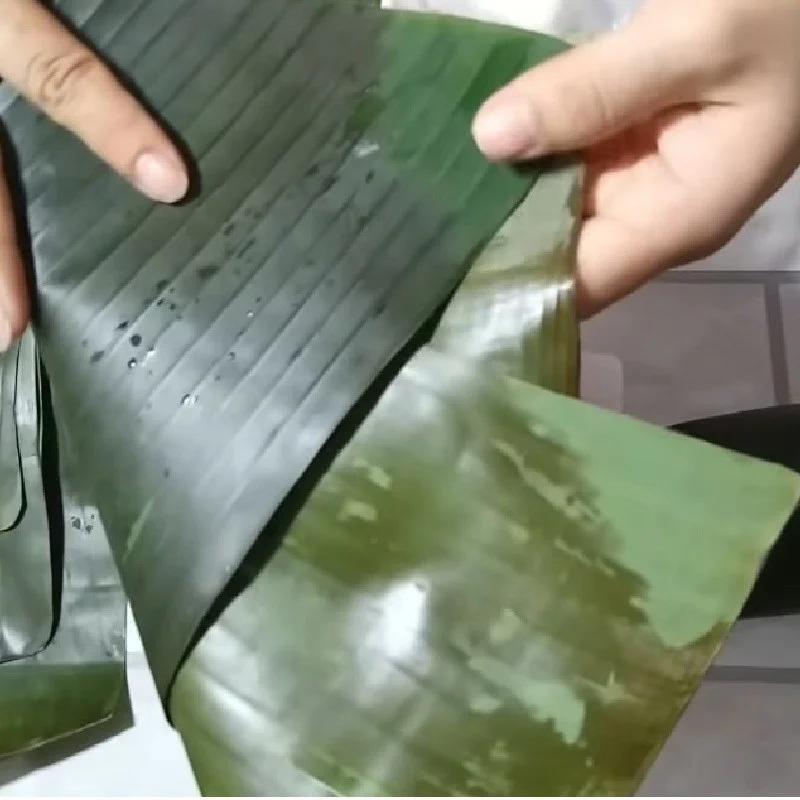
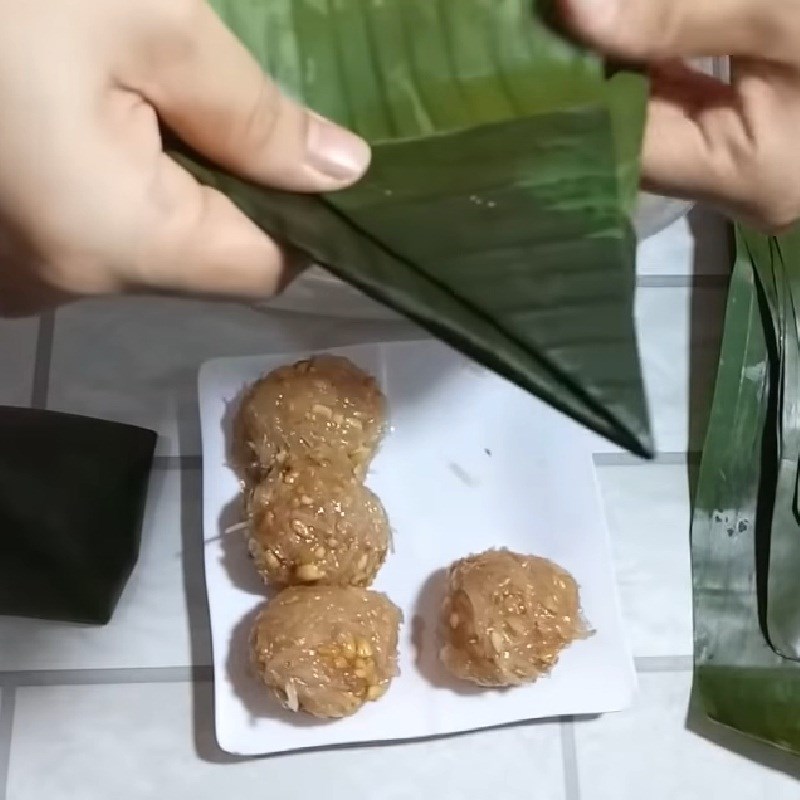
Clean the banana leaves, let them dry, and cut the banana leaves into rectangles about 15 cm wide, with the length being the width of the leaves.
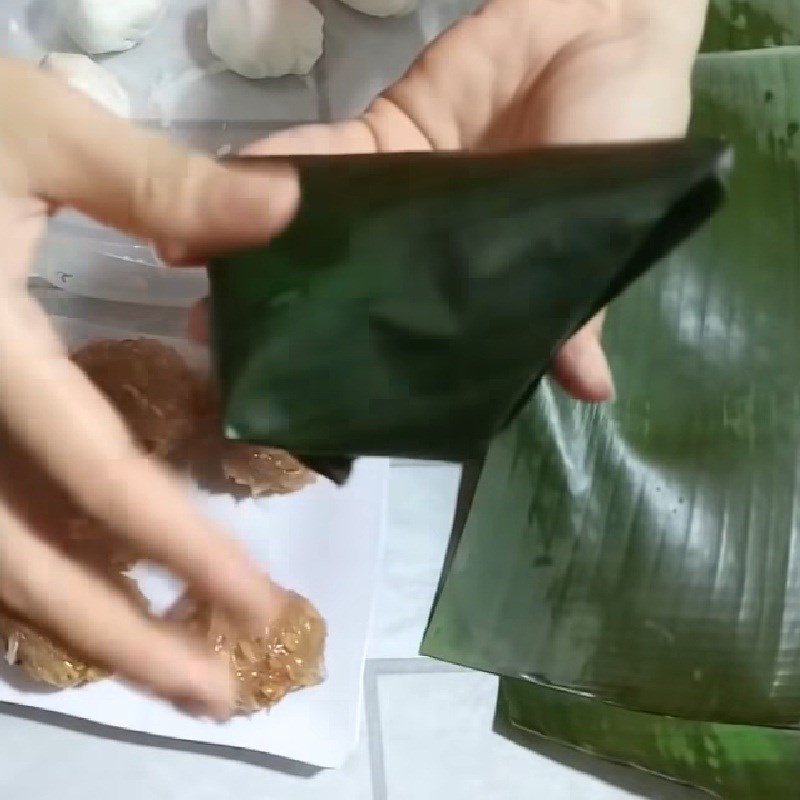
Take 2 leaves and place the smooth sides facing each other in a cross shape, then fold the leaves diagonally to form a straight line, next hold the middle part of the leaves and fold them into a triangle, turning one side towards the back and folding the other side towards the front.
Next, open the folded leaves into a funnel shape and wrap the cake.
Tip: You can sun-dry the banana leaves or briefly boil them to make the leaves softer and easier to wrap.
-
Wrapping the Cake
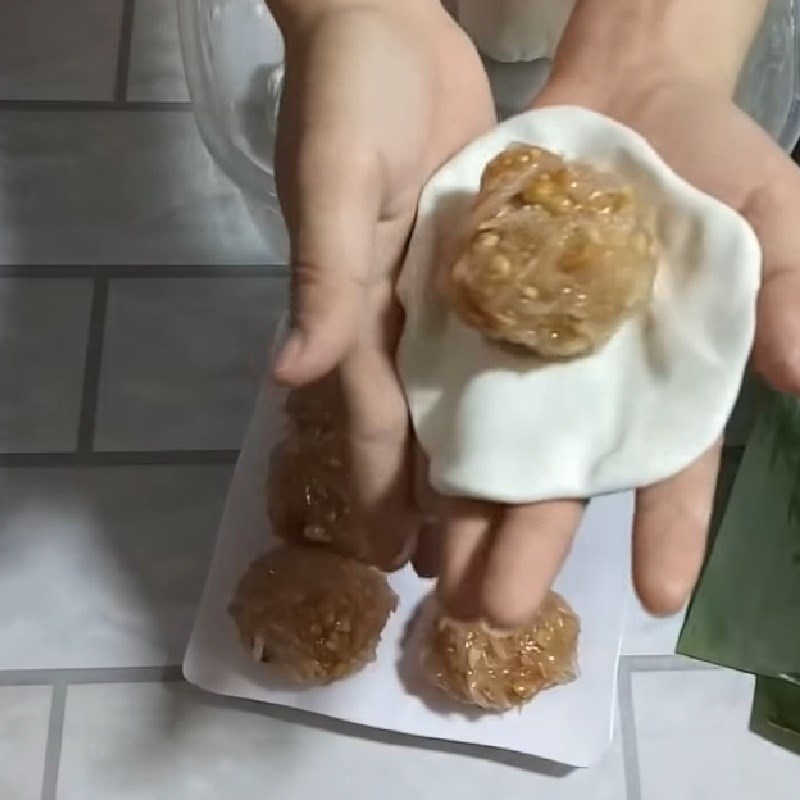
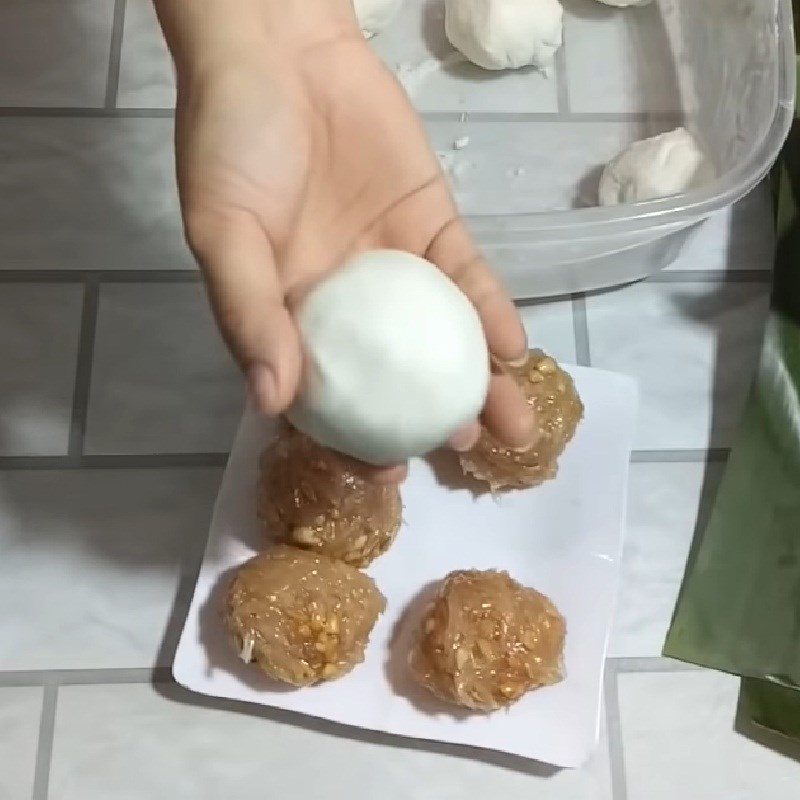
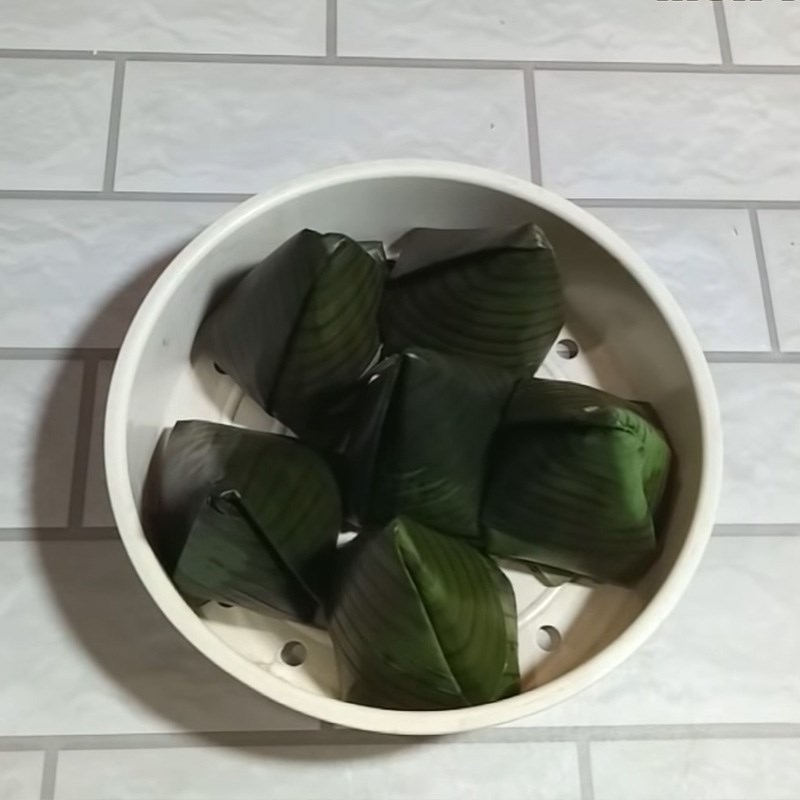
Take a portion of the dough, shape it into a round ball, then use your hands to press it flat, next add the coconut filling in the middle. Carefully use your hands to seal the dough around the filling and roll it into a ball. After that, place the cake onto the leaf to wrap it.
-
Steaming the Cake
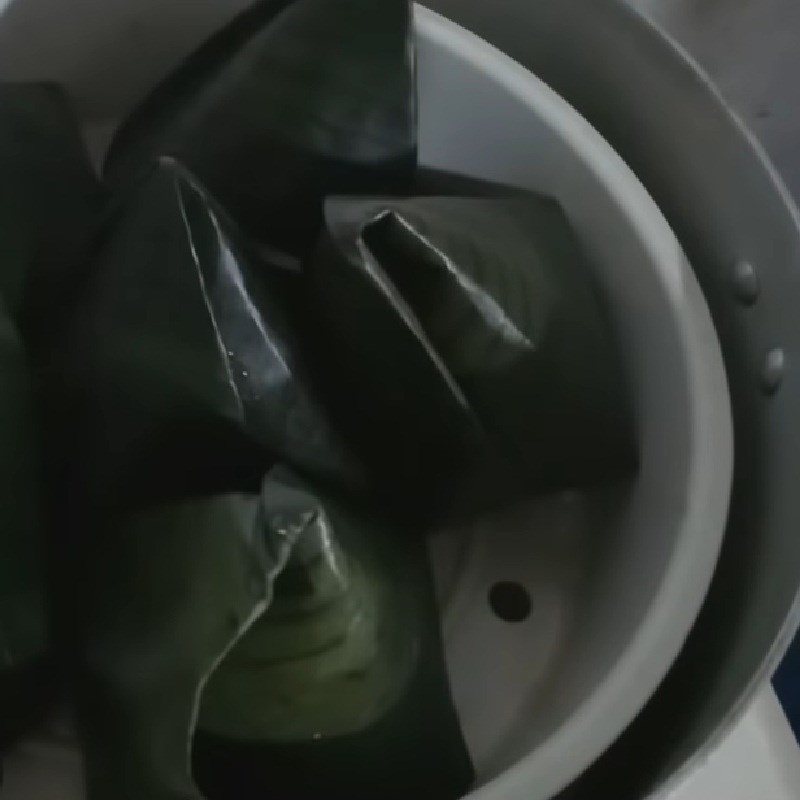
You place the cakes on the steaming rack, then put a pot of water on the stove, wait until the water boils, then place the cake rack in to steam for 25 – 30 minutes until the cake is cooked.

-
Final Product
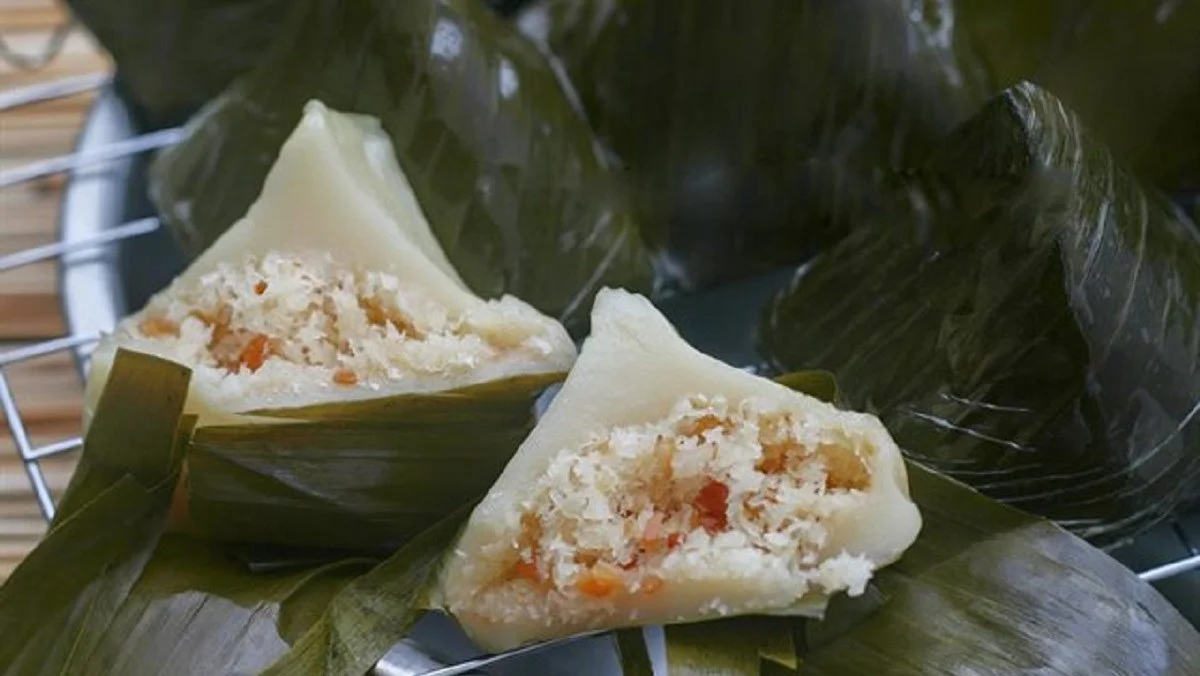
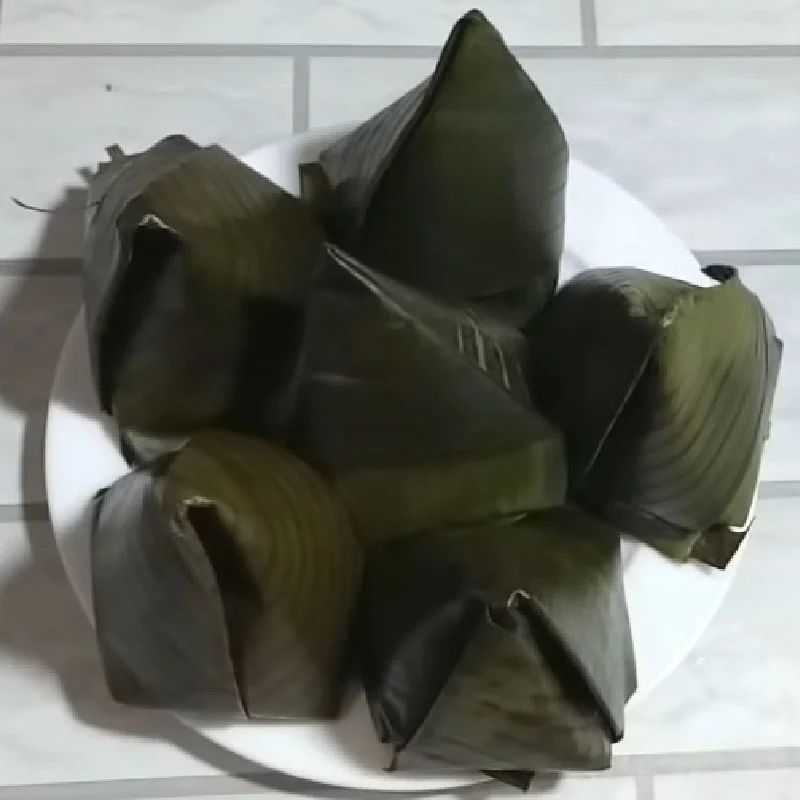
The coconut-filled cakes after completion are very attractive, with a chewy and soft skin, and a sweet filling combined with the fatty taste of coconut and the crunchy flavor of roasted peanuts, making it very delicious.

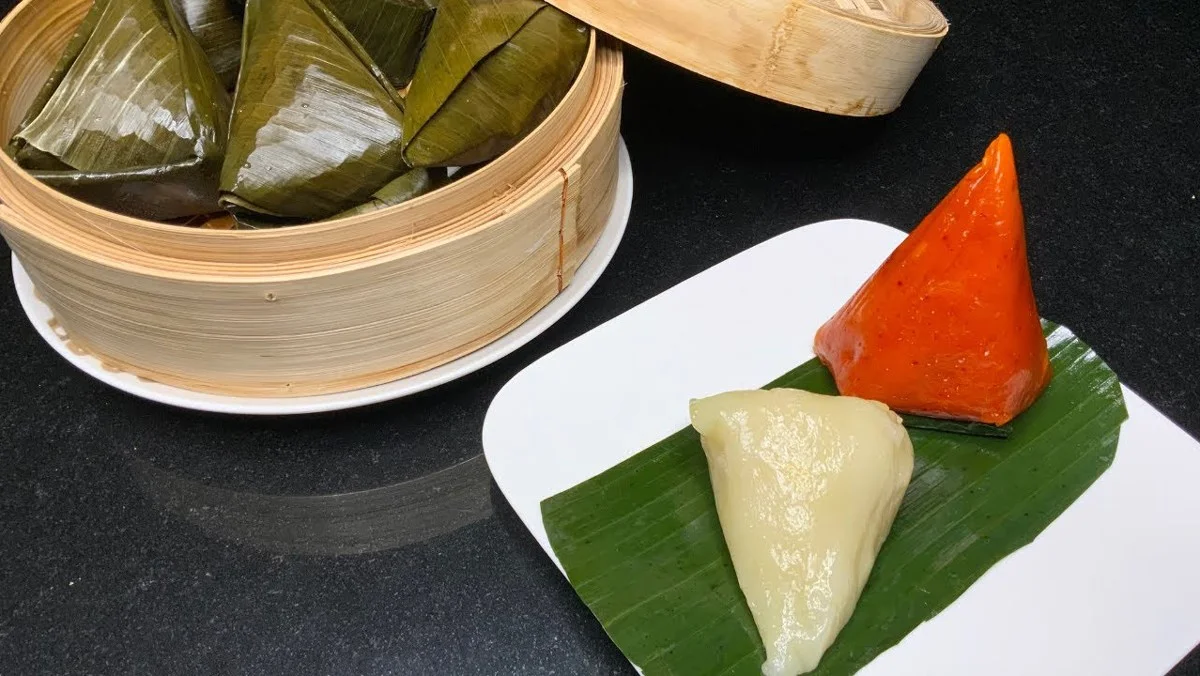
3. Coconut-filled Green Bean Cake
-
Preparation
30 minutes
-
Cooking
40 minutes
-
Difficulty Level
Easy
Ingredients for Green Bean and Coconut Stuffed Cake For 10 pieces
Glutinous rice flour 480 gr Green beans 200 gr Shredded coconut 100 gr (or grated coconut) Gac 1 fruit Pandan leaves 7 leaves Vanilla powder 1 teaspoon Salt/ Sugar A little Cooking oil A little
How to choose good gac
- When buying gac, choose fruits that are uniformly round, with evenly spaced spines, an orange-red outer skin, and feel heavy in hand.
- Avoid purchasing broken, bruised, or spoiled gac fruits, as damaged gac allows air to enter, making them usable only for 1 – 2 days.
-800x450.jpg)
Required tools
Steamer, non-stick pan, pot, bowl, spoon,…
How to Make Green Bean and Coconut Cake
-
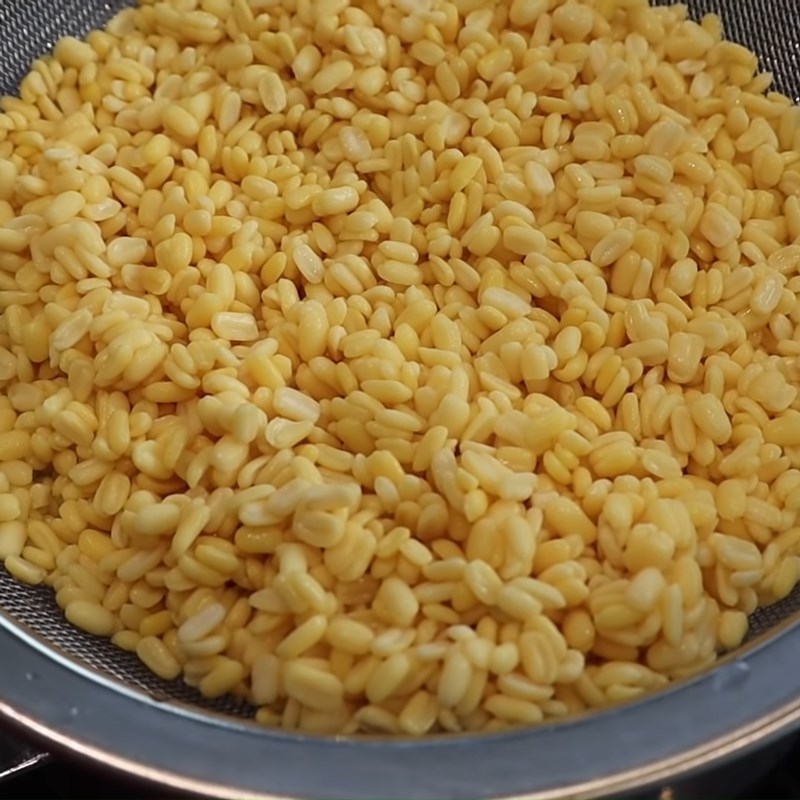
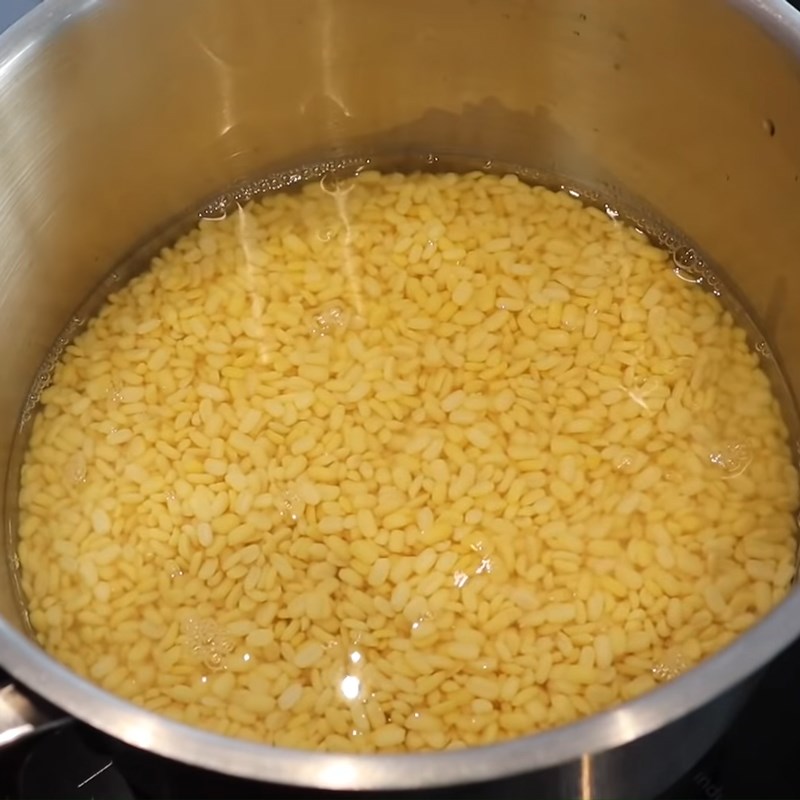
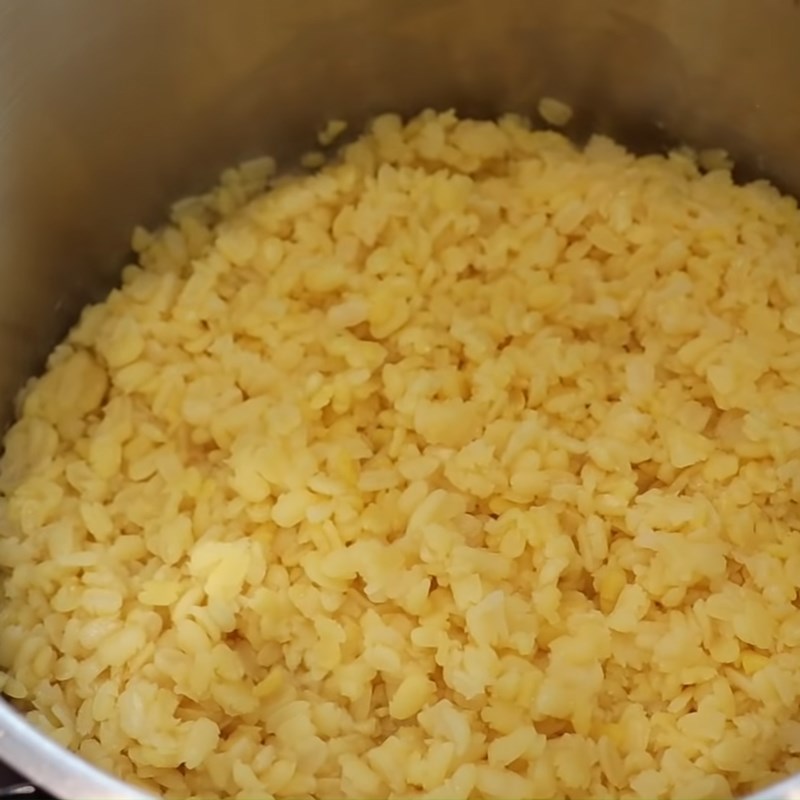
Cook the Green Beans
After removing the shells, soak the green beans in water overnight, then place them in a pot, add 1/3 teaspoon of salt and 250ml of water.
Once the beans have soaked and expanded, drain them completely. At this point, place the beans in the pot, pour in enough water to cover the beans, and cover the pot to cook on low heat.
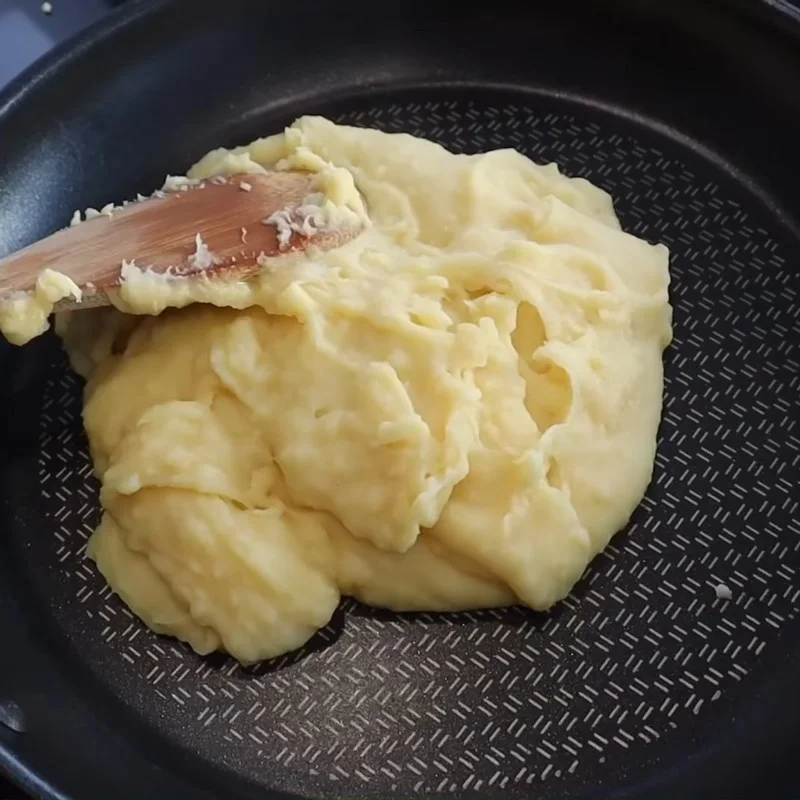
When the beans are soft, mash them into a smooth paste.
-
Make the Green Bean and Coconut Filling
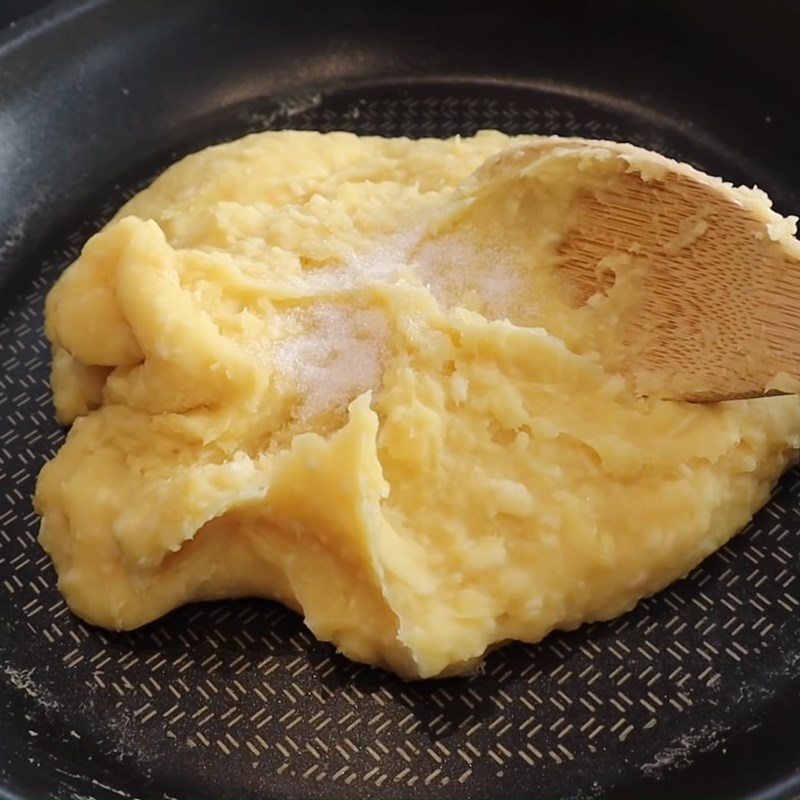
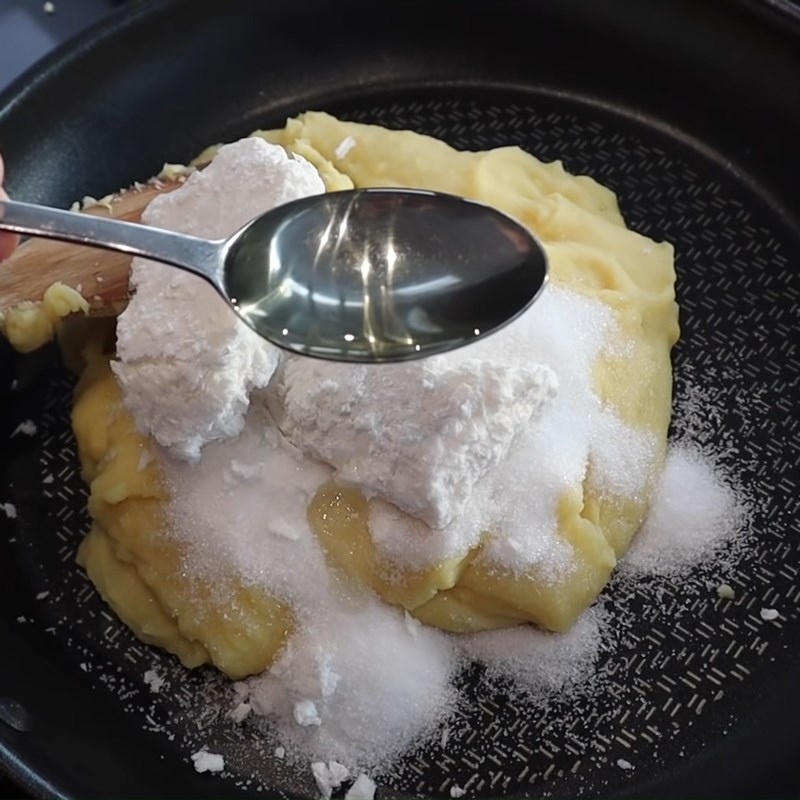
Add 90g of sugar, 100g of shredded coconut, and 1 tablespoon of cooking oil to the mashed green beans, then stir-fry on low heat until the mixture binds together. After that, add 1 teaspoon of vanilla powder and continue to stir-fry until the filling thickens and sticks together.
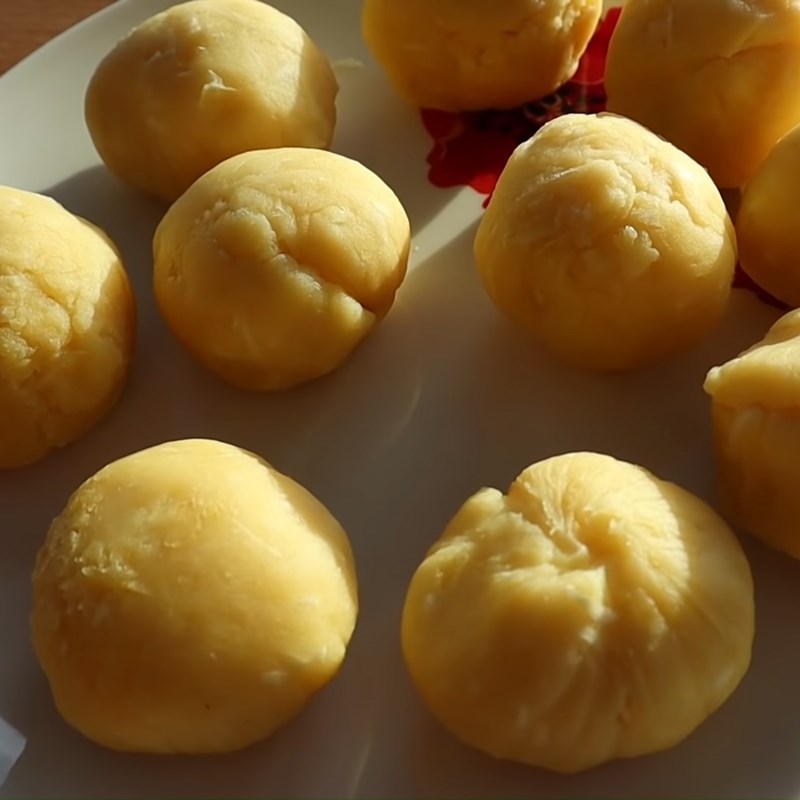
Wait for the filling to cool, then form it into round balls that are just the right size to eat. Use plastic wrap to cover the filling tightly so it doesn’t dry out while you proceed with the next steps!
Tip: If you prefer it sweeter, you can add between 100 – 110g of sugar to the beans while stir-frying!
-
Strain pandan leaf juice and gac fruit filling
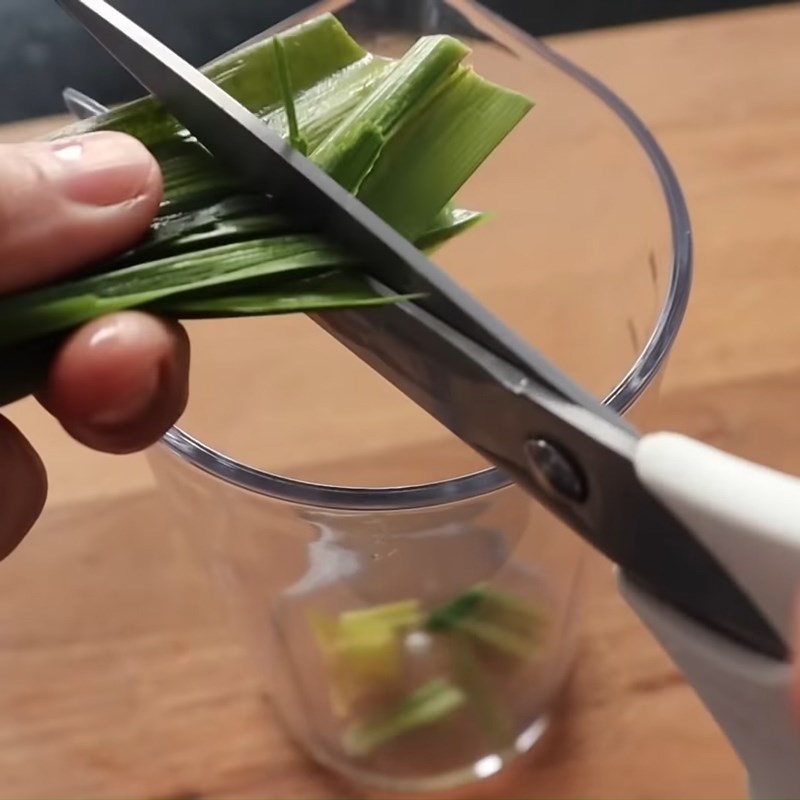
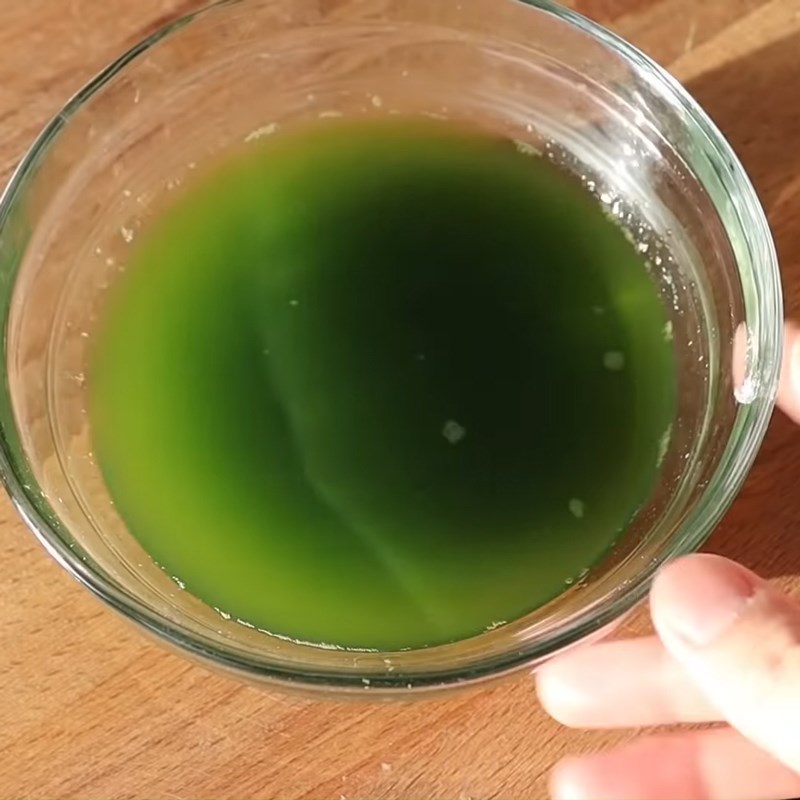
To create color for the cake, you use about 7 pandan leaves, cut them into small pieces, blend with 160ml of water, then strain to get the pandan leaf juice.
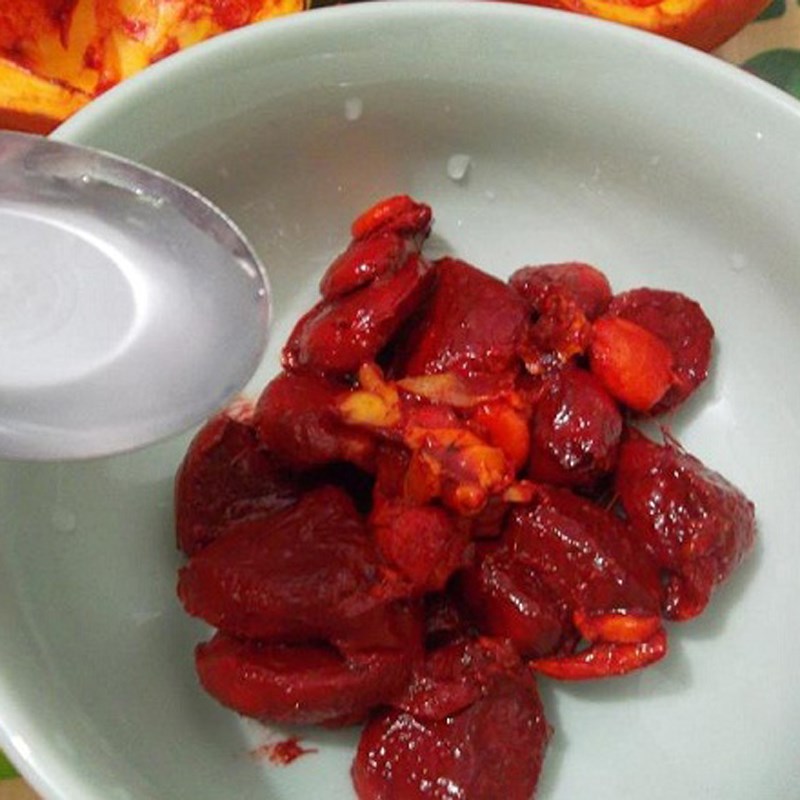
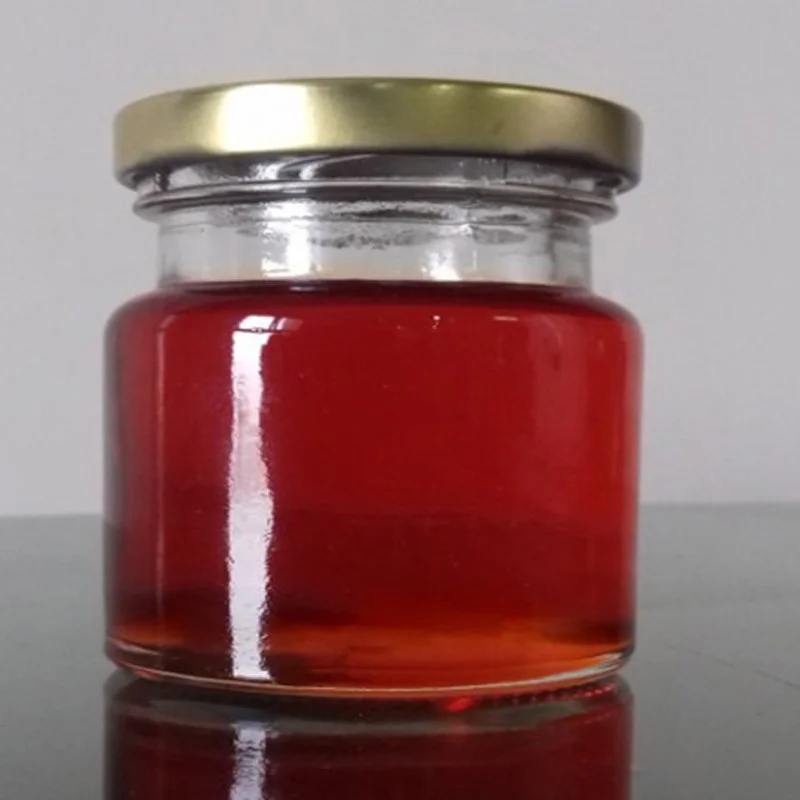
Cut the gac fruit in half, keep the pulp, and remove the seeds. Then blend the gac pulp with water and strain to get the gac juice.
Note:
- You should not take too deep into the gac pulp as it will make the juice bitter.
-
If you want the cake to be greener, you can add a little pandan essential oil to mix well with the pandan leaf juice!
- You can replace gac fruit with beetroot, carrot, etc., to blend for juice to create cake colors according to your preference.
-
Mixing the dough for the skin
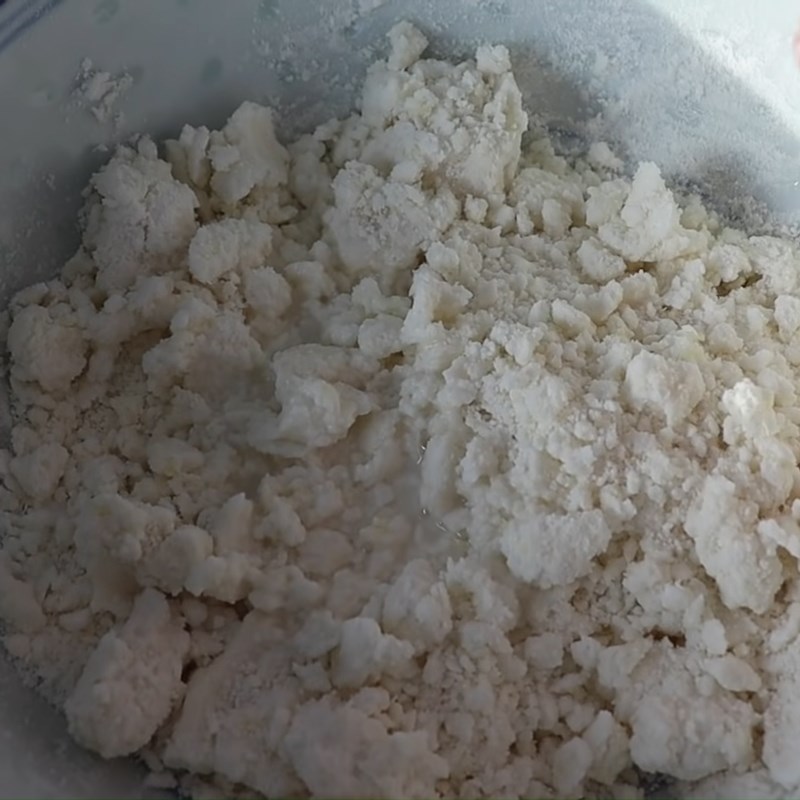
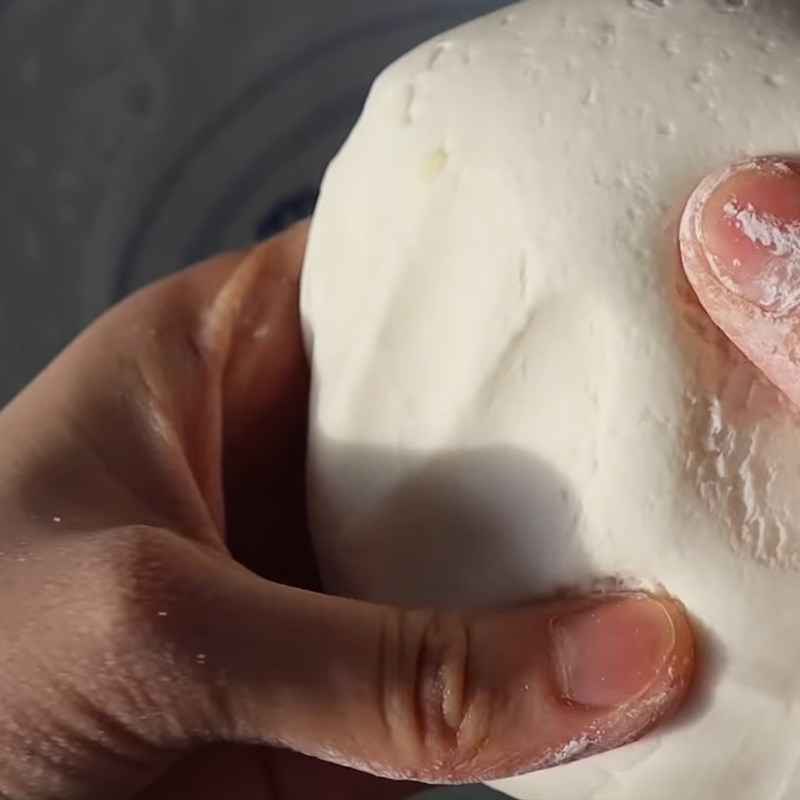
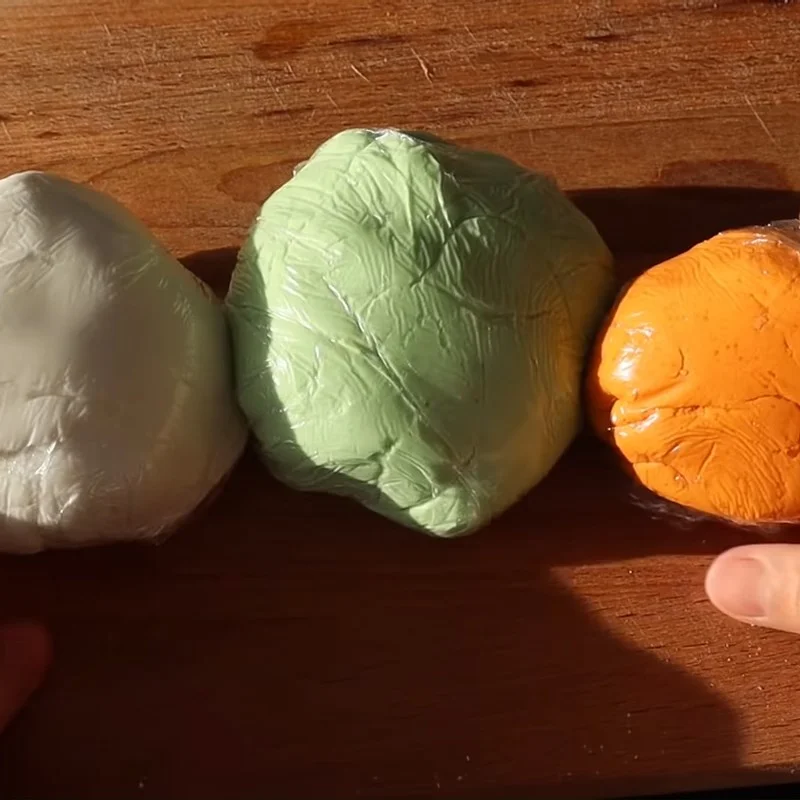
To have a white cake skin, you mix 160g of glutinous rice flour, 40g of sugar, 1/4 teaspoon of salt, 2/3 tablespoon of cooking oil, and 160ml of warm water, then knead the dough well by hand. Use plastic wrap to cover the dough tightly to prevent it from drying out when not used to wrap the filling.
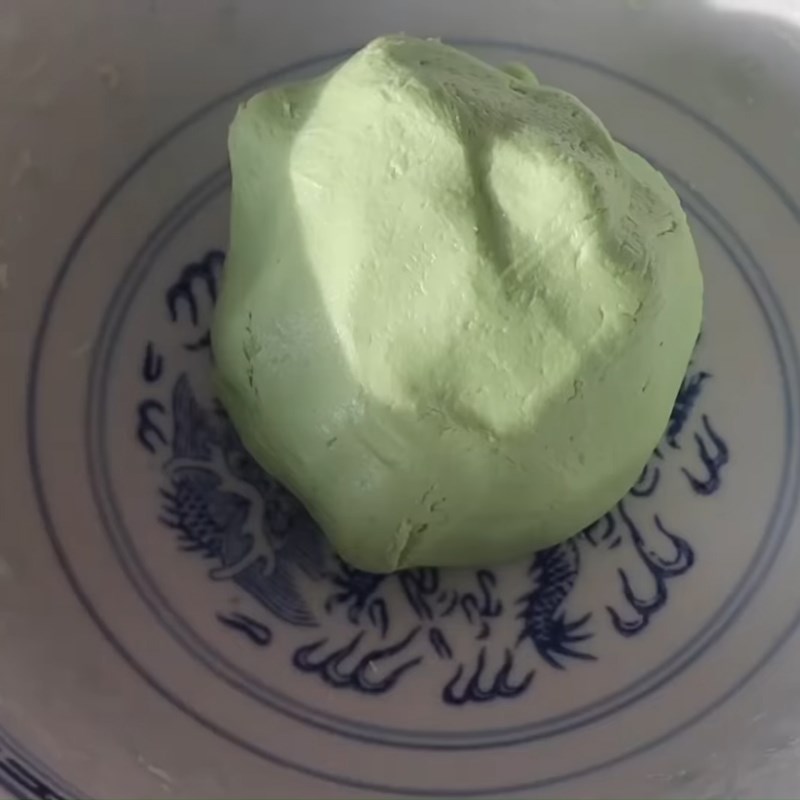
To create green or orange cake skins, use the same amounts of ingredients as when kneading the white dough, just replace the warm water with pandan leaf water or gac fruit water respectively.
Tip:
- Adding about 25g of cooked and mashed potatoes or sweet potatoes into the dough will help the cake skin retain its softness when stored for a long time!
- When mixing the dough, you need to add water gradually, adjusting to add more warm water if the dough is too dry.
-
Wrapping the filling
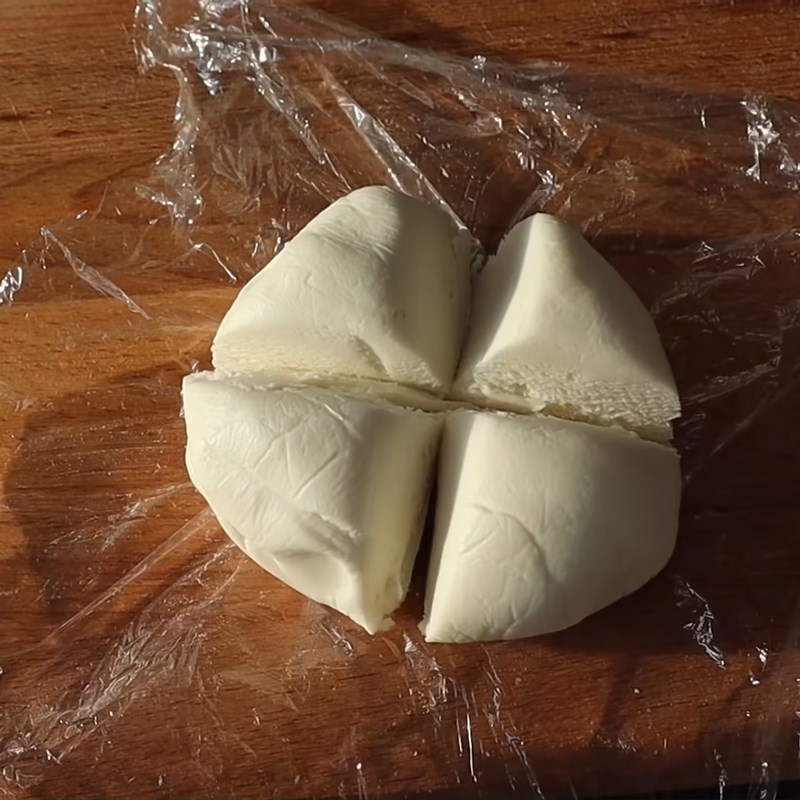
On average, with 1 portion of mixed dough, you divide it equally into 4 parts.
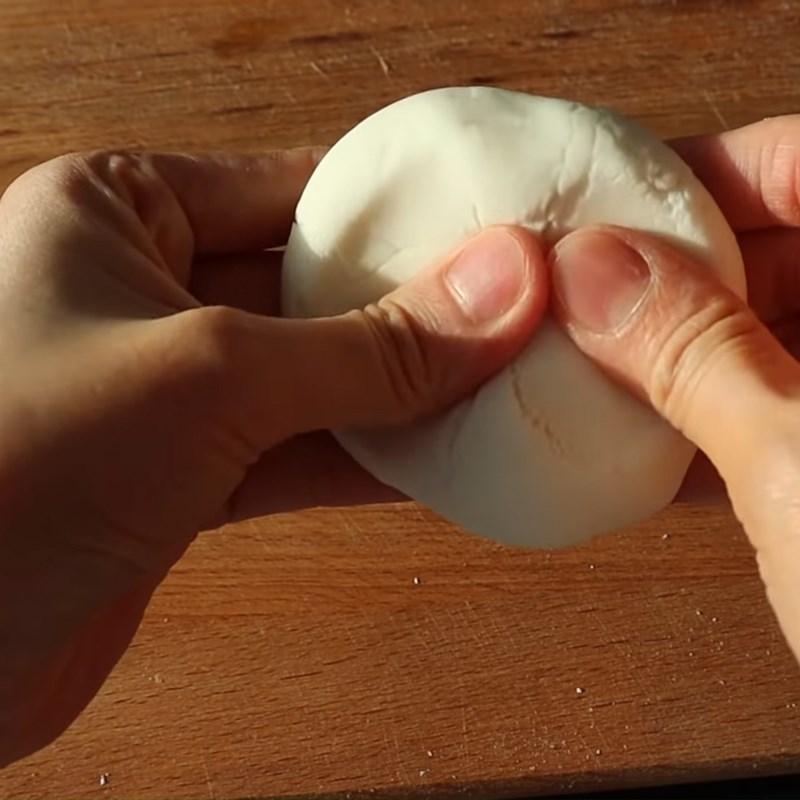
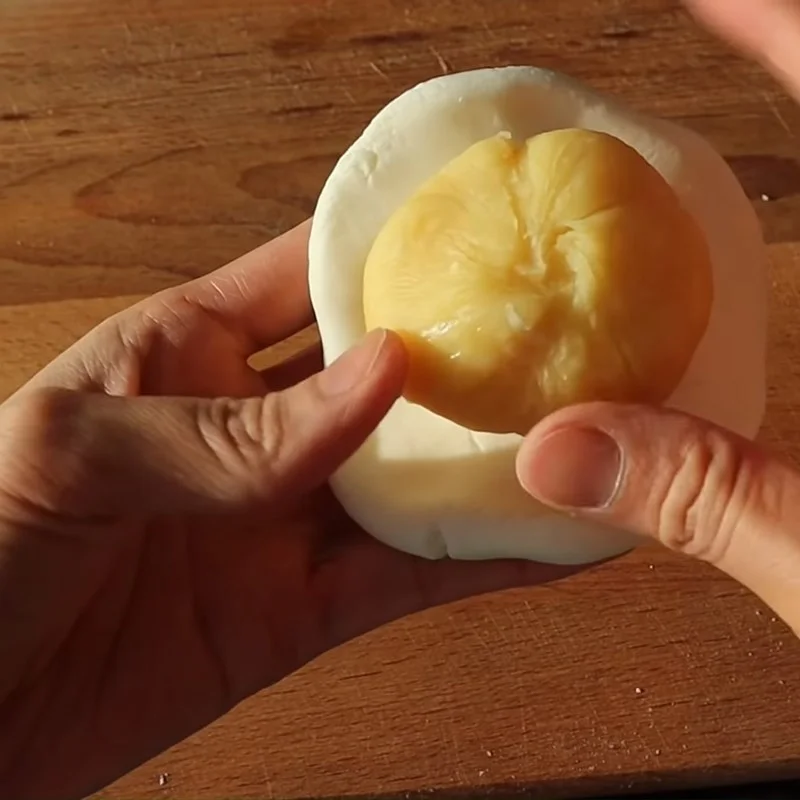
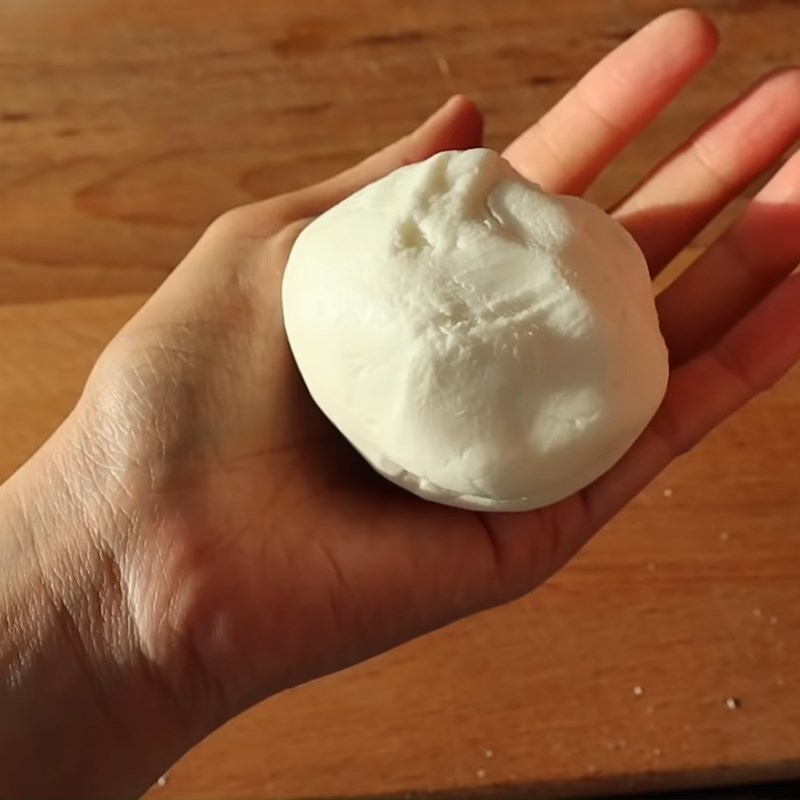
First, you flatten the dough skin, then roll it into a ball to make the cake look nice and ensure that the filling is well wrapped inside.
After wrapping the filling, prepare a bowl of cooking oil, and roll the cakes in the oil so that when steaming, the cakes will not stick when peeling off the skin!
-
Wrapping the cake
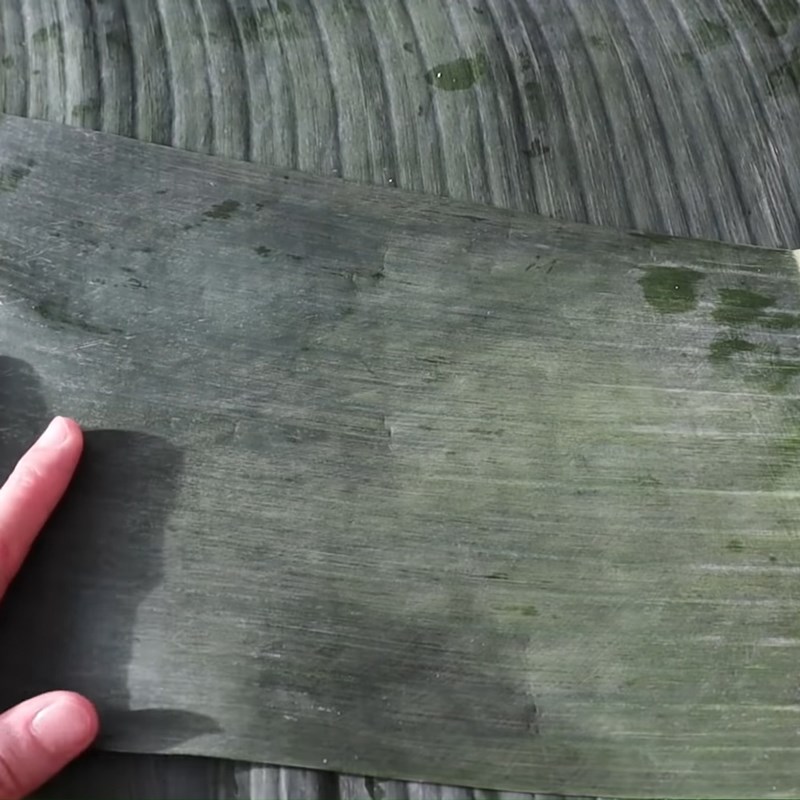
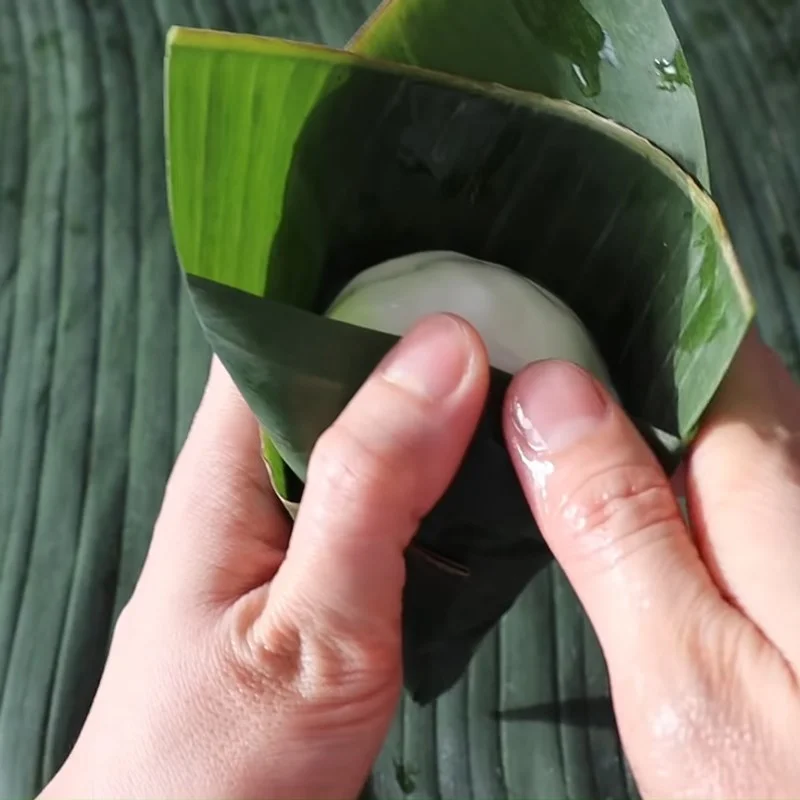
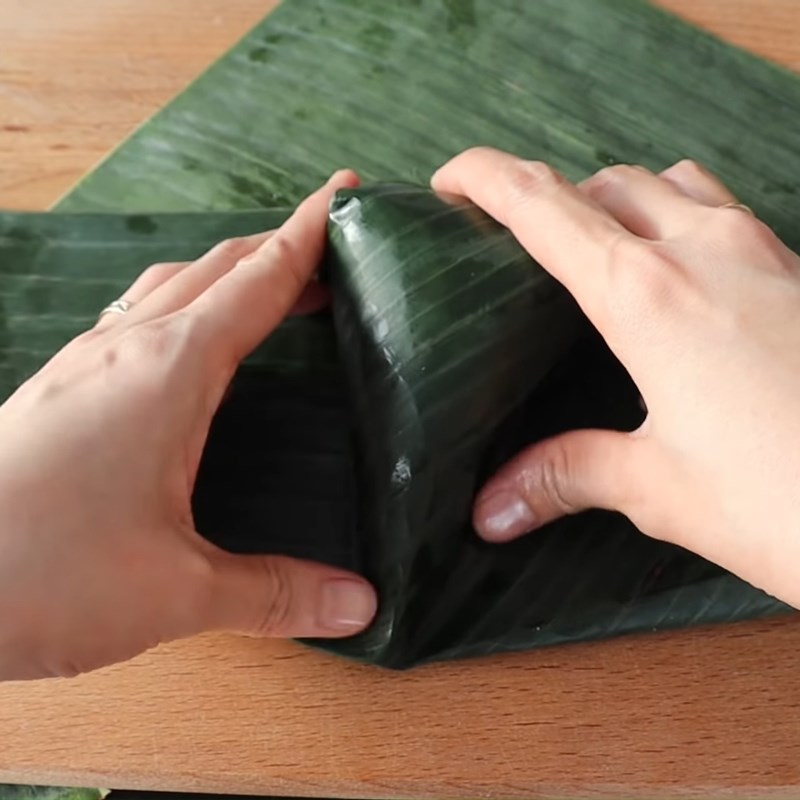
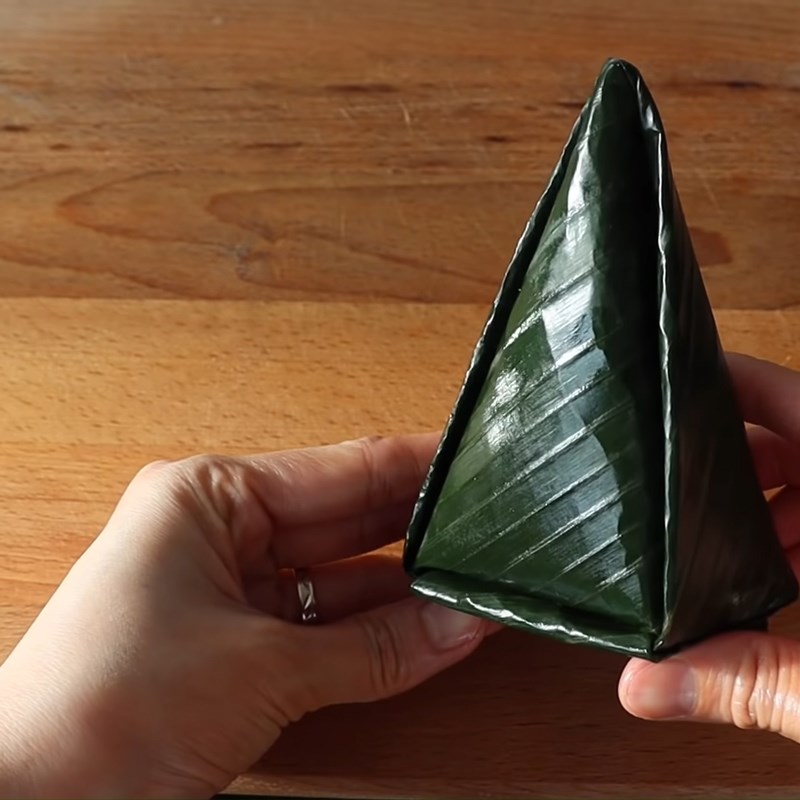
After washing and drying the banana leaves, cut them into rectangles measuring 25×15 (cm). Turn the banana leaves over so that the underside is the outer layer, and choose smaller leaves for the inner layer.
Use your index finger to place at the center of the inner banana leaf, fold the edge of the leaf from left to right to create a funnel shape. Place the filling into the banana leaf, then press the corners and fold them back.
For the outer layer, place the wrapped cake diagonally in the center of the outer leaves, then pull the corners of the leaves together. Use your hands to press the edges of the leaves down along the cake that has been wrapped inside, folding the leaves in about 3 times. Do the same with the remaining corner of the leaf.
Fold the tail of the cake evenly, cut off any excess leaves, and tuck the remaining part of the leaf securely into the gap between the leaves.
-
Steaming the cake
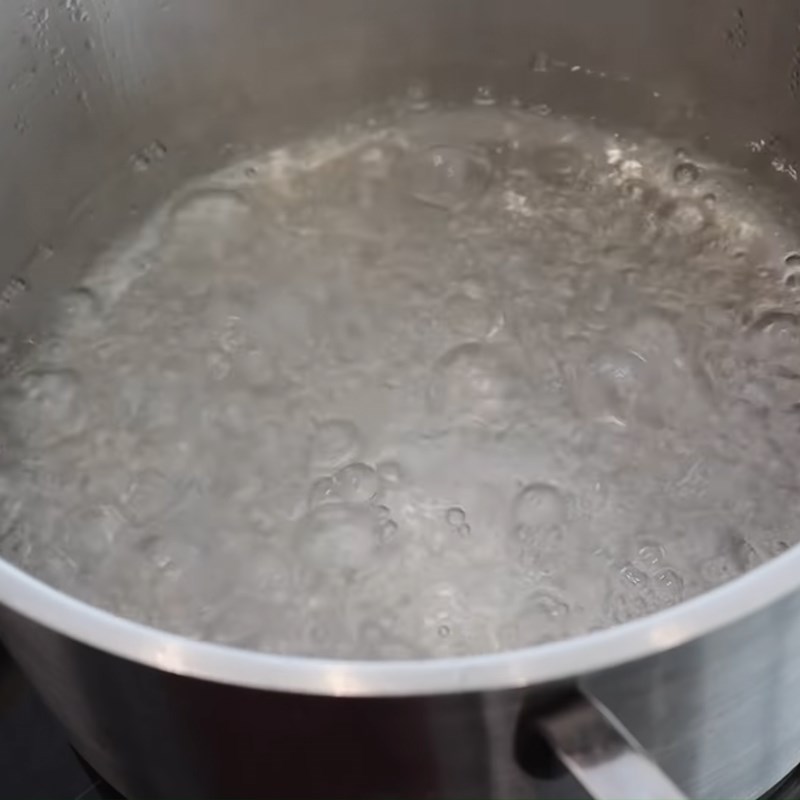
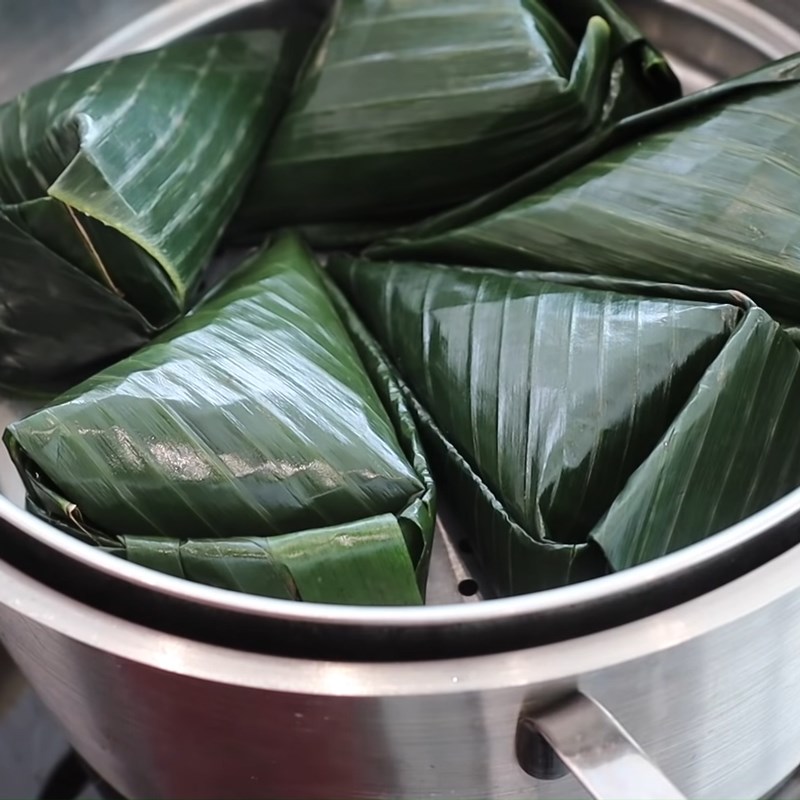
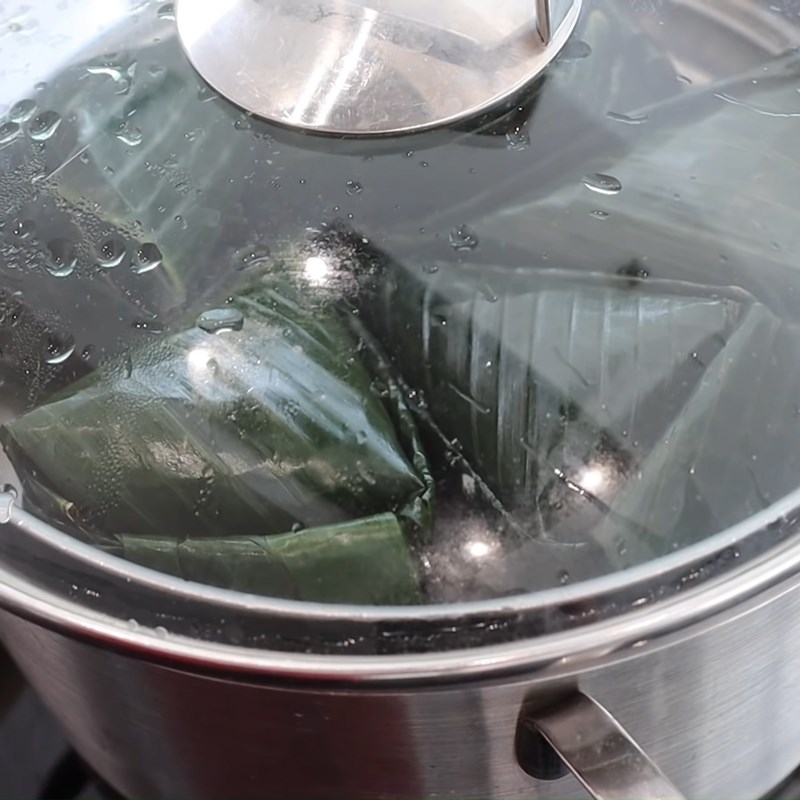
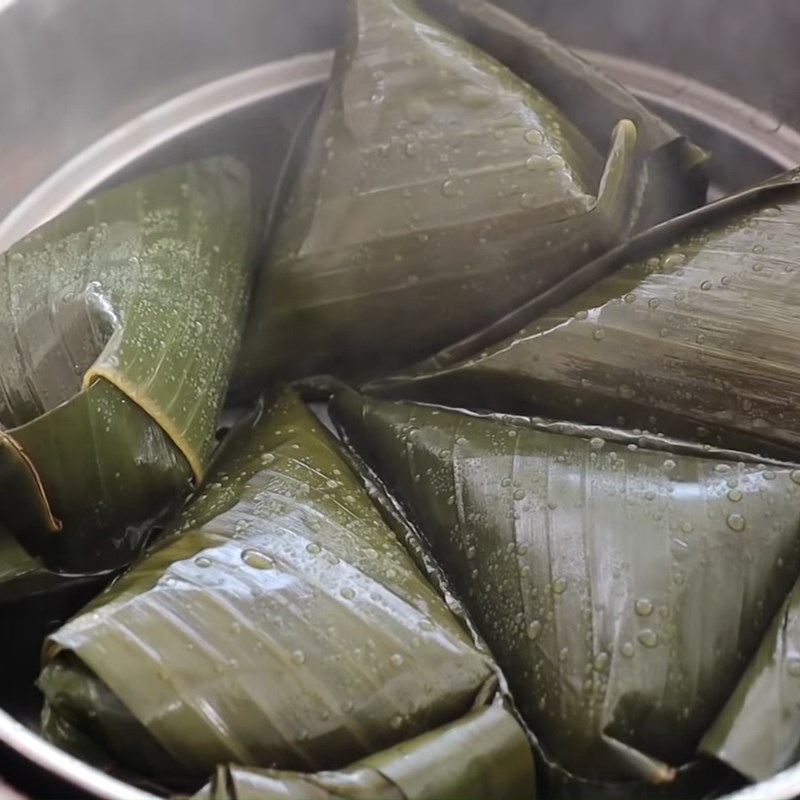
When the water in the steamer boils, place the cake in the steaming tray, cover it, and proceed to steam the cake for about 30 – 35 minutes.
-
Final product
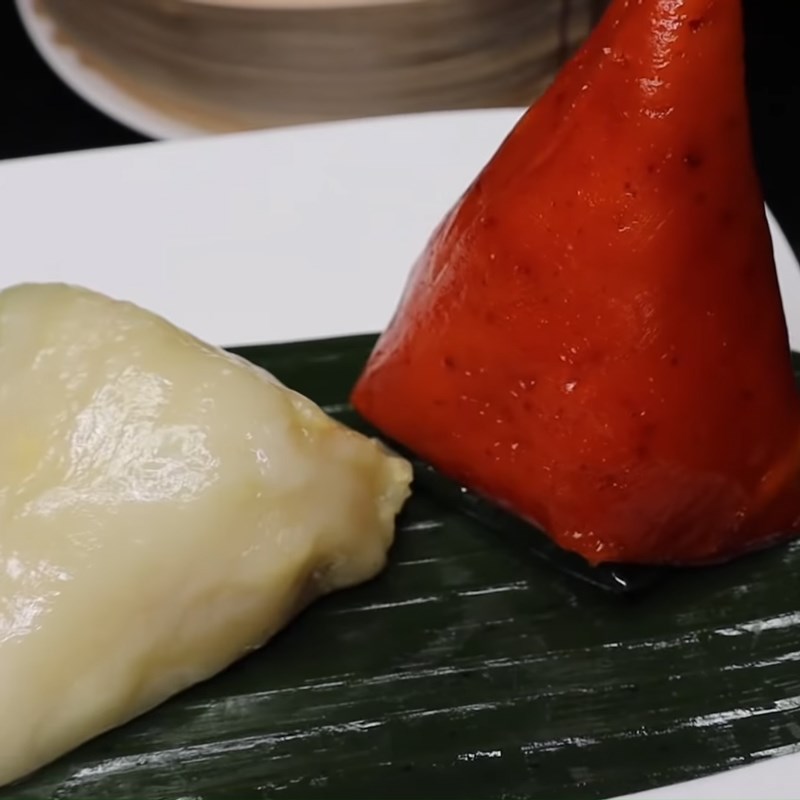
After steaming, you wipe the cake dry and let it cool before serving. The cake has a soft and chewy outer layer, with a faint aroma of pandan leaves and natural pumpkin, and the sweet flavor of the delicious filling, making it very appealing.

Information about glutinous rice flour
- When buying glutinous rice flour, choose a type that is still pure white, fine, not clumped, or discolored to yellow.
- Buy flour with a distinctive fragrant smell of glutinous rice, avoid flour with a musty smell or other strange odors.
- You can buy glutinous rice flour at markets, grocery stores, or supermarkets. Additionally, you can make glutinous rice flour at home following the instructions from TasteVN.
Tips for storing cakes
- Hanging cakes in a cool place will keep them for about 7 – 10 days.
- Keeping the cakes in their original packaging in the refrigerator will preserve them for 15 – 20 days; when using, you need to steam them again to warm them up.
- If the cakes have been unwrapped, wrap them again in a plastic bag and store them in the refrigerator.
So you have 3 recipes for making steamed rice cakes. Wish you success in making the steamed rice cakes with coconut and mung bean filling!
*Image and recipe sources from YouTube channel: MÓN NGON GIA ĐÌNH, Tina Cuộc Sống Mỹ, and MaiKhoi – Mylife Cuộc sống Bỉ
