Preparation
1 hour
Processing
20 minutes
Difficulty
Easy
Cooling off from the hot summer with a delicious cake that is also refreshing is indeed ideal. And mango mochi ice cream is quite an attractive suggestion for you with an extremely simple recipe. Let’s cook with TasteVN!
Ingredients for Mango Mochi Ice Cream Serves 4
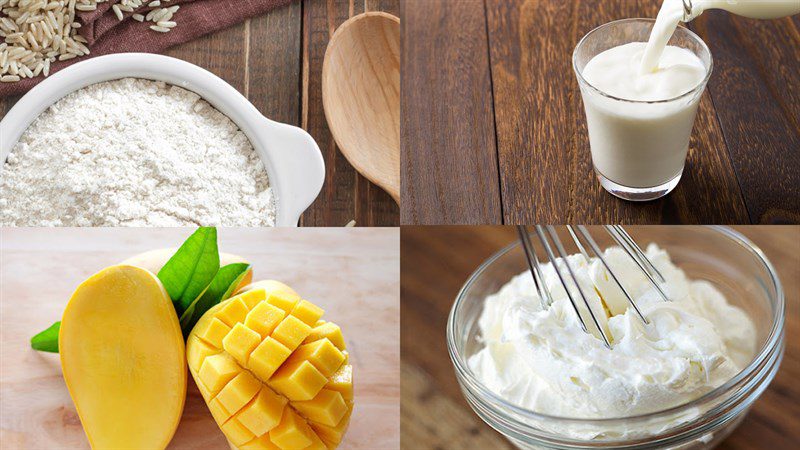
Pureed mango 150 gr (Ice cream part) Unsweetened fresh milk 50 gr (Ice cream part) Sugar 23 gr (Ice cream part) Condensed milk 90 gr (Ice cream part) Gelatin 3 gr (Ice cream part) Whipping cream 130 ml (Ice cream part) Glutinous rice flour 100 gr (Dough part) Unsweetened fresh milk 180 ml (Dough part) Sugar 60 gr (Dough part) Cooking oil 10 ml (Dough part) Cornstarch 10 gr (for non-stick)
How to make Mango Mochi Ice Cream
-
Puree the mango
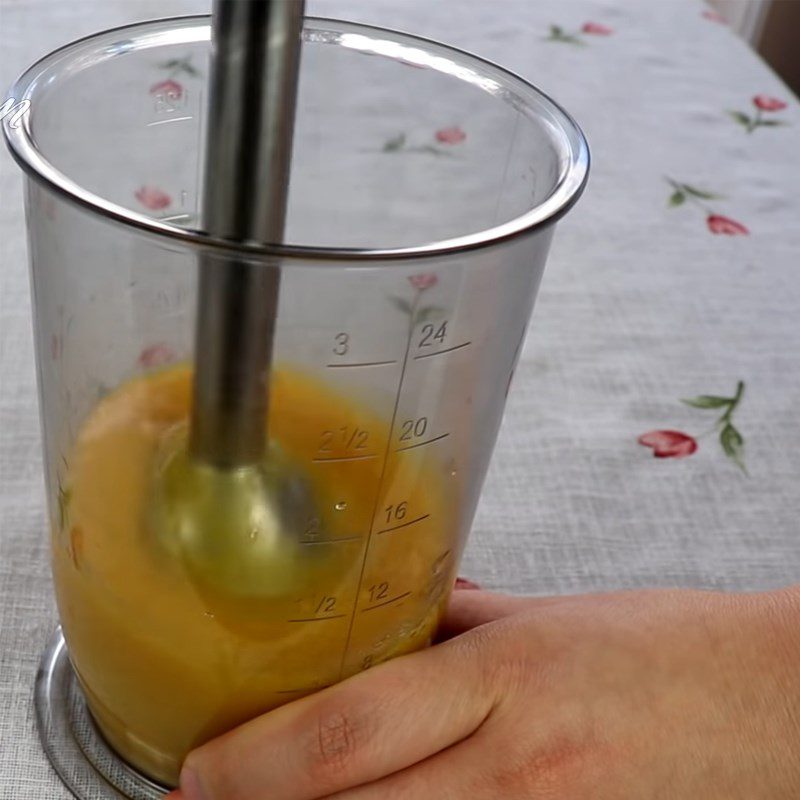
Peel the mango, cut out the flesh, and then put it in a blender to puree.

-
Make the mango ice cream
Soak 3g of gelatin in 50g of unsweetened milk, then heat it on the stove until the gelatin completely dissolves.
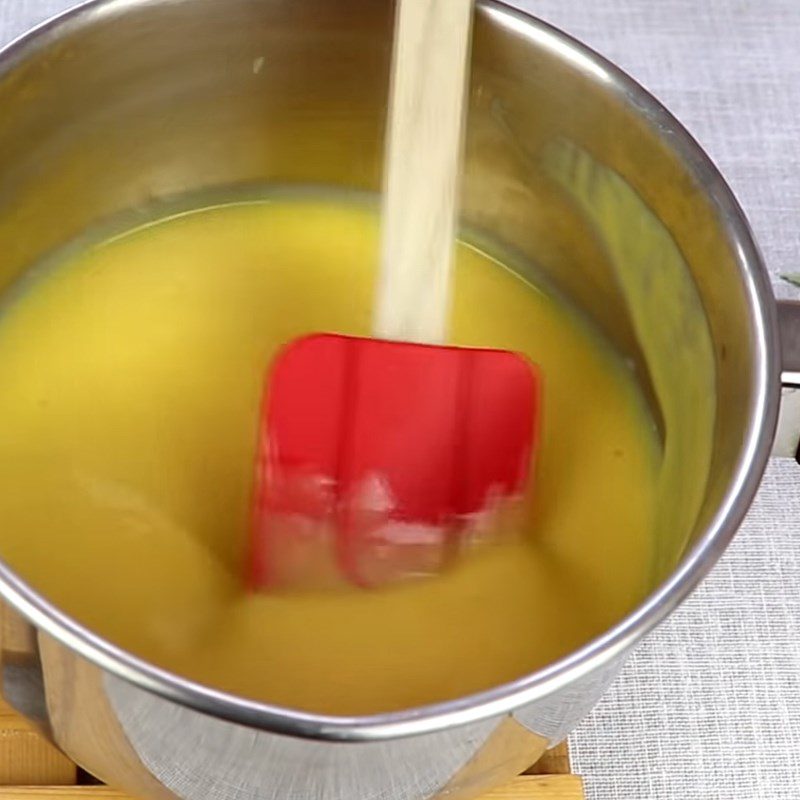
Next, add 23g of sugar, 90g of condensed milk, and 150g of pureed mango to the gelatin mixture and use a whisk to mix well until the mixture is combined.
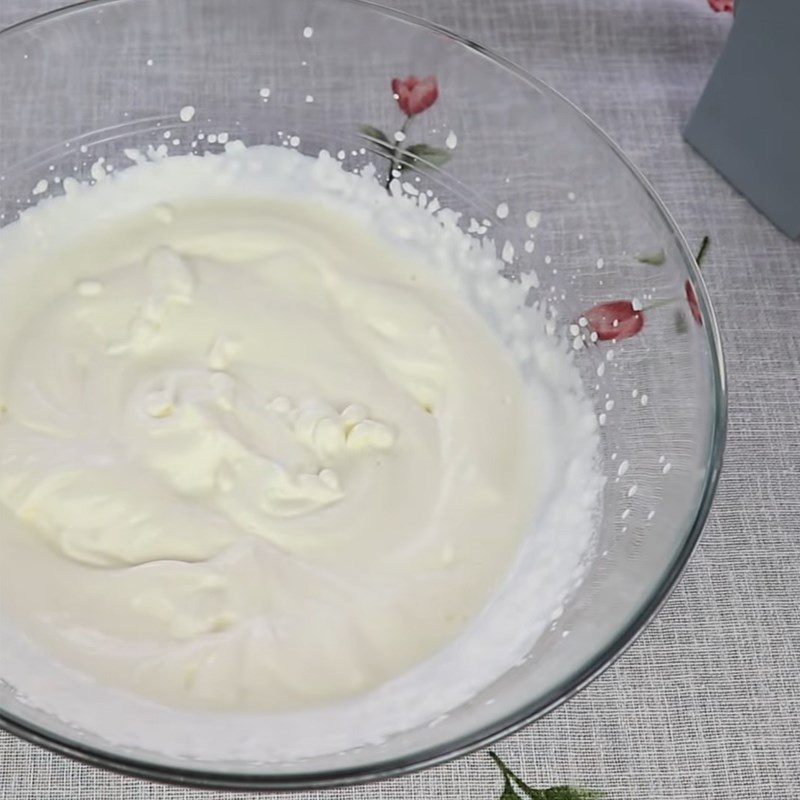
Pour 130ml of heavy cream into a bowl, and use a mixer to whip until the cream is smooth, thick, and forms soft peaks that droop.
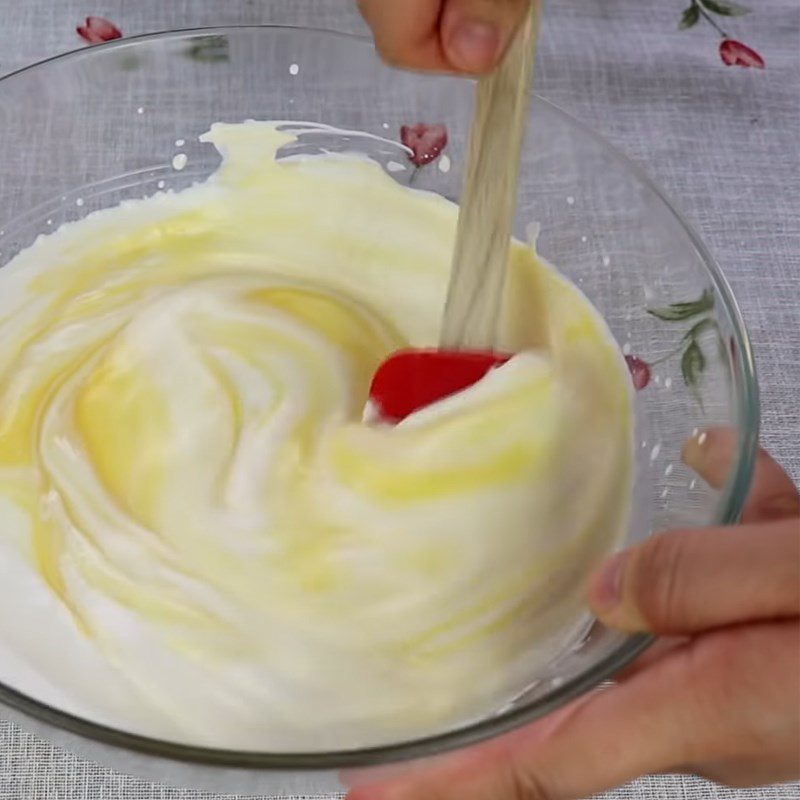
Add the mango mixture to the whipped cream and gently fold in one direction.
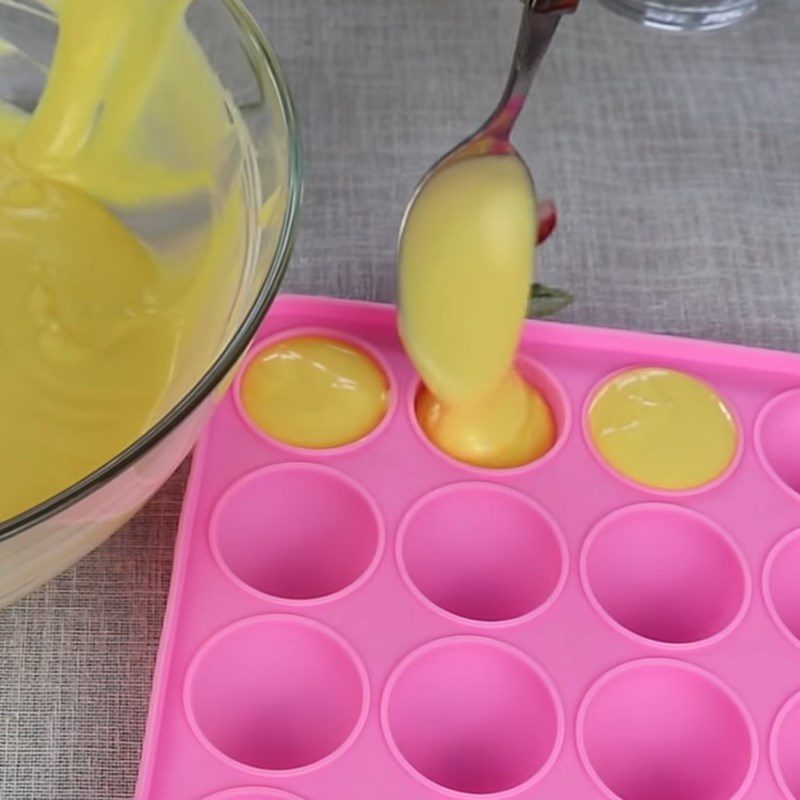
Finally, pour the mango ice cream mixture into a mold and place it in the freezer until it hardens.
Note:
Do not mix too much or too long as it may cause the whipped cream to separate.


-
Toasting glutinous rice flour
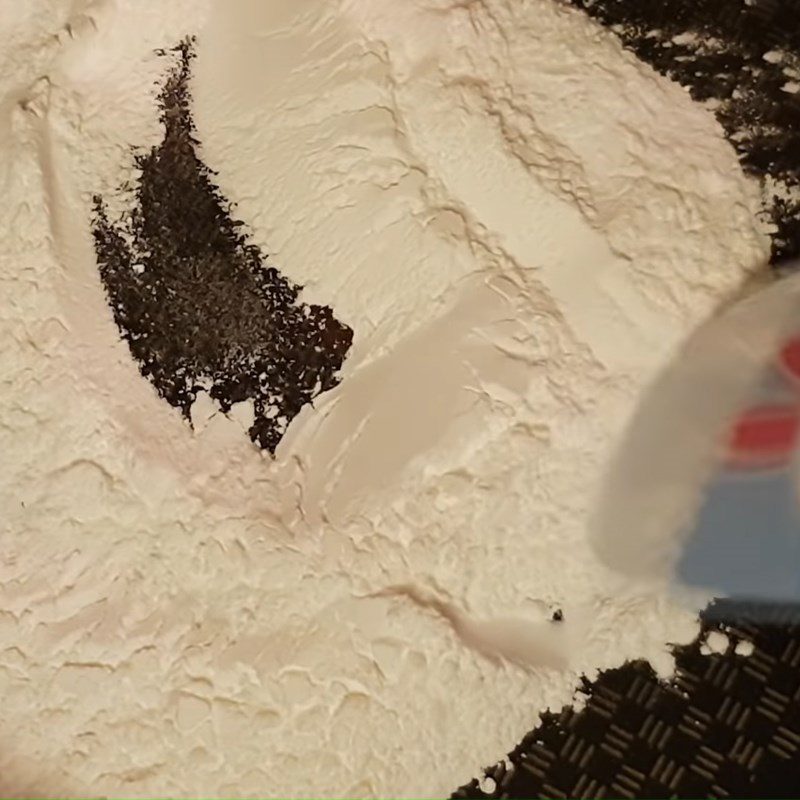
Place a pan on the stove, add 100g of glutinous rice flour, and toast it evenly over low heat for about 5 minutes.

-
Mixing the dough
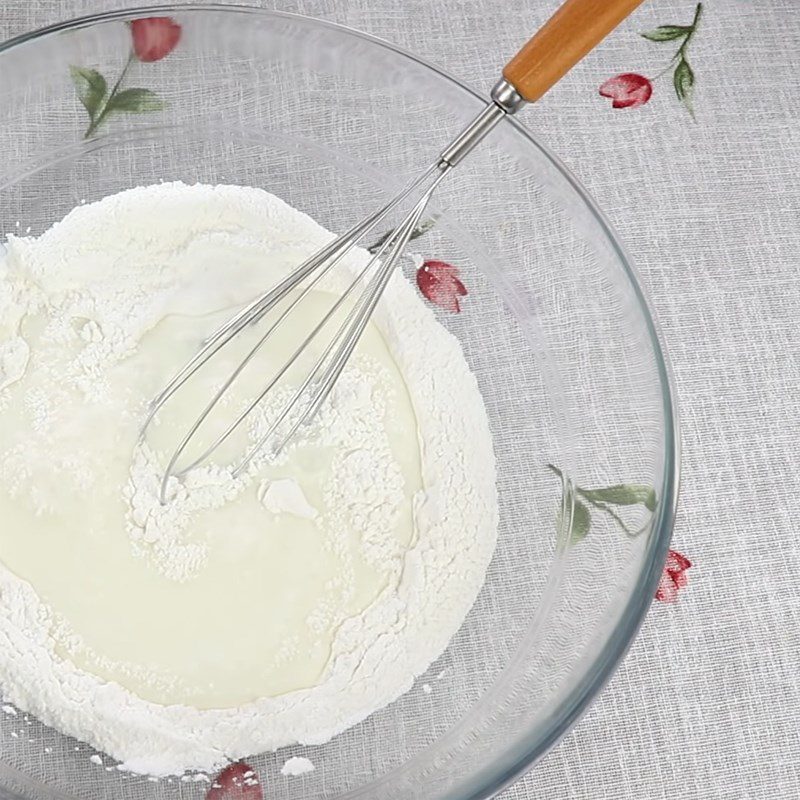
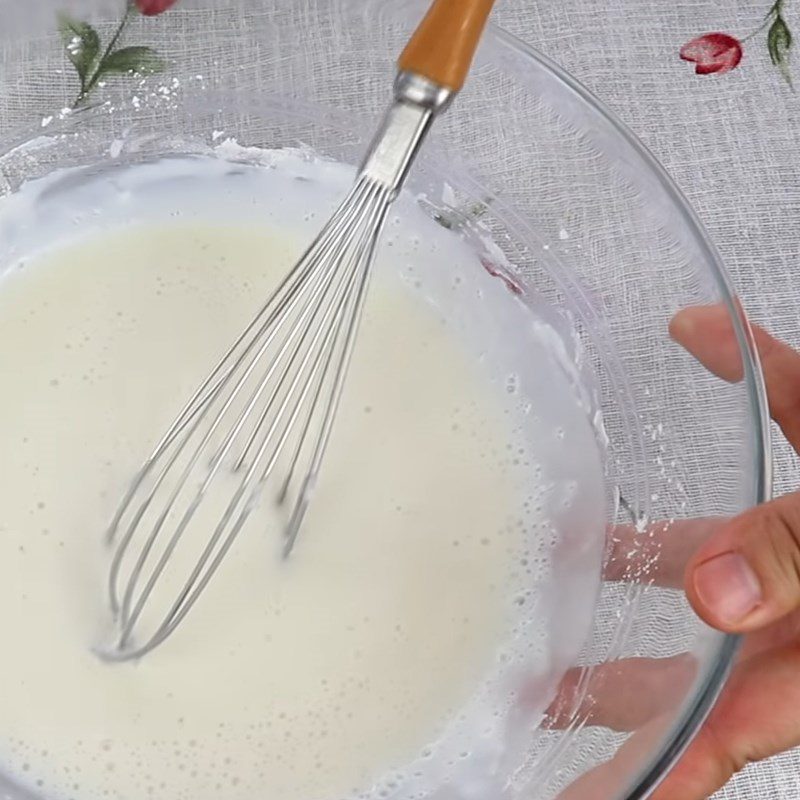
Add 100g of toasted glutinous rice flour, 60g of sugar, 180ml of unsweetened fresh milk, 10ml of cooking oil into a bowl and mix well.


-
Steaming the mochi dough
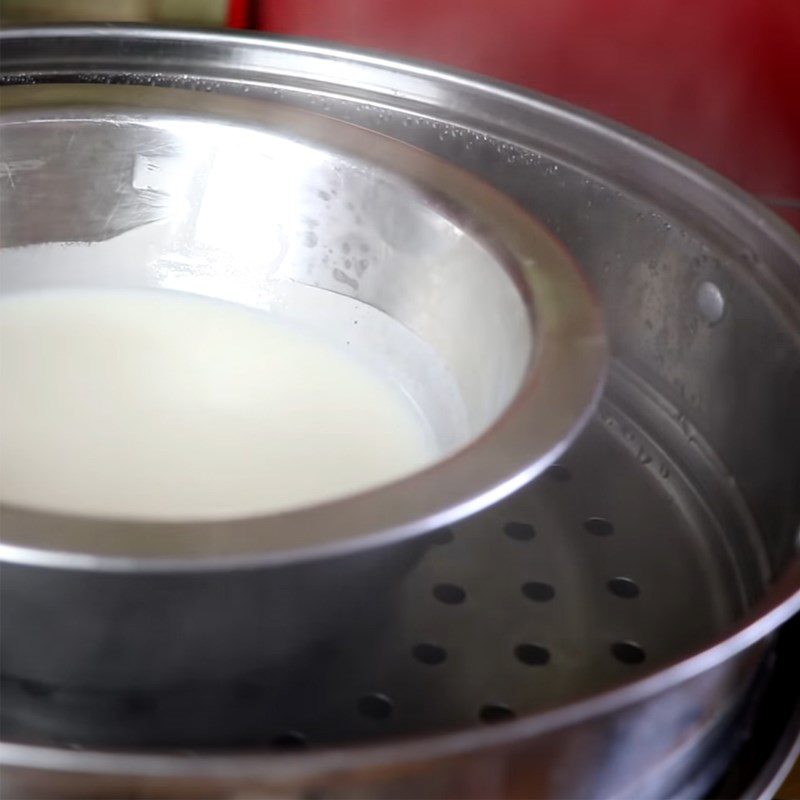
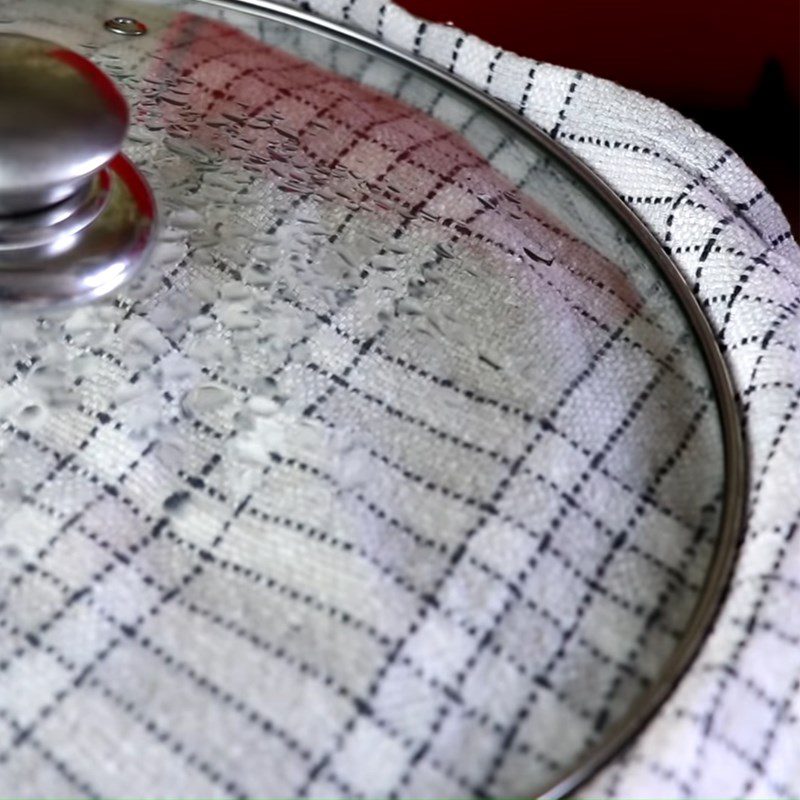
Place the bowl of dough in a steamer, cover it with a cloth, put the lid on, and steam the dough for 5 minutes.
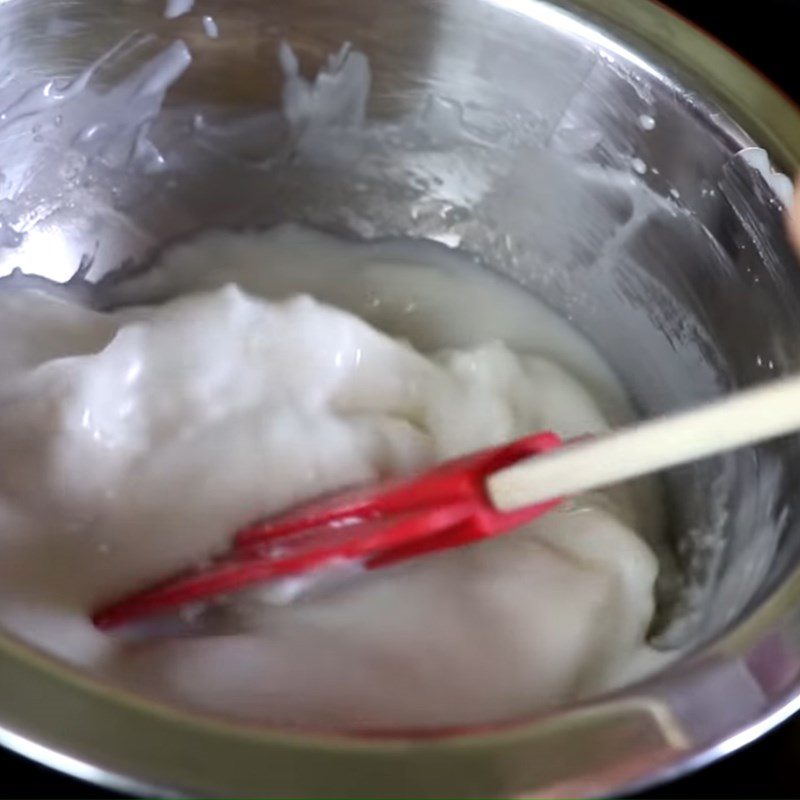
After 5 minutes, open the lid and use a spatula to mix the dough thoroughly. Continue steaming the dough for another 10 minutes until the dough becomes translucent and is cooked.


-
Shaping the cake
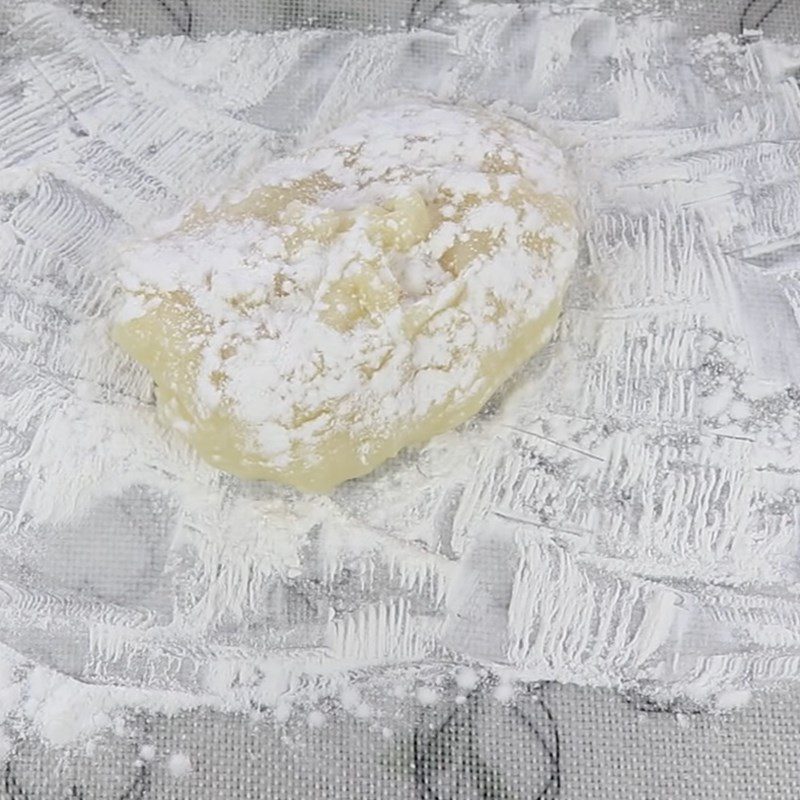
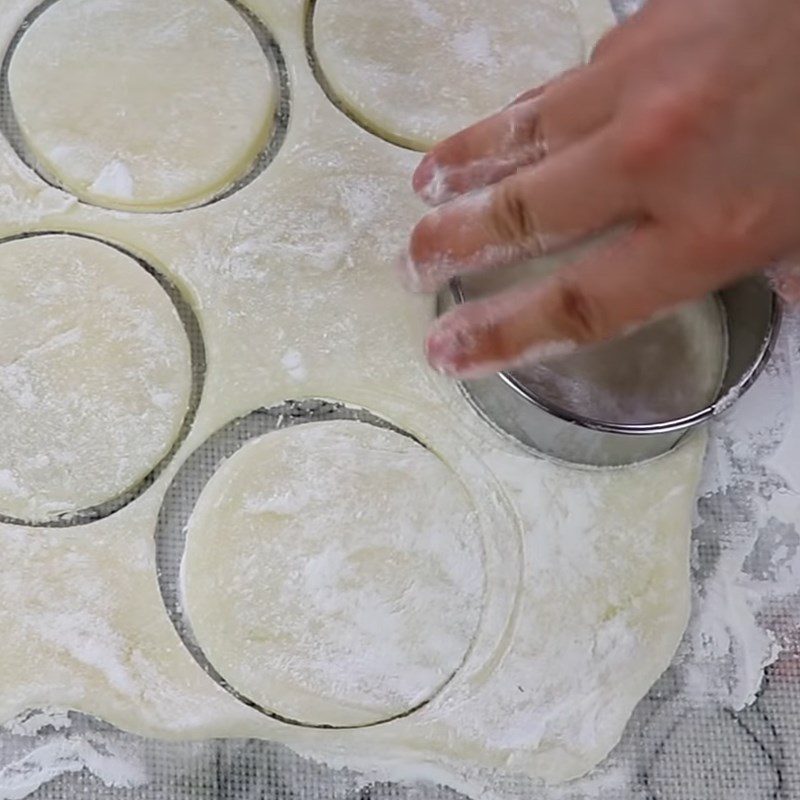
Dust a layer of cornstarch on the table, place the dough out and use a rolling pin to flatten it.
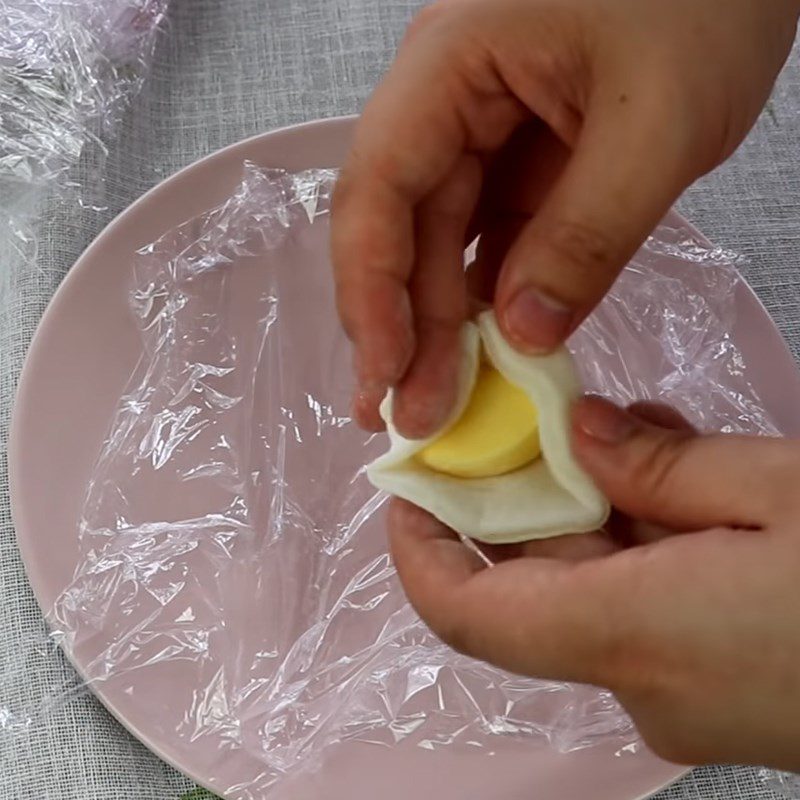
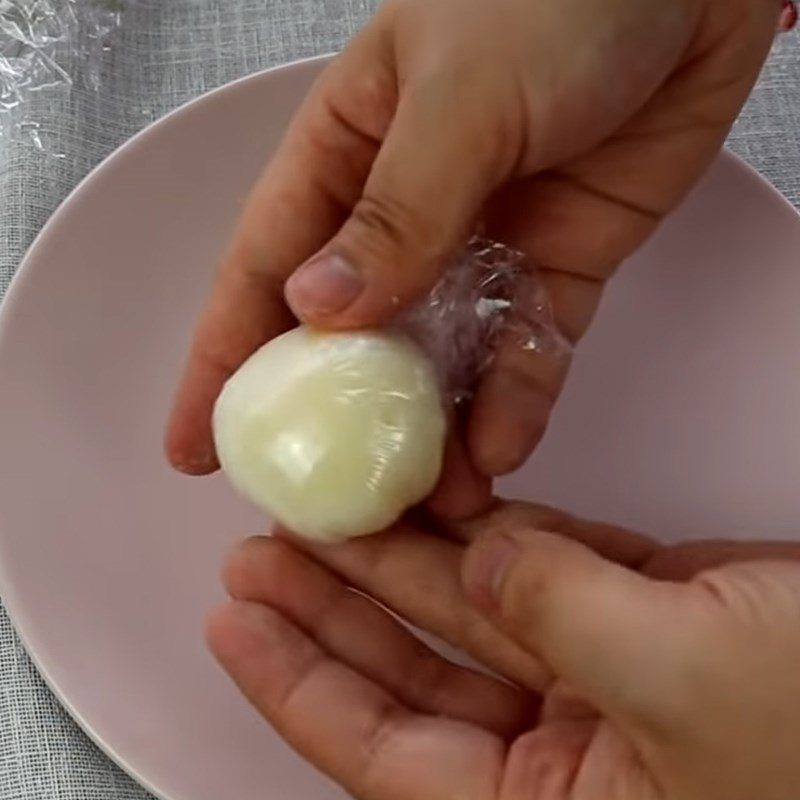
Continue using a round mold to cut the dough, place the filling in the center, and pinch the edges of the dough together.
Finally, wrap the cake in plastic wrap, put the dough in the freezer for a while until the filling hardens, and then you can enjoy it.


-
Final Product
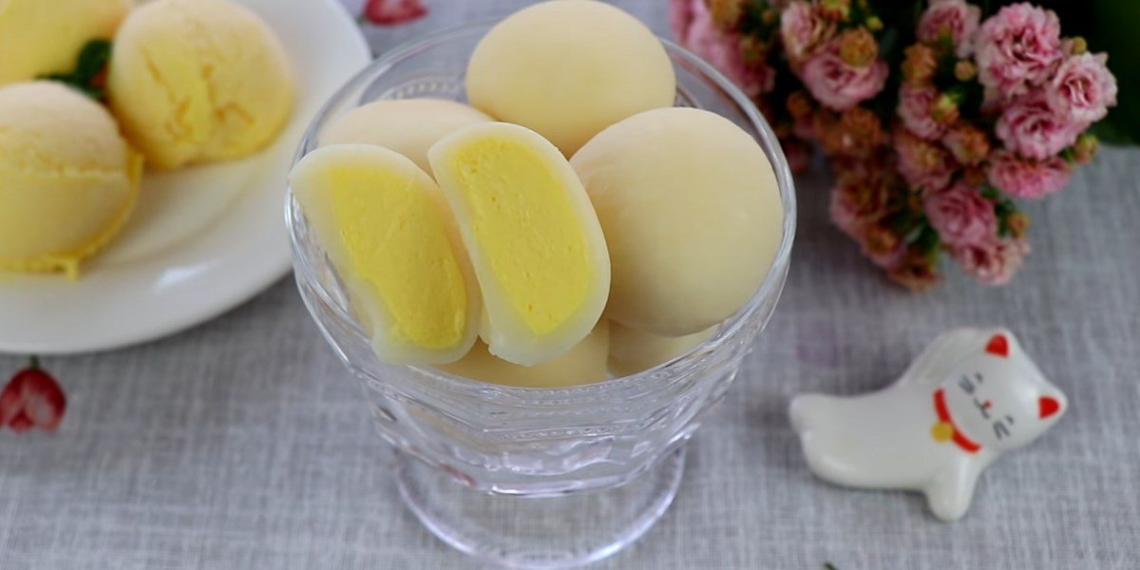
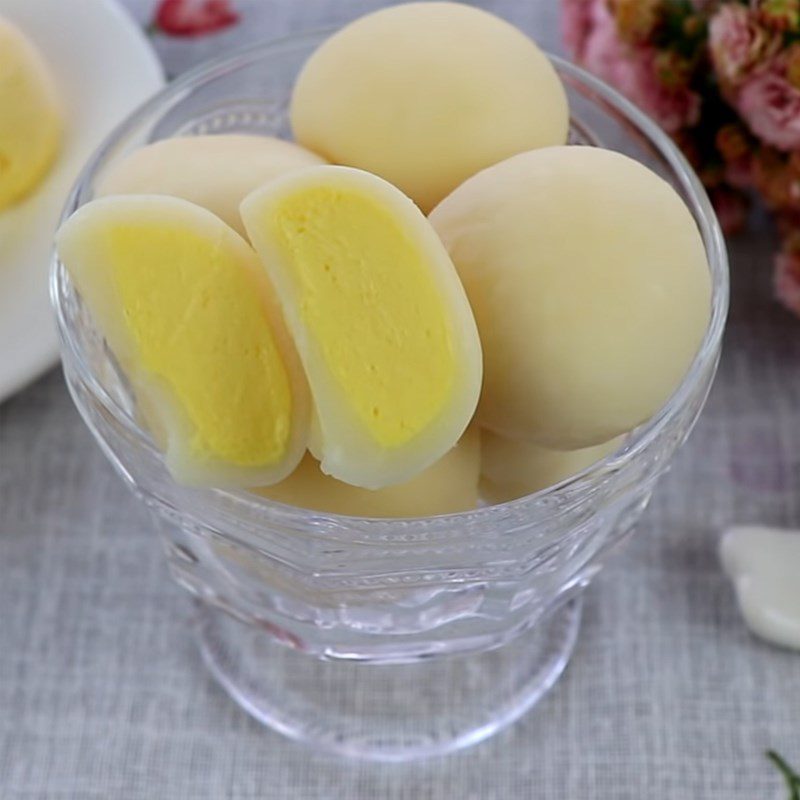
The mochi has a soft and chewy outer layer, fragrant with a cool, creamy filling that is sweet and rich, capturing the distinctive flavor of mango.

Tips for successful execution
Tips for selecting delicious mangoes:
- Choose mangoes that have an even yellow color, firm skin, and the top part (the part above the stem) is ripe yellow, firm, and does not crush when pressed, feels solid in hand.
- Observe the skin of the mango; select those with small, even blemishes on the fruit, smooth and taut skin, and the top part of the fruit should not be shriveled or wrinkled.
- The fruit must be fresh and not bruised. You can check if the fruit is fresh by scratching the stem and smelling it. If the stem has a strong sweet aroma and essential oils, it means the fruit is fresh and free of preservatives.
Tips for successful execution:
- If you do not want to steam the dough, you can use a microwave by heating the dough at 600W for 90 seconds, removing it to stir well. Then, continue this process 2 more times until you taste it and there is no raw dough flavor left.
- Do not steam the dough for too long as it will become hard and very chewy.
- All operations should be done while the dough is still hot; absolutely do not let the dough cool because it will be very difficult to work with.
- When eating, remember to take the cake out of the freezer, leave it for about 10 – 15 minutes for the cake skin to soften before eating.
See more:
With the simple method above, I hope you can make this delicious and refreshing mango ice cream mochi!
*Source for the recipe and images from the Youtube channel Sukie’s Kitchen.
