Preparation
3 hours
Processing
1 hour
Difficulty
Medium
If you are familiar with the usual fruit mousse, today, let TasteVN suggest a very unique and novel chocolate yogurt mousse recipe. Why hesitate? Quickly go to the kitchen and explore now!
Ingredients for Chocolate Yogurt Mousse For 6 people
Dark chocolate 130 gr (10% cocoa or more) Chicken eggs 2 eggs Unsalted butter 55 gr Fresh cream 65 gr (whipping cream – for the chocolate terrine) Gelatin sheets 9 gr (about 4 – 5 sheets) Unsweetened yogurt 300 gr Granulated sugar 55 gr Fresh cream 210 gr (whipping cream – for the yogurt mousse) Oreo cookies 12 pieces Melted butter 40 gr
How to make Chocolate Yogurt Mousse
-
Make Chocolate Terrine
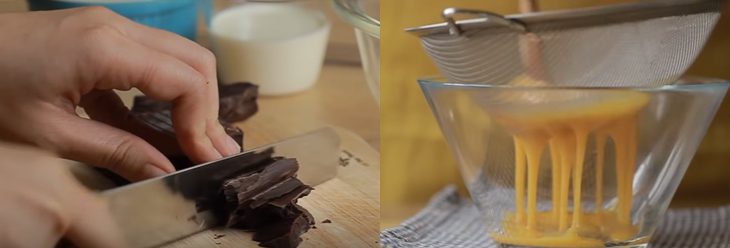
Chop the chocolate into small pieces. Whisk 2 egg yolks with sugar, and strain through a sieve to make the eggs smooth. Then divide into 2 parts.
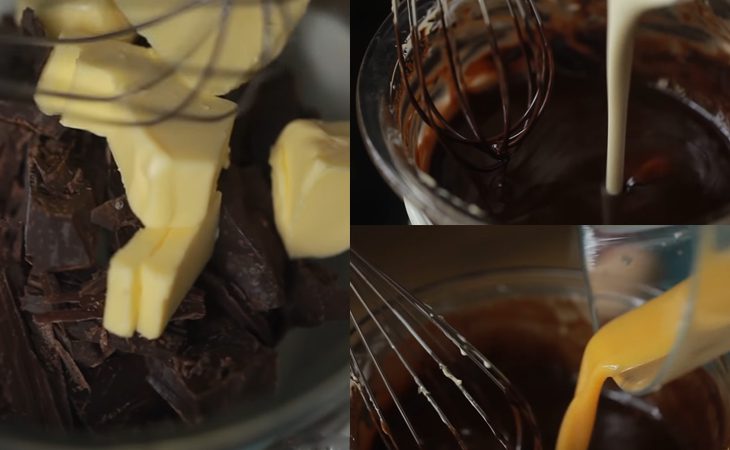
Put the chocolate and butter in a bowl. Use a double boiler over a pot of simmering water, stirring while melting the chocolate and butter completely.
Once the chocolate and butter have fully melted, add the cream and stir until the cream is completely dissolved.
Then gradually add each part of the egg yolks that you divided earlier, stirring until you have a dark brown mixture (called terrine).
Preheat the oven to 160 degrees C with both top and bottom heating. Wait for the oven to heat for about 15 minutes.
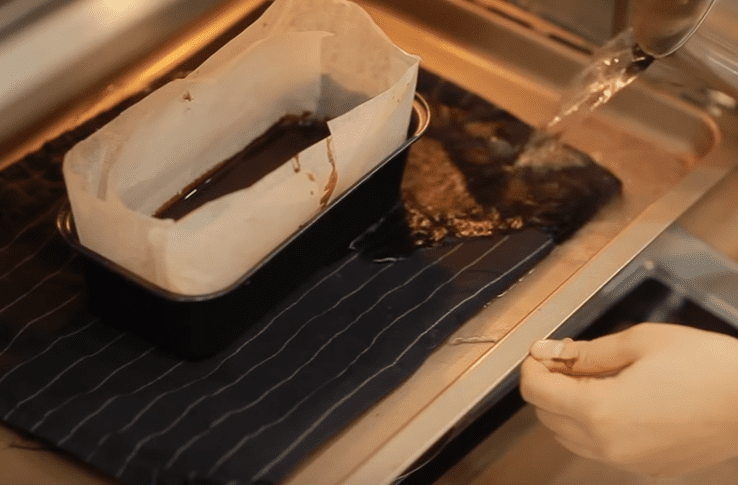
Pour the mixture into a baking mold lined with parchment paper, then place the mold in a baking tray lined with a thin towel. Next, pour boiling water into the tray until it reaches halfway up the mold.
Bake in a water bath at 160 degrees C for 25 minutes.
After baking, wait for the mixture to cool, then place it in the refrigerator for about 3 – 4 hours to let it set.
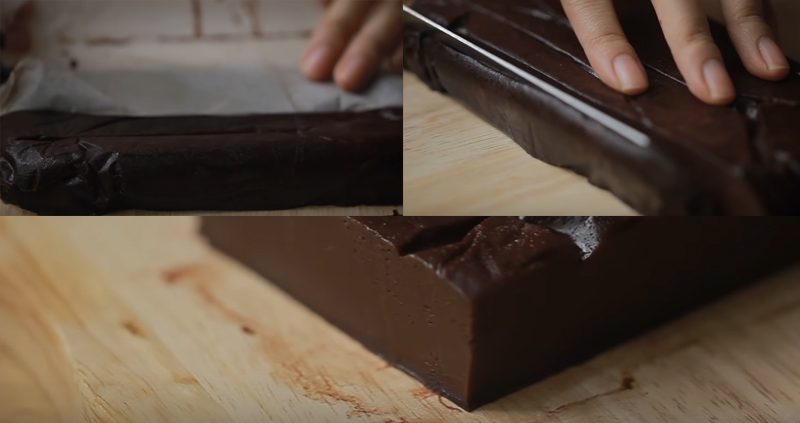
When the mixture has set, remove it from the mold and peel off the parchment paper. Cut around the 4 edges, each edge about 0.5 – 0.7cm thick.
Note:
- When whisking the mixture over a water bath, avoid letting the bottom of the bowl touch the water below as it may cause the butter to separate. The butter will not dissolve into the chocolate.
- Do not whisk the chocolate for too long as it may easily separate.
- Placing a towel in the baking tray during the water bath will help retain moisture, stabilize the temperature, and prevent rapid evaporation of water during the process.
- After baking, if the mixture is still liquid, be careful when moving it.
- After cutting the 4 edges, continue to keep the terrine mixture cold while preparing the next parts.


-
Making yogurt mousse
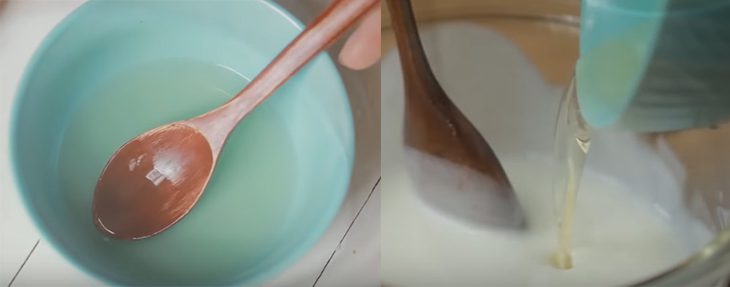
Soak the gelatin sheets in 15 ml of cold water for about 10 minutes until the gelatin softens.
Then, heat the gelatin in the microwave or in a double boiler for 15 – 20 seconds until the gelatin completely melts.
Place the unsweetened yogurt at room temperature and mix it well with sugar. Once the sugar has dissolved, gradually add the gelatin while stirring continuously.
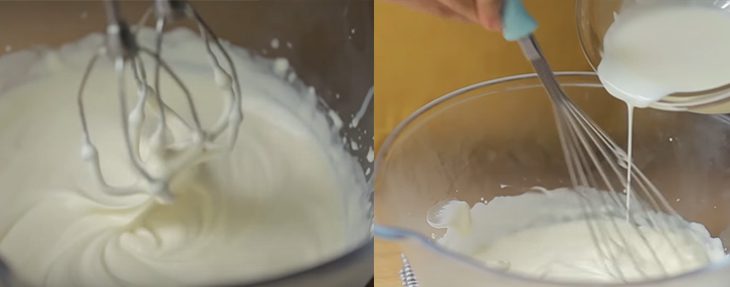
Whip the cream until soft peaks form (when you lift the whisk, the cream is smooth and the peaks curl down), then gradually add the yogurt mixture, mixing until combined, and then divide the mixture into 2 parts.
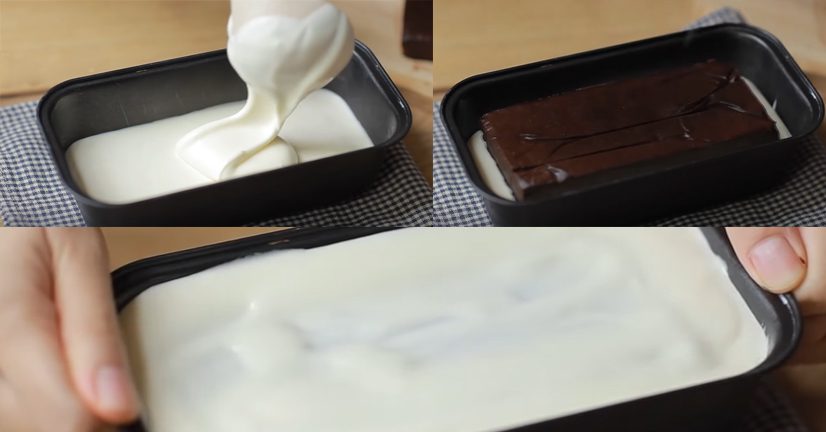
Next, pour 1/2 of the mixture into a mold (using the terrine mixture mold from earlier), filling it to 2/3 of the mold, then place it in the freezer for about 20 minutes for the mousse mixture to set.
During this time, be sure to continuously stir the remaining 1/2 of the mousse mixture to prevent it from thickening.
When the mousse mixture in the mold has set, spread a thin layer of the remaining mousse on top.
Next, place the chocolate terrine mixture on top, then spread the remaining mousse layer to cover the mold and terrine completely. After that, place it back in the refrigerator for another 90 minutes for the mousse to set completely.
Note:
- The yogurt should not be cold; otherwise, when adding gelatin, it will cause the gelatin to clump or set too quickly.
- When whipping the cream, be careful not to whip it to stiff peaks (when you lift the whisk, the cream peaks are firmer and do not curl) as this will cause the cream to separate when mixed with the yogurt.


-
Make the oreo base
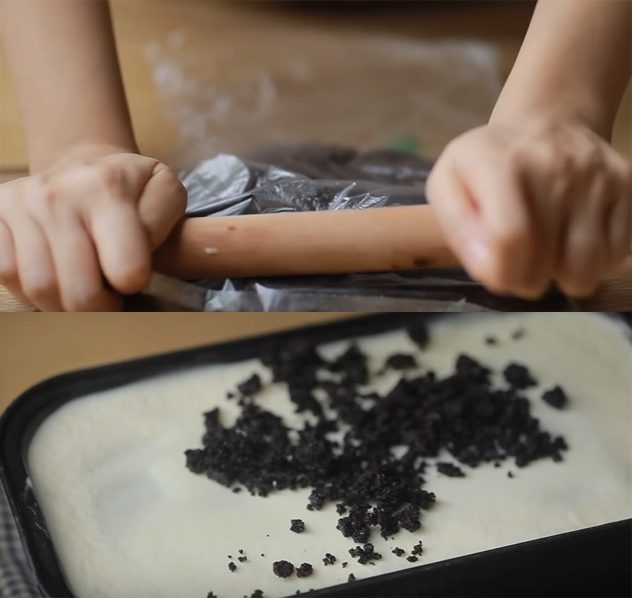
Leave the oreo cookies with the cream intact, crush or grind them. Then add melted butter and mix well.
Once the mousse has set, take it out and spread a layer of oreo cookies on top of the mousse, pressing gently to avoid cracking the mousse layer below. Place it back in the fridge for another 30 minutes to firm up the cake.
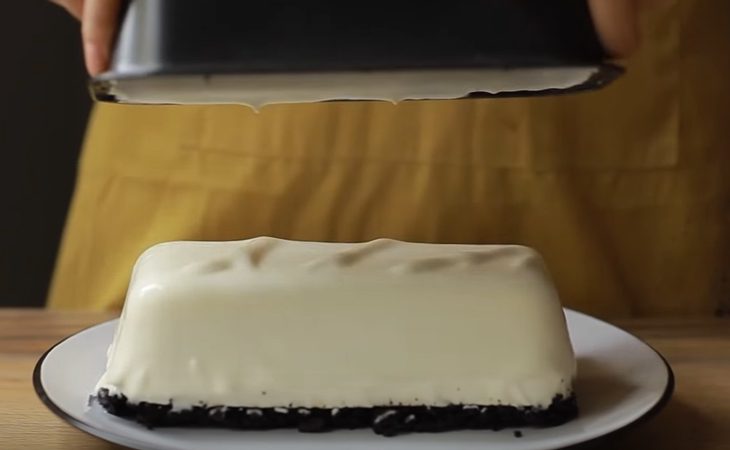
After 30 minutes, use a warm cloth or a hairdryer to wrap or blow around the sides of the mold for about 10 – 20 seconds (to help release the cake from the mold more easily). Invert the mold onto a flat plate to remove the cake.
Tip: You can also use the bottom of a glass to gently press the oreo cake as well!


-
Final Product
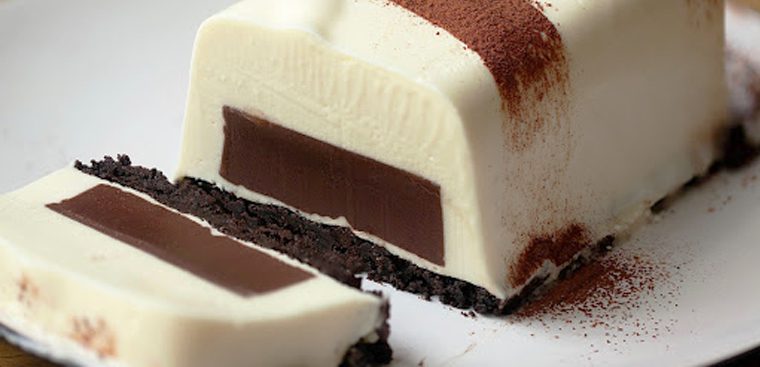
Lightly sprinkle decoration over the mousse surface with a bit of cocoa powder. Use a sharp knife, heat the blade with a warm cloth, and cut decisively.
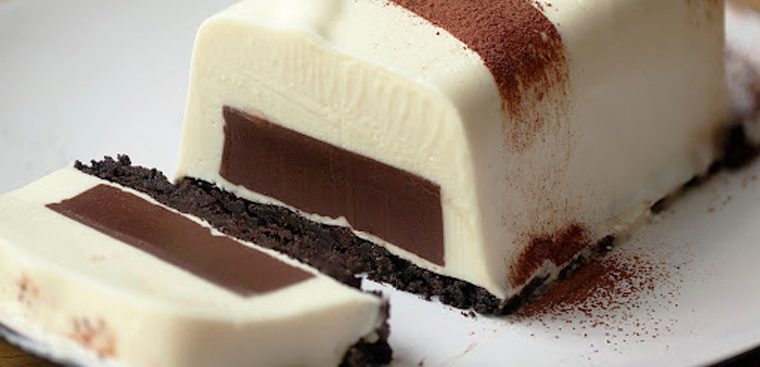
The yogurt mousse on the outside is tangy and sweet, while the inside has a smooth chocolate filling with a crunchy layer of Oreo cookies underneath.
It is not heavy at all, and each component pairs very well together. Every bite is refreshing, melting on the tongue, perfect for a dessert after the family’s main meal.

What is Mousse?
Mousse is a type of cake with more cream and less cake, with the basic component of Mousse being a thin layer of sponge cake at the bottom.
Mousse in French means “foam,” which aptly describes the character of the cake. You can easily feel the coolness of the cream, the rich flavor, and the soft, airy texture of the cake combined.
Mousse is made from egg whites along with chocolate or fruit flavors and is a dessert served at many parties.
See more:
Above is a detailed guide on how to make chocolate yogurt mousse that is delicious, unique, and extremely special, brought to you by TasteVN. The steps may seem long and numerous, but they are actually very easy to follow; you only need to wait a little while for the cake to set. But the result is definitely worth it, right? If you have some free time this weekend and don’t know what to do, hurry into the kitchen and give it a try! Wishing you success.
*Refer to images and recipes from savourydays.com.
-800x500-1-1.jpg)
