-
Preparation
40 minutes
-
Difficulty
Medium
Join TasteVN into the kitchen to make the delicious, crispy salted egg fish skin, rich in flavor, and addictive, but very easy to make. Check out the recipe for this simple fried dish right here!
Ingredients for Salted Egg Fish Skin Serves 4
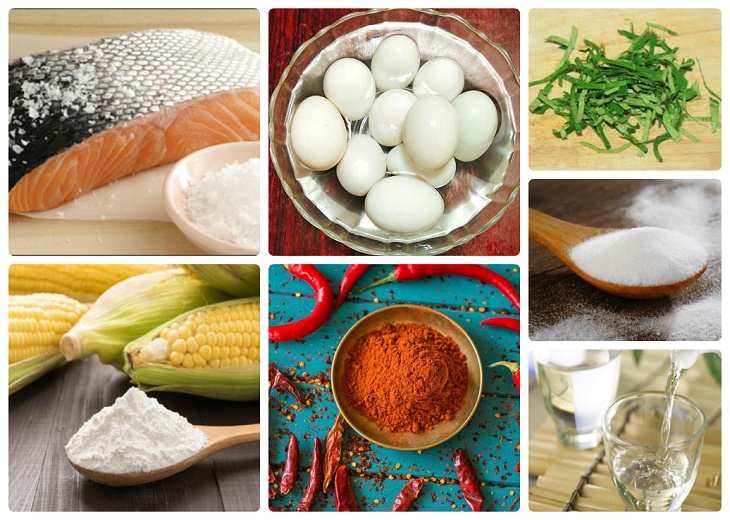
Fish skin 500 gr Salted eggs 8 eggs Cornstarch 10 gr Chili powder 1 teaspoon Sugar 5 teaspoons Finely chopped lime leaves 10 gr Rice wine 10 ml
How to choose ingredients
- You should use salmon skin as it will taste better.
- It is advisable to use skin from larger fish like catfish or basa fish… which are generally simpler to process but do not taste as good as salmon skin.
- You can use pre-processed fish skin or buy fish to take the skin yourself.
How to prepare Salted Egg Fish Skin
-
Separate the fish skin
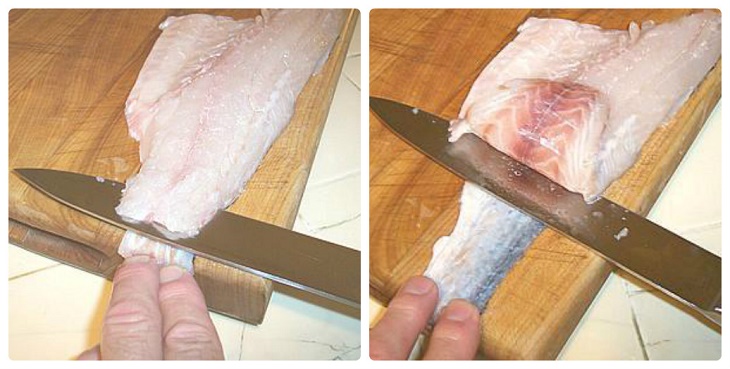
Place the cleaned fish fillet skin side up on the cutting board, letting the tail hang slightly off the board, bending the tail and inserting the knife to cut.
Press the fish skin firmly down on the board and push the knife forward. The fish skin will completely separate from the meat; rinse with water until clean.
Note: The fish meat that is not used can be made into fish fillets or fish cakes to eat!
-
Marinate and fry fish skin
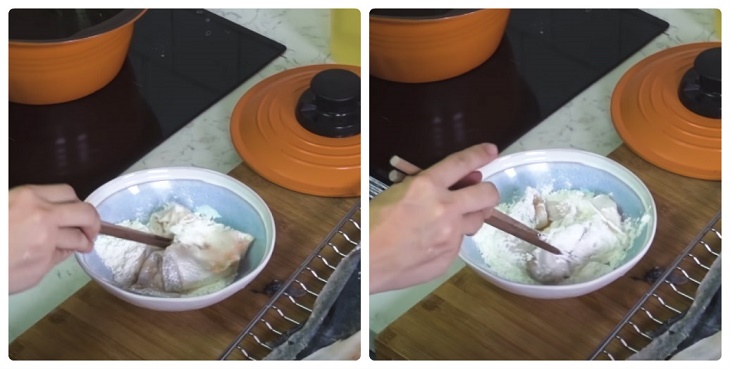
Add the fish skin to a bowl containing cornstarch and mix well so that the starch evenly coats the fish skin.
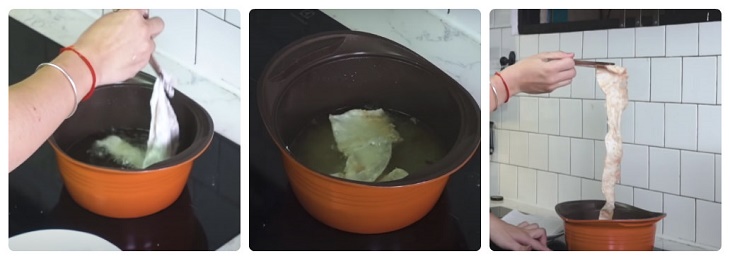
Add oil to the pot and wait for it to heat up, then add the fish skin and fry until fully submerged, turning regularly to ensure the fish skin cooks evenly. When you hear the sound of bubbles gradually decreasing, take it out and place it on paper towels to absorb the oil.
Tip:
- You should use paper towels to dry the fish skin thoroughly, place it in the oven, set the temperature to 50 – 60 degrees Celsius, for about 5 minutes to ensure the fish skin is very dry; when frying, it will not splatter oil and will taste better.
- When frying, do not let the fish skin lie too flat; create wavy lines or bends in the fish skin, which will help the salted egg yolk stick better without sliding off.
-
Preparing salted eggs
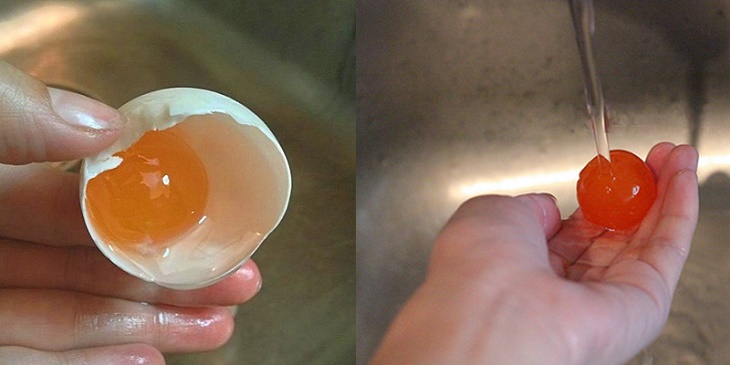
Crack the eggs into a bowl, we will only use the yolks of the salted eggs. Turn on the tap to gently wash away any remaining egg whites.
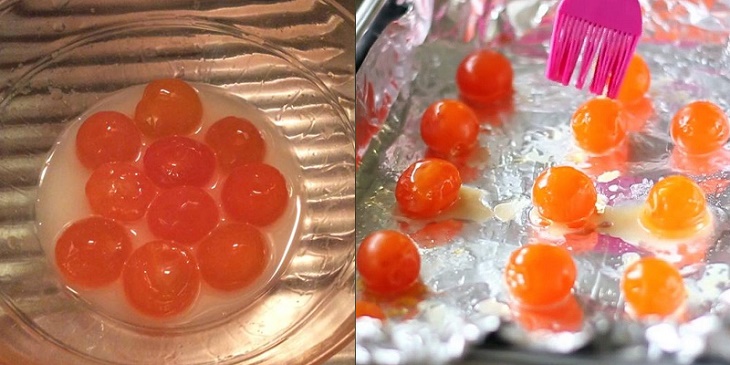
Add rice wine and mix gently, soaking for about 2 – 3 minutes to help remove the fishy smell and make it cleaner. Use aluminum foil to line the baking tray, placing each salted egg on top. Put it in the oven at a temperature of 150 degrees Celsius for 15 minutes.
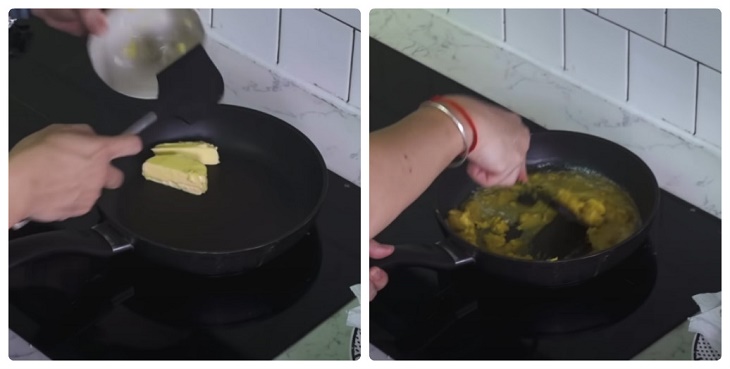
Add butter to the pan over low heat, stirring until the butter melts evenly. Add the salted egg yolks and mash them to mix with the butter until fragrant and the mixture thickens slightly.
Add 5 teaspoons of sugar and mix well, you can adjust according to your taste. Add kaffir lime leaves and turn the heat up high for 30 seconds, then stir quickly and evenly, then reduce the heat and mix well before turning off the stove.
Tip:
- At low heat, the kaffir lime leaves cannot release their essential oils, and at high heat, the mixture can burn, so only turn it up high for 30 seconds!
- You can prepare salted eggs without an oven, just steam them in a steamer for 15 minutes, but absolutely do not let steam penetrate the salted eggs to avoid making them fishy.
- If you have time, you can use a sieve to mash the salted eggs finely, making the dish even tastier.
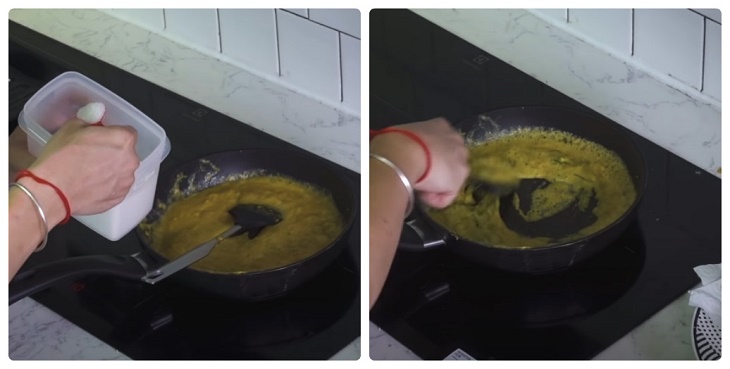
-
Salted Egg Fish Skin
Put the fish skin into a large bag/container, use your hands to break the fish skin into bite-sized pieces, add the salted egg mixture and shake well, add 1 tablespoon of chili powder to enhance the flavor of the dish.
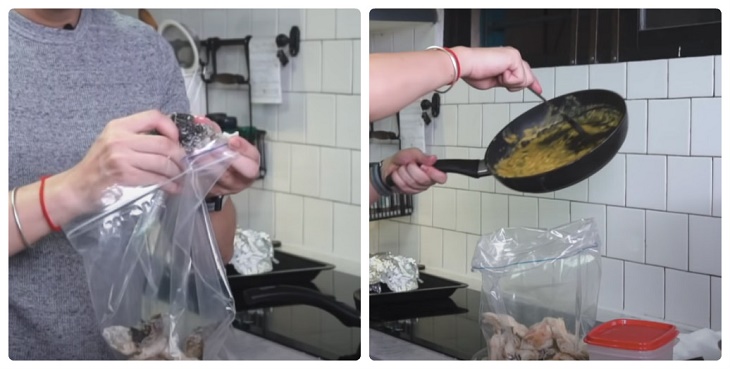
-
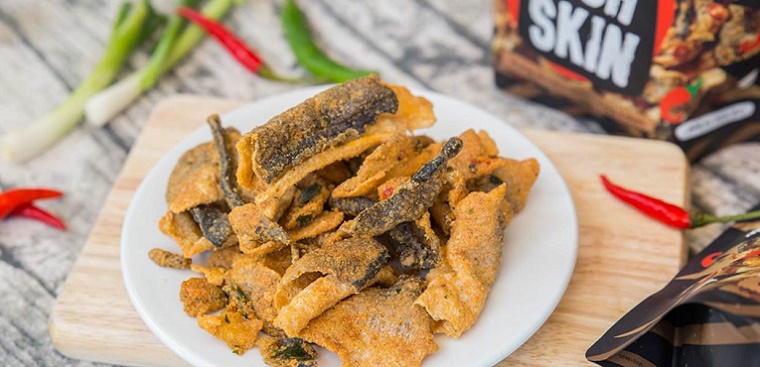
Final Product
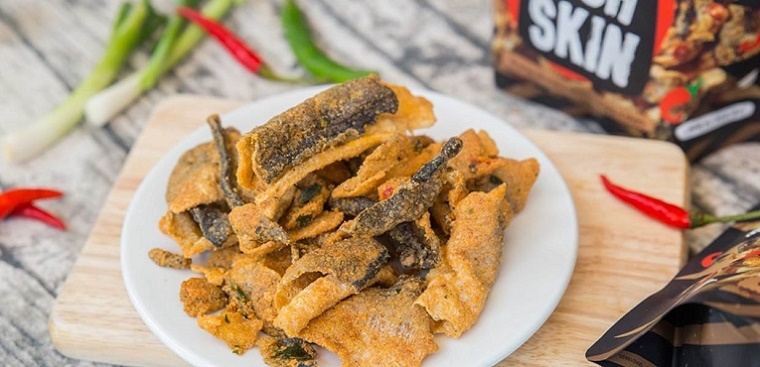
The fish skin is crispy, combined with the rich taste of salted egg, harmonizing flavors with a bit of saltiness, sweetness, and spiciness that can be addictive from the very first bite.
How to store salted egg fish skin: You can put it in a bag or a sealed container and keep it in a cool place.
Shelf life: It can be used for 5 – 6 days.
See more:
The recipe for making salted egg fish skin fried crispy and fragrant that TasteVN shares with you is very simple and easy to make, let’s get started right away. Wishing you success!
*Refer to the images and recipe from the YouTube channel Ngòn Ngon by Dino.
