-
Preparation
1 hour
-
Cooking
1 hour 40 minutes
-
Difficulty
Easy
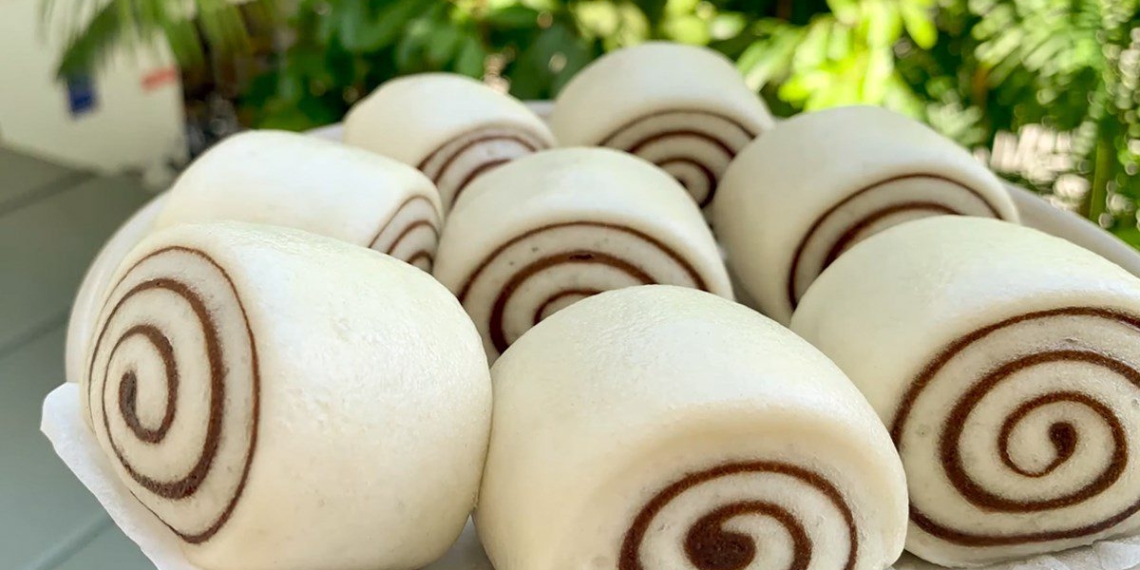
Chocolate milk buns are soft and fluffy with a fragrant butter flavor, delicious and visually appealing with harmonious colors. Join Điện Máy XANH into the kitchen and show off your skills in making this chocolate bun to treat your family, everyone will surely love it.
Ingredients for Chocolate Buns For 4 people
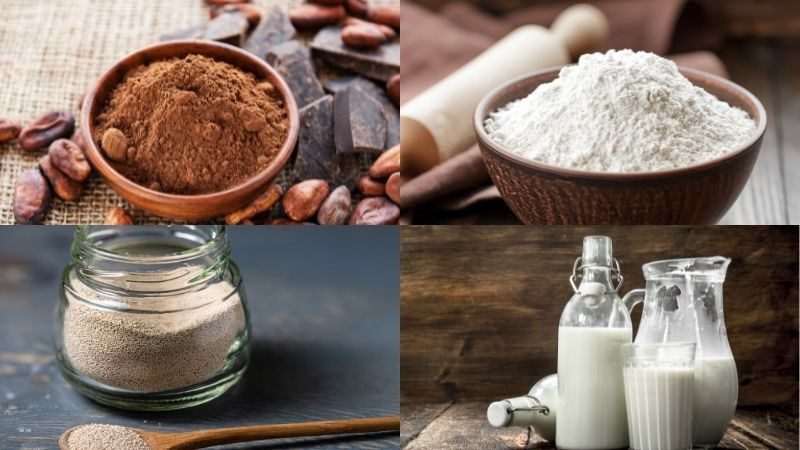
All-purpose flour 350 gr Cake flour 80 gr Fresh milk 225 ml (with sugar) Instant yeast 4 gr Cocoa powder 6 gr Unsalted butter 33 gr Sugar 55 gr
What is cake flour?
- Cake flour is a fairly common ingredient, it has had the gluten removed from its composition, so the flour is very fine, white, and odorless.
- Cake flour is essentially the starch from wheat flour. It helps make the dough chewier and improves color, creating fluffiness, so it is quite popular in baking recipes.
What is cocoa powder?
- Cocoa powder is processed from the residue of chocolate liquor – a dark brown mixture when finely ground cocoa beans.
- Cocoa powder has a natural light brown color and a mild bitter taste, slightly fatty, and if tasted carefully, you will notice a very light sourness in the aftertaste. However, if it has been treated with alkali, cocoa will have a darker brown color.
- This is a quite common ingredient in cakes and beverages daily.
What is instant yeast?
- Currently, there are 3 main types of yeast on the market: fresh yeast, dry yeast, and instant yeast. However, instant yeast is preferred because it is easier to use and store.
- Instant yeast is a type of dry yeast, fine granules, brown in color. The difference with instant yeast is that it does not need to be activated with water beforehand like other types; it only needs to be mixed with flour.
- Instant yeast helps produce more gas than dry yeast, so for the same amount of flour, the amount of instant yeast needed will be less than that of dry yeast.
Tools needed
How to make Chocolate Buns
-
Making chocolate dough
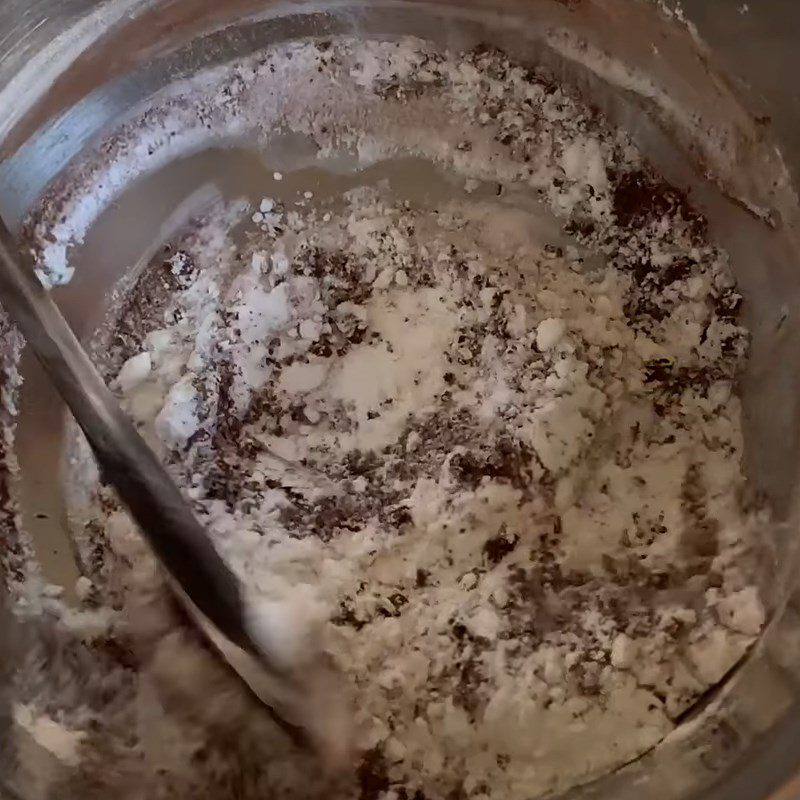
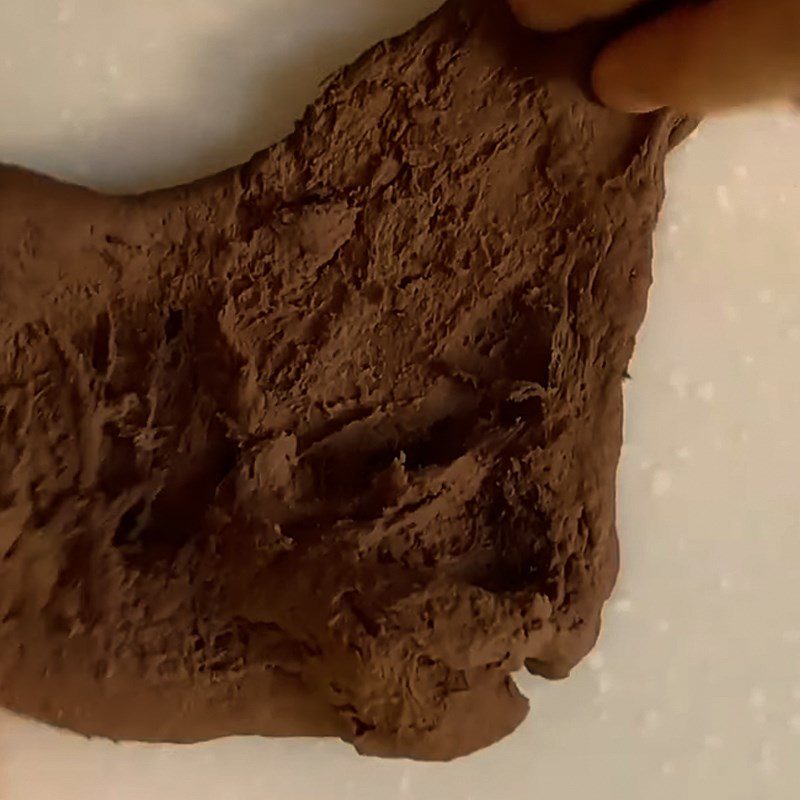
To make the chocolate dough, prepare a large bowl and add 110g of all-purpose flour, 20g of bread flour, 6g of cocoa powder, 8g of unsalted butter, and mix well.
Next, add 70ml of fresh milk and 1g of instant yeast together and mix the mixture well. Then, use your hands to knead thoroughly for about 5 minutes.
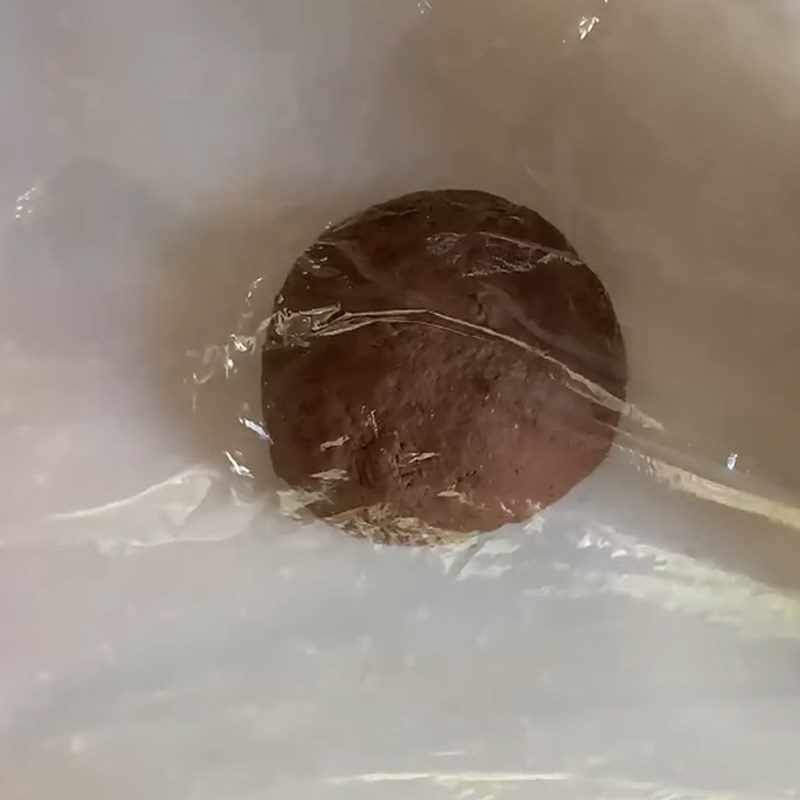
After that, use plastic wrap to wrap the dough and place it in the refrigerator refrigerator for about 15 minutes.
Tip: You should use slightly chilled fresh milk so that the yeast works slowly, making it easier to knead the dough.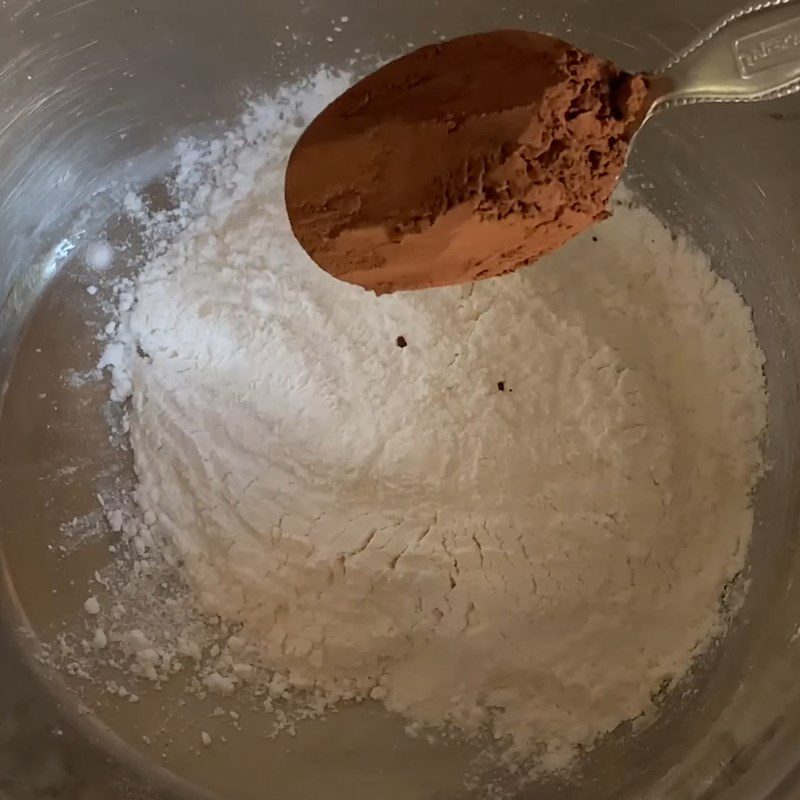
-
Mixing and fermenting the dough for the first time
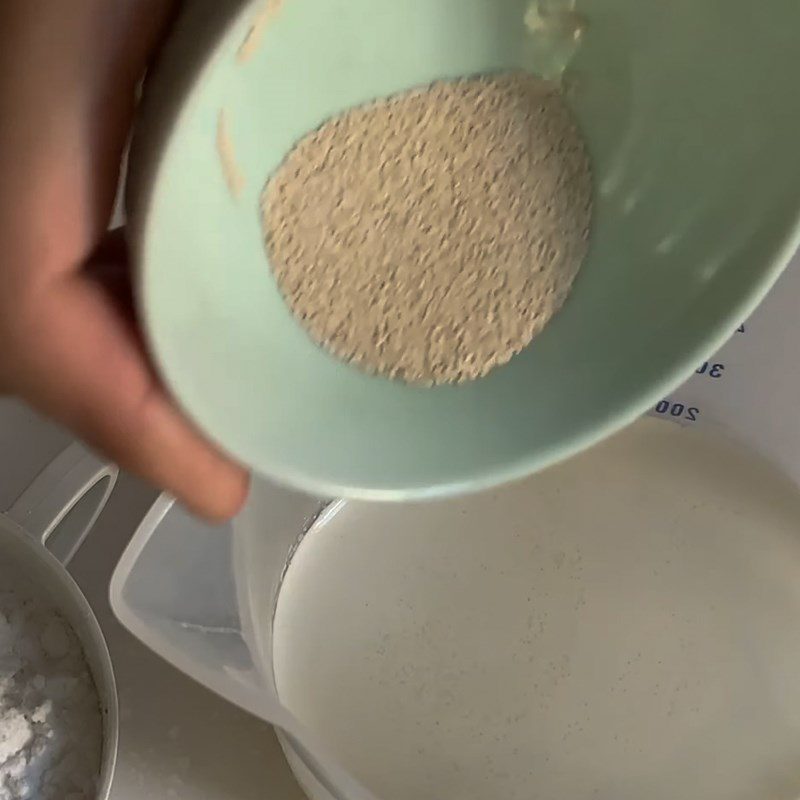
First, you add 155ml of fresh milk, 40gr of sugar, and 3gr of instant yeast into a bowl and stir well.
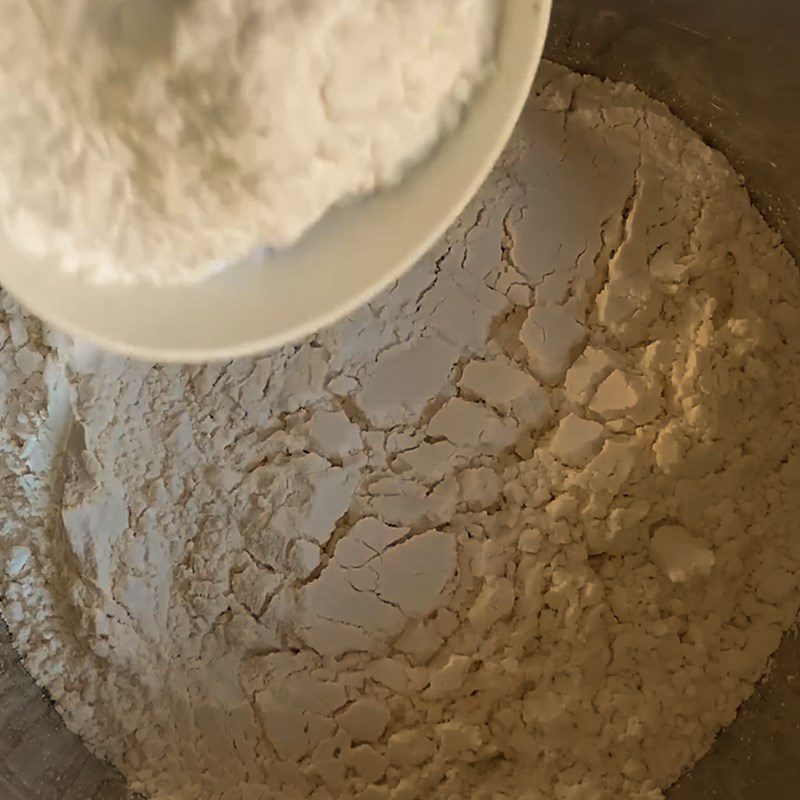
Next, prepare a medium bowl, add 240gr of all-purpose flour, 60gr of flour starch, and the yeast water from before, then mix thoroughly for about 3 minutes.
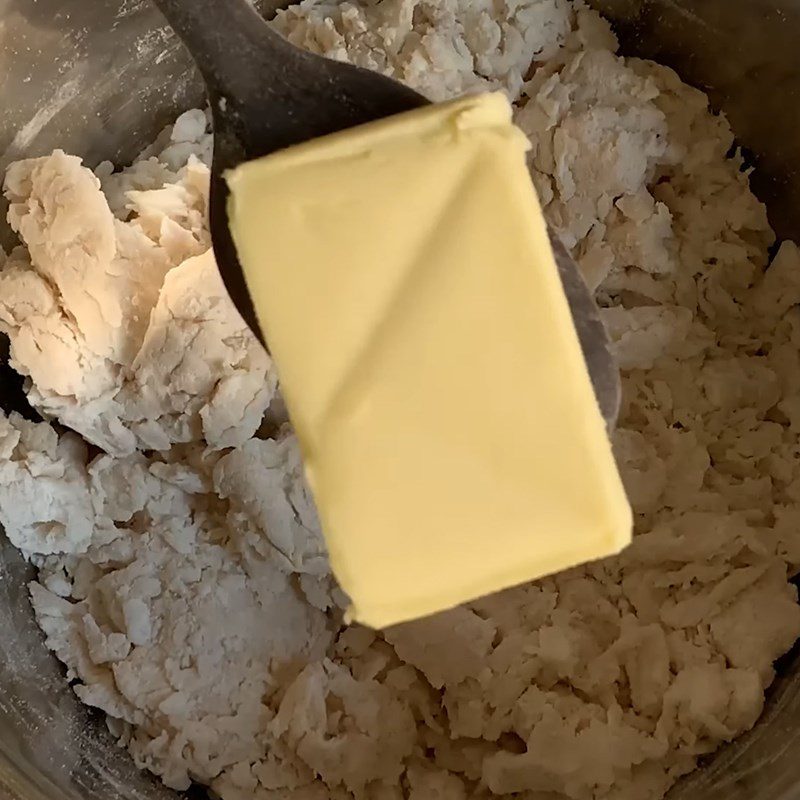
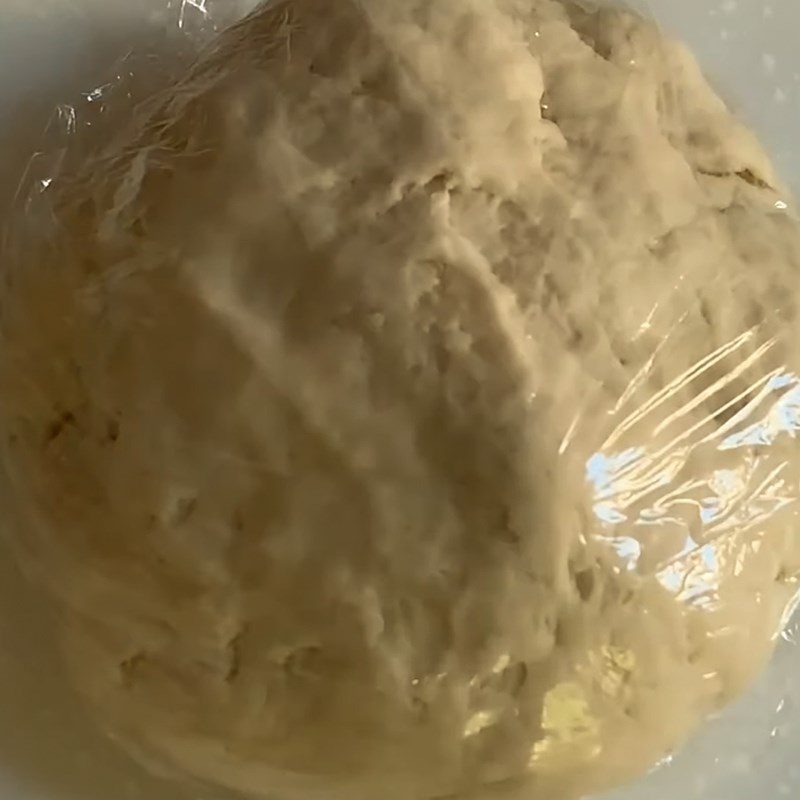
When the dough has absorbed the water evenly, add 25gr of unsalted butter and knead with your hands for about 5 minutes; at this point, the dough is still quite dry and hard. Therefore, cover with plastic wrap to let the dough rest for 7 – 8 minutes to soften.
Tip:- You can substitute flour starch with other starches like corn starch, potato starch, glutinous rice flour, tapioca flour, and increase the amount of all-purpose flour by an additional 10gr to match the amount of yeast water.
- Additionally, you can use cooking oil as a substitute if you don’t have unsalted butter!
-
Kneading and fermenting the dough for the second time
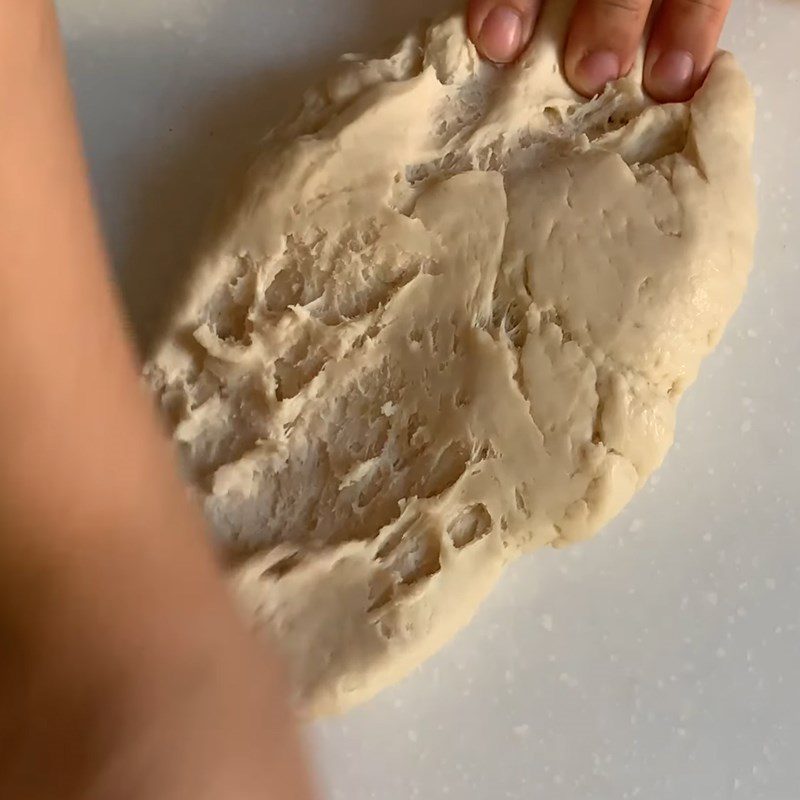
After resting for 7 – 8 minutes, the dough will rise and become more pliable. You need to knead the dough again for about 8 minutes by placing it on a flat surface, using the palm of your hand to press and stretch the dough outwards, then fold the dough back and continue to stretch it (the folding and stretching technique).
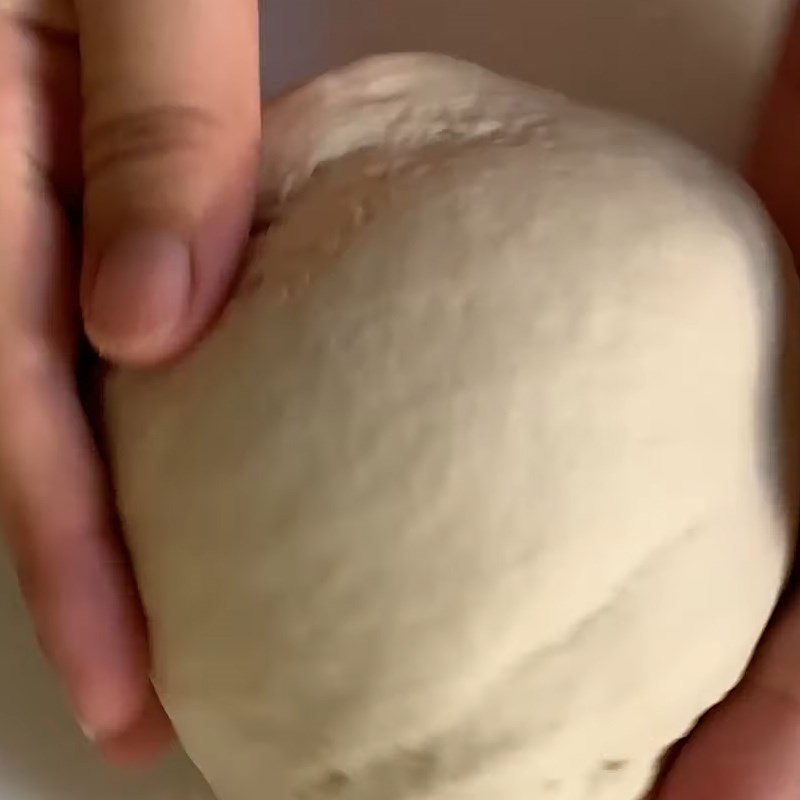
Knead until the surface of the dough is smooth and no longer sticky to your hands. A total of 2 kneading sessions in this step and the previous one for about 15 minutes is sufficient!
Next, wrap the dough in plastic wrap and let it rest in the refrigerator for about 10 minutes.
Tip:- We need to knead the dough again to allow it to absorb water to create gluten strands that make the dough more elastic and smooth; the finished cake will also be chewy and elastic.
- You should knead the dough slowly and evenly, there is no need to knead too quickly and forcefully as this will break the gluten strands, causing the dough to shrink and become bumpy.
- Kneading the dough for too long will affect the color of the cake; if you knead longer than the time mentioned, the cake will gradually turn yellow, so you should consider adjusting the color of the cake as desired!
-
Shaping and proofing the dough
After 10 minutes, take the dough out of the refrigerator, then cut it in half with a knife and shape one half into a round ball.
Roll the dough flat, then continue to fold and knead the dough 2 times and let it rest for 5 minutes. During this step, remember to cover it with a bowl or other materials to prevent the dough from drying out!
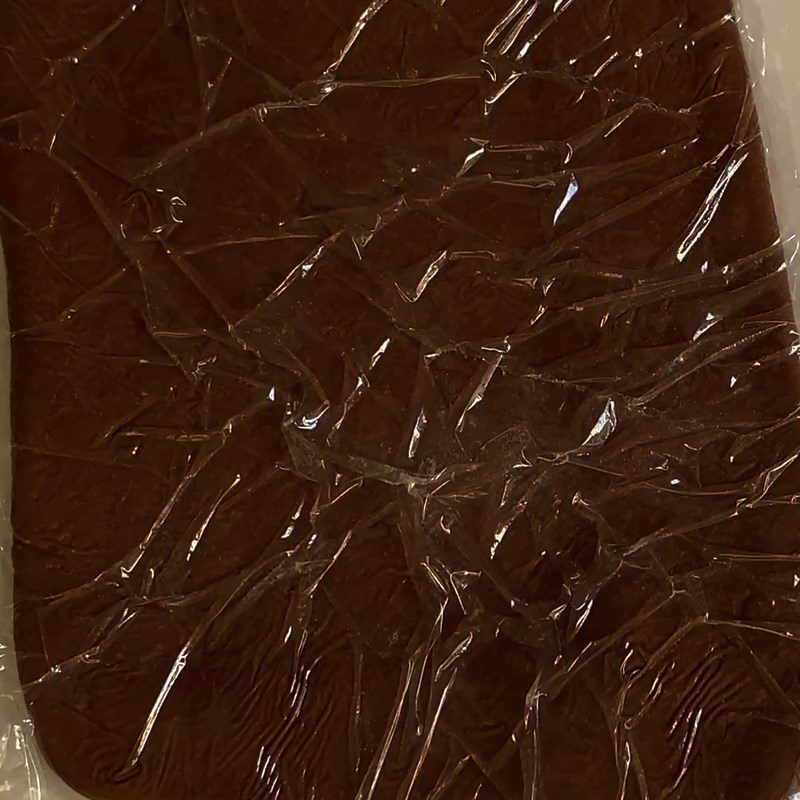
For the chocolate dough, roll and fold similarly for about 5 minutes, then wrap it in plastic wrap to let it rest.
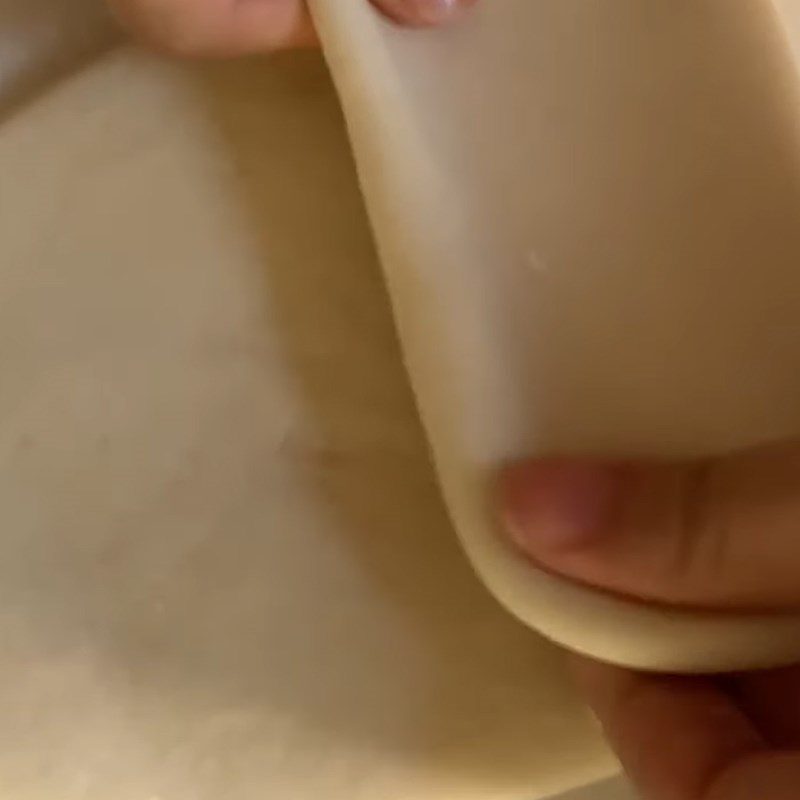
While waiting for the chocolate dough, take the white dough you proofed earlier and roll it flat to about 2mm thick. Next, also roll the chocolate dough flat so that this part has an area equivalent to the white dough from earlier.
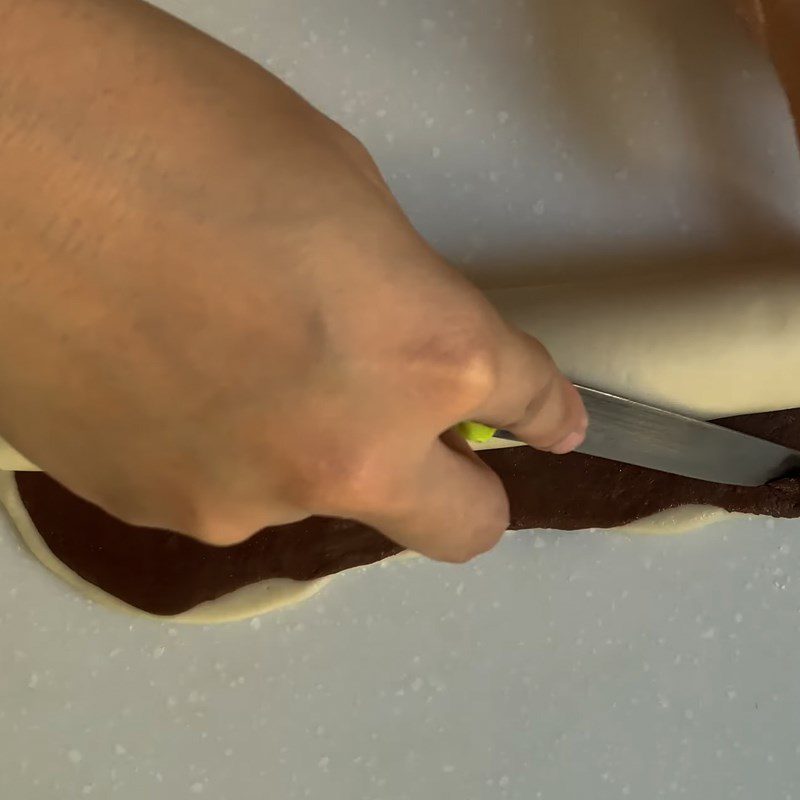
Brush a little water on the surface of the white dough and place the chocolate dough on top. Next, use a knife to cut the ends of the dough to make them even and roll it up.
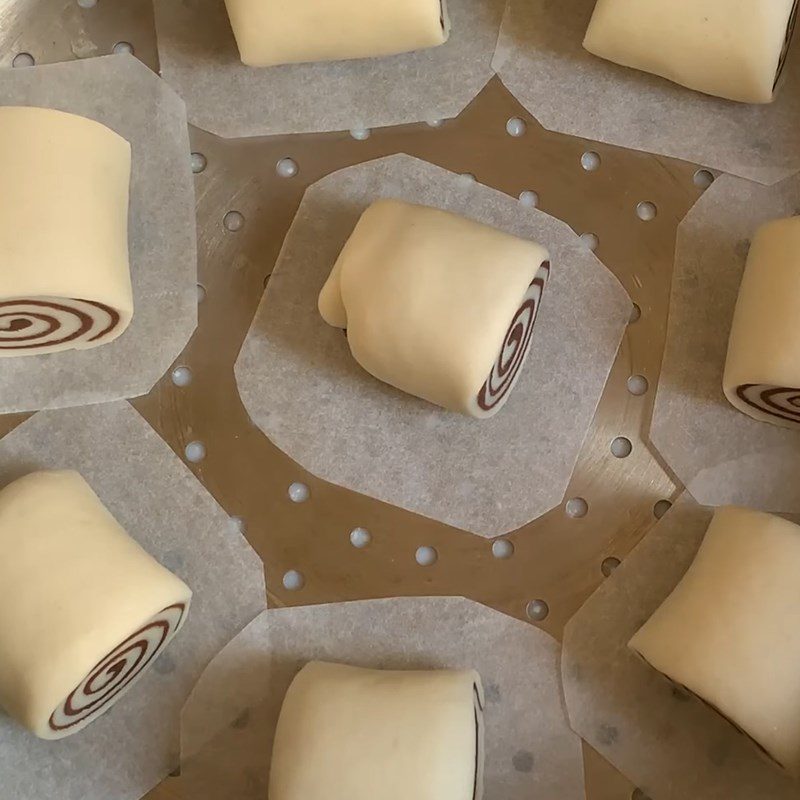
Roll the dough evenly so that the two parts stick tightly together. Then, cut the dough into equal pieces (about 8 – 9 dough pieces) and line the bottom of the steamer with cut parchment paper.
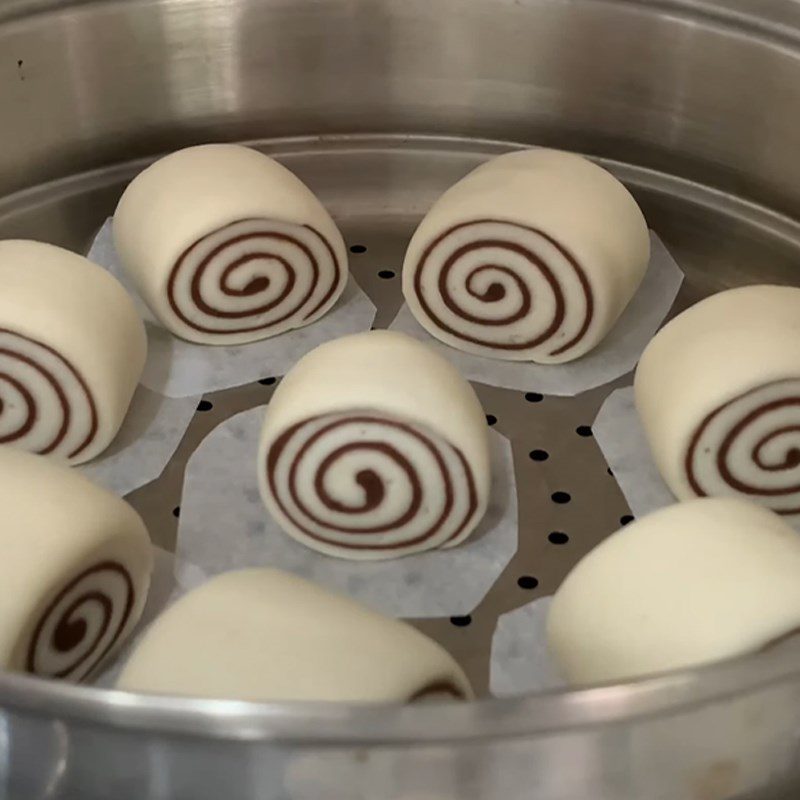
Finally, place all the dough in the steamer, cover it tightly, and proof for 1 – 1 hour 15 minutes.
Tip:- For the remaining white dough, follow the same steps above to make additional milk buns.
- Additionally, you can also prepare extra chocolate dough corresponding to the above amount to make more chocolate buns.
-
Steaming the Cake
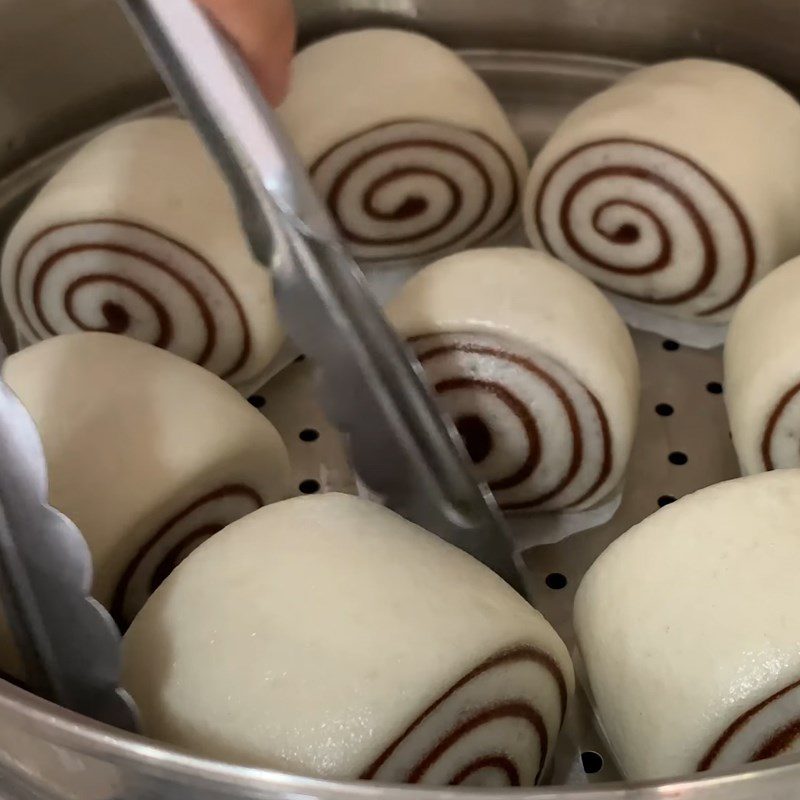
After letting the dough rise, place the cake in a steamer and cook over medium heat for about 20 minutes until the cake is cooked!
-
Final Product
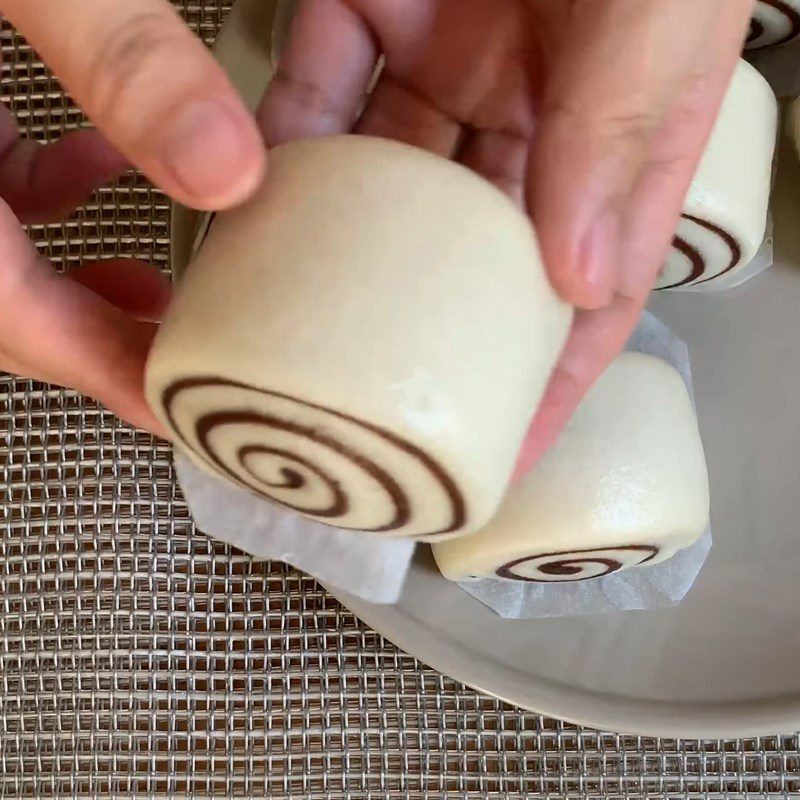
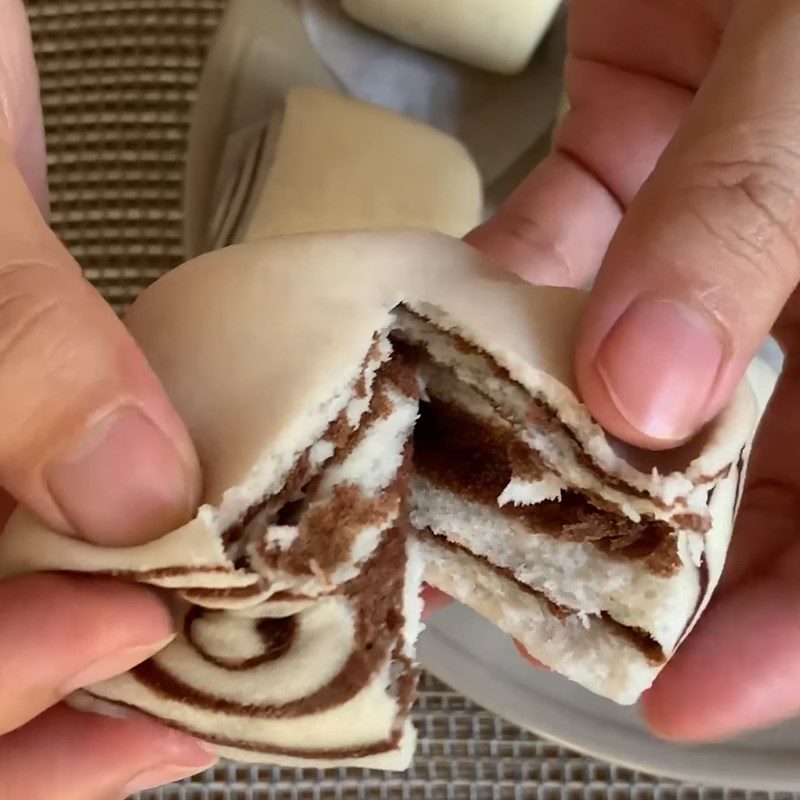
The chocolate buns are soft, fluffy, and small with a light sweetness and a buttery aroma, which surely will be loved not only by children but also by adults.
The dough is smooth while the cake texture is just right. Hot chocolate buns are perfect for breakfast or as a snack during the day. Get into the kitchen and show off your skills now!
So, Điện Máy XANH has guided you on how to make chocolate buns that are soft and fluffy. It’s not difficult to have delicious buns; I hope you will succeed with this recipe!
