-
Preparation
5 hours
-
Processing
1 hour 30 minutes
-
Difficulty
Medium
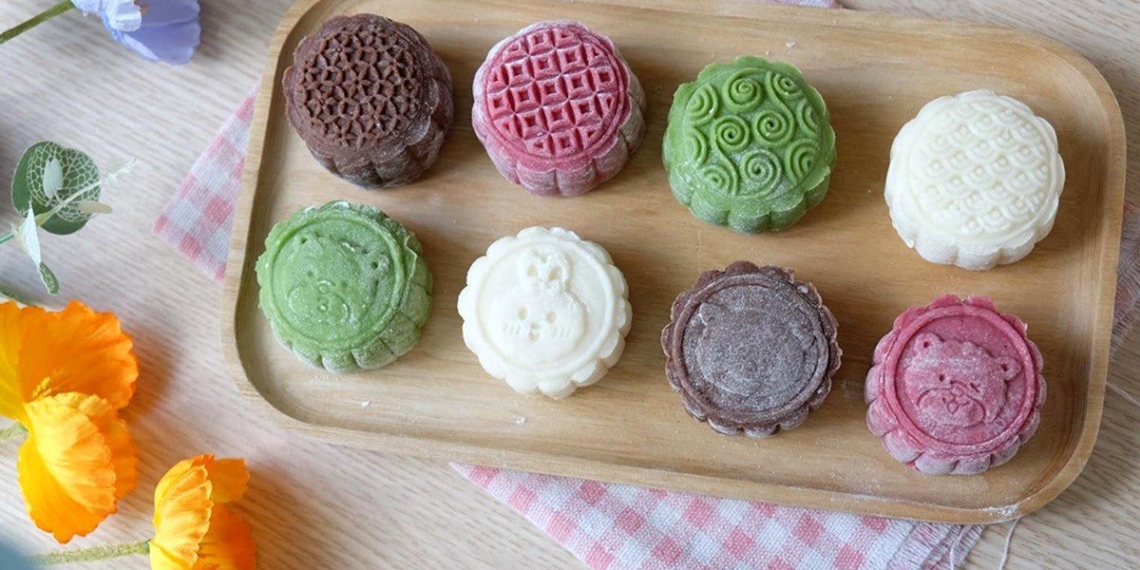
Mooncake with a smooth, soft, fragrant cold filling will be an ideal suggestion for you to treat your family during the upcoming Mid-Autumn Festival. Today, TasteVN will introduce you to the detailed process of making Singapore cold sticky rice cake at home! Let’s get cooking right away!
Ingredients for Singapore Cold Mooncake Serves 4
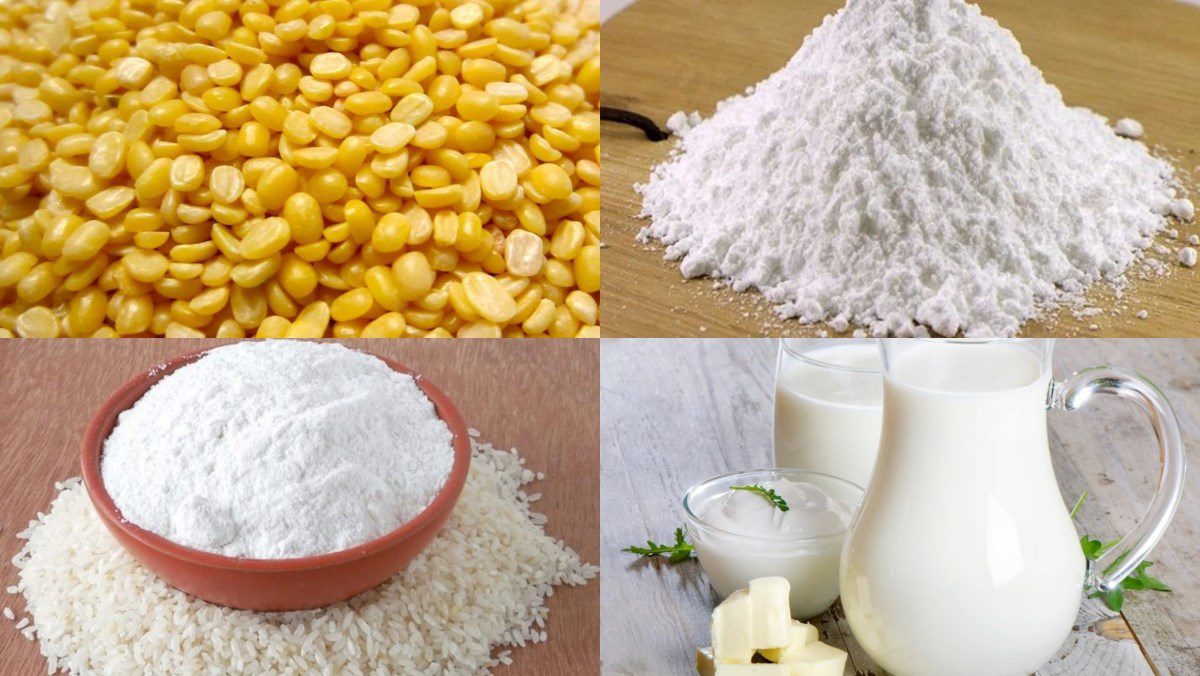
Mung beans 200 gr (peeled) Sticky rice flour 110 gr (roasted) Granulated sugar 80 gr Powdered sugar 80 gr Lard 30 gr Unsweetened fresh milk 120 ml Cornstarch 10 gr (can be replaced with glutinous rice flour/ tapioca starch/ wheat flour) Green tea powder/ beet powder/ cocoa powder 3 gr (for coloring the cake skin) Cooking oil 70 ml Salt a little
Product Information
- You can use Philips HR2041/50 blender – 3 jars to make Singaporean cold mooncake more easily.
- The product includes 3 plastic jars suitable for various purposes, shatter-resistant, easy to clean, and dishwasher safe.
- The machine is equipped with ProBlend technology to quickly blend the ingredients into a smooth consistency without clumping, especially suitable for crushing ice.
- Additionally, the machine operates at a maximum power of 450W with a 4-blade and 2-blade stainless steel knife that helps blend food quickly and safely for health.
- If you frequently blend food, you should get this machine for your kitchen.
Tools Required
Blender, scale, pot, non-stick pan, mooncake mold.
Raw Material Image
How to Make Singaporean Cold Mooncake
-
Prepare Ingredients
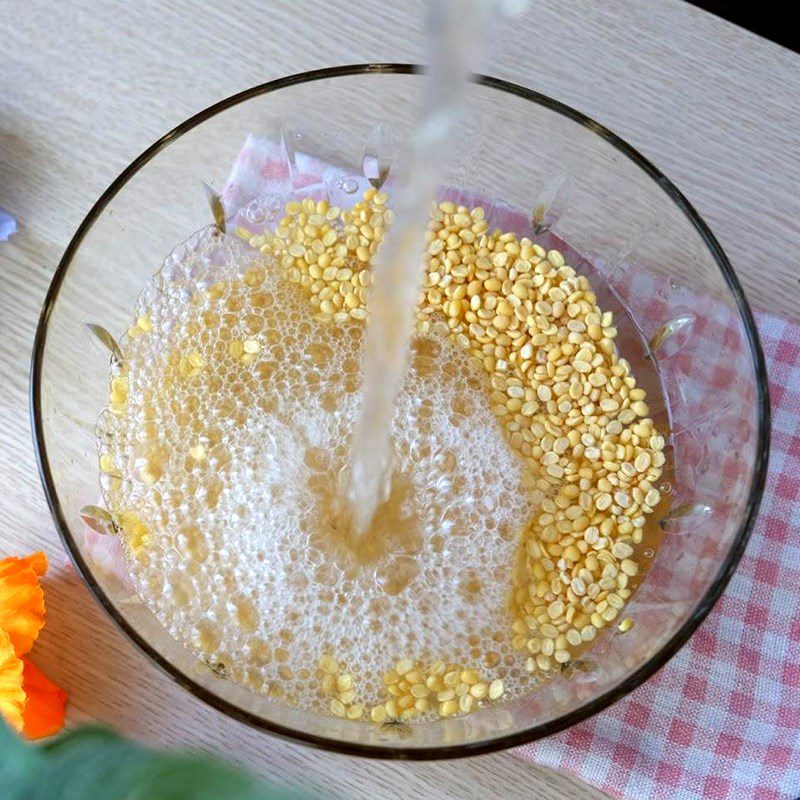
You rinse the mung beans with water, while rinsing remove any spoiled or broken beans floating on the surface. Next, place the beans into the bowl and cover with water, soak for 3 – 4 hours to soften the beans.
-
Steamed Mung Beans
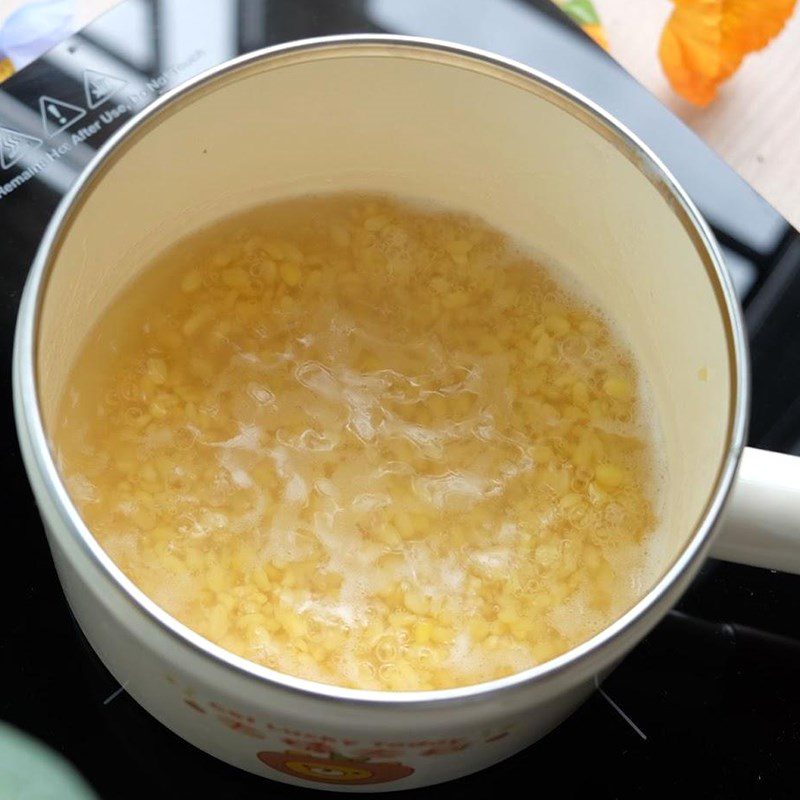
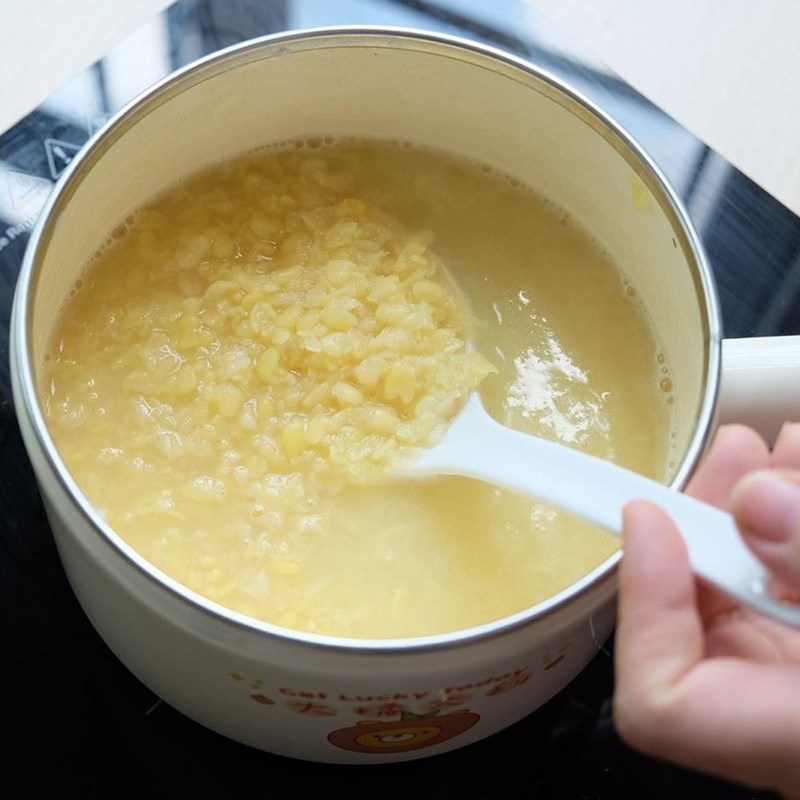
After the mung beans have soaked until soft, you take them out, rinse them with 2 changes of water to clean, and then put them in the pot. Next, add 500ml of water and a pinch of salt.
Then, place the pot of mung beans on the stove, boil on high heat. If there is foam, use a ladle to scoop out all the foam, then cover the pot, reduce the heat to the lowest setting, and cook until the beans are very soft.
If the water has evaporated and the beans are still not soft, add more water. To prevent the beans from sticking to the bottom of the pot and burning, you need to stir the beans regularly.
-
Blending Mung Beans
When the beans are cooked soft, turn off the heat and let them cool a bit. Then, put the beans into a blender and blend until the mixture is smooth.

-
Green Bean Filling
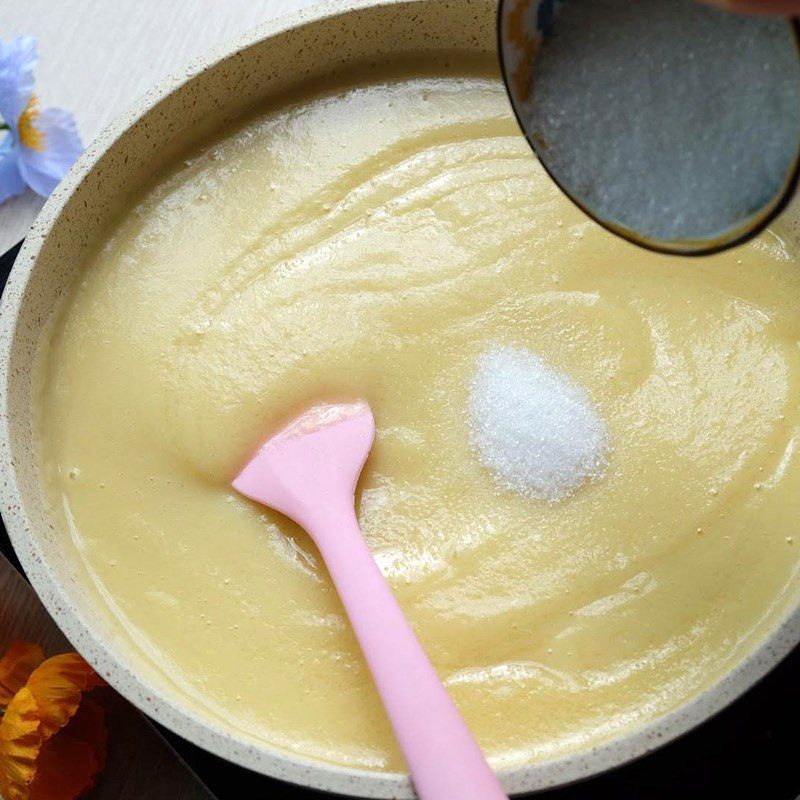
The next step, you use a sieve to filter the blended bean mixture again and put it into a non-stick pan.
Next, add 80g of granulated sugar into the pan, turn on low heat, and stir until the sugar dissolves and blends with the beans.
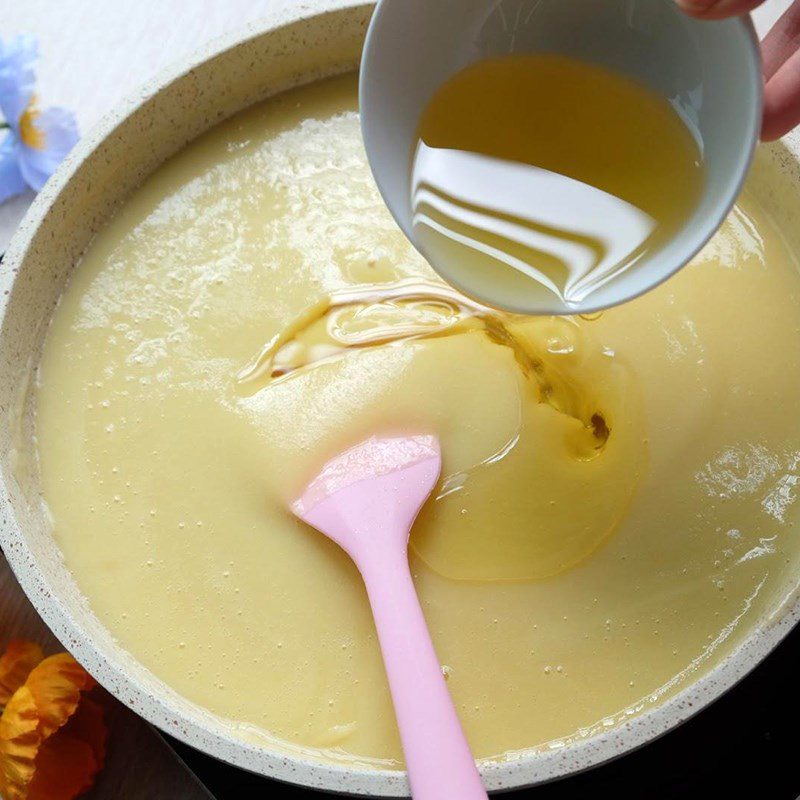
Once the sugar has completely dissolved, gradually add the cooking oil into the pan with the beans, using a ladle to mix well so that the mixture combines. When you see that the oil has completely dissolved, add a little more cooking oil. Do this until you have used up the 70ml of cooking oil prepared.
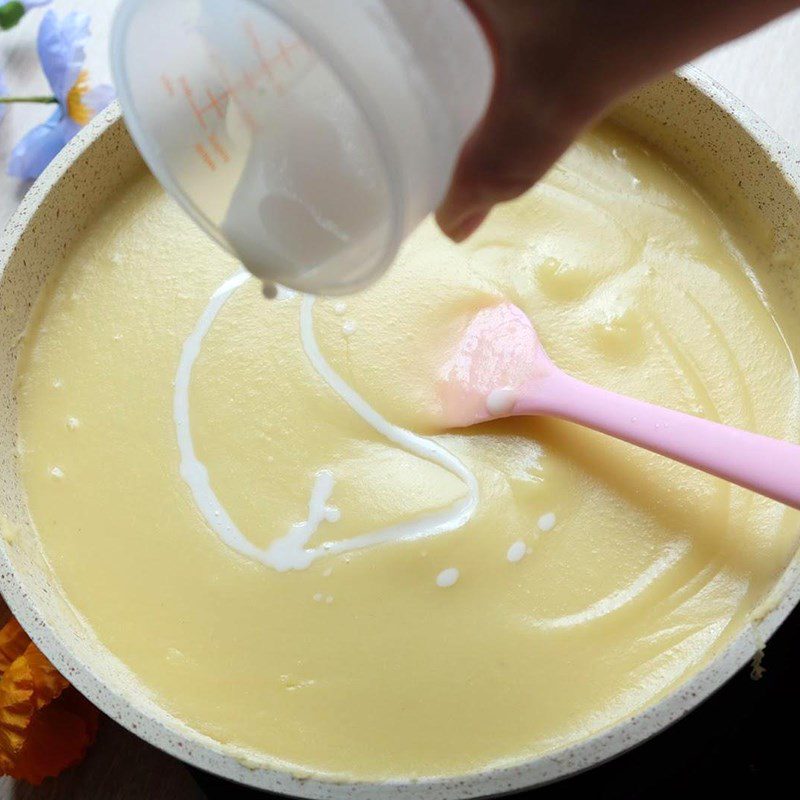
Continue, dissolve 10g of cornstarch in 40ml of water, then divide it into 2 portions to add to the beans while cooking. Stir the beans evenly while slowly adding the cornstarch mixture into the pan.
When the bean filling starts to thicken, add 10g of glutinous rice flour last and cook until the filling in the pan becomes a cohesive, sticky, smooth mass, still slightly moist but not runny and sticking to the pan, then turn off the heat.
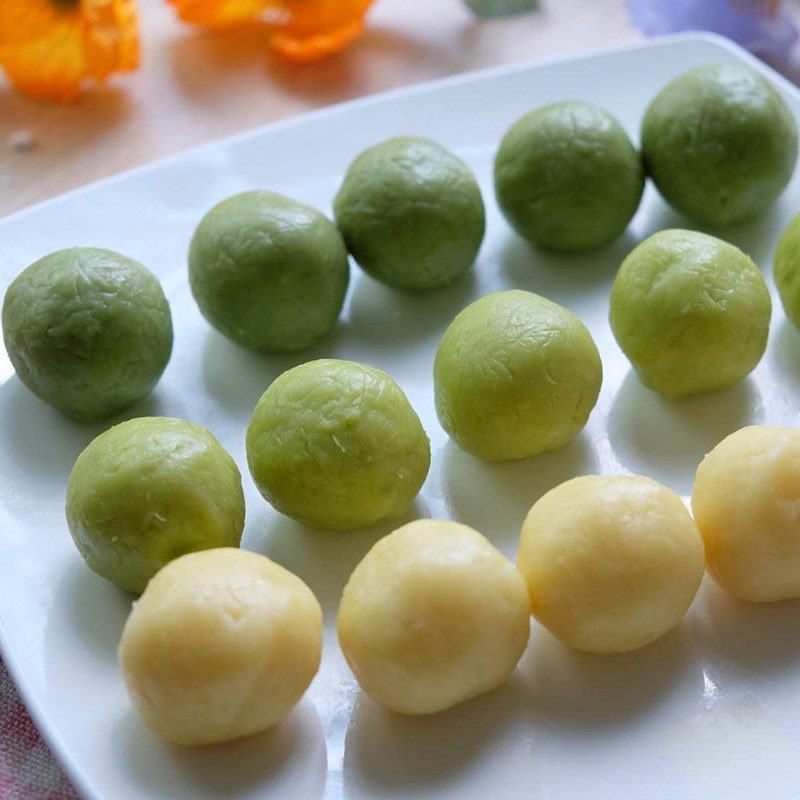
Tip: You can make different fillings to diversify flavors. For example, to make pandan green bean filling, add blended pandan leaf water at this step and cook until done. Or to make matcha filling, add matcha powder that has been dissolved in water and continue cooking until done.Once the filling is done, transfer it to a bowl to cool slightly, then roll into equal 20g balls. After that, wrap them tightly with plastic wrap to prevent the filling from drying out while making the dough.
-
Making the cake crust
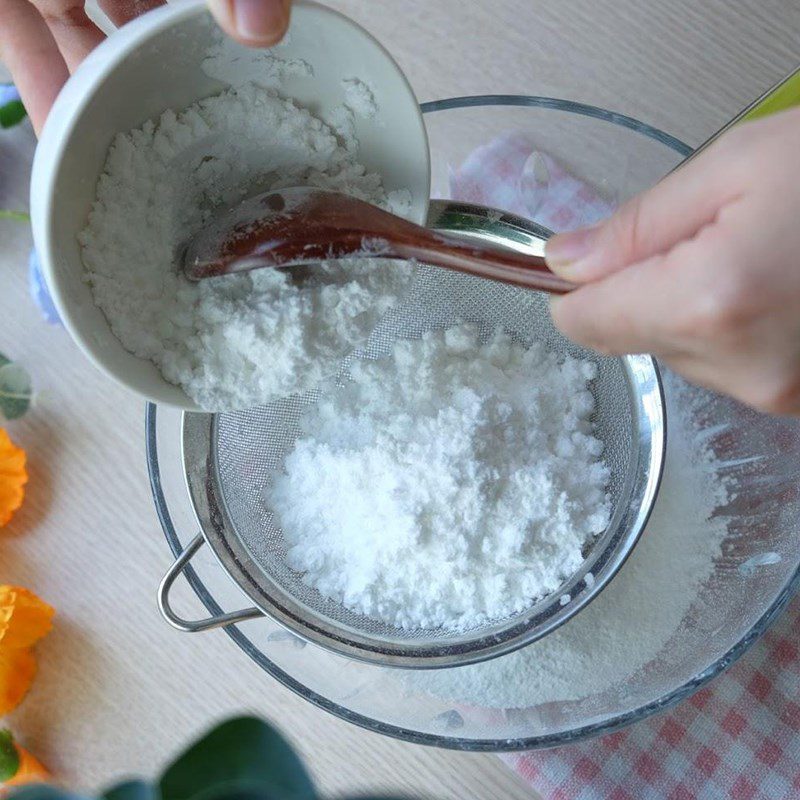
First, you sift 100g of glutinous rice flour with 80g of powdered sugar into a large bowl, then mix the ingredients together well.
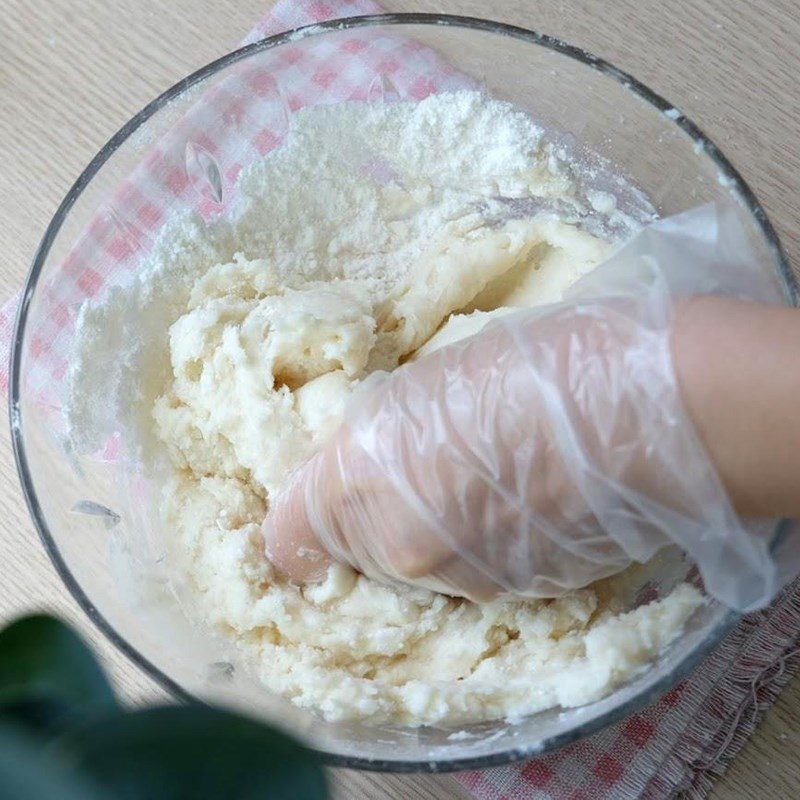
Next, add 30g of lard into the bowl and mix quickly and evenly until the mixture forms small crumbs.
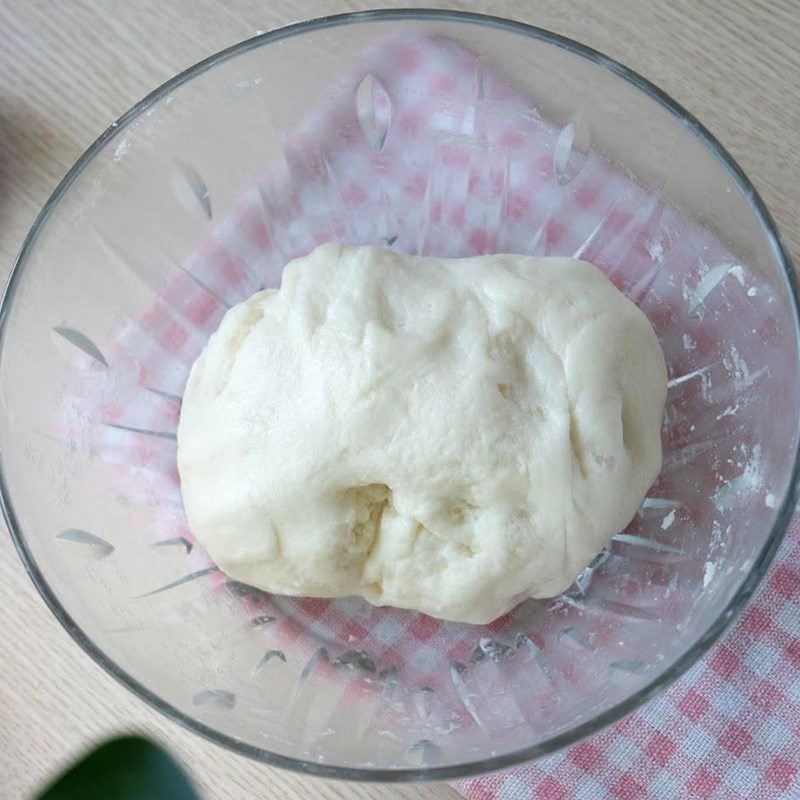
Continue by using your hands to push the flour to create a hole in the center of the bowl, then add 120ml of unsweetened fresh milk, and mix well for the ingredients to blend together, forming a smooth dough. After that, cover the bowl tightly with plastic wrap and let the dough rest for about 10 – 15 minutes.
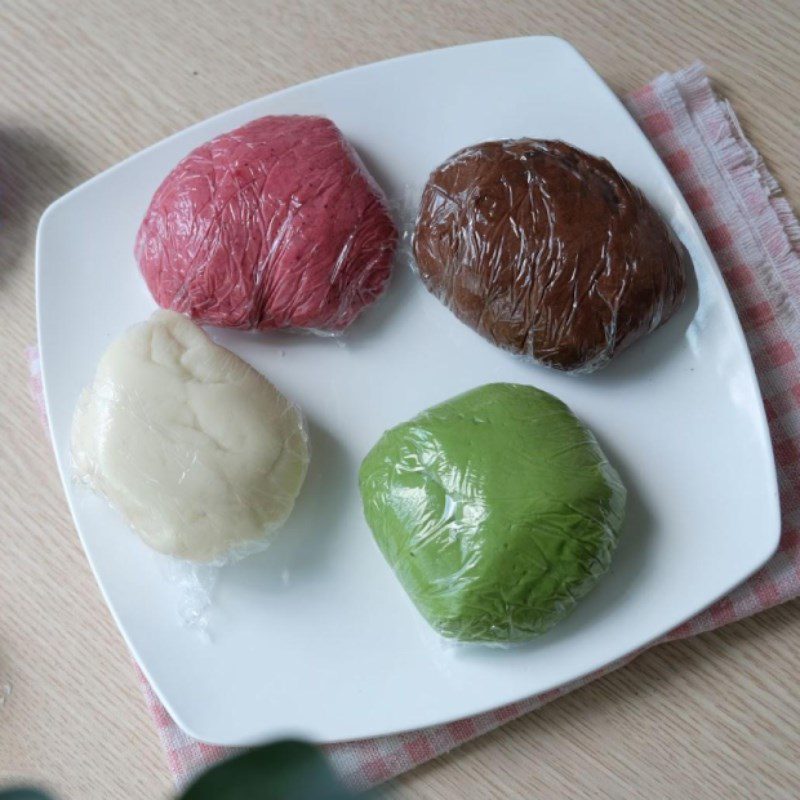
You can create different colors for the crust by adding food coloring after this step. For a green cake, sift in an additional 3g of green tea powder. For a pink cake, sift in an additional 3g of beetroot powder. For a brown cake, sift in an additional 3g of cocoa powder.
- The amount of lard will determine the softness of the cake. Adding too little lard will make the cake hard and crumble quickly.
- When adding fresh milk, it is advisable to add it gradually and knead to test. If the cake crust is already soft, do not add more milk; if the dough is too wet, add more dry flour; if it is too dry, add more milk.
Finally, divide the dough into equal parts of 30g. If using a 50g mold, divide the filling into 20g and the cake crust into 30g.
-
Shaping the cake
First, use a rolling pin to gently flatten the dough ball into a round shape, ensuring that the edges are thinner than the center.
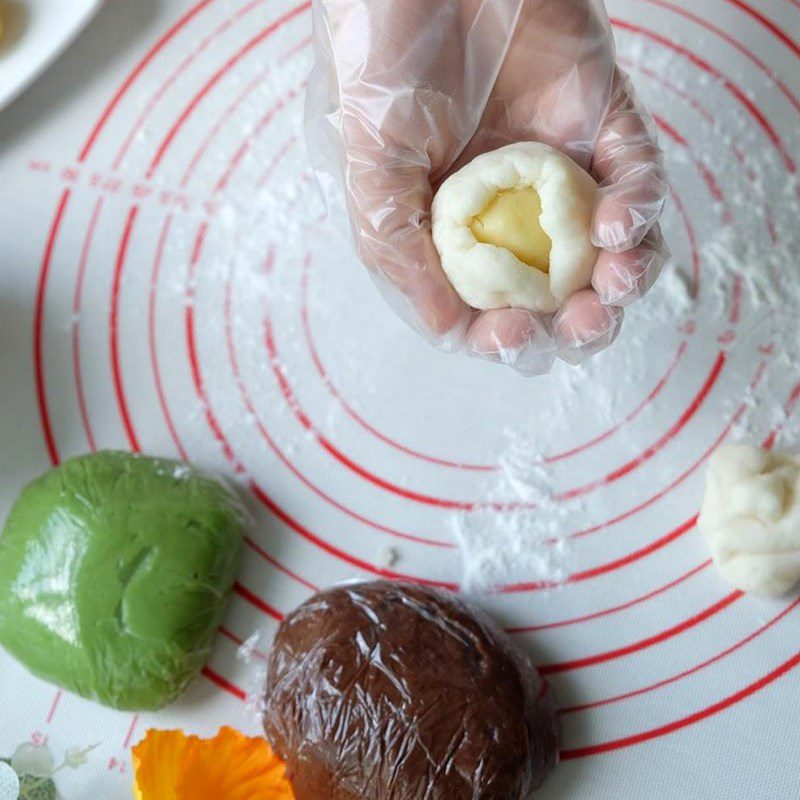
Then, place the filling in the center, and use your hands to press and pull the dough to completely wrap the filling, rotating the cake 2 – 3 times. Repeat this process until all the filling and remaining dough are used.
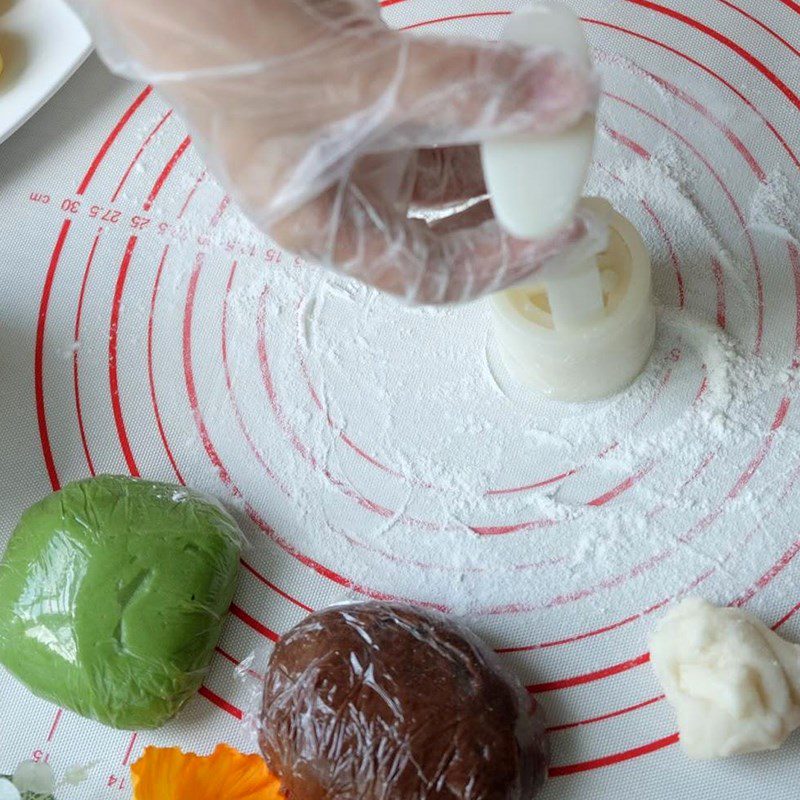
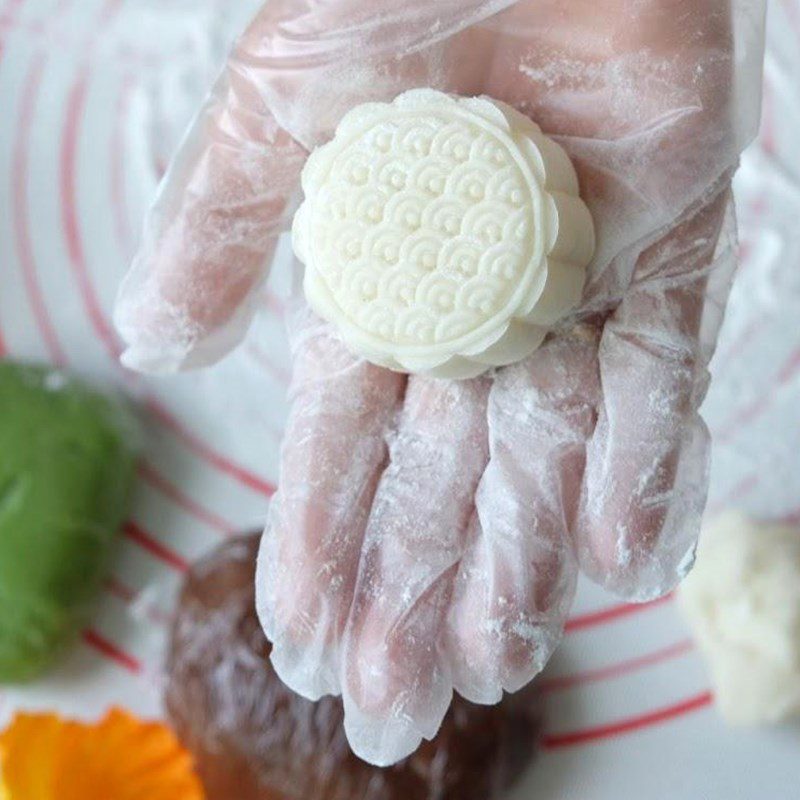
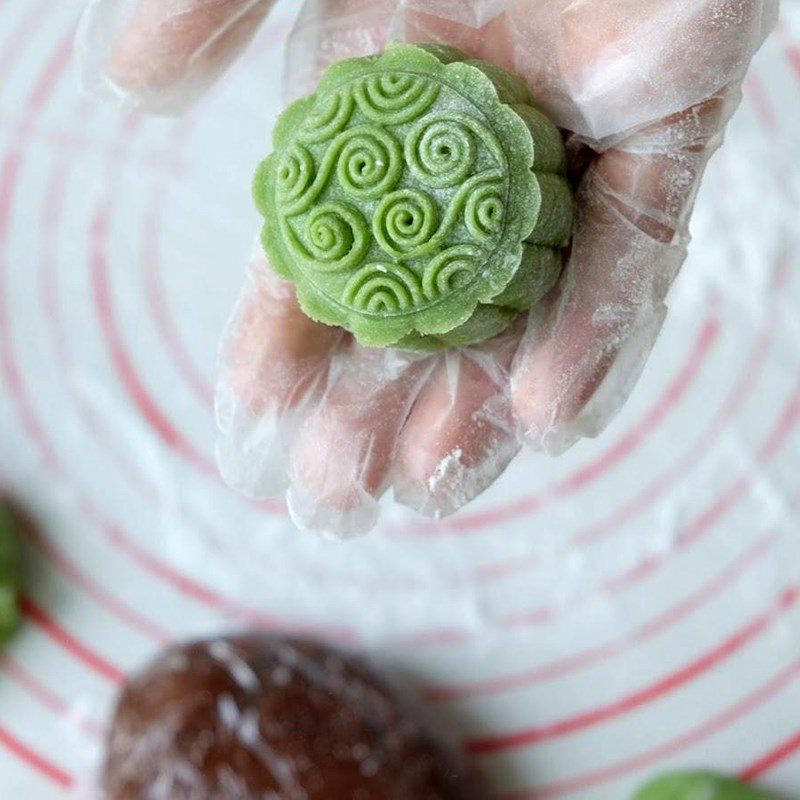
Next, sprinkle a little dry flour into the mold to prevent sticking, then place the cake in the mold, press lightly to spread the cake evenly, and then press firmly to shape it.
After shaping all the cakes, store them in a sealed container or wrap them tightly.
Finally, refrigerate the cakes for at least 2 hours to make them cool, and the dough and filling more chewy before enjoying.
-
Finished product
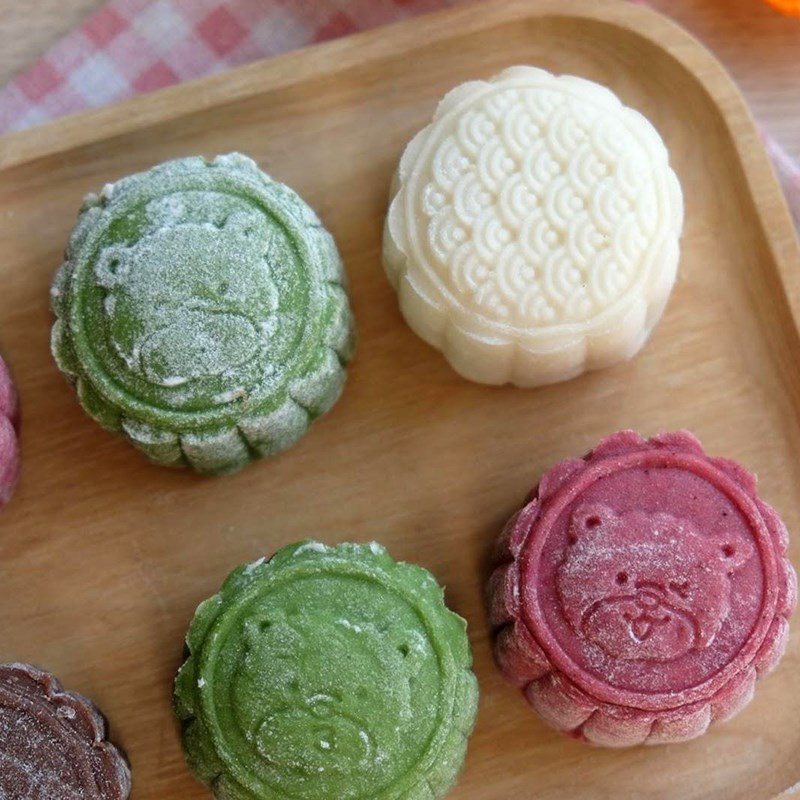
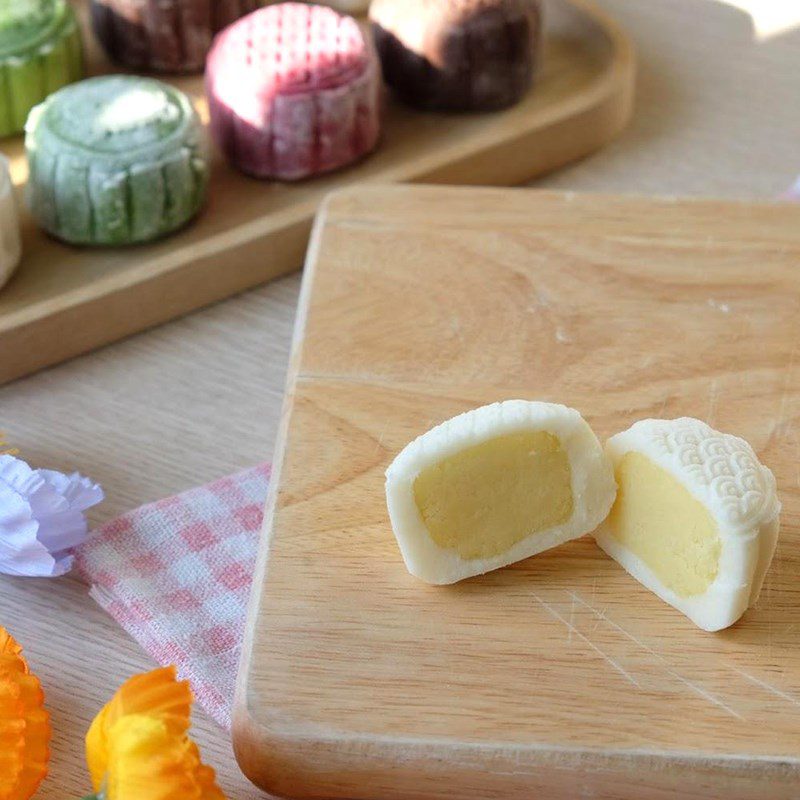
Singapore cold mooncake has a variety of beautiful colors and patterns. The cake’s skin is soft and chewy, blending with the fragrant, sticky, and cool green bean filling, creating a very delicious and unique flavor.
You can store the cakes in a sealed container and keep them in the refrigerator for 2 – 3 days.
Hope that with the details of how to make Singapore cold mooncake above, you will have another option to show off your skills this Mid-Autumn Festival. Hurry to the kitchen and get started! TasteVN wishes you success!
