TasteVN
  • Home
  • Main Dishes
    • Beef Dishes
    • Braised Food
    • Fried Food
    • Steamed Food
    • Stir-fried Dishes
    • Soup
    • Grilled Food
    • Hot Pot
    • Liquid Dishes
    • Chicken Dishes
    • Dried and Fermented Dishes
    • Vegetarian Dishes
    • Porridge
  • Desserts
    • Cake
    • Ice Cream
    • Sweet Soup
    • Desserts
  • Beverages
    • Beverages
    • Juices
    • Milk Tea
    • Smoothies
  • Snacks
    • Rolls and Salads
    • Salad
    • Snacks
  • Tips & Holidays
    • Festivals & Holidays
    • Kitchen Tips
No Result
View All Result
TasteVN
No Result
View All Result
Home Cake

4 Ways to Make Delicious Simple Baked Cassava Cake with a Non-Stick Pan

by TasteT
2 months ago
in Cake
473 20
0
how to make baked yam cake in a pan delicious and easy to make 04956
740
SHARES
3.5k
VIEWS
Share on FacebookShare on Twitter

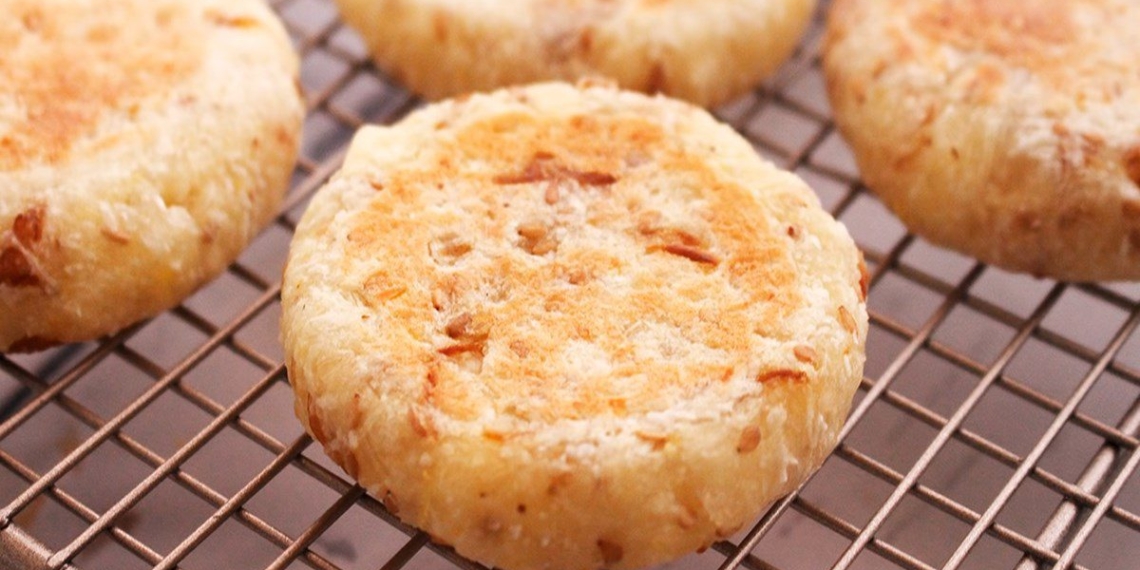
Baked cassava cake is a type of cake that is close and familiar to Vietnamese people, but do you know the recipe for making delicious cake? Today, TasteVN will go to the kitchen to guide you on 4 ways to make delicious baked cassava cake using a non-stick pan!

Quick view hide
1 Prepare the cassava
2 Cook the mung beans
3 Steam and mash cassava
4 Mix cassava
5 Shaping the cake
6 Frying the cake
7 Finished Product
8 Prepare and grind cassava
9 Mix the cake batter
10 Baking the cake
11 Final product
12 Prepare the Cassava
13 Mix cassava pancake
14 Pan-fry cassava pancake
15 Final Product
16 Prepare ingredients
17 Mix cassava
18 Making cassava cake
19 Final product
20 How to choose delicious cassava (manioc)
21 How to store the cake:

1. Baked green bean cassava cake using a non-stick pan
Bánh khoai mì đậu xanh nướng bằng chảo chống dính
  • Preparation

    6 hours

  • Cooking

    45 minutes

  • Difficulty

    Easy

Ingredients for Baked green bean cassava cake using a non-stick pan For 6 pieces

Cassava 300 gr Green beans 20 gr (peeled) Pandan leaves 50 gr Unsalted butter 5 gr Shredded coconut 50 gr Fried onions 30 gr Roasted sesame 30 gr Sugar 1 tablespoon Salt 2 tablespoons

Ingredient images

Nguyên liệu món ăn 4 cách làm bánh khoai mì nướng bằng chảo chống dính

Tools needed

Blender, non-stick pan, pot, stove, spoon,…

How to make Grilled Cassava Cake with Mung Beans using a Non-stick Pan

  • Prepare the cassava

    Peel off the pink skin of the cassava, soak the cassava in diluted salt water for about 6 hours before processing or leave it overnight to remove toxins.

    Why is it necessary to soak cassava?
    The cassava root contains the toxin Hydrocyanic Acid (HCN), a substance that can be dangerous to the body. Since cassava contains this toxin, it is necessary to soak it for several hours or overnight to remove this toxin completely.
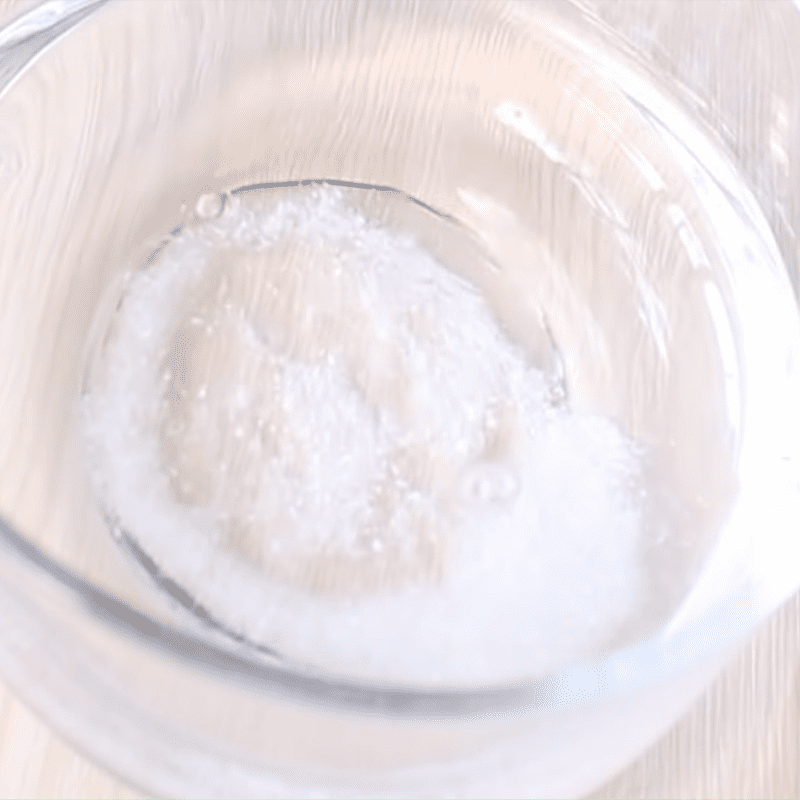
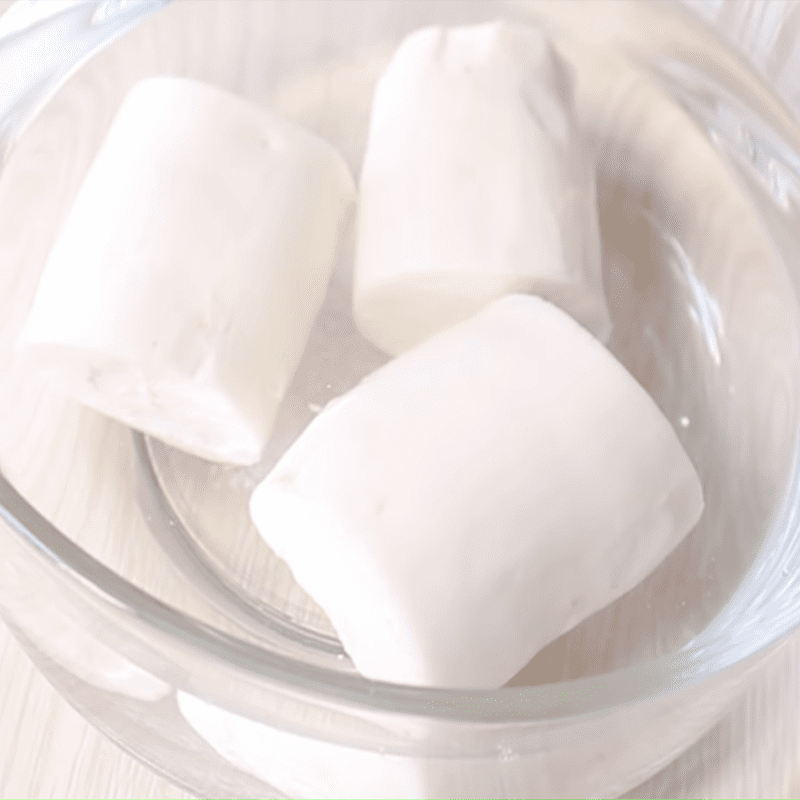
    Step 1 Prepare cassava Grilled Cassava Cake with Mung Beans using a Non-stick Pan
    Step 1 Prepare cassava Grilled Cassava Cake with Mung Beans using a Non-stick Pan
  • Cook the mung beans

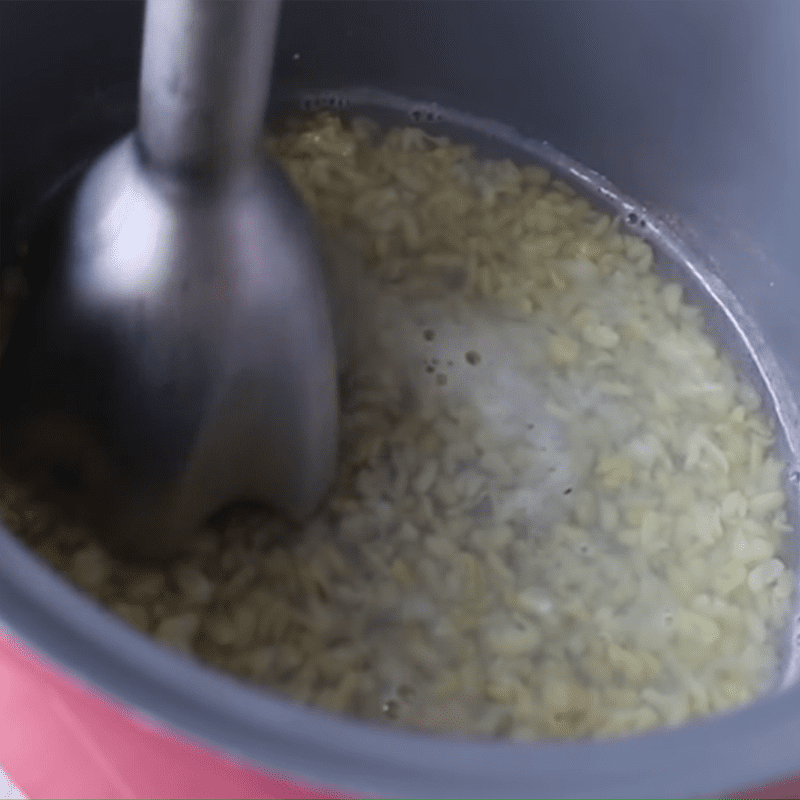
    Wash the mung beans thoroughly and soak them in water for about 3 to 4 hours to expand, then place them on the stove to cook with water and blend until smooth using a blender.

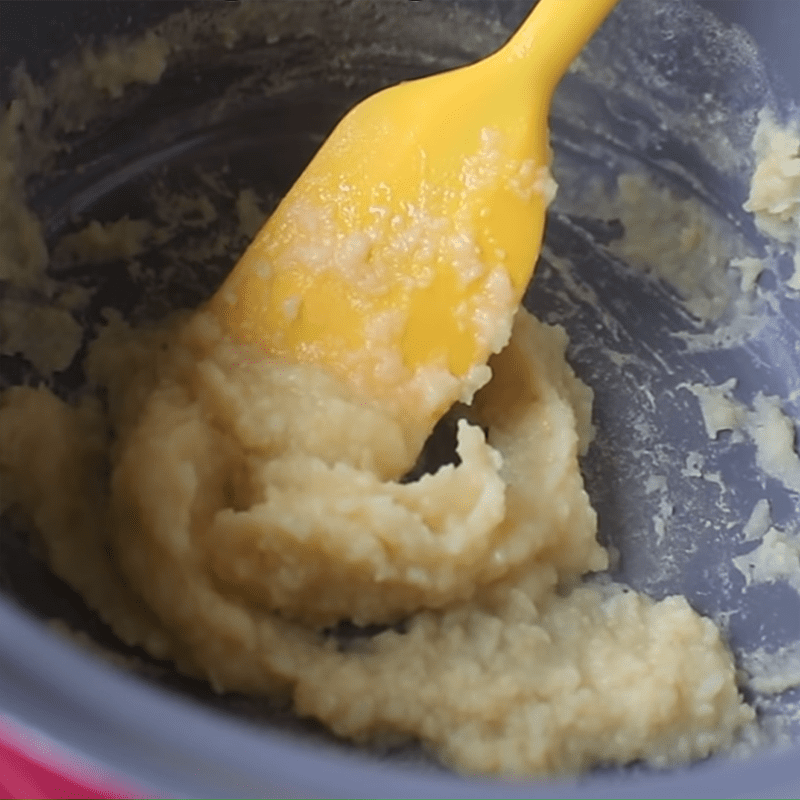
    When the beans are soft, use a spoon to stir the beans until they become sticky and dry. Then take the mung beans out to cool.
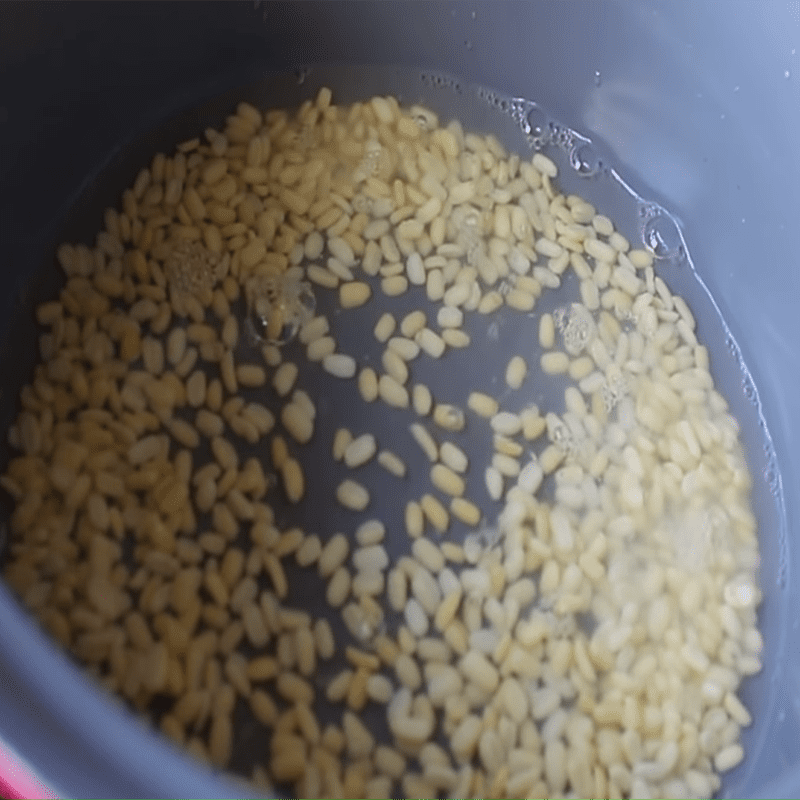
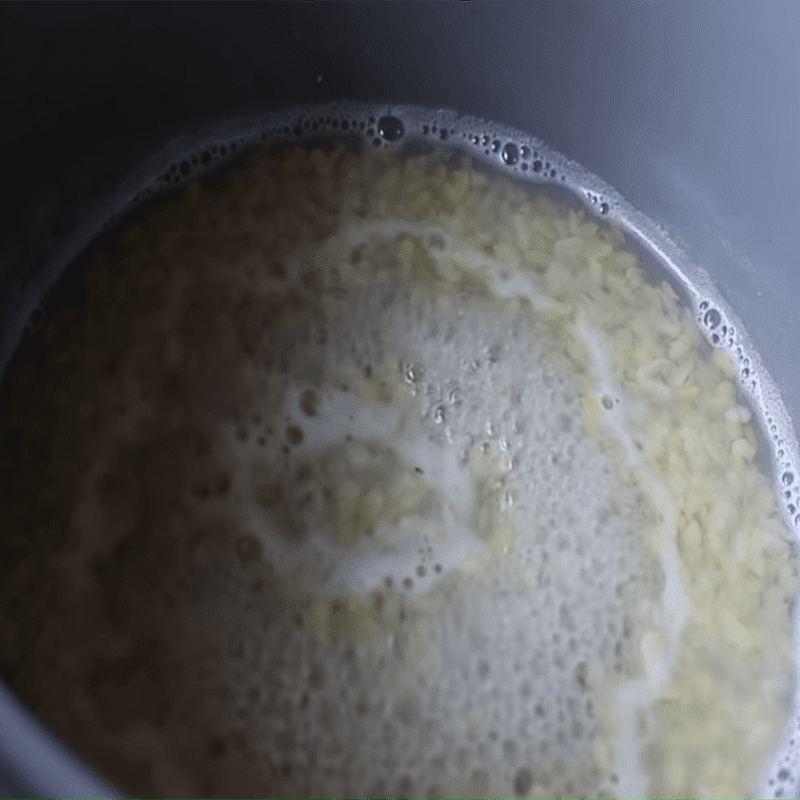
    Step 2 Cook mung beans Grilled Cassava Cake with Mung Beans using a Non-stick Pan
    Step 2 Cook mung beans Grilled Cassava Cake with Mung Beans using a Non-stick Pan
    Step 2 Cook mung beans Grilled Cassava Cake with Mung Beans using a Non-stick Pan
    Step 2 Mashing green beans for baked cassava cake in a non-stick pan
  • Steam and mash cassava

    Put a pot of water on the stove, then cut the pandan leaves into small pieces and add them to the pot. Next, add the cassava and boil over medium heat until the cassava is soft. After the cassava is cooked, take it out and let it cool.

    Tip: It is advisable to add enough water so that it covers the cassava for even cooking.
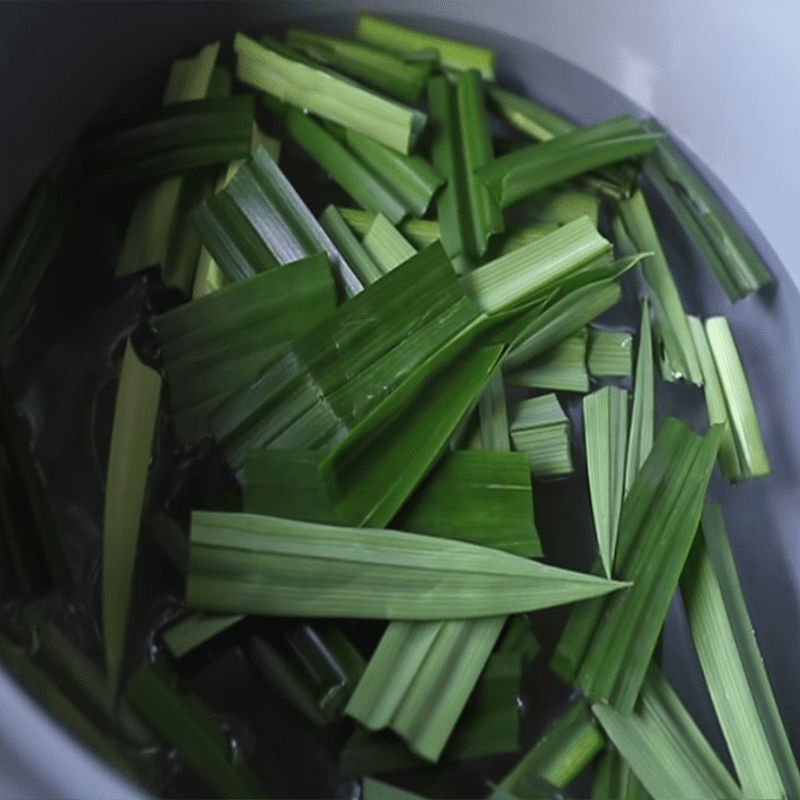
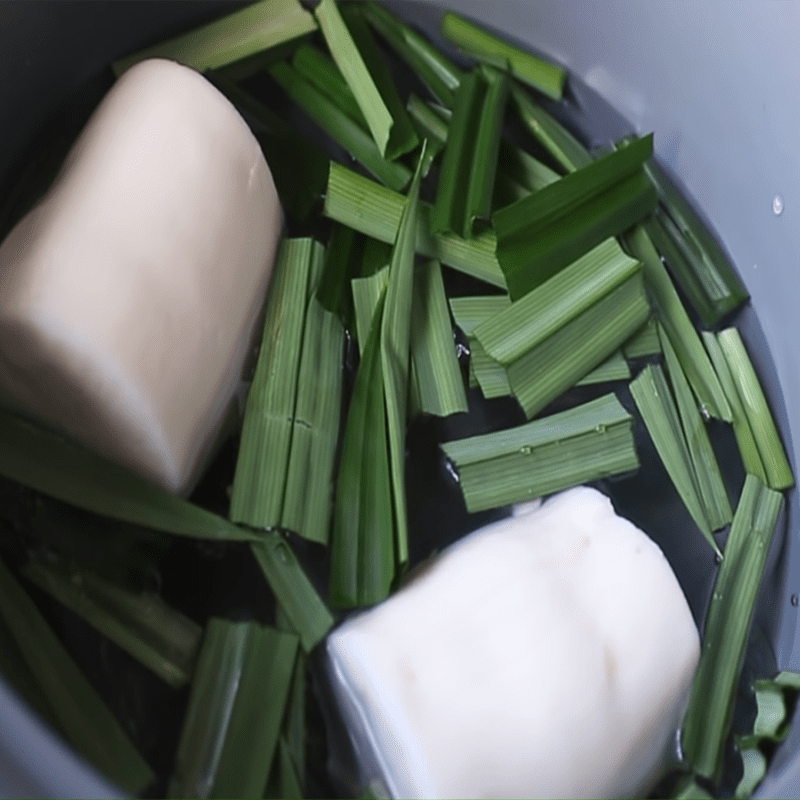
    Step 3 Steam and mash cassava for baked cassava cake in a non-stick pan
    Step 3 Steam and mash cassava for baked cassava cake in a non-stick pan
    Step 3 Steam and mash cassava for baked cassava cake in a non-stick pan
  • Mix cassava

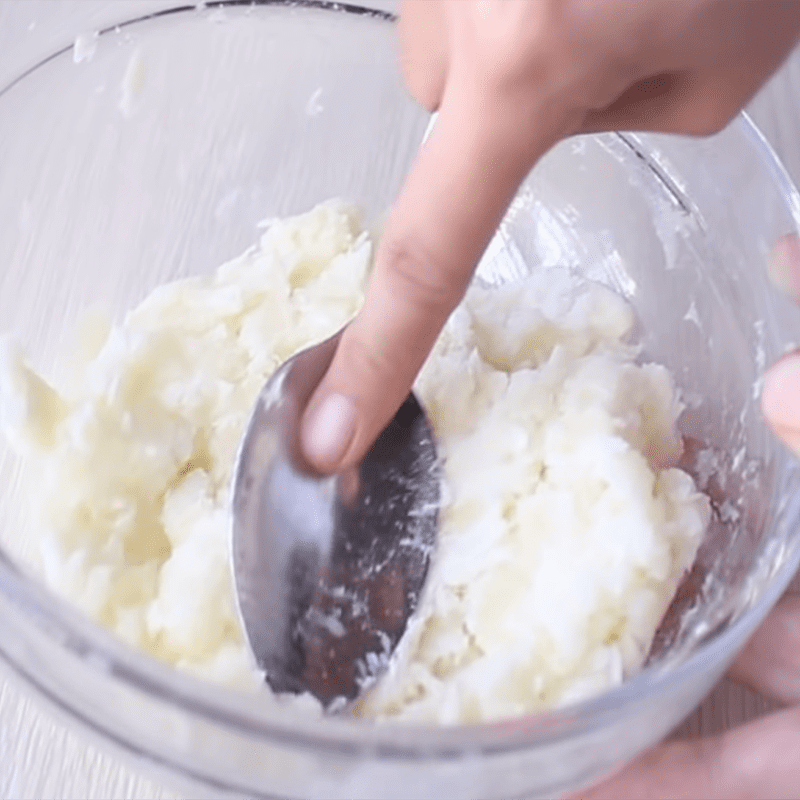
    After boiling the cassava, use a spoon to mash it, then add the cooled green beans and mix well.

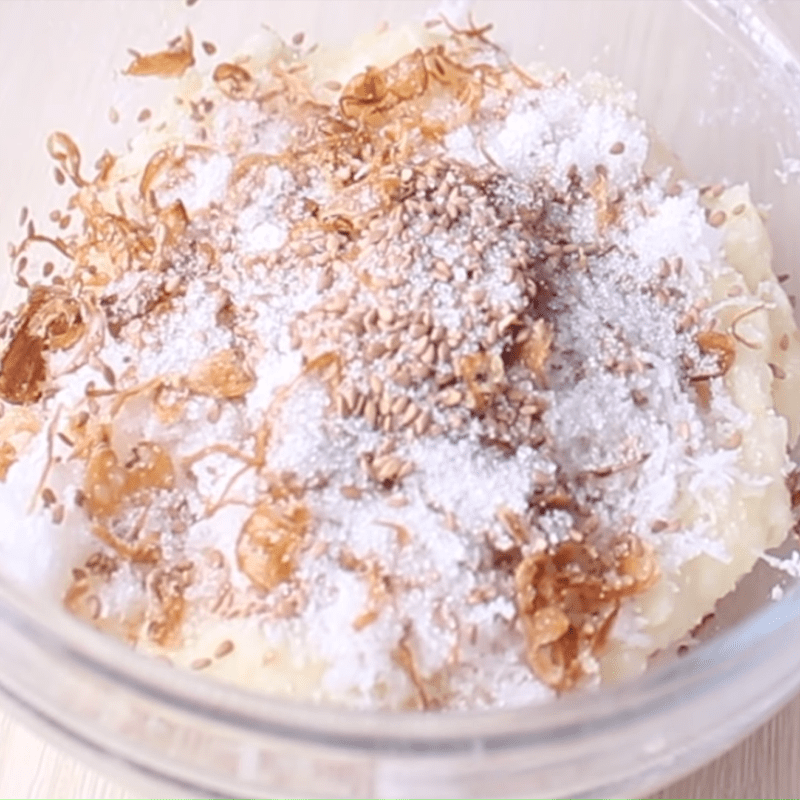
    Once mixed evenly, add 50g of grated coconut, 30g of fried onion, 30g of roasted sesame, 1 tablespoon of sugar, and half a teaspoon of salt, and continue to mix well.

    Tip:
    • It is advisable to wear gloves when mixing cassava with the ingredients to avoid stickiness.
    • When mixing, use the palm of your hand to press the mixture down and push it forward, continue doing this until the mixture is well combined.
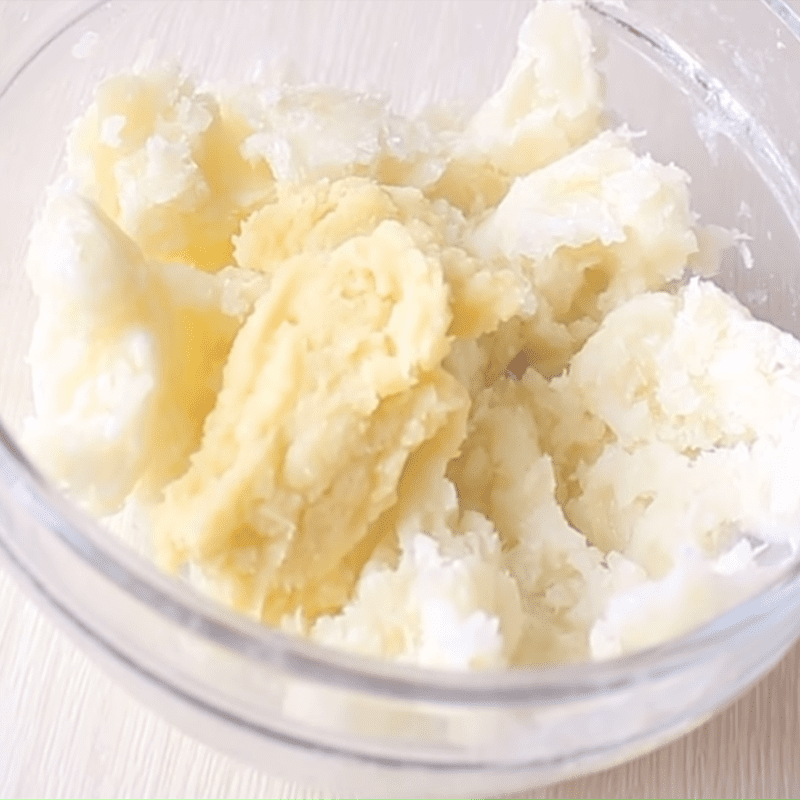
    Step 4 Mix cassava for baked cassava cake in a non-stick pan
    Step 4 Mixing cassava Green bean cake baked in a non-stick pan
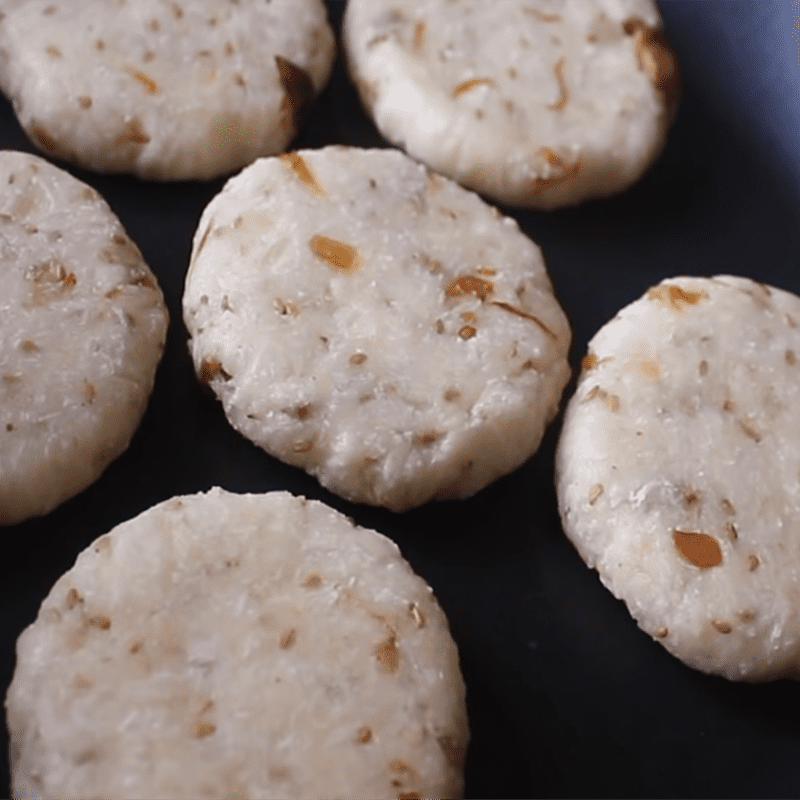
  • Shaping the cake

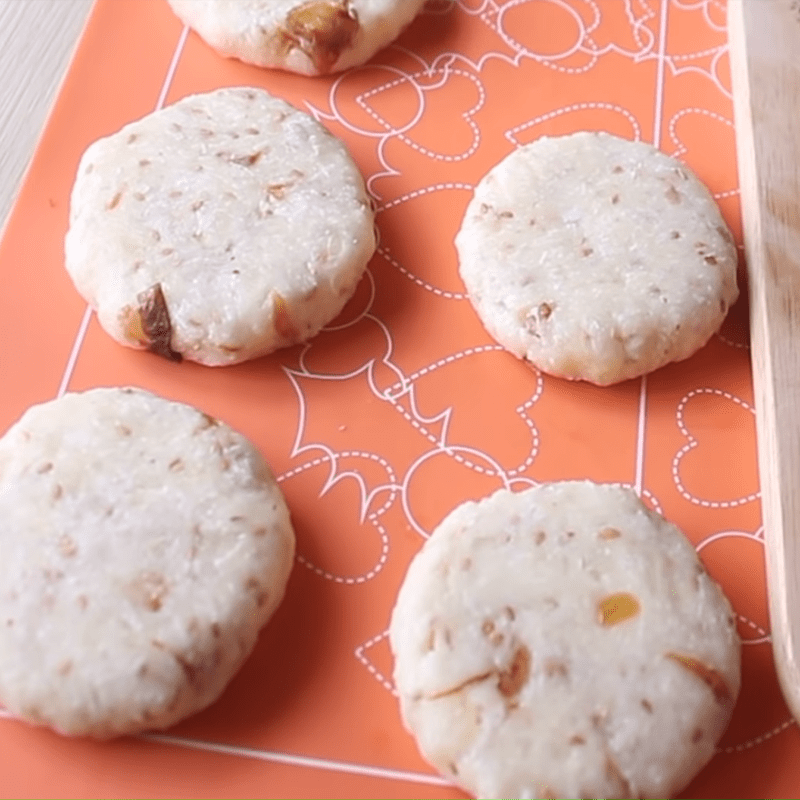
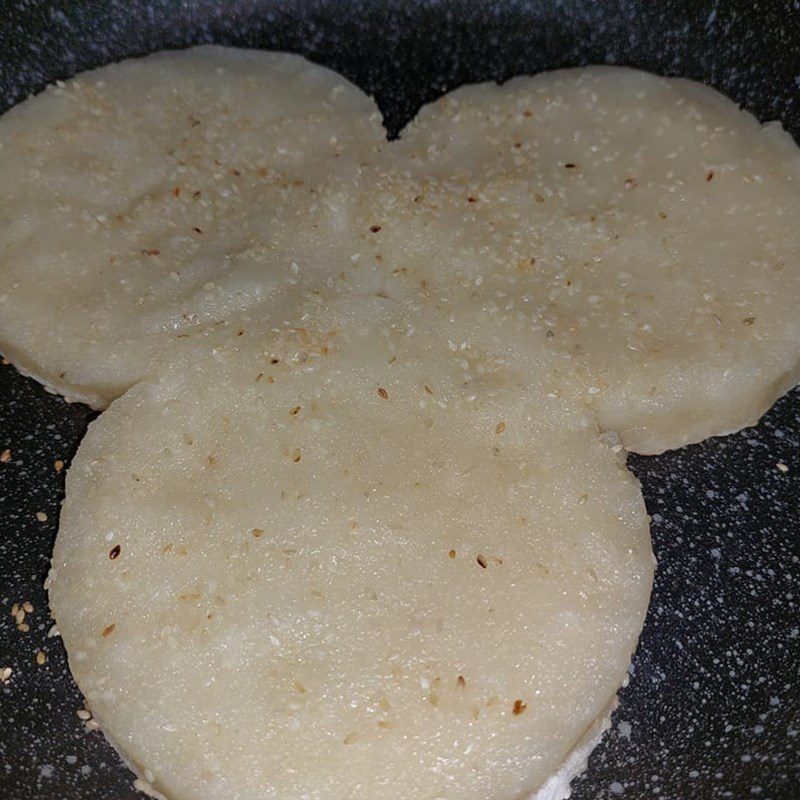
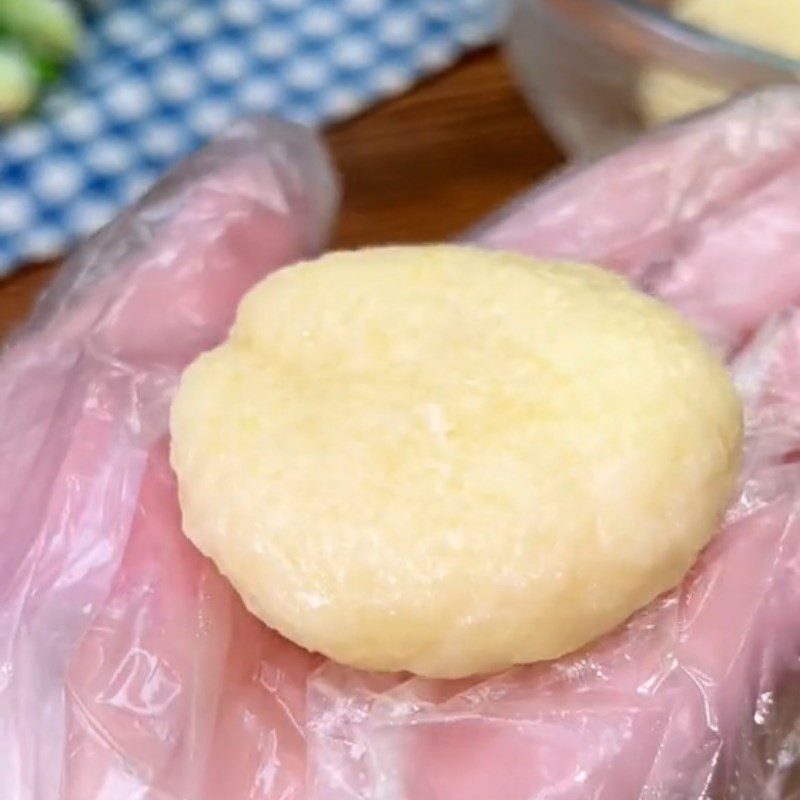
    After the mixture is well combined, divide it into 6 equal parts, then roll them into balls, and then use a cutting board to flatten them.
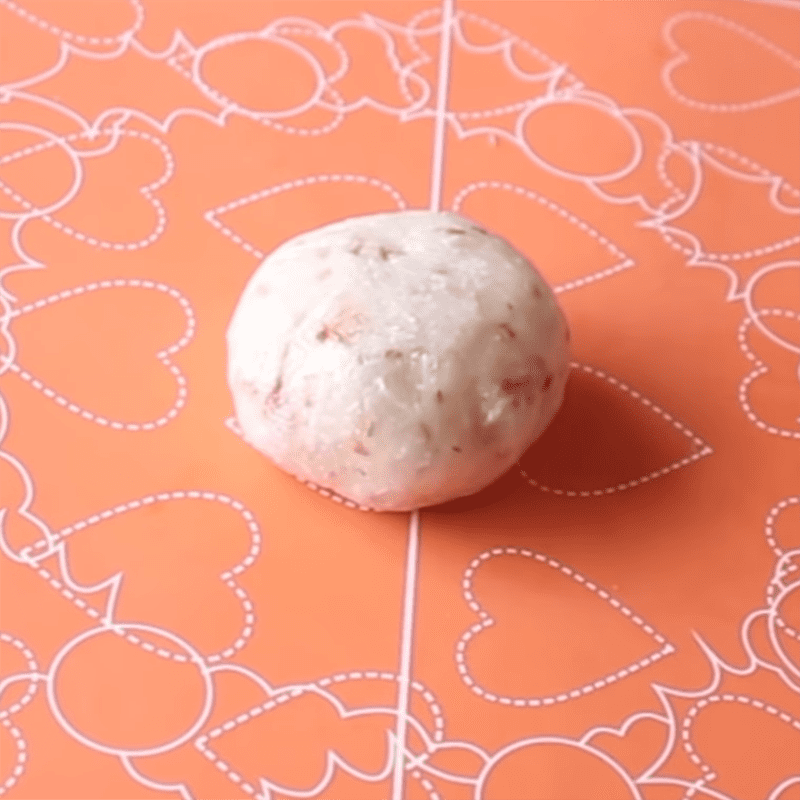
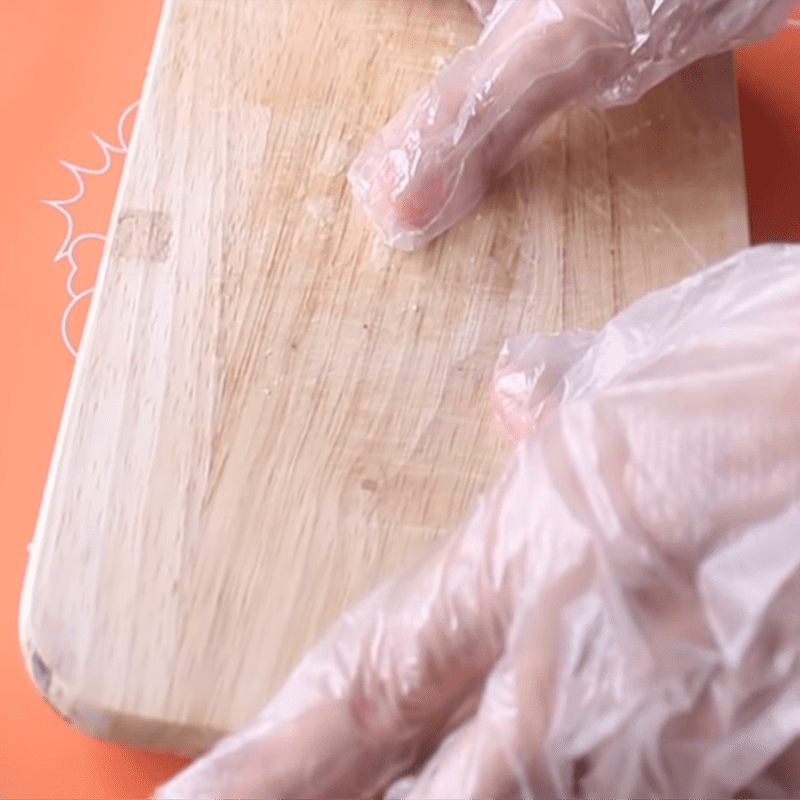
    Step 5 Shaping the cake Green bean cake baked in a non-stick pan
    Step 5 Shaping the cake Green bean cake baked in a non-stick pan
    Step 5 Shaping the cake Green bean cake baked in a non-stick pan
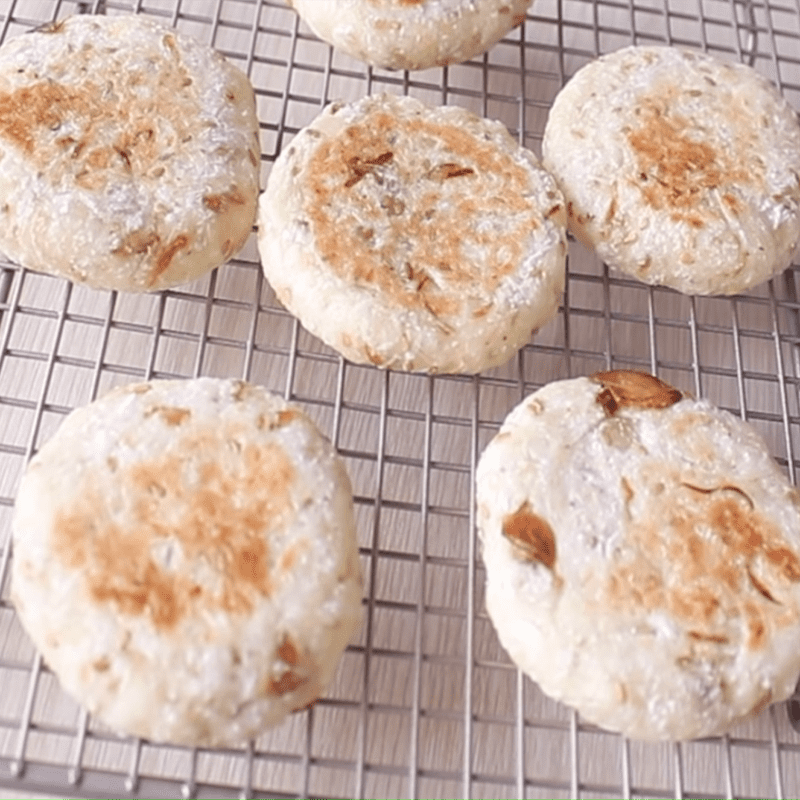
  • Frying the cake

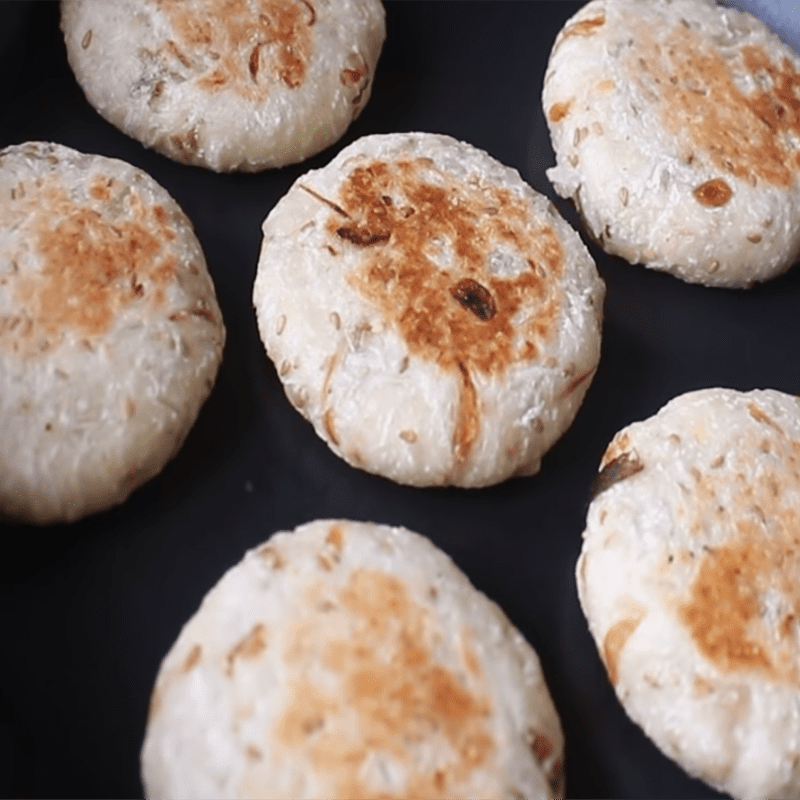
    Place a pan on the stove, add 5g of butter to the pan, wait until the butter melts, then use paper towels to absorb the excess butter.

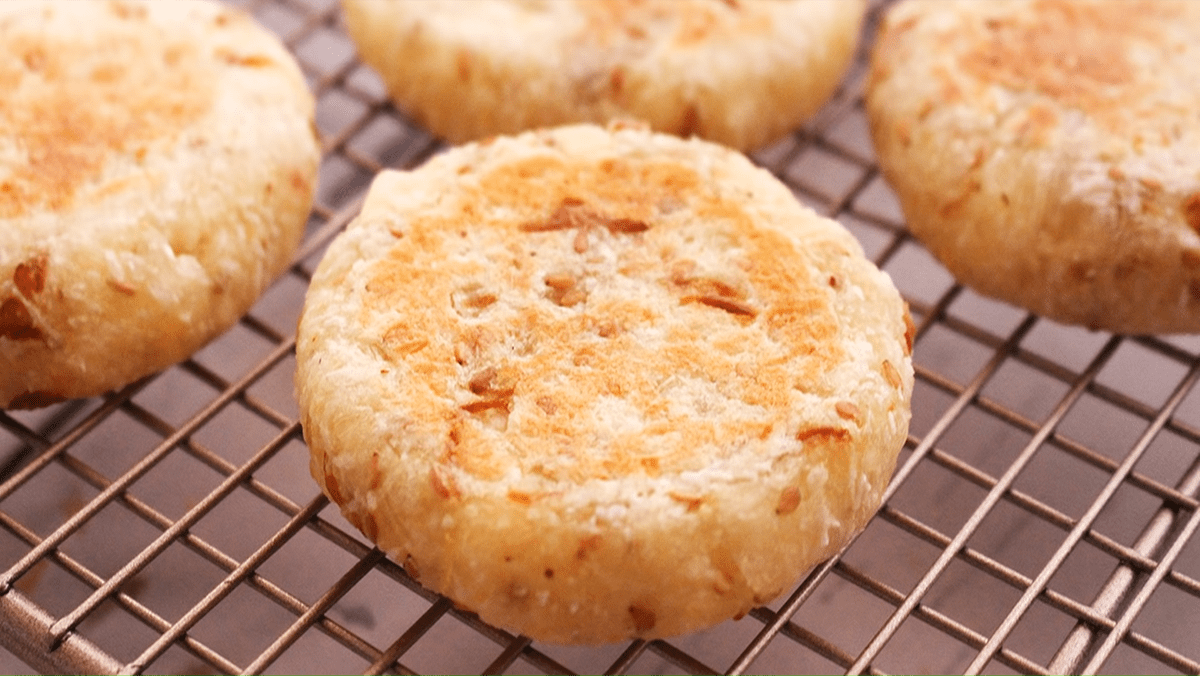
    Put the flattened cakes into the pan, keep the heat medium, and grill until both sides are evenly golden.
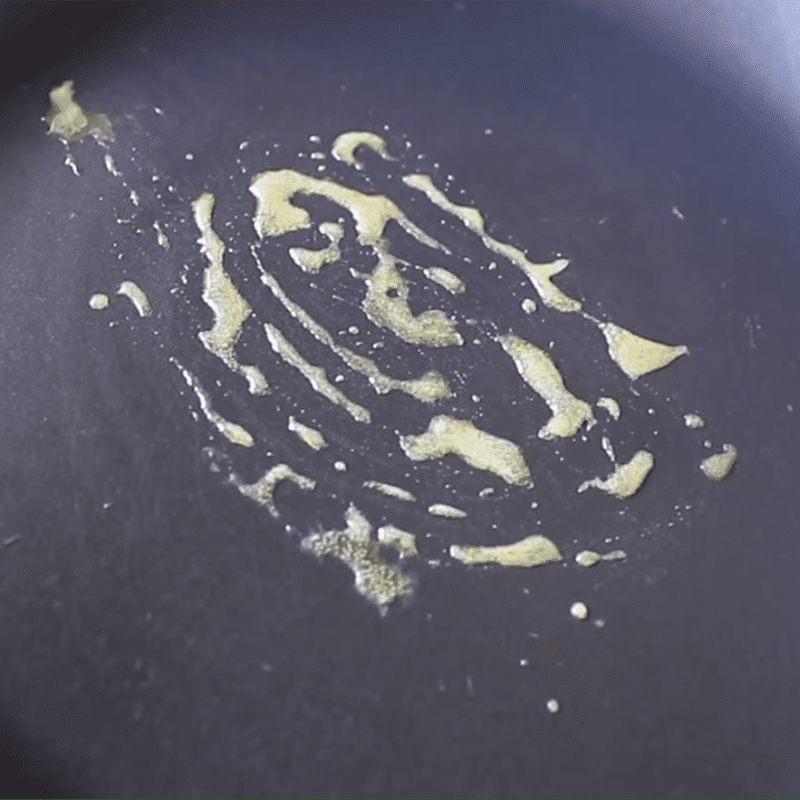
    Step 6 Frying the cake Green bean cake baked in a non-stick pan
    Step 6 Frying the cake Green bean cake baked in a non-stick pan
    Step 6 Frying the cake Green bean cake baked in a non-stick pan
  • Finished Product

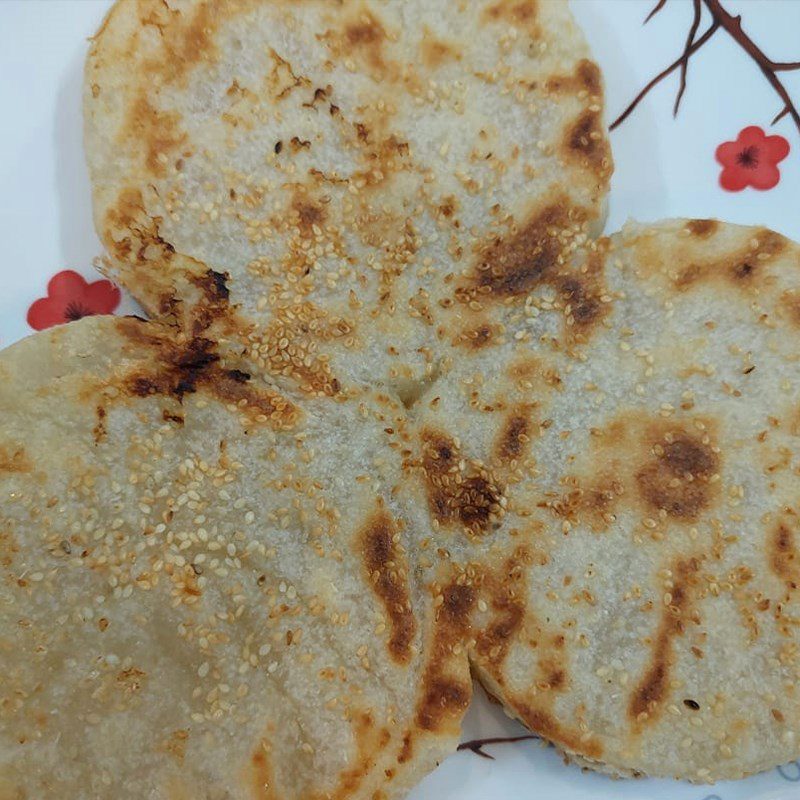
    And thus, the baked cassava cake with traditional flavor is complete. The outer layer is lightly crispy, accompanied by the sweetness of cassava, mung beans, and coconut, along with the subtle fragrance of fried onions.

    Just one bite is memorable, and the method is incredibly simple; so what are you waiting for to get started in the kitchen?
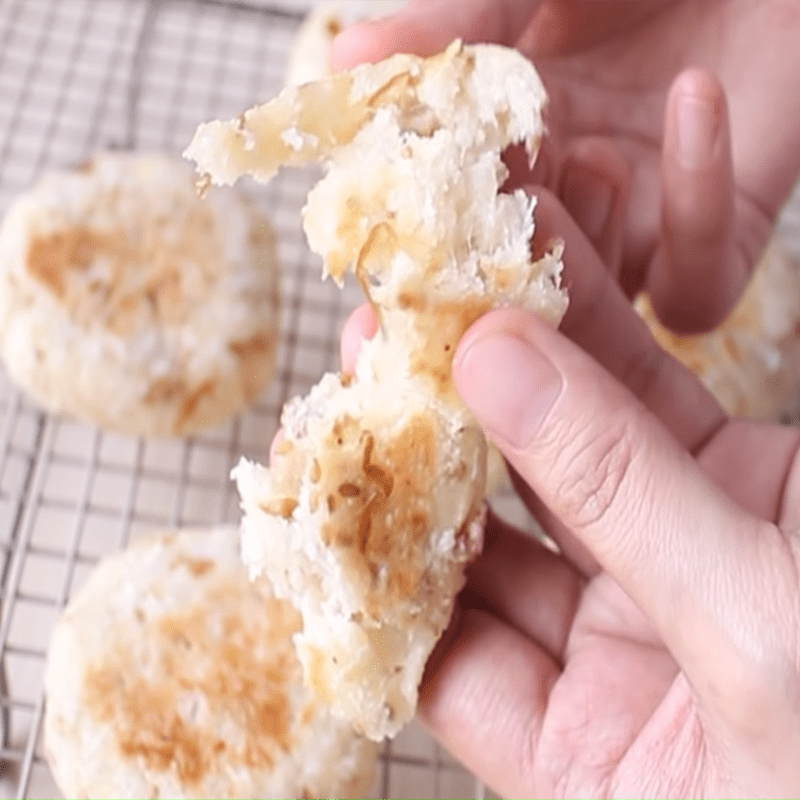
    Step 7 Finished Product Baked cassava cake with non-stick pan
    Step 7 Finished Product Baked cassava cake with non-stick pan

2. Baked cassava cake with non-stick pan
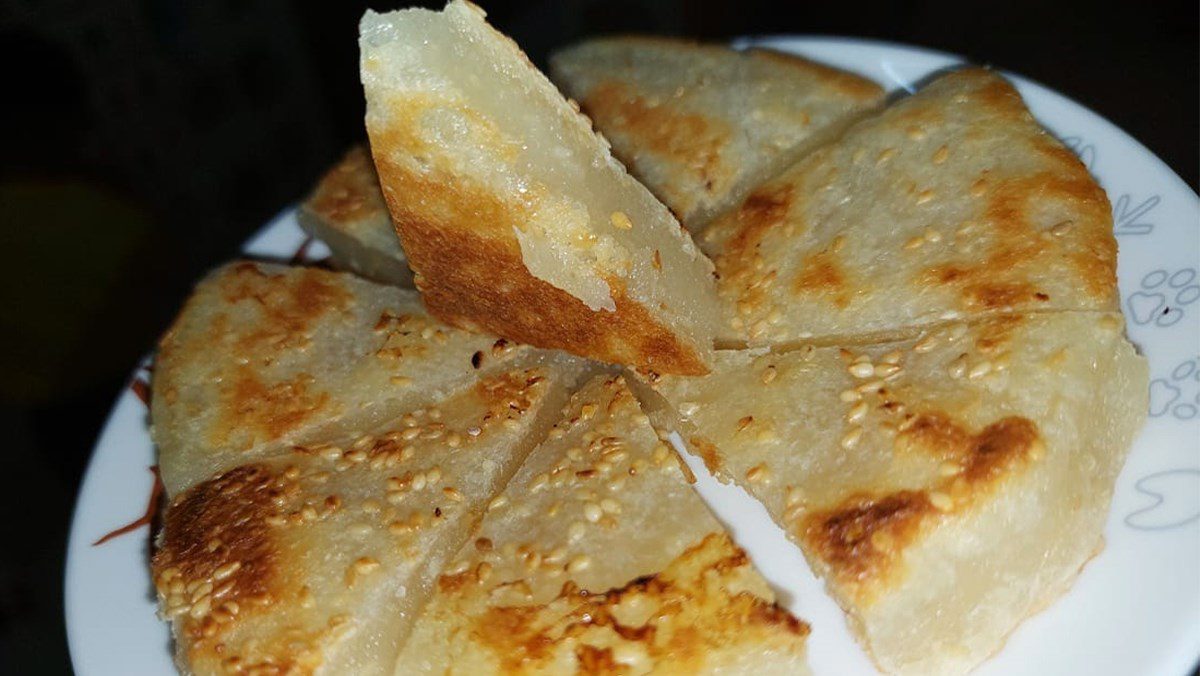
Baked cassava cake with non-stick pan
  • Preparation

    10 minutes

  • Cooking

    30 minutes

  • Difficulty

    Easy

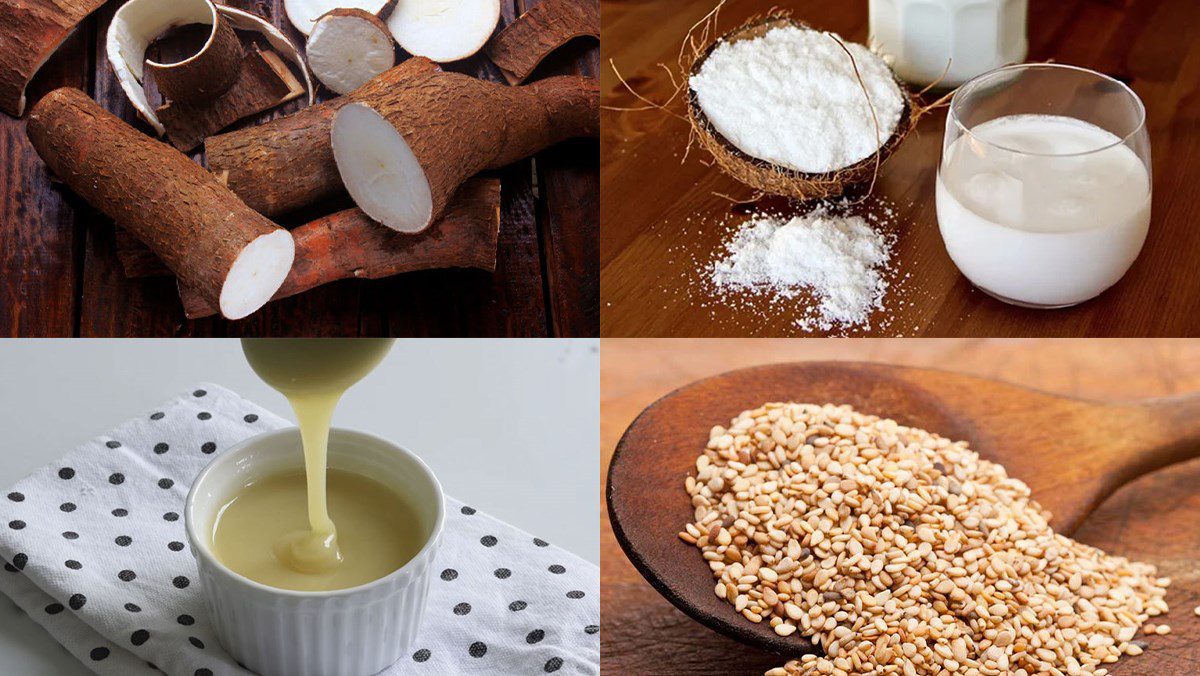
Ingredients for Baked Cassava Cake with Non-Stick Pan Serves 4

Cassava 1.3 kg Coconut milk 100 ml Condensed milk 100 ml Roasted white sesame 30 gr

Where to buy coconut milk?

  • You can easily find fresh coconut milk or canned coconut milk at fresh coconut stalls, markets, or supermarkets near your home like TasteVN.
  • Or you can easily order on reputable e-commerce sites like bachhoaxanh.com.
  • However, you can completely make coconut milk at home with the recipe shared by TasteVN.
See details: How to make smooth, delicious, simple coconut milk at home

Ingredients for the dish 4 ways to make baked cassava cake using a non-stick pan

Tools needed

Blender, filter bag, bowl, pan, cake mold,…

How to make Baked Cassava Cake using a non-stick pan

  • Prepare and grind cassava

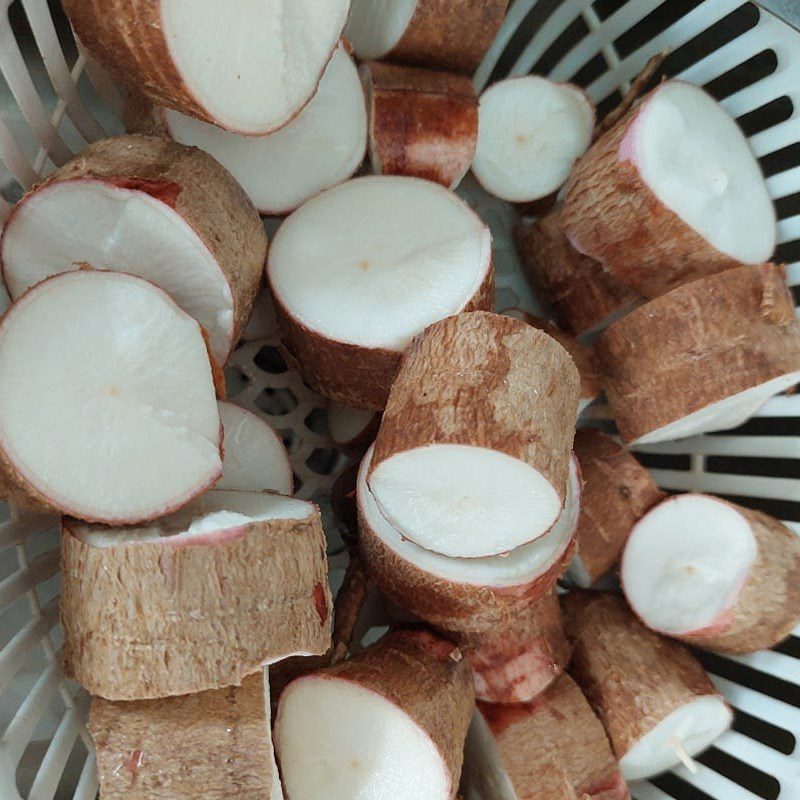
    After buying cassava, cut it into slices, peel off the skin and wash it, then soak it in water for about 6 – 8 hours to remove all toxins.

    After soaking for the required time, wash the cassava thoroughly and then cut it into small pieces.

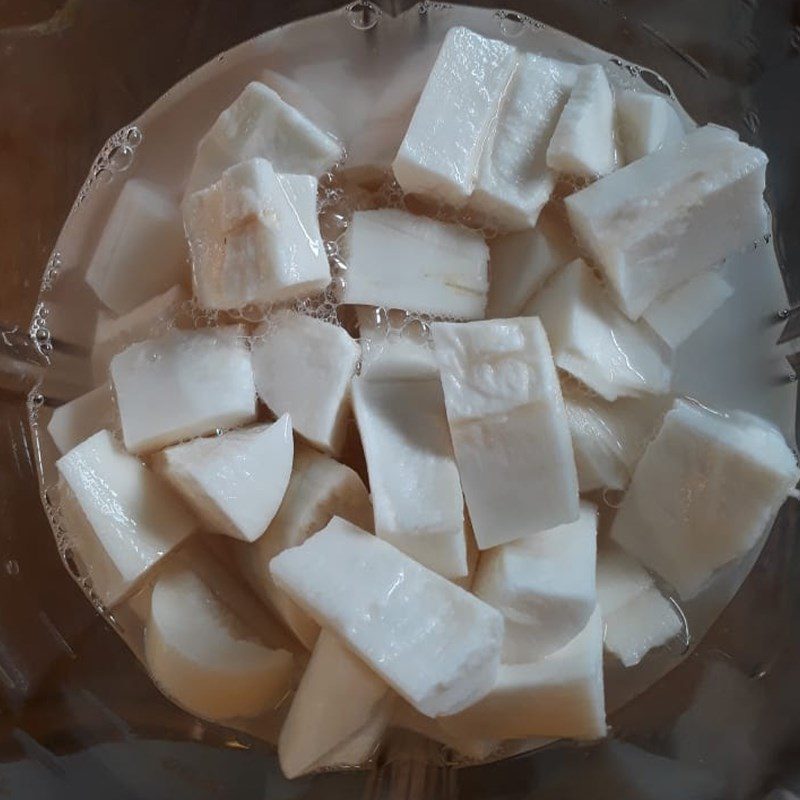
    Next, put the cassava into a blender, add 400ml of water, and then press the button to blend until smooth.

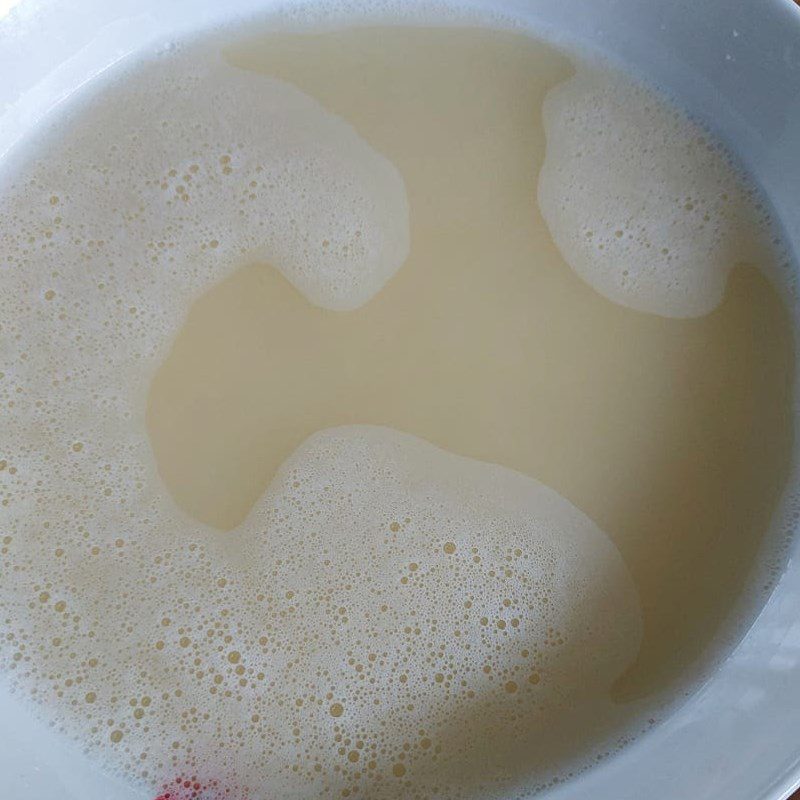
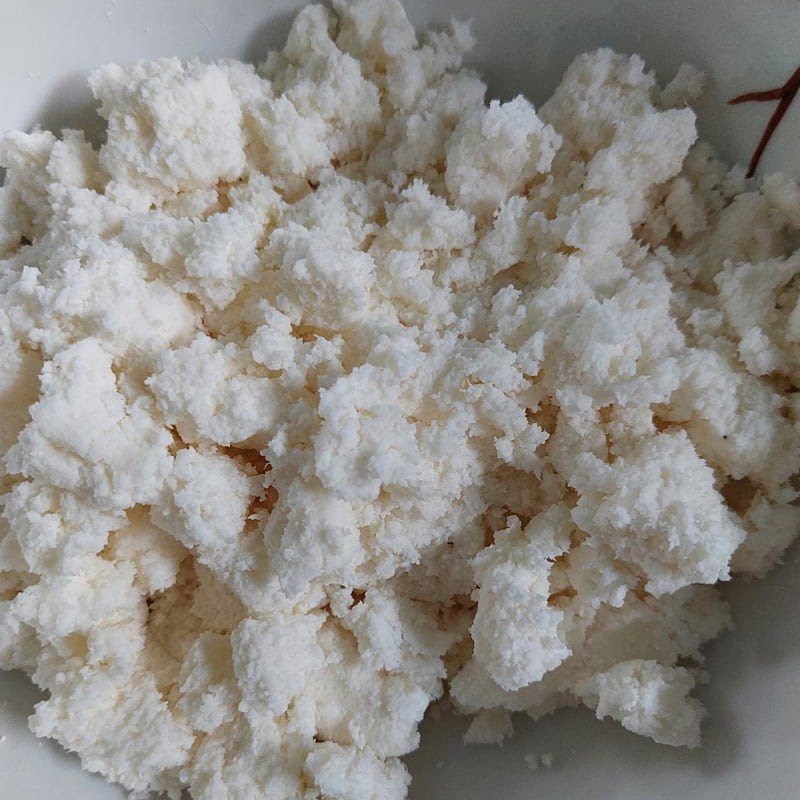
    Finally, put the blended cassava into a strainer, filter to separate the pulp into one bowl, and keep the liquid in another bowl, then let the bowl of liquid sit for about 30 minutes to allow the starch to settle, after which you can pour off the water to retrieve the starch.
    Step 1 Prepare and grind cassava Baked Cassava Cake using a non-stick pan
    Step 1 Prepare and grind cassava Baked Cassava Cake using a non-stick pan
    Step 1 Prepare and grind cassava Baked Cassava Cake using a non-stick pan
    Step 1 Prepare and grind cassava Baked Cassava Cake using a non-stick pan
  • Mix the cake batter

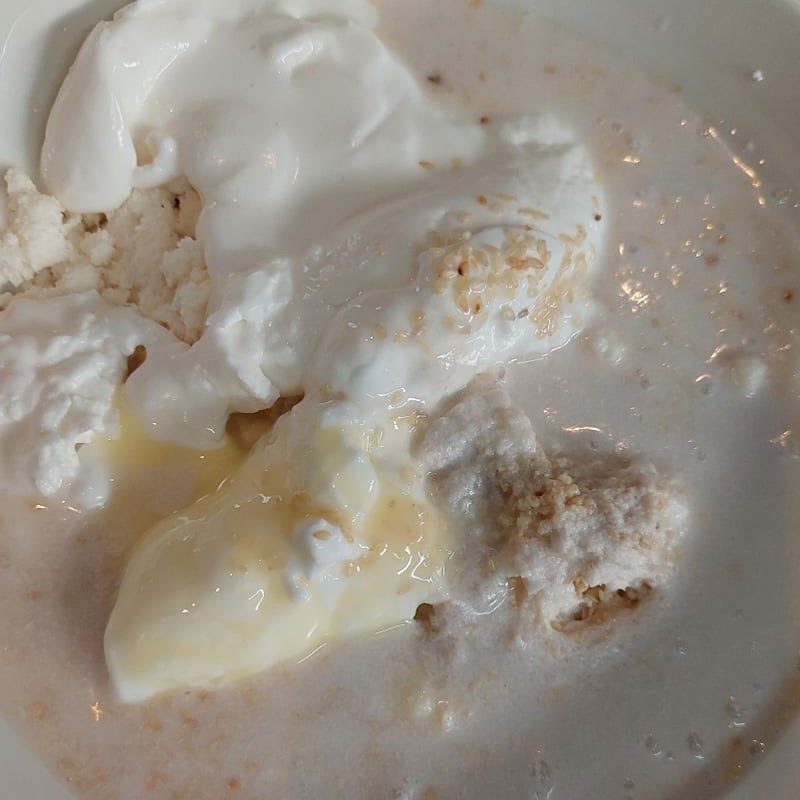
    Add 100ml of condensed milk, 100ml of coconut milk, and 30g of roasted white sesame seeds into a bowl of cassava starch, then wear gloves to mix the ingredients thoroughly together, and let the batter rest for about 10 minutes!
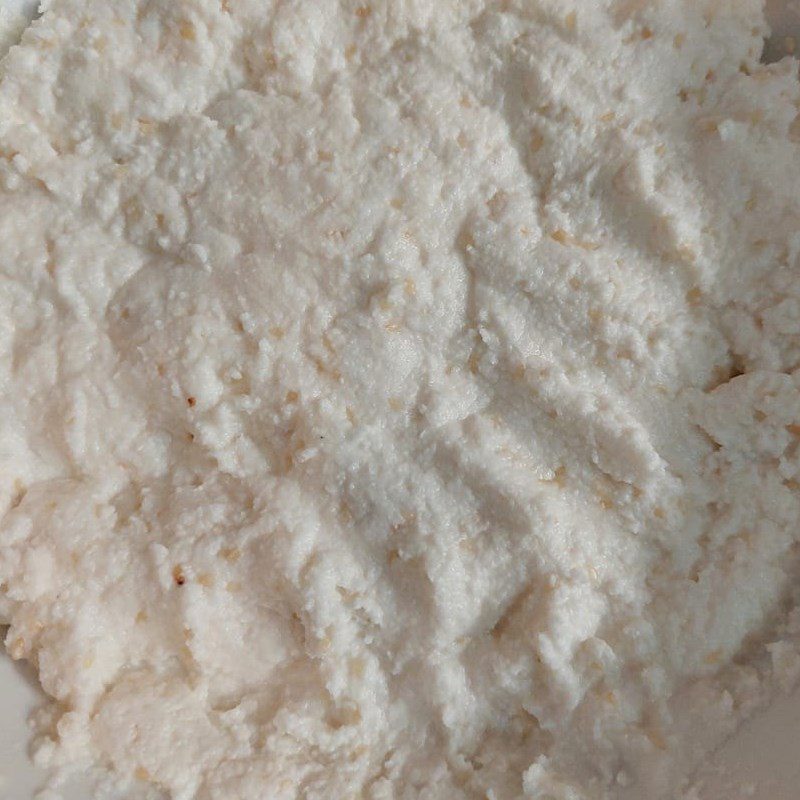
    Step 2 Mix the cake batter Baked Cassava Cake using a non-stick pan
    Step 2 Mixing the dough for baked cassava cake in a non-stick pan
  • Baking the cake

    You skillfully shape each piece of dough into a round ball, then gently flatten it and arrange it in the non-stick pan, or you can use a round mold to spread the dough evenly in the non-stick pan.

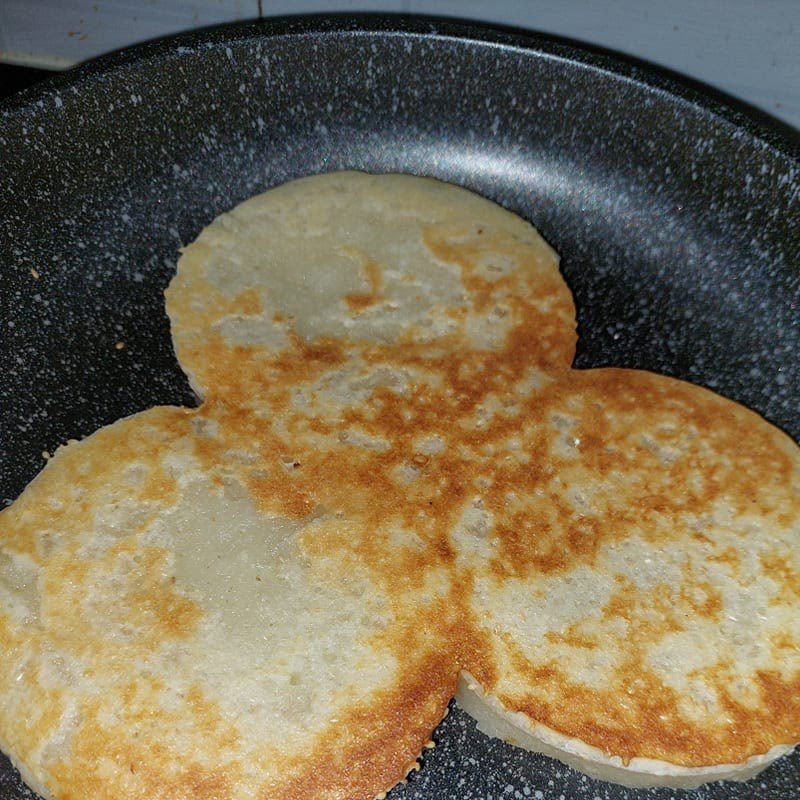
    Then, place the pan on the stove with high heat until the pan is hot, then reduce the heat to low, cover the pan for about 10 minutes and wait for the bottom of the cake to turn golden brown. Then, open the lid and flip the cake over to bake the other side until it is golden brown as well!

    Finally, take the cassava cake out onto a plate and you can enjoy it.
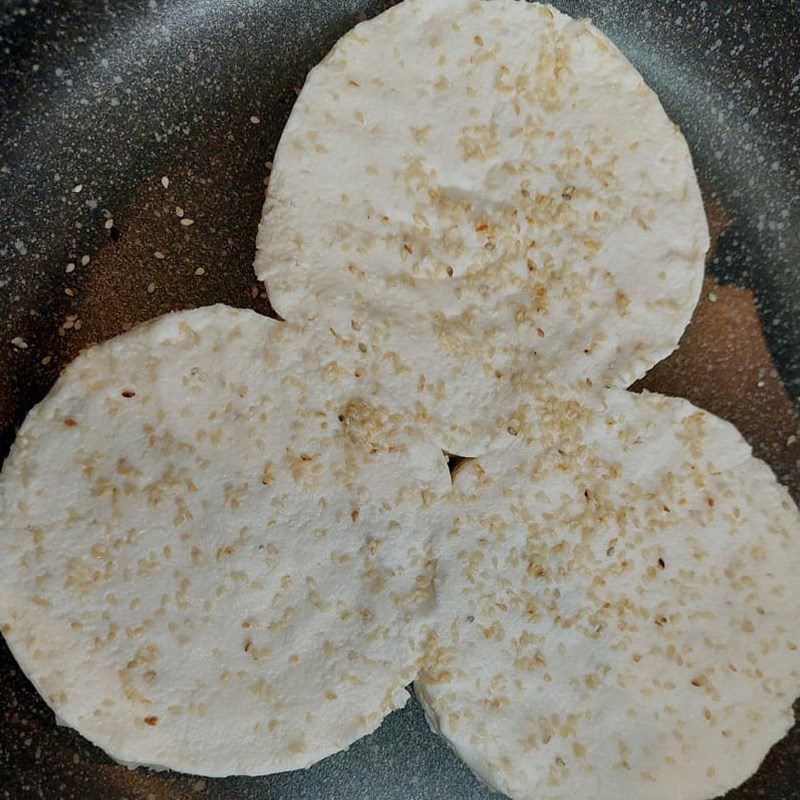
    Step 3 Baking the cake for baked cassava cake in a non-stick pan
    Step 3 Baking the cake for baked cassava cake in a non-stick pan
    Step 3 Baking the cake for baked cassava cake in a non-stick pan
    Step 3 Baking the cake for baked cassava cake in a non-stick pan
  • Final product

    The baked cassava cake is fragrant, with both sides golden brown. The outer layer is crispy, while the inside is soft and rich, and the cassava is slightly chewy without being overwhelming.

    This cake is easy to make, and it tastes better when eaten hot. With the chilly weather in winter, enjoying hot baked cassava cake with family on the weekend is truly wonderful!
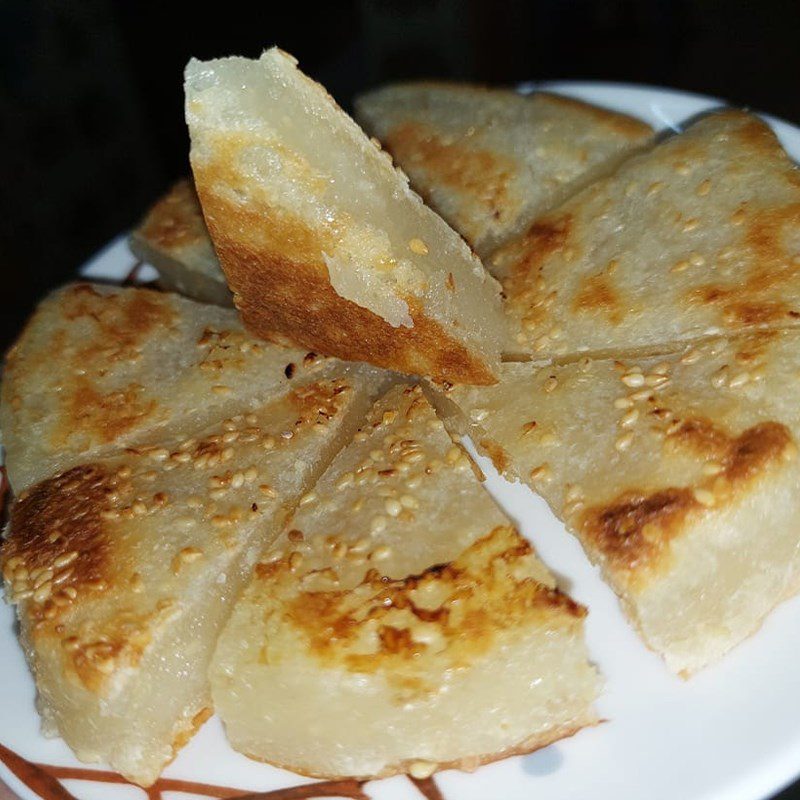
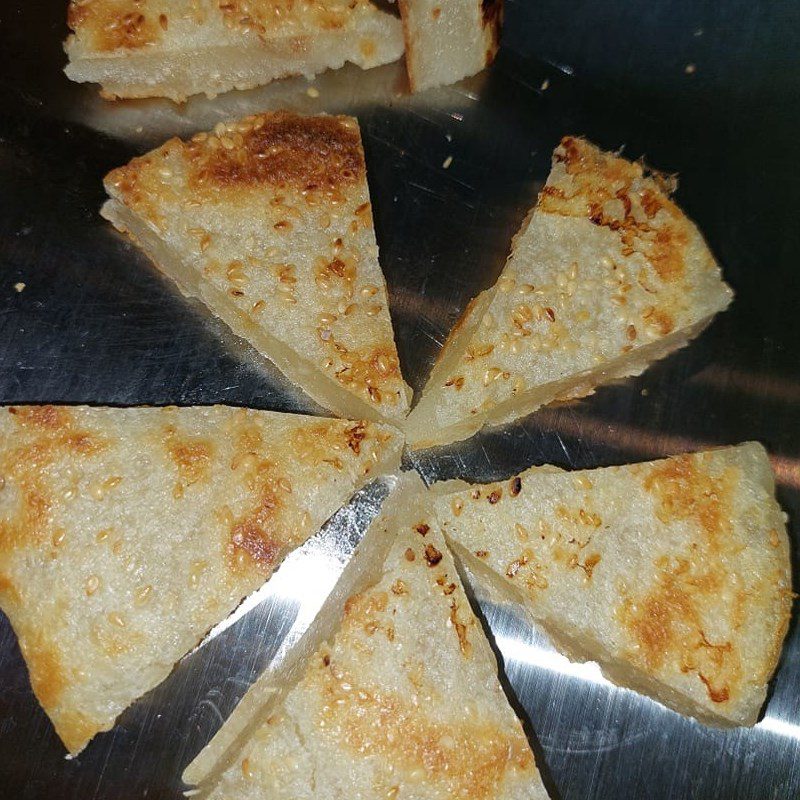
    Step 4 Final product for baked cassava cake in a non-stick pan
    Step 4 Final product of pan-fried cassava cake

3. Pan-fried Cassava Cake

Pan-fried Cassava Cake
  • Preparation

    15 minutes

  • Cooking

    20 minutes

  • Difficulty

    Easy

Ingredients for Pan-fried Cassava Cake For 2 people

Cassava 1 kg Condensed milk 100 ml Sugar 2 tablespoons Salt 1/2 tablespoon Cooking oil 200 ml

Ingredient Image
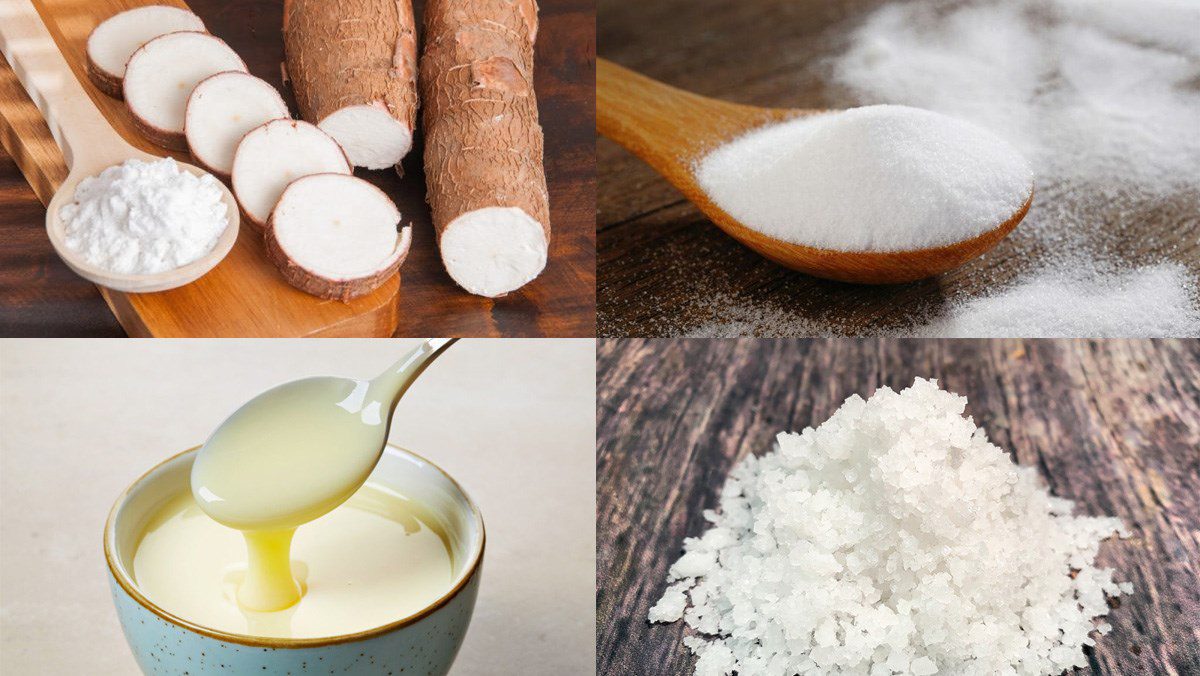
Ingredients for the dish 4 ways to make pan-fried cassava cake

How to Make Pan-fried Cassava Cake

  • Prepare the Cassava

    After buying cassava, peel the skin, wash it clean, and then soak the cassava in diluted saltwater for about 6 hours before cooking or overnight to remove toxins.

    After soaking, wash the cassava again and then proceed to shred it.
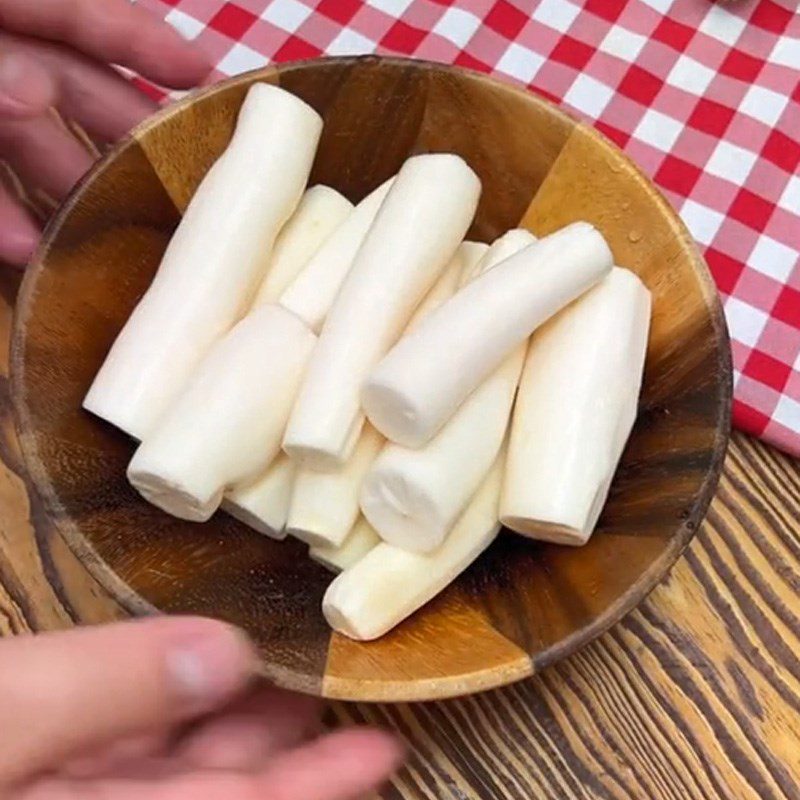
    Step 1 Prepare the cassava for Pan-fried Cassava Cake
    Step 1 Prepare the cassava for Pan-fried Cassava Cake
    Step 1 Prepare the cassava for Pan-fried Cassava Cake
    Step 1 Prepare cassava Cassava pancake
  • Mix cassava pancake

    Add 100ml of condensed milk, 2 tablespoons of sugar, and 1/2 tablespoon of salt into the bowl of cassava, then mix the mixture well together, and let the cassava soak for about 10 minutes.
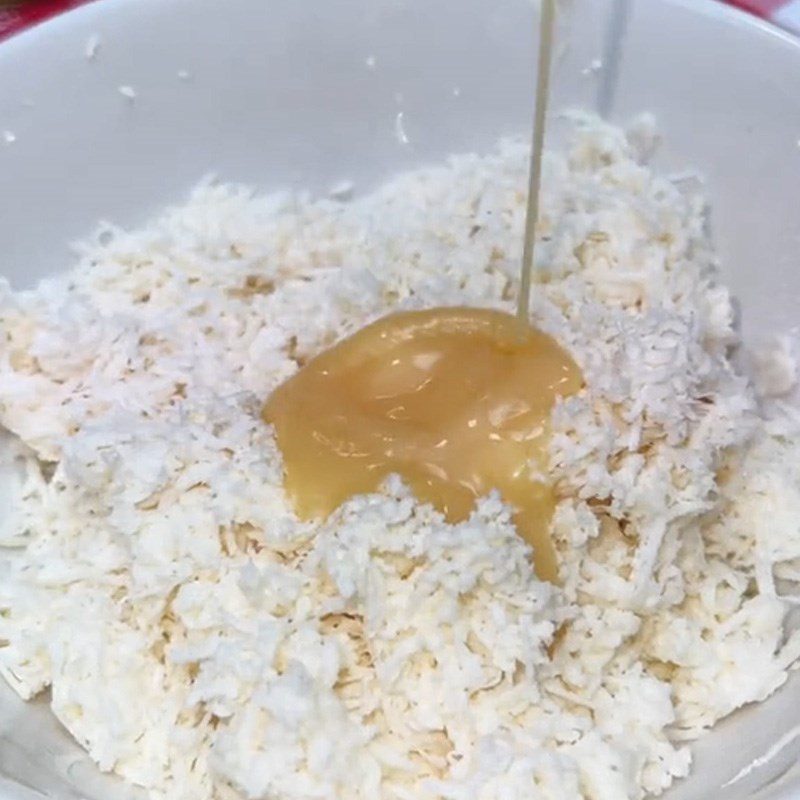
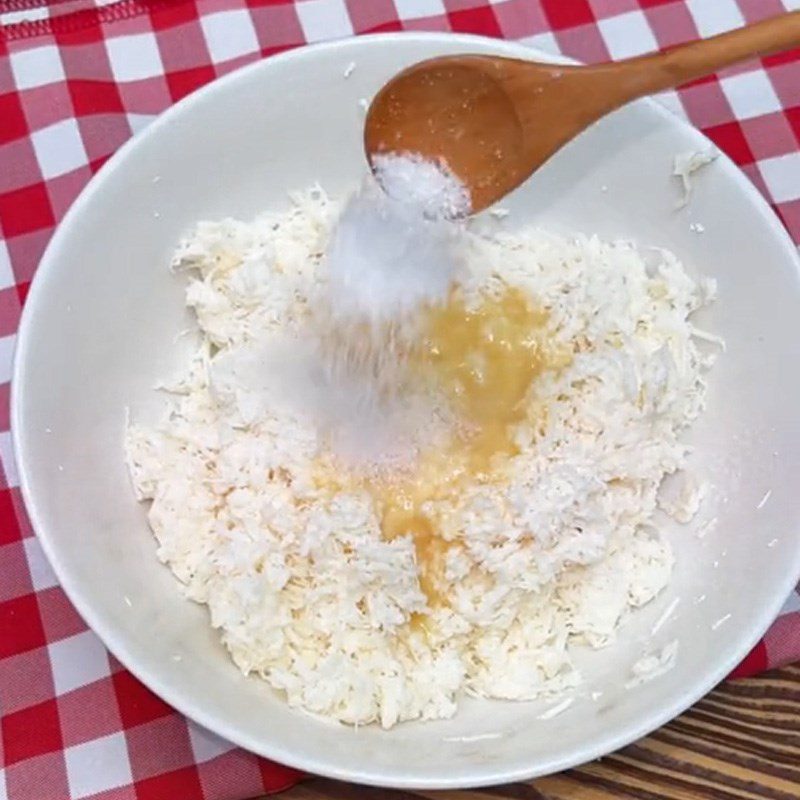
    Step 2 Mix cassava pancake Cassava pancake
    Step 2 Mix cassava pancake Cassava pancake
    Step 2 Mix cassava pancake Cassava pancake
    Step 2 Mix cassava pancake Cassava pancake
  • Pan-fry cassava pancake

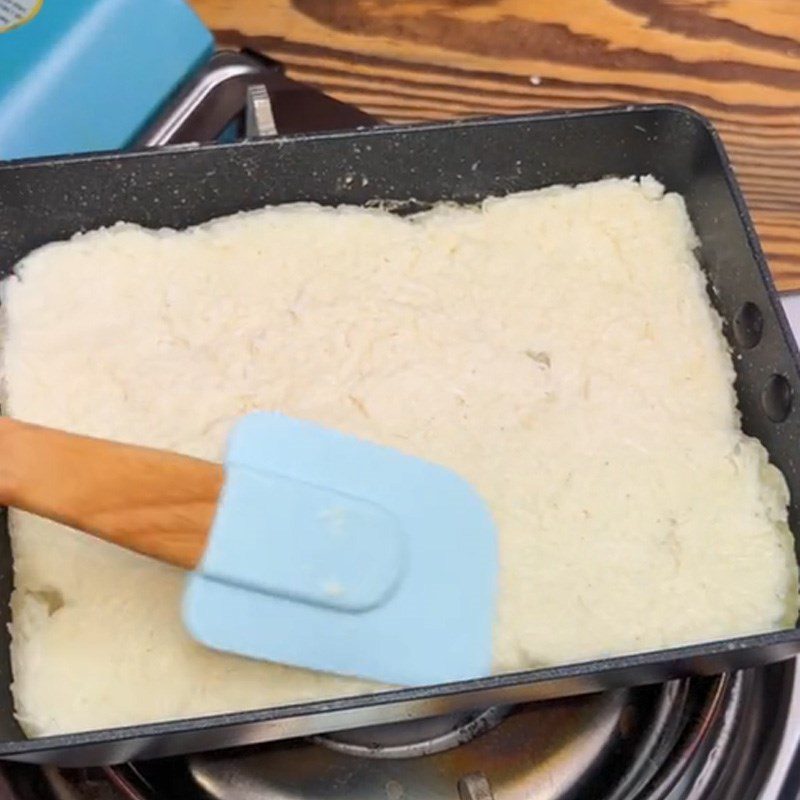
    Place a pan on the stove over medium heat, allow the pan to heat up, then brush a thin layer of oil onto the pan, and add the cassava, spreading it evenly in the pan. Wait until the bottom is golden brown, then flip the pancake to pan-fry the other side until cooked evenly.
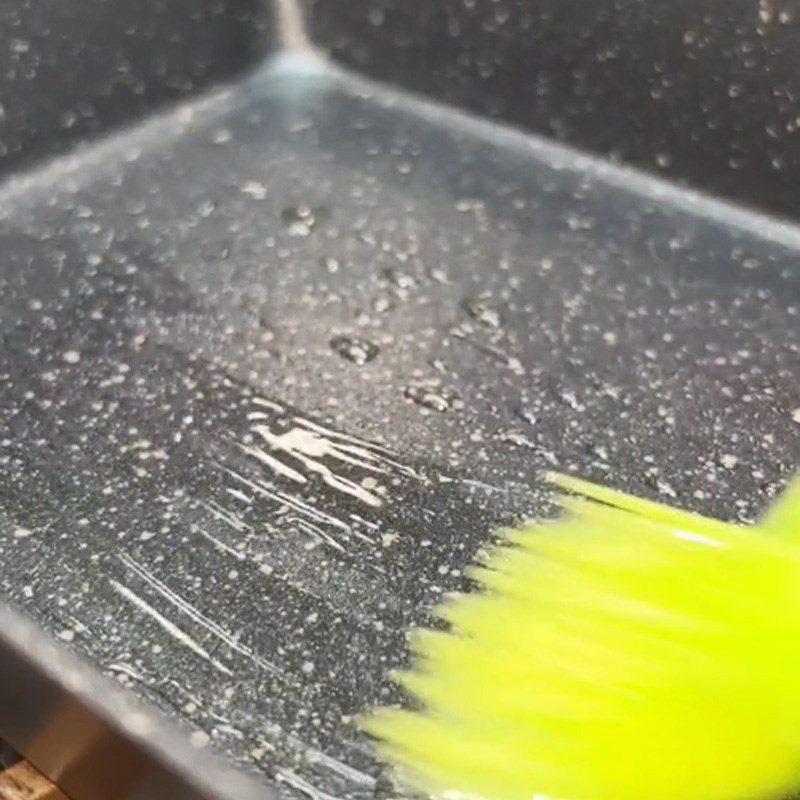
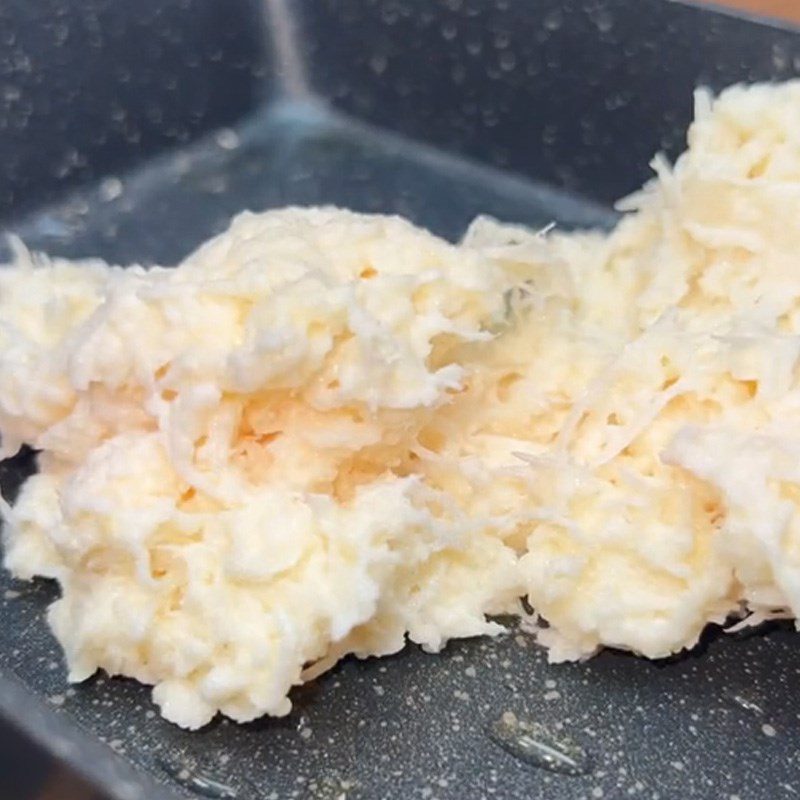
    Step 3 Pan-fry cassava pancake Cassava pancake
    Step 3 Pan-fry cassava pancake Cassava pancake
    Step 3 Pan-fry cassava pancake Cassava pancake
    Step 3 Frying the cassava cake Fried cassava cake
  • Final Product

    Fried cassava cake with a beautiful golden color and a fragrant aroma. The outer layer is crispy, while the inside is soft and creamy just right. This dish is extremely easy to make, and enjoying baked cassava cake with family is incredibly wonderful!
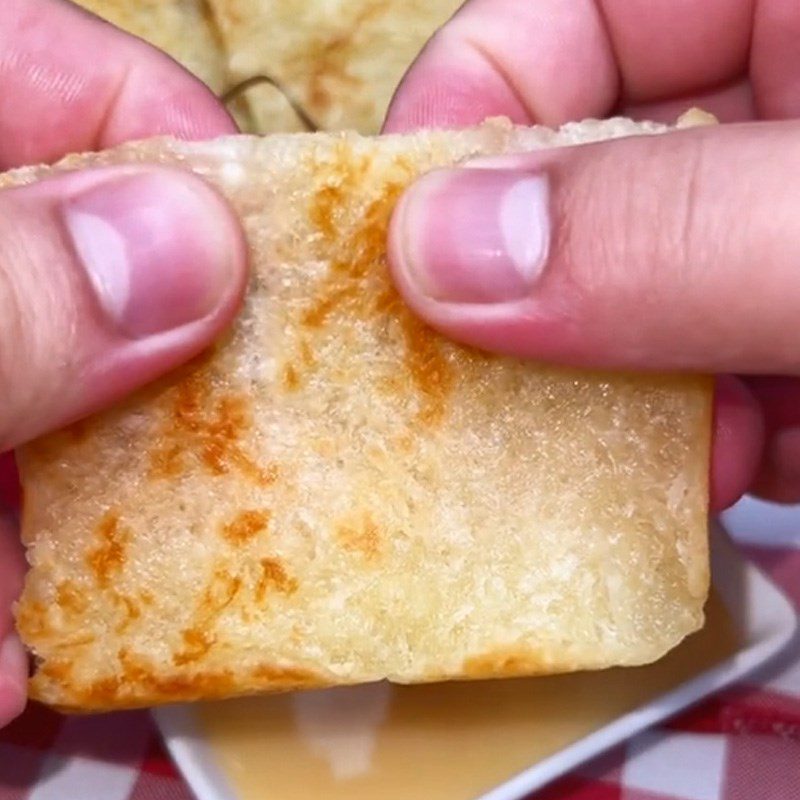
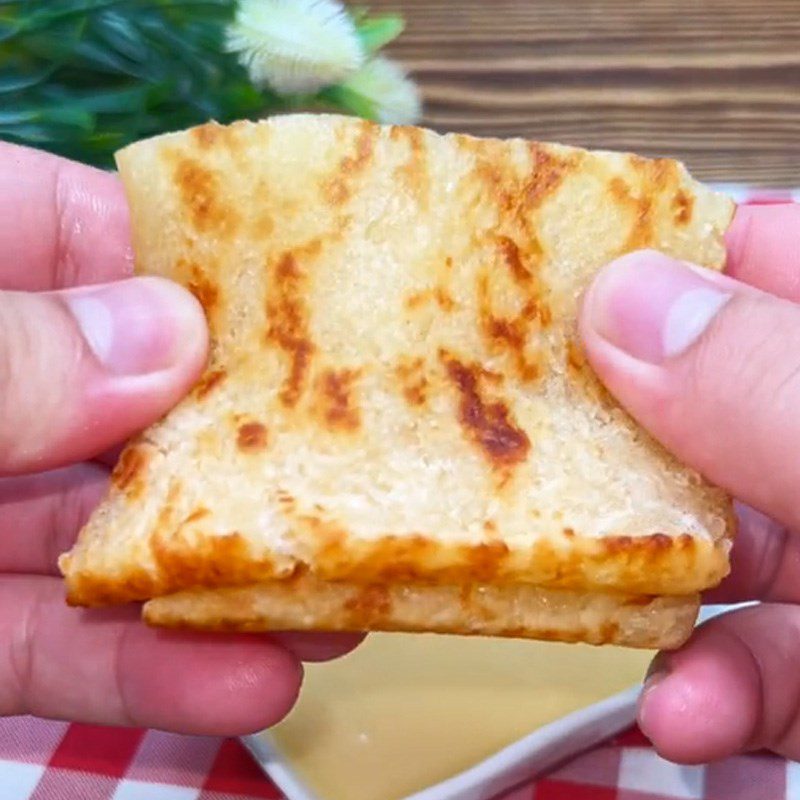
    Step 4 Final Product Fried cassava cake
    Step 4 Final Product Fried cassava cake
    Step 4 Final Product Fried cassava cake
    Step 4 Final Product Fried cassava cake

4. Cheese cassava cake (Recipe shared from Tiktok Cooking with TasteVN)

Cheese cassava cake (Recipe shared from Tiktok Cooking with TasteVN)
  • Preparation

    15 minutes

  • Cooking

    20 minutes

  • Difficulty

    Easy

Ingredients for Cheese Cassava Cake (Recipe shared from Tiktok Cooking with TasteVN) For 1 – 2 people

Sticky cassava 500 gr Glutinous rice flour 1/2 cup Condensed milk 1/2 cup Cooking oil 2 tablespoons Laughing cow cheese 1 box

Raw material image
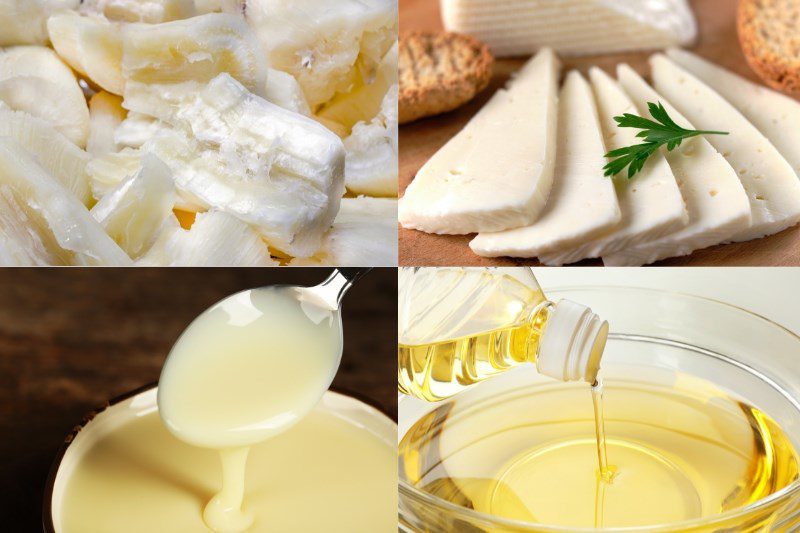
Ingredients for the dish 4 ways to make baked cassava in a non-stick pan

How to make Cheese Cassava Cake (Recipe shared from Tiktok Cook with TasteVN)

  • Prepare ingredients

    Peel the cassava that you bought, wash it clean, then cut it into pieces and steam it until cooked for about 10 – 15 minutes.

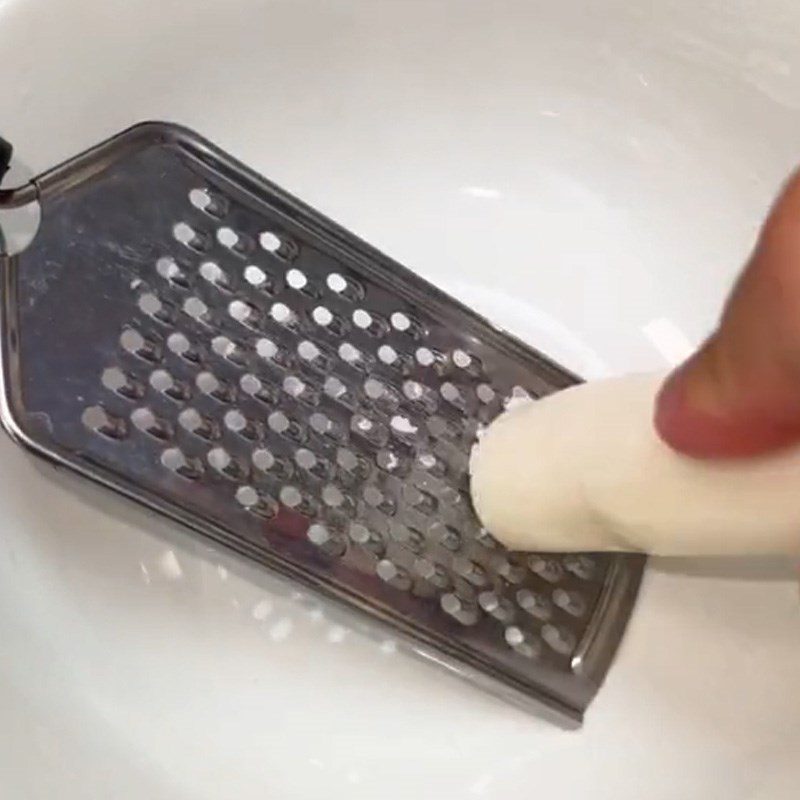
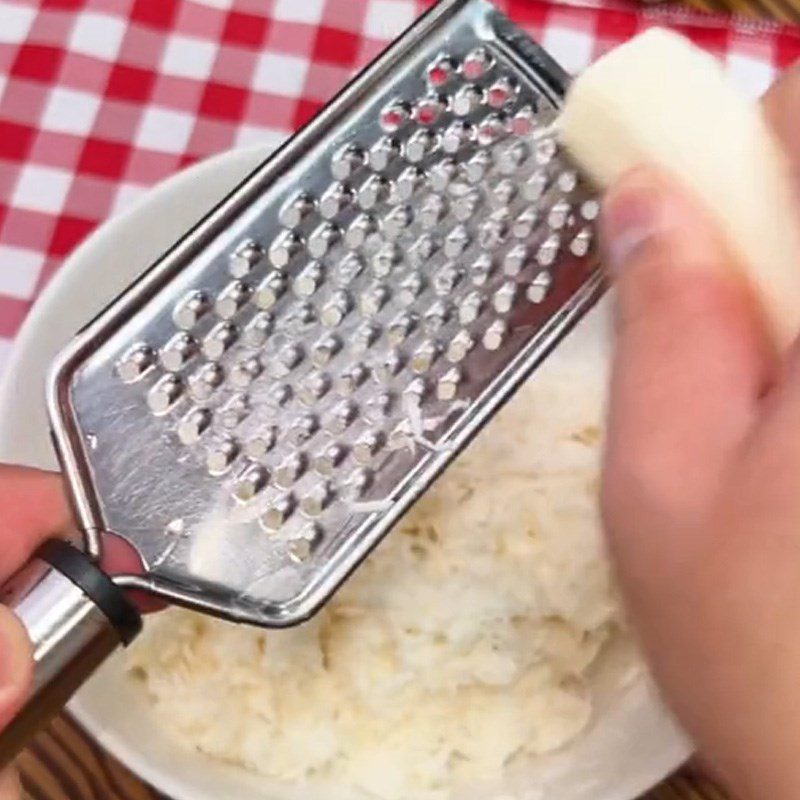
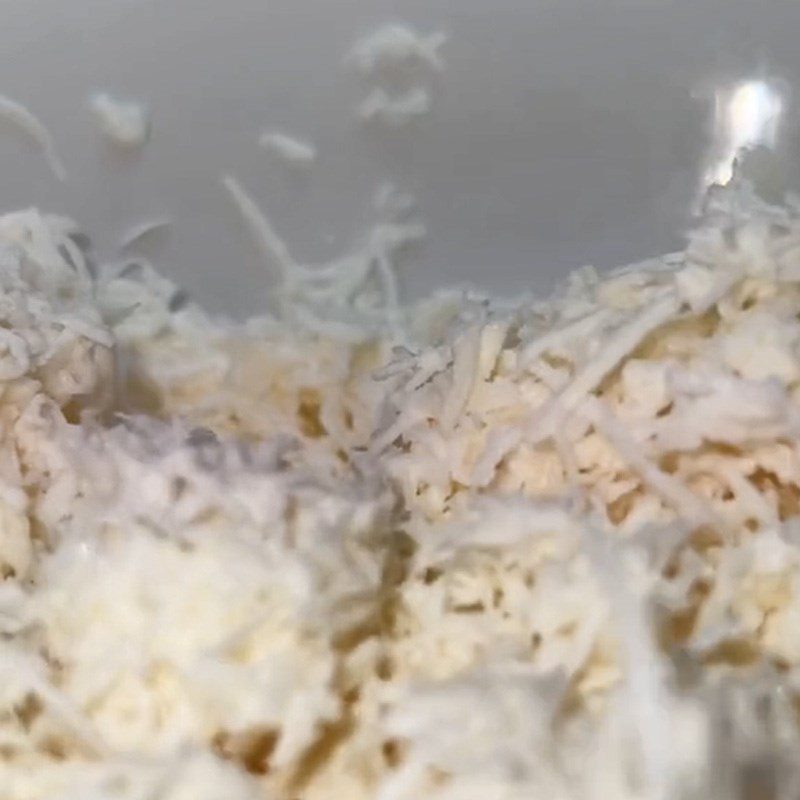
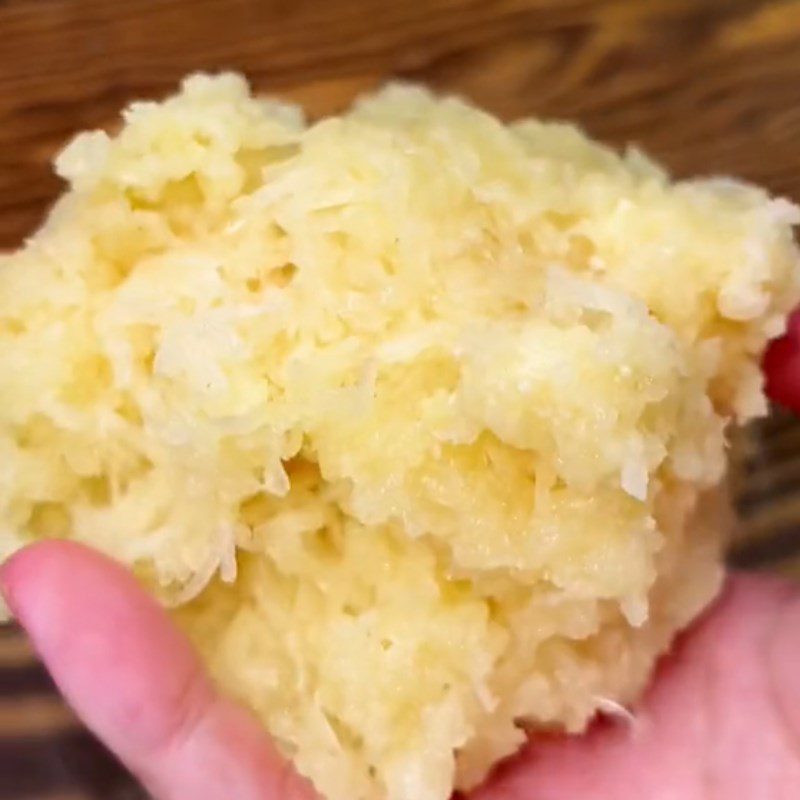
    After the cassava is steamed, use a grater or mash the cooked cassava until it is fine.
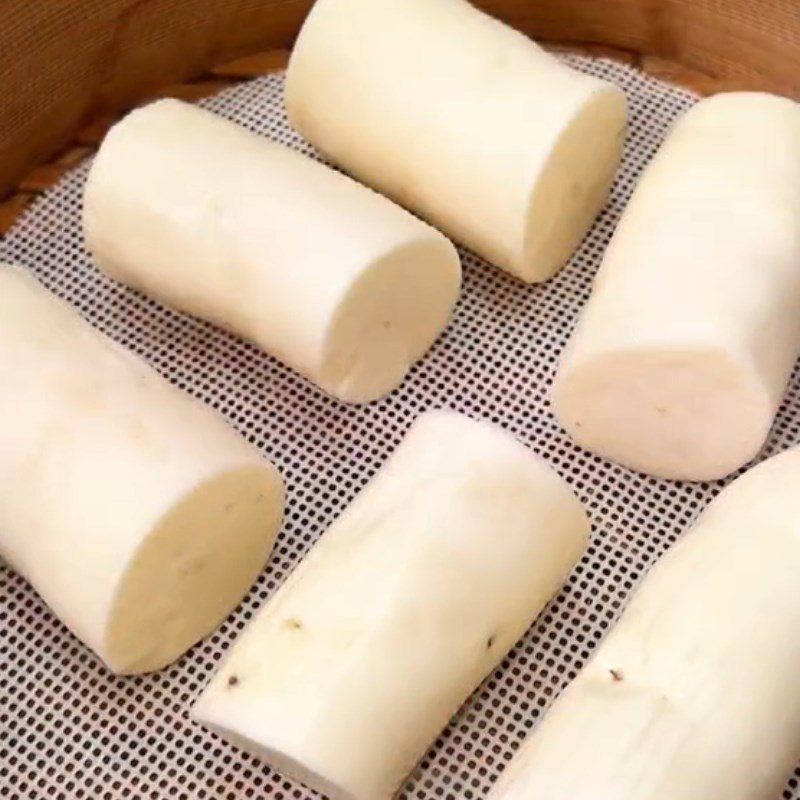
    Step 1 Prepare ingredients Cheese Cassava Cake (Recipe shared from Tiktok Cook with TasteVN)
    Step 1 Prepare ingredients Cheese Cassava Cake (Recipe shared from Tiktok Cook with TasteVN)
  • Mix cassava

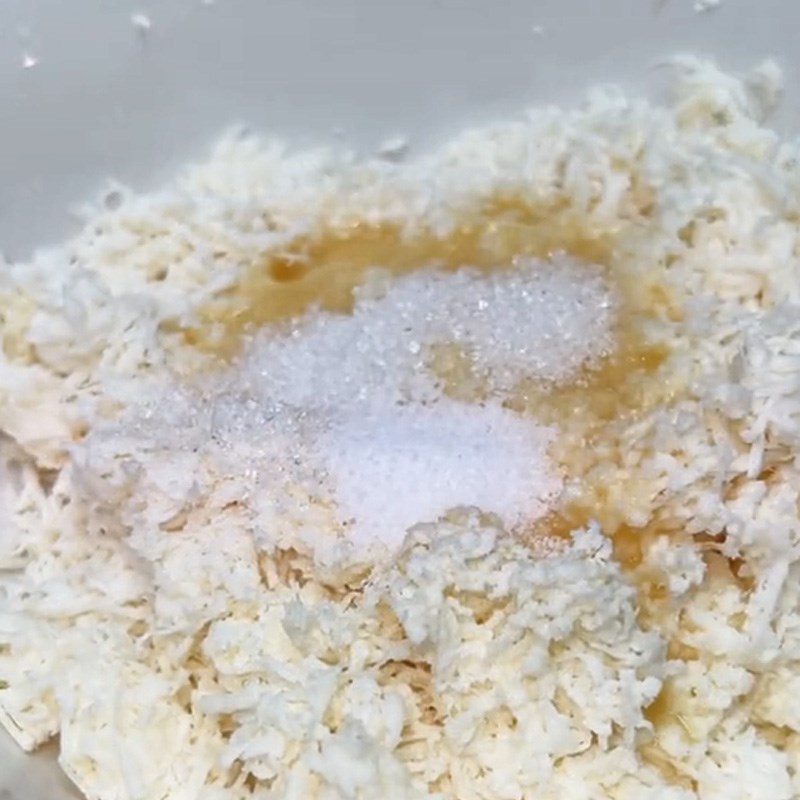
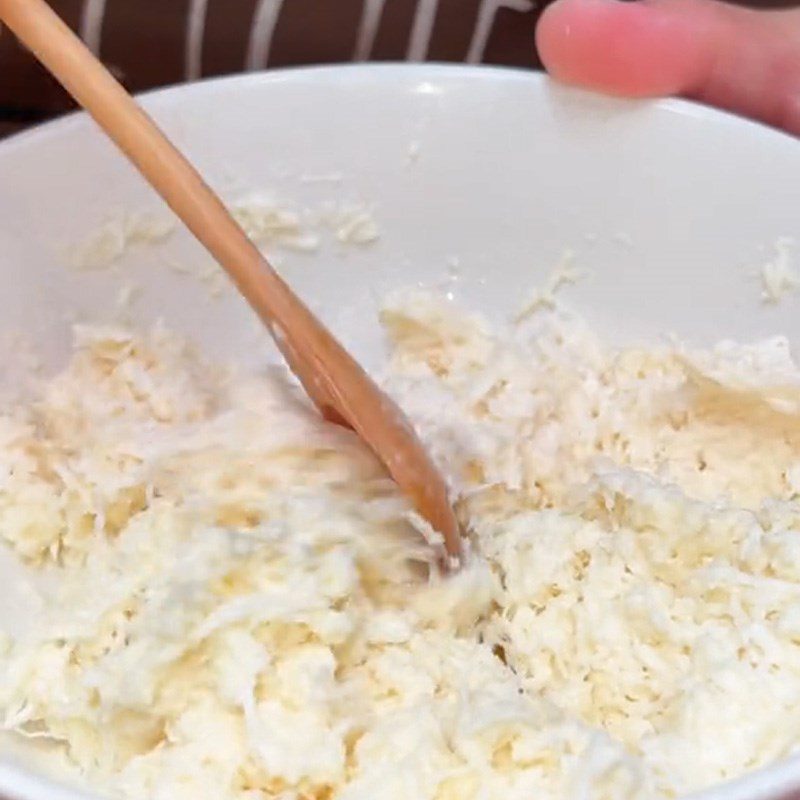
    The mashed cassava should be placed in a bowl, then add 1/2 cup of glutinous rice flour, 1/2 cup of condensed milk, and 2 tablespoons of cooking oil, then mix well so that the ingredients blend together.
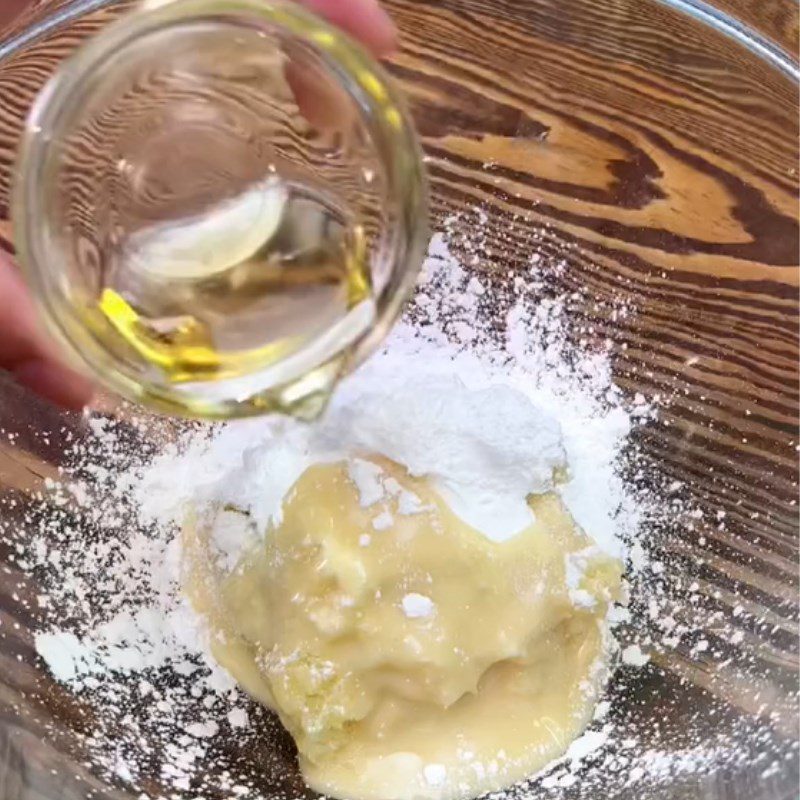
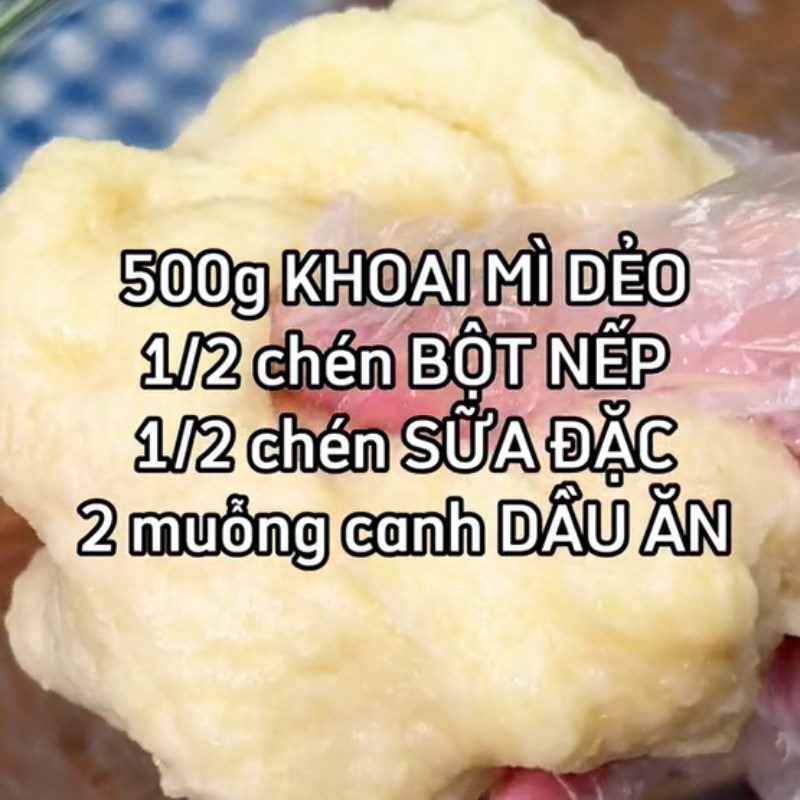
    Step 2 Mix cassava Cheese Cassava Cake (Recipe shared from Tiktok Cook with TasteVN)
    Step 2 Mix cassava Cheese Cassava Cake (Recipe shared from Tiktok Cook with TasteVN)
  • Making cassava cake

    First, you cut the pieces of laughing cow cheese into small pieces to make the filling. Divide the prepared cassava dough into small pieces, flatten each piece of dough with your hands, place a piece of cheese in the center, and then roll the dough into a ball so that the cheese does not show through. Repeat the process until all the cassava dough is used up.

    Once the cakes are made, you bring them to the pan, cooking the cakes on low heat until they are evenly browned on both sides.
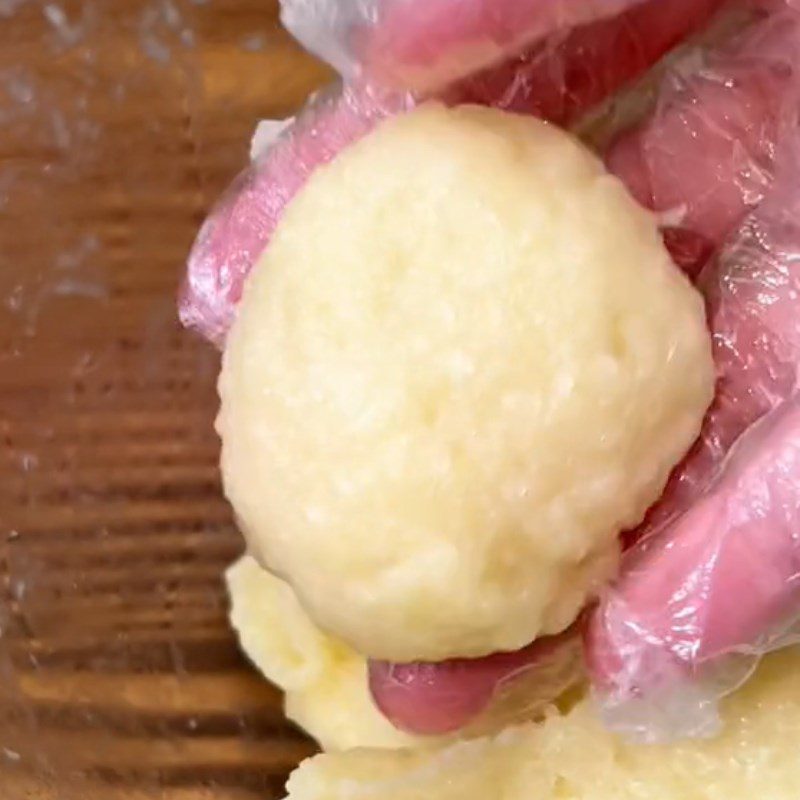
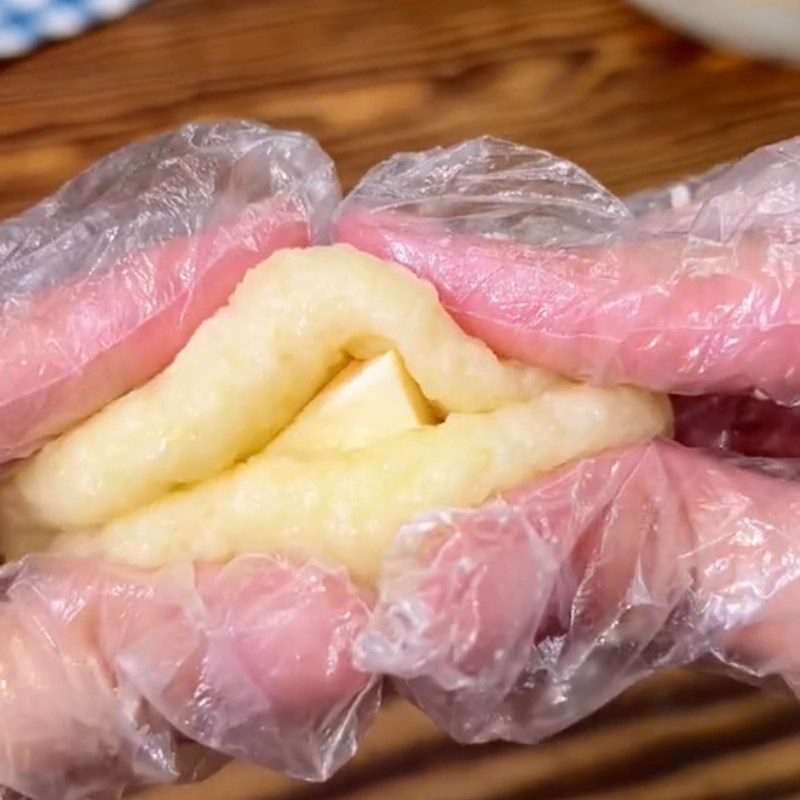
    Step 3 Making cassava cake Cassava cheese cake (Recipe shared from Tiktok Cooking with TasteVN)
    Step 3 Making cassava cake Cassava cheese cake (Recipe shared from Tiktok Cooking with TasteVN)
    Step 3 Making cassava cake Cassava cheese cake (Recipe shared from Tiktok Cooking with TasteVN)
    Step 3 Making cassava cake Cassava cheese cake (Recipe shared from Tiktok Cooking with TasteVN)
  • Final product

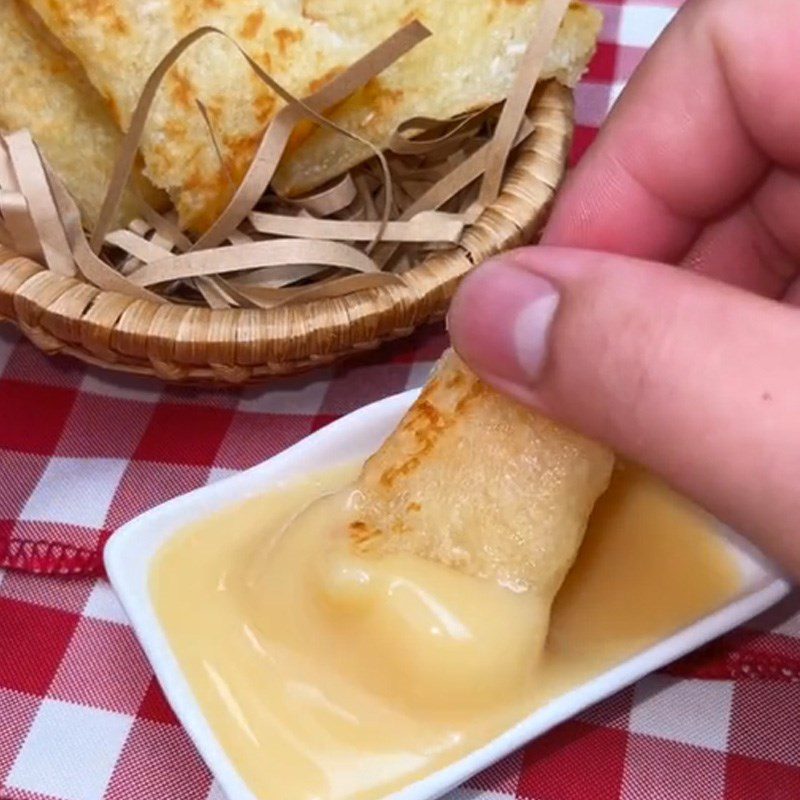
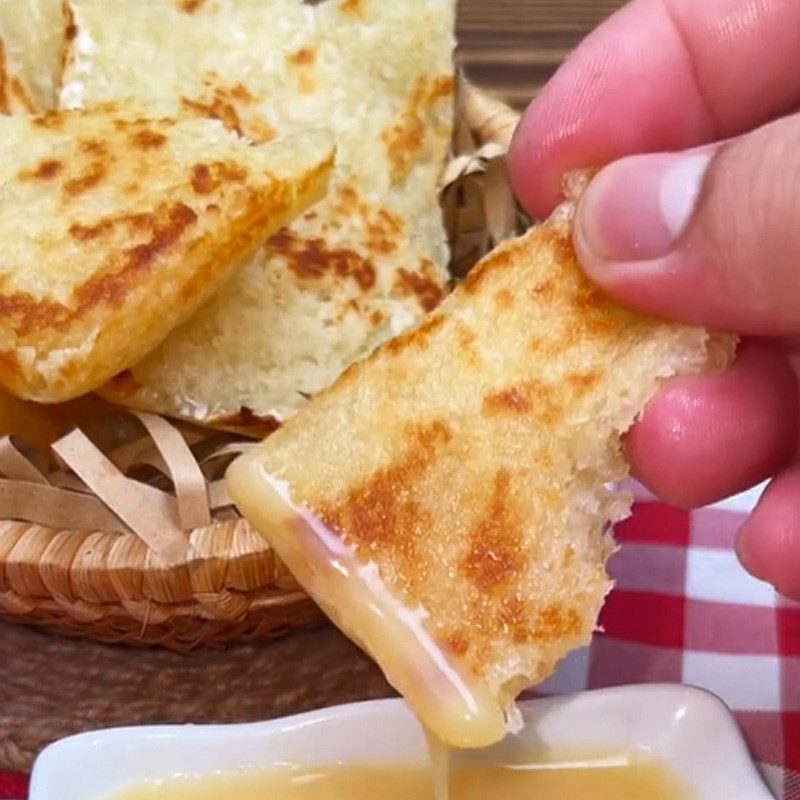
    The cassava cake is soft and chewy, fragrant with milk and cheese, and the cheesy filling is rich and addictive. Snack cake is a simple and easy treat that you can try making for your family right away!
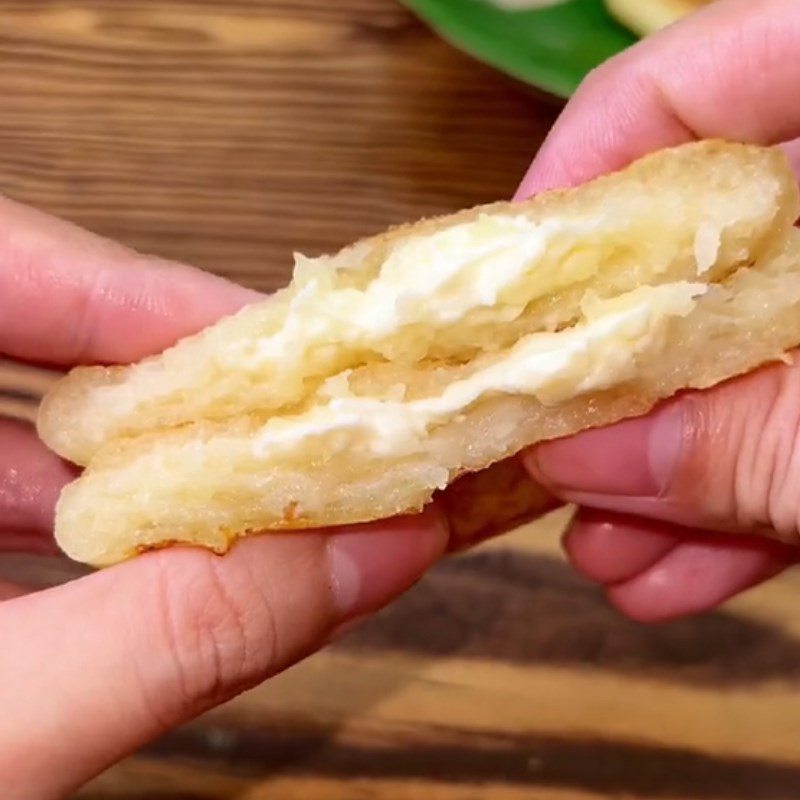
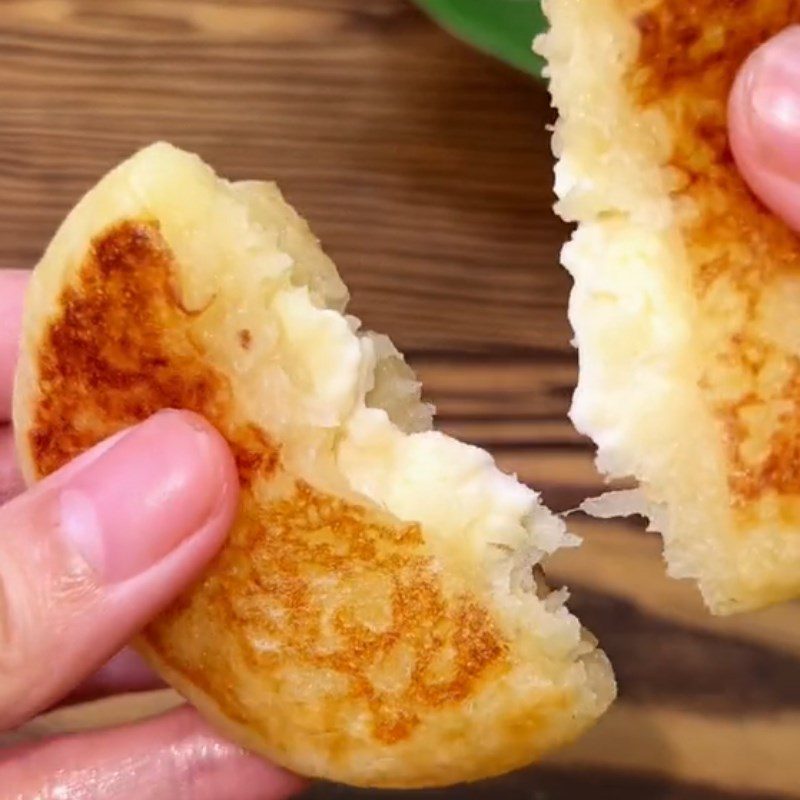
    Step 4 Final product Cassava cheese cake (Recipe shared from Tiktok Cooking with TasteVN)
    Step 4 Finished Product of Cassava Cake with Cheese (Recipe shared from Tiktok Cooking with TasteVN)

How to choose delicious cassava (manioc)

  • When choosing cassava (manioc), you should pay attention to select the hill cassava variety, as this type will be very fluffy and fragrant when eaten.
  • You should choose tubers with fresh skin because those are the soft, sweet tubers that are not fibrous.
  • Try to gently scrape the thin outer skin of the cassava with your fingernail; if the inner skin is light pink, choose it; if it is white, you should skip it because the pink skin has fewer toxins than the white skin.
  • Cassava (manioc) should not be kept for too long as it will become hard, dry, and lose its deliciousness. Cassava is similar to bamboo shoots; although delicious, you need to process it carefully before cooking to eliminate the toxins inside the cassava.

How to store the cake:

This cake is cooked by pan-frying, so it cannot be kept for long; it should only be tightly wrapped at room temperature for 2 – 3 days. When using, you can microwave it using microwave to make the cake softer.

See more:
  • How to make delicious, fragrant grilled banana cassava cake, simple and attractive
  • How to make delicious, chewy grilled cassava cake, simple and easy to make
  • How to make delicious grilled durian cassava cake, sweet and fragrant, irresistible

Just a few simple steps and you can immediately have delicious, smooth baked cassava cake in a non-stick pan. TasteVN wishes you success with this cake to treat your family!

https://www.youtube.com/watch?v=UcNAL77NT1U&t=3s
Hongphuc Phanthi

https://www.facebook.com/hongphuc.phanthi.923

*Feel free to check out many delicious recipes on the channel Tiktok Cooking with TasteVN
Cooking time: 30 minutes
Level: Easy
Tags: baked cassava cakehow to make baked cassava cakehow to make baked cassava cake in a panmaking baked cassava cakepan-baked cassava cake
Previous Post

4 ways to make delicious vegetarian noodle dishes, rich in flavor, addictive to eat

Next Post

2 ways to make grilled catfish with galangal, lemongrass, and fragrant green chili

TasteT

TasteT

I am a food writer specializing in Vietnamese cuisine, sharing traditional recipes, cooking tips, and the culture behind every dish. My goal is to bring the authentic flavors of Vietnam to your kitchen.

Related Posts

How to make delicious and fragrant baked cassava cake with durian, sweet and addictive
Cake

How to make delicious and fragrant baked cassava cake with durian, sweet and addictive

2 Simple and Delicious Ways to Make Baked Cassava Cake Using an Air Fryer
Cake

2 Simple and Delicious Ways to Make Baked Cassava Cake Using an Air Fryer

Next Post
2 ways to make grilled catfish with galangal, lemongrass, and fragrant green chili

2 ways to make grilled catfish with galangal, lemongrass, and fragrant green chili

Leave a Reply Cancel reply

Your email address will not be published. Required fields are marked *

Navigate

  • About
  • Privacy Policy
  • Contact

Recent Recipes

2 Ways to Make Bitter Melon Hotpot with Vegetarian Sausage and Light Mushrooms for Cooling Down

2 Ways to Make Bitter Melon Hotpot with Vegetarian Sausage and Light Mushrooms for Cooling Down

4 ways to make delicious and nutritious steamed pumpkin with eggs, meat, seafood, and lotus seeds

4 ways to make delicious and nutritious steamed pumpkin with eggs, meat, seafood, and lotus seeds

Browse by Category

  • Beef Dishes
  • Beverages
  • Braised Food
  • Cake
  • Chicken Dishes
  • Desserts
  • Dried and Fermented Dishes
  • Festivals & Holidays
  • Fried Food
  • Grilled Food
  • Hot Pot
  • Ice Cream
  • Juices
  • Kitchen Tips
  • Liquid Dishes
  • Milk Tea
  • Porridge
  • Rolls and Salads
  • Salad
  • Smoothies
  • Snacks
  • Soup
  • Steamed Food
  • Stir-fried Dishes
  • Sweet Soup
  • Vegetarian Dishes

Browse by Ingredients

beef beef stew braised fish cake dish dessert fried dish grilled dishes how to cook porridge how to make cake how to make ice cream into the kitchen mixed salad dish noodle soup snacks soup dish sponge cake steamed dish stir-fried dish stir-fried noodles vegetarian dish

© 2024 TasteVN - The ultimate Vietnam food destination for cooking tips, recipes, and more.

Welcome Back!

Login to your account below

Forgotten Password?

Retrieve your password

Please enter your username or email address to reset your password.

Log In
No Result
View All Result
  • Home
  • Main Dishes
    • Beef Dishes
    • Braised Food
    • Fried Food
    • Steamed Food
    • Stir-fried Dishes
    • Soup
    • Grilled Food
    • Hot Pot
    • Liquid Dishes
    • Chicken Dishes
    • Dried and Fermented Dishes
    • Vegetarian Dishes
    • Porridge
  • Desserts
    • Cake
    • Ice Cream
    • Sweet Soup
    • Desserts
  • Beverages
    • Beverages
    • Juices
    • Milk Tea
    • Smoothies
  • Snacks
    • Rolls and Salads
    • Salad
    • Snacks
  • Tips & Holidays
    • Festivals & Holidays
    • Kitchen Tips

© 2024 TasteVN - The ultimate Vietnam food destination for cooking tips, recipes, and more.