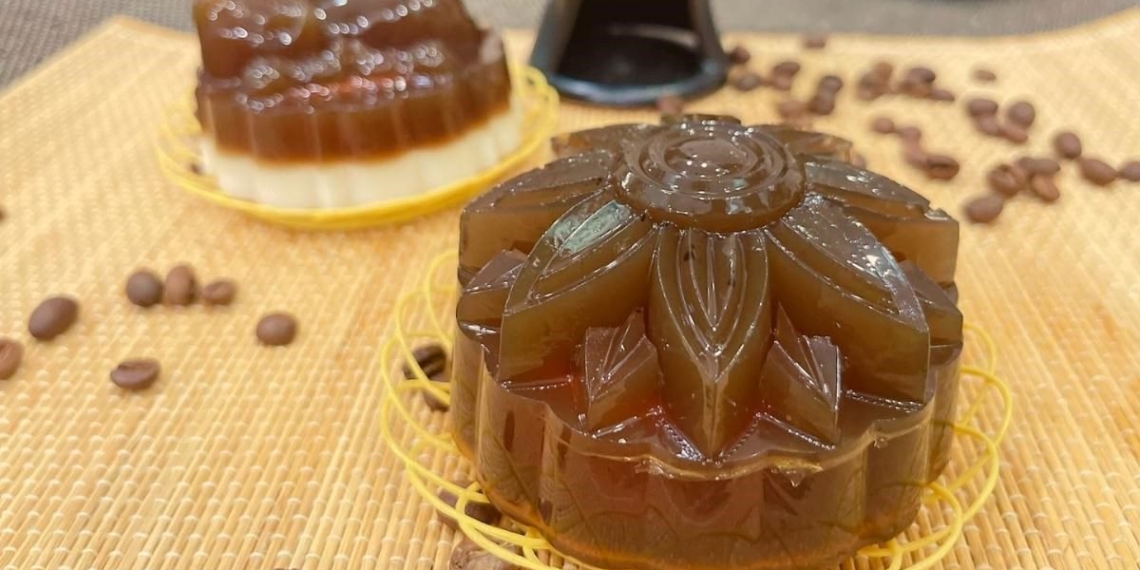
If traditional mooncakes have made you tired, then you should try making jelly mooncakes filled with flan below. The crispy jelly layer combined with the rich flan filling is sure to make you swoon. Join TasteVN in the kitchen to learn 4 cool ways to make mooncakes.
1. Jelly mooncake with coffee and flan filling
-
Preparation
30 minutes
-
Difficulty
Medium
Ingredients for Jelly mooncake with coffee and flan filling For 10 cakes of 150gr
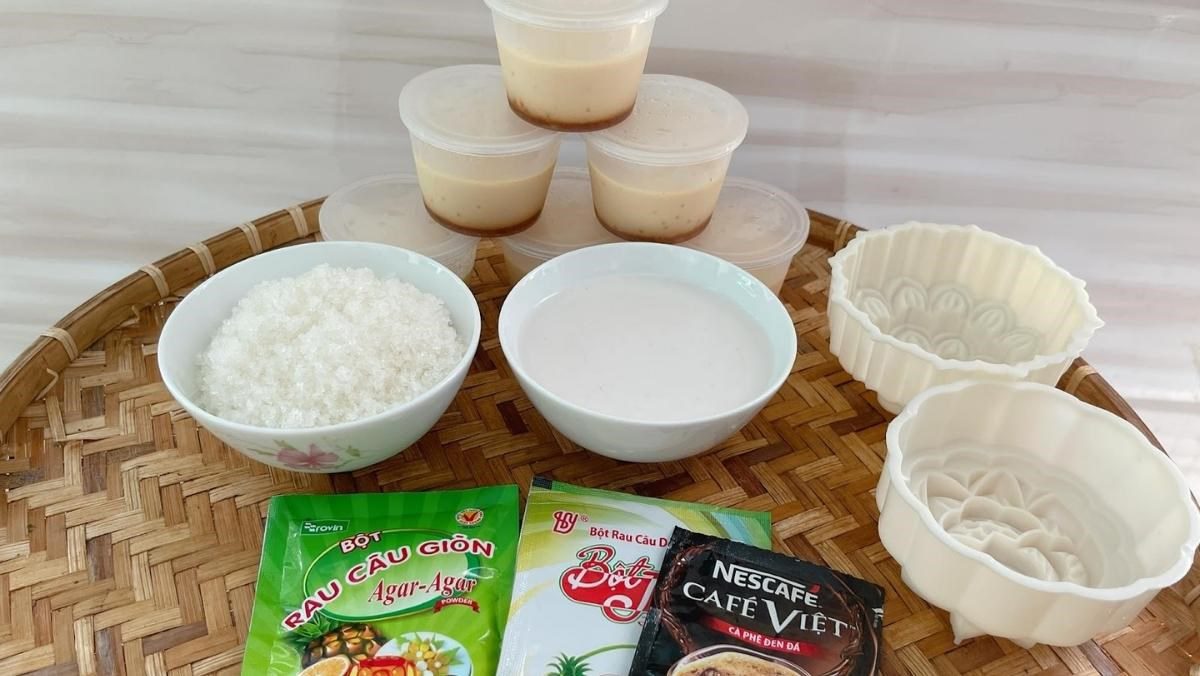
Jelly powder (soft) 10 gr Jelly powder (crispy) 25 gr Sugar 200 gr Filtered water 2.5 liters Coconut milk 100 ml Black coffee 1 packet
Tools needed
and a 150gr mooncake mold.
Ingredient images
How to make Moon Cake with Coffee Jelly and Flan Filling
-
Prepare the jelly powder
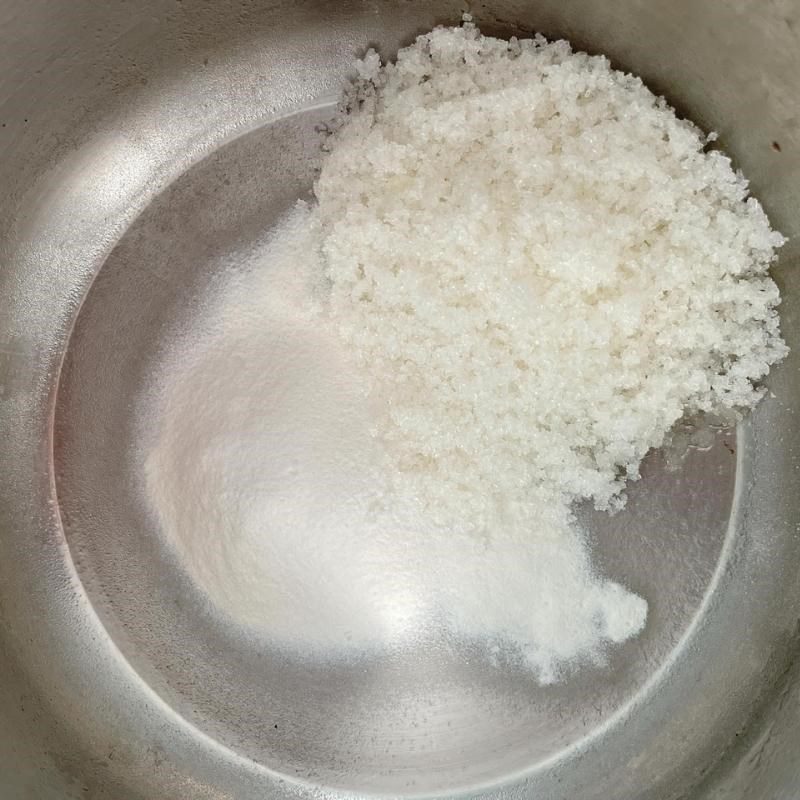
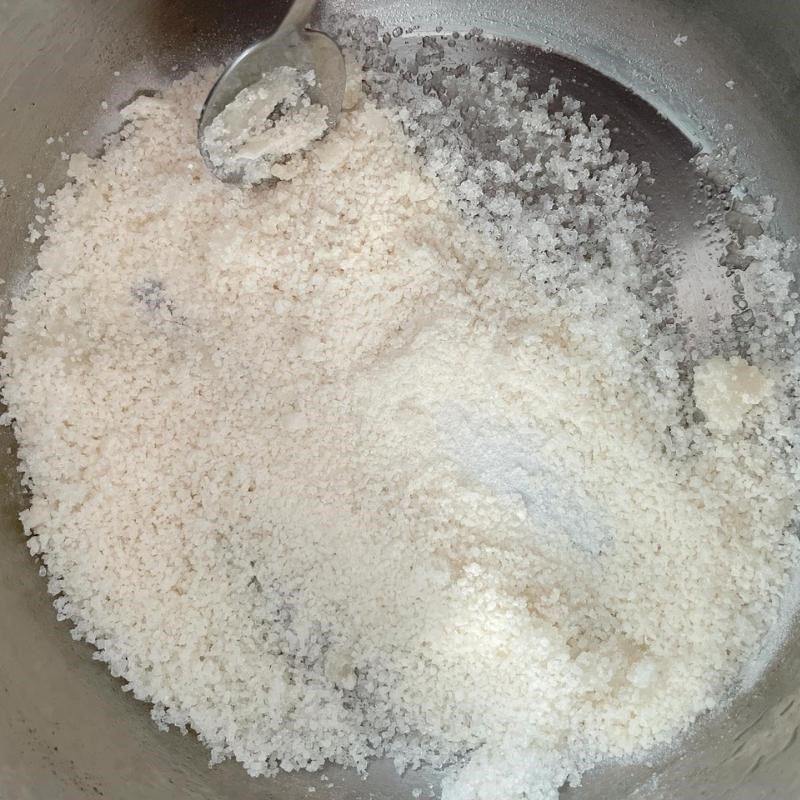
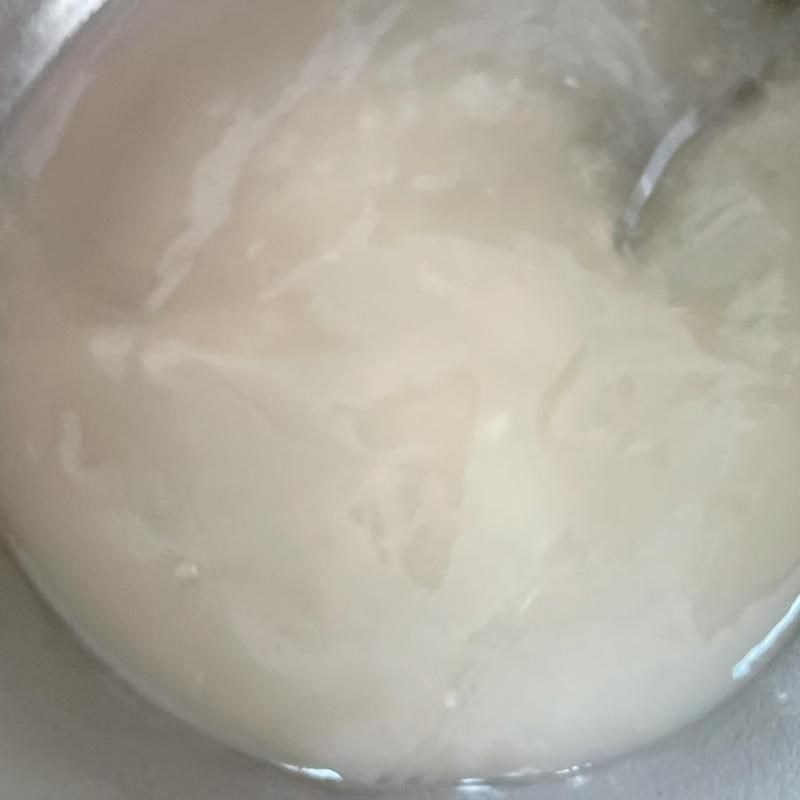
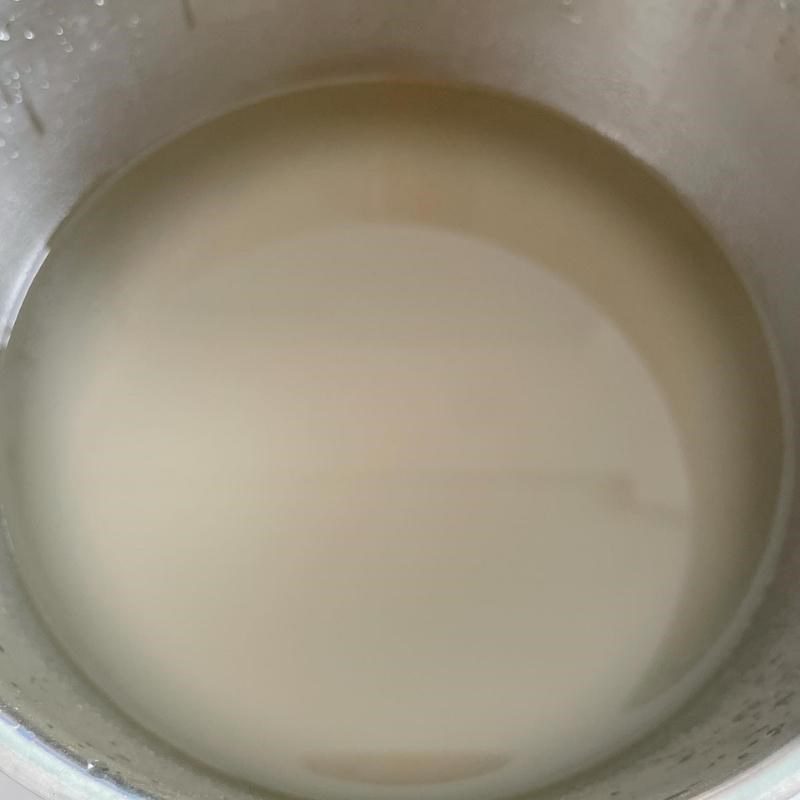
Add 10g of soft jelly powder and 25g of crunchy jelly powder into a pot, mixing with 200g of sugar. Next, gradually pour in 2.5 liters of filtered water into the pot. Remember to stir constantly so that the jelly powder dissolves completely, avoiding any lumps.
Let this mixture rest for about 30 – 60 minutes for the jelly to expand, so when you pour it into the mold, the jelly will not leak water.
Tip:- Depending on your family’s preference for sweetness, you can adjust the amount of sugar. You can use 250g of sugar for a sweeter cake.
- With this recipe, using 2.5 liters of water will yield a crunchy and slightly firm Moon Cake jelly. If you prefer a softer cake, use 3 liters of water.
- You can also replace the filtered water with fresh coconut water for a lighter sweet flavor in the jelly crust.
-
Making jelly
You mix 1 packet of coffee with 20ml of boiling water in a bowl and then use a spoon to stir well until the coffee dissolves.
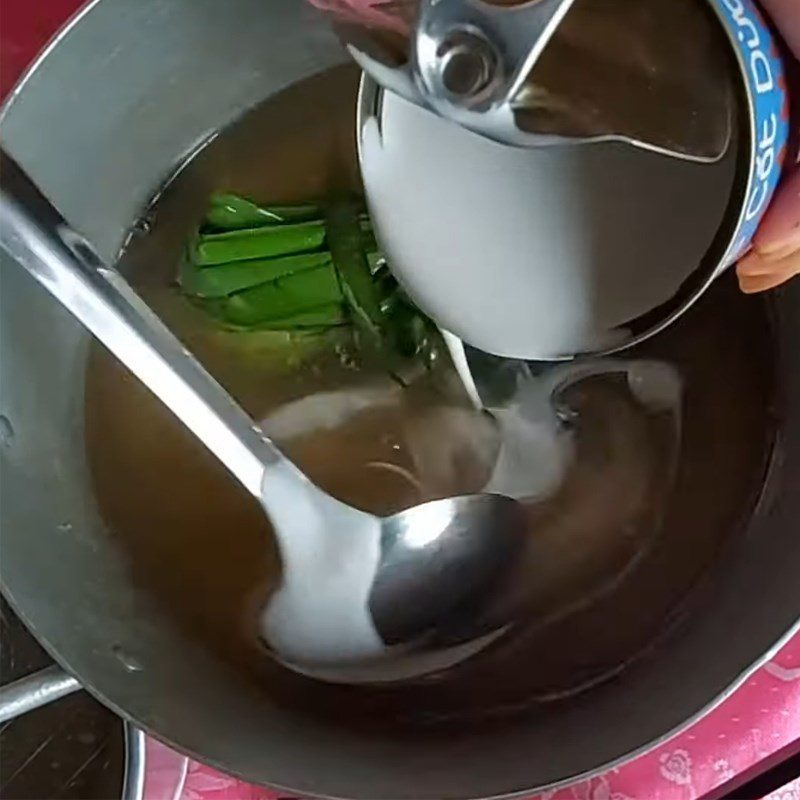
Next, you place the jelly mixture from step 1 on the stove, bringing the jelly water to a boil over medium heat. When you see the jelly water steaming and lightly boiling, pour the dissolved coffee mixture into the pot and continue to simmer on low heat. Skim off the foam and simmer on low heat.
Tip: While cooking, remember to frequently skim off the foam and stir continuously to prevent the jelly mixture from clumping together.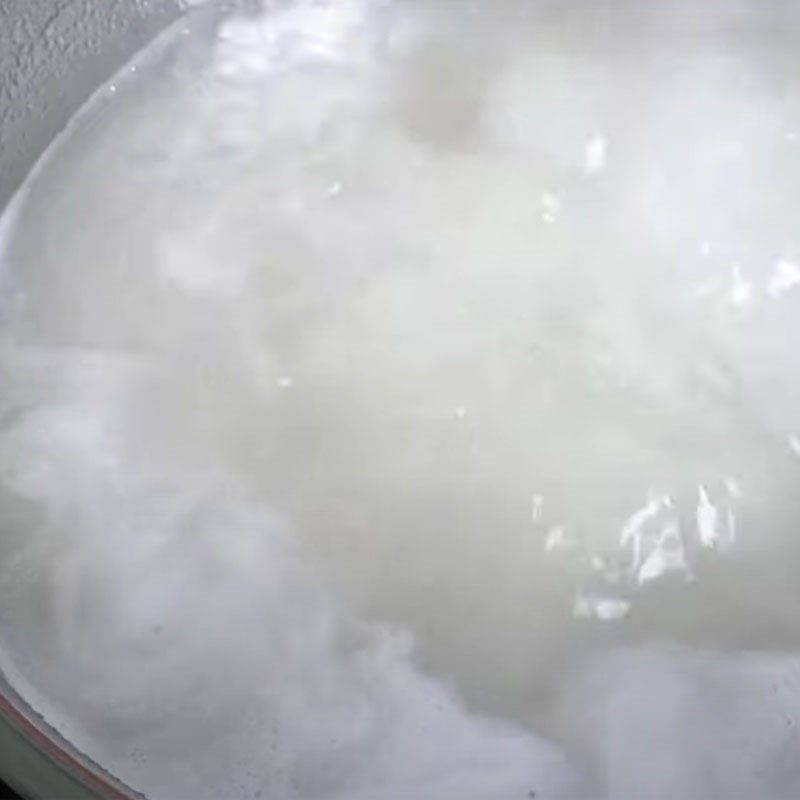
-
Pouring into molds
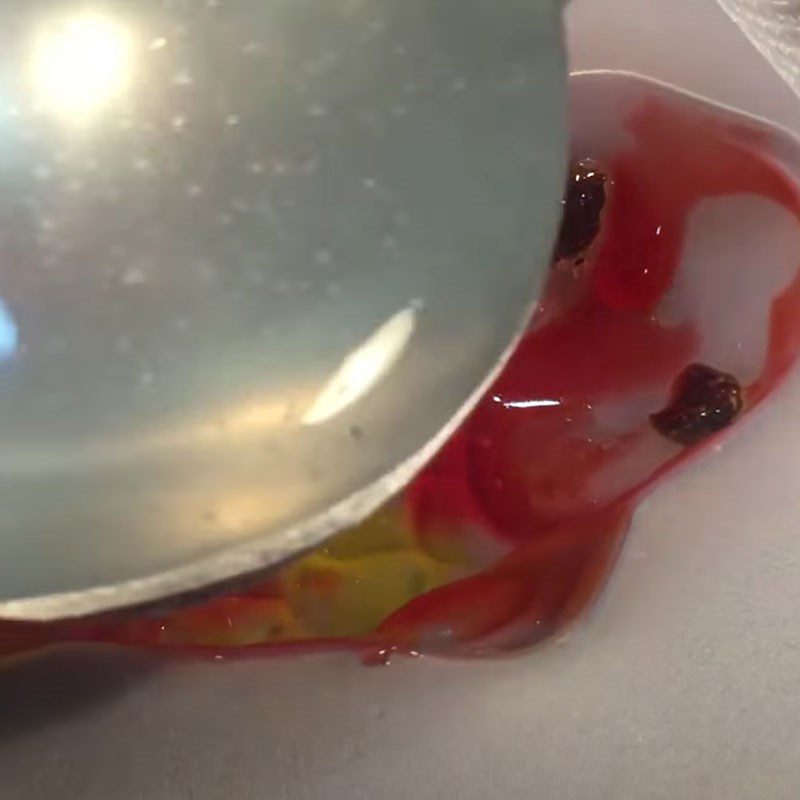
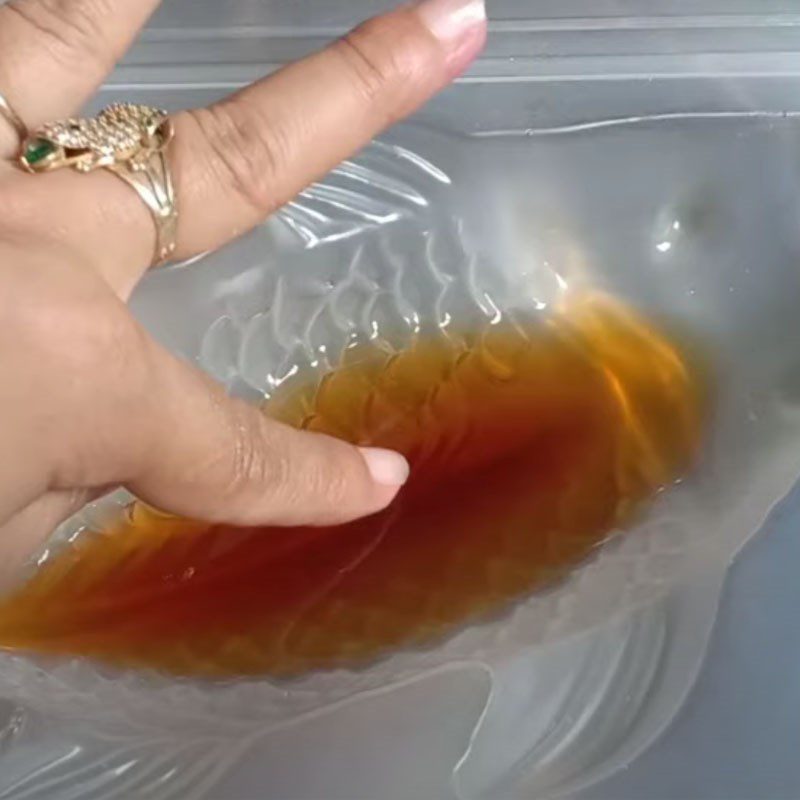
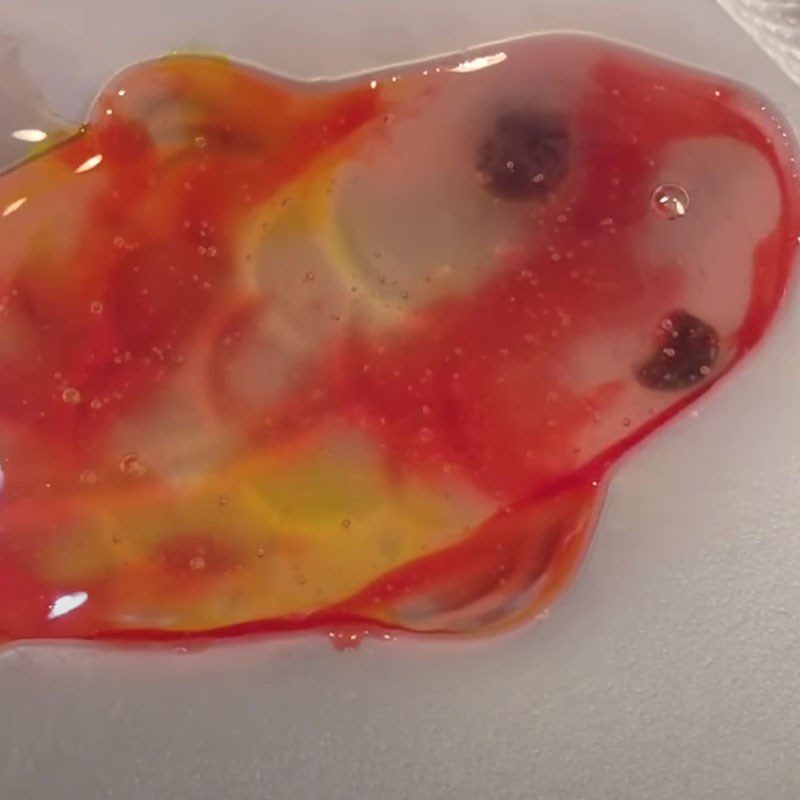
You use a ladle to scoop a little jelly water and pour it into the molds. After the jelly has slightly set on the surface, you use a toothpick to lightly score lines on the jelly surface, then pour 1 tablespoon of jelly water to create adhesion between the layers.
After that, place the flan in the middle of the mold and pour another layer of jelly so that it covers the flan. You do the same for the remaining molds.
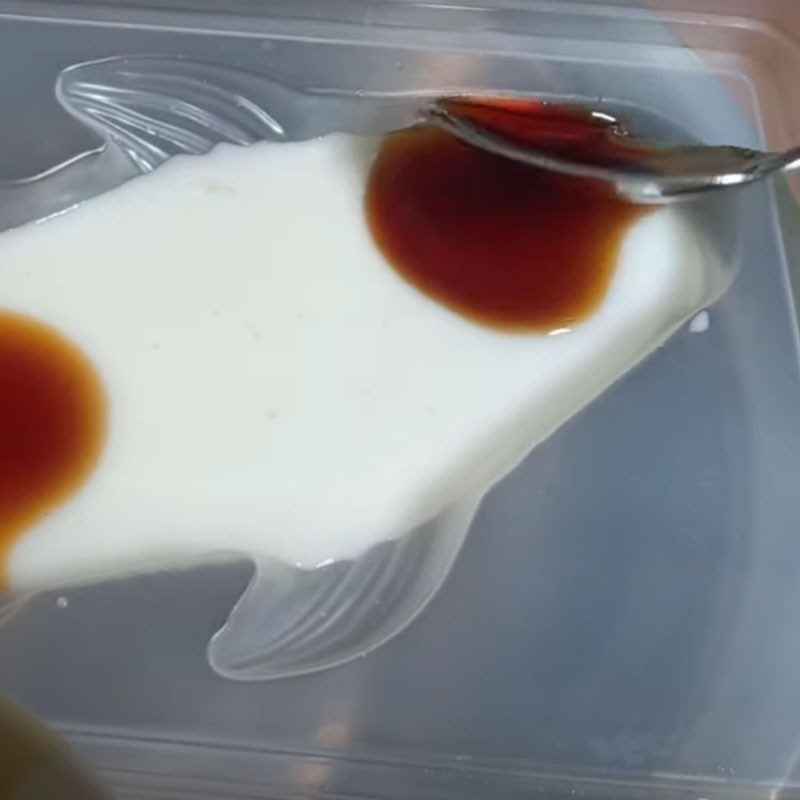
Let the jelly cool and fully set for about 1.5 – 2 hours before you can unmold and enjoy it. This cake will be cooler and tastier if you keep it in the refrigerator.
-
Final Product
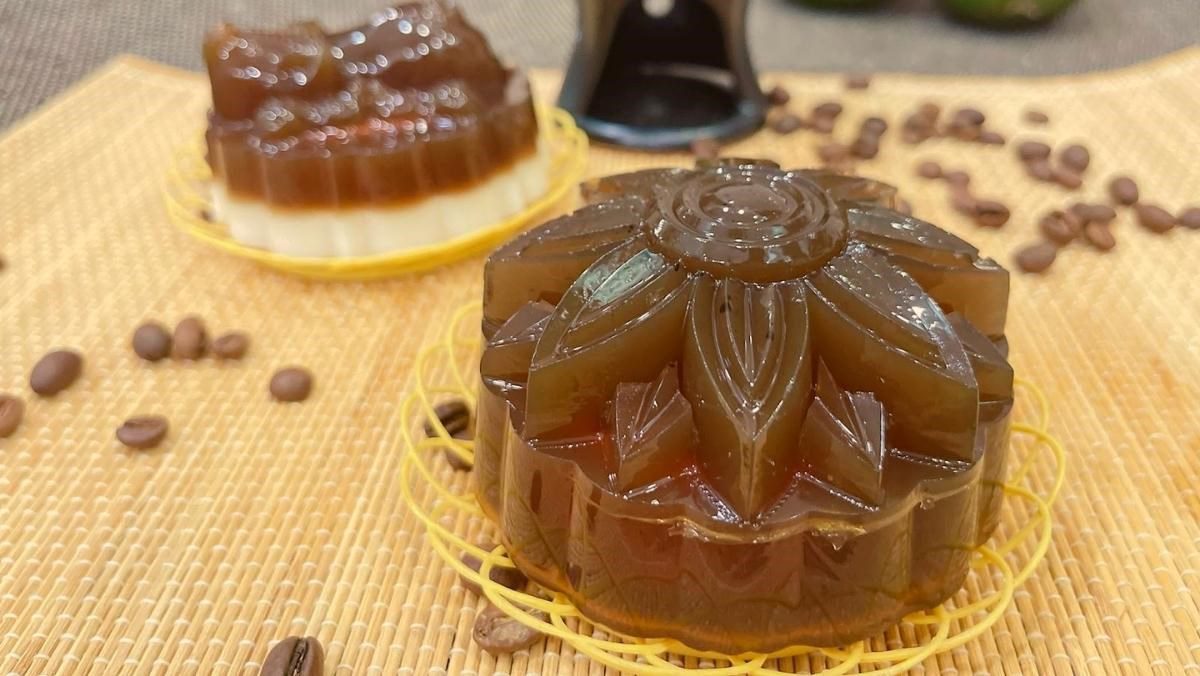
The coffee jelly mooncake with flan filling, when completed, will have a beautiful brown color on the outside, while the flan filling has a light yellow color that looks very appealing.
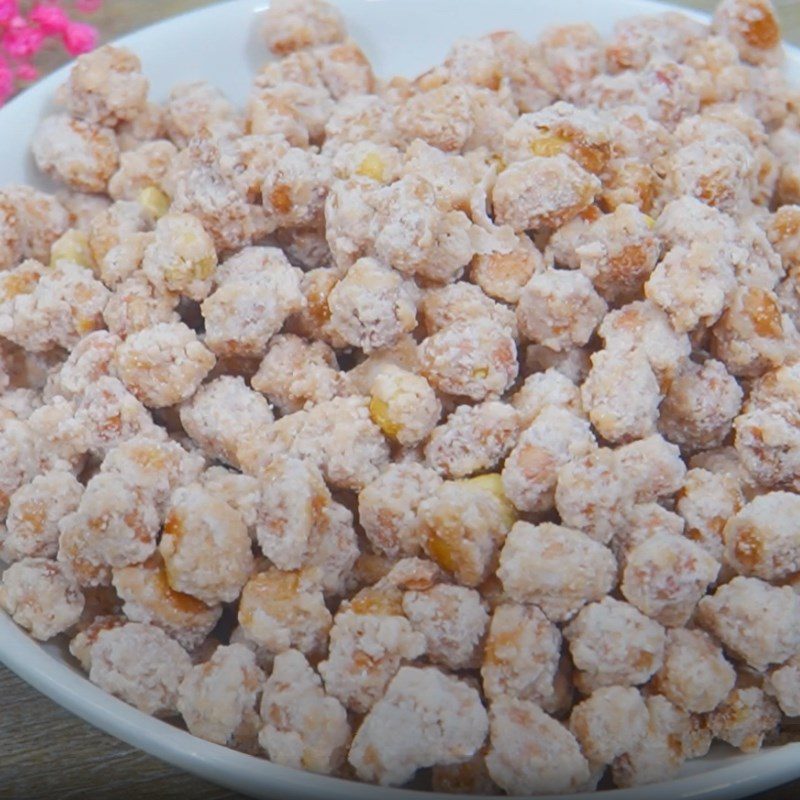
When eaten, you will feel the crunchy and slightly chewy texture of the jelly combined with the creaminess of the flan.
Especially, the flavor of black coffee gives the cake shell a slight bitterness that balances the sweet creaminess of the filling, preventing it from becoming overwhelming.

2. Chocolate jelly mooncake with flan filling
-
Preparation
1 hour
-
Cooking
30 minutes
-
Difficulty
Easy
Ingredients for Moon Cake with Chocolate Jelly and Flan Filling For 10 pieces
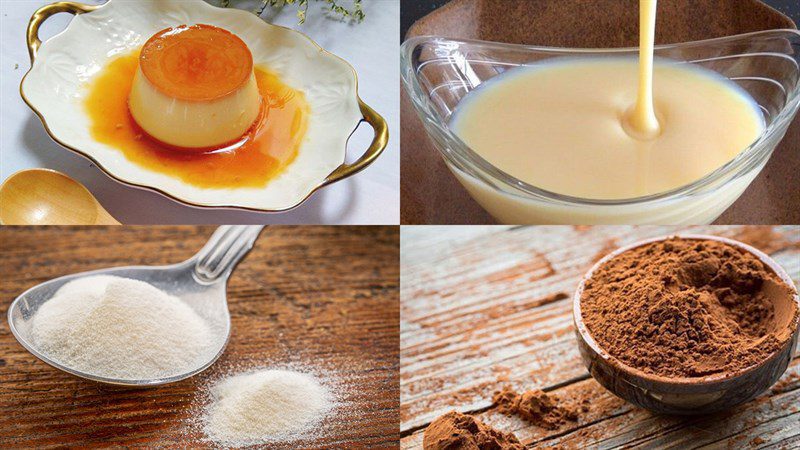
Jelly powder 10 gr Crisp jelly powder 25 gr Cocoa 10 gr Flan 10 pieces Sugar 250 gr Filtered water 2.5 liters Boiling water 20 ml Coconut milk 100 ml
Ingredient Images
How to Make Moon Cake with Chocolate Jelly and Flan Filling
-
Mix the jelly powder
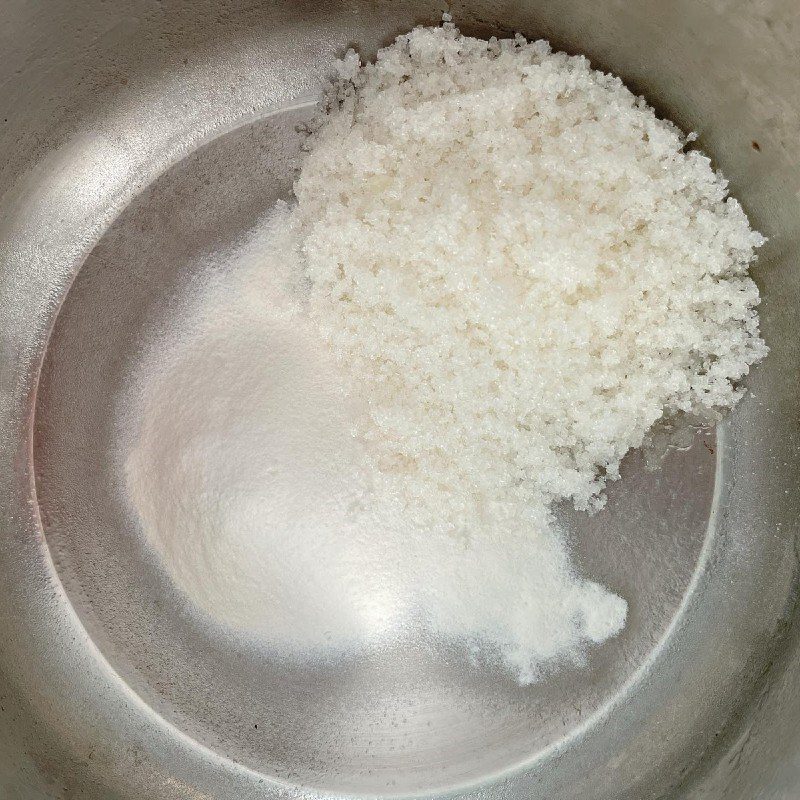
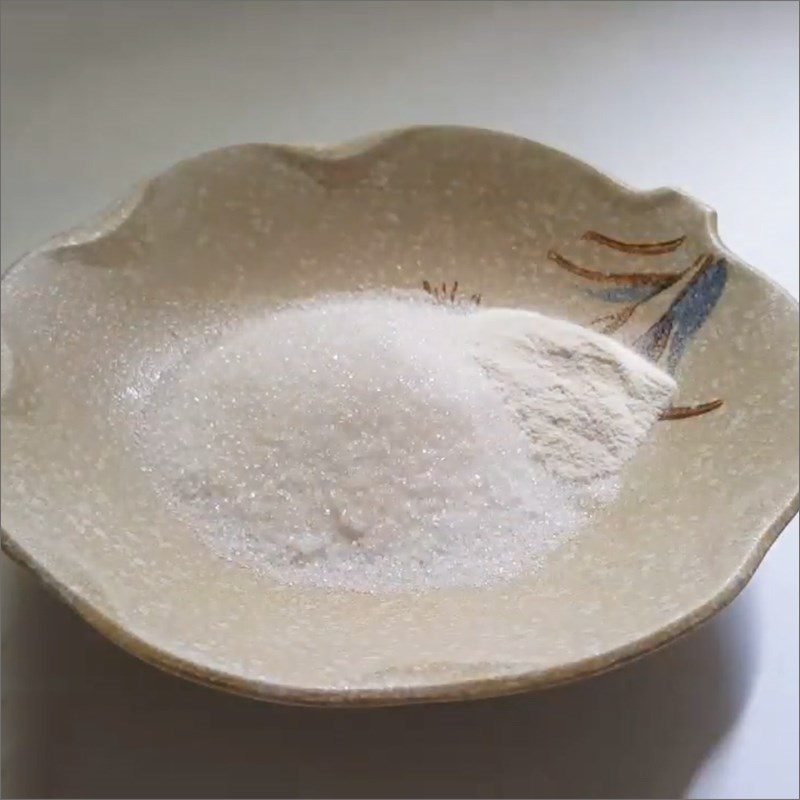
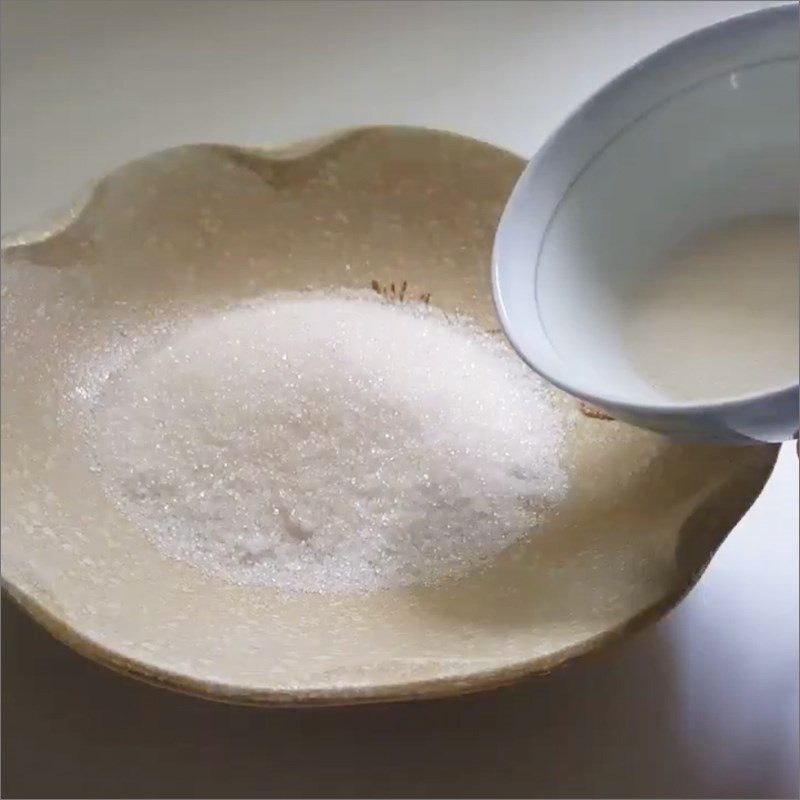
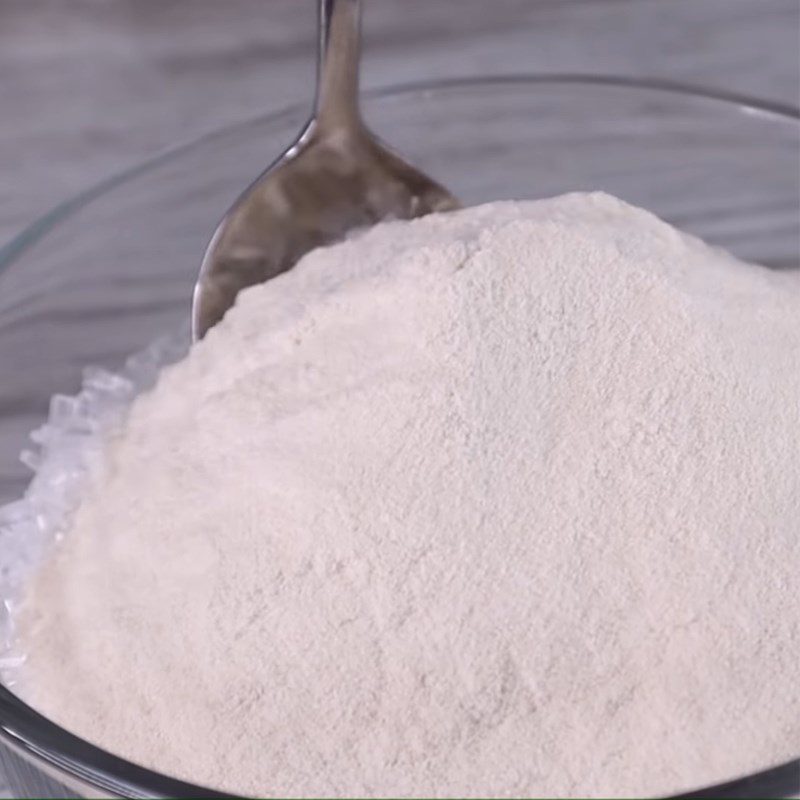
Add 10gr of jelly powder, 25gr of crisp jelly powder, and 250gr of sugar into a bowl and mix them well together.
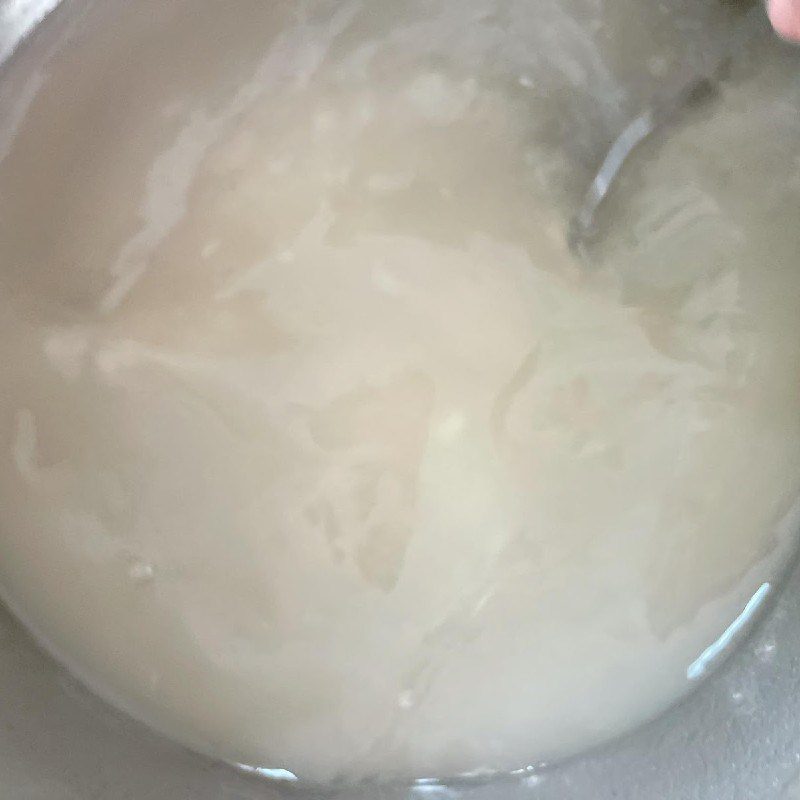
Next, pour 3 liters of filtered water into a pot, gradually add the sugar and jelly mixture while stirring until fully dissolved. Then soak the jelly for 30 minutes to 1 hour so that it expands; when poured into molds, it won’t leak.
-
Cooking the jelly
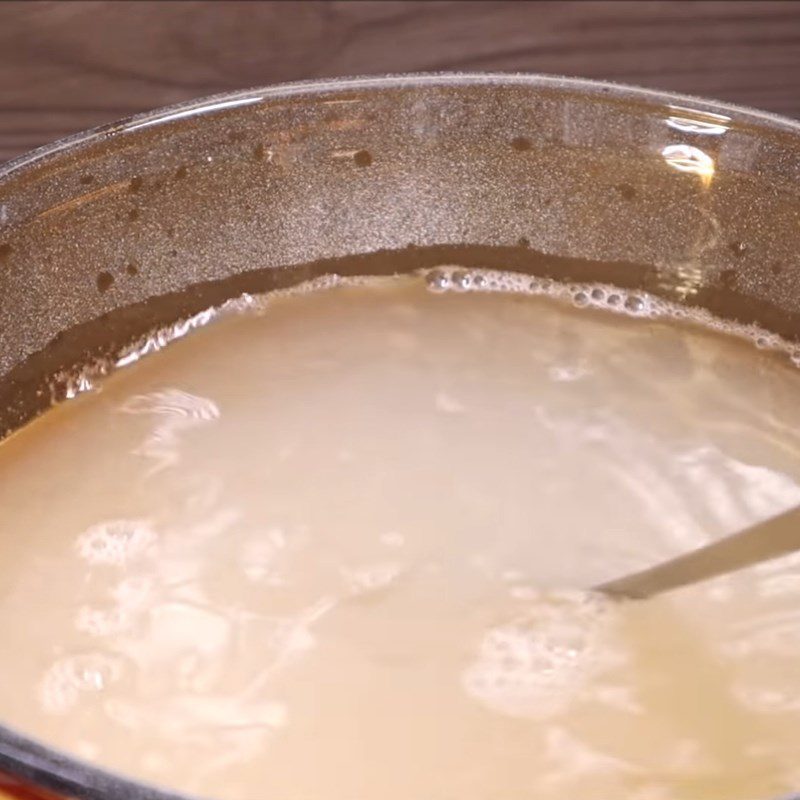
Mix 10g of cocoa powder with 20ml of boiling water, then stir well until the powder is completely dissolved.
Bring the jelly water to a boil over medium heat, then pour the dissolved cocoa into the pot. Skim off the foam and simmer on low heat.
-
Pouring into molds
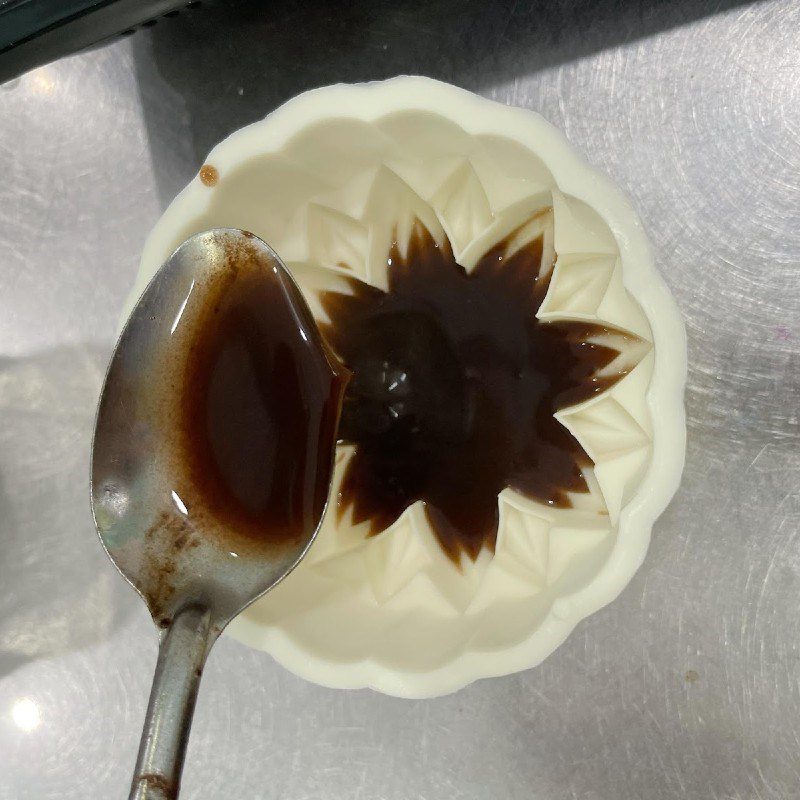
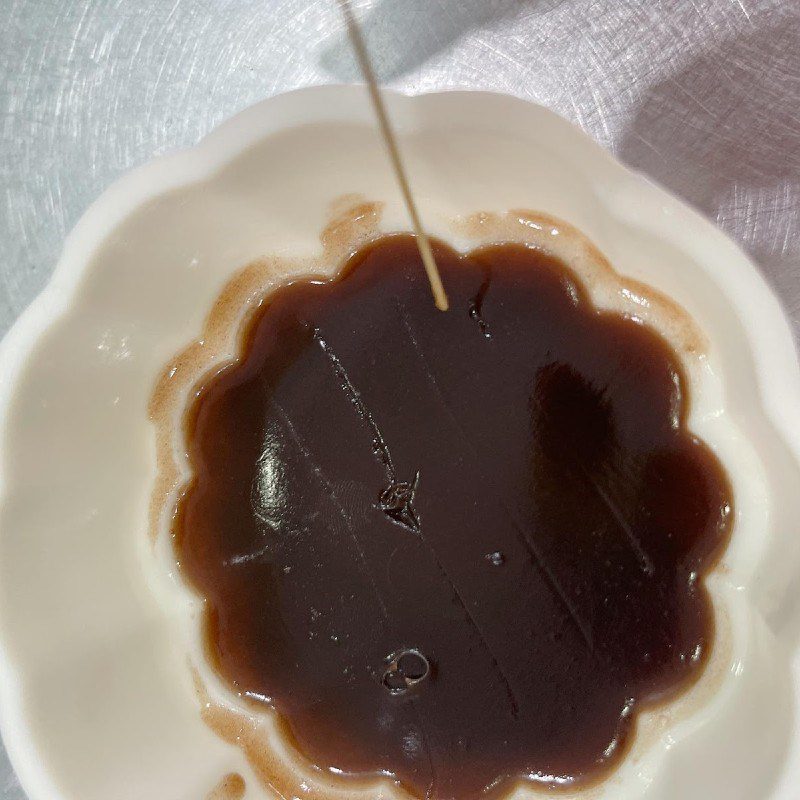
Pour the jelly into the molds in succession. After the first layer sets, use a toothpick to lightly score lines on the surface of the jelly, then pour a spoonful of jelly on top. Next, place the flan in the center and pour a second layer. Repeat until the molds are full.
Let the jelly cool and set completely for 1.5 – 2 hours before removing from the molds to enjoy.


-
Final Product
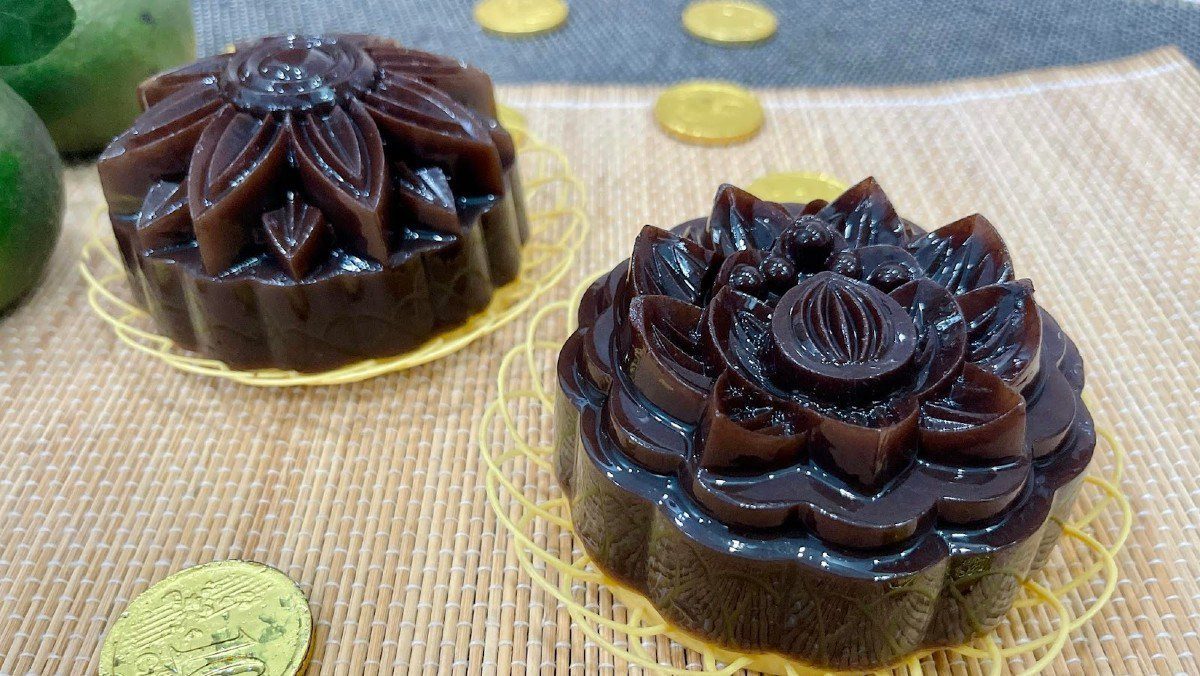
The chocolate jelly mooncake has an attractive brown color combined with the yellow of the flan cake, making it even more appealing.
The sweet and crunchy jelly shell blends well with the creamy flavor of the delicious jelly, which will taste even better when eaten cold!
3. Jelly Mooncake with Avocado Filling and Flan
-
Preparation
15 minutes
-
Cooking
30 minutes
-
Difficulty
Easy
Ingredients for Jelly Mooncake with Avocado Filling and Flan For 2 cakes
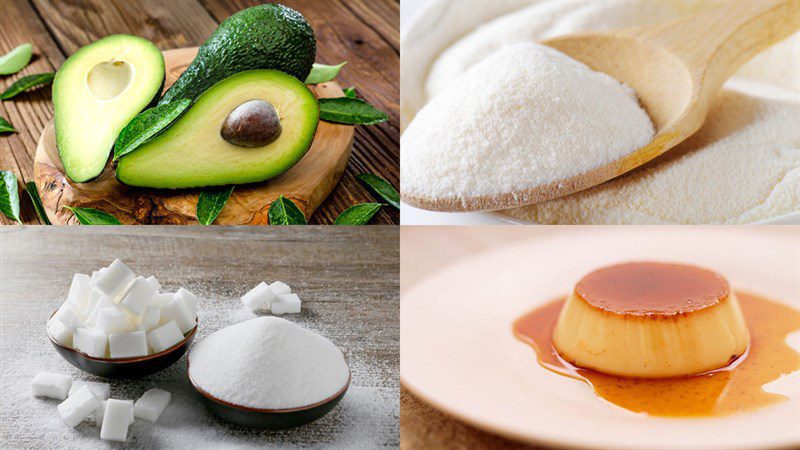
Avocado 2 pieces Jelly powder 10 gr Coconut flan 2 pieces (or other flavors as desired) Sugar 50 gr Filtered water 400 ml
How to Choose Good Avocado
- Avocado Stem: Choose avocados with a slightly yellow stem core, indicating that the avocado is just ripe. Conversely, if the avocado stem is green, the avocado is not ripe yet.
- Avocado Skin: Ripe avocados will have a brownish-purple, bumpy skin.
- Feel When Holding Avocado: If the avocado feels heavy, solid, and soft when squeezed, it is a delicious ripe avocado, and you can hear a sound when shaking it.
Tools Required
How to Make Mooncake Jelly with Flan Filling
-
Mix Jelly Powder
Put 10g of jelly powder and 50g of sugar into a bowl and mix well.

-
Blend Avocado
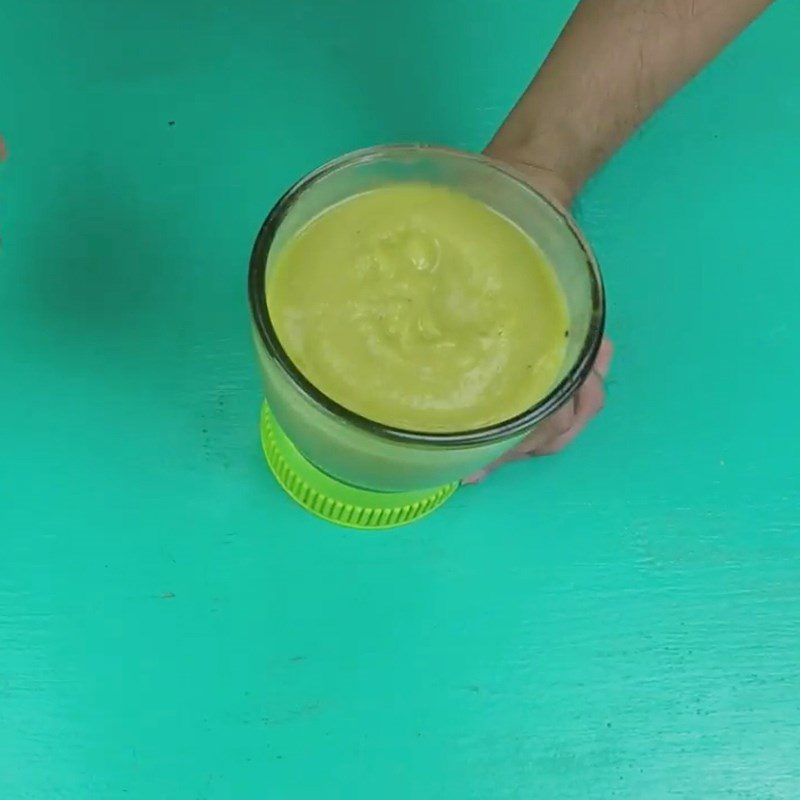
Peel and scoop out the avocado flesh, put it in the blender with 400ml of water and blend until smooth.
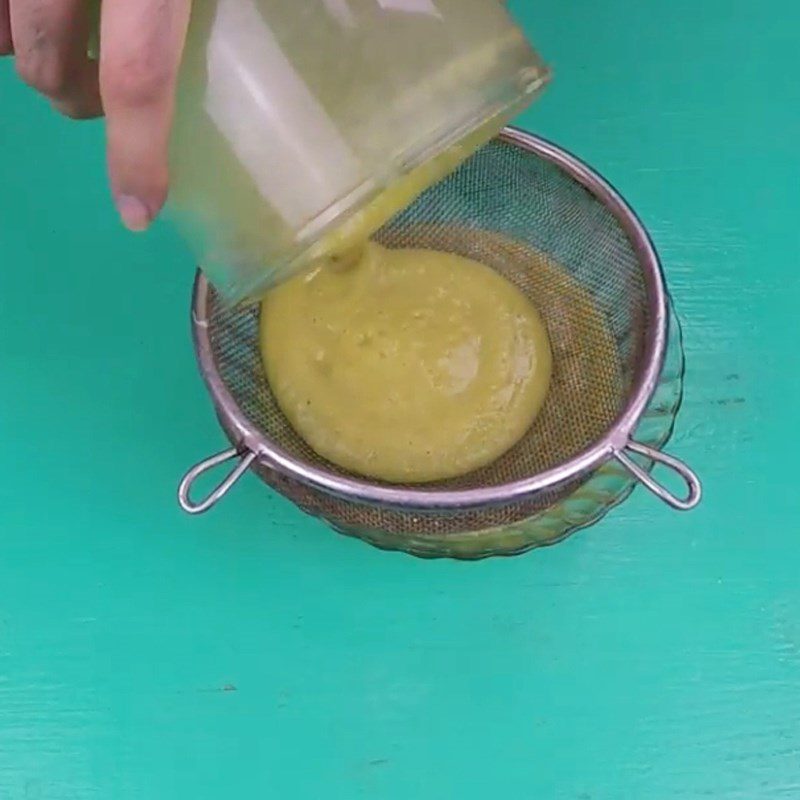
Next, strain the mixture through a sieve until smooth.
-
Cook and Pour the First Layer of Jelly
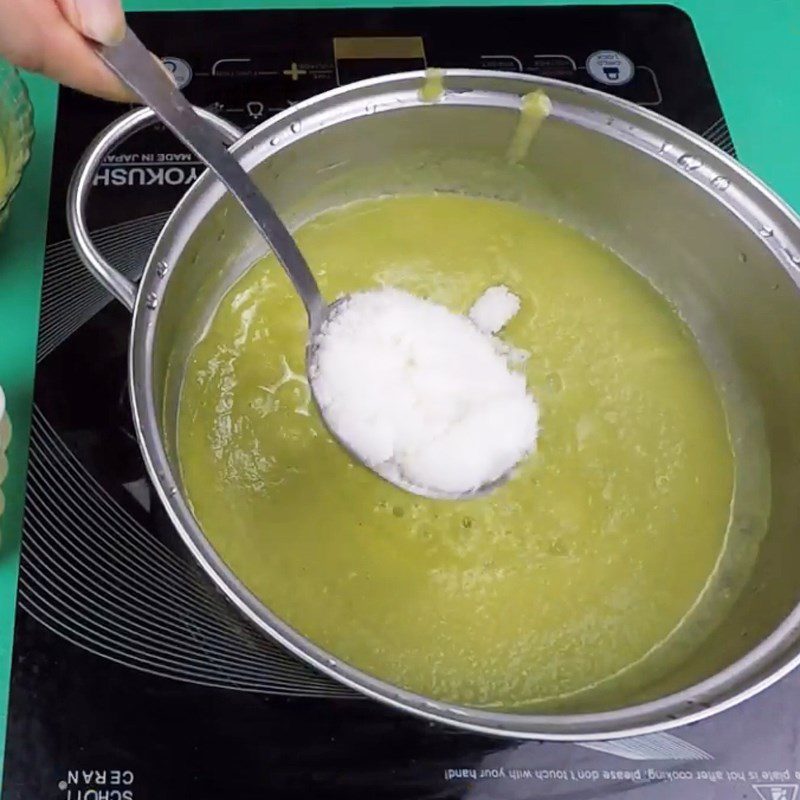
Place the pot on the stove, add 1/2 of the blended avocado, and bring it to a boil.
Then, add 1/2 of the jelly-sugar mixture and continue to stir until the sugar dissolves and the mixture comes to a boil again.
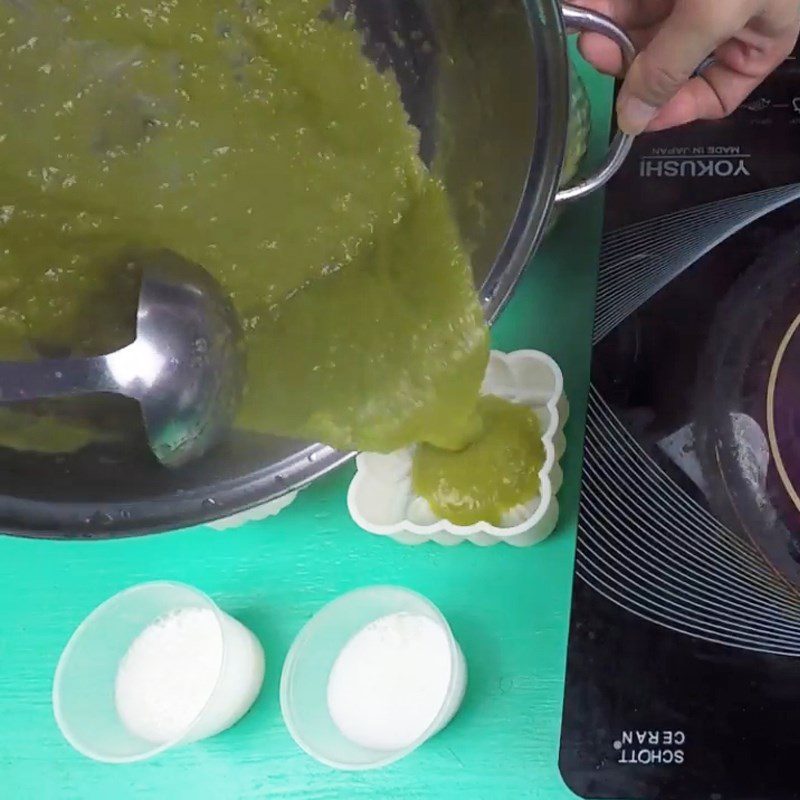
Next, pour the jelly mixture into 1/2 of the mooncake mold and let it set. When the surface of the jelly firms up, place the flan on top.
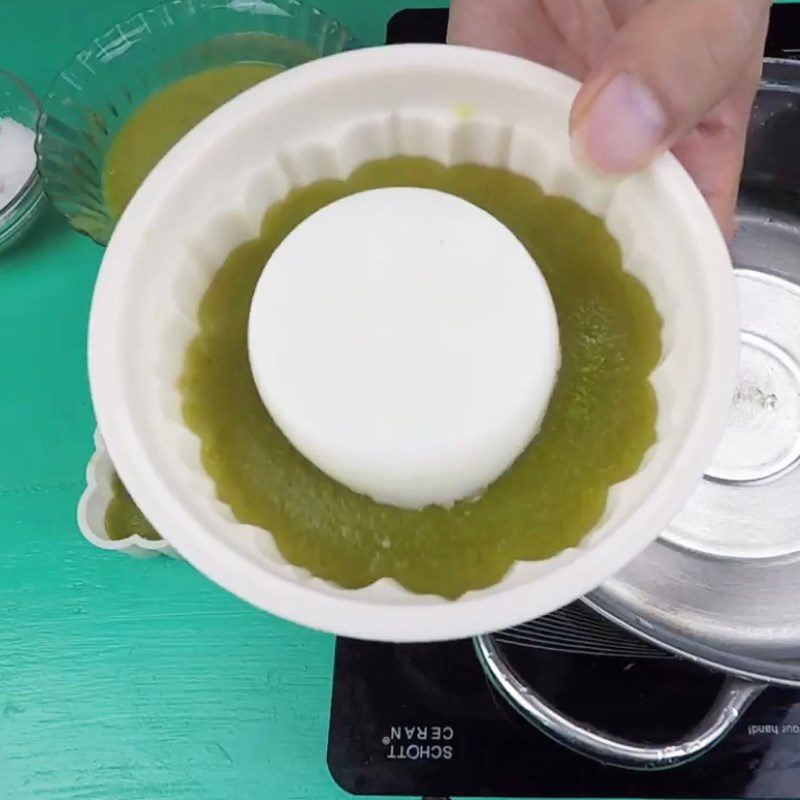
-
Pour the jelly mold for the 2nd time
Continue to boil half of the blended butter mixture and the remaining jelly mixture, then pour into the cake mold and let it set.
Tip: To prevent the jelly from separating, remember to poke a few holes on the surface of the first layer of jelly with a toothpick before pouring the second layer of jelly on top!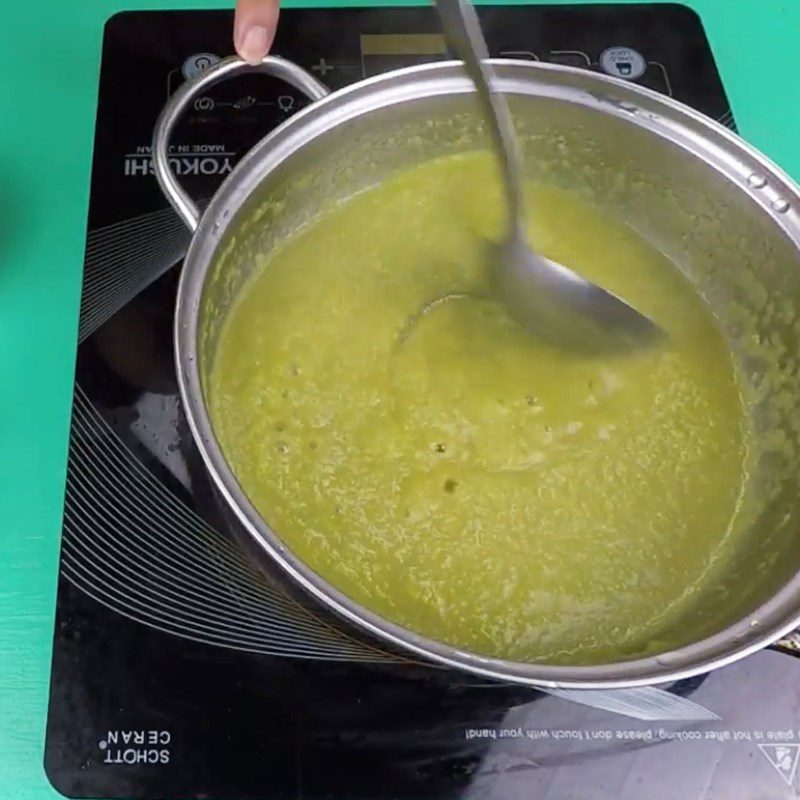
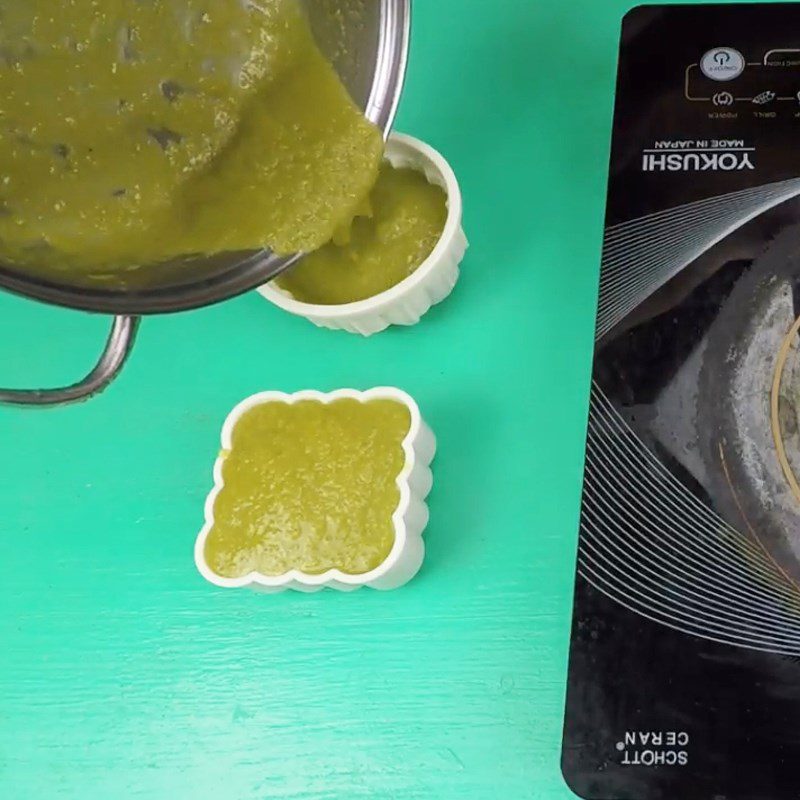
-
Final product
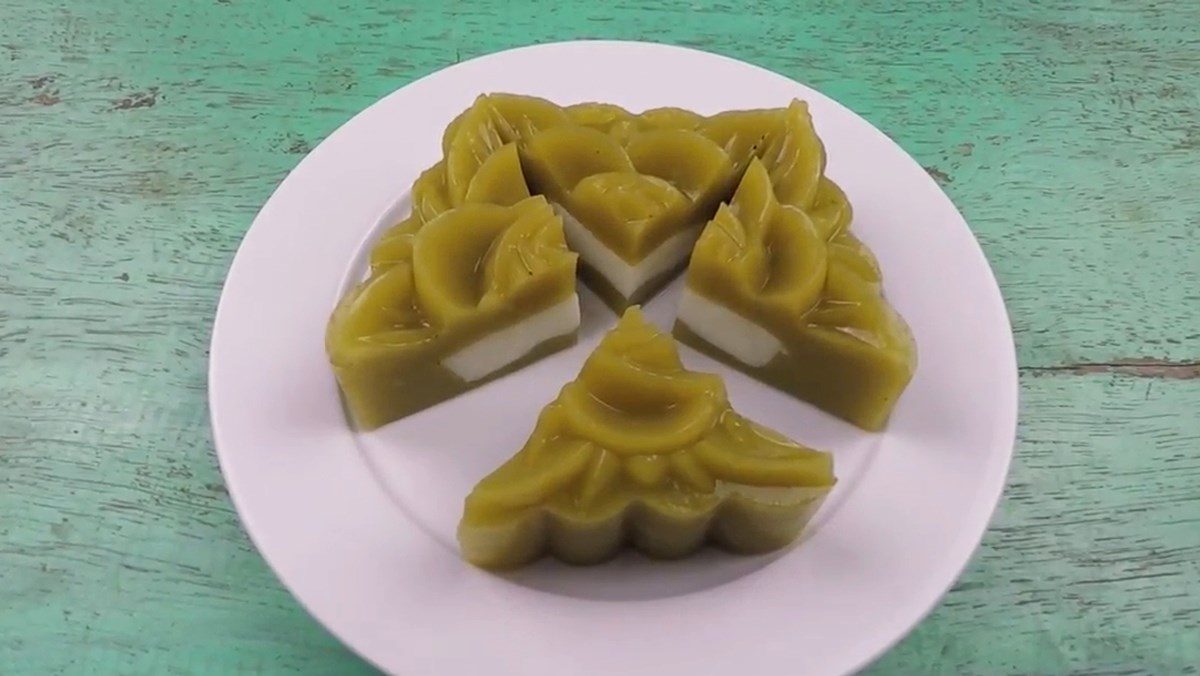
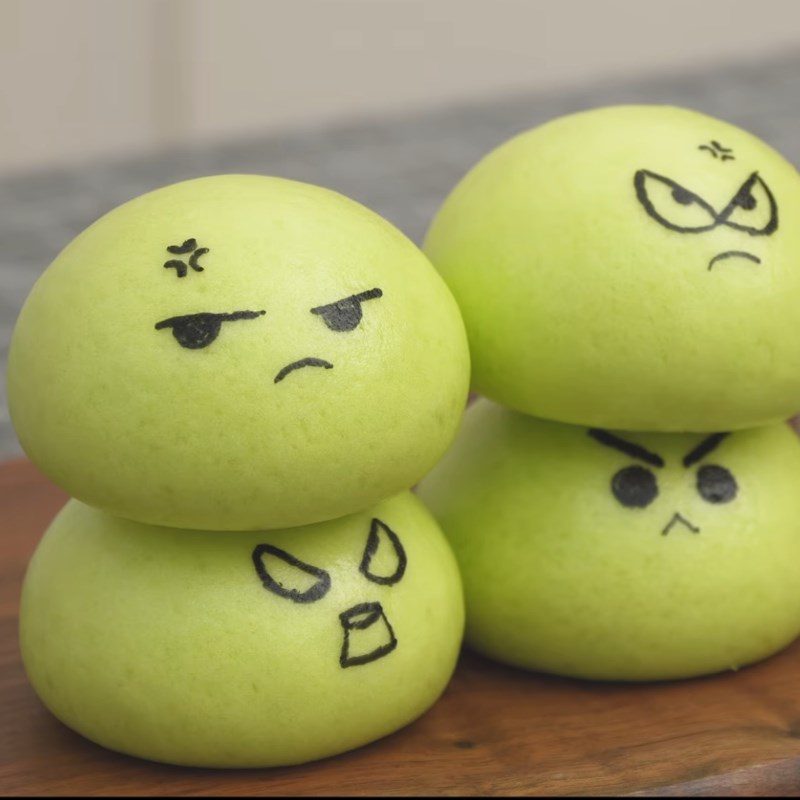
The mooncake jelly with butter and flan filling has an eye-catching green color, tastes sweet and creamy with butter combined with the lightly fragrant coconut flan filling. All create a unique but extremely appealing flavor.
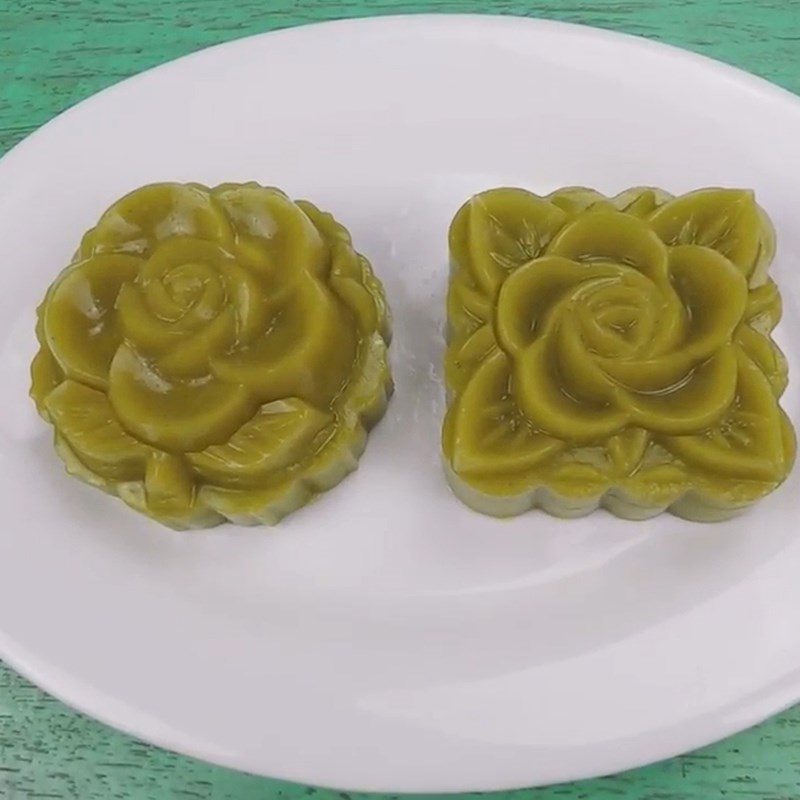
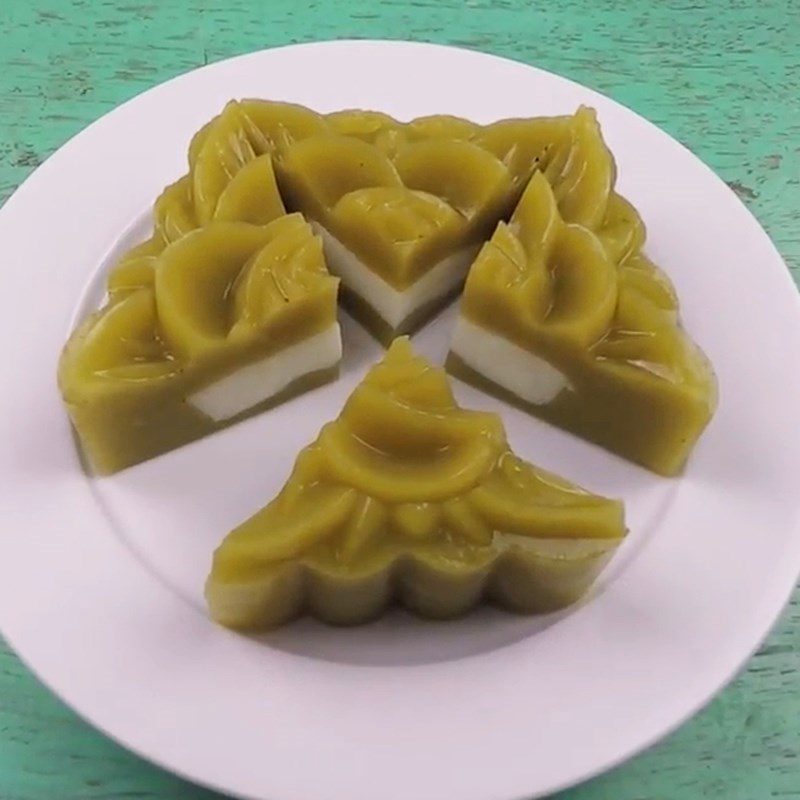
4. Mooncake with red dragon fruit jelly and flan filling
-
Preparation
10 minutes
-
Cooking
30 minutes
-
Difficulty
Easy
Ingredients for Mooncake with red dragon fruit jelly and flan filling For 10 pieces
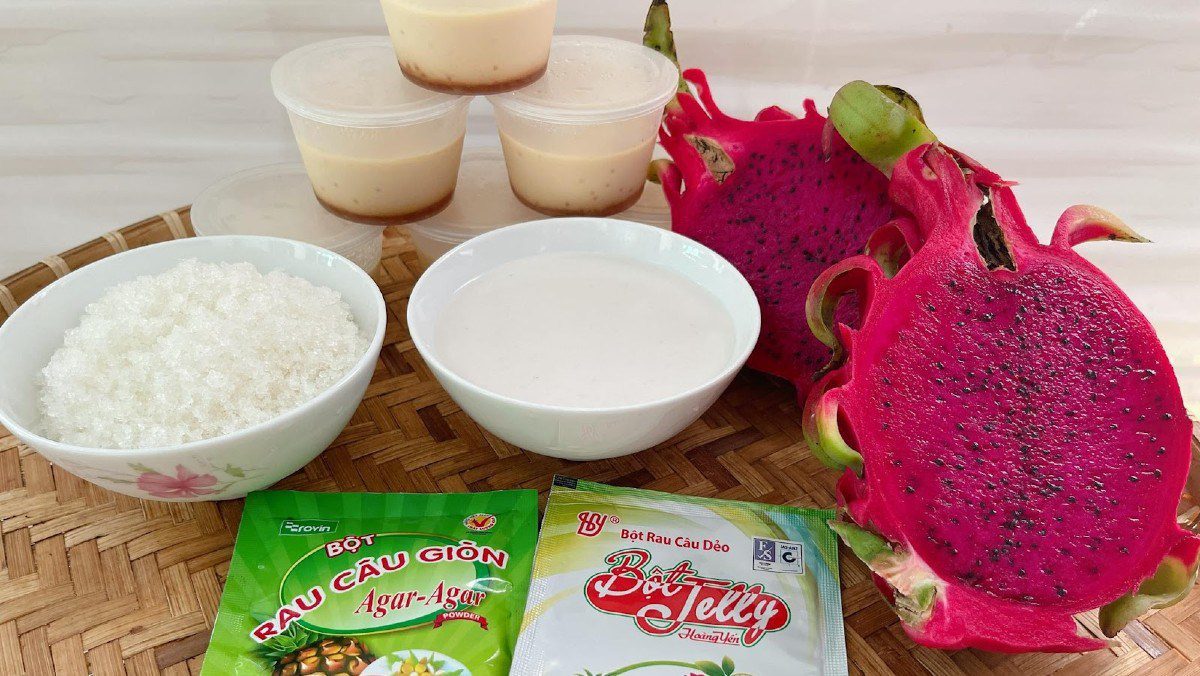
Red dragon fruit 1 fruit Soft jelly powder 10 gr Hard jelly powder 25 gr Filtered water 2.6 liters Coconut milk 100 ml Lemon juice 1 teaspoon Sugar 300 gr (50gr for flan/250gr for jelly) Chicken eggs 3 eggs Condensed milk 120 ml Fresh milk 400 ml Vanilla 5 ml
How to choose fresh red dragon fruit
- Skin: Choose fruits with dark red skin, plump texture, indicating it is freshly harvested and still fresh. Gently press the skin of the dragon fruit; if it feels slightly soft, it should be chosen, do not select hard or overly soft fruits.
- Shape: The rounder the dragon fruit, the sweeter it is; round fruits are usually juicier.
- Green tips: Choose fruits with green tips that are not wilted or dried out, and not brown at the ends. Green tips indicate that the fruits are still fresh and may have been harvested not long ago.
How to Make Mooncake with Red Dragon Fruit Jelly and Flan Filling
-
Cooking Caramel
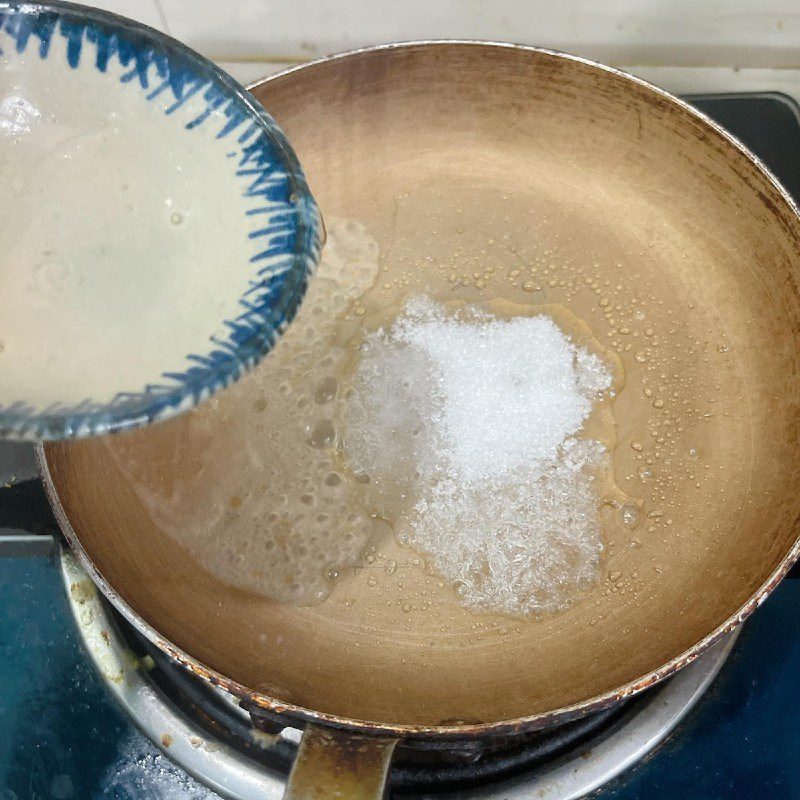
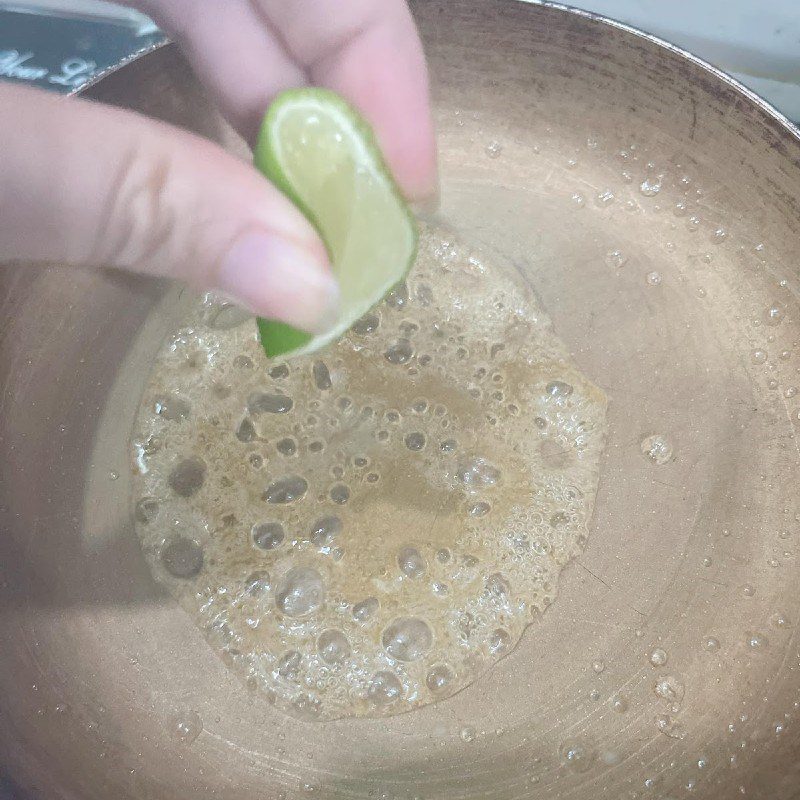
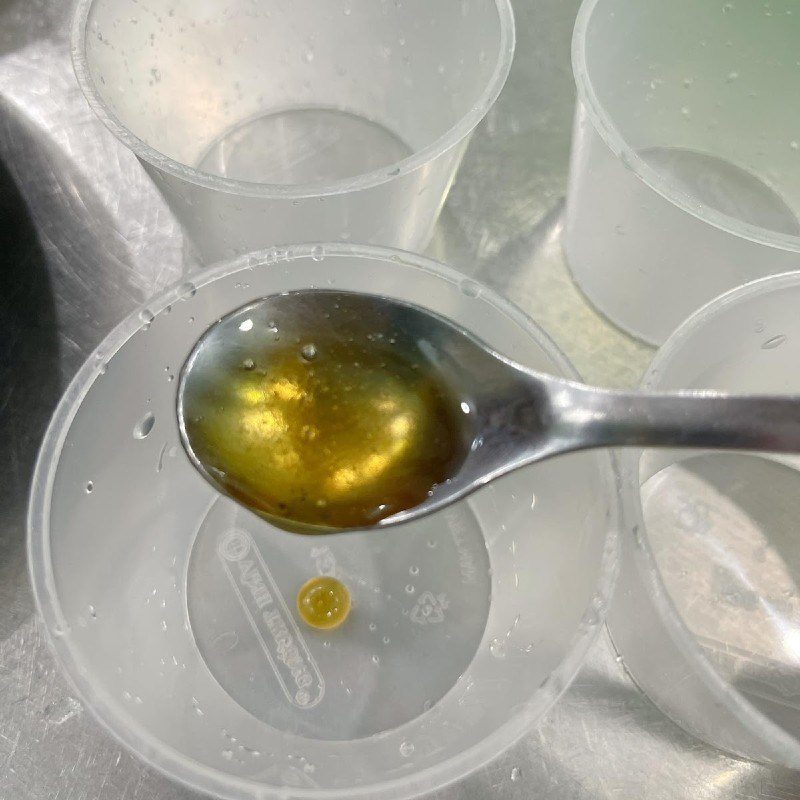
First, place a pan on the stove, then add 50g of sugar and 60ml of water to the pan and gently shake, absolutely do not stir. When the sugar turns a deep brown color, add 1 spoon of lemon juice and stir well with a spoon. Then add 2 spoons of water and turn off the heat to obtain caramel.
Scoop the caramel into the mold in a thin layer.
-
Cooking Flan Mixture
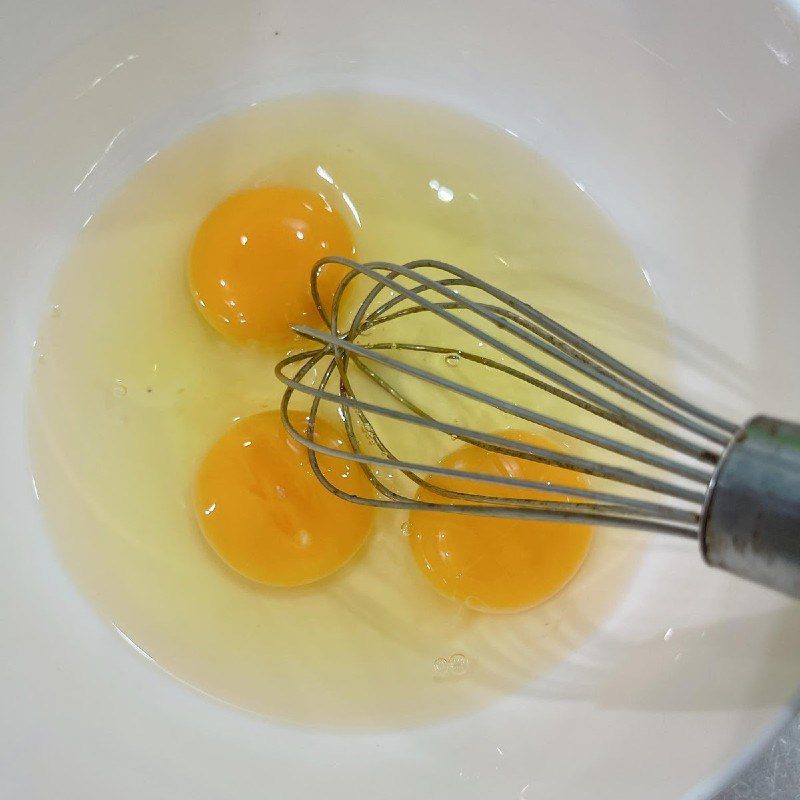
You use 3 eggs (both yolk and white), then use a whisk to beat the eggs until well mixed, with no lumps.
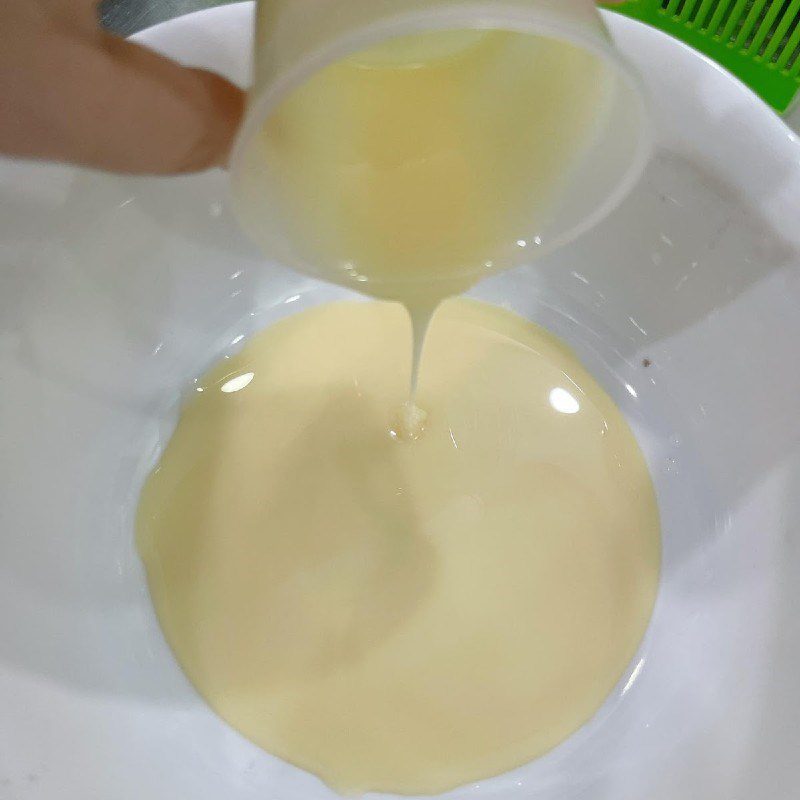
Tip: Beat in one direction gently to avoid creating bubbles; otherwise, the cake will not be smooth.Pour 400 ml of unsweetened fresh milk and 120 ml of condensed milk into a pot and stir well. Then place the pot of milk on the stove and heat over low heat, turning off the stove when the milk is warm, absolutely do not let the milk boil.
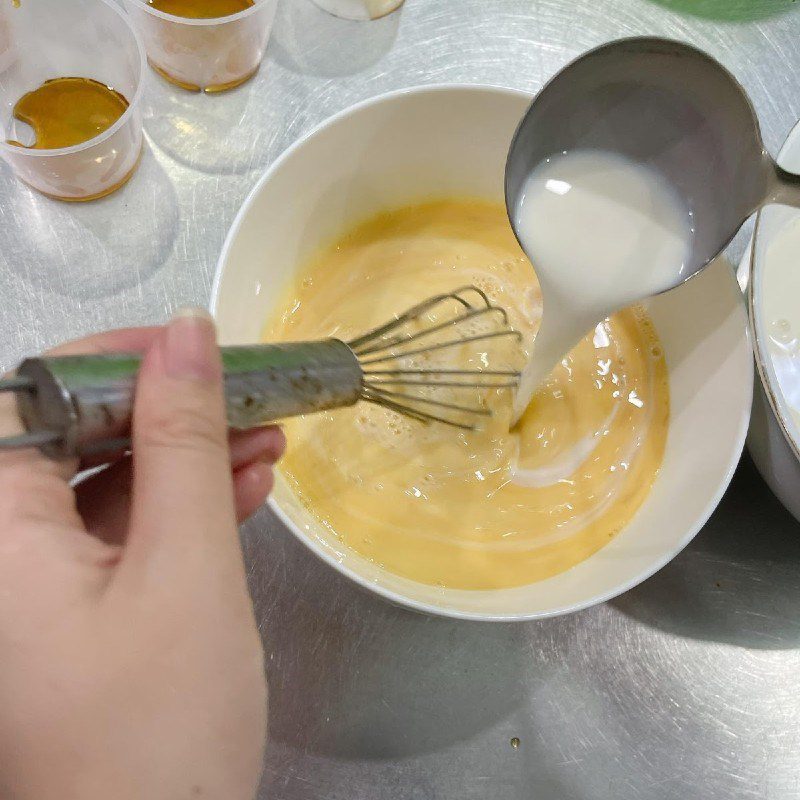
Gradually add the milk mixture to the eggs, stirring continuously, pouring slowly, while stirring in one direction gently. Then add the vanilla and mix it with the mixture.
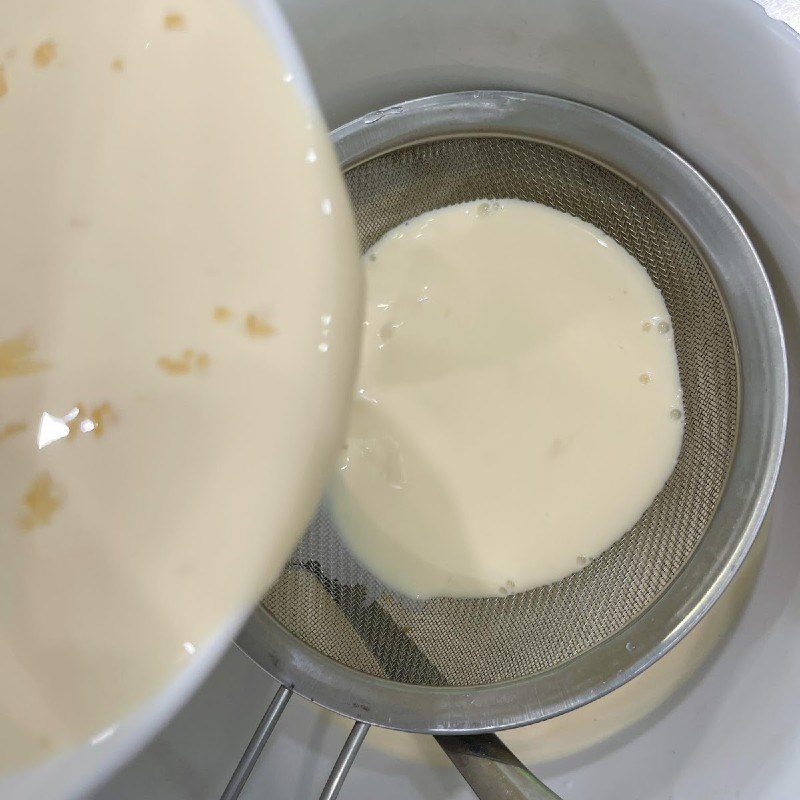
Finally, use a sieve to filter the mixture twice for a smooth texture.
-
Pour into molds and steam the flan
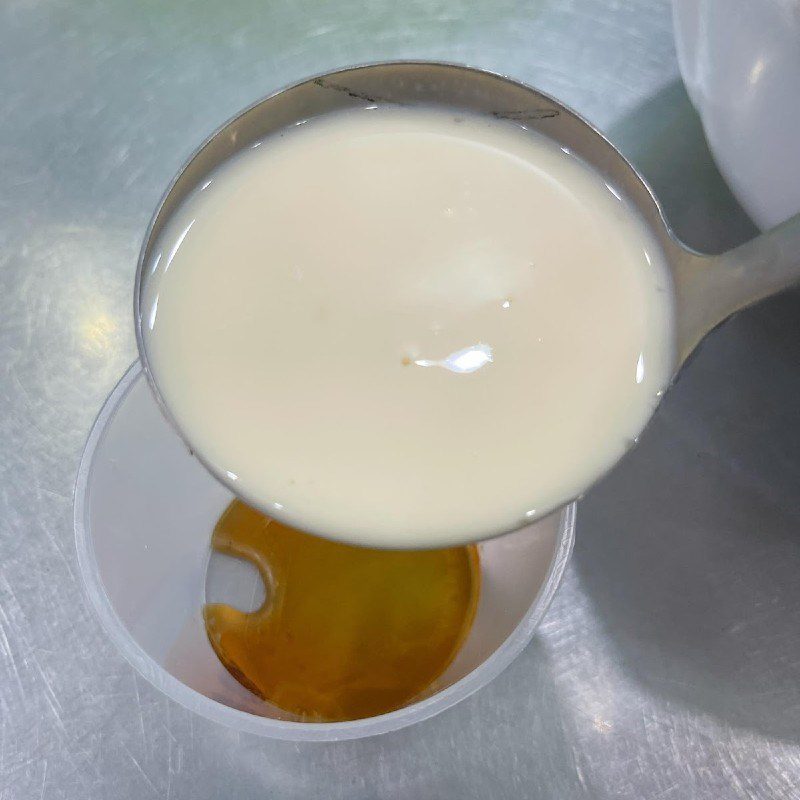
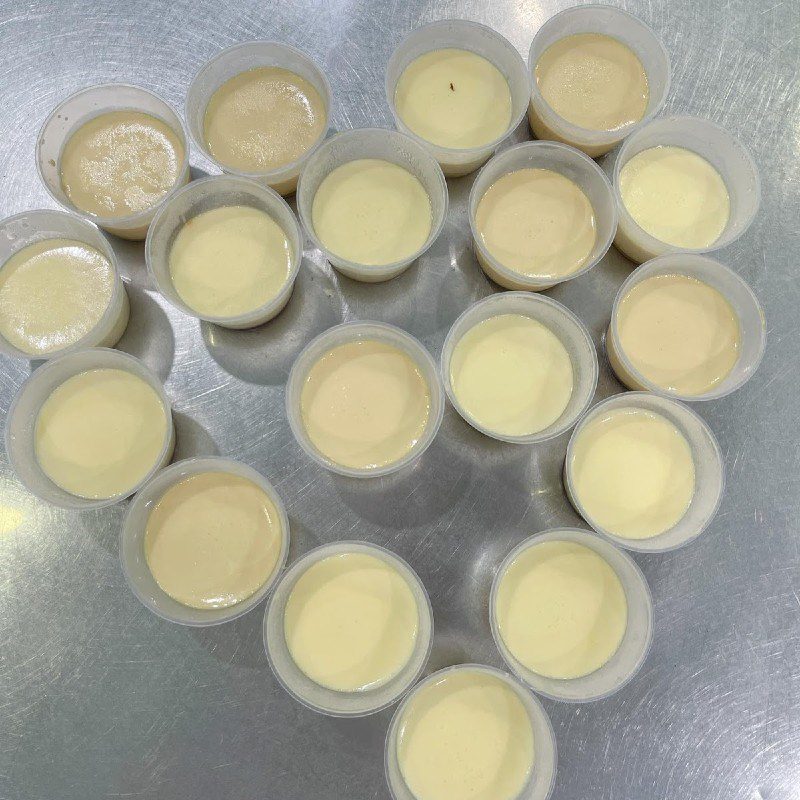
After straining the egg and milk mixture until smooth, pour this mixture into the molds that were previously filled with caramel.
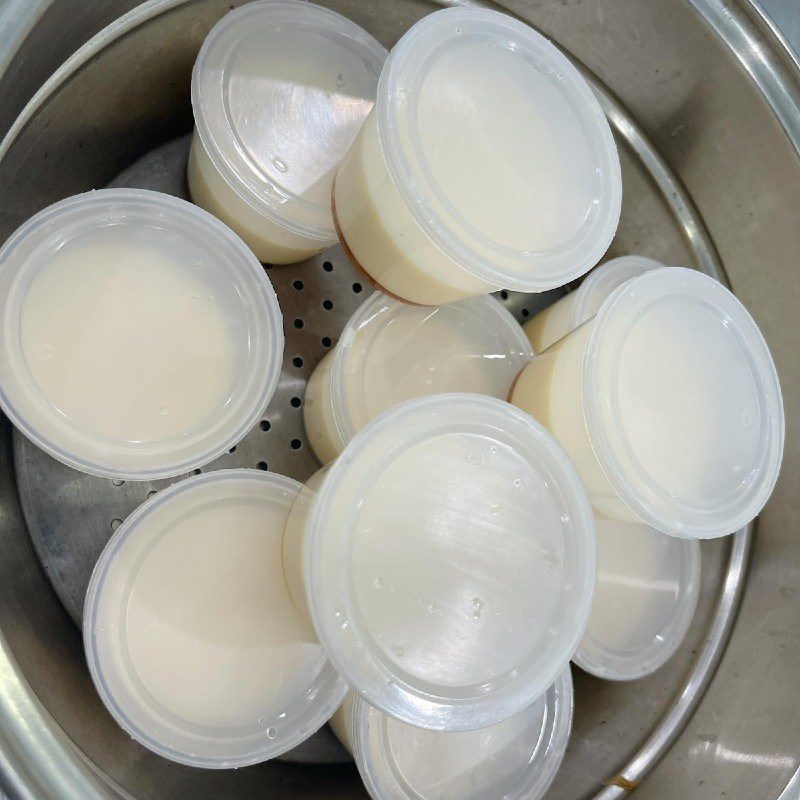
Warm the water for steaming the cake first, when the water is warm, turn the heat to very low and arrange the cake molds in the steamer.
Tip: Place a cloth under the lid of the pot to prevent water from dripping down, which will cause the cake to collapse.Occasionally, open the lid every 10 minutes, wipe off the water on the lid, and repeat until the cake is cooked.
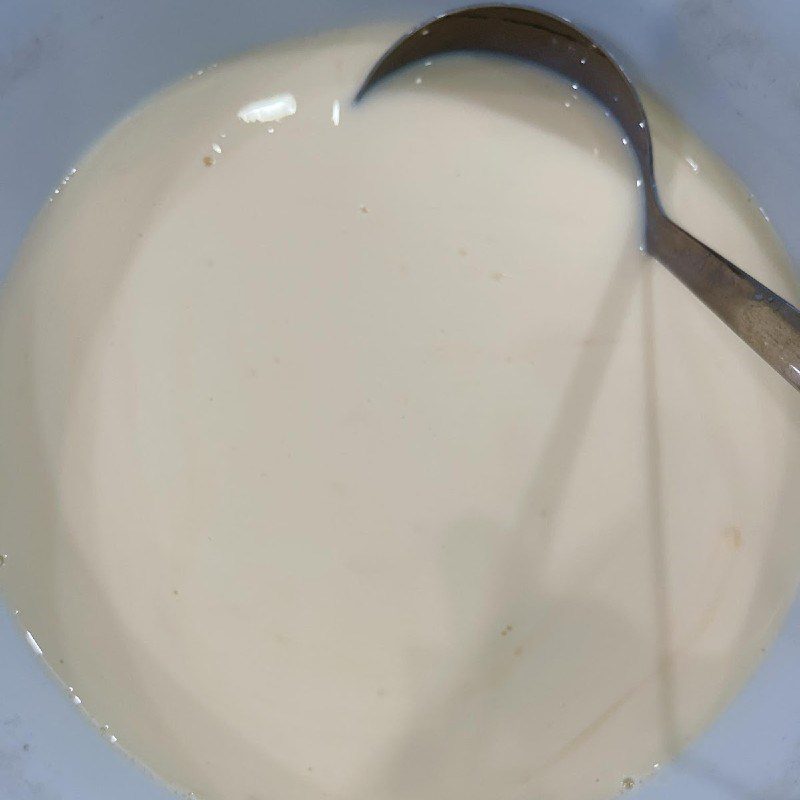
Steam for about 20 – 30 minutes, then check if the cake is cooked by inserting a toothpick into the cake; if the toothpick comes out dry and not sticky, the cake is done.
-
Cook jelly
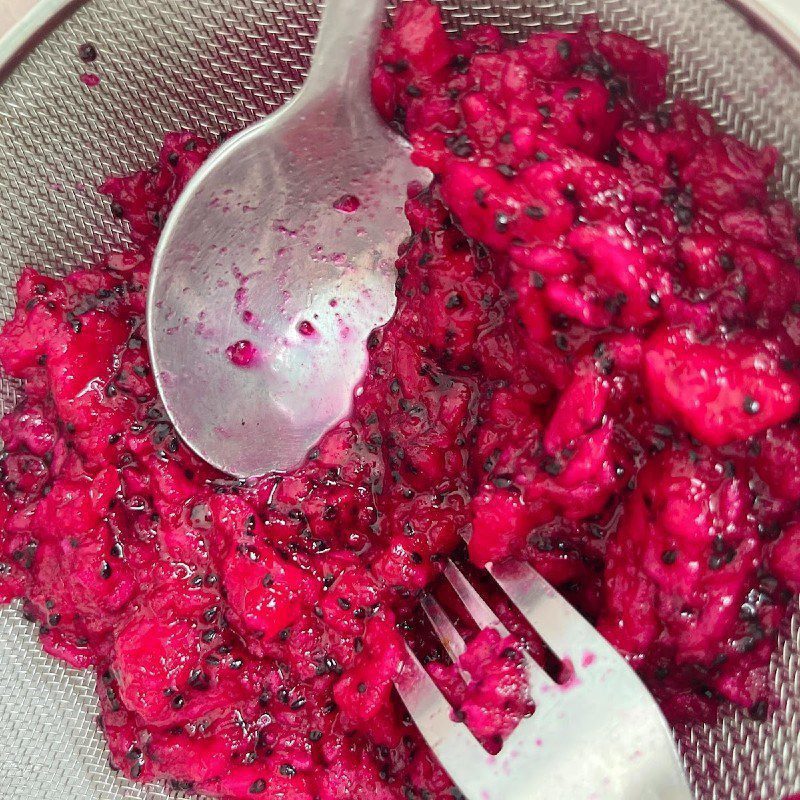
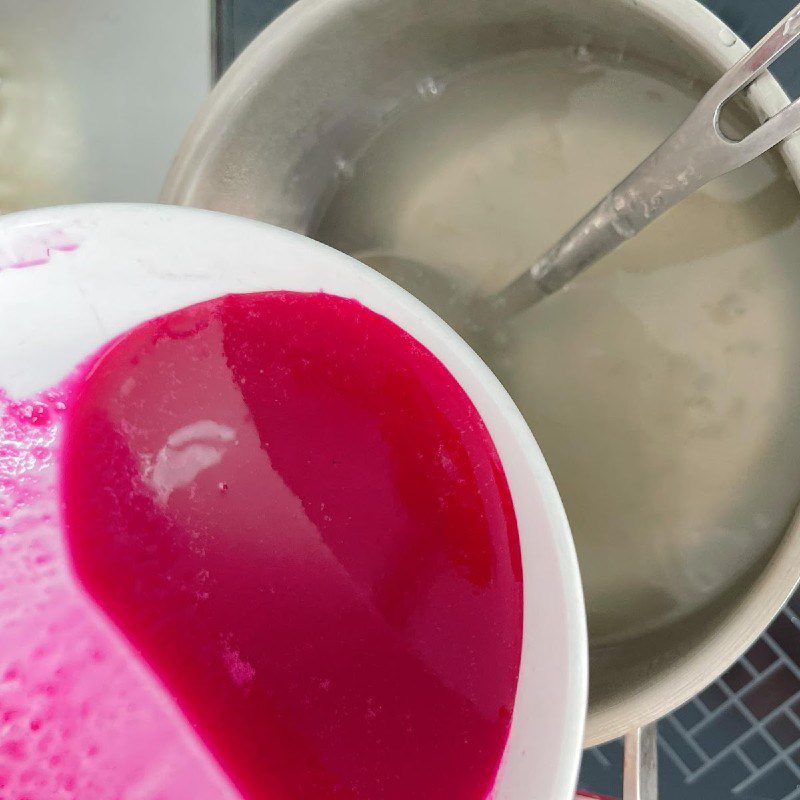
Peel the red dragon fruit, cut it into small pieces, and grind it to obtain the juice from the red dragon fruit.
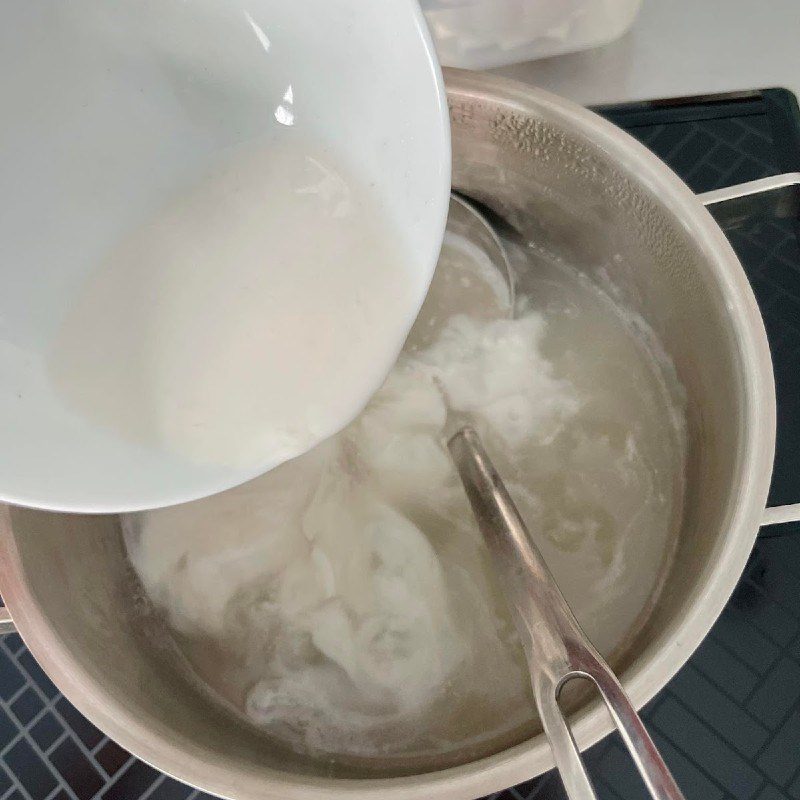
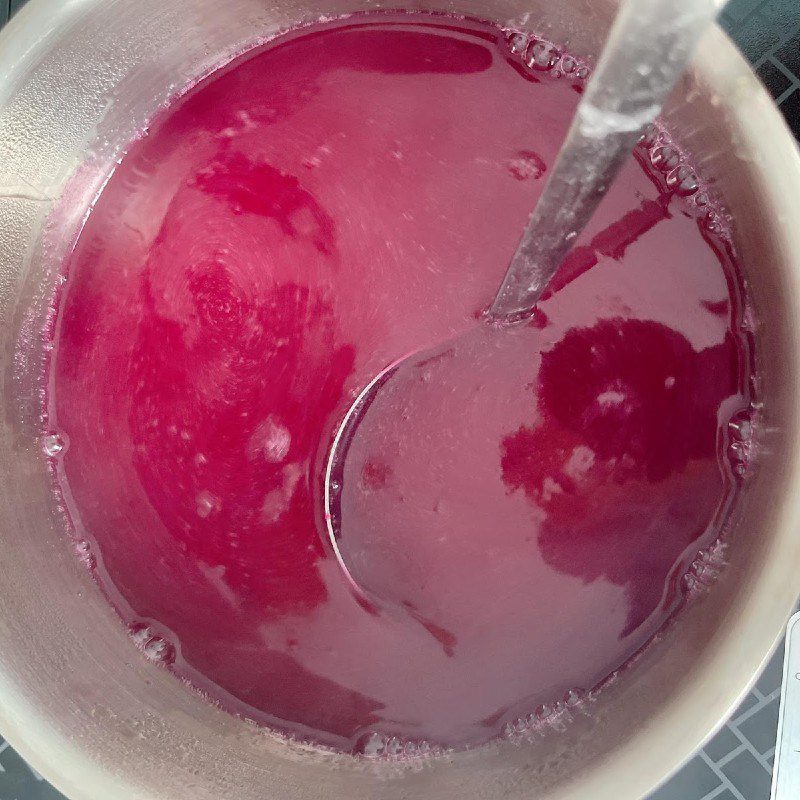
Next, mix 10g of soft jelly powder with 25g of crunchy jelly powder and 250g of sugar. Then, pour 2.5 liters of filtered water into a pot to boil, slowly add the jelly powder and sugar mixture to the boiling water, and stir well until completely dissolved.
Soak the jelly for about 30 minutes to 1 hour so that it expands and does not leak when poured into the mold.
-
Pour into the mold
Divide the cooked jelly into 2 parts, keeping it warm.
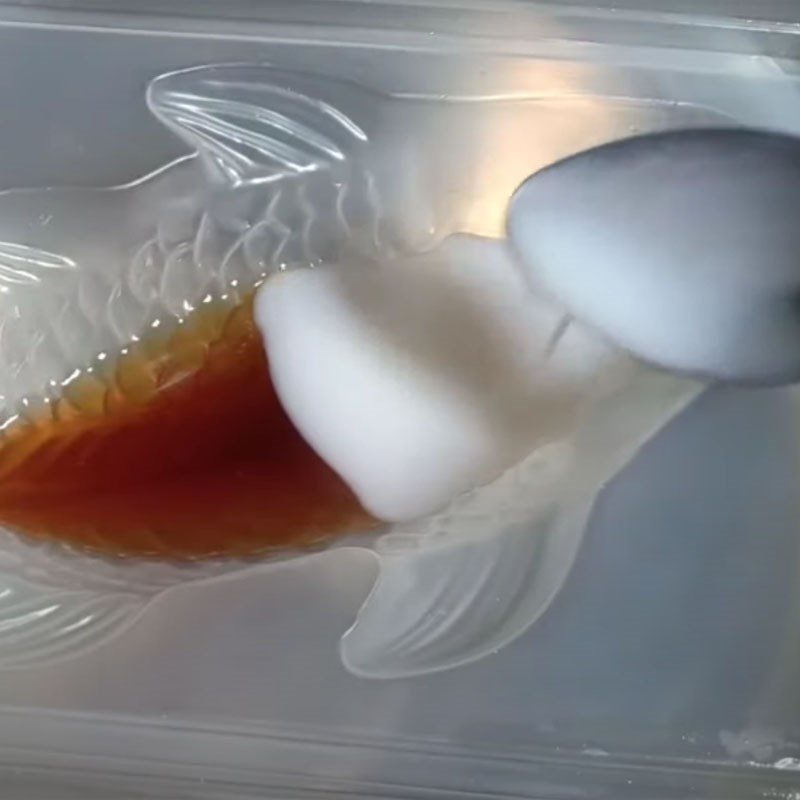
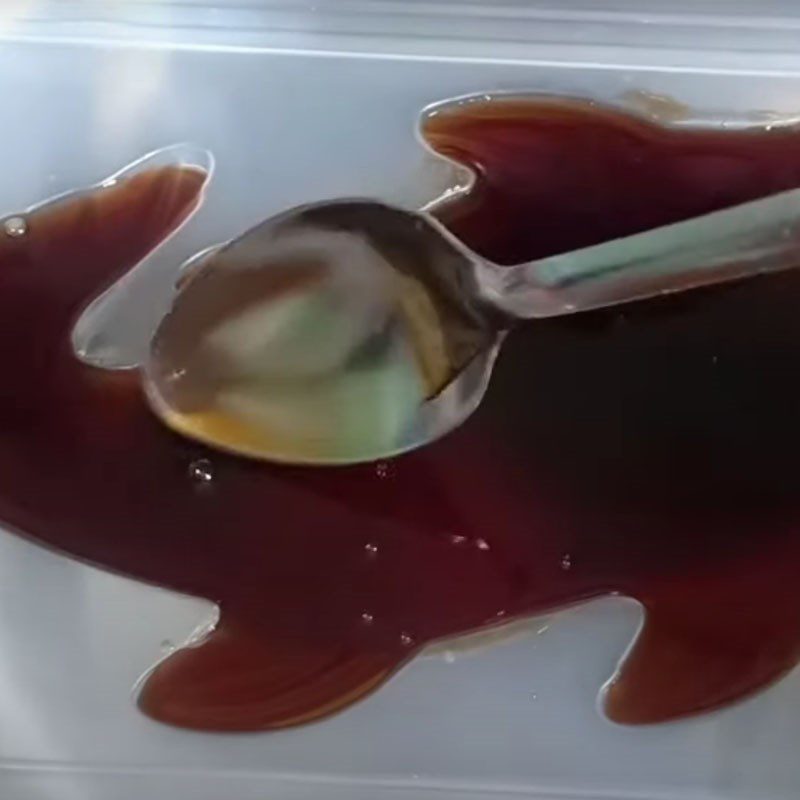
Mix the jelly with red dragon fruit puree and cook on low heat to prevent the jelly from solidifying, then evenly pour it into the molds to create the first layer of jelly. After the first layer has set, use a toothpick to lightly score lines on the surface of the jelly, pour a small spoonful of jelly and then place the flan in the center to secure it, then pour a second layer on top. Do the same for the third layer using coconut milk.
The remaining jelly mixture is combined with coconut milk and cooked on low heat to prevent it from solidifying, then poured on top of the cake.
Let the jelly cool and set completely for about 1.5 – 2 hours before removing it from the mold and enjoying it.


-
Final Product
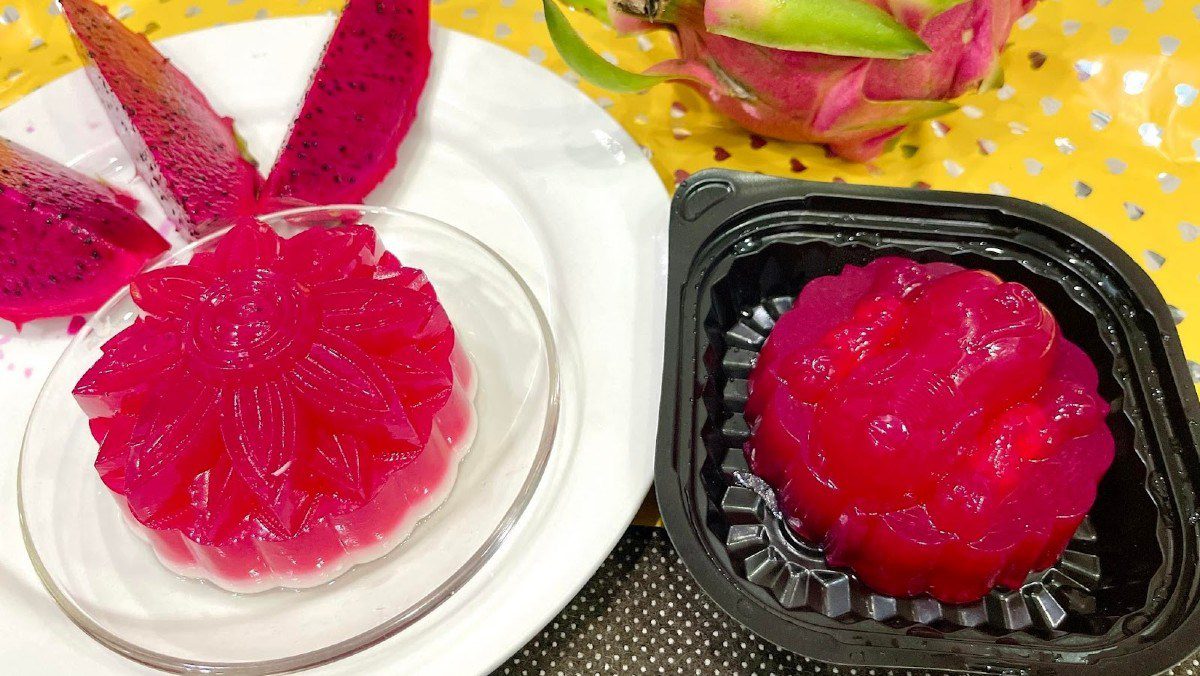
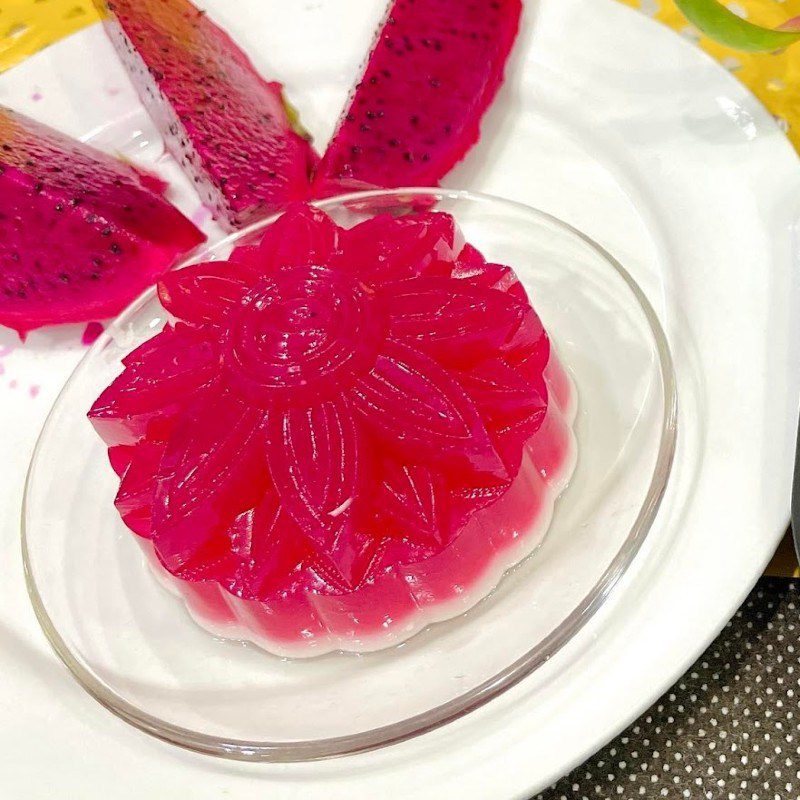
Beautiful red dragon fruit jelly mooncake with flan filling, featuring a natural rosy red color. The flavor is extremely delicious, both sweet and creamy, and anyone who tastes it will surely be impressed!
See more
With a simple recipe and easily found ingredients, you can surely make 4 delicious jelly mooncakes with flan filling to treat your family! Wishing you success!
