TasteVN
  • Home
  • Main Dishes
    • Beef Dishes
    • Braised Food
    • Fried Food
    • Steamed Food
    • Stir-fried Dishes
    • Soup
    • Grilled Food
    • Hot Pot
    • Liquid Dishes
    • Chicken Dishes
    • Dried and Fermented Dishes
    • Vegetarian Dishes
    • Porridge
  • Desserts
    • Cake
    • Ice Cream
    • Sweet Soup
    • Desserts
  • Beverages
    • Beverages
    • Juices
    • Milk Tea
    • Smoothies
  • Snacks
    • Rolls and Salads
    • Salad
    • Snacks
  • Tips & Holidays
    • Festivals & Holidays
    • Kitchen Tips
No Result
View All Result
TasteVN
No Result
View All Result
Home Cake

How to make delicious, simple, and easy Mooncake with coconut milk filling

by TasteT
1 week ago
in Cake
473 20
0
how to make mooncake with coconut filling delicious simple 00227
739
SHARES
3.5k
VIEWS
Share on FacebookShare on Twitter
  • Preparation

    5 minutes

  • Processing

    1 hour

  • Difficulty

    Medium

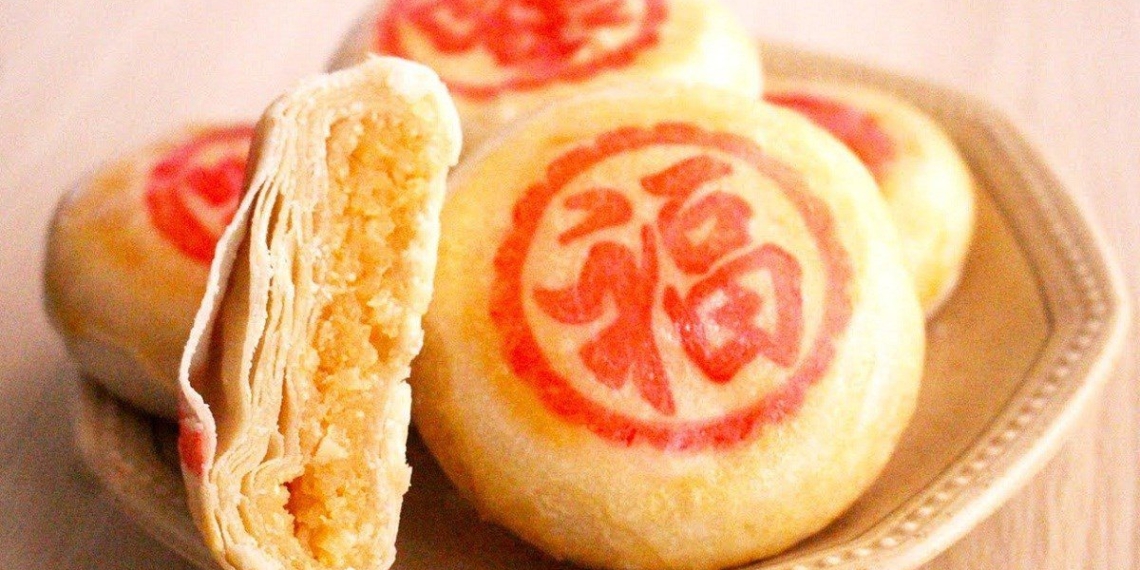
Pia cake is a cake that was introduced by the Chinese in the Southwest region and gradually became popular nationwide thanks to its delicious and attractive flavor. Especially, you can get into the kitchen to make coconut milk-filled pia cake following the instructions in the article below.

Quick view hide
1 Mix the coconut milk filling
2 Cook the coconut milk filling
3 Make the dough for the cake skin
4 Make the outer dough
5 Mix the color for stamping
6 Roll and divide the dough
7 Shaping the cake
8 Baking the cake
9 Final product

Ingredients for Coconut Milk-Filled Pia Cake For 4 people

Grated coconut 220 g Powdered milk 20 g Condensed milk 100 ml Coconut cream 100 ml Glutinous rice flour 20 g Vanilla 1 ml Wheat flour 150 g Tapioca flour 6 g Cooking oil 50 ml Sugar 25 g Chicken egg 1 piece Sesame oil 1/3 teaspoon

Prepare a little red food coloring and a cake stamp.

Tools: Oven, sieve, rolling pin, stove, non-stick pan,…
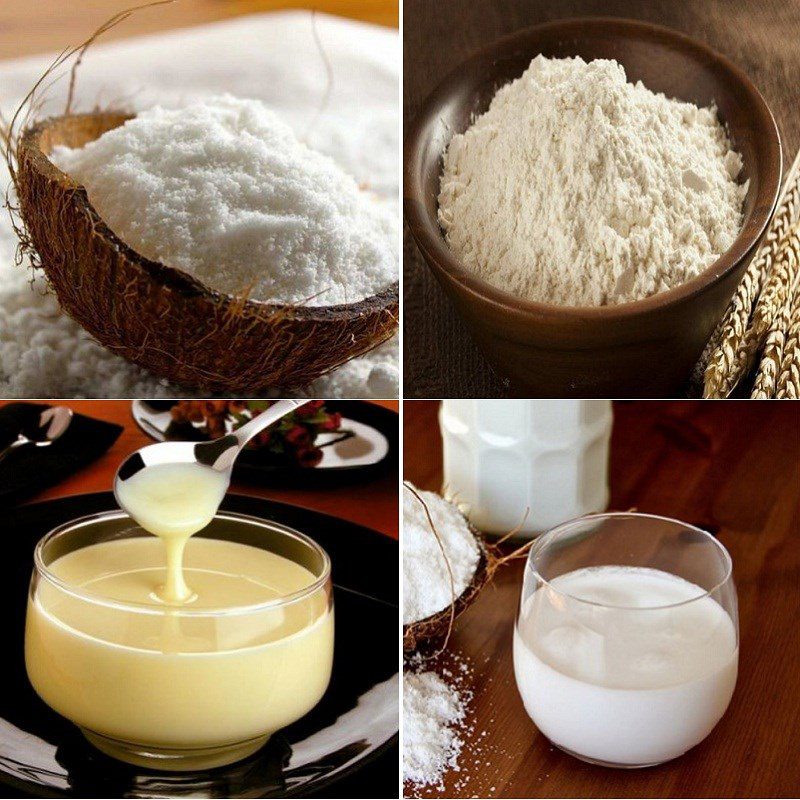
Ingredients for coconut milk-filled pia cake

How to make Pia cake with coconut milk filling

  • Mix the coconut milk filling

    Put 220g of grated coconut in a bowl and mix it evenly with 20g of powdered milk, then add 100ml of condensed milk and mix well.

    Cover the bowl tightly with plastic wrap and let the coconut milk mixture sit for 45-60 minutes for the grated coconut to absorb the milk.
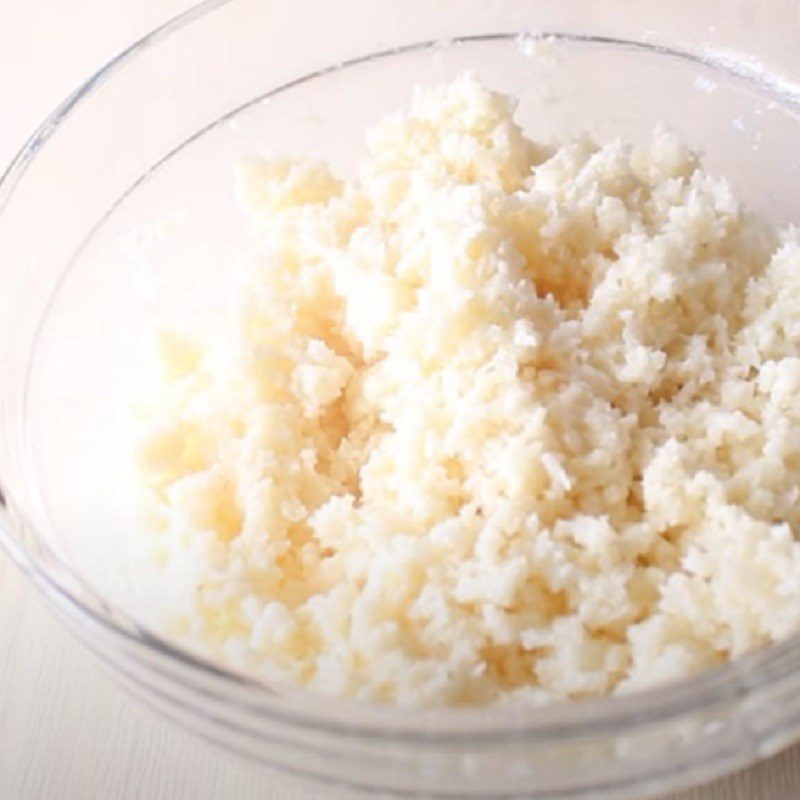
    Step 1 Mix the coconut milk filling for Pia cake
  • Cook the coconut milk filling

    Add 100ml of coconut milk to a pan, turn the heat to medium, and cook until the coconut milk is gently boiling, then pour in the marinated coconut mixture from above. Reduce the heat to low and stir continuously until the coconut is slightly dry but still moist, then turn off the heat.

    Remove the filling pan from the heat and sift 20g of sticky rice flour evenly into the mixture and mix well. Next, add 1ml of vanilla extract or half a tube of vanilla powder into the filling pan, mixing well for fragrance.

    Note: When cooking the filling, you should see the coconut strands are dry, slightly dry but still moist for the filling to be perfect. Do not cook too long as the coconut will become dry and lose its flavor.
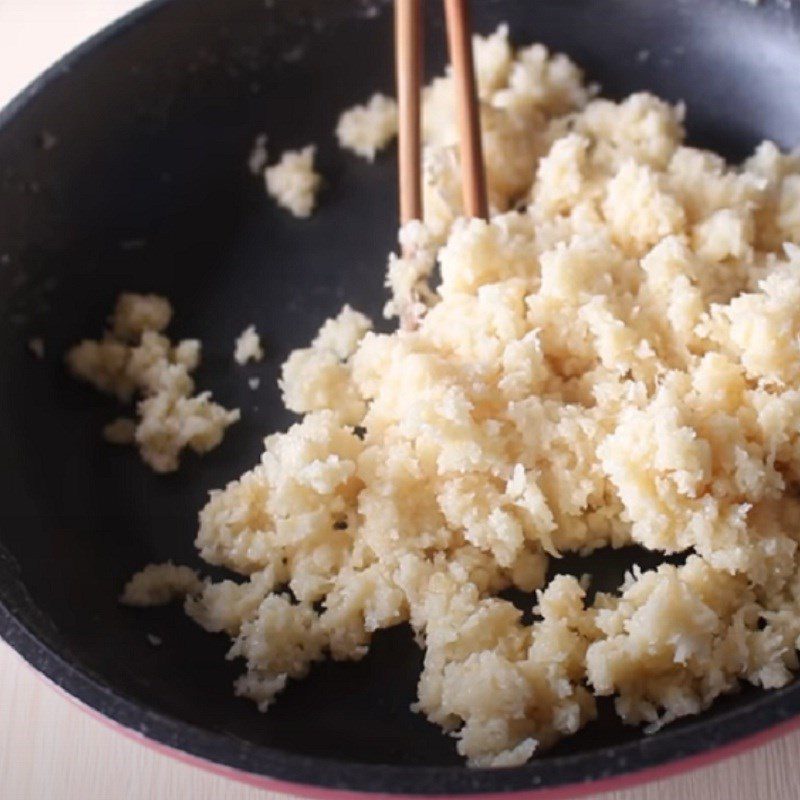
    Step 2 Cook the coconut milk filling for Pia cake
  • Make the dough for the cake skin

    In a bowl, combine 60g of flour with 6g of tapioca starch, then add 20ml of cooking oil and mix until the oil is combined with the flour to form a mixture that is half dry and half wet. Then put on gloves and knead lightly until the dough is soft, smooth, and non-sticky to the touch.
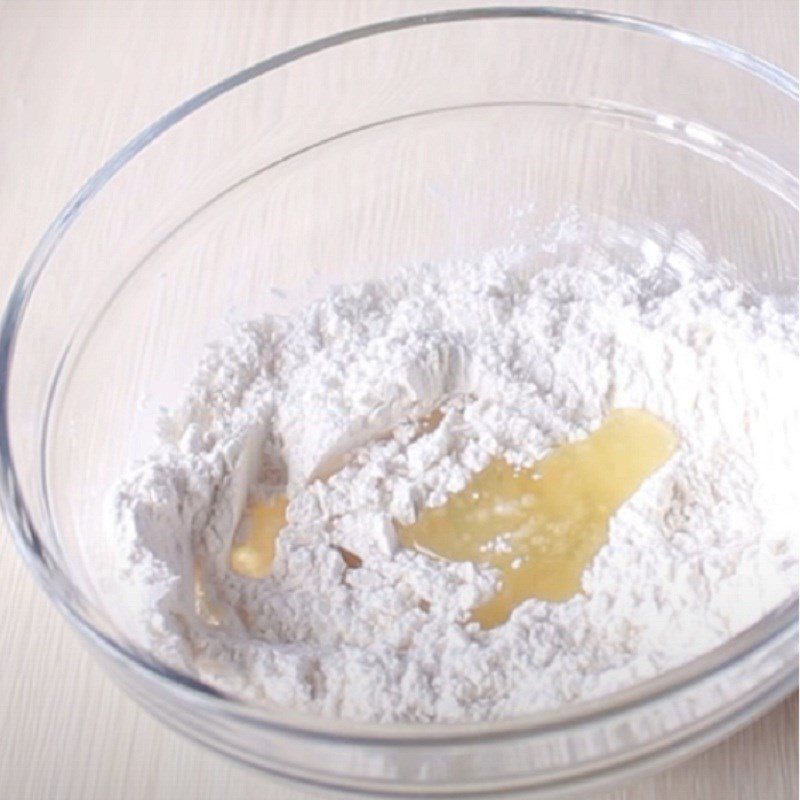
    Step 3 Make the dough for the cake skin for Pia cake
    Step 3 Make the dough for the shell of the coconut milk filled cake
  • Make the outer dough

    Add 35ml of water, 20ml of cooking oil, and 25g of sugar into a bowl, and stir to dissolve the mixture. Then gradually add 90g of flour into the bowl, mixing thoroughly until the flour is gone, you will have a slightly wet dough.

    Wear gloves to knead the dough until it is soft, pliable, smooth, and not sticky to your hands.
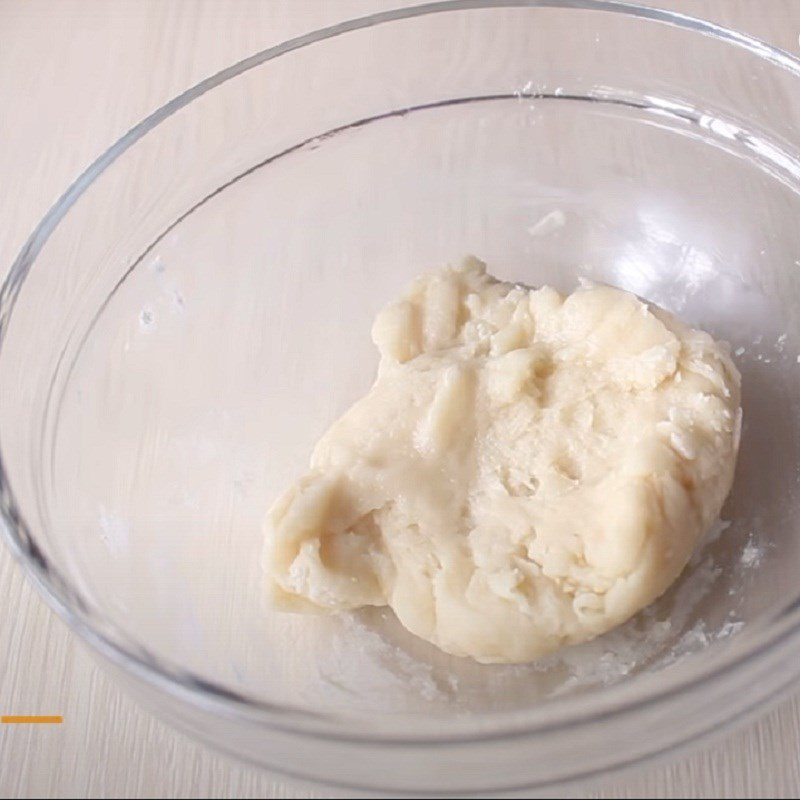
    Step 4 Make the outer dough Coconut milk filled cake
  • Mix the color for stamping

    Dissolve some red food coloring in a little water, then place a thin cloth in it to let the cloth absorb the color evenly. This helps the stamp pressed onto the cake to absorb the color evenly, creating clearer and more beautiful letters on the cake surface.
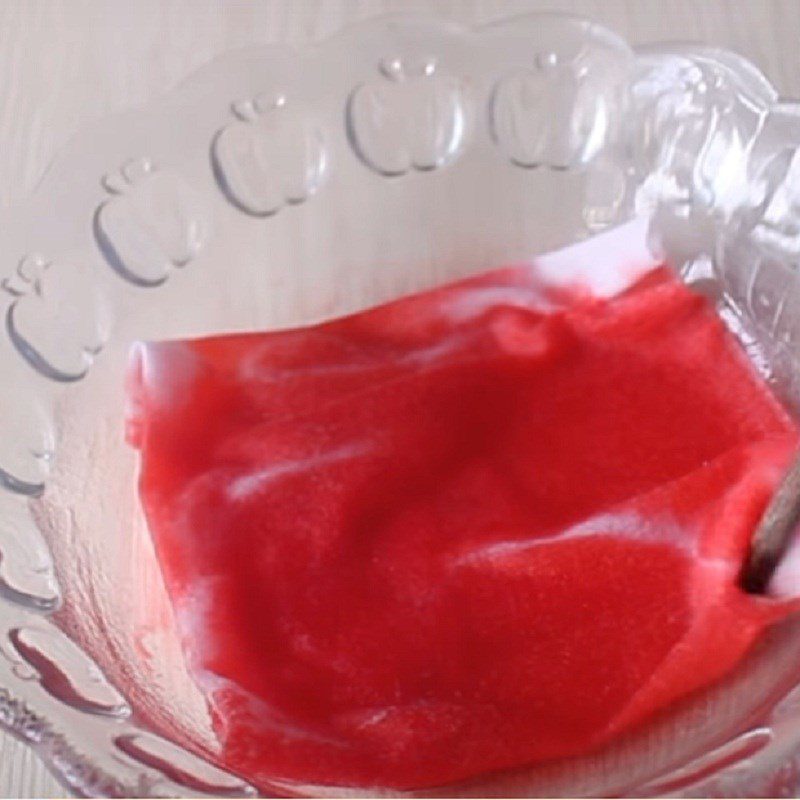
    Step 5 Mix the color for stamping Coconut milk filled cake
  • Roll and divide the dough

    Take the dough for the cake filling and place it on a clean surface, knead it briefly, roll the dough into a long shape, then divide it into 5 equal parts, and roll them into balls.

    Do the same with the outer dough, knead it briefly, then divide it into 5 equal parts and roll them into balls.
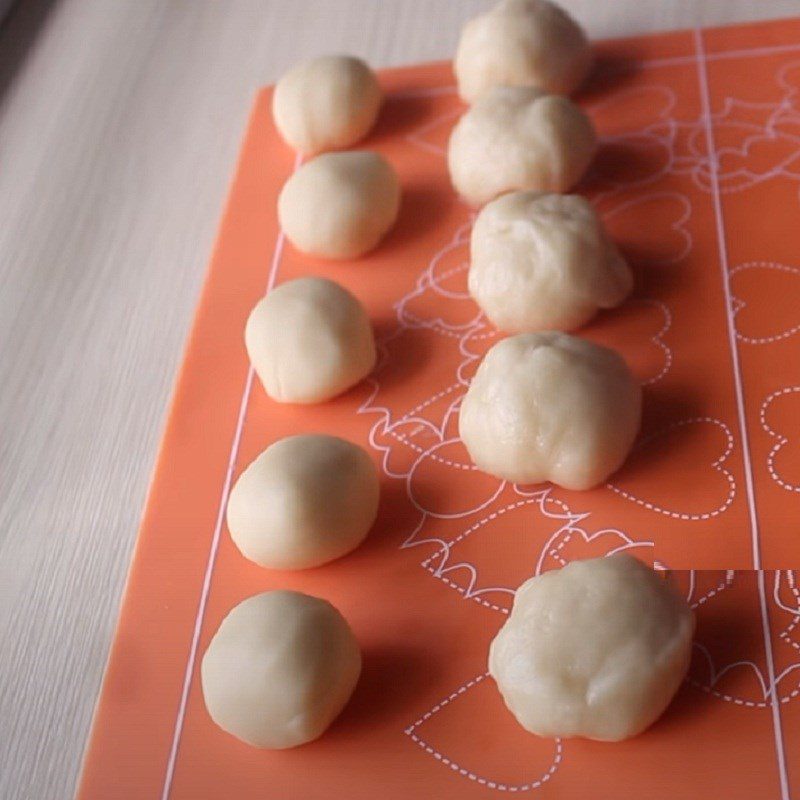
    Step 6 Roll and divide the dough Coconut milk filled cake
  • Shaping the cake

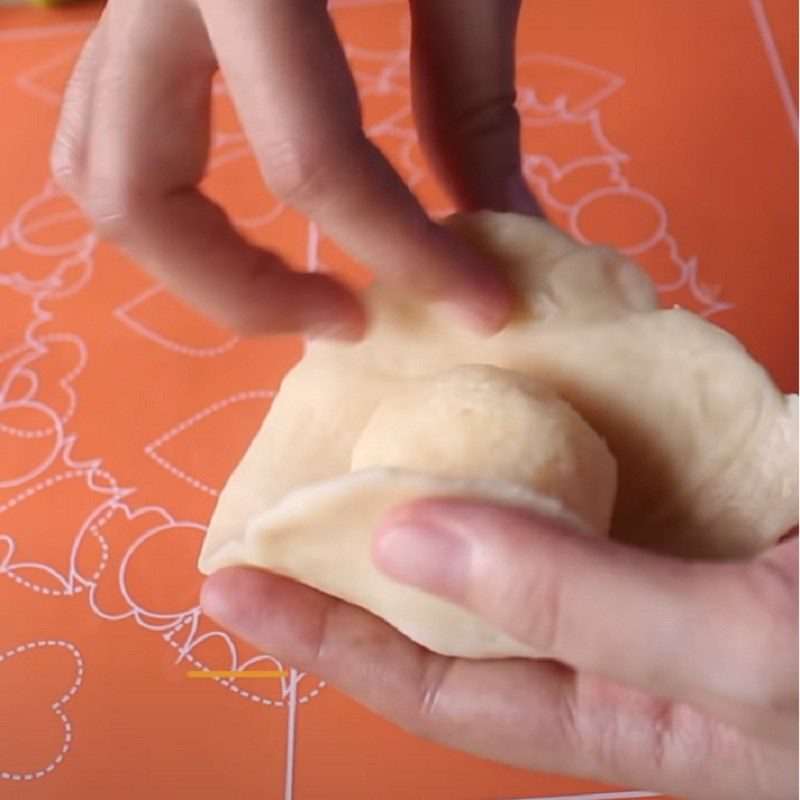
    You take a piece of outer dough, pull and roll the edges of the dough continuously inward to create a smooth surface. Place the dough ball on a flat surface, using a rolling pin to flatten it.

    Next, place the filling dough in the center of the outer dough piece, use the outer dough piece to wrap the filling dough inside, pinching the dough tightly to avoid any gaps.

    You place the smooth side down on the flat surface, using the rolling pin to roll from the center upwards and then back down from the center. Roll multiple times to make the dough thin and oval-shaped.

    Next, you roll the dough up, placing it horizontally, and from the center, roll the dough to both sides. Then roll the dough up again. Flatten the rolled dough, and roll it thin. Shape the filling into a ball the size of a ping-pong ball, place it in the center of the dough, wrap it tightly, and roll it evenly.

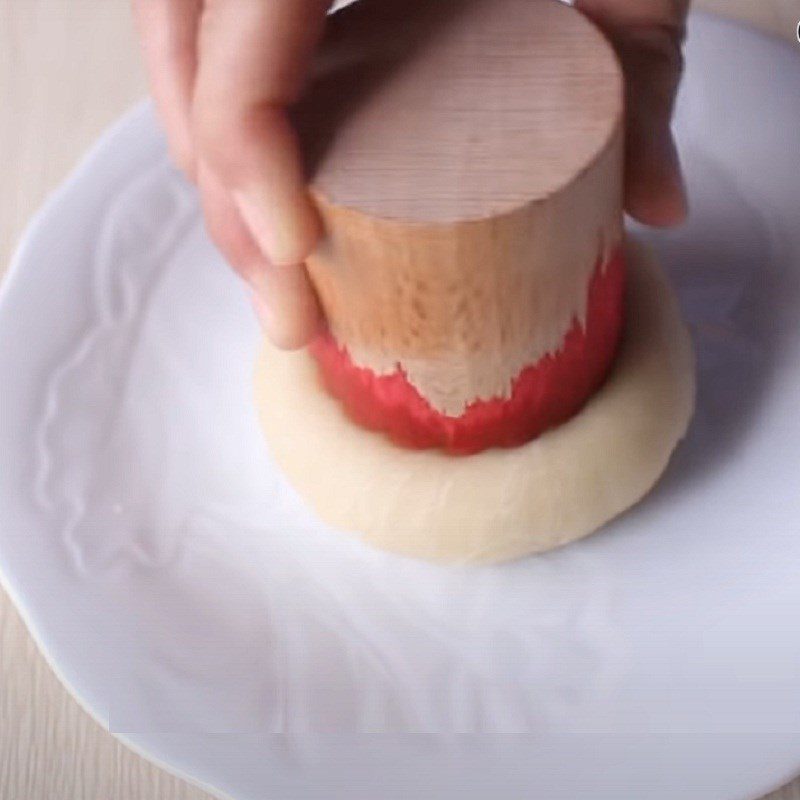
    You use a stamp that has been soaked in water to print on the surface of the cake, press the cake down slightly and gently rotate it, so the print is clear. Finally, you take the cake to bake.

    Note:

    If you are not used to it, you should not roll the dough too thin, as adding the filling dough may tear the outer dough, making it difficult to roll and look unappealing.

    Do not roll the dough starting from the bottom up or from the top down, as this will cause the filling dough inside to be unevenly distributed.
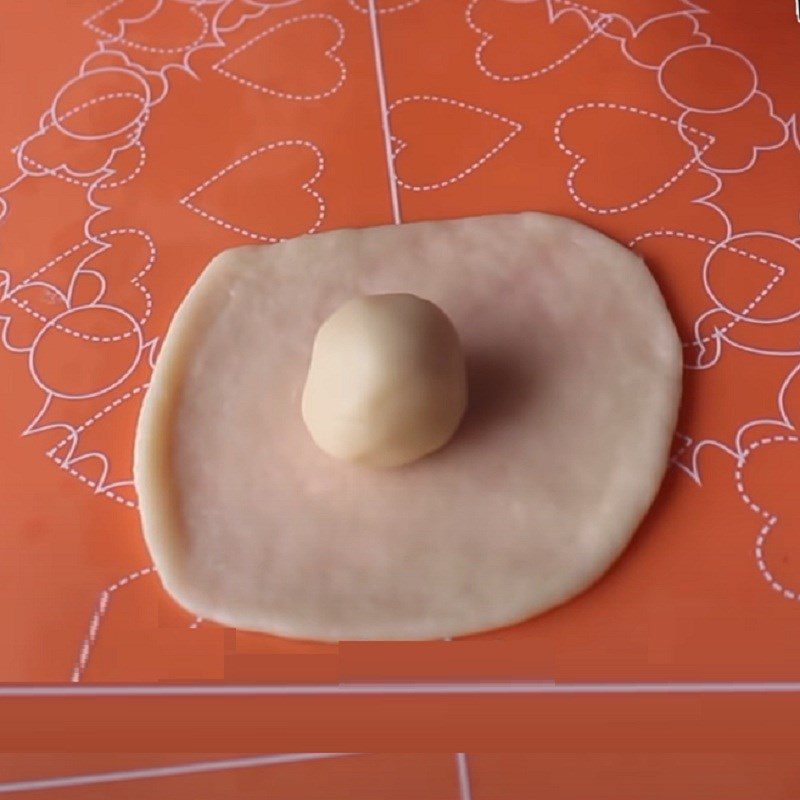
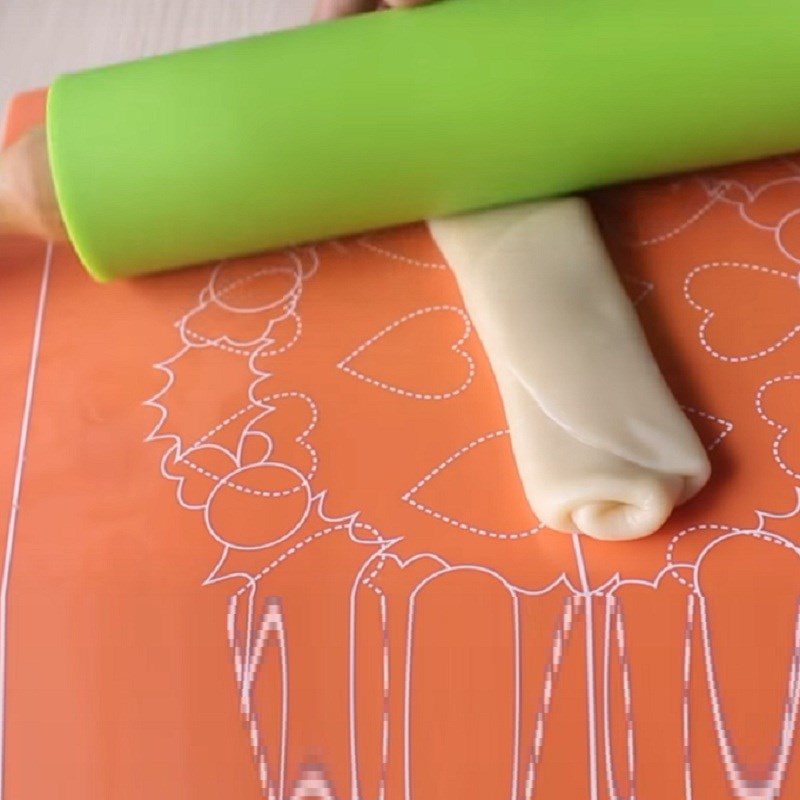
    Step 7 Shaping the cake Pia cake with coconut milk filling
    Step 7 Shaping the cake Pia cake with coconut milk filling
    Step 7 Shaping the cake Pia cake with coconut milk filling
    Step 7 Shaping the cake Pia cake with coconut milk filling
  • Baking the cake

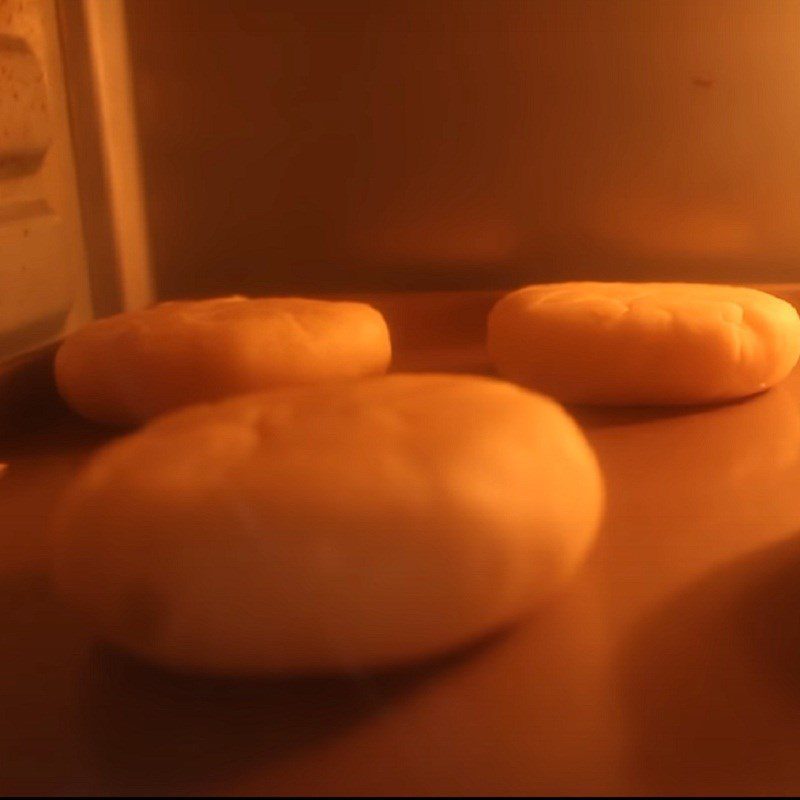
    Preheat the oven to 170 degrees Celsius for 10 minutes to stabilize the temperature.

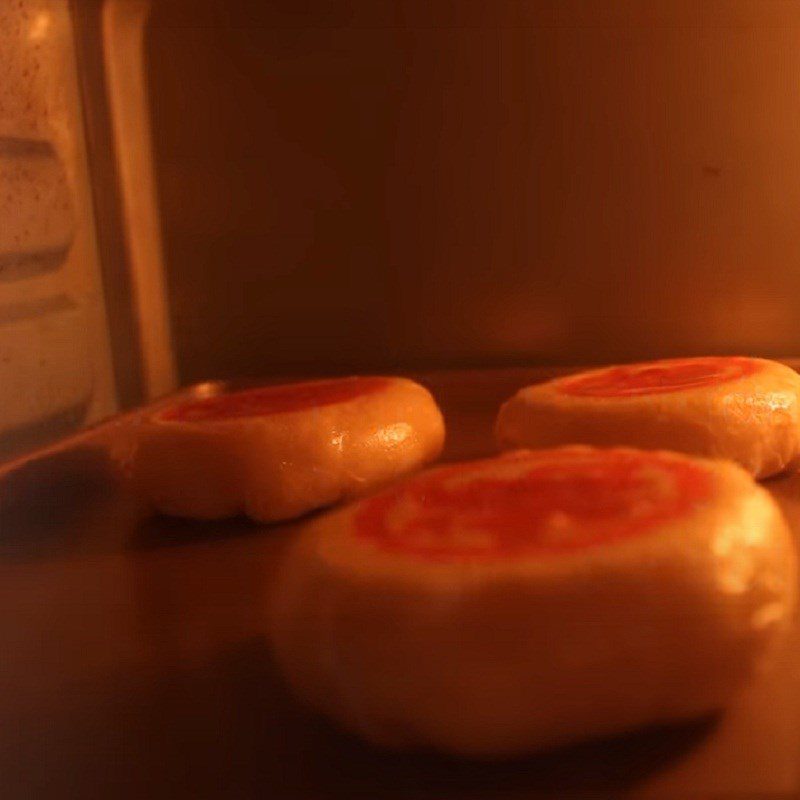
    Arrange the cakes on the tray with the printed side facing down, then place the cakes in the oven at 170 degrees Celsius for 15 minutes.

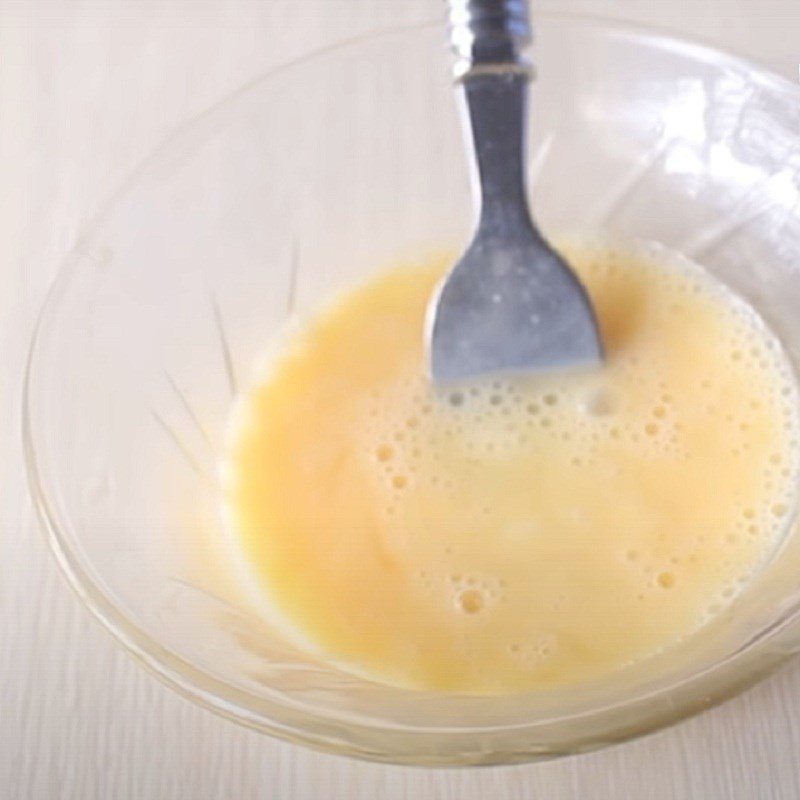
    Crack one egg into a bowl, add 1/2 teaspoon of water, 1/3 teaspoon of sesame oil, and beat the egg until smooth.

    After baking for 15 minutes, take the cakes out, let them cool slightly, then flip them over so the printed side is facing up, and brush a thin, even layer of egg on top. Place the cakes back in the oven and bake at 170 degrees Celsius for an additional 10 minutes.

    Note: Wait for the cakes to cool before brushing with egg, as hot cakes will cook the egg. Brush a thin layer of egg, not too thick, to avoid creating uneven textures from the cooked egg on the cake’s surface.
    Step 8 Baking the cake Pia cake with coconut milk filling
    Step 8 Baking the cake Pia cake with coconut milk filling
    Step 8 Baking the cake Pia cake with coconut milk filling
  • Final product

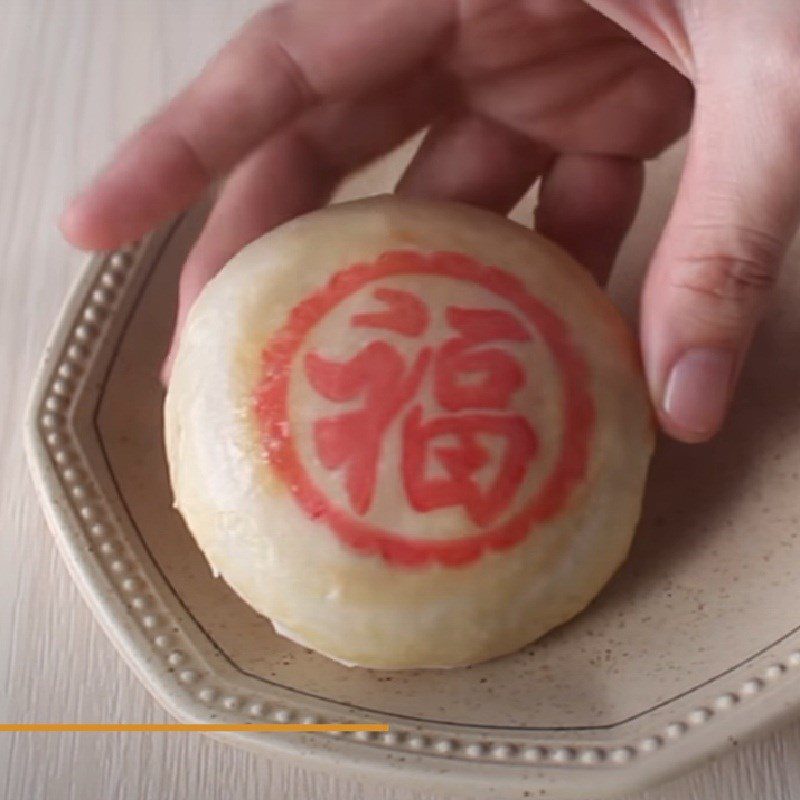
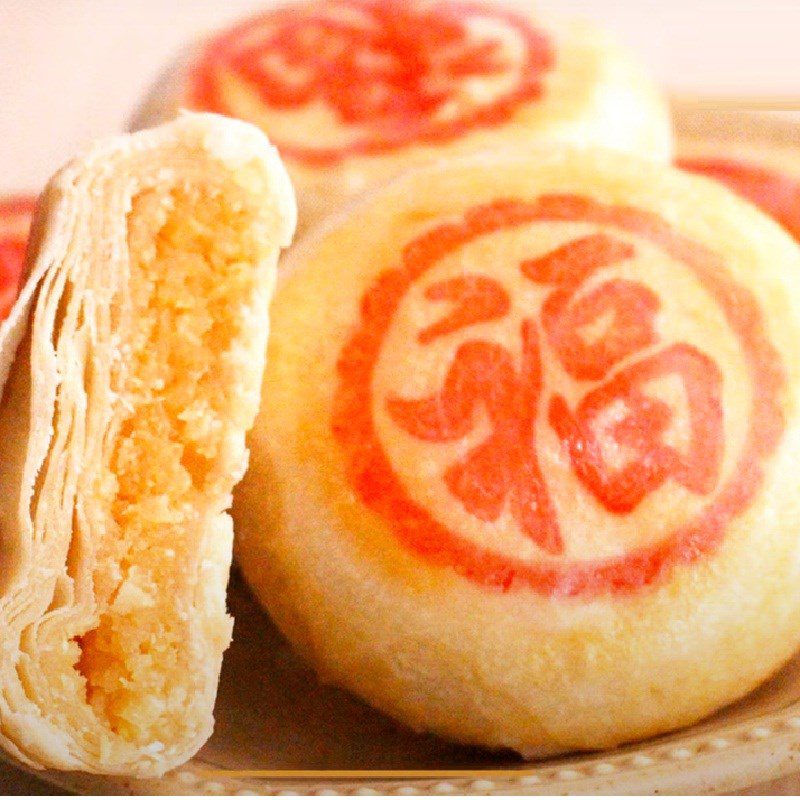
    The pia cake with coconut milk filling has a lightly sweet, multi-layered crust along with a rich and fragrant coconut filling that is incredibly appealing. Wait for the cake to cool and enjoy it with a bit of hot tea for the best experience!
    Step 9 Final product Pia cake with coconut milk filling
    Step 9 Final product Pia cake with coconut milk filling
Note when making coconut milk-filled pia cake:

The coconut milk-filled pia cake will taste better if stored in the refrigerator after 3 days, the crust will be crispier and have a clear layer separation.

To preserve the pia cake, place it in a covered container, store it in the refrigerator, and consume it within 2 weeks.

See more:
  • How to make delicious and simple Taiwanese pineapple cake
  • How to make delicious and fluffy cream-filled fried cake
  • How to make delicious and easy baked buns with char siu filling

If you are a sweet tooth, you cannot miss the coconut milk pia cake, so head to the kitchen and make it right away. Wishing you success!

*Refer to images and recipes from the Youtube channel: Nhung Cooking
Cooking time: 60 minutes
Level: Medium
Tags: coconut milk pie with mung bean fillinghow to make cakehow to make pieinto the kitchenpie
Previous Post

2 ways to make deliciously crispy fried duck tongues with lemongrass and chili

Next Post

How to cook nutritious sweet radish bone soup for a more flavorful meal

TasteT

TasteT

I am a food writer specializing in Vietnamese cuisine, sharing traditional recipes, cooking tips, and the culture behind every dish. My goal is to bring the authentic flavors of Vietnam to your kitchen.

Related Posts

How to Make Unique, Fragrant, Rich, and Delicious Fruit Crepe Cake
Cake

How to Make Unique, Fragrant, Rich, and Delicious Fruit Crepe Cake

2 ways to cook delicious and light vegetarian papaya soup with straw mushrooms and aromatic Vietnamese pepper leaves
Vegetarian Dishes

2 ways to cook delicious and light vegetarian papaya soup with straw mushrooms and aromatic Vietnamese pepper leaves

How to make garlic roasted scallops that are fragrant, sweet, rich, and extremely delicious
Stir-fried Dishes

How to make garlic roasted scallops that are fragrant, sweet, rich, and extremely delicious

2 ways to make delicious grilled clams with cheese and rich satay
Grilled Food

2 ways to make delicious grilled clams with cheese and rich satay

2 simple ways to cook black sesame porridge and black bean porridge, delicious and good for health
Porridge

2 simple ways to cook black sesame porridge and black bean porridge, delicious and good for health

Simple, Delicious Crispy Fried Catfish with Garlic Chili Sauce, Irresistible to Eat
Fried Food

Simple, Delicious Crispy Fried Catfish with Garlic Chili Sauce, Irresistible to Eat

Next Post
How to cook nutritious sweet radish bone soup for a more flavorful meal

How to cook nutritious sweet radish bone soup for a more flavorful meal

Leave a Reply Cancel reply

Your email address will not be published. Required fields are marked *

Navigate

  • About
  • Privacy Policy
  • Contact

Recent Recipes

4 ways to make delicious and nutritious steamed pumpkin with eggs, meat, seafood, and lotus seeds

4 ways to make delicious and nutritious steamed pumpkin with eggs, meat, seafood, and lotus seeds

2 simple and easy ways to make delicious crispy potato cakes

2 simple and easy ways to make delicious crispy potato cakes

Browse by Category

  • Beef Dishes
  • Beverages
  • Braised Food
  • Cake
  • Chicken Dishes
  • Desserts
  • Dried and Fermented Dishes
  • Festivals & Holidays
  • Fried Food
  • Grilled Food
  • Hot Pot
  • Ice Cream
  • Juices
  • Kitchen Tips
  • Liquid Dishes
  • Milk Tea
  • Porridge
  • Rolls and Salads
  • Salad
  • Smoothies
  • Snacks
  • Soup
  • Steamed Food
  • Stir-fried Dishes
  • Sweet Soup
  • Vegetarian Dishes

Browse by Ingredients

beef beef stew braised fish cake dish dessert fried dish grilled dishes how to cook porridge how to make cake how to make ice cream into the kitchen mixed salad dish noodle soup snacks soup dish sponge cake steamed dish stir-fried dish stir-fried noodles vegetarian dish

© 2024 TasteVN - The ultimate Vietnam food destination for cooking tips, recipes, and more.

Welcome Back!

Login to your account below

Forgotten Password?

Retrieve your password

Please enter your username or email address to reset your password.

Log In
No Result
View All Result
  • Home
  • Main Dishes
    • Beef Dishes
    • Braised Food
    • Fried Food
    • Steamed Food
    • Stir-fried Dishes
    • Soup
    • Grilled Food
    • Hot Pot
    • Liquid Dishes
    • Chicken Dishes
    • Dried and Fermented Dishes
    • Vegetarian Dishes
    • Porridge
  • Desserts
    • Cake
    • Ice Cream
    • Sweet Soup
    • Desserts
  • Beverages
    • Beverages
    • Juices
    • Milk Tea
    • Smoothies
  • Snacks
    • Rolls and Salads
    • Salad
    • Snacks
  • Tips & Holidays
    • Festivals & Holidays
    • Kitchen Tips

© 2024 TasteVN - The ultimate Vietnam food destination for cooking tips, recipes, and more.