TasteVN
  • Home
  • Main Dishes
    • Beef Dishes
    • Braised Food
    • Fried Food
    • Steamed Food
    • Stir-fried Dishes
    • Soup
    • Grilled Food
    • Hot Pot
    • Liquid Dishes
    • Chicken Dishes
    • Dried and Fermented Dishes
    • Vegetarian Dishes
    • Porridge
  • Desserts
    • Cake
    • Ice Cream
    • Sweet Soup
    • Desserts
  • Beverages
    • Beverages
    • Juices
    • Milk Tea
    • Smoothies
  • Snacks
    • Rolls and Salads
    • Salad
    • Snacks
  • Tips & Holidays
    • Festivals & Holidays
    • Kitchen Tips
No Result
View All Result
TasteVN
No Result
View All Result
Home Cake

How to Make Soft and Delicious Taro Steamed Buns Without Filling

by TasteT
4 months ago
in Cake
478 15
0
how to make sweet potato dumplings without soft filling delicious 13433
740
SHARES
3.5k
VIEWS
Share on FacebookShare on Twitter
  • Preparation

    5 minutes

  • Cooking

    1 hour 30 minutes

  • Difficulty

    Medium

Delicious taro buns without filling with a soft and smooth outer layer and the rich, creamy flavor of taro will be a wonderful breakfast for your family. Let’s join TasteVN into the kitchen to make this incredibly simple bun dish of taro!

Quick view hide
1 Mix the dough with yeast
2 Boil taro
3 Mash taro
4 Mixing the taro bao dough
5 Proofing the dough and shaping the buns
6 Steaming the buns
7 Final product
8 How to succeed
9 How to store the cake for a long time
10 See more:

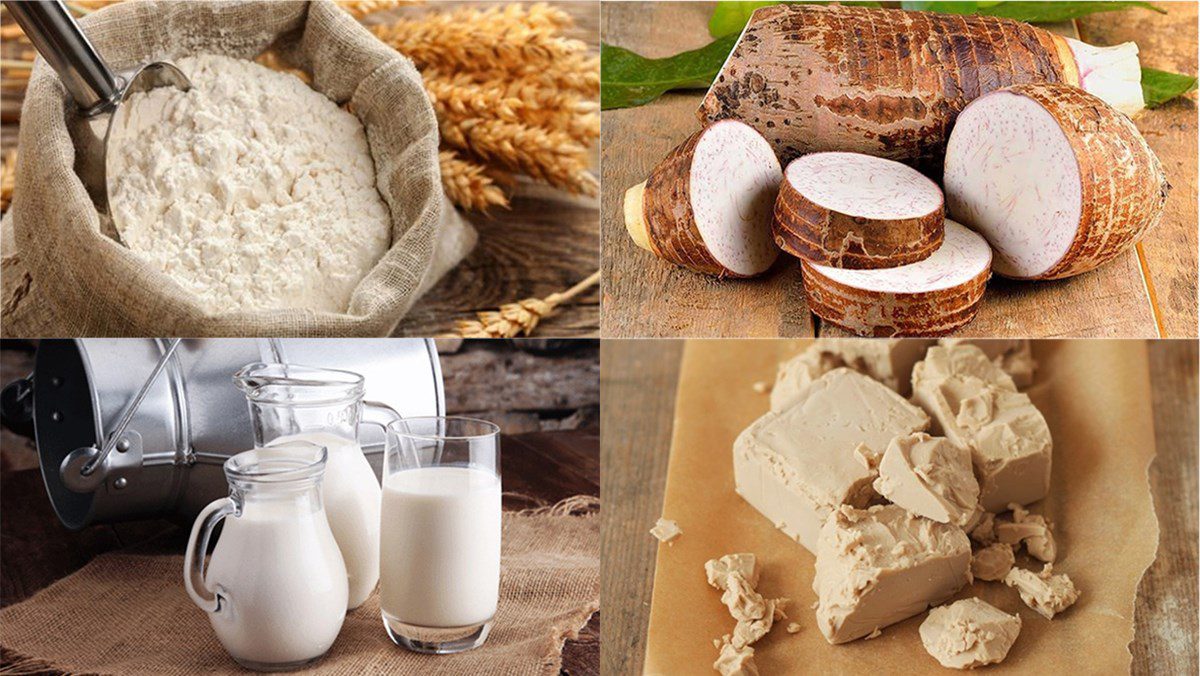
Ingredients for Taro Buns without filling For 15 pieces

Taro 400 gr Chicken eggs 2 pieces Yeast 3 gr All-purpose flour 300 gr Fresh milk 130 ml Sugar/ salt a little

How to choose ingredients

How to choose good taro

  • Size: Choose tubers that are medium-sized, not too large or too small.
  • Shape: Choose those that are round and egg-shaped, with rough skin, many roots, and dirt sticking to the skin.
  • Color: Choose taro with a cloudy white interior and many purple veins.
See details: Tips for choosing good taro without being fibrous and tasteless

What is yeast?

  • Yeast is one of the essential ingredients in baking, especially in making bread. These are living microorganisms that can secrete substances to speed up the fermentation of dough.
  • Yeast can use instant yeast if fresh yeast is not available. With instant yeast, you do not need to activate the yeast before mixing the dough but can mix it directly into the flour.
See details: What is instant yeast?

Ingredients for taro dumplings without filling

Tools needed

Blender, steamer pot, dough mixer, parchment paper,…

How to make Taro dumplings without filling

  • Mix the dough with yeast

    Prepare a large bowl and sequentially add 300g of all-purpose flour, 3g of yeast, 2 teaspoons of sugar, 1/4 teaspoon of salt, and 130ml of unsweetened fresh milk, then mix the mixture evenly.

    Note: If using sweetened fresh milk, do not add 2 teaspoons of sugar.
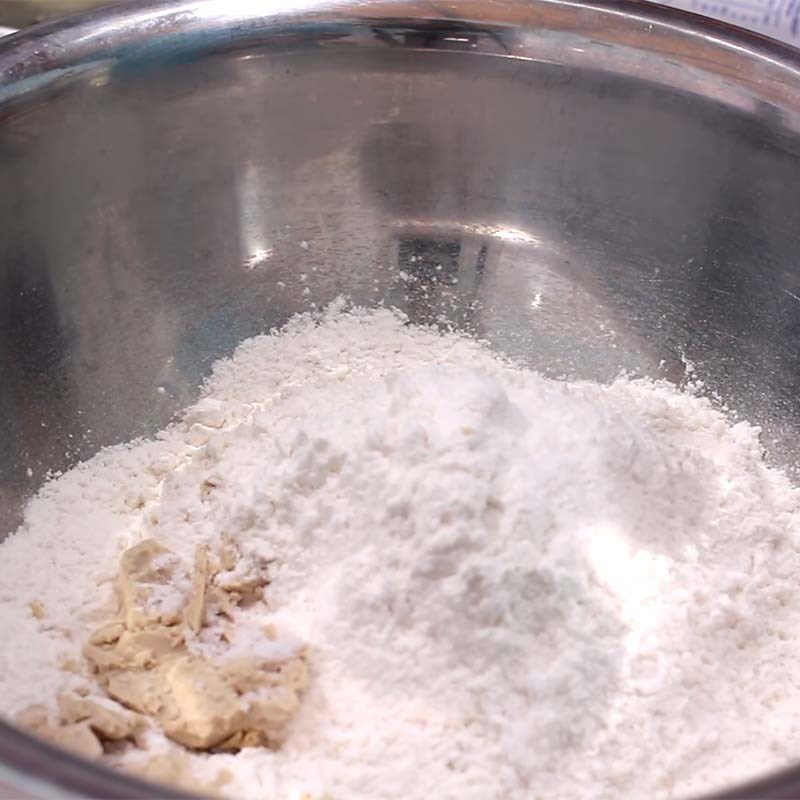
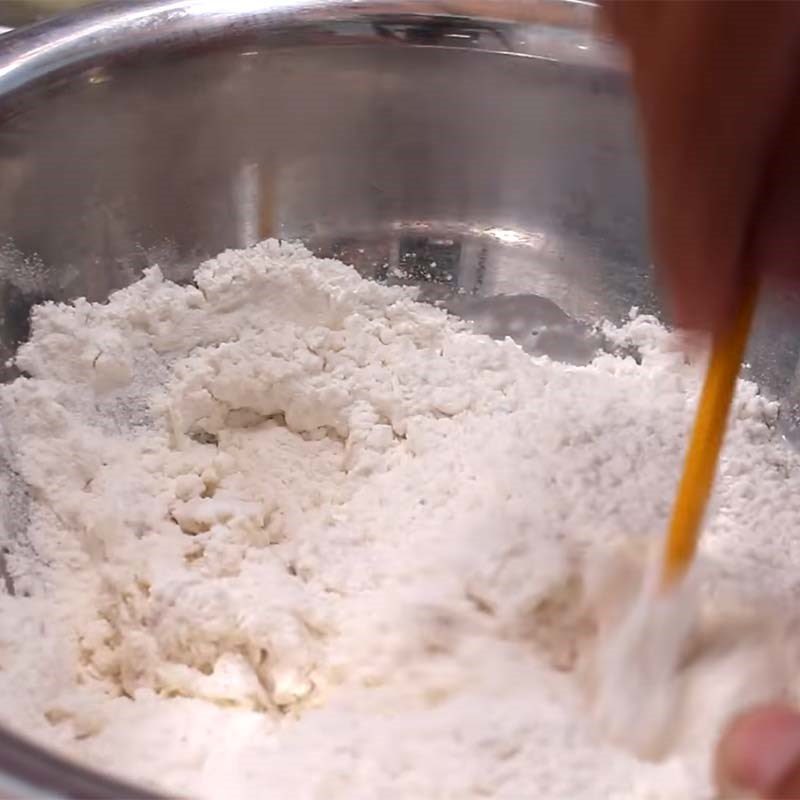
    Step 1 Mix the dough with yeast Taro dumplings without filling
    Step 1 Mix the dough with yeast Taro dumplings without filling
  • Boil taro

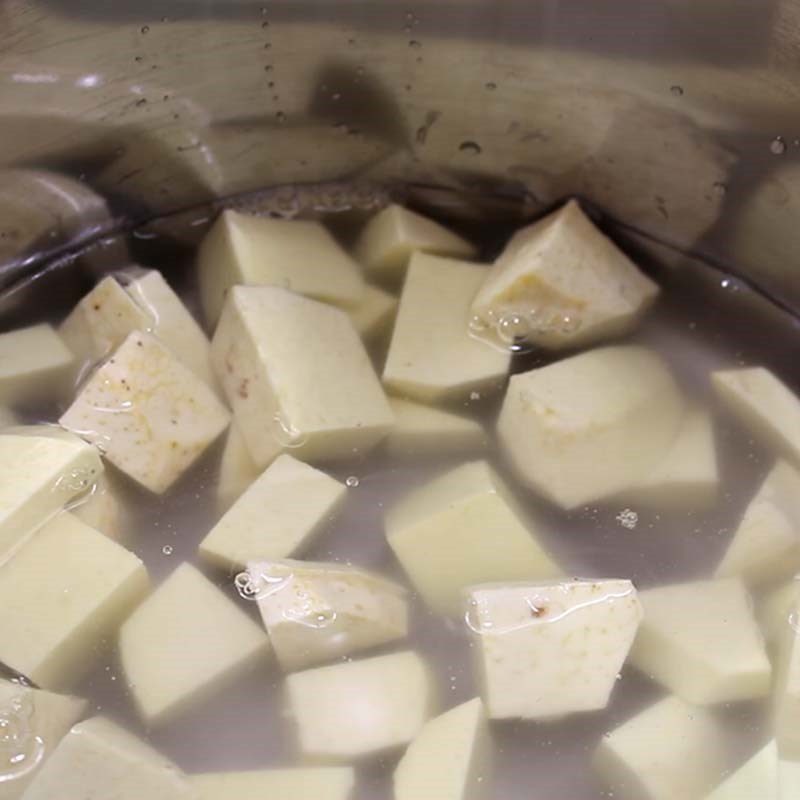
    Pe the taro, cut into small pieces about 2cm, then soak in diluted salt water, rinse clean and let drain.

    Place the taro in a steamer for about 15 minutes, then let cool.

    You can use chopsticks to poke the taro to check if it is soft and cooked.

    How to peel taro without itching
    • Method 1: Wear plastic gloves when peeling taro to avoid direct contact with it.
    • Method 2: Briefly boil the taro in water, then peeling the skin will be easier.
    • Method 3: You can also wrap the taro in aluminum foil and microwave it for about 2 minutes, then peeling will be easier without itching.

    See details: How to peel taro without itching
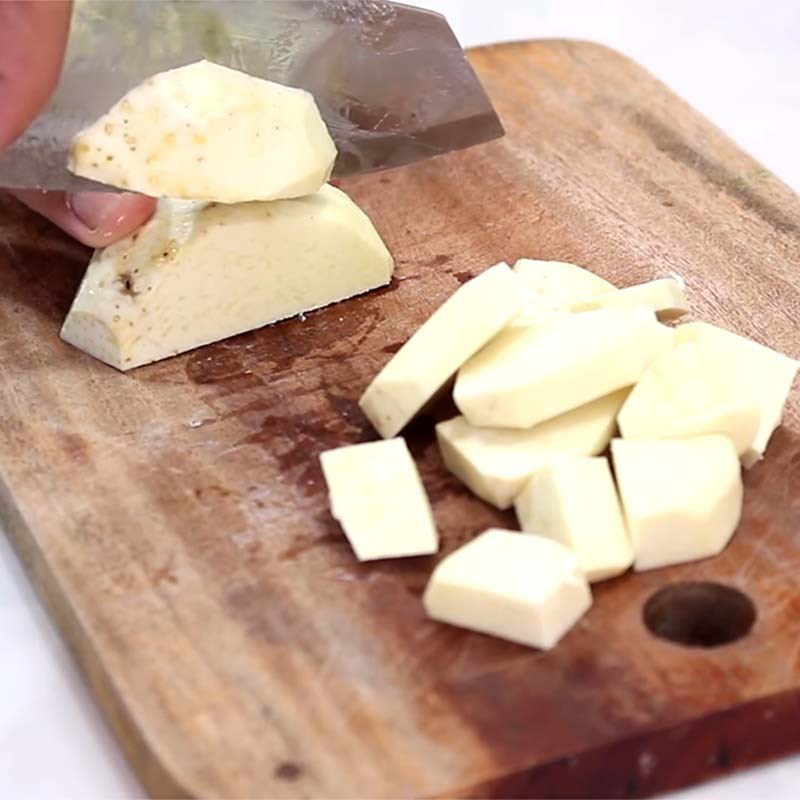
    Step 2 Boil taro Taro buns without filling
    Step 2 Boil taro Taro buns without filling
  • Mash taro

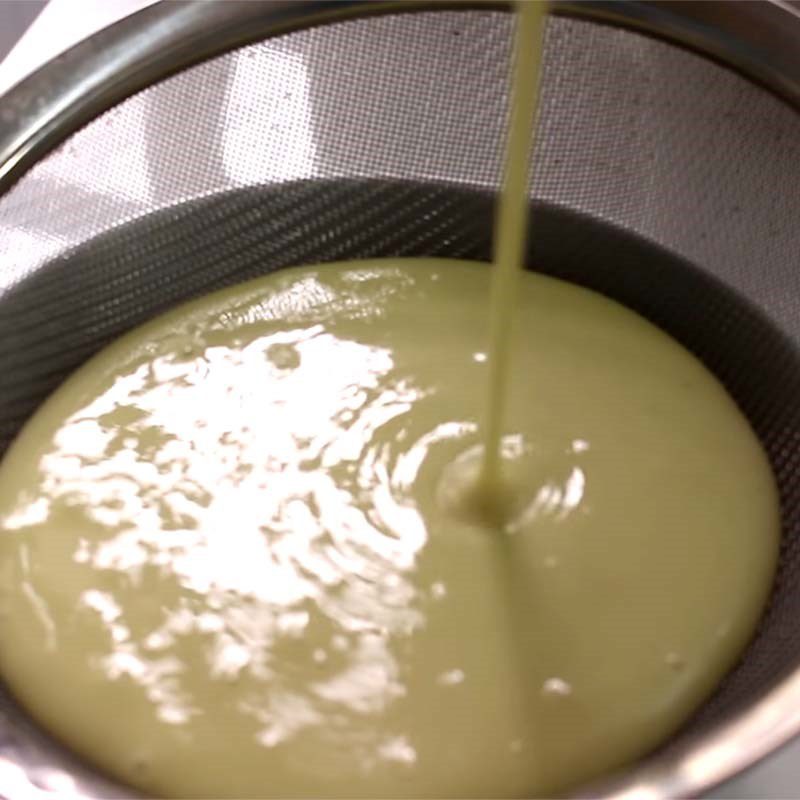
    Add the boiled taro to a blender and blend until smooth. After blending, strain the mixture to obtain smooth taro.

    If you do not have a blender, you can use a fork or spoon to mash the taro while it is still hot, then strain it for a smoother texture.

    You can add a little of the taro cooking water to help make it softer.
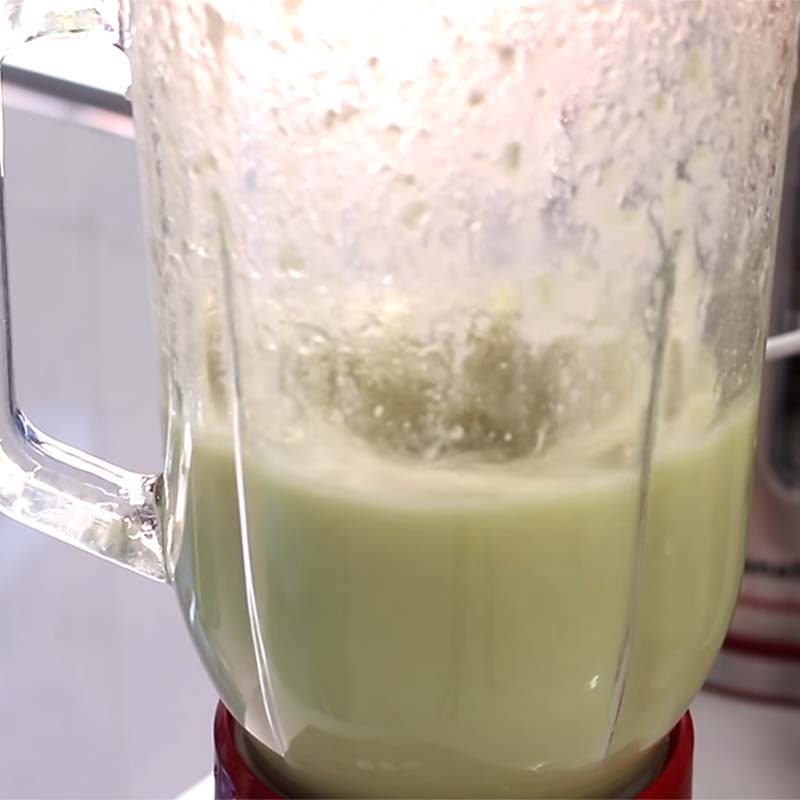
    Step 3 Mash taro Taro buns without filling
    Step 3 Mash taro Taro buns without filling
  • Mixing the taro bao dough

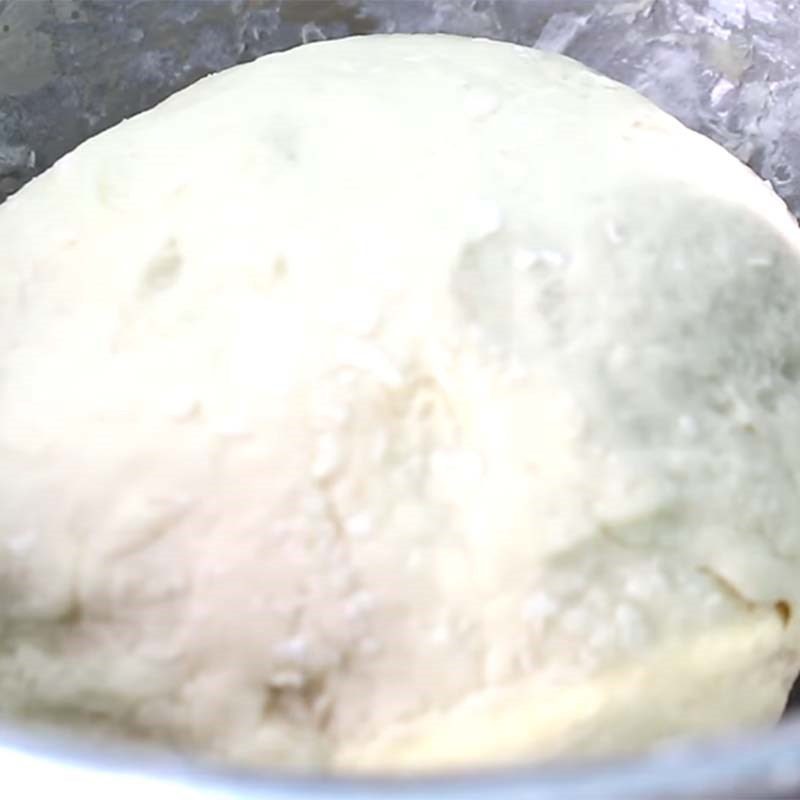
    Add the taro juice just blended and 2 eggs to the dough mixture from step 1.

    Use a dough mixer to mix until you achieve a smooth, pliable mixture.

    Mix for about 10 minutes; over-kneading will create gluten and make the bao a bit chewy.

    If kneading by hand, it should take about 15 – 20 minutes.

    Tip:

    • If the dough is too dry and hard to mix, you can fix it by adding a little cooking oil or water.
    • If it’s too wet, add a little flour and knead until the dough is even.
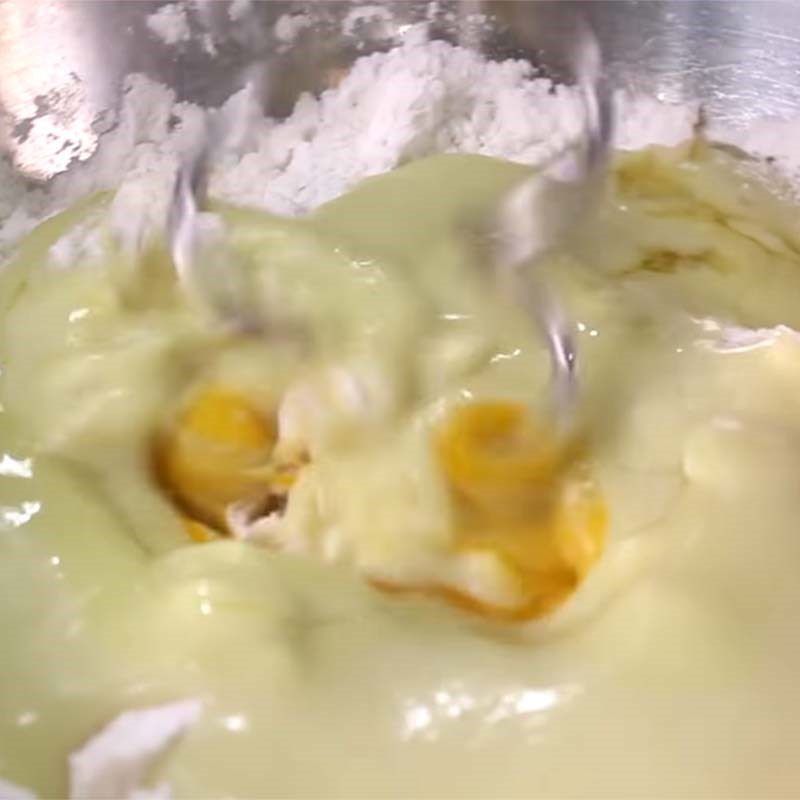
    Step 4 Mixing the taro bao dough Taro bao without filling
    Step 4 Mixing the taro bao dough Taro bao without filling
  • Proofing the dough and shaping the buns

    After mixing a smooth and pliable dough, cover it tightly and let it proof for about 1 hour until it doubles in size.

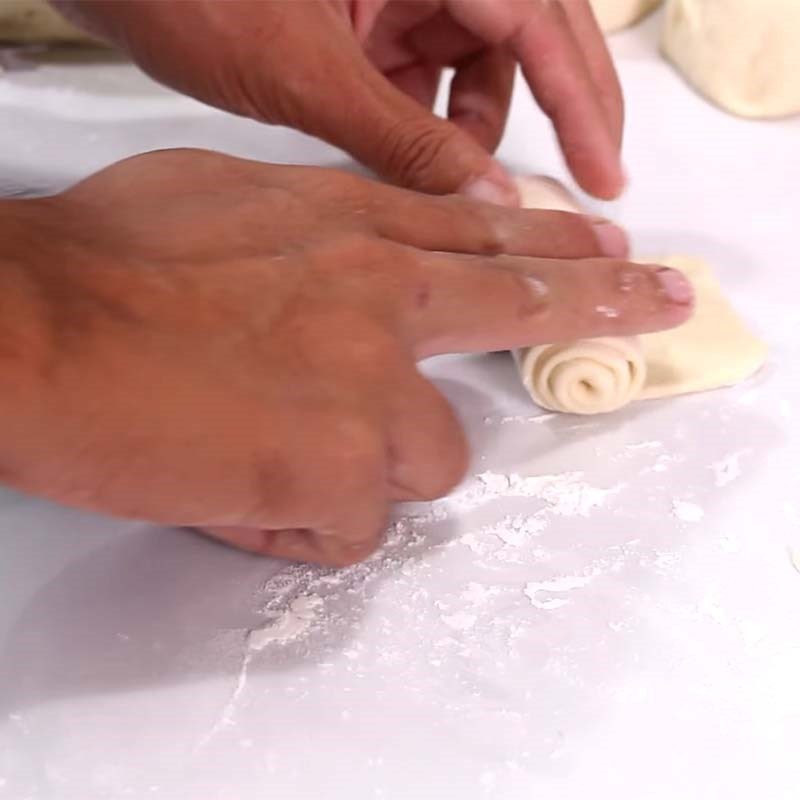
    Once the dough has risen, knead it a few times and then divide it into equal parts corresponding to the number of fillings prepared.

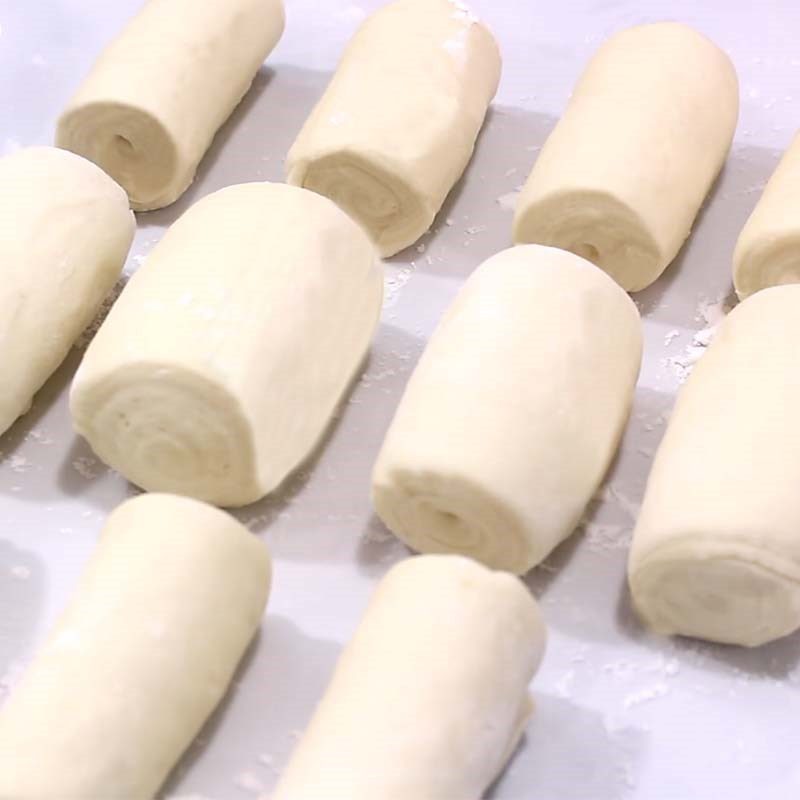
    Roll out the dough flat and then roll it up in a spiral shape, using your hands to pinch the edges of the dough together. Repeat this process until all the dough is used up.

    Tip:
    • To check if the dough has proofed properly, press your hand deep into the dough; if the indentation remains, it has proofed adequately.
    • Do not let the dough rest for too long as it may absorb water and lose its ability to rise during steaming.
    • Proofing for too long will cause the yeast to produce too much gas, making the dough sour.
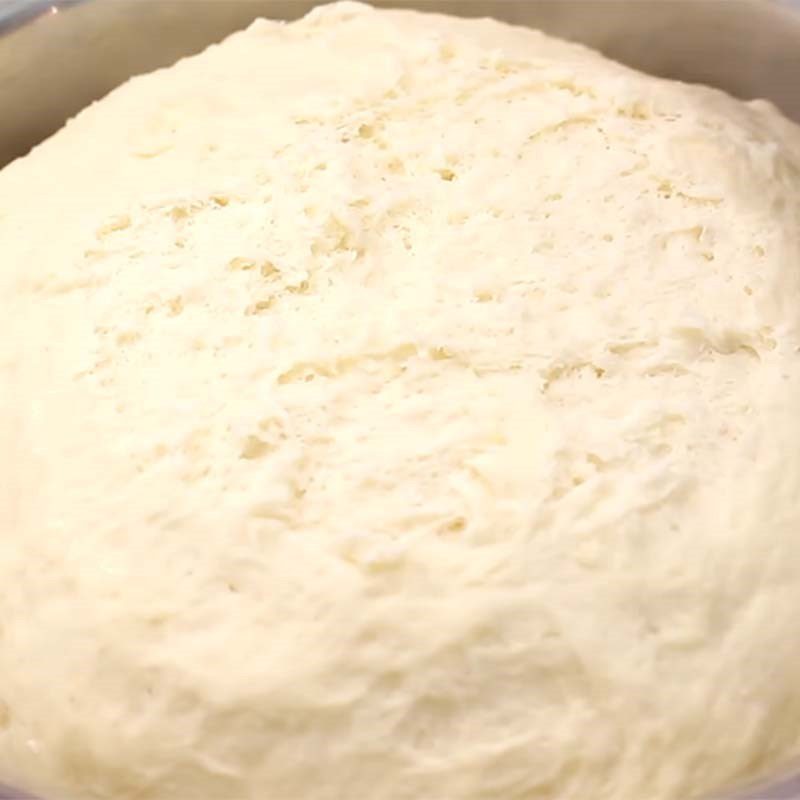
    Step 5 Proofing the dough and shaping the buns Taro bao without filling
    Step 5 Kneading dough and shaping the Taro steamed buns without filling
  • Steaming the buns

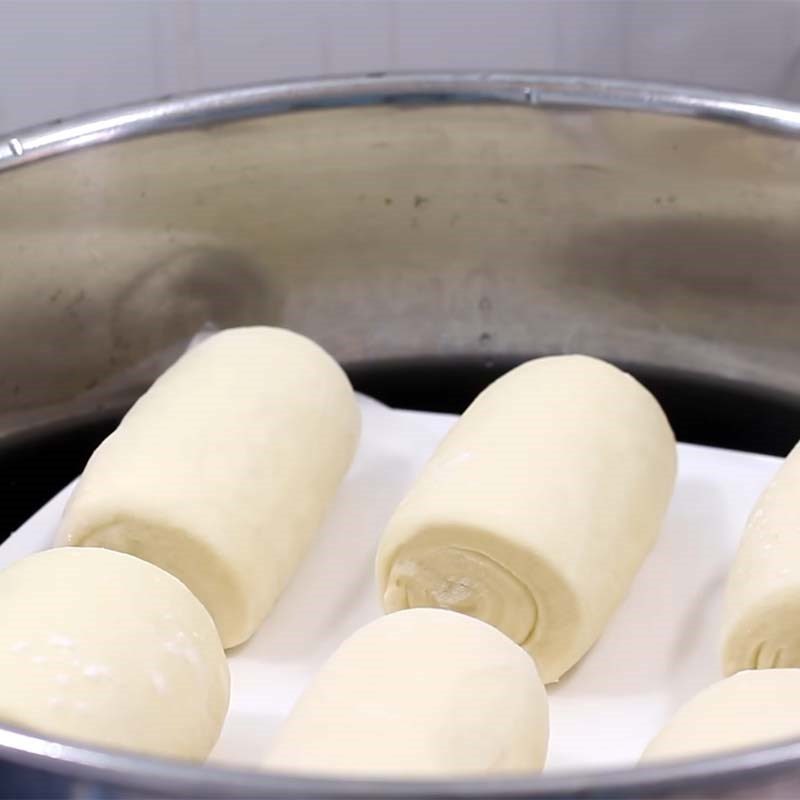
    After shaping the buns, place them on parchment paper and arrange them in the steamer.

    Prepare a pot of boiling water, place the steamer with the buns in it, and steam for about 20 minutes until the buns are cooked.

    When the water boils, reduce the heat so that the water simmers at about 80 – 90 degrees.

    When steaming the buns, use a cloth to cover the lid of the steamer to prevent water droplets from falling onto the buns, which can make the surface soggy.

    Tip:

    • The buns will expand one and a half to two times, so depending on the size of the steamer, arrange the positions and quantities of the buns to ensure they expand evenly.
    • You should not steam at too low a heat because the temperature will not be high enough, and the buns will not rise well.
    • While steaming the buns, do not open the pot lid as this can cause the buns to deflate; also, do not steam the buns for too long as they can easily collapse, become hard, and the surface can wrinkle, making them less tasty.
    Step 6 Steaming the buns Taro steamed buns without filling
    Step 6 Steaming the buns Taro steamed buns without filling
  • Final product

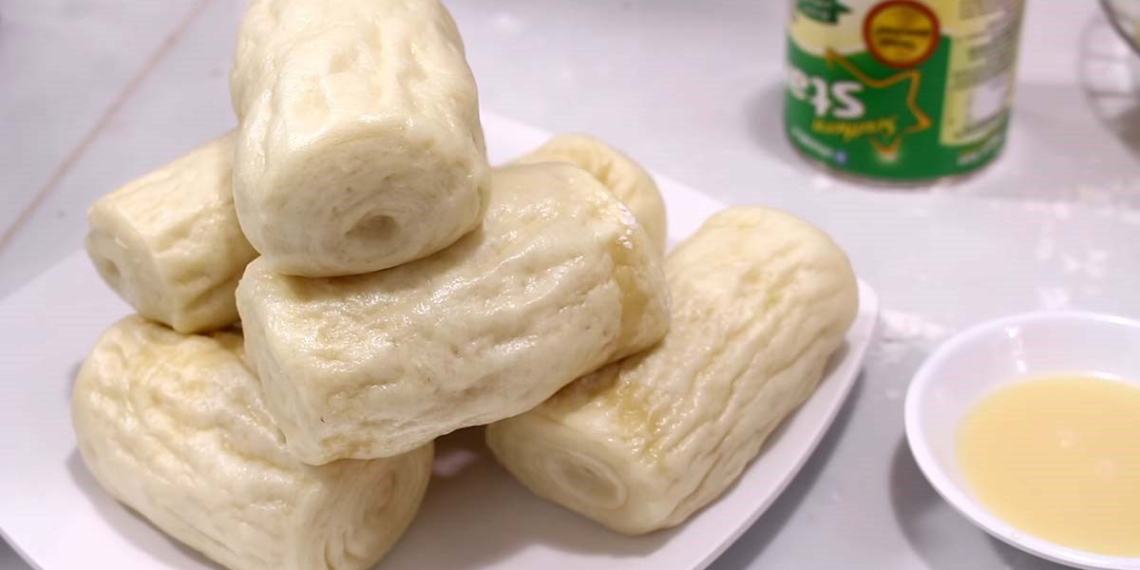
    The Taro steamed buns without filling are delicious, soft, and slightly fragrant with taro flavor, with a sweet and mild milk taste that is truly appealing, right? Let’s enjoy this delicious bun right away!

    Step 7 Final product Taro steamed buns without filling

How to succeed

  • Before steaming, you should brush a little cooking oil on the steamer if you do not have parchment paper to line under the cake.
  • When steaming the cake, cover it with a cloth and then put the lid on so the steam does not drop down onto the cake.
  • You should not steam the cake for too long, as it will turn yellow. You can add a little vinegar to the steaming water to remedy this situation.

How to store the cake for a long time

  • Let the cake cool completely, place it in a box or a sealed bag, and store it in the refrigerator’s cool compartment.
  • When eating, you can steam it again or microwave it for about 1 minute (depending on the microwave power and cake size). If using a microwave, you should place the cake in a bowl with a lid or cover it with plastic wrap to prevent the crust from drying out.
  • Additionally, you can also store the cake in the freezer. Before eating, thaw it in the cool compartment and then steam or microwave it again, which will be very delicious.
  • Coloring tips: You can combine different colors and flavors to create beautiful bao cakes, such as beetroot color, carrot color, …

See more:

  • How to make delicious and fragrant buttery bao cakes that everyone loves
  • How to make delicious and simple bao cakes with flour and baking powder at home
  • How to make delicious two-layer pandan leaf milk bao cakes from ready-made bao flour

Finally, we know how to make taro steamed buns without filling that are delicious and unique for the whole family to enjoy. We hope that through the steps outlined above, you can successfully make this rich and fragrant bun! Wishing you success!
Cooking time: 10 minutes
Level: Easy
Tags: plain steamed bunssteamed bunstarotaro steamed buns
Previous Post

How to Make Soft and Delicious Green Tea Cheese Soufflé Cake Easy to Make

Next Post

Unique candy bouquet guide for gifting on November 20th

TasteT

TasteT

I am a food writer specializing in Vietnamese cuisine, sharing traditional recipes, cooking tips, and the culture behind every dish. My goal is to bring the authentic flavors of Vietnam to your kitchen.

Related Posts

Delicious and creamy sweet potato boiling method, a nostalgic dish from childhood that’s easy to make at home
Steamed Food

Delicious and creamy sweet potato boiling method, a nostalgic dish from childhood that’s easy to make at home

How to Make Delicious and Refreshing Taro Ice Cream at Home
Ice Cream

How to Make Delicious and Refreshing Taro Ice Cream at Home

3 Easy Ways to Make Delicious and Creamy Taro Milk Tea at Home
Milk Tea

3 Easy Ways to Make Delicious and Creamy Taro Milk Tea at Home

2 ways to make steamed bread with minced meat and coconut milk for days when you’re tired of rice
Steamed Food

2 ways to make steamed bread with minced meat and coconut milk for days when you’re tired of rice

How to cook smooth and fragrant mashed taro pudding
Sweet Soup

How to cook smooth and fragrant mashed taro pudding

2 ways to cook sweet taro and snow fungus sweet soup that is refreshing and mildly sweet
Sweet Soup

2 ways to cook sweet taro and snow fungus sweet soup that is refreshing and mildly sweet

Next Post
Unique candy bouquet guide for gifting on November 20th

Unique candy bouquet guide for gifting on November 20th

Leave a Reply Cancel reply

Your email address will not be published. Required fields are marked *

Navigate

  • About
  • Privacy Policy
  • Contact

Recent Recipes

Simple and Delicious Beef and Lotus Seed Porridge Recipe to Help Cool the Body

Simple and Delicious Beef and Lotus Seed Porridge Recipe to Help Cool the Body

2 ways to cook delicious and easy taro soup with snakehead fish and climbing perch

2 ways to cook delicious and easy taro soup with snakehead fish and climbing perch

Browse by Category

  • Beef Dishes
  • Beverages
  • Braised Food
  • Cake
  • Chicken Dishes
  • Desserts
  • Dried and Fermented Dishes
  • Festivals & Holidays
  • Fried Food
  • Grilled Food
  • Hot Pot
  • Ice Cream
  • Juices
  • Kitchen Tips
  • Liquid Dishes
  • Milk Tea
  • Porridge
  • Rolls and Salads
  • Salad
  • Smoothies
  • Snacks
  • Soup
  • Steamed Food
  • Stir-fried Dishes
  • Sweet Soup
  • Vegetarian Dishes

Browse by Ingredients

beef beef stew braised fish cake dish dessert fried dish grilled dishes how to cook porridge how to make cake how to make ice cream into the kitchen mixed salad dish noodle soup snacks soup dish sponge cake steamed dish stir-fried dish stir-fried noodles vegetarian dish

© 2024 TasteVN - The ultimate Vietnam food destination for cooking tips, recipes, and more.

Welcome Back!

Login to your account below

Forgotten Password?

Retrieve your password

Please enter your username or email address to reset your password.

Log In
No Result
View All Result
  • Home
  • Main Dishes
    • Beef Dishes
    • Braised Food
    • Fried Food
    • Steamed Food
    • Stir-fried Dishes
    • Soup
    • Grilled Food
    • Hot Pot
    • Liquid Dishes
    • Chicken Dishes
    • Dried and Fermented Dishes
    • Vegetarian Dishes
    • Porridge
  • Desserts
    • Cake
    • Ice Cream
    • Sweet Soup
    • Desserts
  • Beverages
    • Beverages
    • Juices
    • Milk Tea
    • Smoothies
  • Snacks
    • Rolls and Salads
    • Salad
    • Snacks
  • Tips & Holidays
    • Festivals & Holidays
    • Kitchen Tips

© 2024 TasteVN - The ultimate Vietnam food destination for cooking tips, recipes, and more.