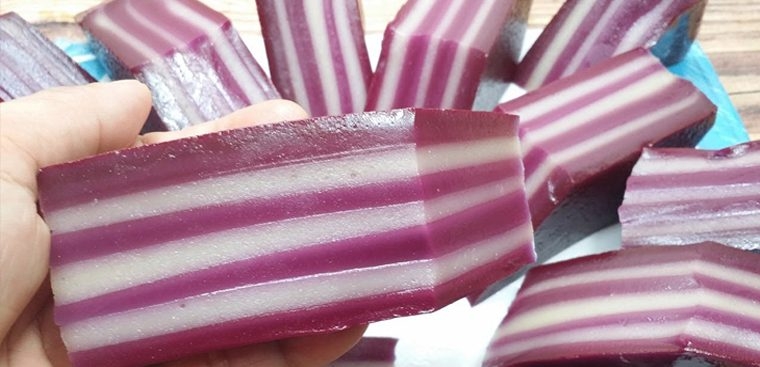
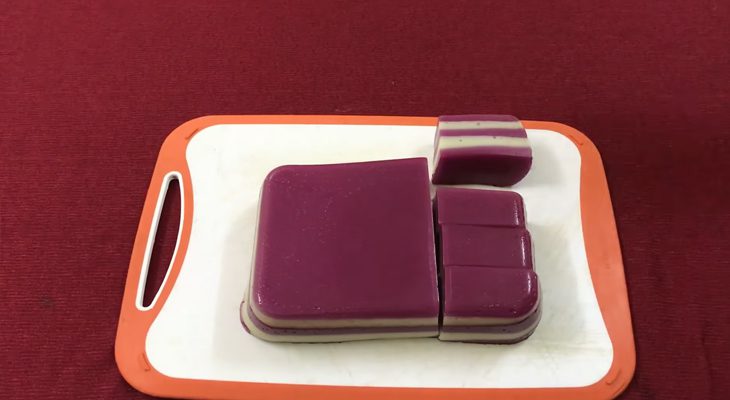
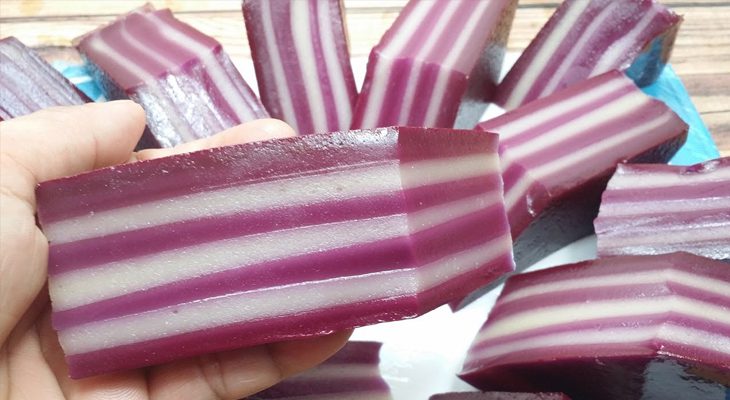
Steamed layer cake is a type of cake quite familiar to many people because it is chewy and has a delicious flavor. If you want to make this cake for the whole family to enjoy, then let’s get cooking with TasteVN right away.
1. Coffee Layer Cake with Coconut Milk

Preparation
45 minutes
Difficulty
Medium
Ingredients for Coffee Layer Cake with Coconut Milk Serves 2 people
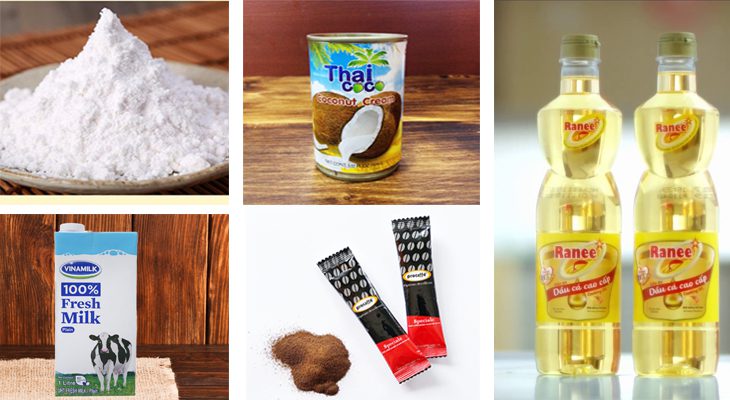
Tapioca flour 280 gr Rice flour 40 gr Sugar 160 gr Salt 1/2 teaspoon Coconut milk 250 ml Instant coffee 15 gr Unsweetened milk 250 ml
How to make Coffee Coconut Layer Cake
-
Prepare the cake batter mixture
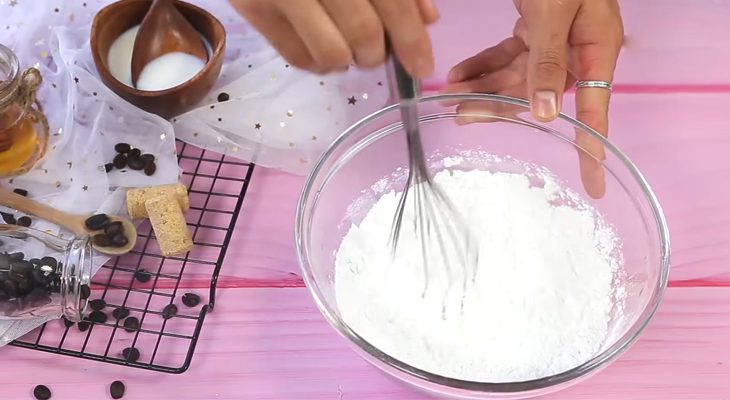
Prepare a large bowl and add 140 grams of tapioca flour, 20 grams of regular rice flour, 80 grams of sugar, and 1/2 teaspoon of salt into the bowl.
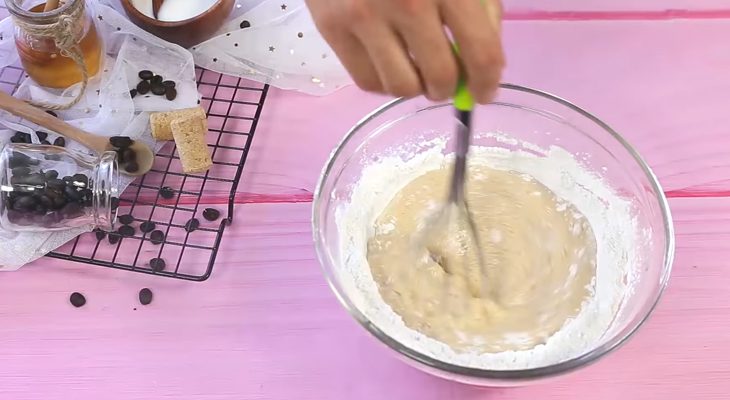
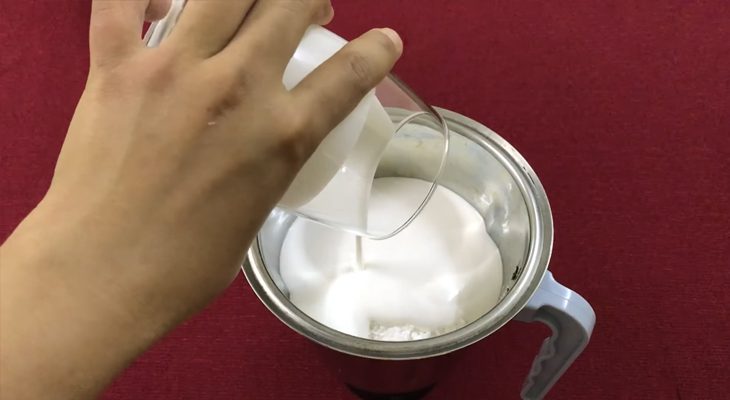
Then use a whisk to mix the above mixture thoroughly, continue to pour in 250 ml of coconut milk and keep mixing well.
Prepare another large bowl and add 80 grams of sugar, 20 grams of regular rice flour, 15 grams of instant coffee, and 140 grams of tapioca flour into the bowl.
Use a whisk to mix this flour mixture well, then continue to add 250 ml of unsweetened milk and continuously stir to ensure the mixture is well combined.
Tip: If you want to make a cake with many layers, you should divide the amount of batter poured into the cake mold appropriately to get more layers of cake.


-
Steam the cake
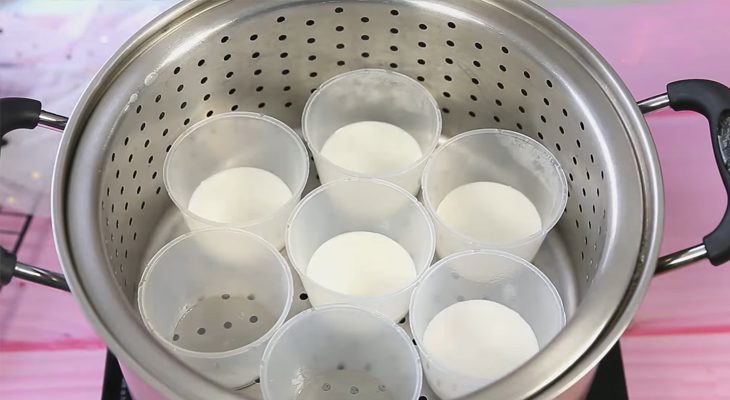
Prepare a steamer, then arrange about 7 – 8 small cake molds into the steamer. After that, pour the coconut milk batter mixture about 1/4 full into the cake molds and steam for 5 minutes.
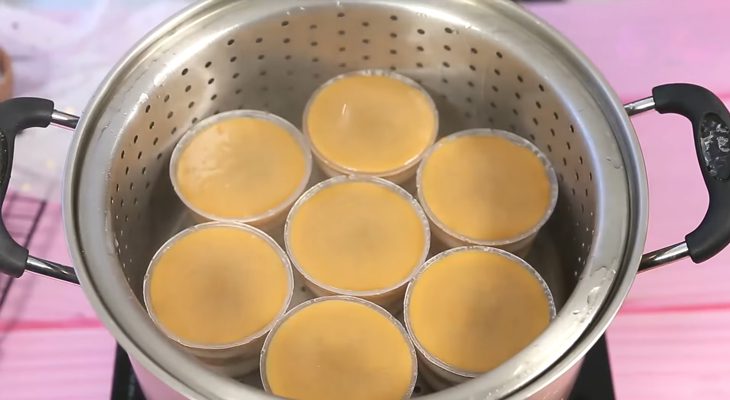
After 5 minutes, continue to pour the coffee batter mixture into the cake molds, filling about 2/4 of the mold. Steam for another 5 minutes.
After steaming the second layer of the cake for about 5 minutes, continue to do the same with the next layers of cake. Continue to steam for about 15 – 20 minutes until the cake is fully cooked.


-
Final Product
The Coffee and Coconut Milk Layer Cake has the aroma of coffee combined with the creamy taste of coconut milk, which will surely satisfy you when enjoying this cake with everyone.

2. Multicolored Layer Cake
Preparation Time
1 hour
Difficulty Level
Medium
Ingredients for Multicolored Layer Cake For 2 people
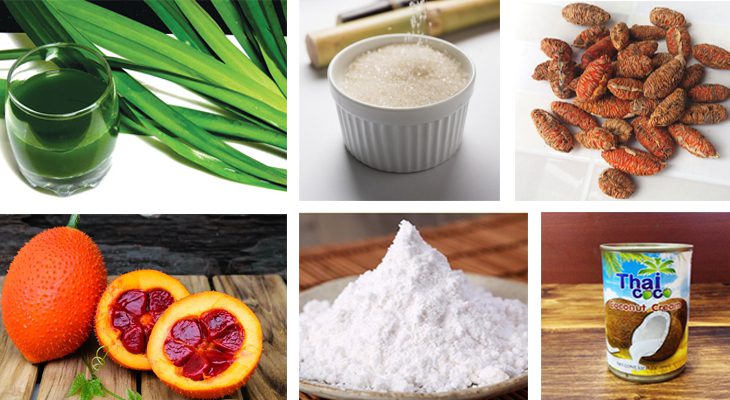
Coconut milk 400 ml Sugar 200 gr Glutinous rice flour 40 gr (or rice flour) Tapioca starch 300 gr Pandan leaves 10 gr Purple cabbage 10 gr Gac fruit 50 gr Butterfly pea flower 10 gr
Tools Needed
Steamer
How to Make Multicolored Pork Skin Cake
-
Preparing Natural Color Ingredients
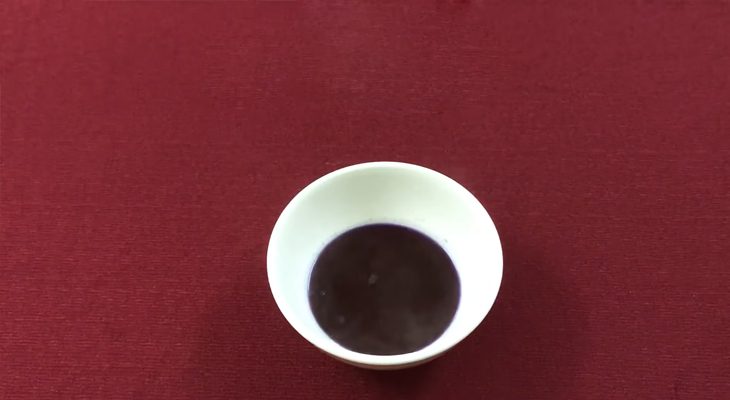
Purple (Butterfly Pea Flowers): Add the cleaned butterfly pea flowers to a pot with 500 ml of water, then bring to a boil over high heat. Let it boil for about 3 minutes and then turn off the heat. After that, use a strainer to filter out the liquid and let it cool.
Yellow (Gardenia Fruit): Add about 500 ml of water to a pot, then add the gardenia fruit and bring to a boil. When the water boils, mash the gardenia seeds to extract the color, continue boiling for about 3 minutes, and then turn off the heat. After that, strain to collect the liquid and let it cool.
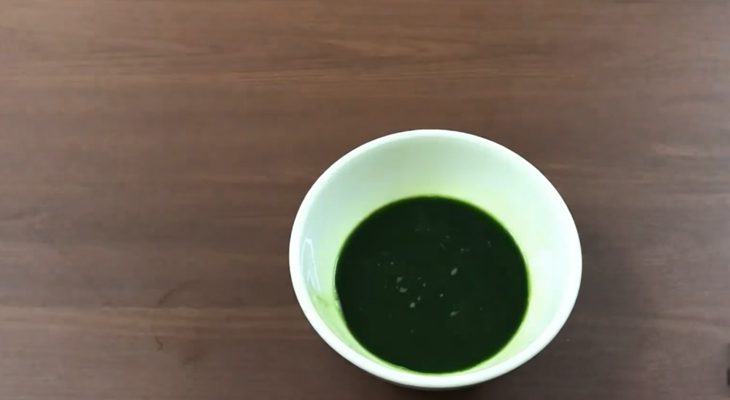
Green (Pandan Leaves): Clean the pandan leaves and cut them into small pieces. Put these pandan leaves into a blender, add about 200 ml of water, and blend until smooth. Then strain to collect the liquid and remove any foam from the surface.
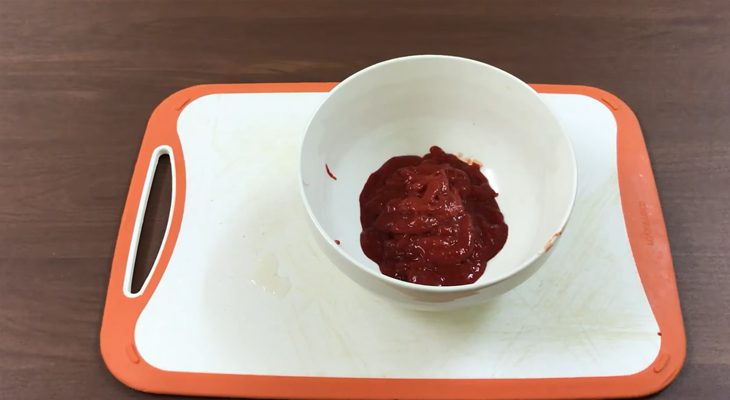
Red (Soursop): Choose ripe red soursop, then cut it in half to extract the seeds. Use a knife to separate the flesh from the seeds. Then put the flesh into a strainer and press it well to extract the red color.
Note: You can also replace the colors with other ingredients such as: Green (matcha powder, this green color is more stable than pandan leaf green), Red (beetroot), Orange (carrot),…
See more: How to make simple and safe food coloring with natural ingredients at home


-
Mix the flour
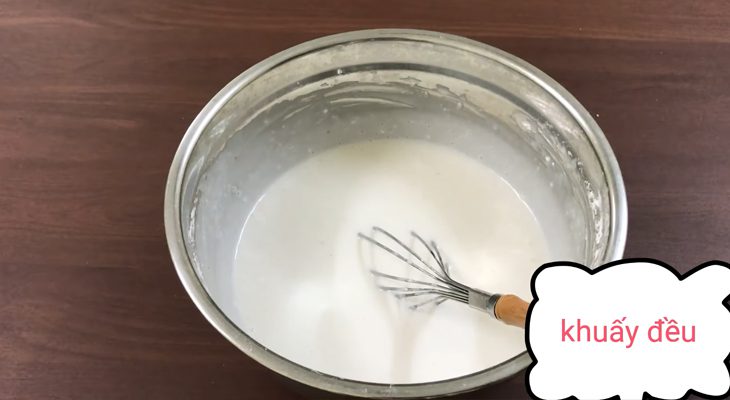
You prepare a large bowl, add 400 ml of coconut milk, 100 ml of water, 200 grams of sugar, 1/2 teaspoon of salt, then stir well until the sugar dissolves. Continue to add 300 grams of tapioca flour, 40 grams of glutinous rice flour, and stir evenly until the mixture is smooth.
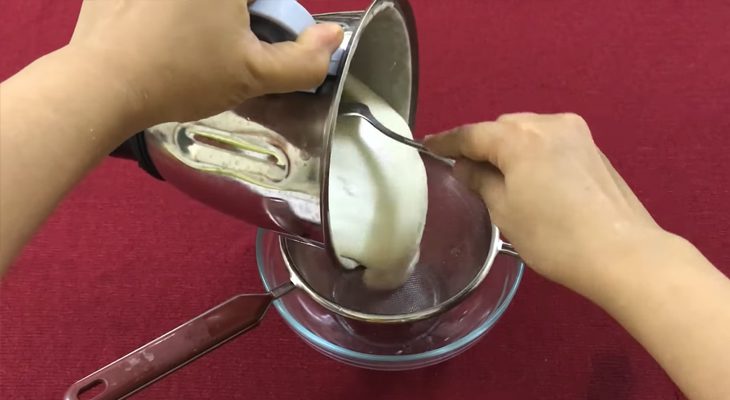
Next, you prepare another large bowl, strain this flour mixture through a sieve to remove any residue.

-
Add color to the flour
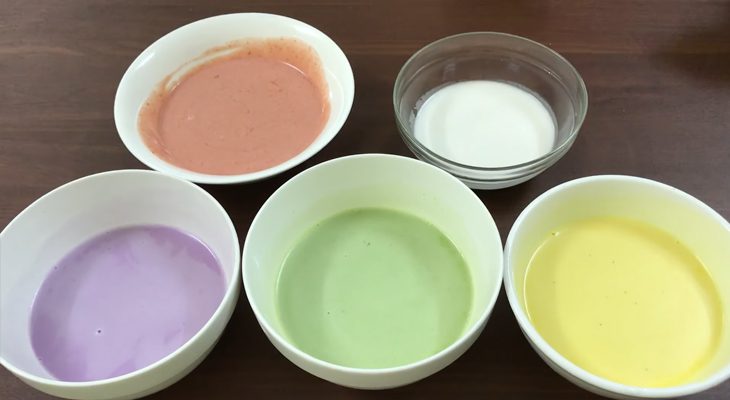
You divide the flour into 5 equal parts. Then gradually use the color ingredients you prepared earlier to add to 4 parts of the flour and stir well to create colors, leaving 1 part of the flour in its natural white color.

-
Pour the cake into the mold and steam the cake
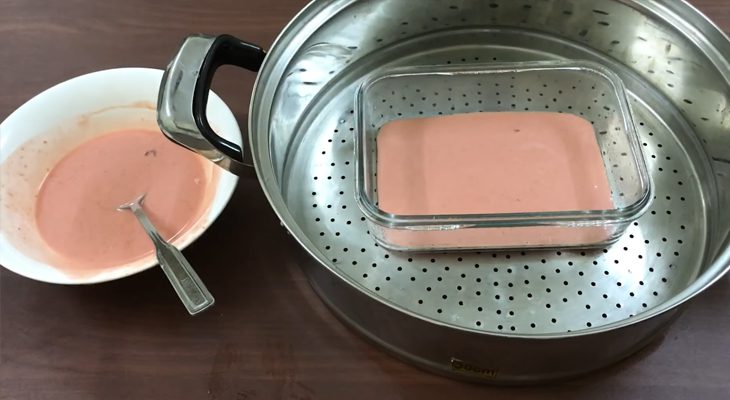
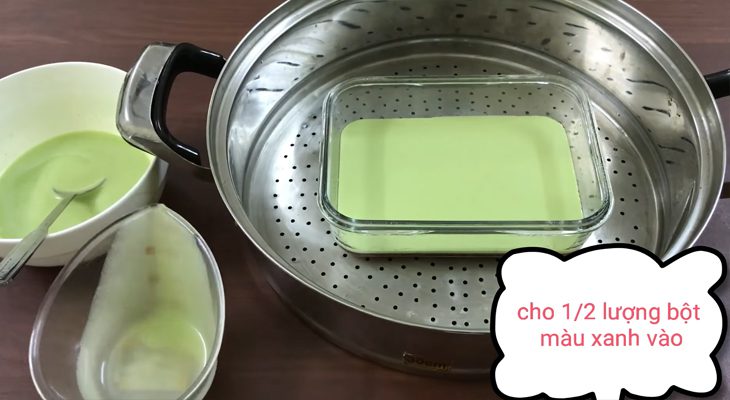
You need a glass or stainless steel mold, brush a layer of cooking oil on the bottom and sides of the mold. Place the mold in the steamer, pour the first layer of cake batter into it, pour a moderate amount of batter so that it can be enough for 5 layers or more.
After pouring the first layer, heat until the water boils and wait for about 5 minutes for the first layer of cake to set.
For the next layers, you also pour each layer one by one, then steam until set before pouring the next layer of batter.
After you pour the last layer, steam for an additional 15 minutes to fully cook the cake. Once the cake is cooked, take it out and let it cool.


-
Cut the cake
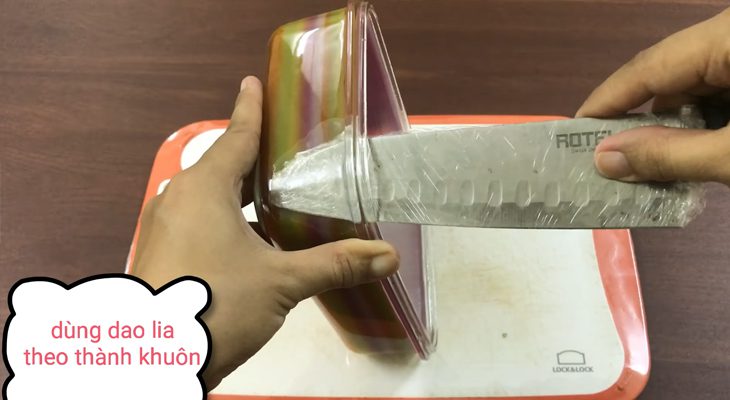
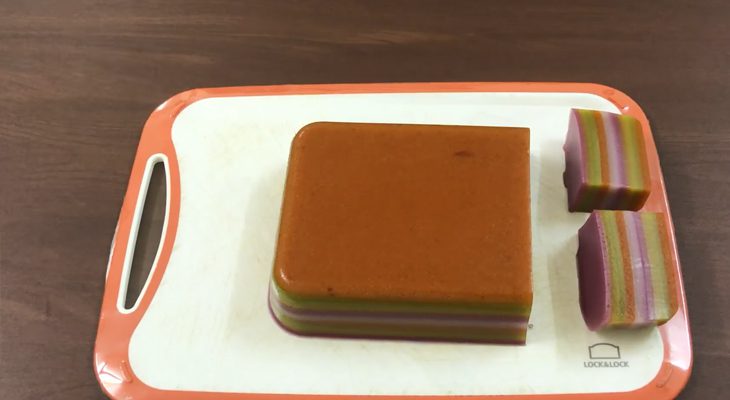
Use a small knife, then wrap the blade with plastic wrap. Then use the knife to run along the edge of the cake mold to remove the cake.
Continue using that knife to cut the cake into your desired shape.


-
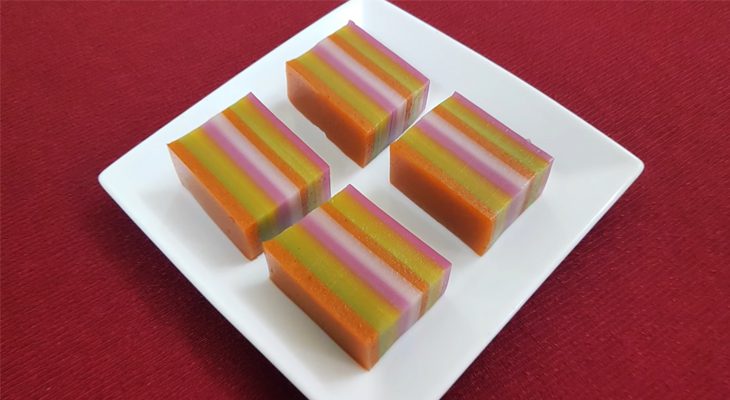
Final Product
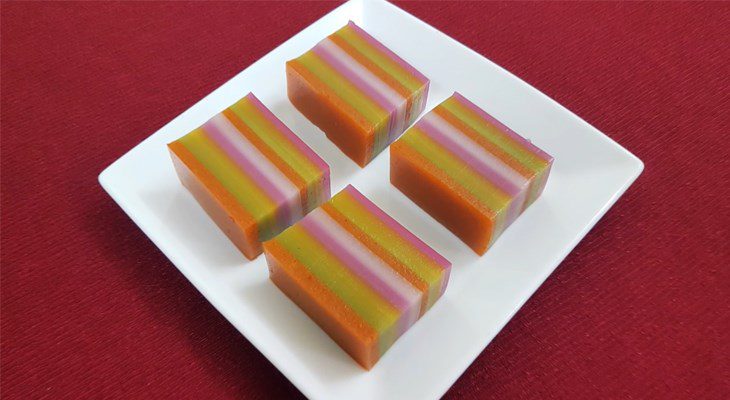
The colorful steamed layer cake looks really appealing with its various colors and delicious flavors, making it a wonderful treat to enjoy with your family.

3. Taro Layer Cake with Butterfly Pea Leaves
Preparation
1 hour
Difficulty Level
Medium
Ingredients for Taro Layer Cake with Butterfly Pea Leaves Serves 2
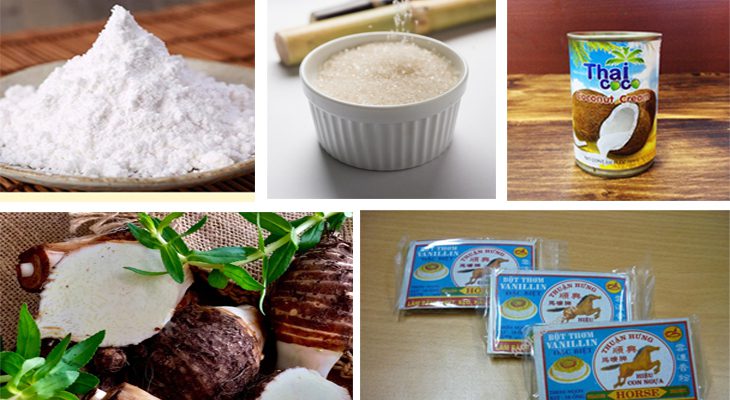
Taro 170 gr (peeled) Tapioca flour 190 gr Glutinous rice flour 25 gr Sugar 165 gr Coconut milk 400 ml Butterfly pea leaves 50 gr (can be substituted with purple sweet potato or beetroot)
Utensils Needed
Steamer
How to make Taro Layer Cake with Purple Rice
-
Make the Taro Mixture
Make the taro mixture: Cut the taro into small pieces, then put the taro into a pot with 700 ml of water and boil for about 20 – 25 minutes until the water is nearly gone. After that, mash the taro and continue to cook for another 5 minutes until the taro thickens.
Pour the taro mixture into a bowl and let it cool, then add the cooled taro into a blender along with 1 vanilla pod, 70 grams of sugar, 70 grams of tapioca flour, 10 grams of glutinous rice flour, 1/2 teaspoon of salt, and 180 ml of coconut milk. Blend the mixture until smooth.
Use a sieve to filter out the residue from the mixture.


-
Make the Purple Rice Mixture
Wash the purple rice leaves and put them in a pot with 300 ml of water and 1/2 teaspoon of salt, then boil until the water is nearly gone. Afterwards, use a sieve to filter out the liquid and let it cool.
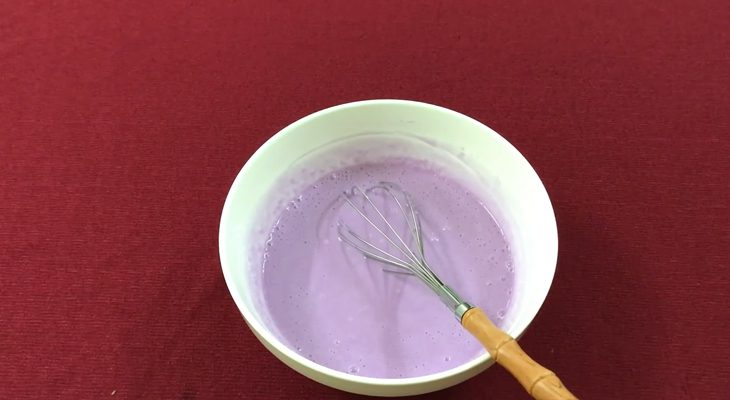
In a large bowl, add 220 ml of coconut milk, 70 ml of purple rice water, 100 grams of sugar, and 1 vanilla pod. Then use a whisk to dissolve the sugar, continue to add 120 grams of tapioca flour, and 15 grams of glutinous rice flour, then stir the mixture well. Use a sieve to filter out the residue from the mixture.


-
Pouring and steaming the cake
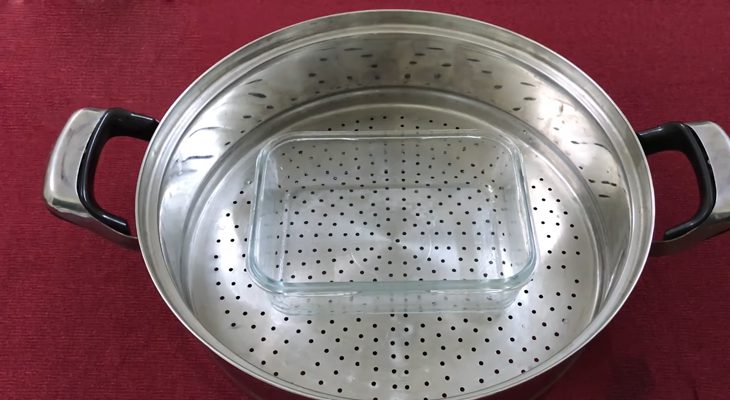
Prepare a rectangular glass mold, then brush a thin layer of cooking oil on the bottom and around the sides of the mold, then place the mold in the steamer.
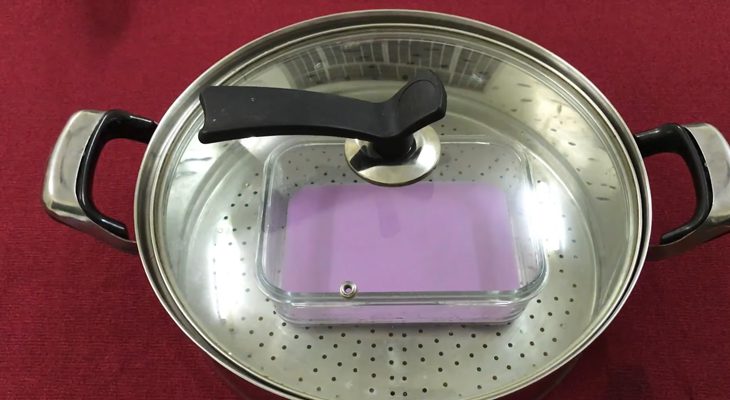
Pour the purple dough into the mold, so that it occupies about 1/3 of the mold’s capacity. Then place it in the steamer and steam for about 5 minutes from the time the water boils.
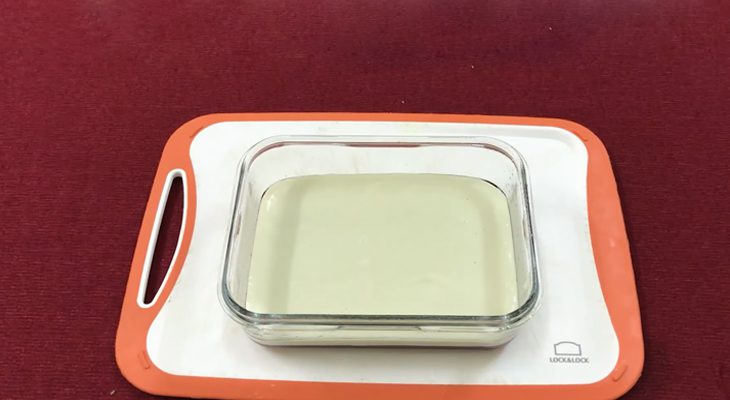
Next, continue to pour the taro dough into the mold, so that it occupies about 2/3 of the mold’s capacity. Continue steaming for about 5 minutes.
For the subsequent layers, continue alternating like this. For the last layer, steam for an additional 15 – 20 minutes to ensure the cake is fully cooked.


-
Cutting the cake
Use a small knife, then wrap the blade with plastic wrap. Then use the knife to run along the edges of the cake mold to remove the cake.
Continue to use that knife to cut the cake into your desired shapes.


-
Final Product
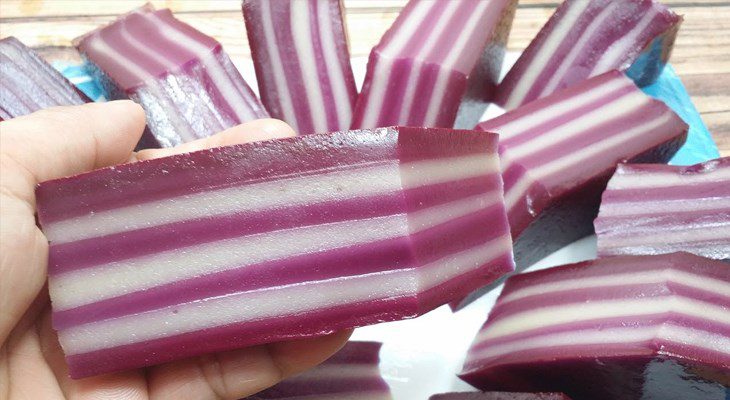
The Taro layer cake with purple leaf is appealing not only because of its eye-catching colors but also the fragrant smell of vanilla blending with the chewy, delicious cake piece. This is a wonderful cake to enjoy with everyone.

Tips for successful execution:
- Store in the refrigerator for a day; when you’re ready to eat, take it out and steam it again.
- After steaming the cake, let it sit in ice water for 30 minutes to ensure the cake is chewy and does not dry out when stored for a day.
- The amount of tapioca flour in the cake can vary but must always be greater than rice flour to ensure chewiness.
- Avoid steaming the cake for too long, as it will cause the colors in the layer cake to fade, especially the pandan leaf color.
- The water for steaming the layer cake must always be boiling; to ensure the layers stick together, cover with a cloth on the lid to prevent water from dripping onto the cake.
See more:
The way to make 3 styles of steamed layer cake that are delicious and easy to make above hopefully will help you have a tasty cake to enjoy with everyone. Wishing you success!
*Refer to images and recipes from 2 YouTube channels Feedy VN and sour lemon.
