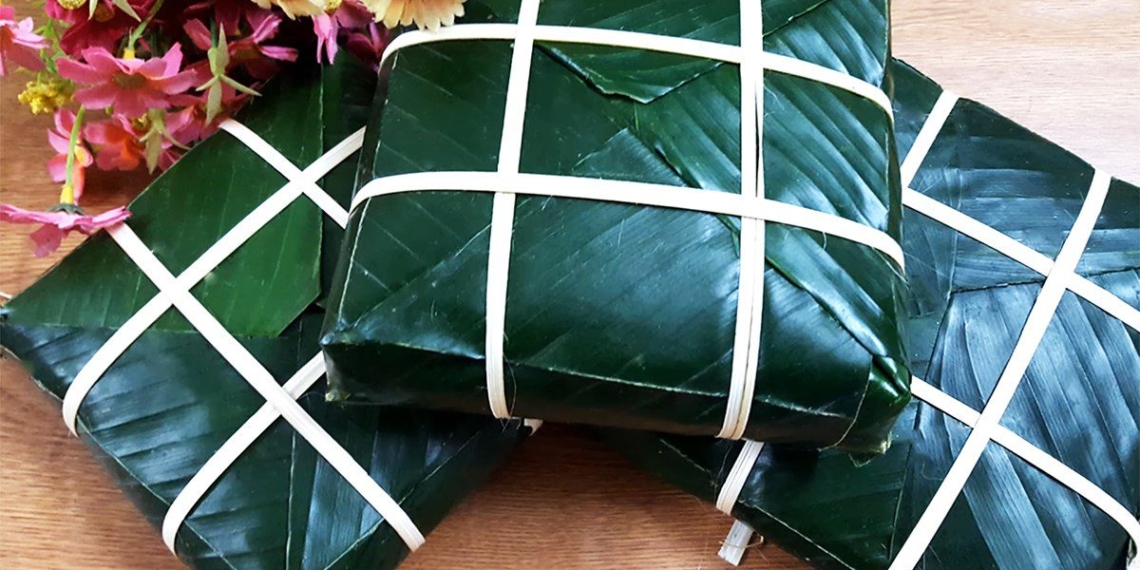
During the Tet holidays, we often gather around with family and wrap many beautiful, square chung cakes. But do you know how to wrap chung cake beautifully without a mold? Today, let’s explore with the Kitchen Tips section right away!
1 Wrapping with dong leaves using the leaf vein as a mold
Using this method, one chung cake will require 4 dong leaves and 4 pieces of string.
Step 1: Fold the dong leaves
First, wash the leaves and dry them thoroughly with a towel.
To fold the leaves, place the dark green side underneath and flip the lighter side up. Fold the edge of the leaf horizontally so that the distance from the edge of the leaf to the leaf vein is about 2 finger joints, and use your hand to press the leaf into pleats.
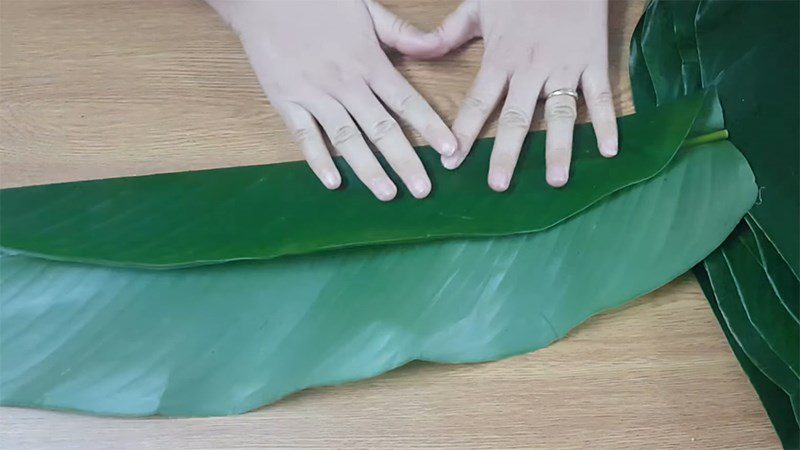
After that, fold the dong leaves in half, using your hands to press along the crease. Do the same with the remaining 3 leaves.
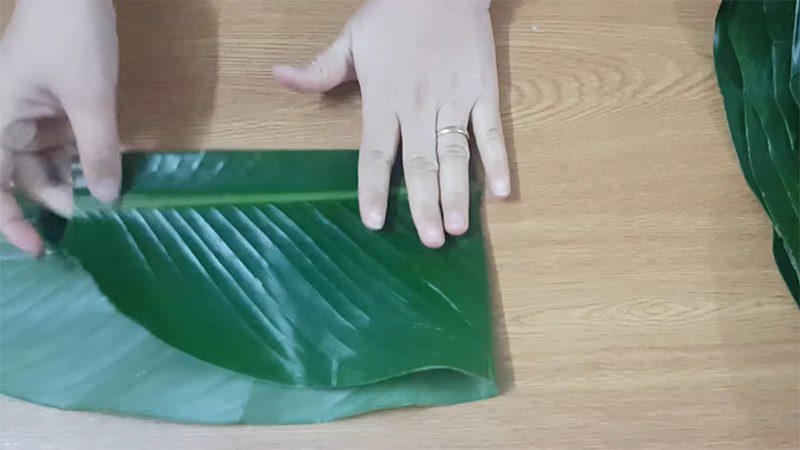
Step 2: Cut the leaves and create the mold
After folding the leaves, take 4 leaves and arrange them neatly so they are equal, and use scissors to cut them shorter or longer depending on the size of the cake you want to make.
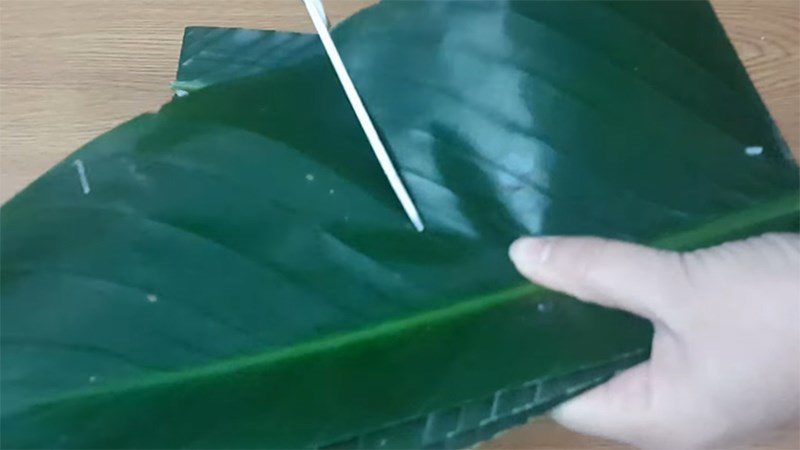
After cutting the leaves, open them up and fold them diagonally so that the two edges of the leaves are perpendicular to each other and tuck the excess leaf into the inside. Use a heavy object to weigh it down to maintain the crease of the leaves. Do the same with the remaining leaves. Stack the 4 leaves together to form a mold.
Adjust the leaves to form a square mold and thread a piece of string under the cake mold so that after wrapping, it can be used to temporarily tie the cake.
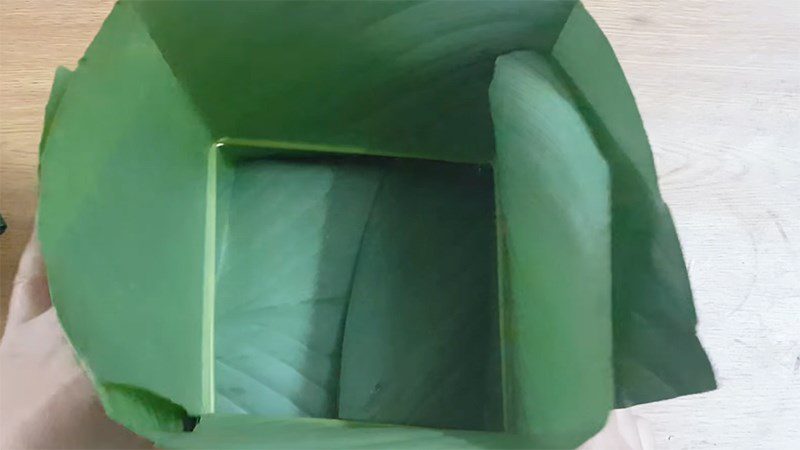
Step 3: Wrap the chung cake
Gradually add the ingredients in the following order: spread an even layer of sticky rice, a layer of mung beans, a layer of pork, then add another layer of mung beans, and finally a layer of sticky rice.
Press the filling tightly and spread the sticky rice evenly so that the filling is fixed and secure.
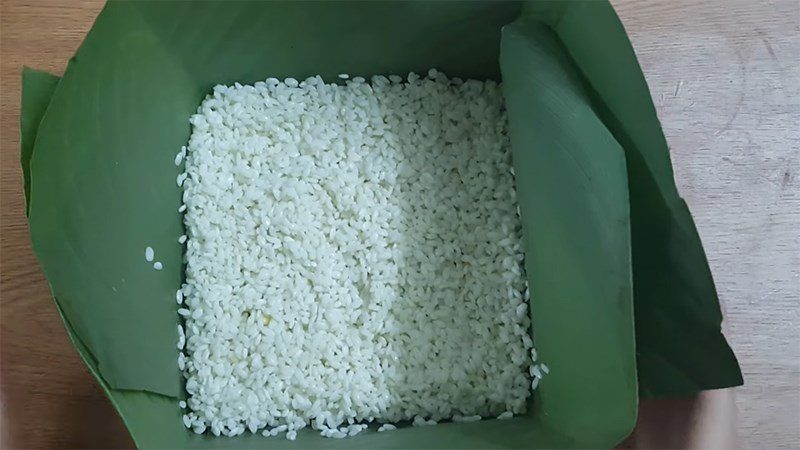
After adding the ingredients, fold the two opposite edges of the leaves in and use the string to temporarily tie the cake. Next, fold the remaining two edges of the leaves and adjust to make the cake square.
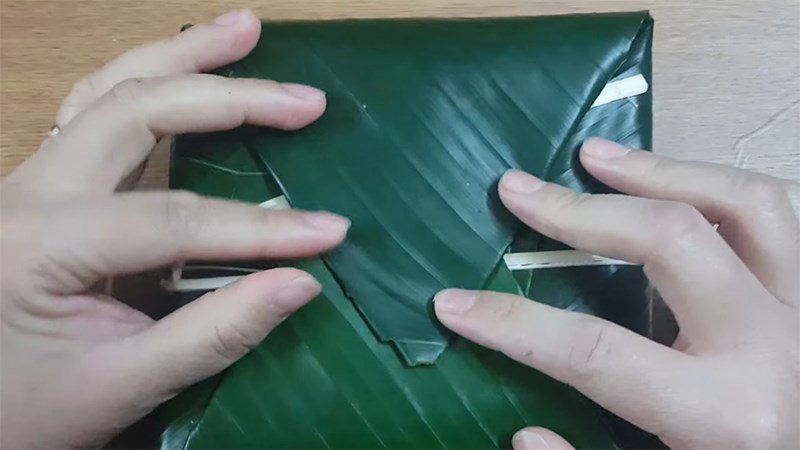
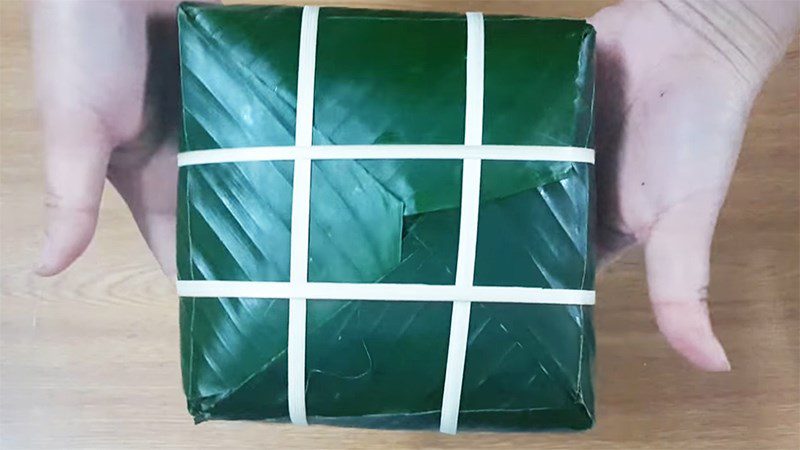
Secure the cake with strings. For the first string, you pull it out. You tie the string in a checkered pattern on the surface of the cake, which looks nice; it doesn’t need to be too tight but should not be too loose either.
After tying all the strings, gently shape the corners of the cake to make it square and ensure the filling inside is evenly distributed.
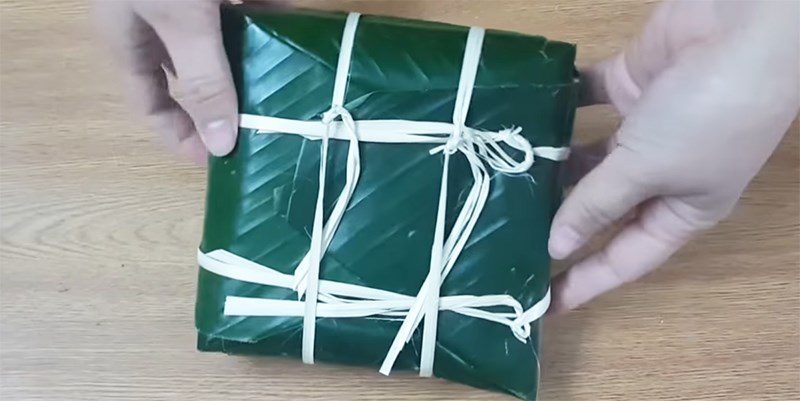
Step 4: Finished product
Let’s admire the finished bánh chưng made without a mold. The square cake is just as beautiful as one made with a mold.
2 Wrapping with dong leaves without a mold
Using this method, one bánh chưng will require 3 dong leaves and 4 strings.
Step 1: Arrange the leaves
When you buy dong leaves, wash them thoroughly with water and then dry them with a clean cloth. Next, use a knife to cut the spine of the leaves, but do not cut too deep as to reach the flesh of the leaves, which will cause them to tear.
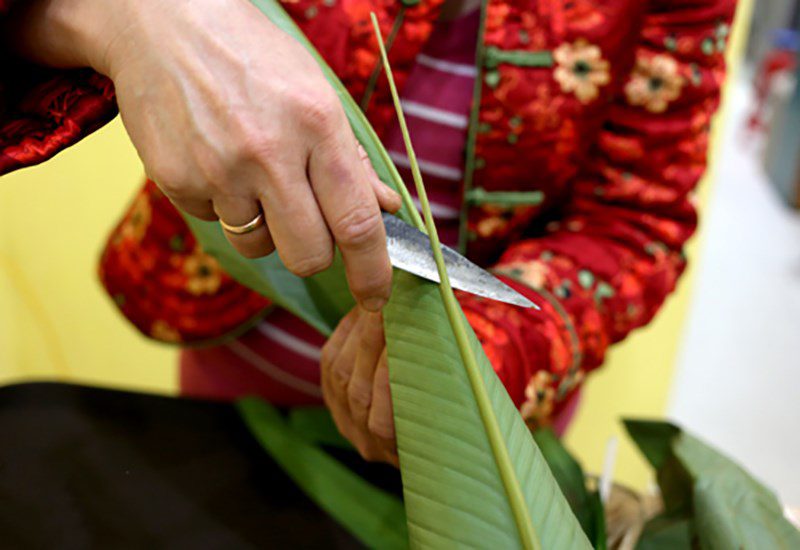
Place the dark green side of one dong leaf down vertically. With the remaining two dong leaves, place the dark green side up horizontally, arranging them so that the top leaf overlaps half of the leaf below it.
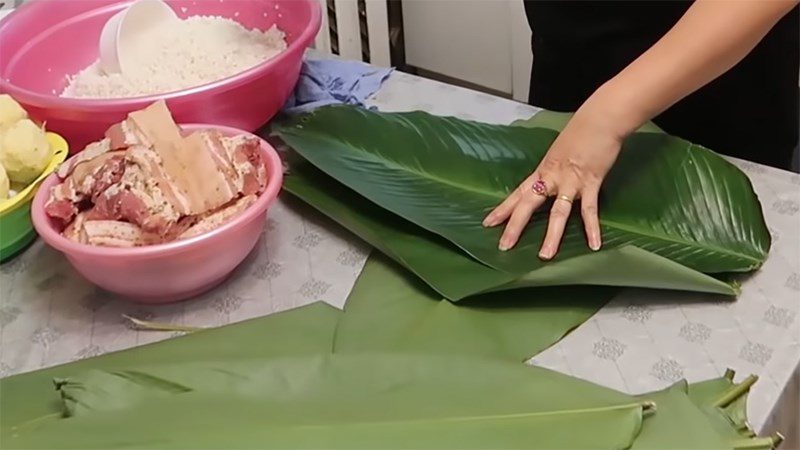
Step 2: Arrange the filling and wrap the leaves
Add the ingredients one layer at a time in the following order: spread a layer of sticky rice, a layer of mung beans, a layer of pork, another layer of mung beans, and finally a layer of sticky rice on top.
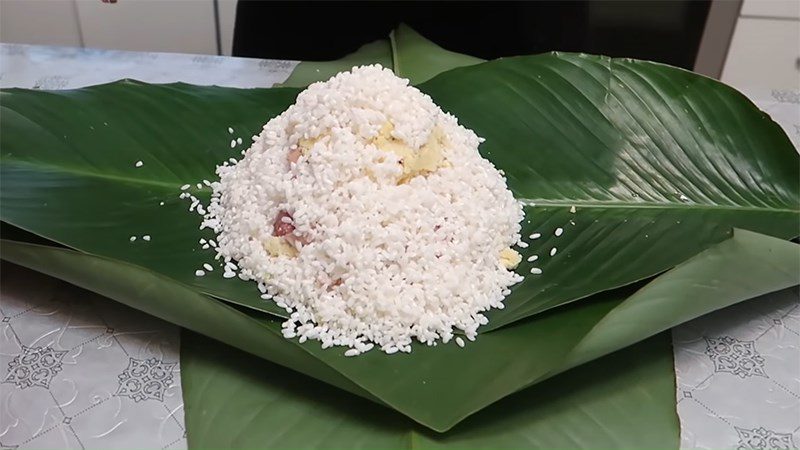
First, you gather the two edges of the vertically placed leaf and use your hands to fold and roll the edges tightly around the filling to secure it.
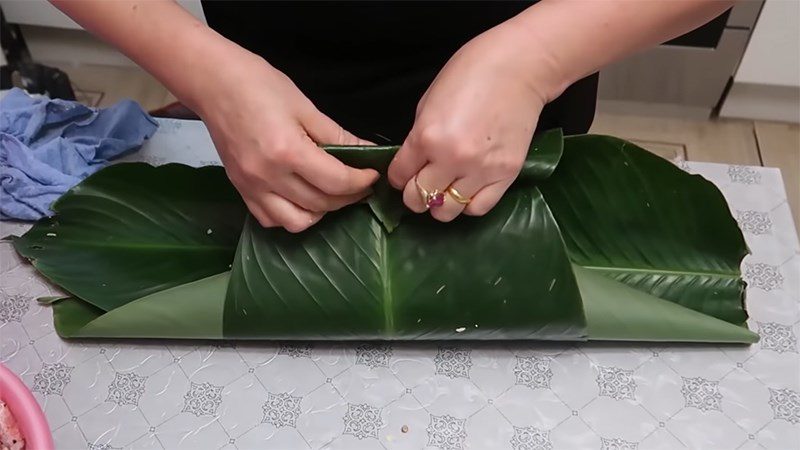
One hand holds the edge just folded, while the other hand folds one side of the horizontal leaf, stands the cake up, holds tightly and pounds the cake down on the table several times to distribute the sticky rice evenly. After that, fold the upper leaf part in, stand this side of the cake down on the table, and do the same with the other side.
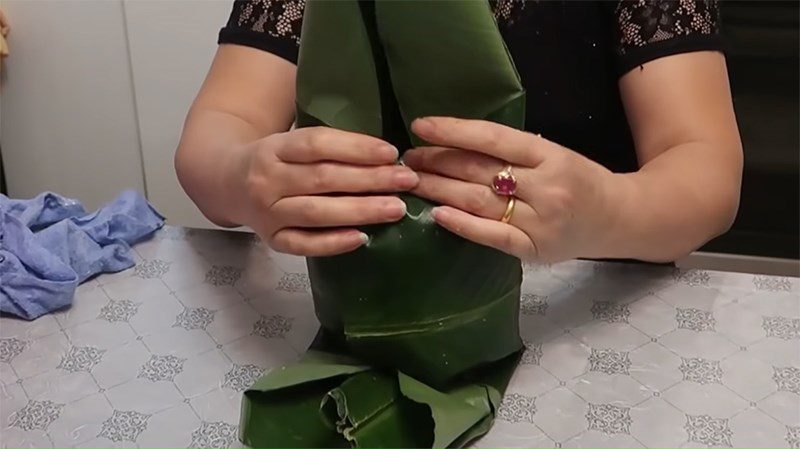
Step 3: Tie the strings
Place the cake horizontally on the table, while preparing 4 strands of string to wrap the cake. Use 1 strand of string to loop under the lower right side of the cake, wrap around the cake, and twist the two ends of the string together. Thread one end of the string into the horizontal string on top of the cake to secure the string.
Do the same with the remaining 3 strings.
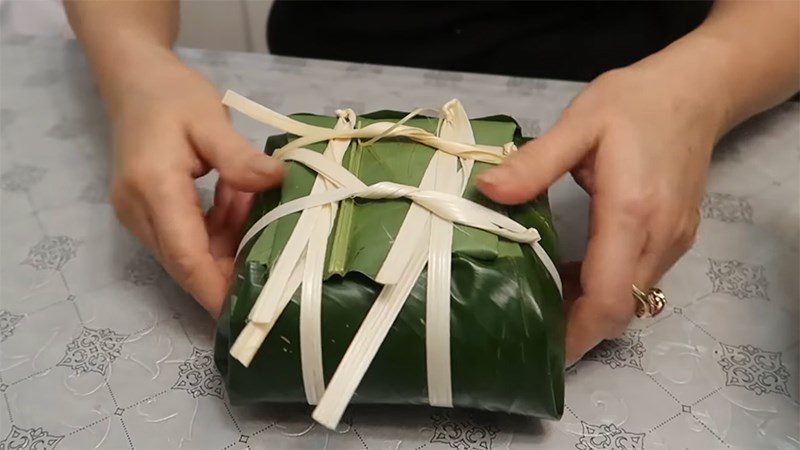
Step 3: Finished product
This is the chung cake wrapped without needing a mold using leaf veins. With just a few simple steps, you have wrapped a square, beautiful chung cake.
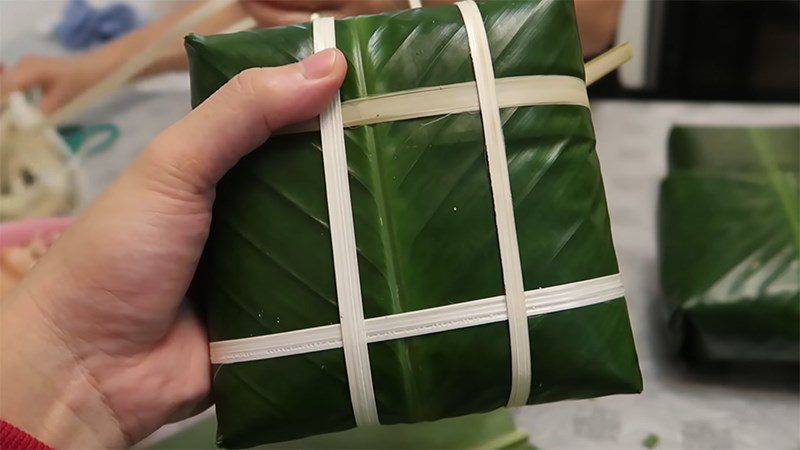
3 Wrapping with banana leaves and cardboard
In this method, 1 chung cake will use 3 banana leaves (which will be cut into smaller pieces), 1 cardboard box, and 1 piece of nylon string about 2.5m long.
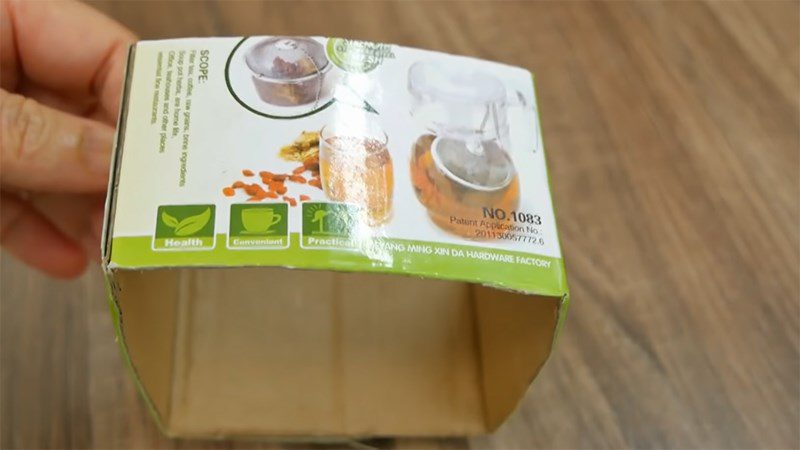
Step 1: Cut the cardboard box
Choose a thick cardboard box so that the mold will be sturdier. Depending on the size of the chung cake you choose, you can use a larger or smaller cardboard box. Today, we will use a box with square dimensions of 9*9 cm and a height of 5.5 cm.
Step 2: Cut and Arrange the Leaves
Use a clean cloth to wipe the banana leaves, then expose the leaves to strong sunlight for 10 – 15 minutes to wilt them a bit. Cut the leaves vertically into 6 large pieces measuring 9cm in width (the same size as the cardboard box), 30 – 35 cm in length, and 4 small pieces measuring 5.5cm in width (the same size as the height of the box).
Fold one large leaf in half with the two dark sides facing each other. Tuck it through one edge of the box and fold the top leaf down along the edge of the box. Repeat this with the remaining 3 large leaves.
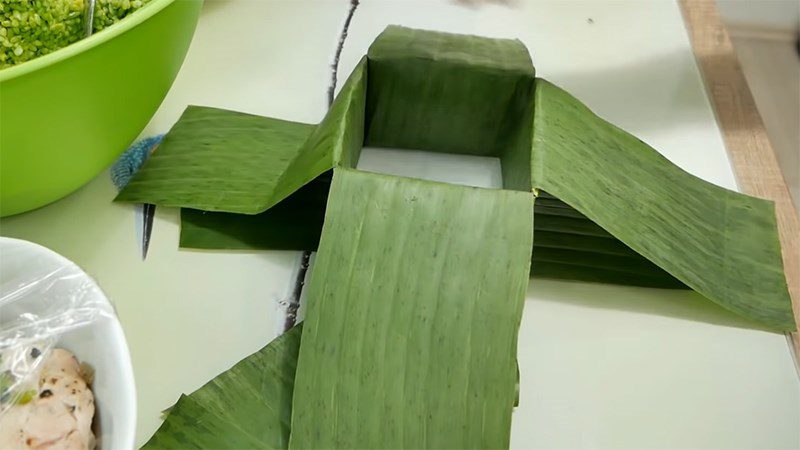
For the remaining 2 large leaves, place them diagonally in the center of the box, with the dark side facing up.
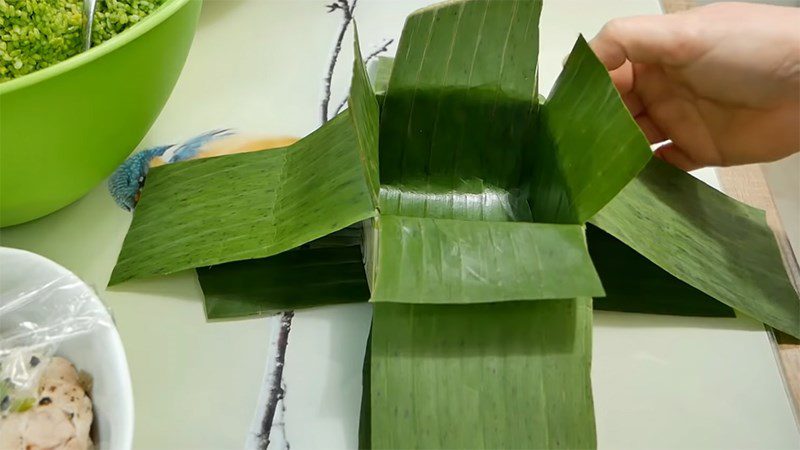
For the 4 small leaves, fold them in half and place the folded edge into the 4 corners of the box.
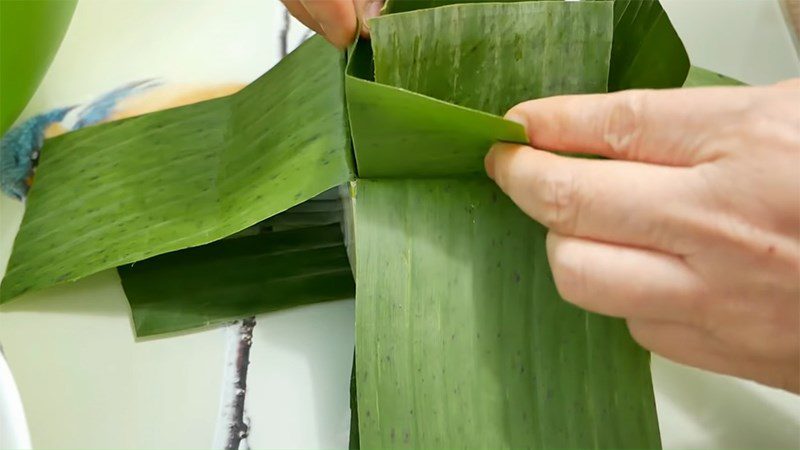
Step 3: Arrange the Filling and Wrap the Cake
Evenly distribute the ingredients in the cake mold in the following order: 1 layer of sticky rice, 1 layer of mung beans, 1 layer of pork, 1 layer of mung beans, and finally, 1 layer of sticky rice. Use a spoon to press the sticky rice down so that the ingredients stick tightly together.
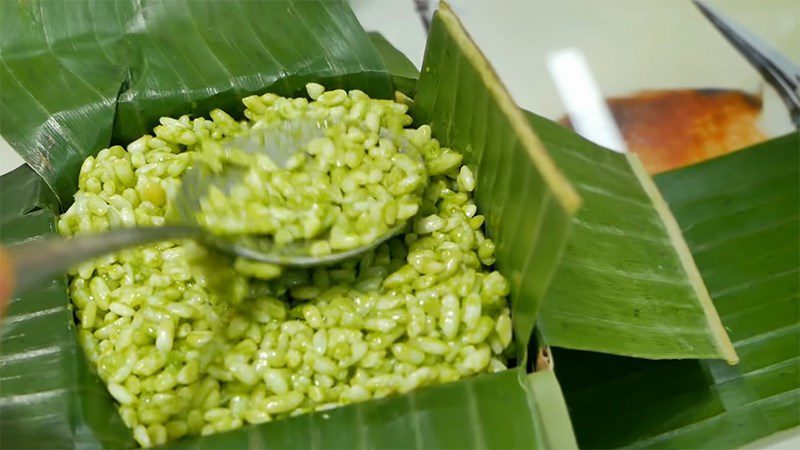
Gradually fold the 2 large leaves in the center back. For the 4 large leaves on the sides, do the following. Cross one large leaf over to one side, use your hand to press the diagonal edge of the leaf, and then fold the leaf into the cake. Repeat with the remaining 3 large leaves in a clockwise direction.
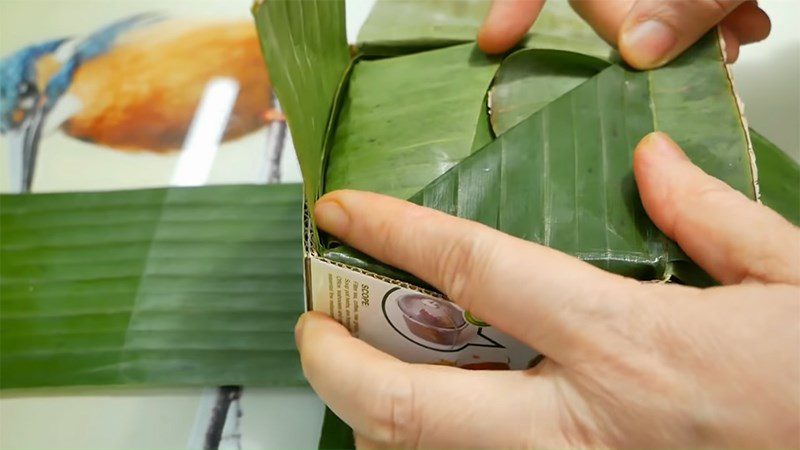
Then, place the folded cake face down, turn the bottom of the cake up, and fold the leaves similarly as before.
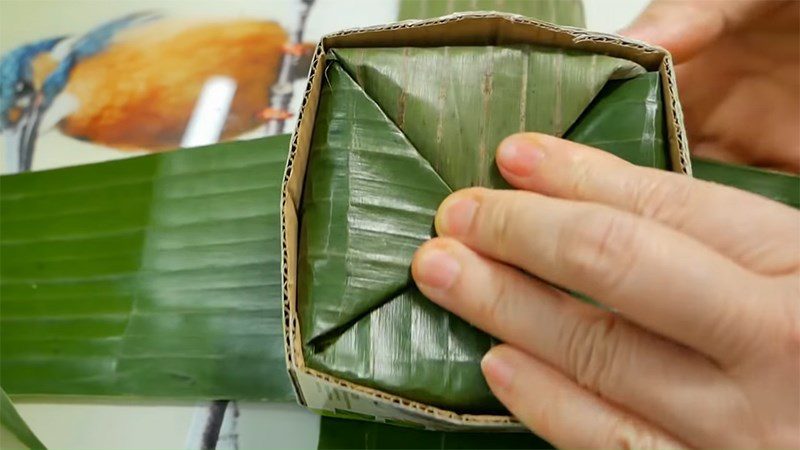
Finally, you use one hand to hold the cake and the other hand to gently lift the cardboard box.
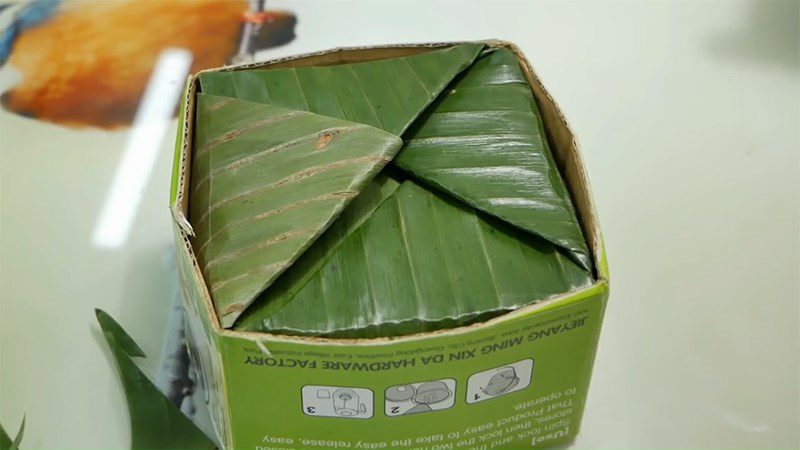
Step 4: Tie the string
Thread 1/4 of the length of the string under the bottom of the cake, placing the string to the right side. Use a long piece of string twisted 90 degrees with a short piece of string, then thread the long string under the bottom of the cake up to the top of the cake and continue to twist the two strings 90 degrees to form a line parallel to the string that was tied previously.
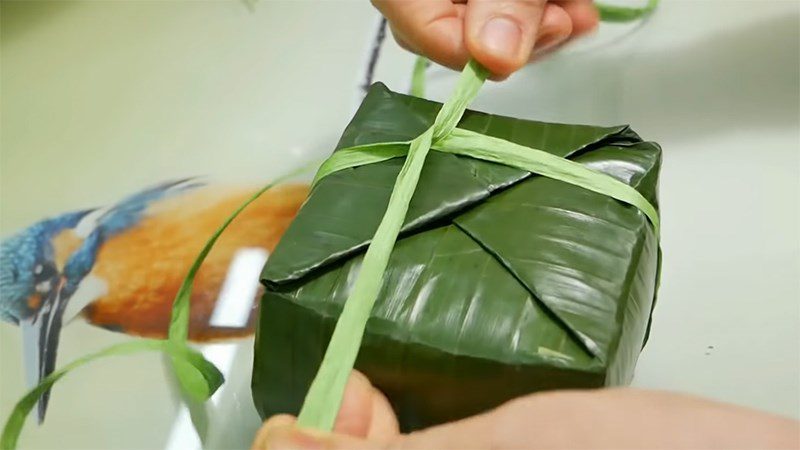
Continue to thread the long string under the bottom of the cake, twisting the two strings 90 degrees to create a line parallel to the string that has been tied. Now there are 4 strings crossed on the surface of the cake, of which 2 strings are parallel to each other.
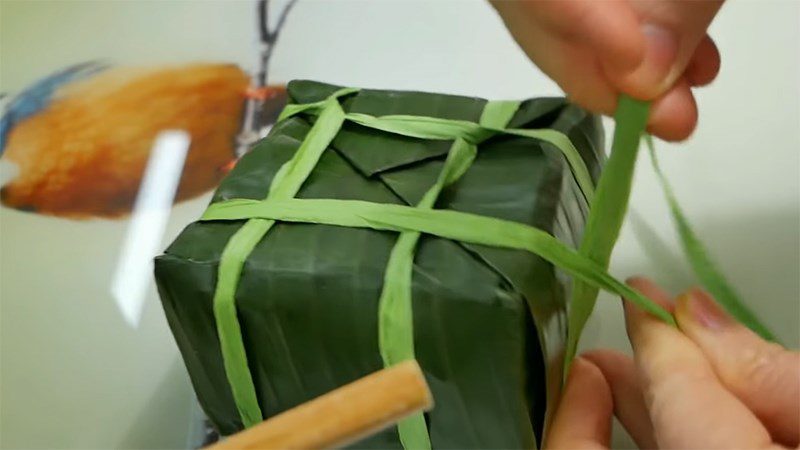
Finally, you hold the long string and wrap it around the body of the cake, then tie it together to secure it.
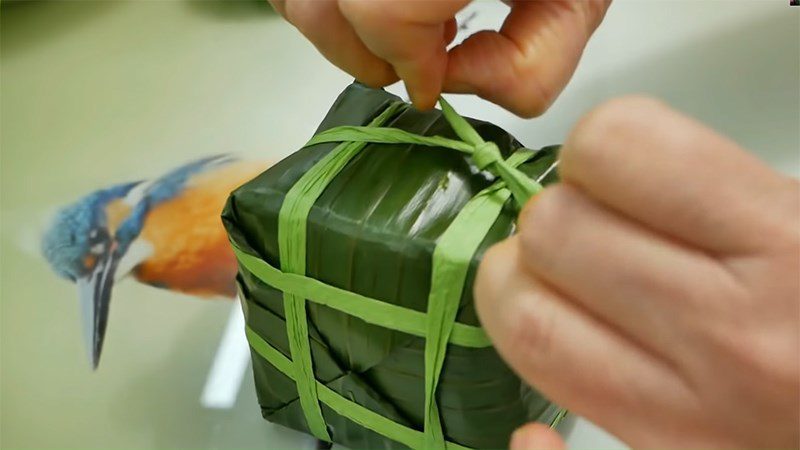
Step 5: Finished product
With just one seemingly discarded cardboard box and a piece of string, we have cleverly wrapped a square and beautiful bánh chưng using banana leaves. After boiling, the cake still retains its shape, perfectly square.
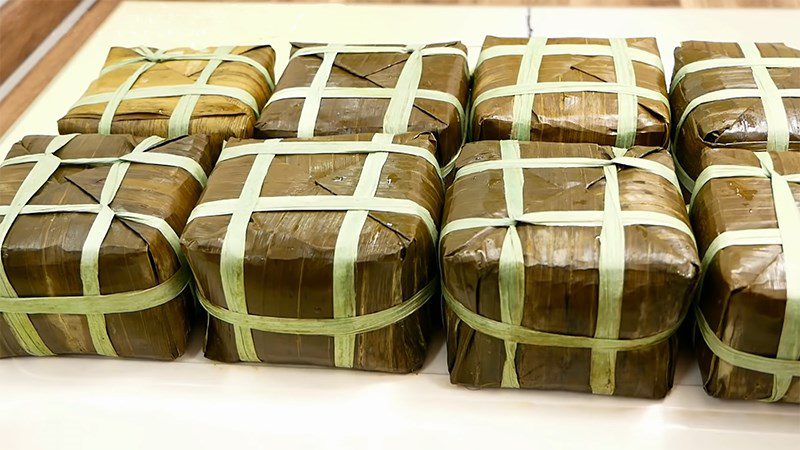
4 Wrapping with banana leaves without string
Using this method, one bánh chưng will use 3 banana leaves.
Step 1: Arrange the leaves
After buying banana leaves, use a cloth to wipe them clean, then let the leaves dry for 10 – 15 minutes under the hot sun so that they wilt a bit.
Cut the leaves into 3 pieces, each piece 35cm wide. Stack 2 pieces on top of each other, with the dark green side facing down (A), and the remaining piece with the dark green side facing up (B).
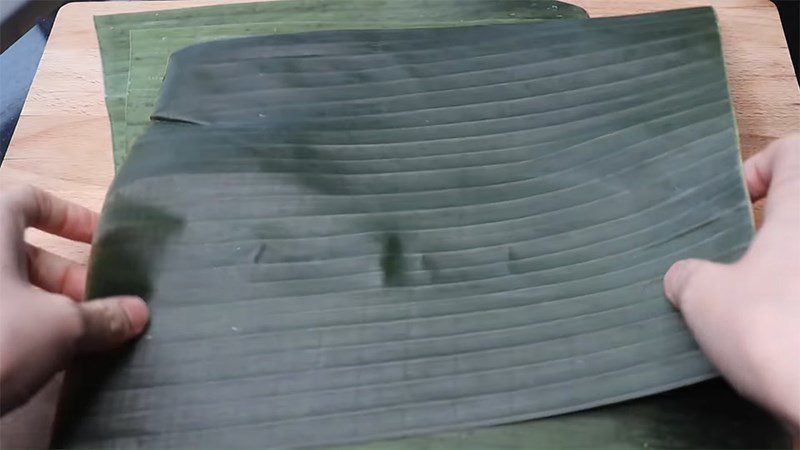
Step 2: Arrange the filling and wrap the cake
Evenly spread the ingredients on the leaf with the dark side up (B) in the following order: 1 layer of stir-fried sticky rice, 1 layer of mung beans, 1 layer of pork, 1 layer of mung beans, and finally, 1 layer of stir-fried sticky rice.
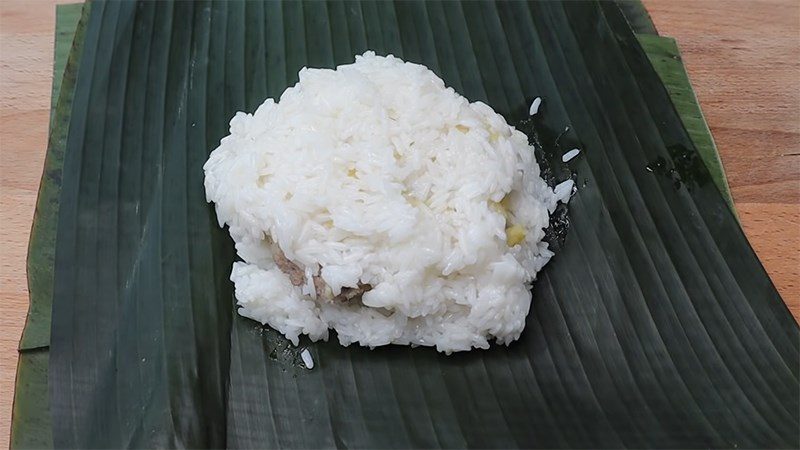
Use your hands to fold the two edges of the leaves diagonally towards the center.
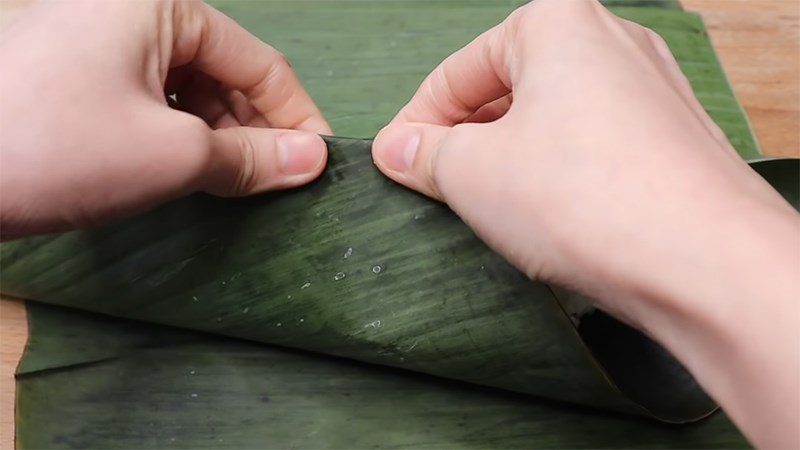
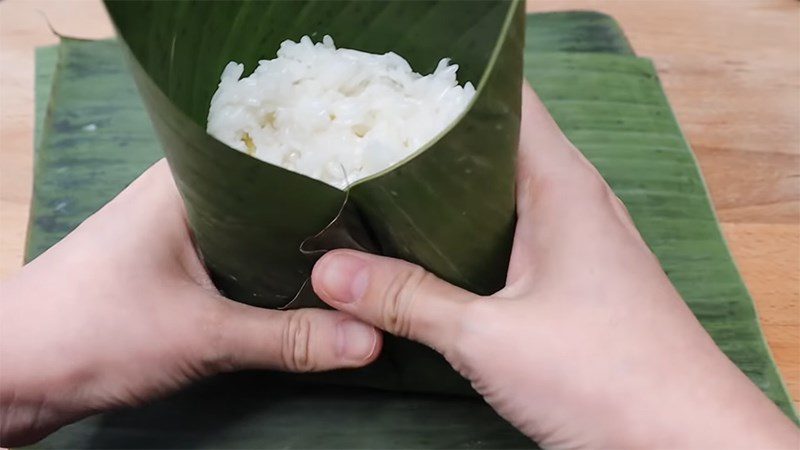
One hand holds the filling just folded, while the other hand folds one side of the leaf that is open, stands the cake up, holds it tightly, and thumps the cake down on the table several times to evenly distribute the filling. Then, fold the top part of the leaf in; if there is excess leaf, you can cut it off or fold the excess leaf inside.
Stand the cake on this side down on the table, open the other side of the leaf and do the same.
Place the folded filling side of the cake down in the center of the two leaves (A), placing the cake diagonally relative to the flat surface of the leaves (A).
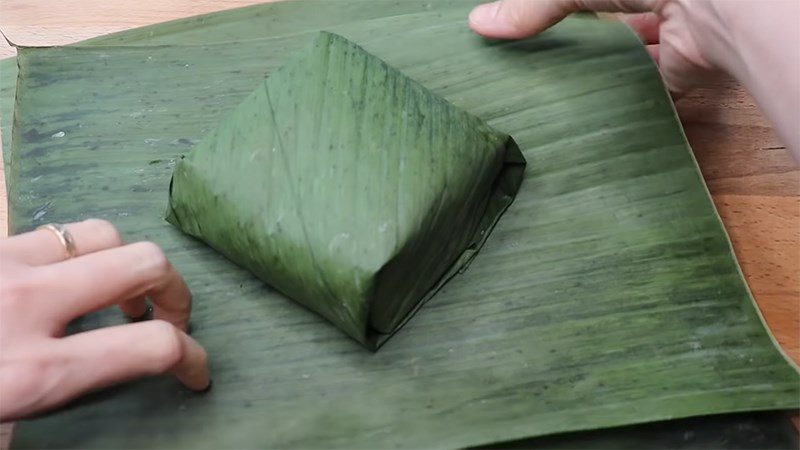
Use your hands to fold the two diagonal edges of the leaves (A) towards the center, then fold both ends of the leaves on either side in and press each fold tightly to create a square shape.
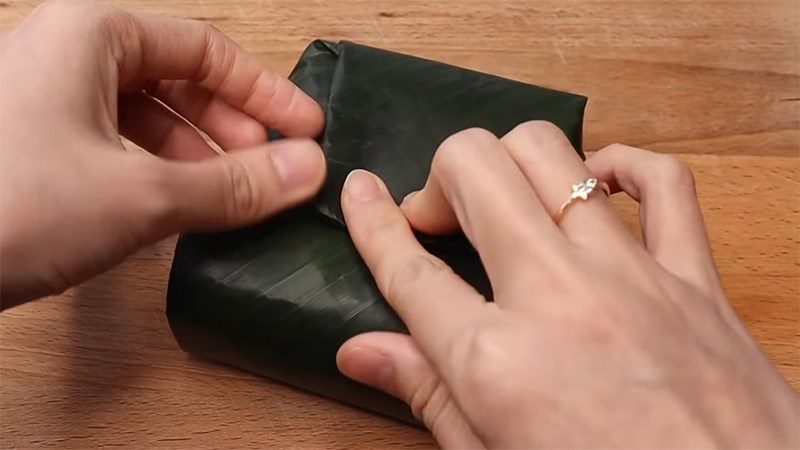
Step 3: Secure the cake
Cut the banana leaves into 2 strips, each 25cm long. Use these strips to tie around the cake forming 2 perpendicular lines to secure the cake.
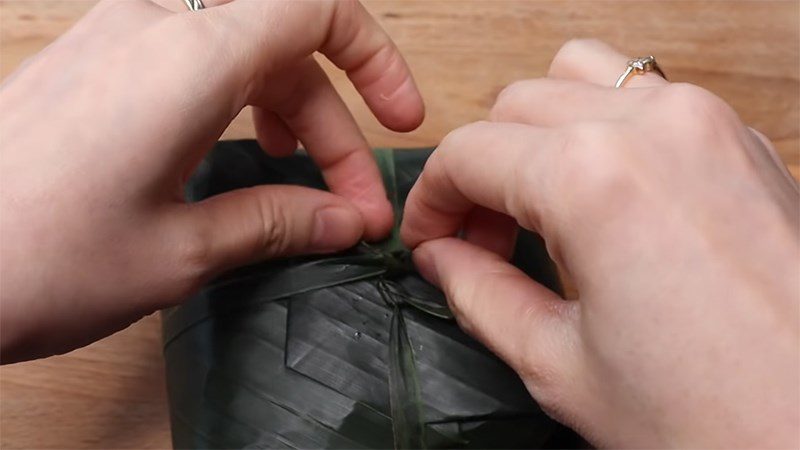
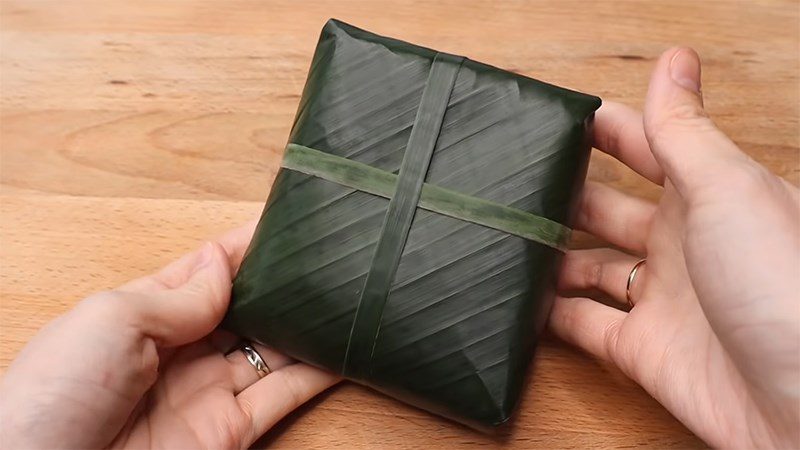
Step 4: Final product
Wrapping the Chung cake only with banana leaves is really interesting and pretty, isn’t it?
5 Quick and simple ways to cut bánh chưng
If you often face difficulties in cutting bánh chưng, don’t miss the quick and simple bánh chưng cutting guide below!
First, peel off all the layers of leaves on one side of the bánh and set the string aside. Choose a large string and split it into 4 threads.
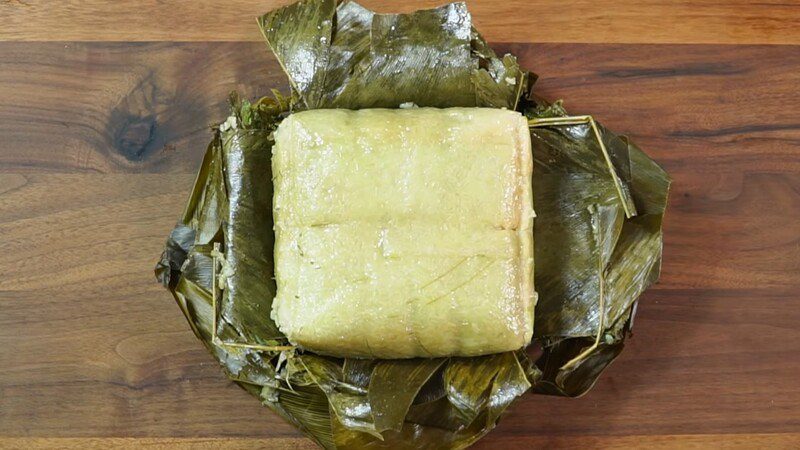
Next, use the 4 split threads to outline where you will cut the bánh as follows: place 2 threads at the two corners of the bánh chưng, and the remaining 2 threads in a cross shape.
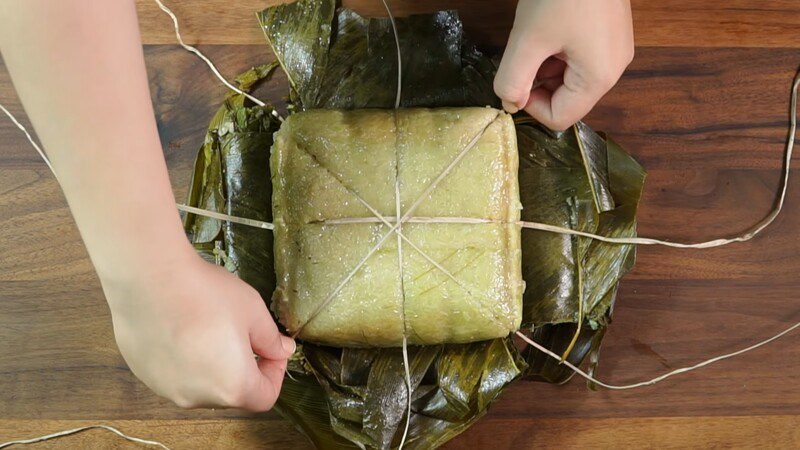
Then, use a plate to place on the part of the bánh that has been peeled and secured with the string, then flip it over. At this point, don’t forget to peel off all the dong leaves!
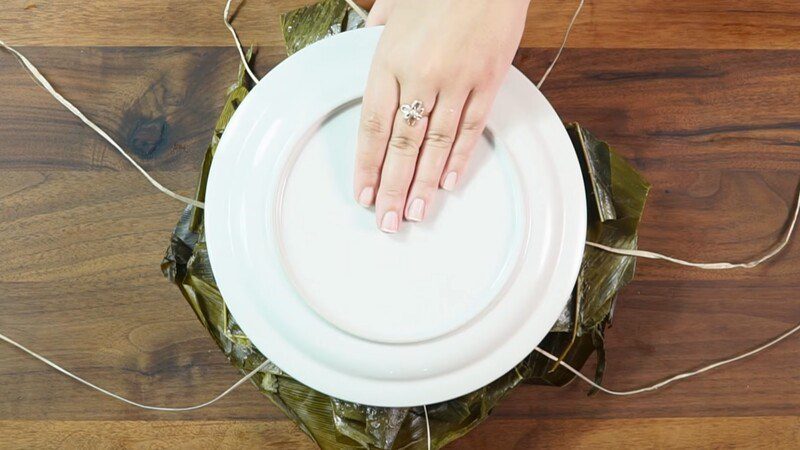
Finally, you just need to hold both ends of each thread and pull gently across the body of the bánh. Repeat this with the remaining threads, and you’ll have a bánh chưng divided into 8 equally beautiful parts.
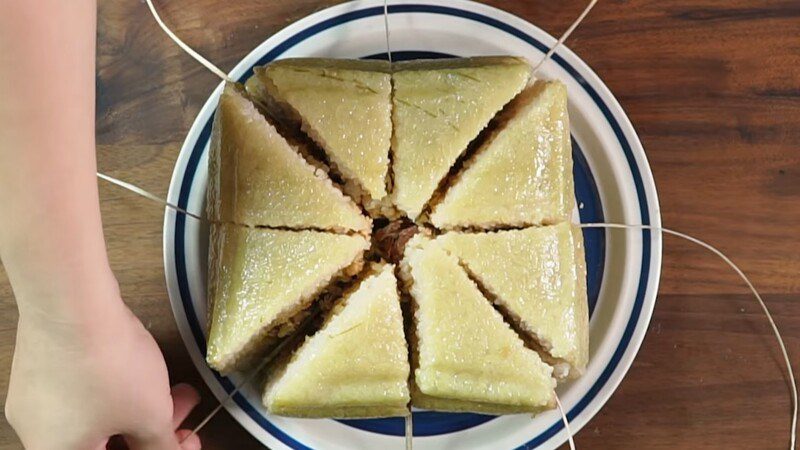
You can find out more ways to make Banh Chung below to make your Tet celebration more complete.
See more:
Above are 4 ways to wrap bánh chưng without molds, using both dong leaves and banana leaves. Choose your favorite method and try it out this Tet. Hope you succeed in your first attempt!
*Refer to the instructions and images from YouTube channels Small Kitchen Corner, Dt Vlog – life in Russia, Vành Khuyên Lê, Mai Khôi – mylife life in Belgium, Hướng nghiệp Á Âu
