TasteVN
  • Home
  • Main Dishes
    • Beef Dishes
    • Braised Food
    • Fried Food
    • Steamed Food
    • Stir-fried Dishes
    • Soup
    • Grilled Food
    • Hot Pot
    • Liquid Dishes
    • Chicken Dishes
    • Dried and Fermented Dishes
    • Vegetarian Dishes
    • Porridge
  • Desserts
    • Cake
    • Ice Cream
    • Sweet Soup
    • Desserts
  • Beverages
    • Beverages
    • Juices
    • Milk Tea
    • Smoothies
  • Snacks
    • Rolls and Salads
    • Salad
    • Snacks
  • Tips & Holidays
    • Festivals & Holidays
    • Kitchen Tips
No Result
View All Result
TasteVN
No Result
View All Result
Home Snacks

2 Ways to Make Smooth and Creamy Matcha Coconut Jelly and Matcha Red Bean Jelly

by TasteT
2 months ago
in Snacks
463 30
0
2 ways to make matcha coconut jelly and matcha red bean delicious 05034
739
SHARES
3.5k
VIEWS
Share on FacebookShare on Twitter

Today, let TasteVN reveal to you 2 delicious and creamy ways to make matcha coconut jelly and matcha red bean jelly with just a few very simple steps. Let’s get cooking and make this enticing dessert right away!

Quick view hide
1 Prepare the first layer of jelly
2 Make the second layer of jelly
3 Making the third layer of jelly
4 Final product
5 Cook red beans
6 Mashing red beans
7 Making the red bean jelly layer
8 Make the matcha jelly layer
9 Final product
10 Tips for successfully making jelly
11 How to store jelly

1. Matcha Coconut Jelly

Matcha Coconut Jelly
  • Preparation

    10 minutes

  • Cooking

    40 minutes

  • Difficulty

    Easy

Ingredients for Matcha Coconut Jelly For 2 people

Matcha powder 6 gr Filtered water 625 ml Agar jelly powder 9 gr Whipping cream 125 ml Condensed milk 100 gr Granulated sugar 45 gr

Ingredient Image
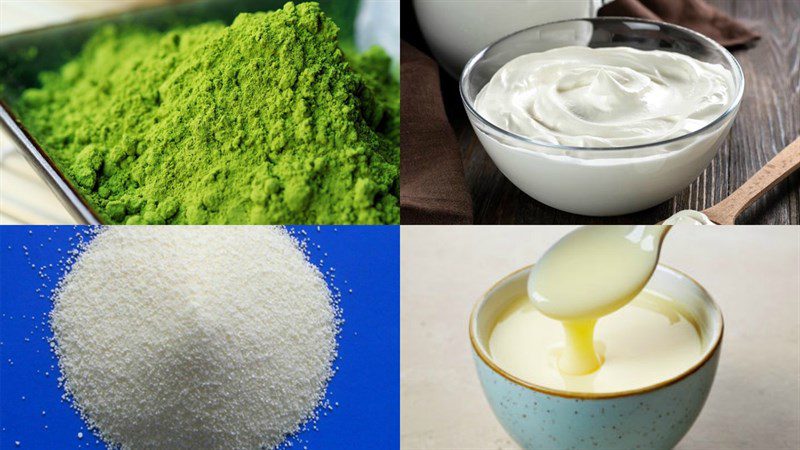
Ingredients for 2 ways to make matcha coconut jelly and matcha red bean jelly

How to Make Matcha Coconut Jelly

  • Prepare the first layer of jelly

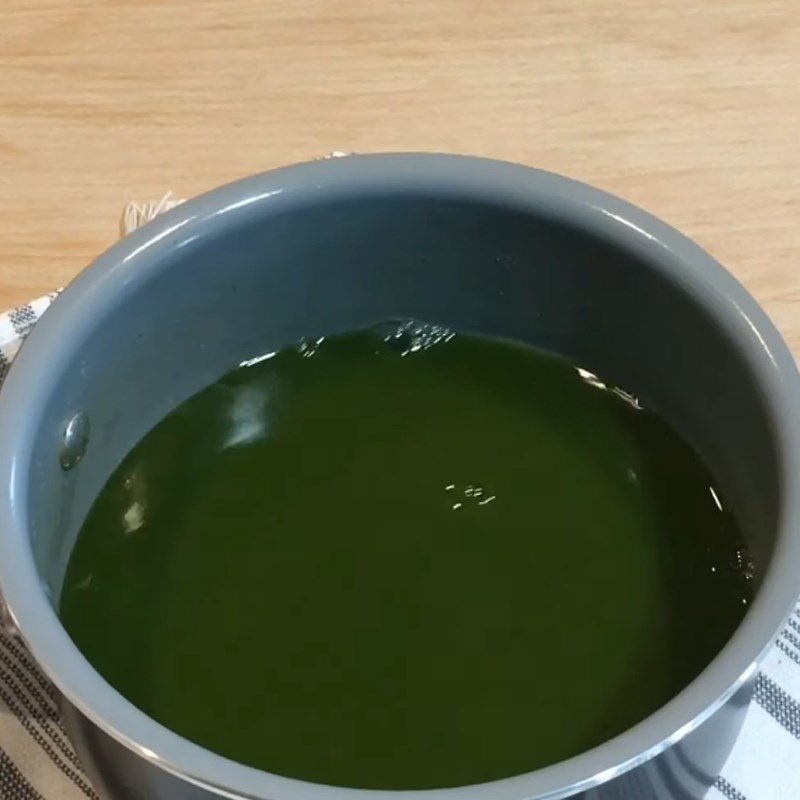
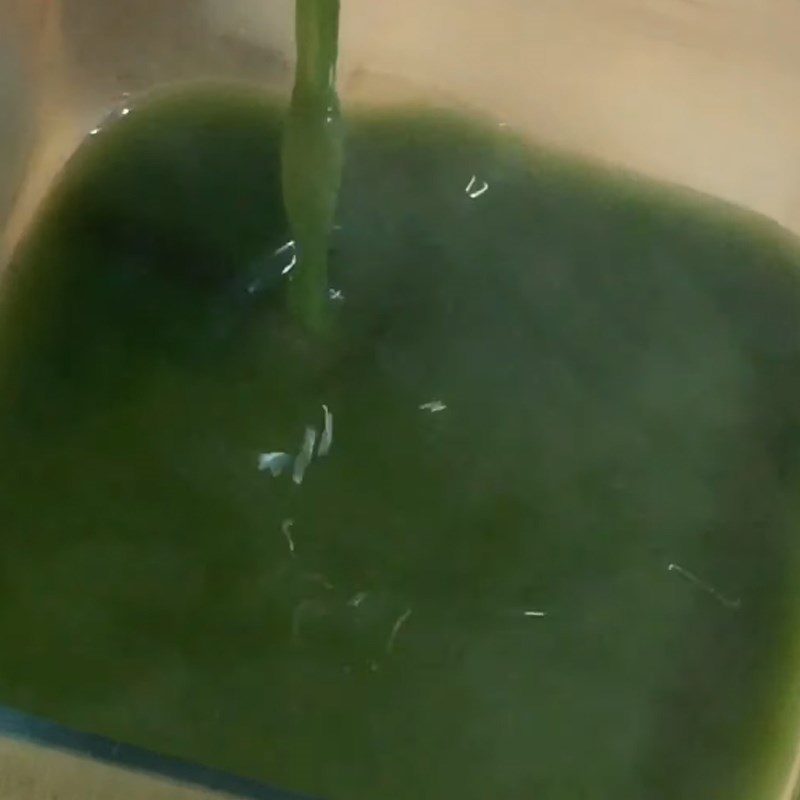
    Prepare a pot, pour in 250ml of filtered water, 3gr of jelly powder, 45gr of sugar, and 3gr of matcha powder, and stir until all ingredients are dissolved.

    Then place the pot on the stove, cook over medium heat until the mixture boils, then turn off the heat. Pour the mixture into a container, let it cool, or put it in the refrigerator so that the top layer of jelly sets faster.
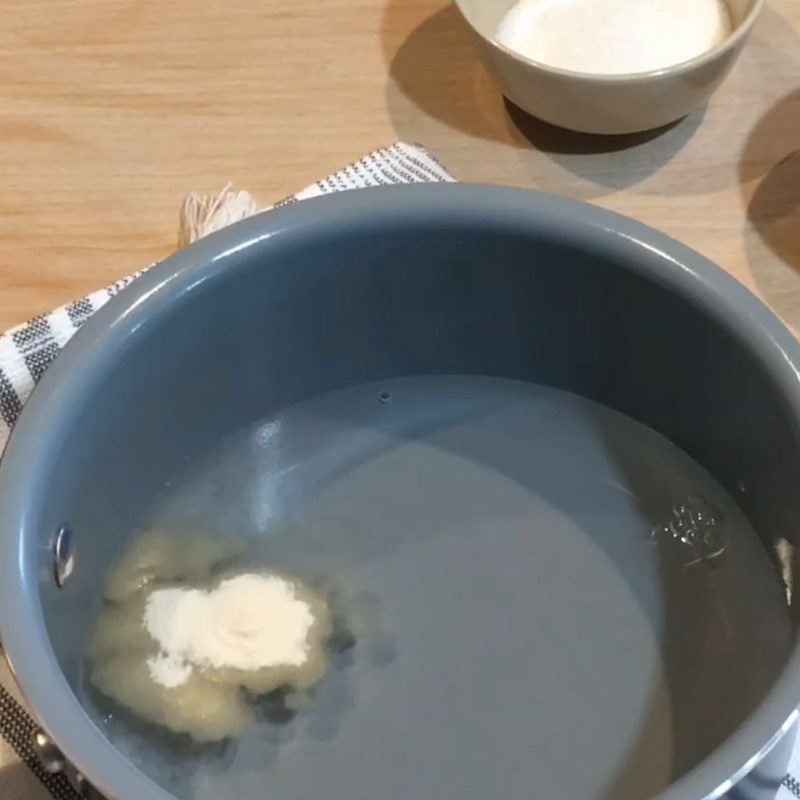
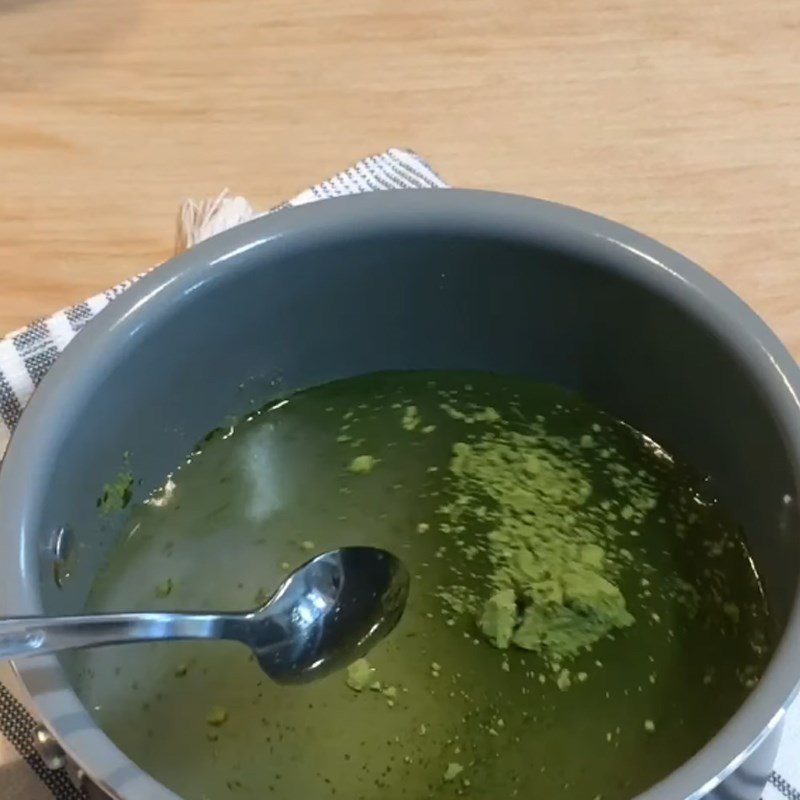
    Step 1 Prepare the first layer of Matcha Coconut Jelly
    Step 1 Make the first layer of matcha coconut jelly
    Step 1 Make the first layer of matcha coconut jelly
    Step 1 Make the first layer of matcha coconut jelly
  • Make the second layer of jelly

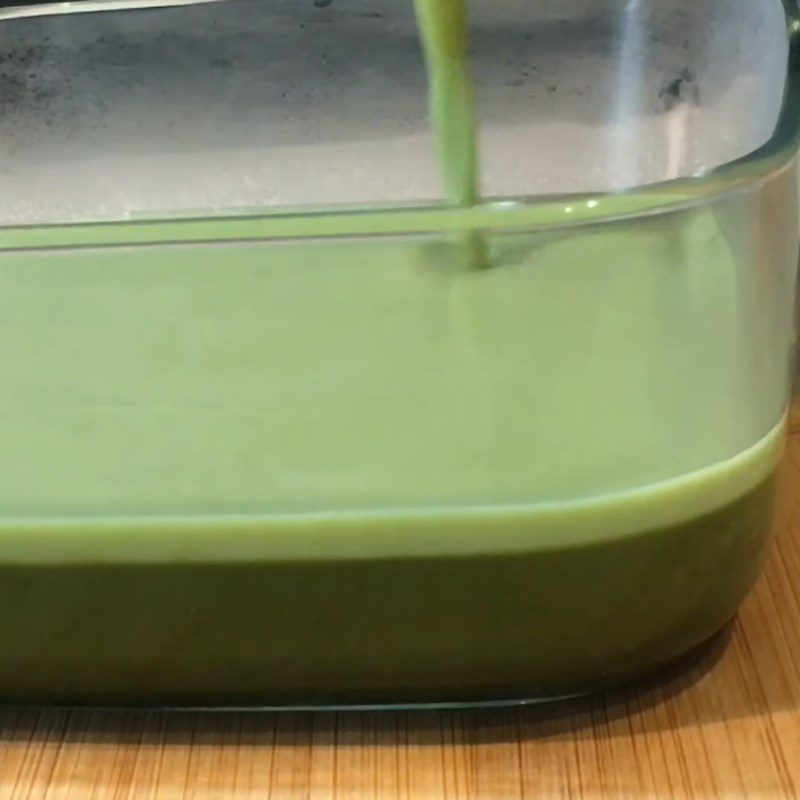
    Similar to the first layer, you also gradually add 250ml of water, 3gr of agar powder, 50gr of condensed milk, stir until the condensed milk dissolves, then add 3gr of matcha powder, and stir well.

    Place the pot on the stove, stir continuously over medium heat until the water boils, then turn off the heat, let it cool for about 5 – 7 minutes. After that, slowly pour this second layer over the first layer, and put it in the fridge to let the mixture set.
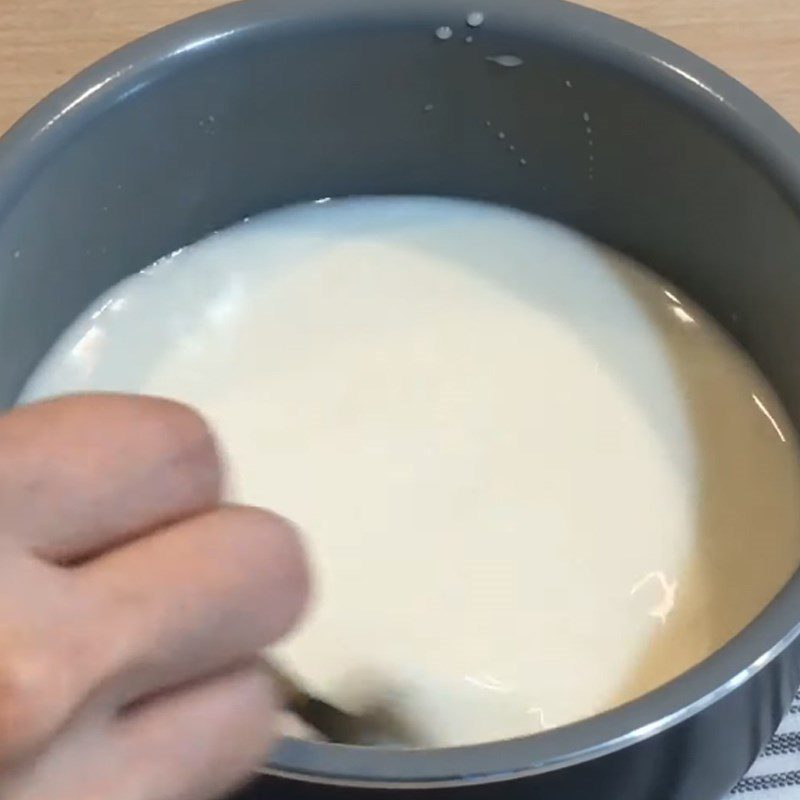
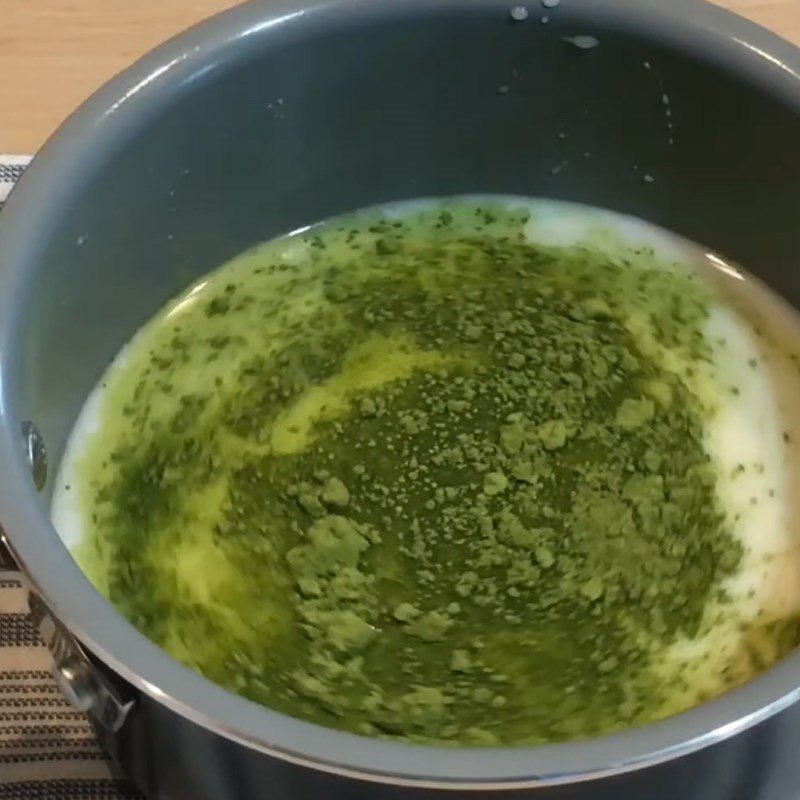
    Step 2 Make the second layer of matcha coconut jelly
    Step 2 Make the second layer of matcha coconut jelly
    Step 2 Make the second layer of matcha coconut jelly
  • Making the third layer of jelly

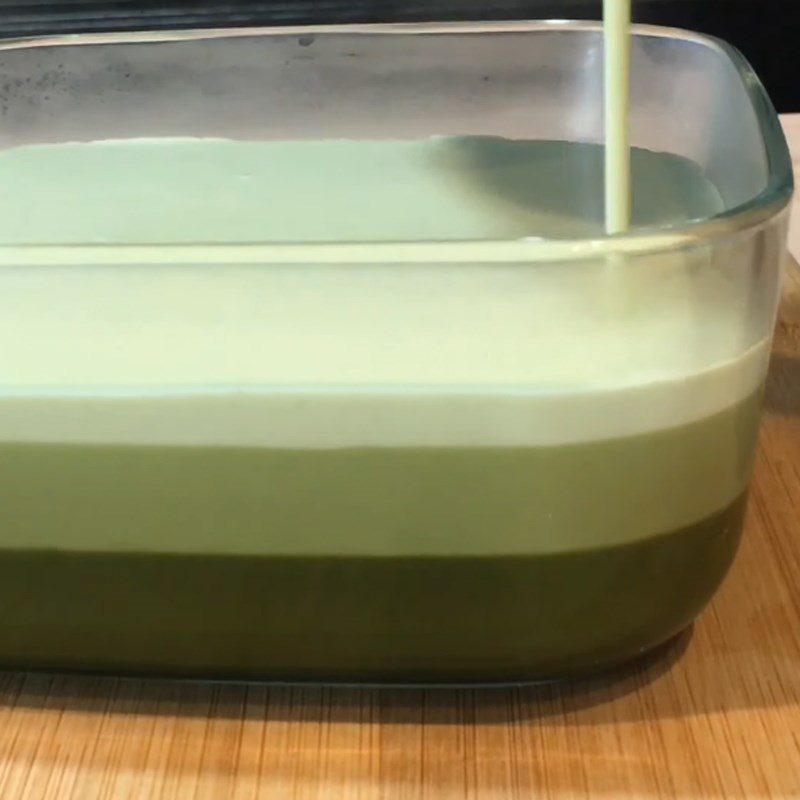
    For the last layer, dissolve 125ml of drinking water, 3gr of jelly powder, 2gr of matcha powder along with 125ml of cream. Next, bring the mixture to a boil and pour it into the jelly container to form 3 layers, let it cool, then cover and store it in the refrigerator.
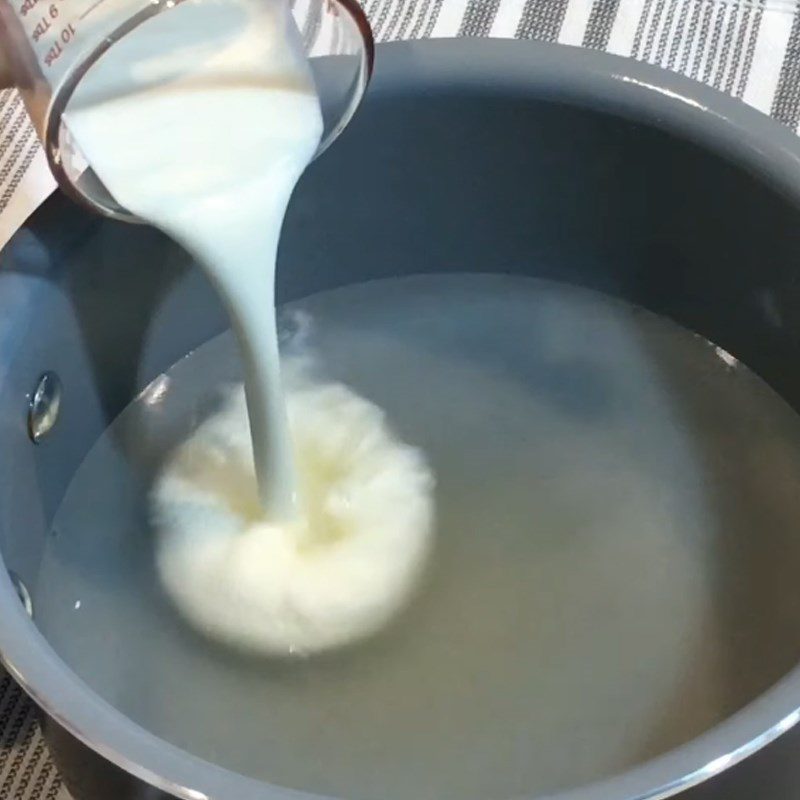
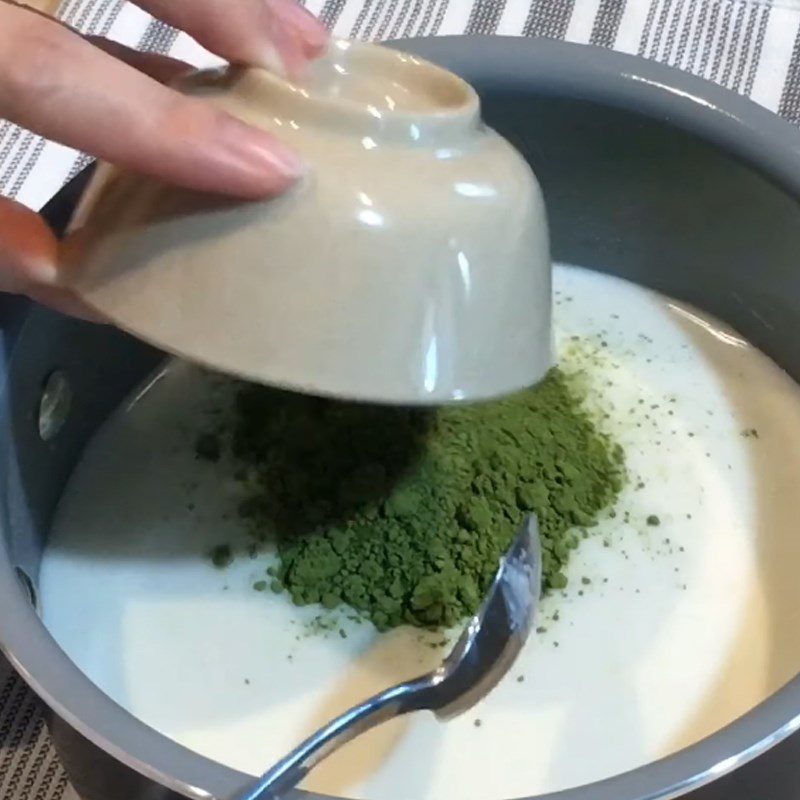
    Step 3 Making the third layer of matcha coconut milk jelly
    Step 3 Making the third layer of matcha coconut milk jelly
    Step 3 Making the third layer of matcha coconut milk jelly
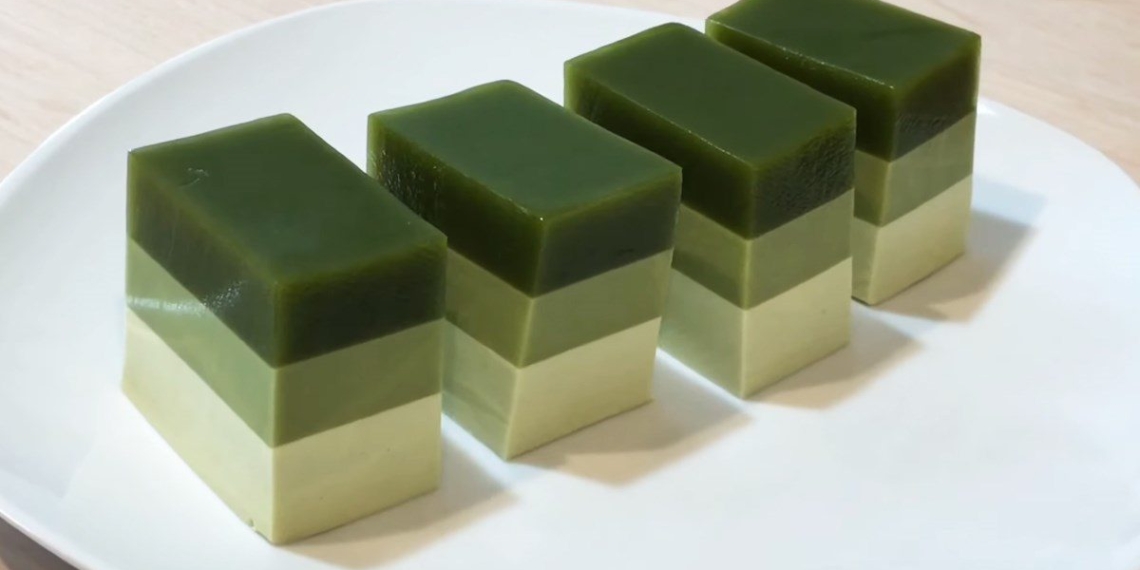
  • Final product

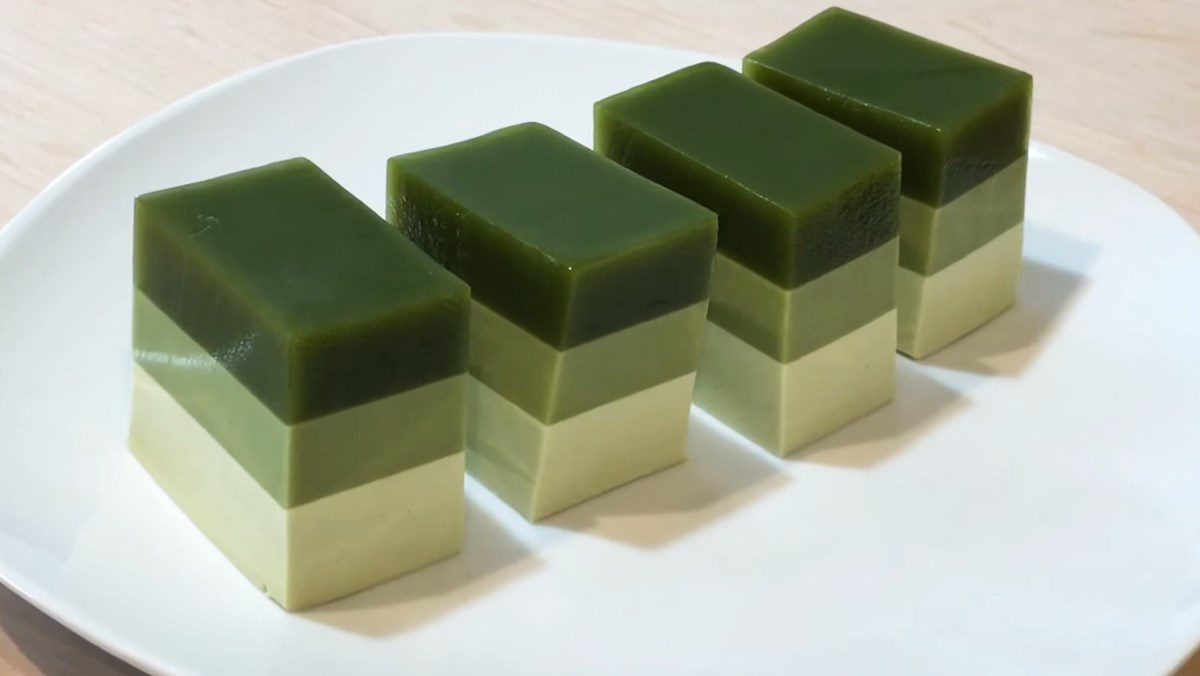
    The jelly with 3 layers transitioning from dark to light is very eye-catching. The jelly is smooth and chewy, lightly fragrant with matcha blended with the richness of milk, making it a perfect treat for those days when you’re feeling snacky!
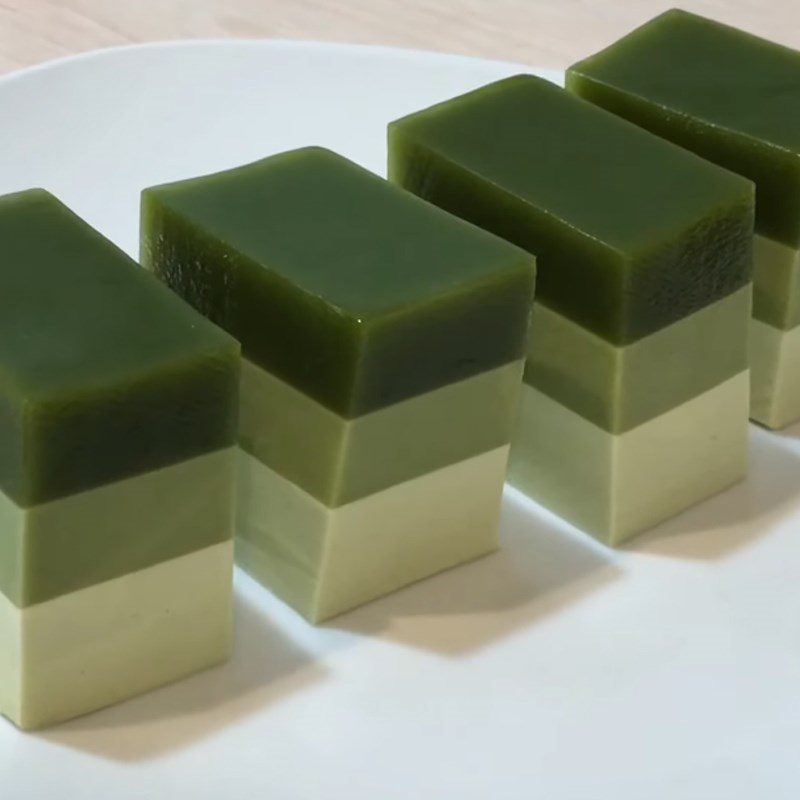
    Step 4 Final product Matcha coconut milk jelly

2. Matcha Red Bean Jelly

Matcha Red Bean Jelly
  • Preparation

    10 minutes

  • Processing

    30 minutes

  • Difficulty

    Easy

Ingredients for Matcha Red Bean Jelly For 4 people

Red beans 150 gr Matcha powder 10 gr Rock sugar 250 gr Vanilla 15 ml Gelatin powder 14 gr Salt 1 gr

How to choose good quality red beans

  • You should choose beans that are bright red, free from pests, and show no signs of mold or unpleasant odors.
  • You should choose beans of moderate size so that after cooking, they achieve a soft texture and a delicious nutty flavor.
  • Avoid selecting overly large beans, as these are often less tasty, contain fewer nutrients than smaller beans, and can particularly create a slight astringent taste when eaten.
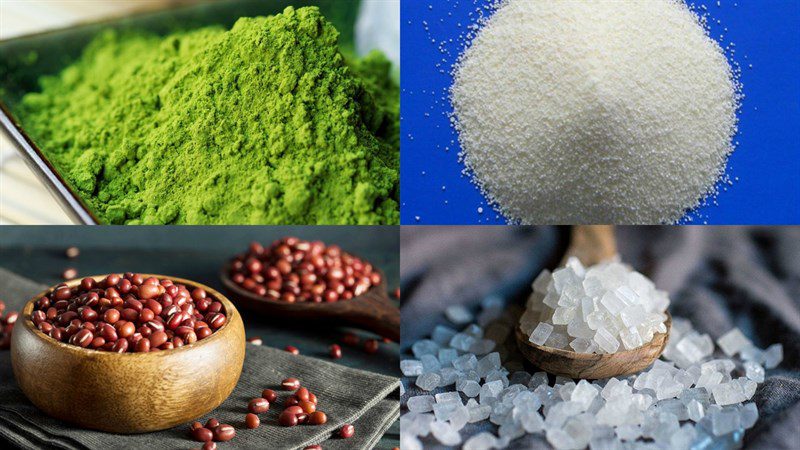
See more: The effects of red beans

Ingredients for 2 recipes of matcha coconut milk jelly and matcha red bean

How to make matcha red bean jelly

  • Cook red beans

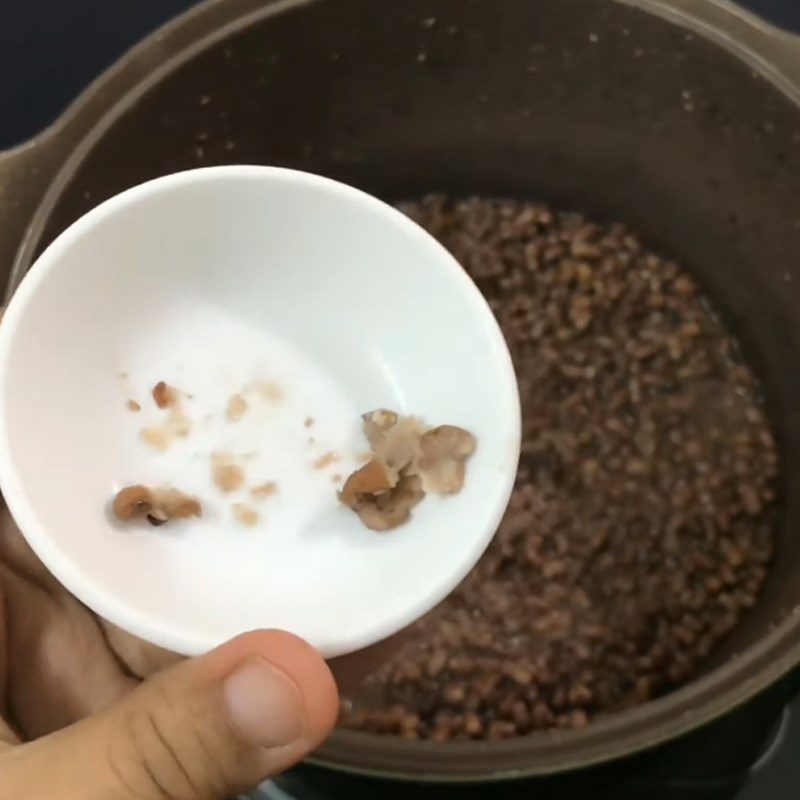
    Wash the red beans thoroughly and place them in a pot. Put the pot on the stove, pour enough water to cover the beans, and cook over high heat until the water in the pot boils, then turn off the heat. Drain the red beans into a colander, rinse them with water, and return them to the pot.

    Next, pour enough water to cover the beans once again. Cover the pot, turn the heat to high, and when the water boils, reduce the heat to low and cook until the water gradually evaporates and the beans are soft, then turn off the heat.
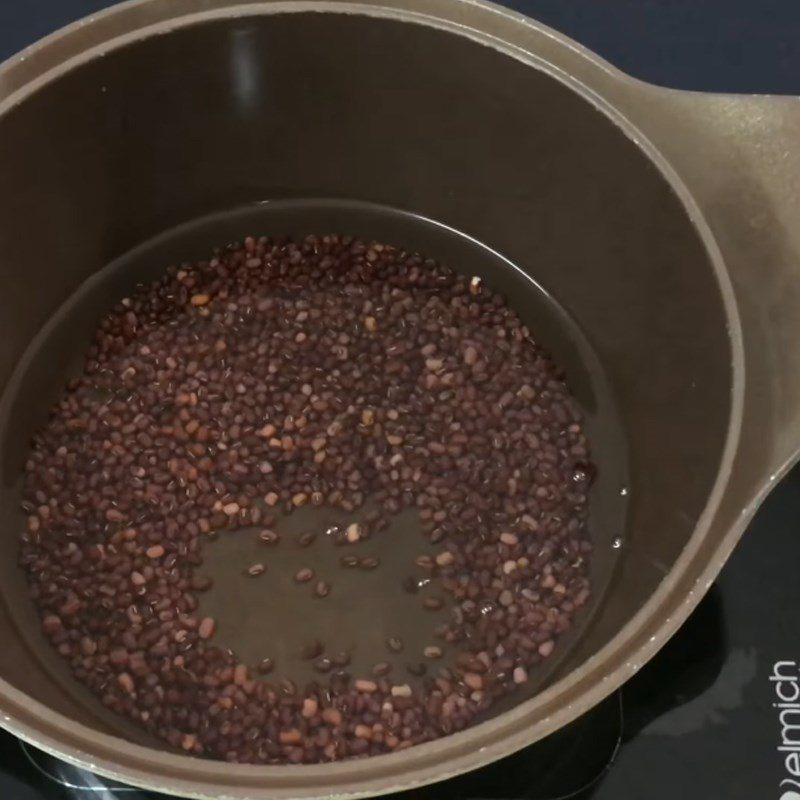
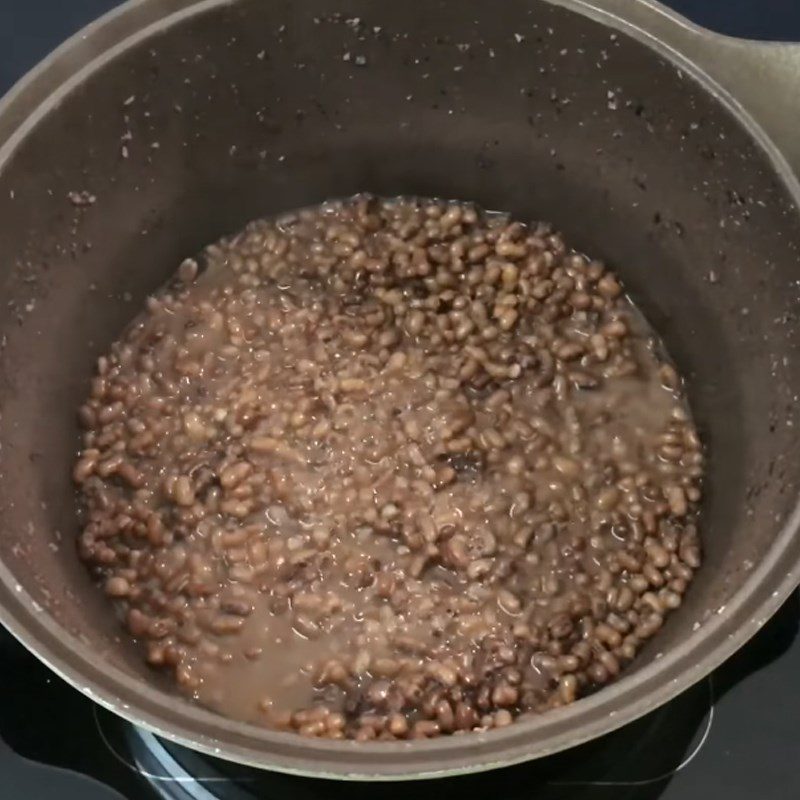
    Step 1 Cooking red beans for matcha red bean jelly
    Step 1 Cooking red beans for matcha red bean jelly
    Step 1 Cooking red beans for matcha red bean jelly
  • Mashing red beans

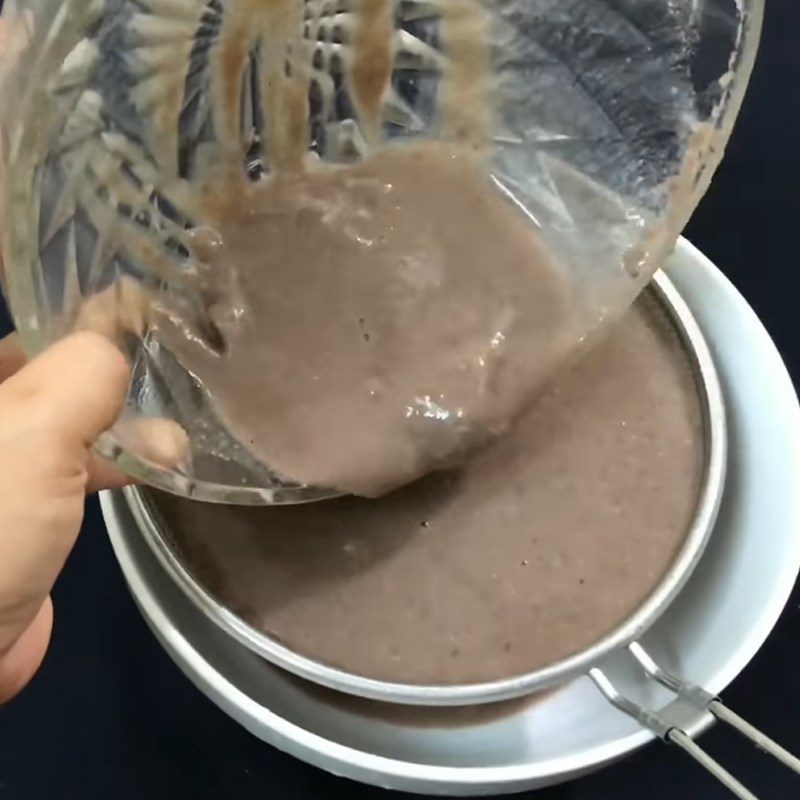
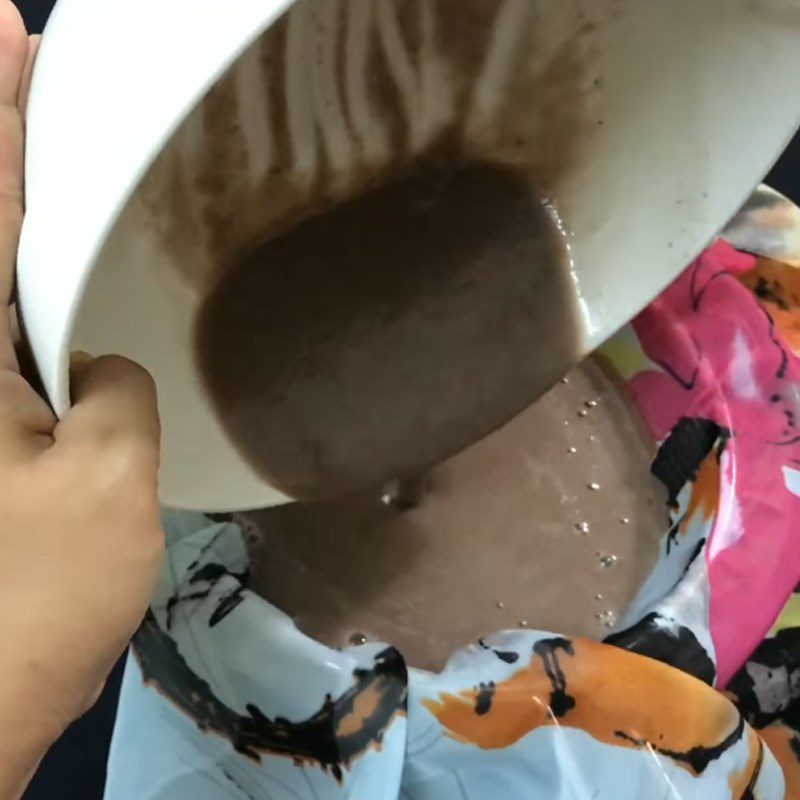
    Pour the cooked red beans into a bowl. Use a large spoon to mash the red beans finely. Next, strain the red beans through a sieve to collect the red bean water.

    Note:
    • Do not use a blender to mash the red beans as this will crush the skins, making it impossible to obtain the coarse bean residue.
    • You can strain the red beans 2 – 3 times to extract all the water.

    After that, place a cloth over the sieve and pour all the red beans into it, squeezing thoroughly to extract the last bit of water. Then, divide the red bean water into one bowl and the coarse red bean residue into another bowl.

    The result is about 400ml of red bean water and 300gr of coarse red bean residue. If the extracted red bean water is less than 400ml, add more water.
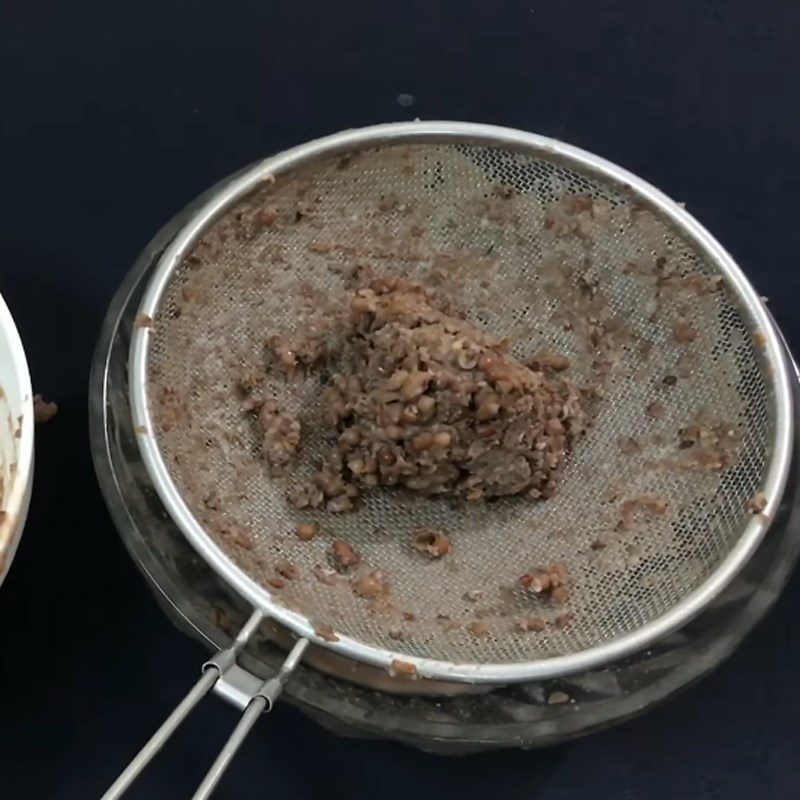
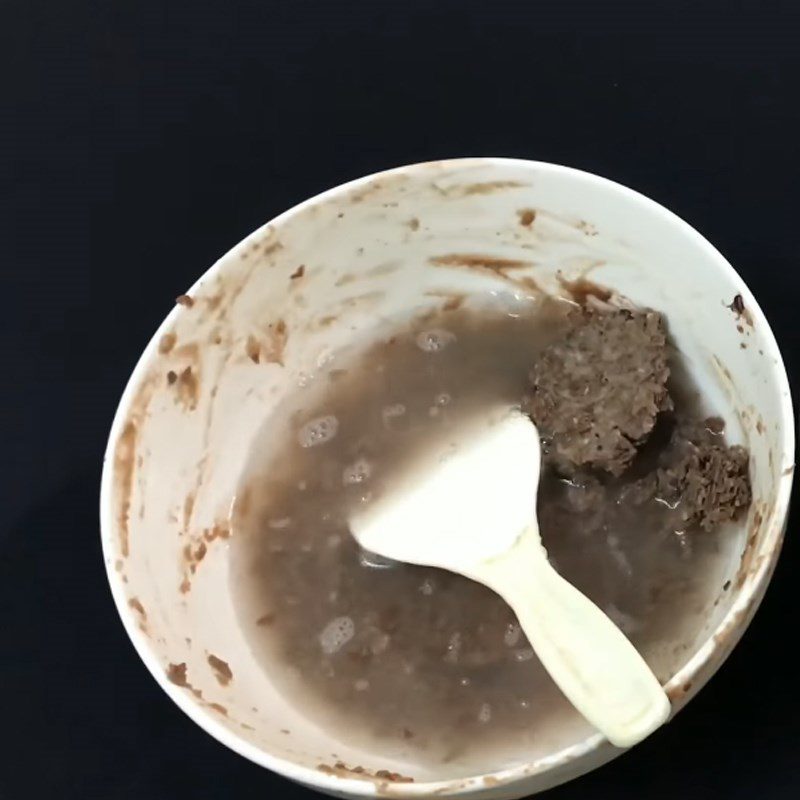
    Step 2 Mashing red beans Matcha red bean jelly
    Step 2 Mashing red beans Matcha red bean jelly
    Step 2 Mashing red beans Matcha red bean jelly
    Step 2 Mashing red beans Matcha red bean jelly
  • Making the red bean jelly layer

    Add 10gr of jelly powder into the bowl of red bean water, and stir well until the powder dissolves.

    Tip: If you have time, place the bowl of jelly water in the refrigerator for about 10 – 15 minutes. This will help the jelly powder dissolve faster when cooking.

    Place the pot on the stove, pour 400ml of red bean water into the pot, and stir continuously over medium heat until the water is hot. Then add 1g of salt and 200g of rock sugar into the pot, stirring until the sugar dissolves.

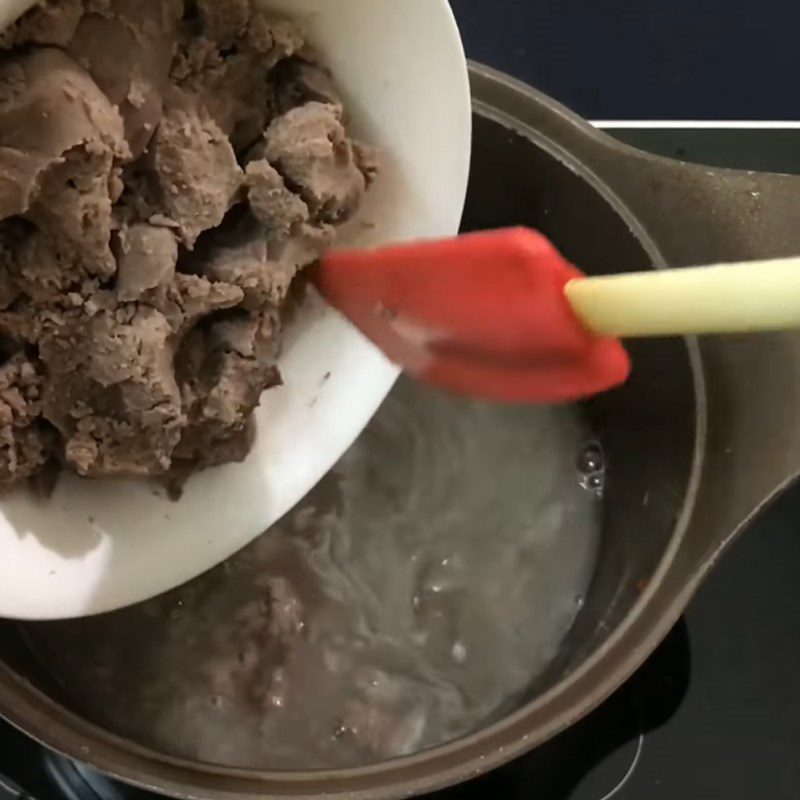
    Next, add 300g of raw red bean residue into the pot, stirring well. When the water in the pot starts to boil, reduce the heat to low, and stir for about 3 – 5 minutes before turning off the heat.

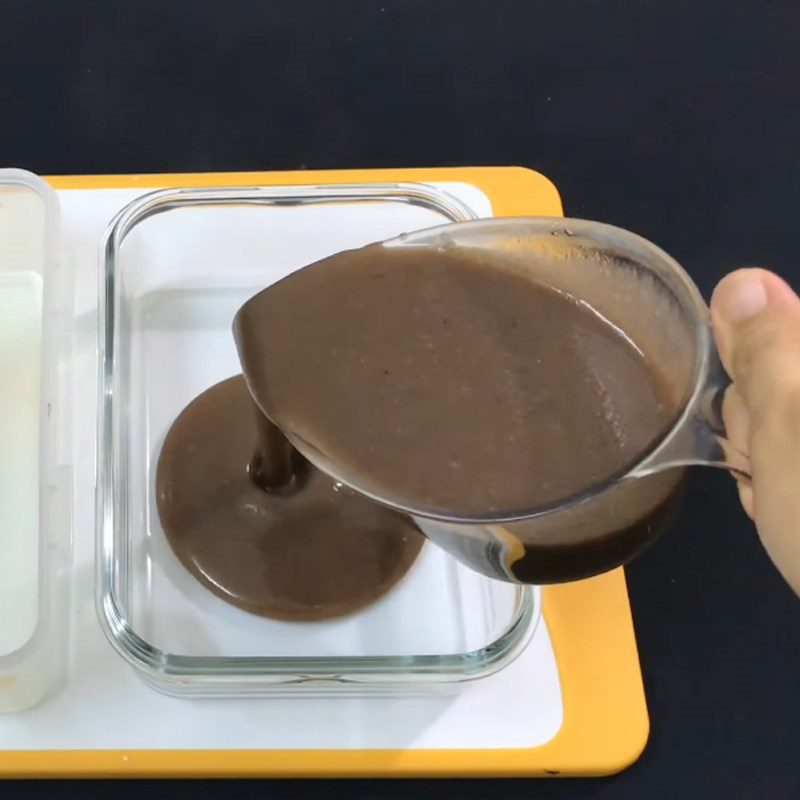
    Finally, add 15ml of vanilla into the pot and stir gently one more time. Immediately after stirring, pour the layer of jelly into the mold or glass container.

    Note: When stirring, you must stir close to the pot to avoid burning the bottom, which can affect the flavor of the jelly layer.
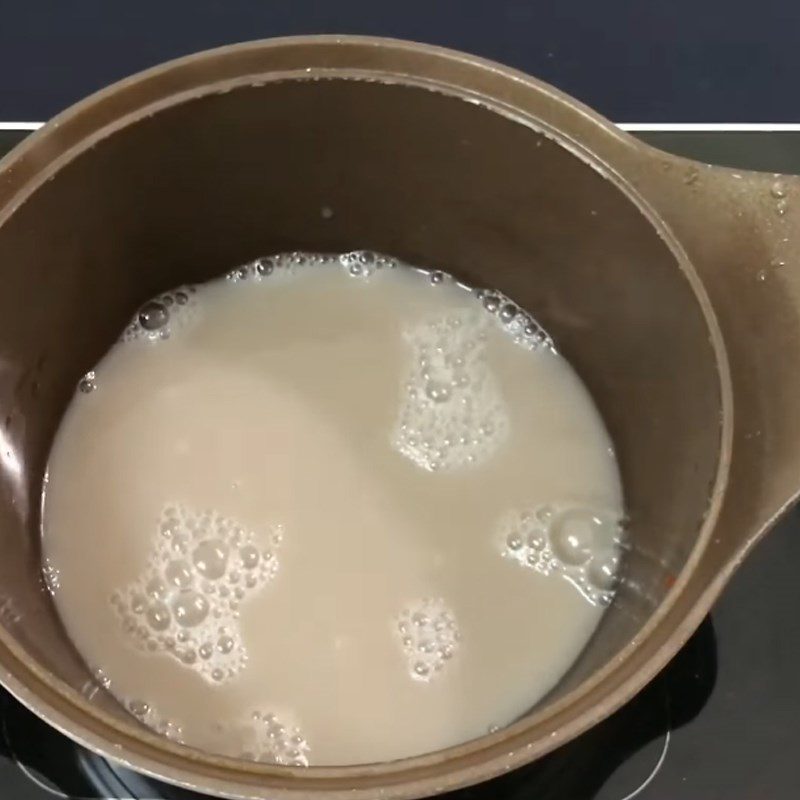
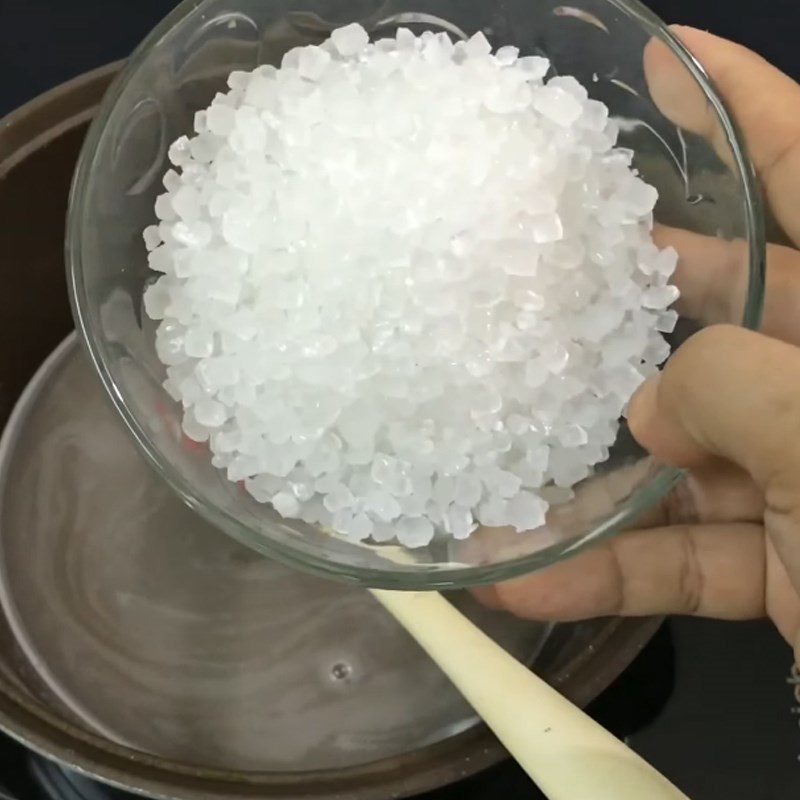
    Step 3 Making the red bean jelly layer Matcha red bean jelly
    Step 3 Making the red bean jelly layer Matcha red bean jelly
    Step 3 Making the red bean jelly layer Matcha red bean jelly
    Step 3 Making the red bean jelly layer Matcha red bean jelly
  • Make the matcha jelly layer

    Mix 200ml of water with 4g of jelly powder in a bowl. For the matcha powder, add 10g of matcha powder to the bowl, pour in an additional 50ml of purified water, and stir well until the matcha powder is completely dissolved, with no lumps.

    Place a pot on the stove, add the jelly water to the pot first, stir over medium heat until the water starts to heat up, then add 50g of rock sugar to the pot and stir until the sugar dissolves. Next, add the prepared matcha powder to the mixture and stir continuously. When the water comes to a boil, reduce the heat to low, and keep stirring for another 2 – 3 minutes before turning off the heat.

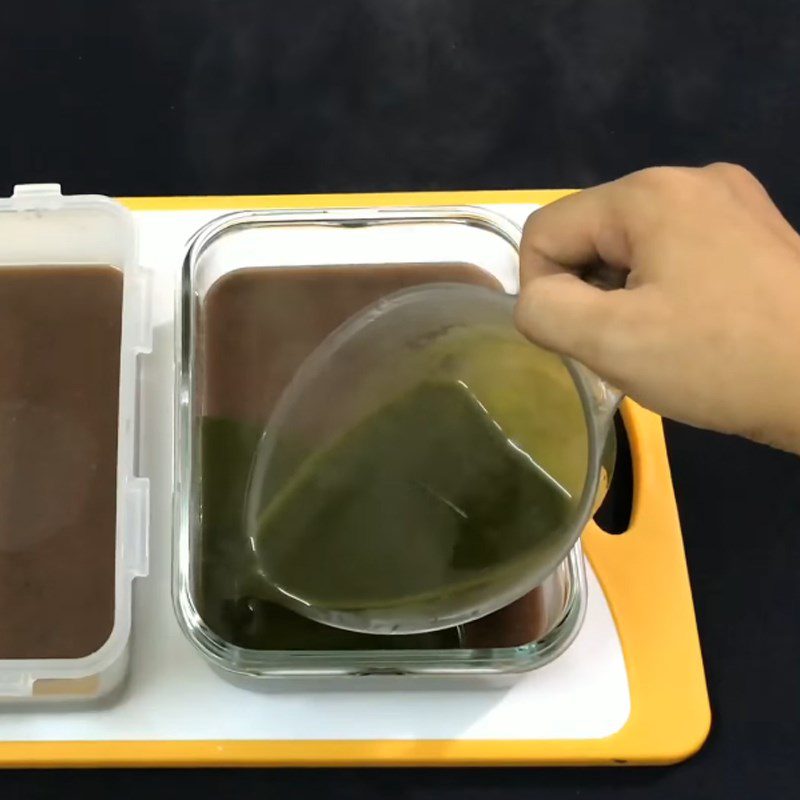
    Slowly pour the green tea jelly layer into one corner of the container to avoid breaking the red bean jelly layer. Let it cool until the jelly sets, and then it’s ready to enjoy.
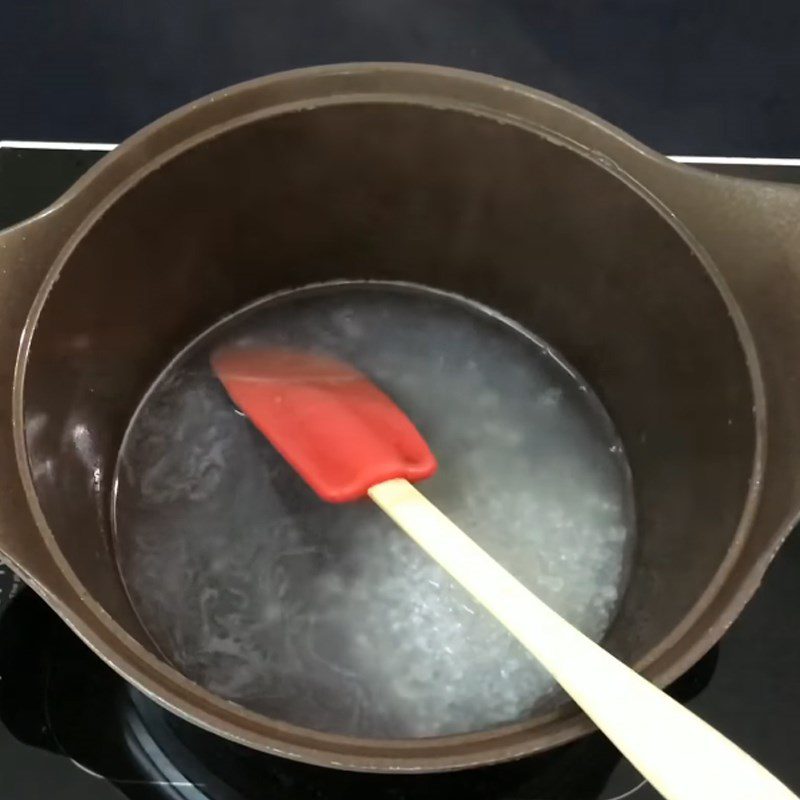
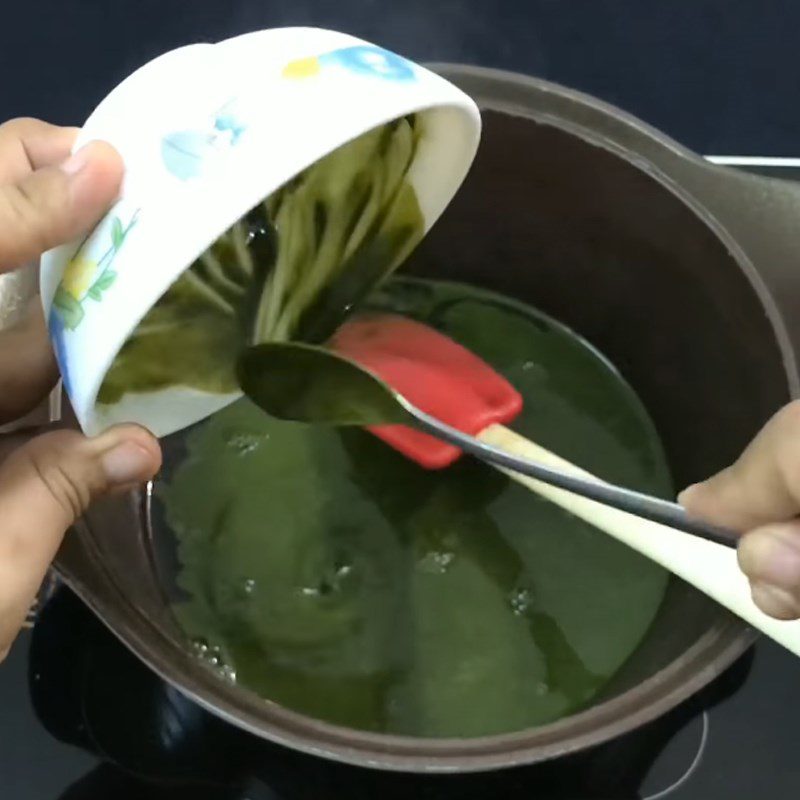
    Step 4 Make the matcha jelly layer Matcha jelly with red beans
    Step 4 Make the matcha jelly layer Matcha jelly with red beans
    Step 4 Make the matcha jelly layer Matcha jelly with red beans
  • Final product

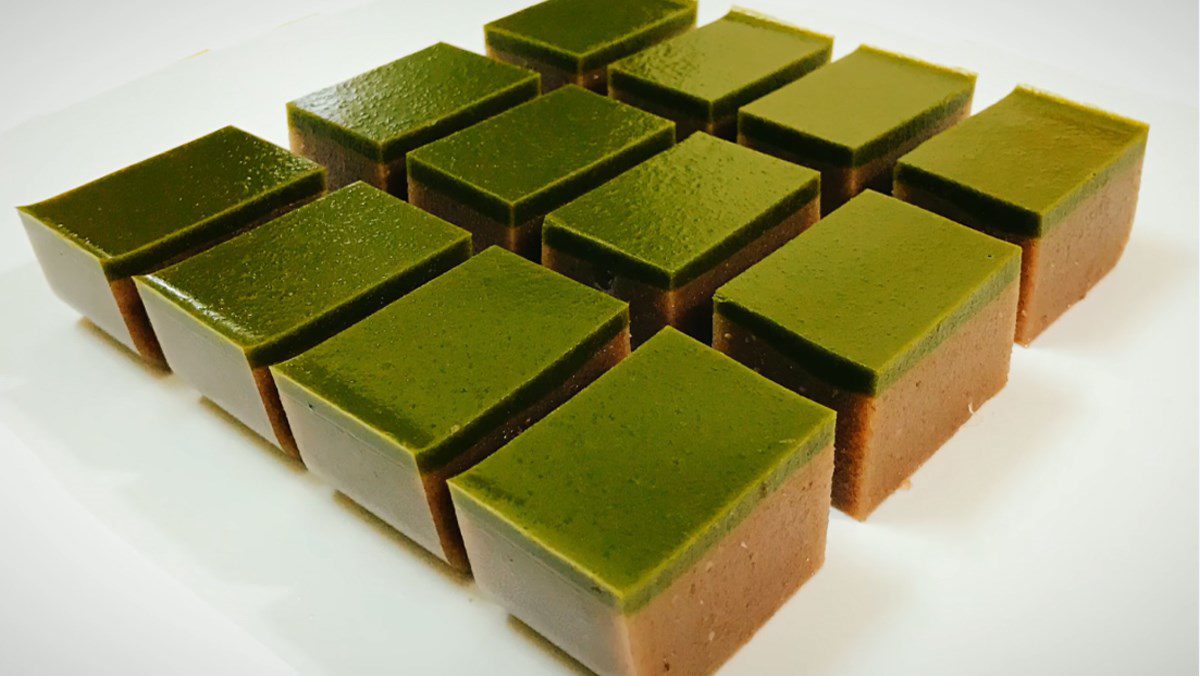
    The jelly is crispy and fragrant. The creamy red beans combined with the slightly bitter matcha layer make the jelly dish taste very unique and appealing.
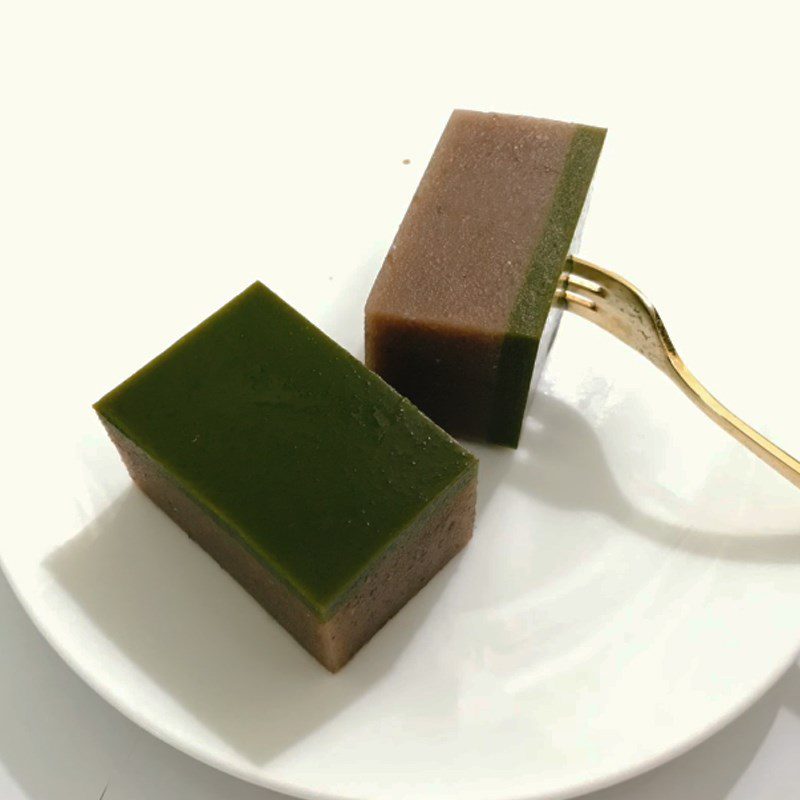
    Step 5 Final product Matcha jelly with red beans

Tips for successfully making jelly

Tips for pouring jelly without separating layers:

  • For multi-layered jelly, you should wait for the first layer to set, just firm enough on the surface, before adding the second layer on top. Avoid adding the second layer while the first layer is still loose, as they will quickly mix together. You also shouldn’t let it set too much as the final product may separate and not stick together.
  • Especially, if you haven’t prepared the mold and the jelly mixture has already set, you can heat it back on the stove; the mixture will melt again.

How to prevent jelly from leaking water:

  • Follow the correct ratio of water and jelly powder according to the recipe.
  • With jelly powder, you should soak it in cold water for about 30 minutes for the powder to expand, then stir gently before putting it into the pot to cook.
  • Wait until the jelly powder is completely dissolved before adding ingredients like milk, coconut milk, etc. into the pot.
  • Avoid choosing sour fruits for making jelly as the sour taste can easily cause leaking when making jelly.

How to store jelly

  • Jelly should be tightly covered before being placed in the refrigerator to preserve it.
  • The storage time lasts for 3 – 4 days, and you should use it as soon as possible to enjoy the best taste of the jelly!

See more:

  • 2 ways to make matcha jelly balls and simple delicious matcha yogurt jelly
  • 3 ways to make rose jelly for the 20/10 occasion to give to your wife
  • How to make avocado jelly with cheese, refreshing and nutritious delicious summer dessert

Just now were 2 ways to make matcha jelly delicious and refreshing for summer that TasteVN has shared with you, hope the above recipe will help you succeed.

*Refer to the recipes and images on the 2 YouTube channels: Jenny Phuong Cooking and sour lime
Cooking time: 30 minutes
Level: Easy
Tags: desserthow to make jellyhow to make matcha coconut jellyhow to make matcha jellyhow to make matcha red bean jelly
Previous Post

How to cook delicious and light celery soup with fish balls for the family meal

Next Post

How to Make Delicious and Easy Rice Cake Without Khuc Leaves

TasteT

TasteT

I am a food writer specializing in Vietnamese cuisine, sharing traditional recipes, cooking tips, and the culture behind every dish. My goal is to bring the authentic flavors of Vietnam to your kitchen.

Related Posts

2 Ways to Make Soft, Creamy, Sweet and Sour Orange Panna Cotta Irresistibly Delicious
Cake

2 Ways to Make Soft, Creamy, Sweet and Sour Orange Panna Cotta Irresistibly Delicious

Delicious and Nutritious Carrot Date Muffins Recipe for Baby Weaning
Cake

Delicious and Nutritious Carrot Date Muffins Recipe for Baby Weaning

Simple and Delicious Orange Cheese Tart Recipe
Cake

Simple and Delicious Orange Cheese Tart Recipe

2 simple ways to make caramel sauce for dessert
Desserts

2 simple ways to make caramel sauce for dessert

How to make delicious taro jelly topping for milk tea at home
Milk Tea

How to make delicious taro jelly topping for milk tea at home

4 Simple Ways to Cook Delicious Jackfruit Sweet Soup for a More Special Mid-Autumn Festival
Sweet Soup

4 Simple Ways to Cook Delicious Jackfruit Sweet Soup for a More Special Mid-Autumn Festival

Next Post
How to Make Delicious and Easy Rice Cake Without Khuc Leaves

How to Make Delicious and Easy Rice Cake Without Khuc Leaves

Leave a Reply Cancel reply

Your email address will not be published. Required fields are marked *

Navigate

  • About
  • Privacy Policy
  • Contact

Recent Recipes

2 Ways to Make Bitter Melon Hotpot with Vegetarian Sausage and Light Mushrooms for Cooling Down

2 Ways to Make Bitter Melon Hotpot with Vegetarian Sausage and Light Mushrooms for Cooling Down

4 ways to make delicious and nutritious steamed pumpkin with eggs, meat, seafood, and lotus seeds

4 ways to make delicious and nutritious steamed pumpkin with eggs, meat, seafood, and lotus seeds

Browse by Category

  • Beef Dishes
  • Beverages
  • Braised Food
  • Cake
  • Chicken Dishes
  • Desserts
  • Dried and Fermented Dishes
  • Festivals & Holidays
  • Fried Food
  • Grilled Food
  • Hot Pot
  • Ice Cream
  • Juices
  • Kitchen Tips
  • Liquid Dishes
  • Milk Tea
  • Porridge
  • Rolls and Salads
  • Salad
  • Smoothies
  • Snacks
  • Soup
  • Steamed Food
  • Stir-fried Dishes
  • Sweet Soup
  • Vegetarian Dishes

Browse by Ingredients

beef beef stew braised fish cake dish dessert fried dish grilled dishes how to cook porridge how to make cake how to make ice cream into the kitchen mixed salad dish noodle soup snacks soup dish sponge cake steamed dish stir-fried dish stir-fried noodles vegetarian dish

© 2024 TasteVN - The ultimate Vietnam food destination for cooking tips, recipes, and more.

Welcome Back!

Login to your account below

Forgotten Password?

Retrieve your password

Please enter your username or email address to reset your password.

Log In
No Result
View All Result
  • Home
  • Main Dishes
    • Beef Dishes
    • Braised Food
    • Fried Food
    • Steamed Food
    • Stir-fried Dishes
    • Soup
    • Grilled Food
    • Hot Pot
    • Liquid Dishes
    • Chicken Dishes
    • Dried and Fermented Dishes
    • Vegetarian Dishes
    • Porridge
  • Desserts
    • Cake
    • Ice Cream
    • Sweet Soup
    • Desserts
  • Beverages
    • Beverages
    • Juices
    • Milk Tea
    • Smoothies
  • Snacks
    • Rolls and Salads
    • Salad
    • Snacks
  • Tips & Holidays
    • Festivals & Holidays
    • Kitchen Tips

© 2024 TasteVN - The ultimate Vietnam food destination for cooking tips, recipes, and more.