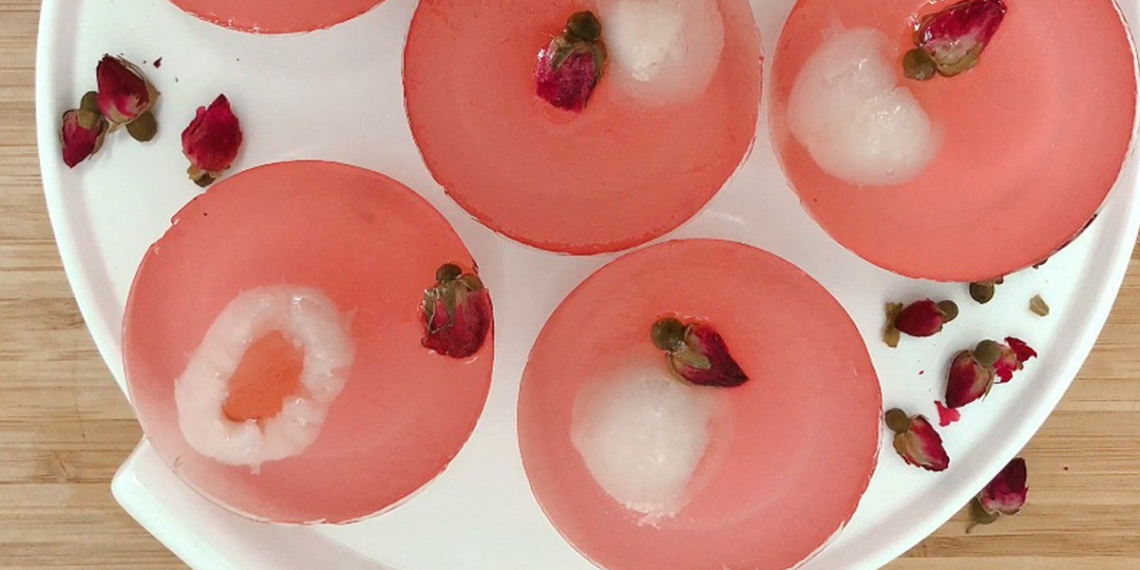
On October 20th, if husbands personally give their wives a dish made by themselves, it would be perfect. But what simple dish would be suitable for this holiday? Rose jelly will be a great choice. TasteVN will guide you on how to make this dish in 4 ways. Let’s cook!
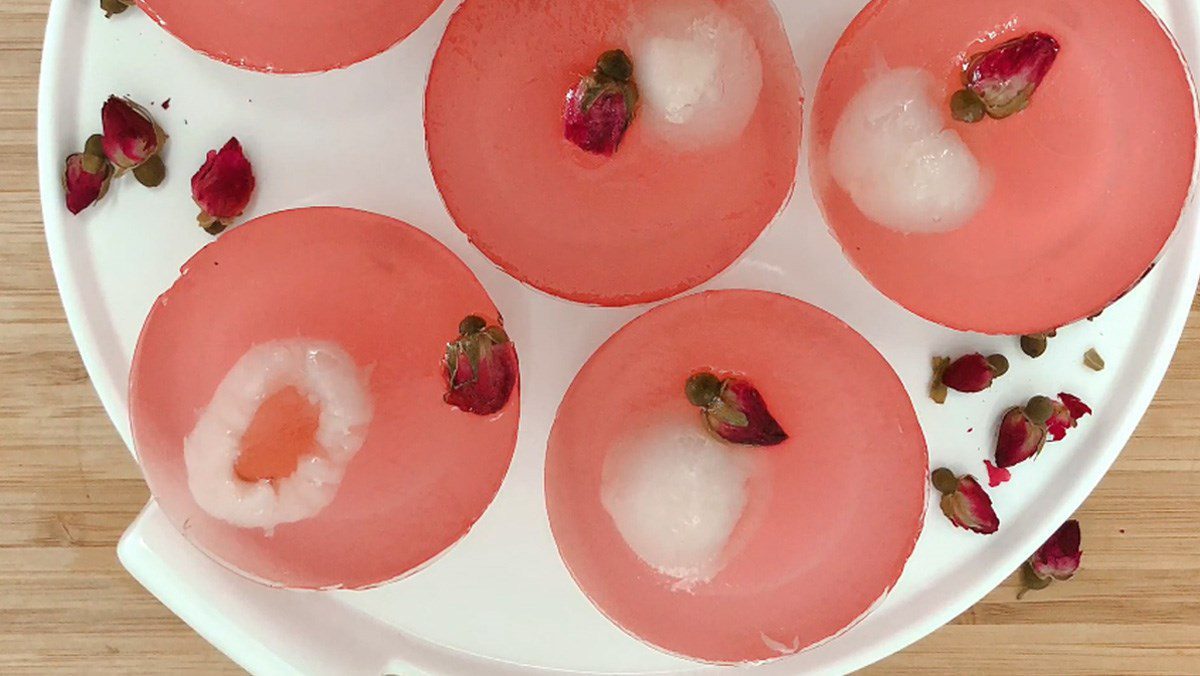
1. Lychee Rose Jelly
-
Preparation
15 minutes
-
Processing
15 minutes
-
Difficulty
Easy
Ingredients for Lychee Rose Jelly For 4 people
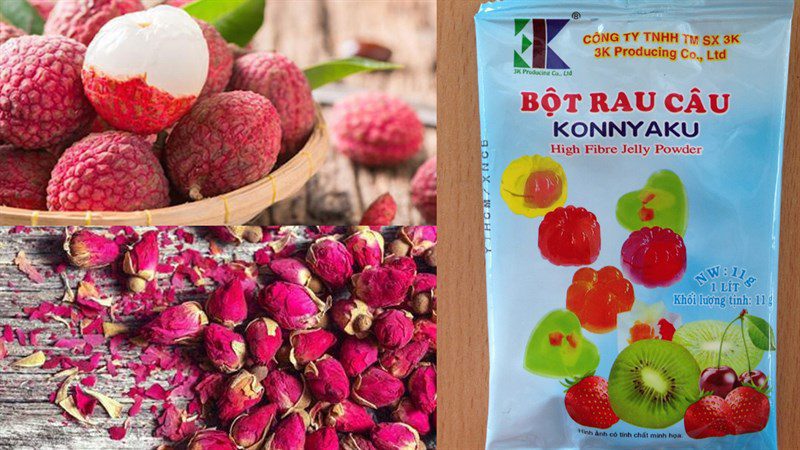
Dried rose buds 6 gr Lychee 6 fruits Jelly powder 1 packet
Implementation tools
How to choose delicious fresh lychee
- Good and ripe lychee will have a pink-red skin, round and evenly shaped, smooth spines; the more spines and sharper they are, the more likely the lychee is still green and will taste sour. Lychee fruit is usually smaller than hybrid lychee (about 70%), while hybrid lychee will be larger and elongated, with a deeper red color.
- Do not choose lychee with black spots, as these may often be rotten or overripe. Choose clusters of lychee that are still fresh, with the stem attached to the fruit and the leaves still green.
- When squeezing the lychee, if it feels slightly soft and elastic, then it is fresh lychee. Fresh lychee usually has a light, characteristic fragrance; if you smell fermentation, it means the lychee is old or bruised inside, and should not be chosen.
- Good lychee will have thick, soft, translucent white flesh, juicy and easy to separate from the seed.
- Especially, the sweetest fruit is still in season; you should buy lychee during the right season, around June to July!
How to make Lychee Rose Jelly
-
Cooking dried rose buds
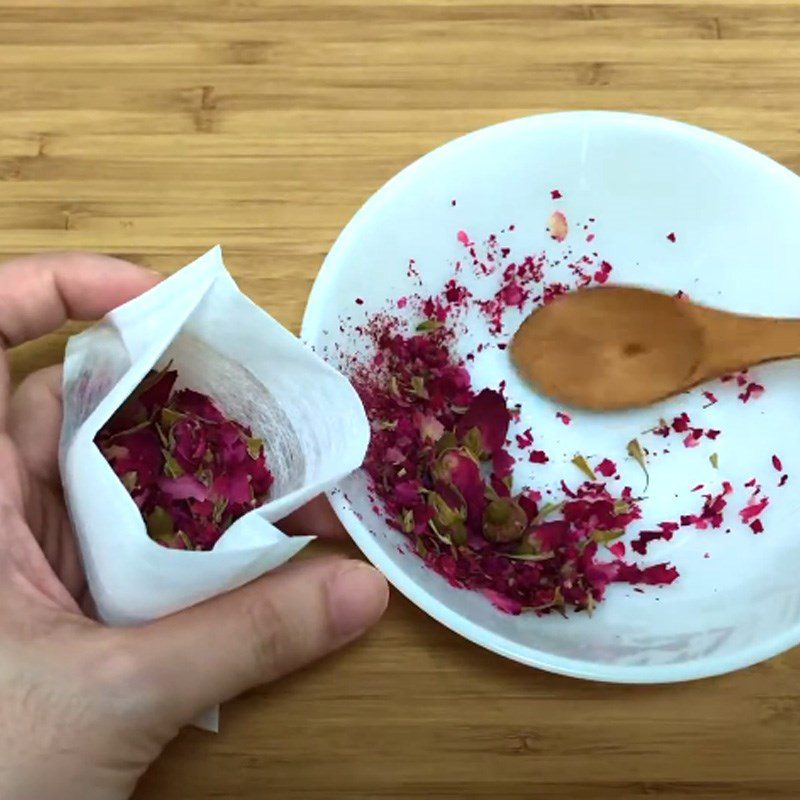
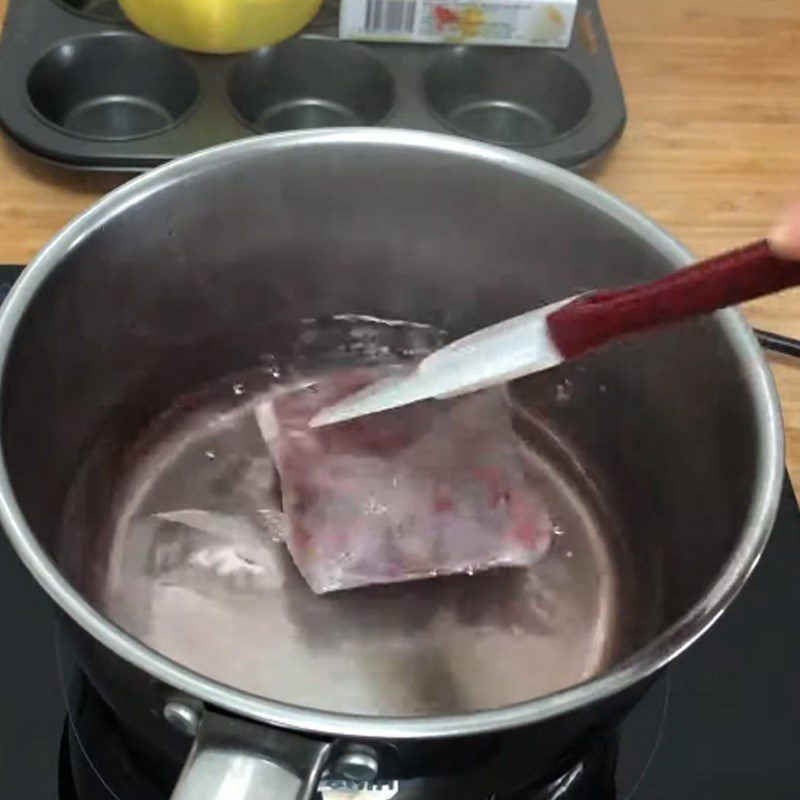
Put 500gr of water into a pot and bring to a boil; while waiting for the water to boil, place all the dried rose buds into a filter bag. When small bubbles begin to appear in the water, drop the bag of rose buds in, cover the pot, and cook for about 10 minutes over medium heat.
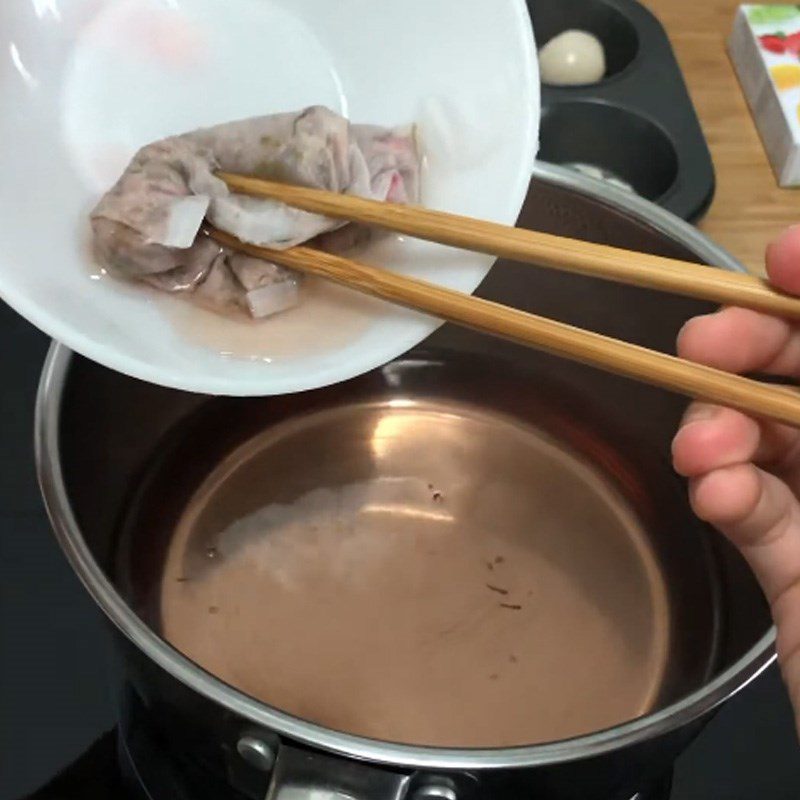
After that, use chopsticks to remove the filter bag from the pot and continue to simmer.
-
Cook the jelly
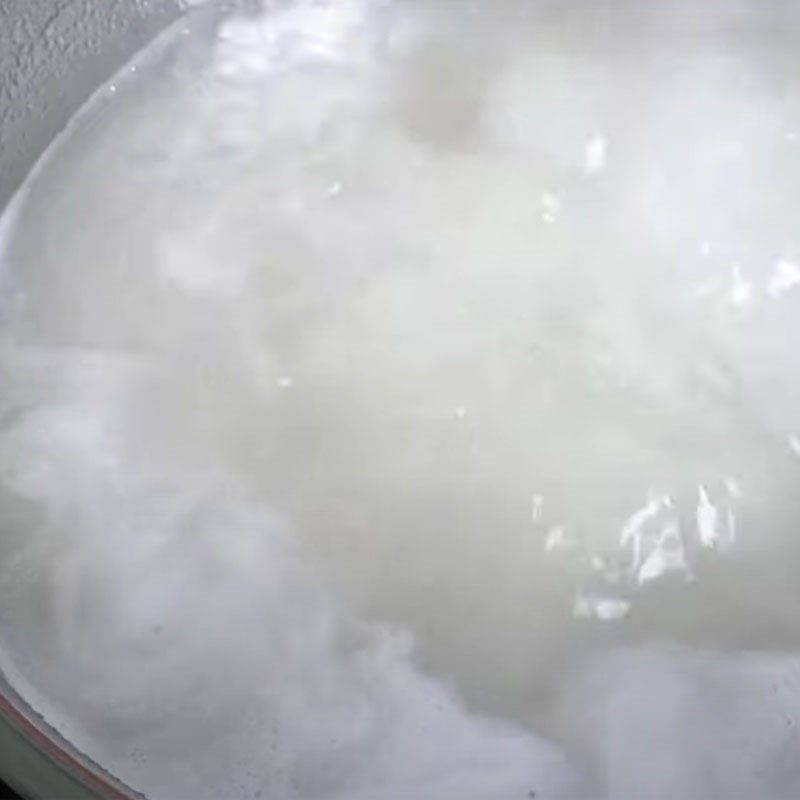
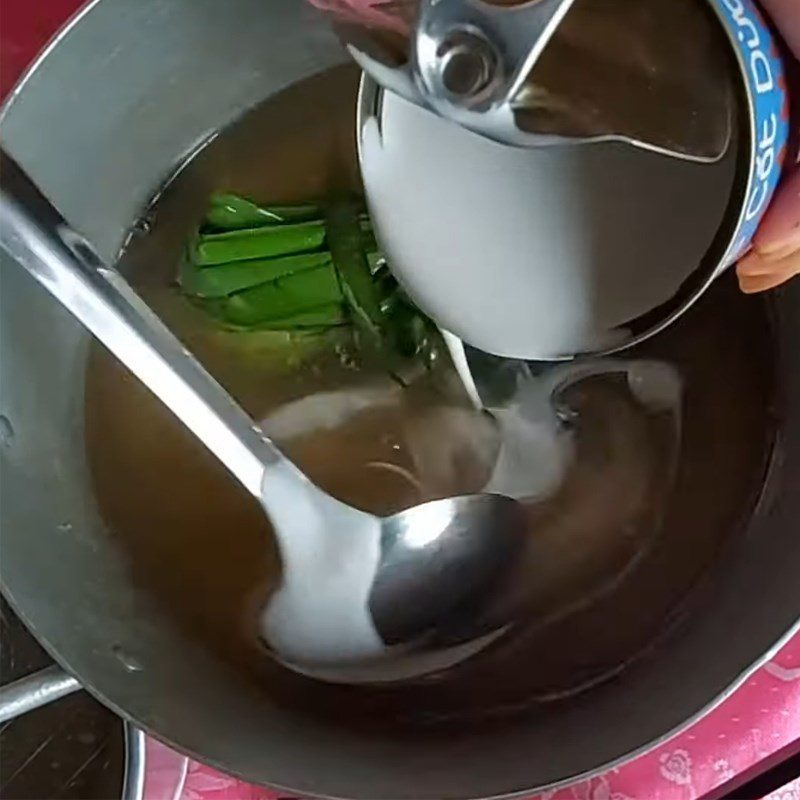
Add the entire package of jelly powder into the pot of rose water, gently stir with low heat to help the powder dissolve faster.
-
Pour the jelly
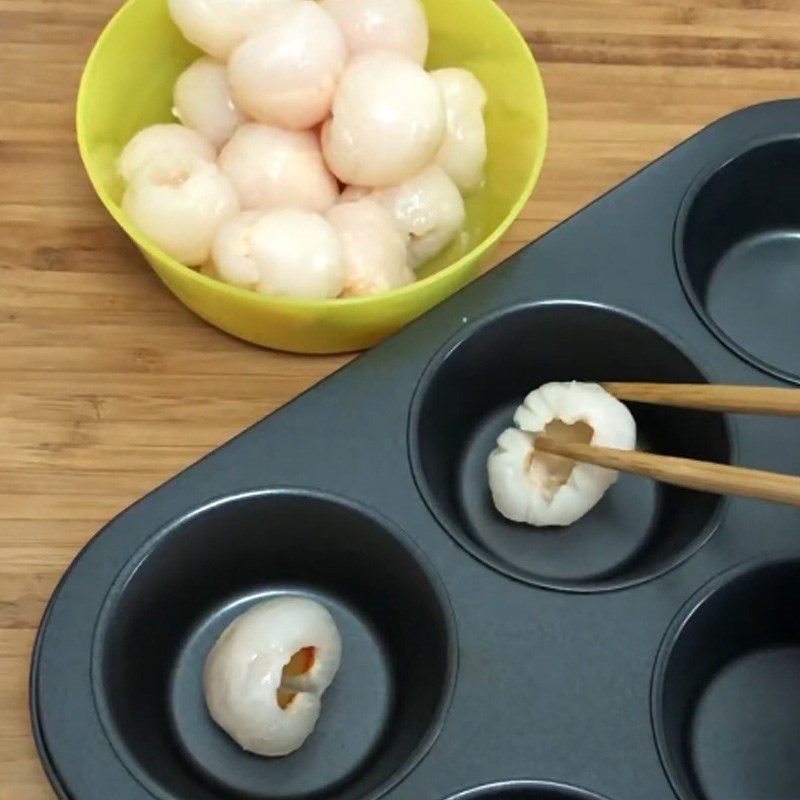
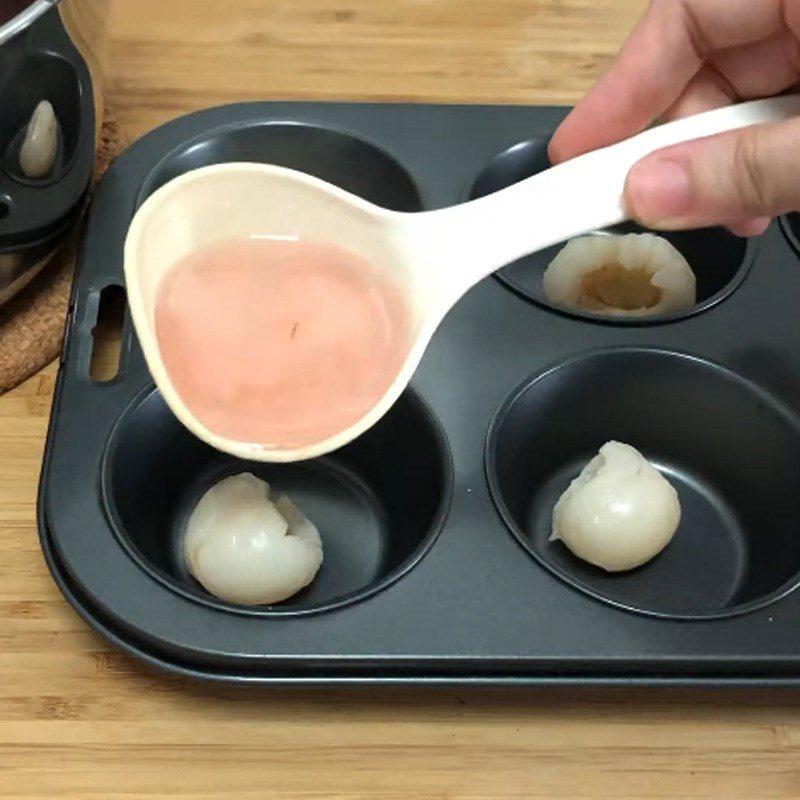
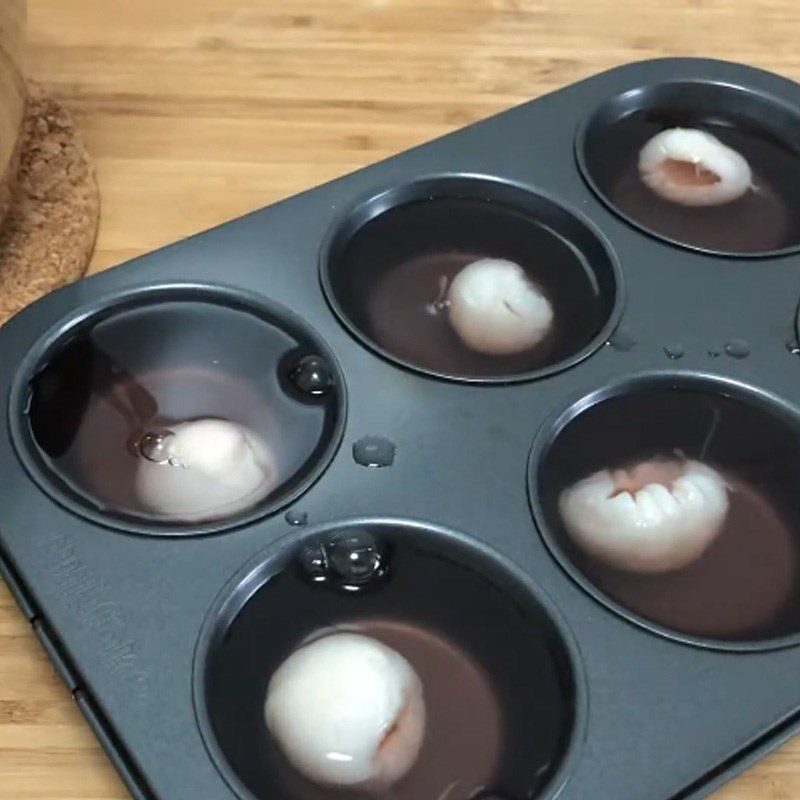
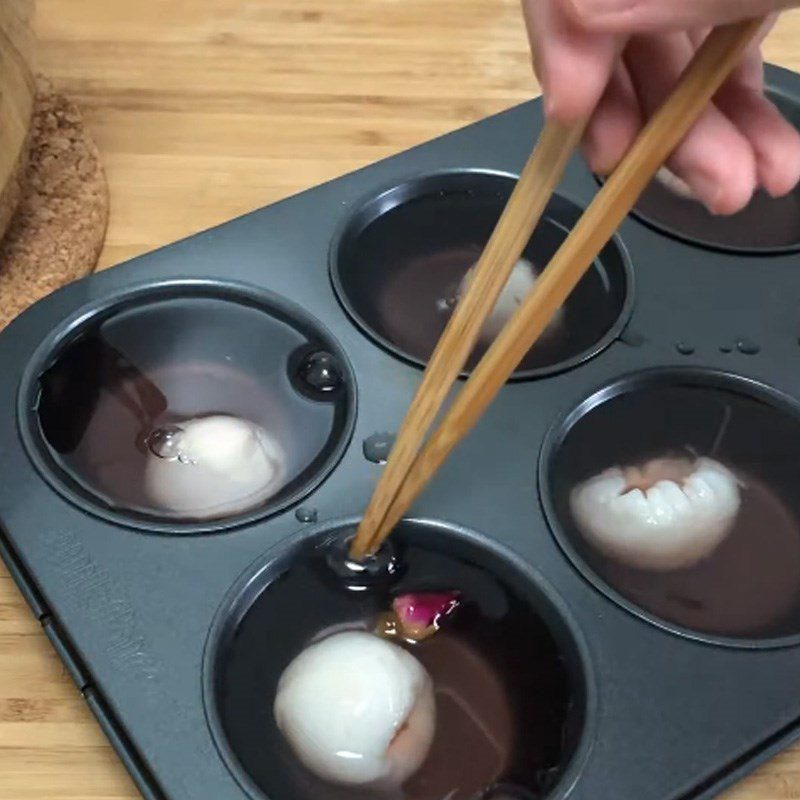
Peel the lychee and remove all the seeds. Place one lychee in each mold. Pour an adequate amount of jelly into the mold, gently place a rose bud on top. Place the jelly in the refrigerator for about 2 hours before use.
-
Final Product
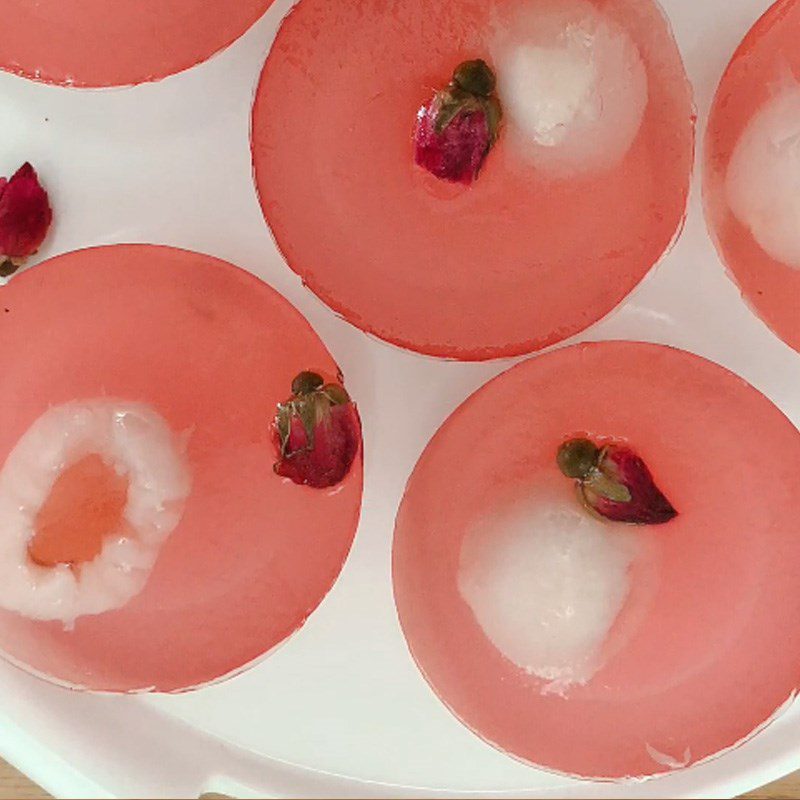
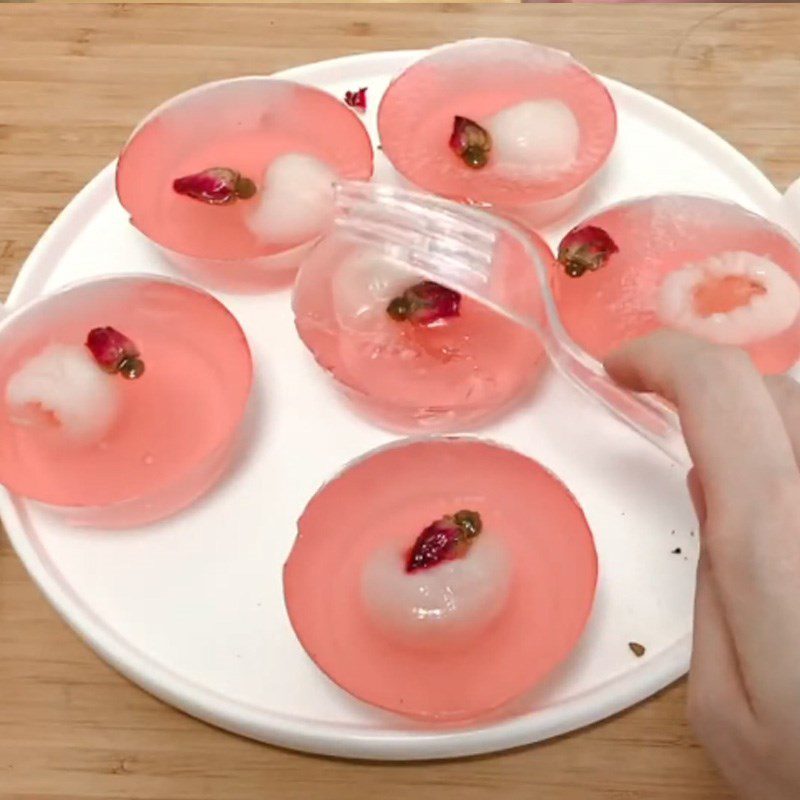
The jelly is chewy and delicious with the gentle, attractive color of dried roses, filled with the sweet and fresh taste of lychee. You will definitely love it!
2. Rose Lychee Jelly
-
Preparation
30 minutes
-
Cooking
15 minutes
-
Difficulty
Easy
Ingredients for Rose Lychee Jelly Serves 4
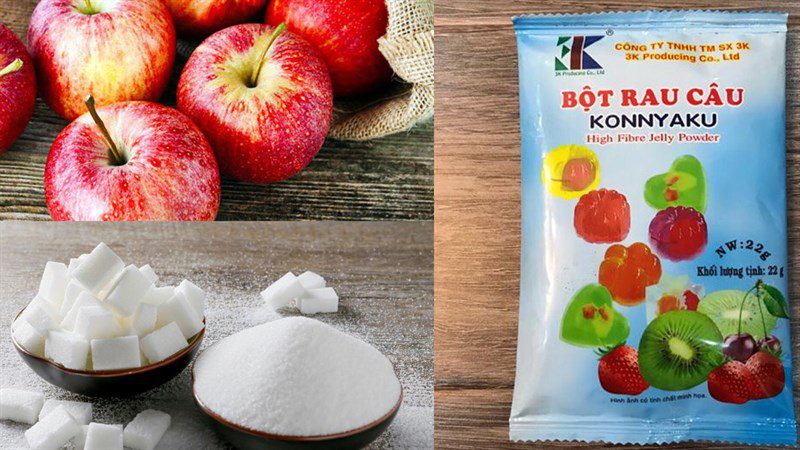
Apple 1 piece Sugar 50 gr Jelly powder 1 packet Food coloring 1 tablespoon
Tools Required
How to Choose Fresh Apples
- Apple skin: Choose apples with an even-colored, dark skin and small specks on the surface. It’s best to select apples with intact, shiny skin.
- Size of the apple: Choose apples of moderate size that feel firm in your hand; avoid choosing ones that are too big or too small. You can refer to the size of a tennis ball, just a bit bigger is fine!
- Apple stem: Fresh and delicious apples should still have their stems; choose those with fresh, intact stems and avoid those that have lost their stems.
- You can gently squeeze the apple; if it feels firm, plump, and heavy, it’s a good choice.
How to Make Jelly with Rose Filling
-
Prepare the Apples
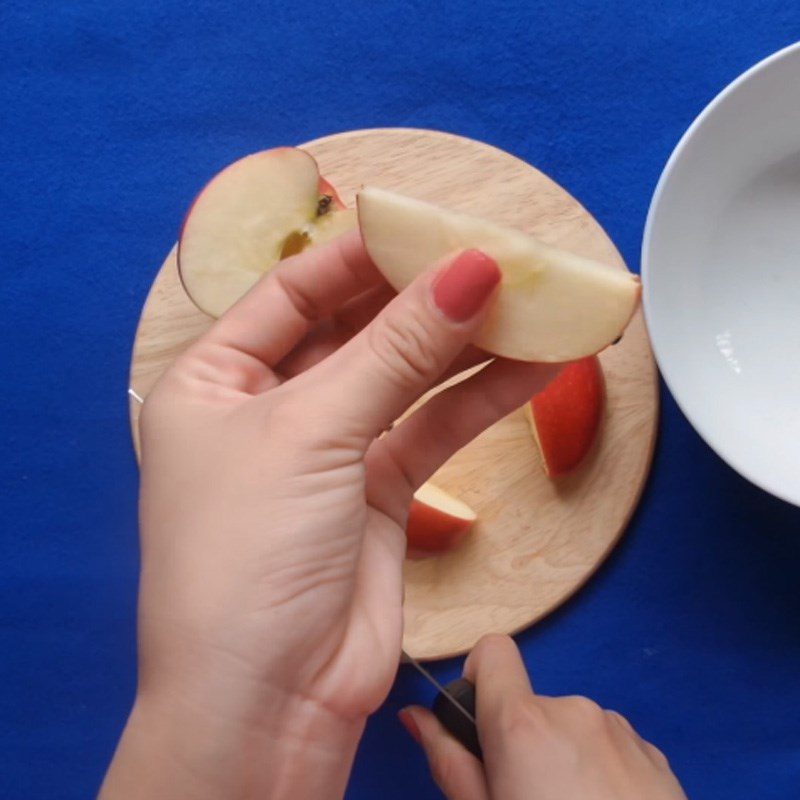
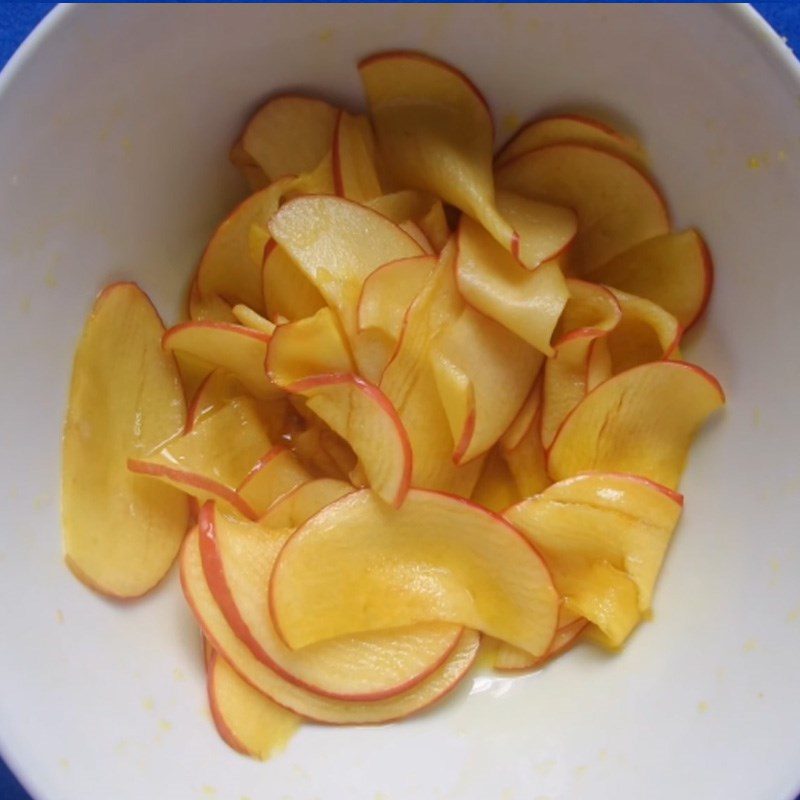
Wash the apples and cut them in half, then slice them thinly.
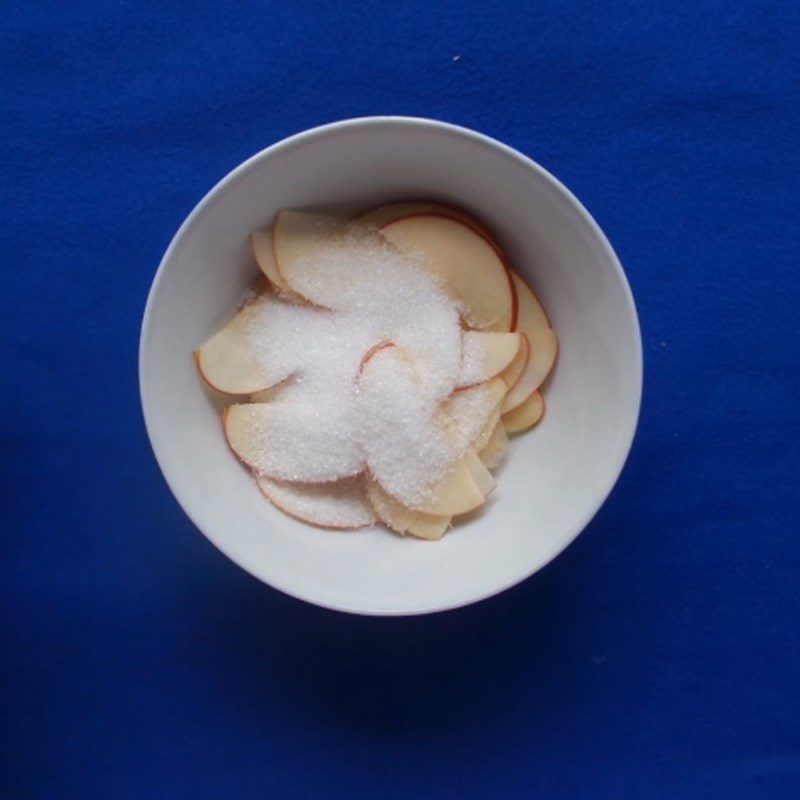
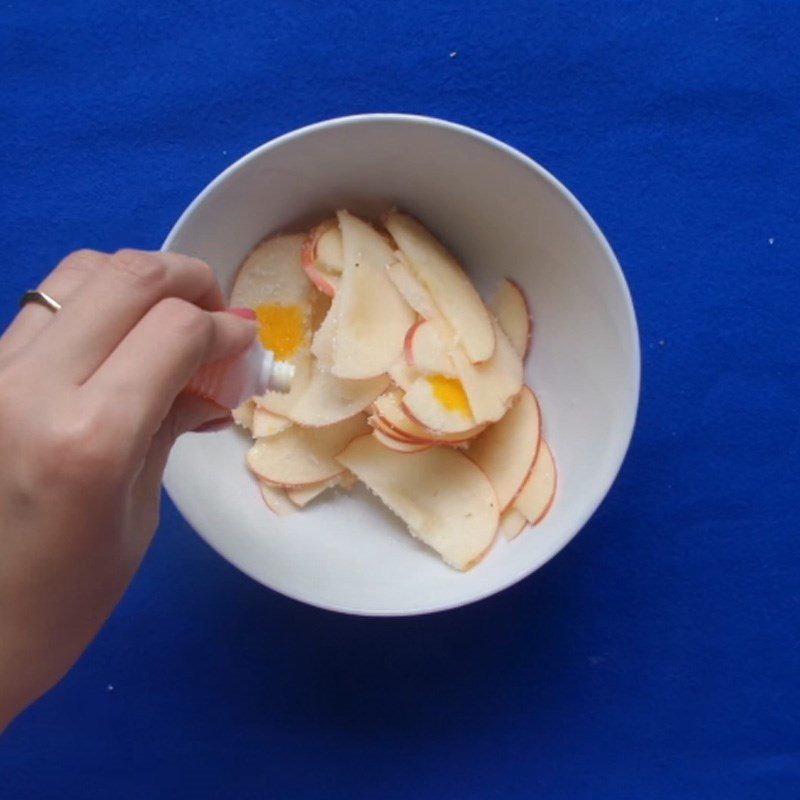
Add 20g of sugar, mix well by hand so that the apples absorb the sugar evenly, then add 3 drops of food coloring (yellow), and continue to mix until the color is evenly distributed on each apple slice.
Let it sit for about 30 minutes for the sugar to dissolve completely.
-
Cook the Apples
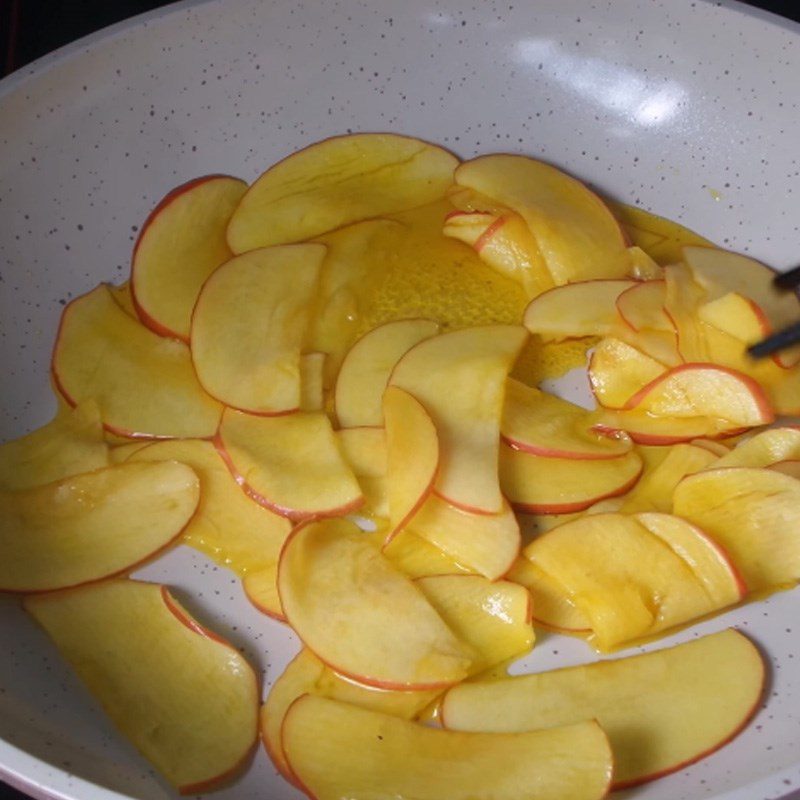
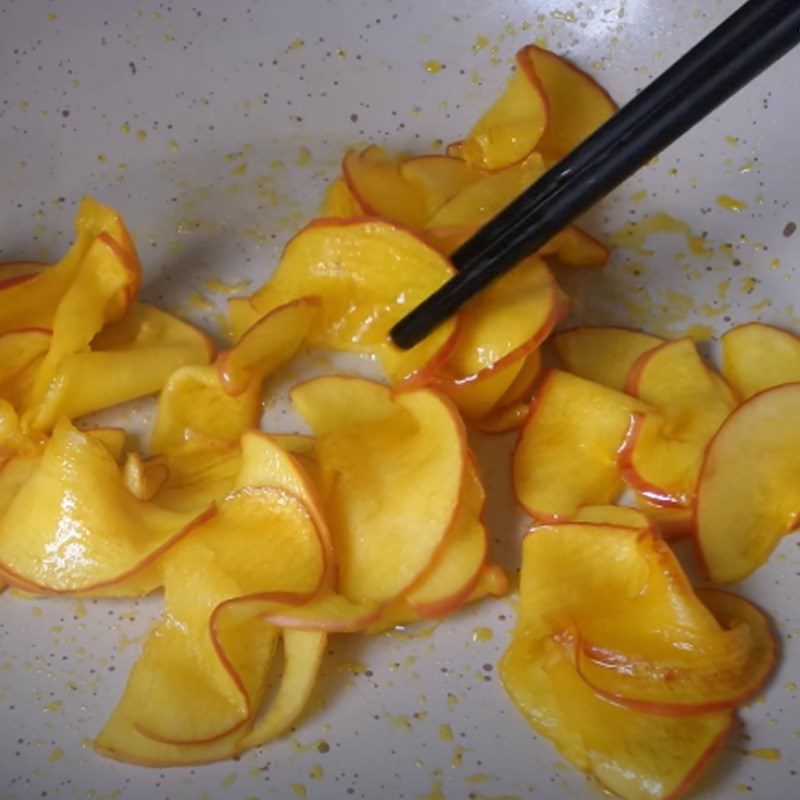
Place a pan on the stove, add all the apples, and cook on low heat, stirring gently so the apples do not get mashed. Cook until the liquid has evaporated completely. Then transfer the apples to a plate and let them cool.
-
Making Rose Shape
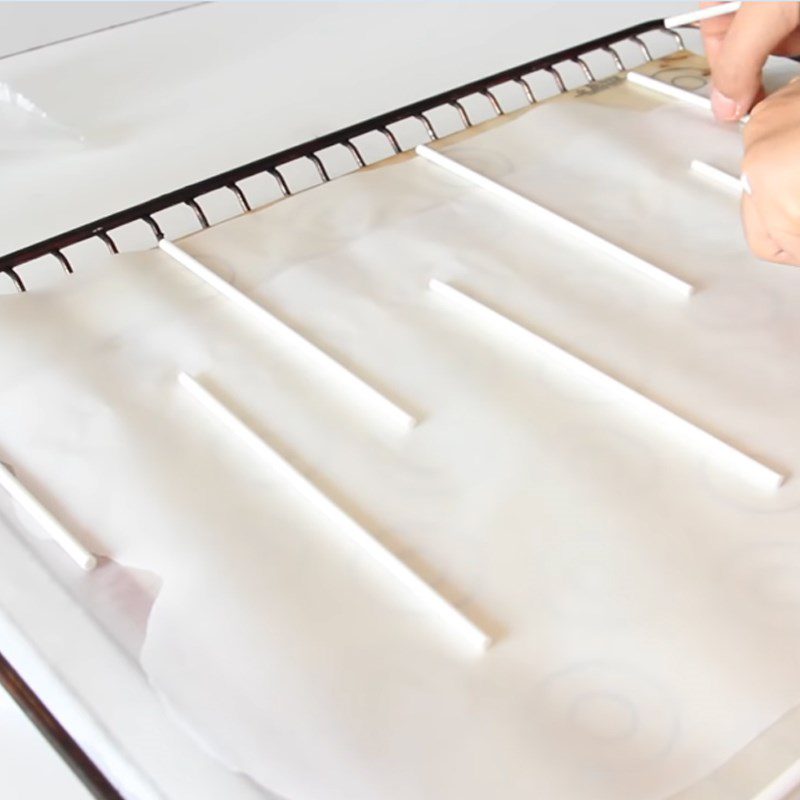
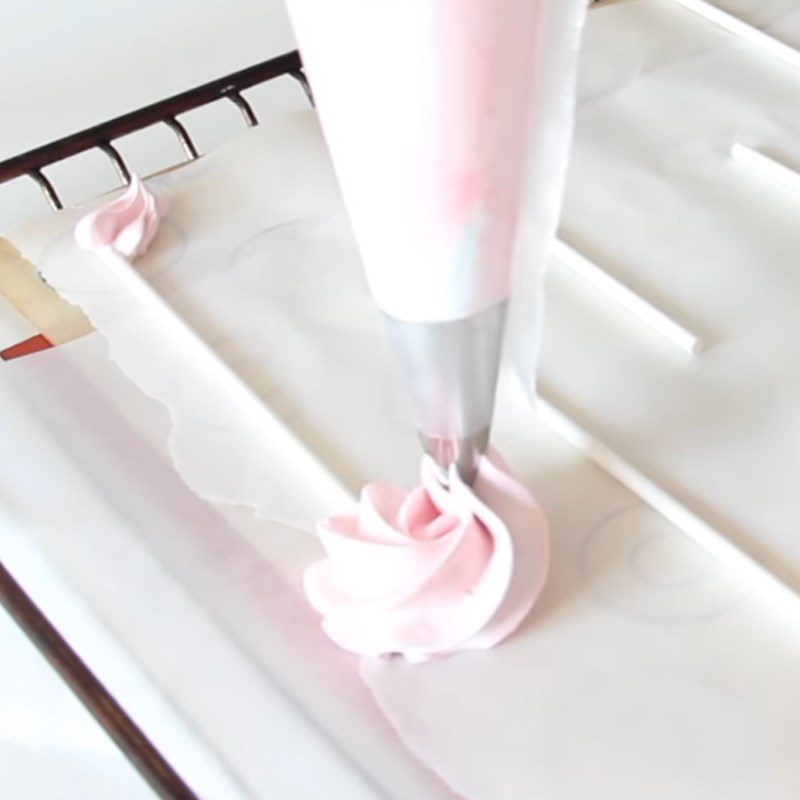
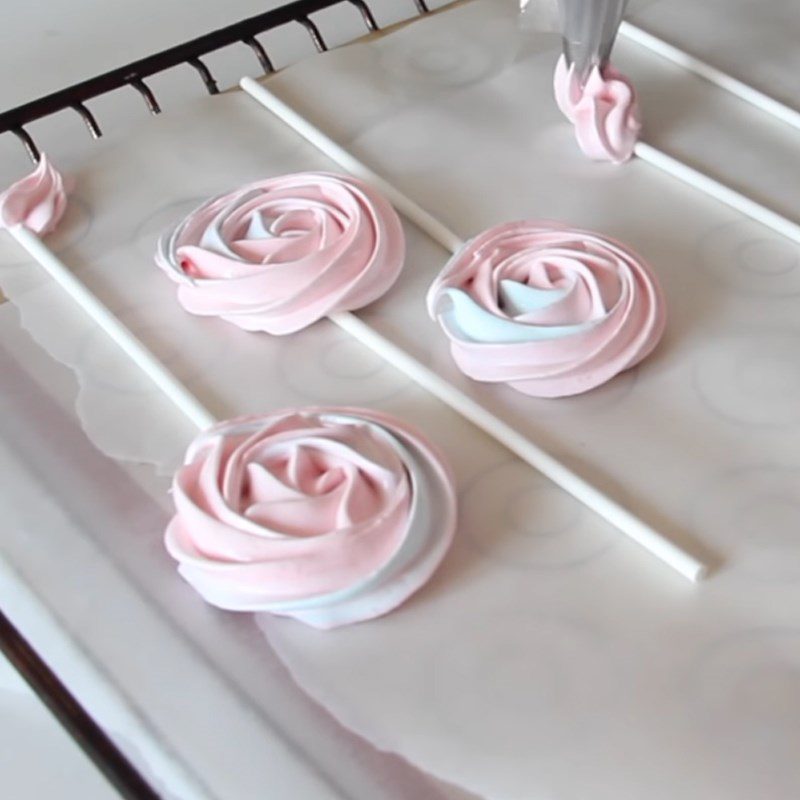
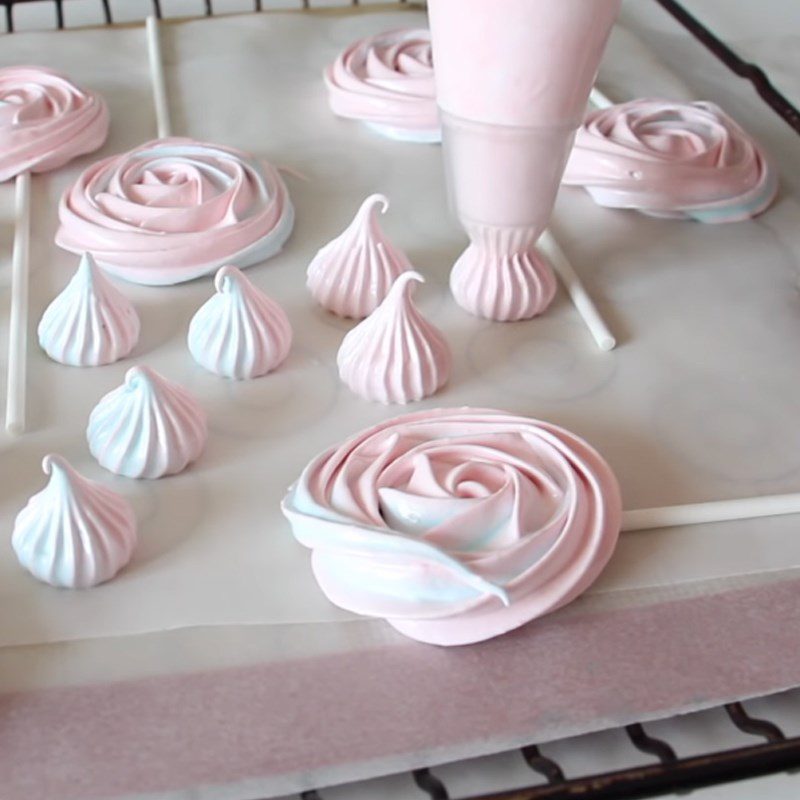
Take 1 slice of apple, roll it up to create the shape of the rose bud. Take the next piece, attach it along the outer edge of the rose bud, continue rolling it to create the second layer of petals, and keep going until you achieve the desired rose shape!
-
Stirring and Cooking the Jelly
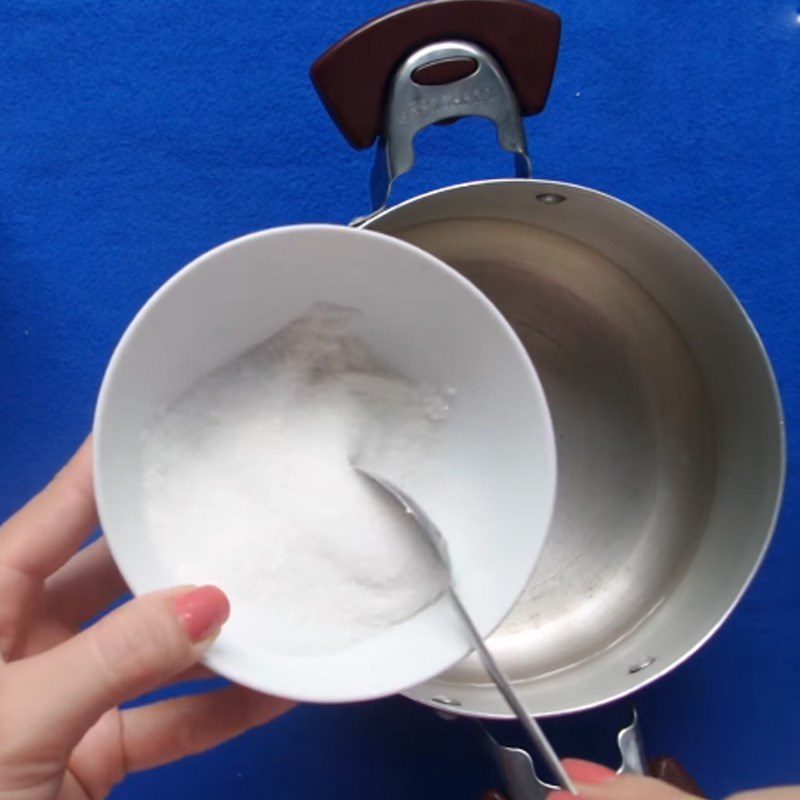
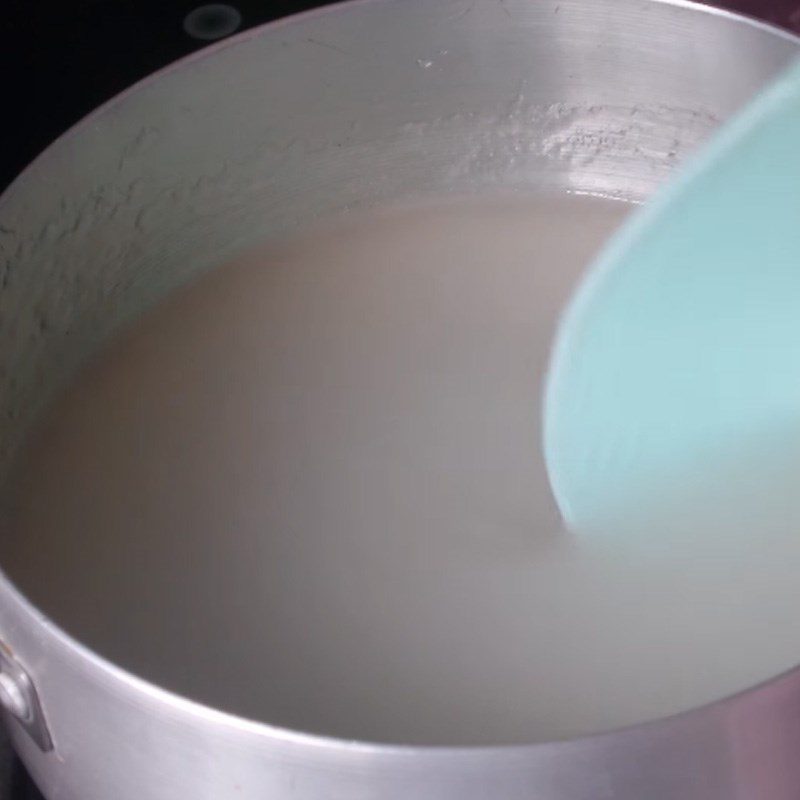
Add 400ml of water to the pot, mix 2 spoons of jelly powder with the remaining sugar. Gradually add the jelly powder and sugar mixture into the pot of water and use a spoon to stir well, helping the powder dissolve quickly without clumping.
Place the pot on the stove and start boiling over high heat, stirring gently until the mixture boils, then reduce the heat and continue stirring for about 3 minutes before turning off the heat.
-
Poured jelly
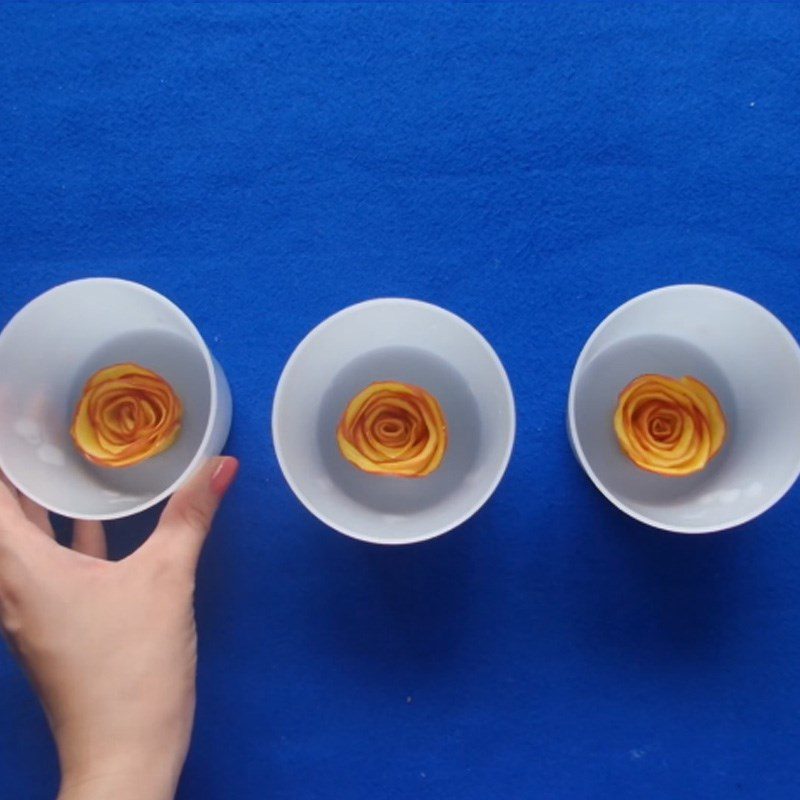
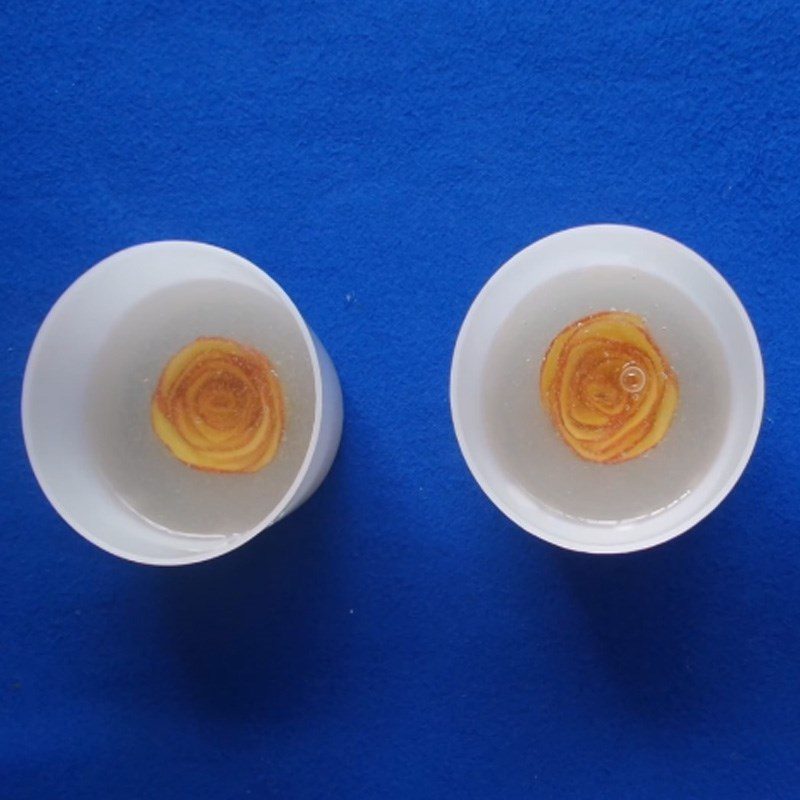
Arrange the roses in the mold, then pour in a sufficient amount of jelly. Place it in the refrigerator for about 2 hours and it’s ready to use.
Note:
- You should not pour the jelly directly onto the flower, as it will cause the petals to fall off and lose their original shape.
- It is advisable to wait for the jelly to cool before putting it in the refrigerator, otherwise it will reduce the lifespan of your refrigerator.
-
Final product
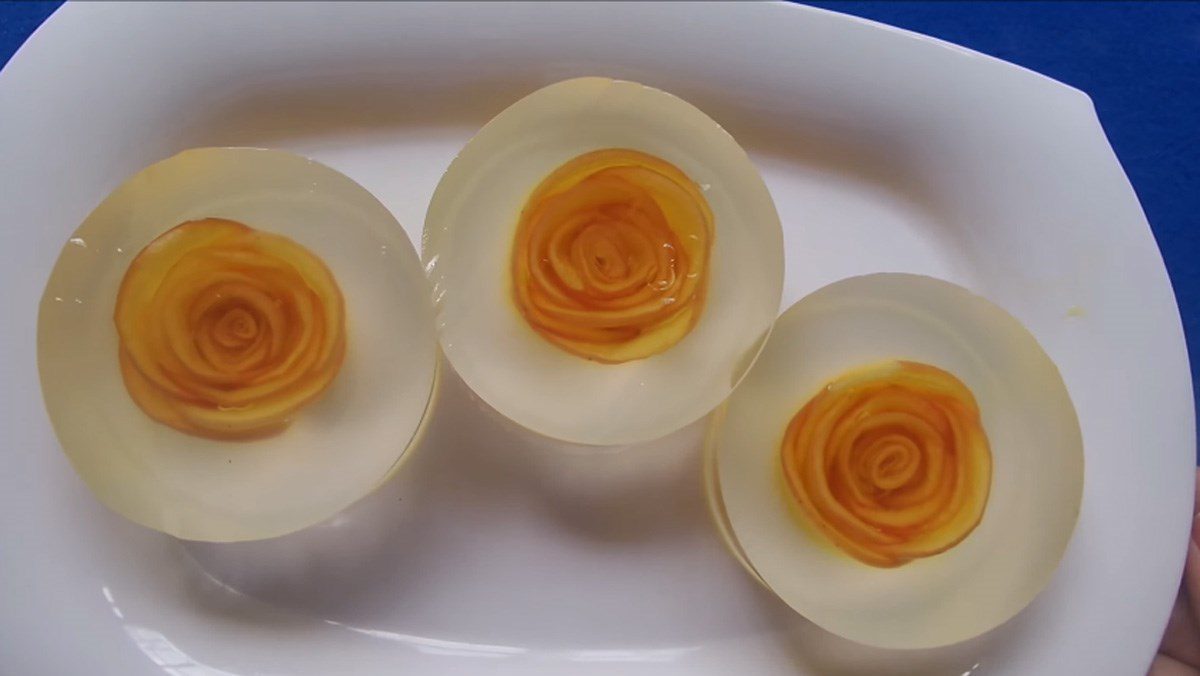
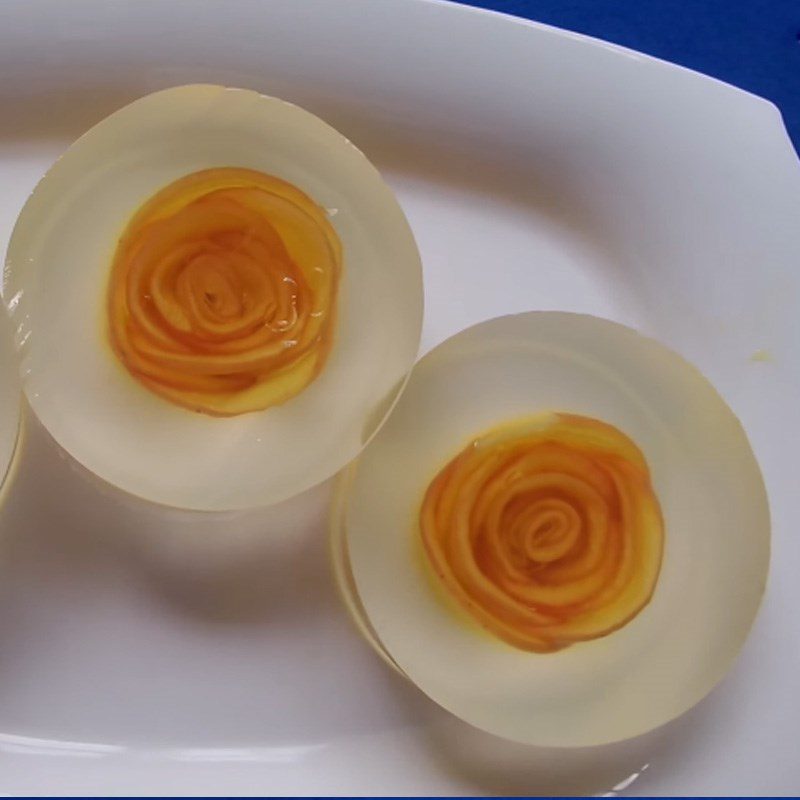
The jelly is chewy and attractive with the eye-catching rose filling made from thin apple slices. You will surely love it!
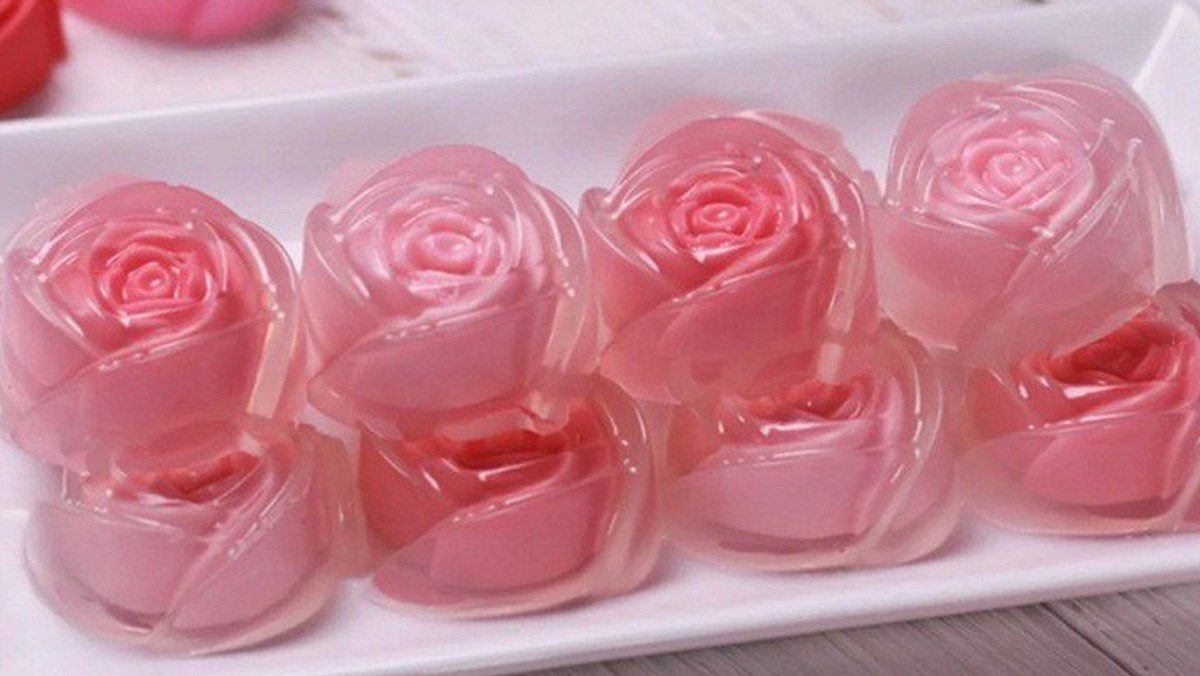
3. Two-layer rose jelly
-
Preparation
30 minutes
-
Processing
30 minutes
-
Difficulty
Easy
Cooking the pink jelly layer
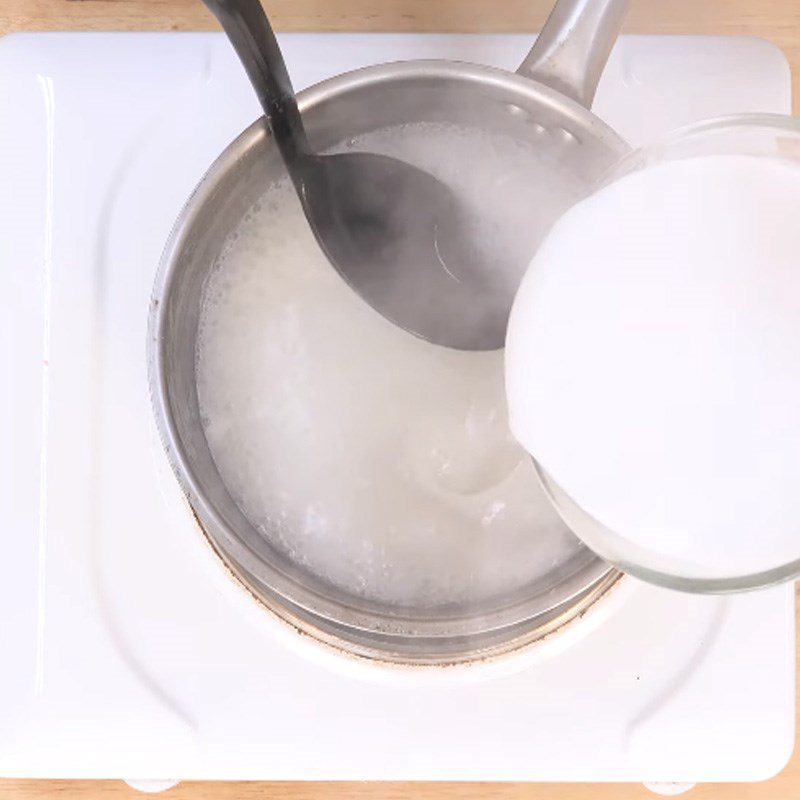
Place a pot on the stove and bring the mixture to a boil over high heat, stirring constantly until the mixture boils, then reduce the heat and add the coconut milk, cooking until the mixture boils again, at which point you can turn off the heat.
Add about 5 drops of pink food coloring, stirring well.
Note: You can replace the food coloring with other colors according to your preference, or if you have time, substitute the food coloring with vegetable juices to obtain natural colors such as: pandan leaf juice, beetroot juice, etc.
See more: How to make simple, safe food coloring using natural ingredients
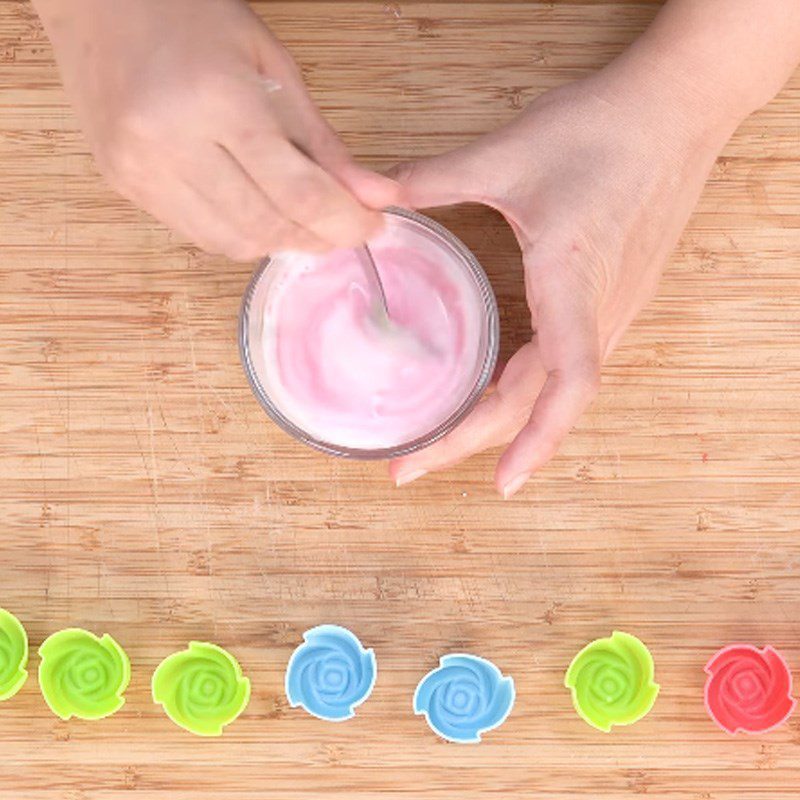
Pouring the pink jelly layer
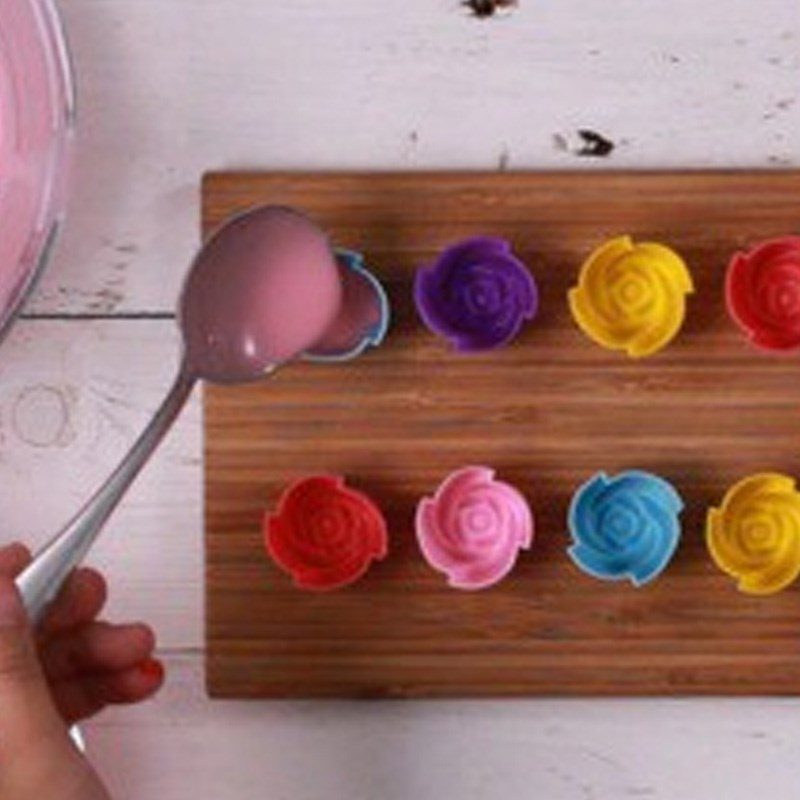
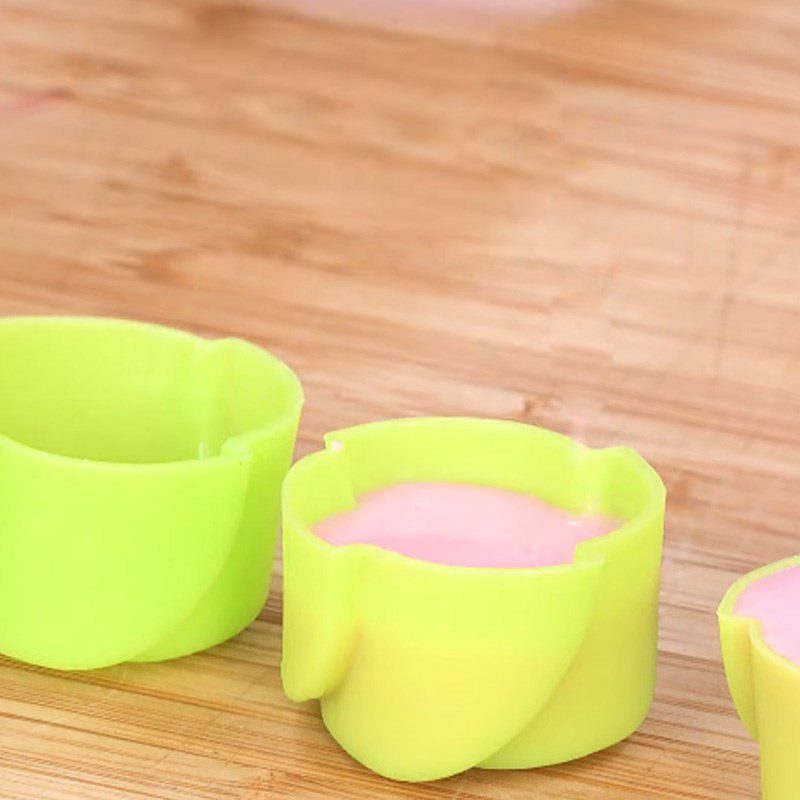
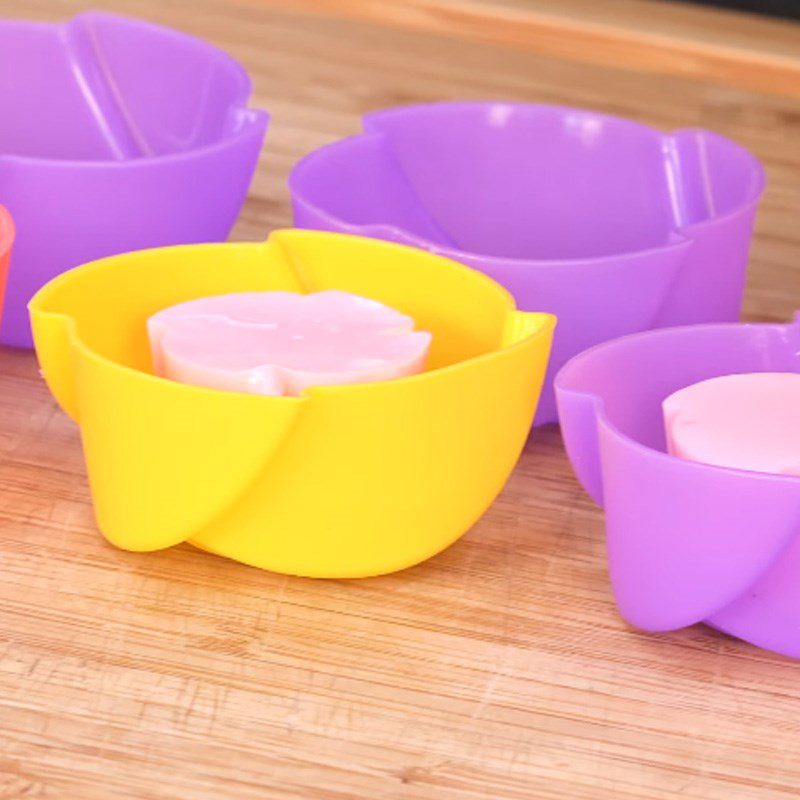
Take the jelly mixture and pour it into a rose-shaped mold, filling it to about 1/2 of the mold’s size. Place it in the fridge to help the jelly set faster.
Tip: You can add toppings such as cheese, raisins, gummy candies, etc., according to your preference, to increase the attractiveness and deliciousness of the jelly.
Cook the clear jelly layer
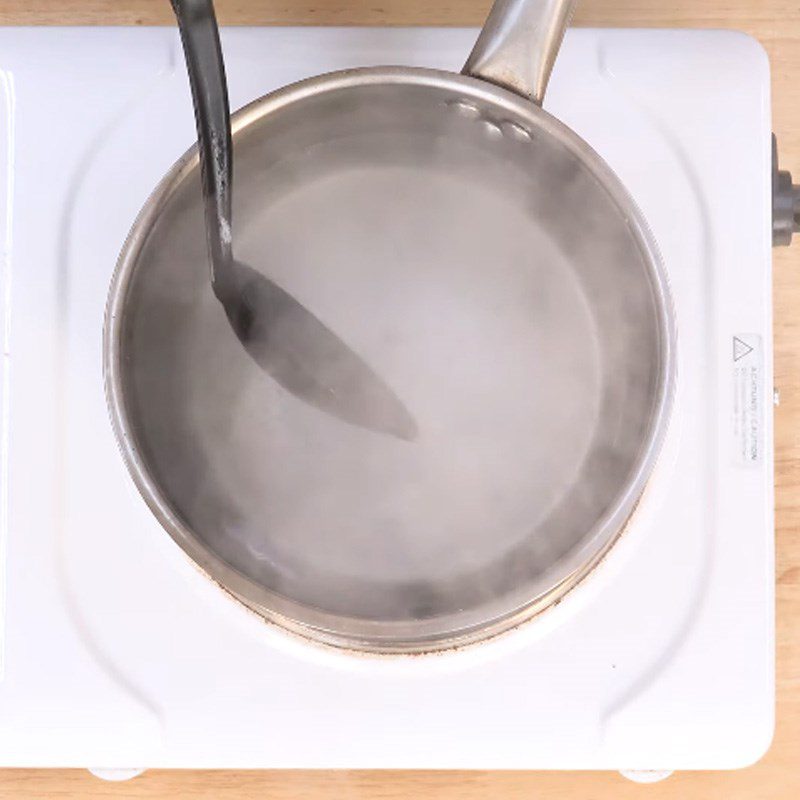
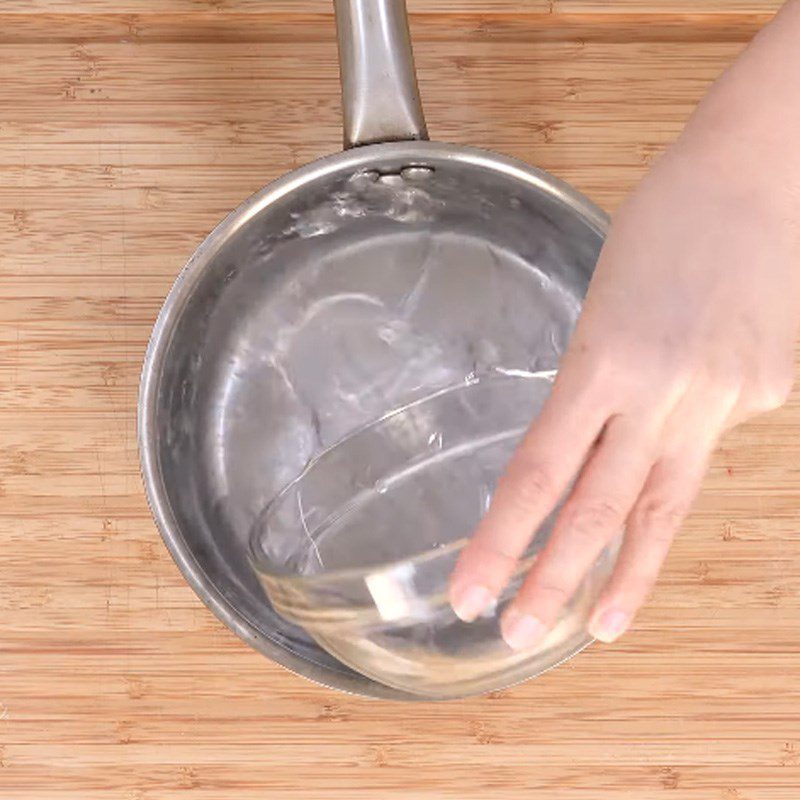
Place a pot on the stove and bring the remaining 400ml of water to a boil with 15gr of jelly powder, stirring continuously until the mixture boils. Add 200gr of sugar, continue stirring to ensure the sugar completely dissolves, then turn off the heat.
Tip: You can use fresh coconut water instead of regular water!
Pour the clear jelly layer
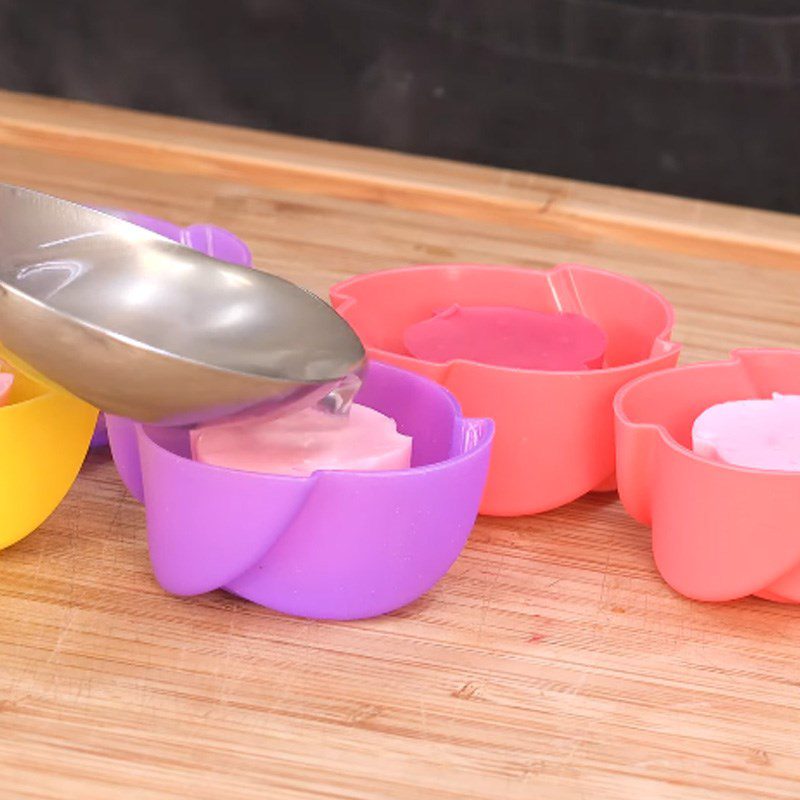
Take the rose jelly out of the mold and place it in the center of a larger rose mold. Pour a sufficient amount of the clear jelly mixture into the mold. Continue to refrigerate for about 30 minutes before serving.
Finished Product
Jelly with a beautiful rose shape, the filling with a prominent pink color is wrapped in a layer of transparent jelly on the outside. The jelly is chilled, chewy and deliciously appealing. Try it now!
4. Yellow Rose Jelly
-
Preparation
15 minutes
-
Cooking
35 minutes
-
Difficulty
Easy
Ingredients for Yellow Rose Jelly Serves 4
Gelatin powder 12 gr Ripe mango 600 gr Coconut milk 150 gr Condensed milk 80 gr Pandan leaves 25 gr Rock sugar 200 gr
Implementation Tools
How to Choose Fresh Ripe Mangoes
- Delicious ripe mangoes are those with evenly colored yellow skin, plump fruit, and a few natural tiny brown spots.
- When pressed, they should feel firm, not soft and mushy, and the stem should still be hard and not broken or detached from the body.
- A mild fragrant smell indicates naturally ripe mangoes; conversely, if there is a strong chemical smell, you should definitely avoid them.
- You should not choose mangoes that are blackened or have an extremely glossy appearance as they may have been dipped in chemicals or artificially ripened.
How to Make Yellow Rose Jelly
-
Cooking Jelly Powder
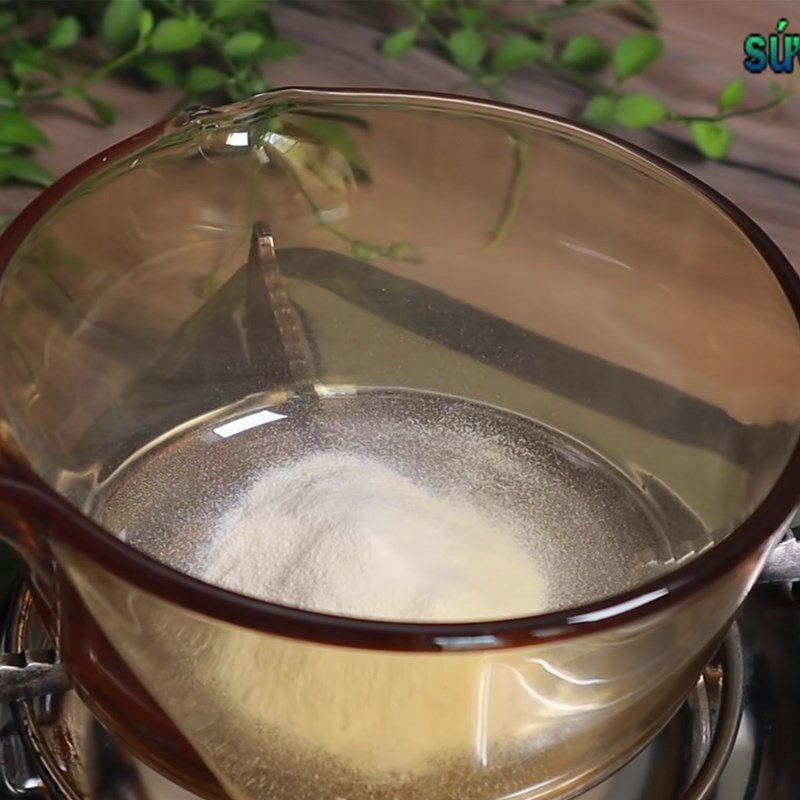
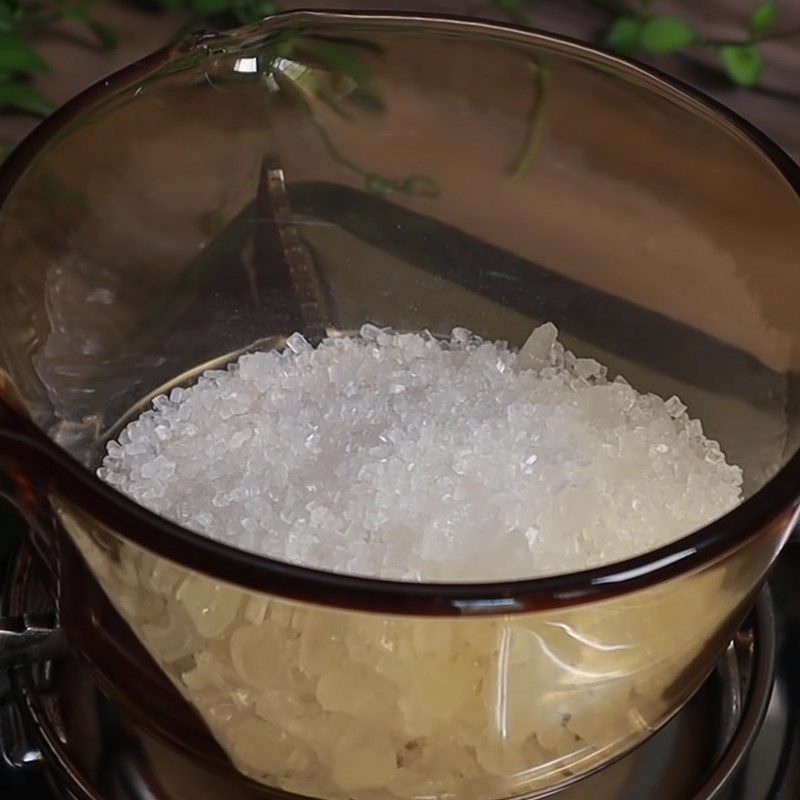
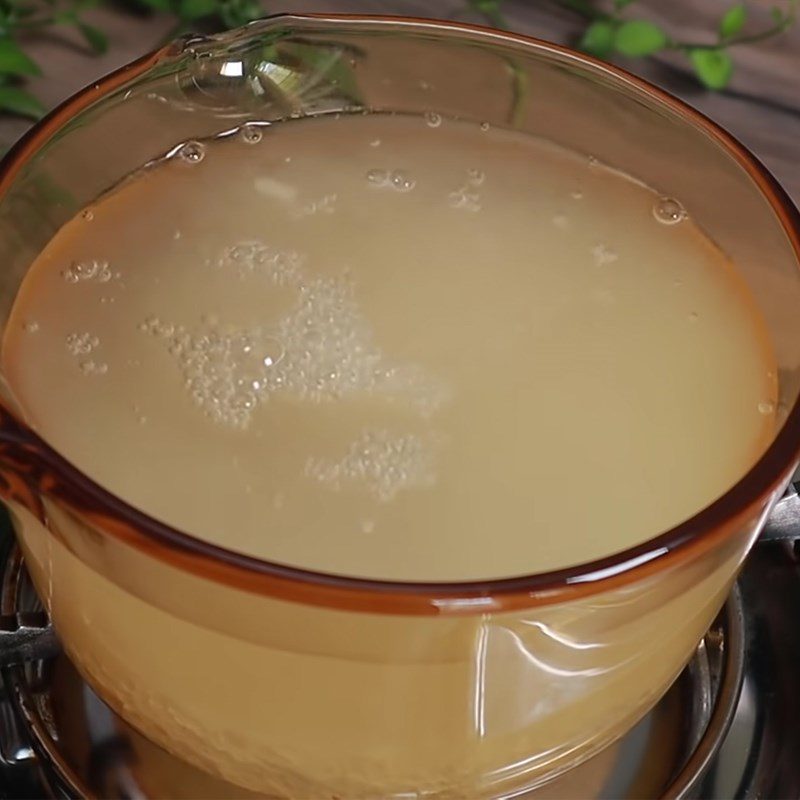
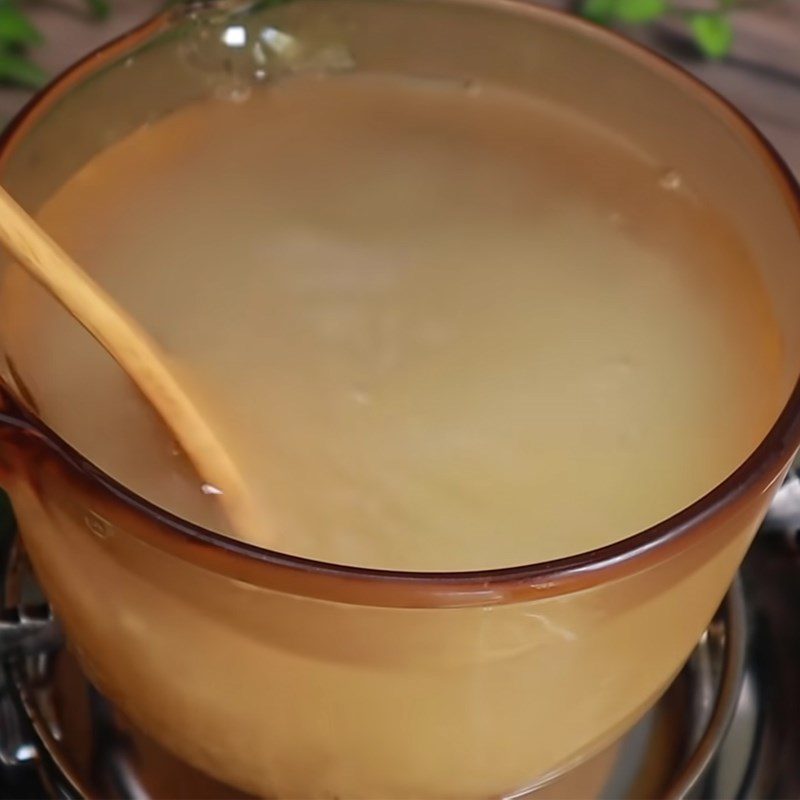
Put a pot on the stove, turn the heat to medium, add 12g of jelly powder, 200g of rock sugar, and 700ml of filtered water, then cook for 15 – 20 minutes. While cooking the jelly powder, remember to stir continuously!
-
Making pandan jelly and coconut jelly
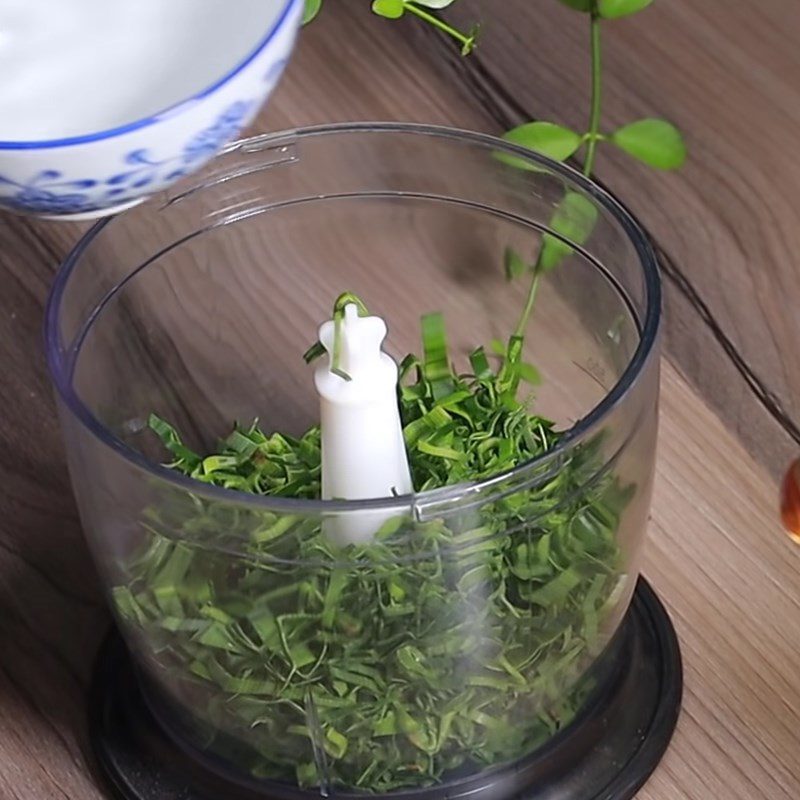
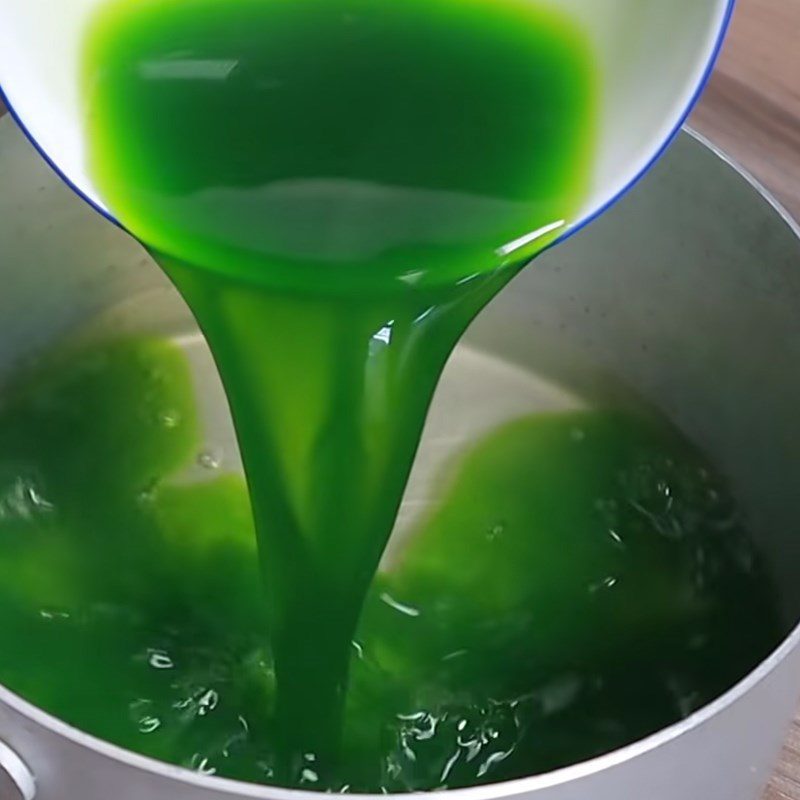
Wash the pandan leaves, drain them, and then cut them into small pieces. Next, put the pandan leaves into a meat grinder with 1 cup of filtered water and blend until smooth. After that, strain out the solid parts and keep the liquid.
After boiling the jelly powder for 20 minutes, scoop out 2 cups with each cup containing an amount of jelly close to 2/3 the height of the cup.
Next, add 325ml of filtered water into the jelly pot on the stove and continue cooking on low heat.
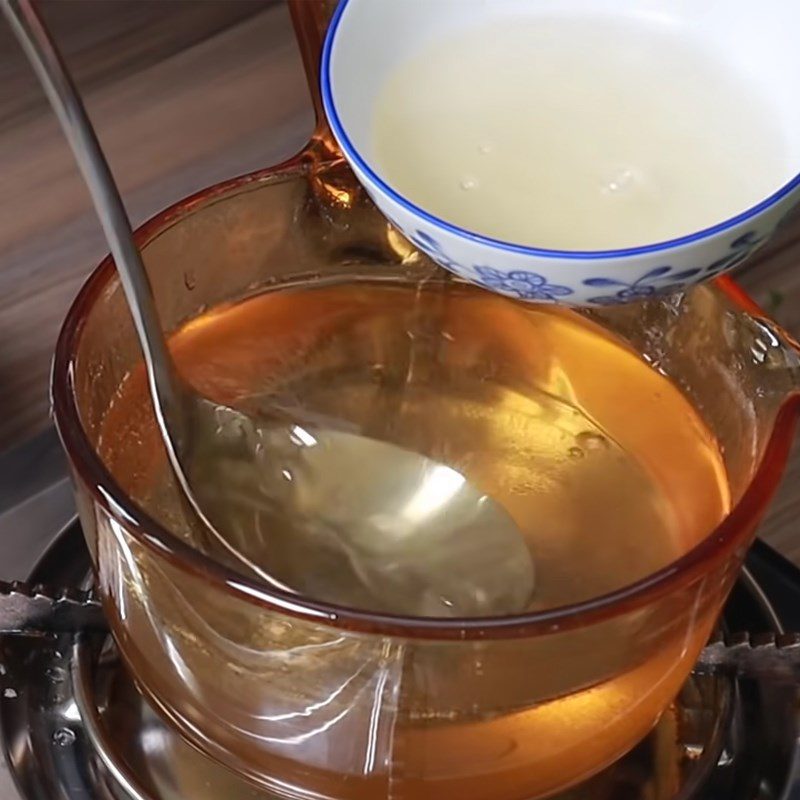
Prepare another pot, add the first cup of jelly along with 2/3 cup of pandan juice, then place it on the stove, stirring the pandan jelly mixture on low heat until it is slightly warm.
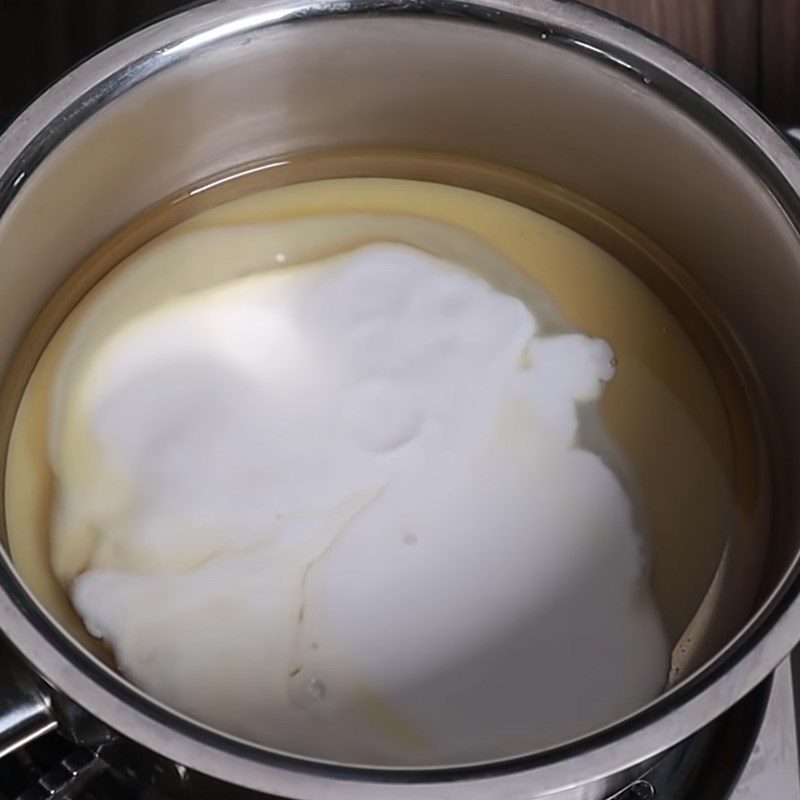
In another pot, add the remaining cup of jelly with 80g of condensed milk and 150g of coconut milk, then place it on the stove, stirring continuously over low heat. Cook the coconut jelly mixture similarly to the pandan jelly.
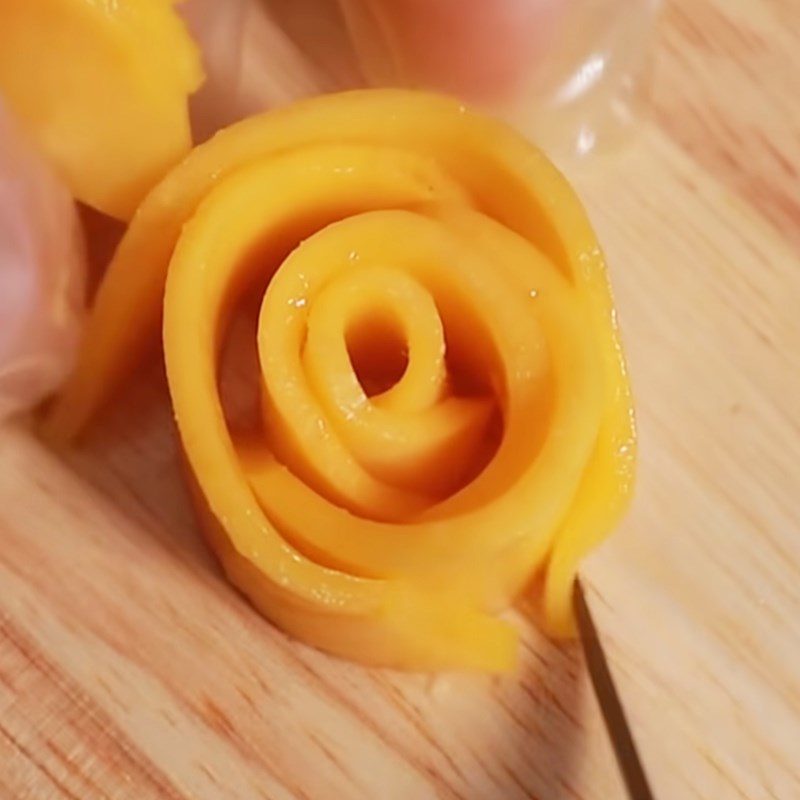
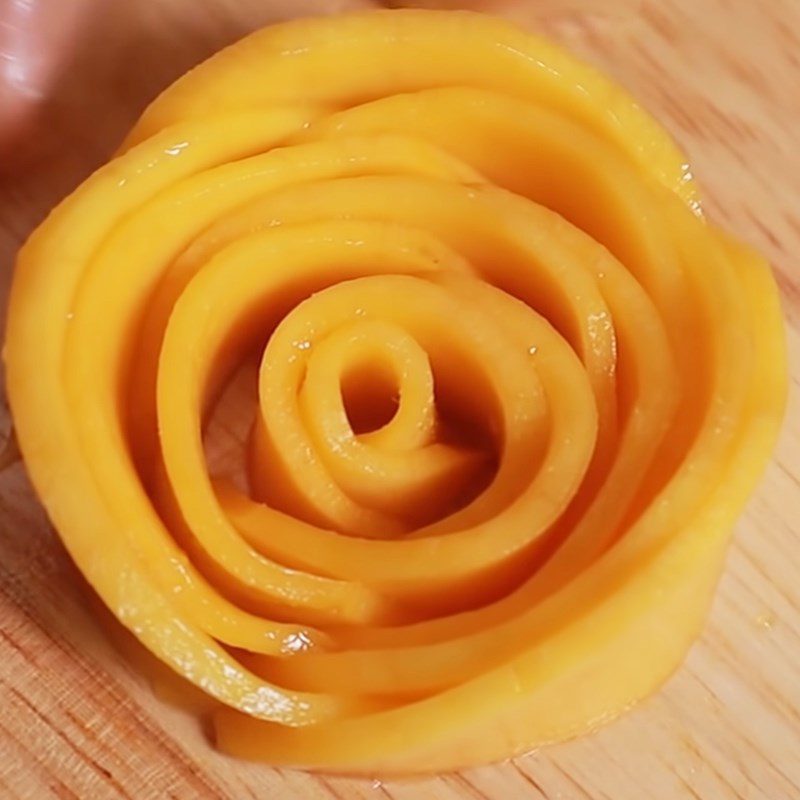
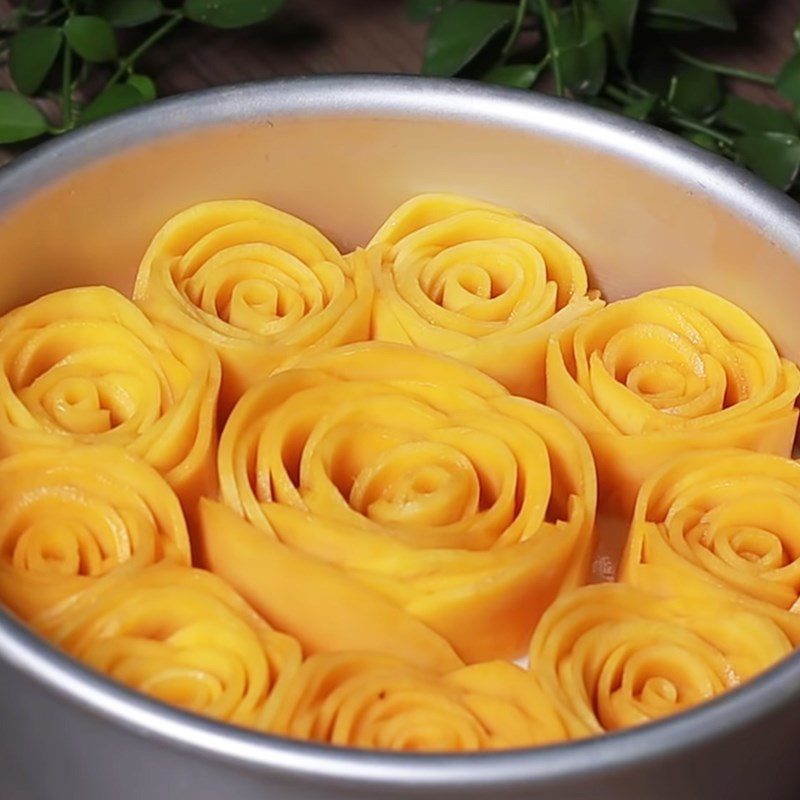
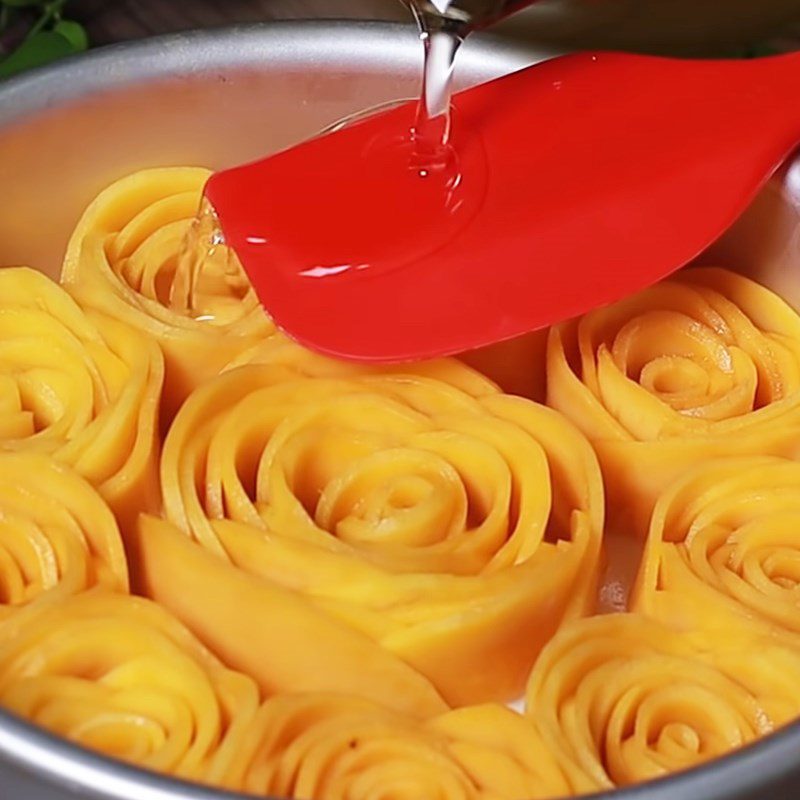
Pour the rose jelly layer
Arrange the freshly arranged roses into the mold. Then, slowly pour the remaining jelly powder mixed with water from the pot into the mold.
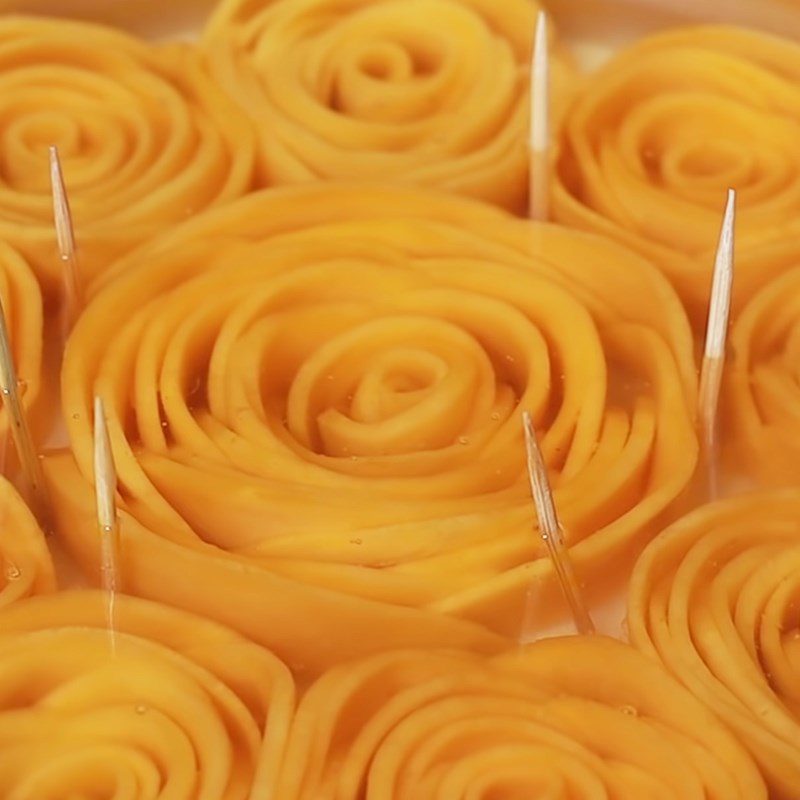
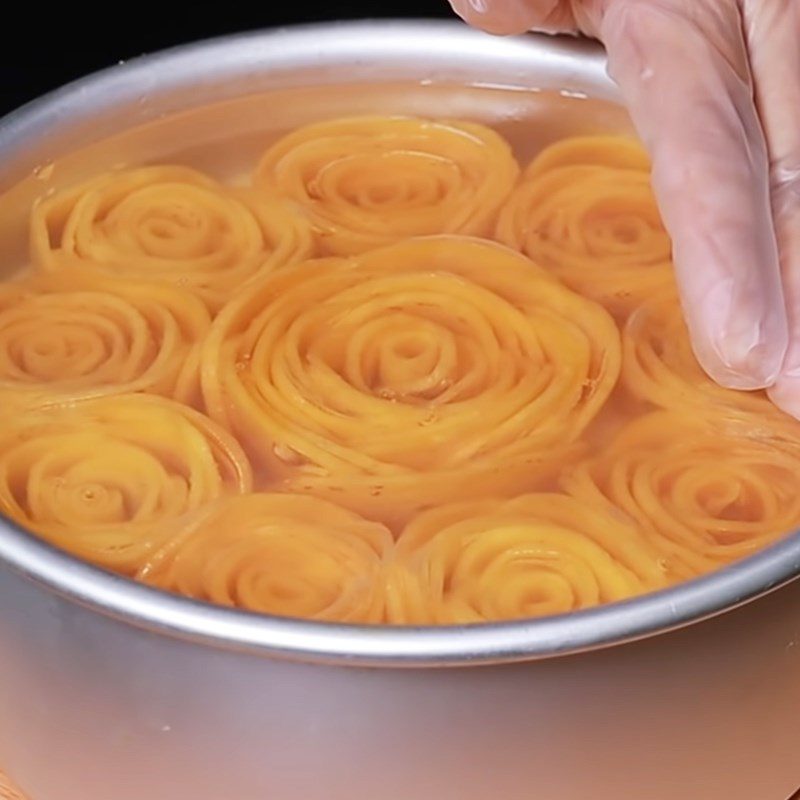
For any flowers that have come loose, use a toothpick to pin them down to shape for 10 minutes. After 10 minutes, remove the toothpicks and let the jelly set, then place it in the refrigerator refrigerator for about 4 hours to ensure the jelly is cold and fully set.
Final Product
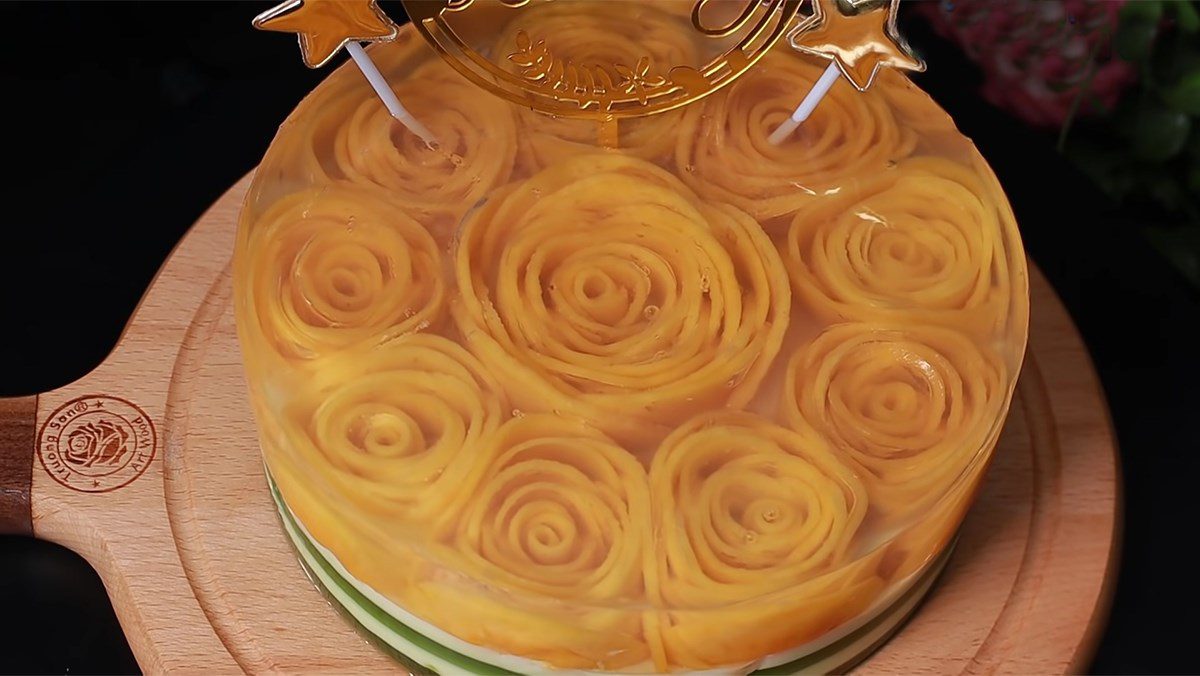
The golden rose jelly is truly eye-catching with its blooming golden rose flowers lying beneath a transparent “mirror glaze” layer.
Not only is it visually appealing, but it is also very delicious with its crunchy, chewy texture combined with the sweet and sour layers from fresh mango, making it extremely attractive. Let’s try to make and enjoy it right away!
How to make delicious jelly without lumps
- There is a small tip to help the jelly cooked to be crispier and tastier, which is to mix the jelly powder with sugar first, then cook this mixture with water to prevent the powder from clumping.
- When adding the powder mixture to the pot, it is best to pour it slowly and stir continuously to help the powder dissolve faster and more evenly.
- The jelly powder will quickly solidify when it cools down, so as soon as it is cooked, pour it into molds; at this point, the jelly mixture is still in liquid form.
- When pouring into molds, you should do it gently to avoid creating air bubbles on the surface; you can use a spoon to scoop them out to prevent the jelly from being pitted.
- For multi-layered jelly, you should wait for the first layer to form a crust and be slightly firm on the surface before adding the second layer on top. Avoid adding the second layer on top when the first layer is still liquid, as they will quickly mix together.
- Especially, if you haven’t prepared the molds and the jelly mixture has solidified, you can place it back on the stove to reheat; the mixture will melt again.
See more:
Above is a guide to 4 ways to make rose jelly that TasteVN wants to introduce to you. Make this jelly right away to have a meaningful gift for the beloved woman in your family on the upcoming October 20th. Wishing you success in making it!
