Preparation
40 minutes
Cooking
50 minutes
Difficulty
Easy
If you have fallen in love with the floating cake, today TasteVN will share with you how to add a unique and delicious twist to this dessert. Exciting, right? So let’s get started in the kitchen with the delicious floating cake filled with taro right away!
Ingredients for Floating Cake with Taro Filling Serves 4
Glutinous rice flour 500 gr (1 pack) Corn starch 1 tablespoon Taro 500 gr (1 piece) Coconut milk 400 ml (1 can) Ginger 50 gr (1 piece) Margarine 1 teaspoon Fried shallots 2 tablespoons Roasted sesame A little Palm sugar 1 kg Salt A little
How to Choose Good Taro
- Choose taro that is round and even, similar to a chicken egg, with a moderate size—not too large or too small. The outer skin should look rough, with many roots and dirt still clinging to the surface.
- Additionally, when you pick it up, if it feels heavy, it means there is a lot of water inside, which will make it bland and not tasty. Conversely, if it feels light, it indicates that those pieces have less water, resulting in a higher starch content, making them more flavorful and fragrant than others.
- Also, pay attention to the eyes of the taro; if there are many pits, that’s a sign that the taro is good.
- Avoid choosing taro with a smooth, shiny skin because most of them are not good and have been overcooked.

How to make Chè trôi nước with taro filling
-
Prepare the taro
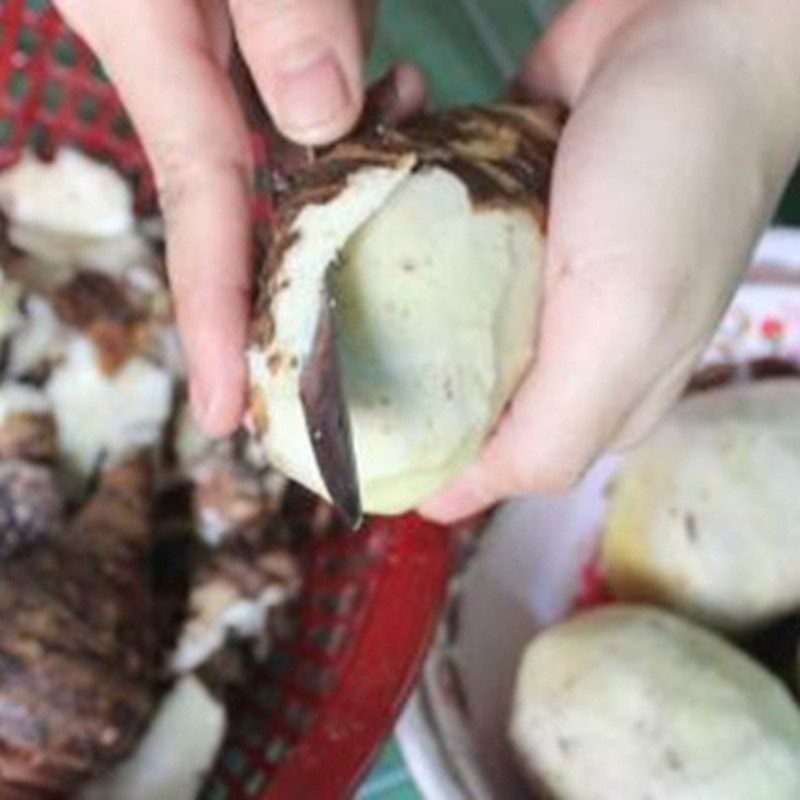
Buy taro, peel it, and put it in a bowl to soak in diluted salt water for 10 minutes, then take it out and cut it into pieces.
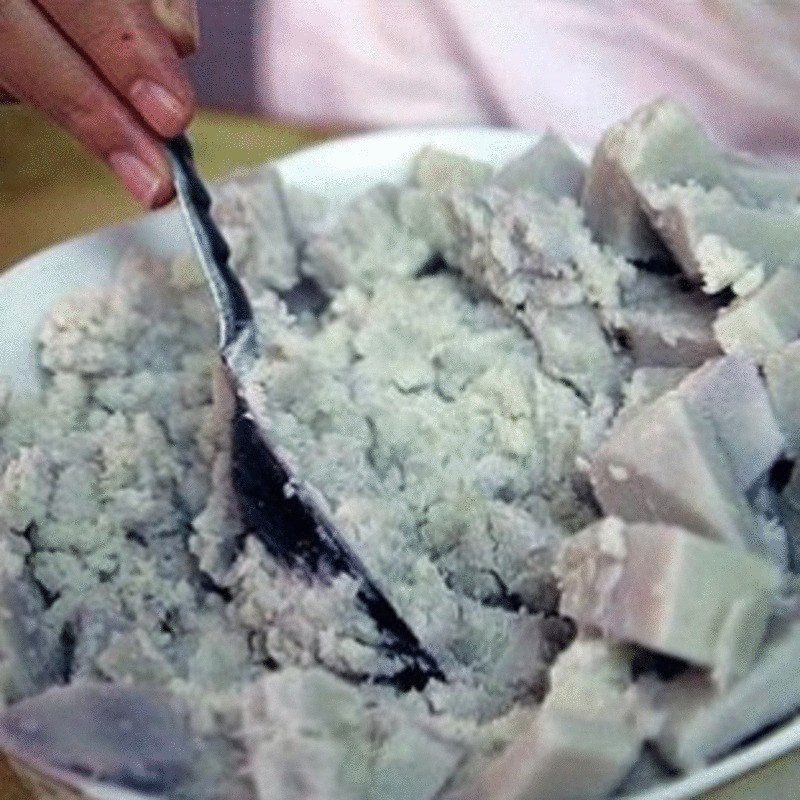
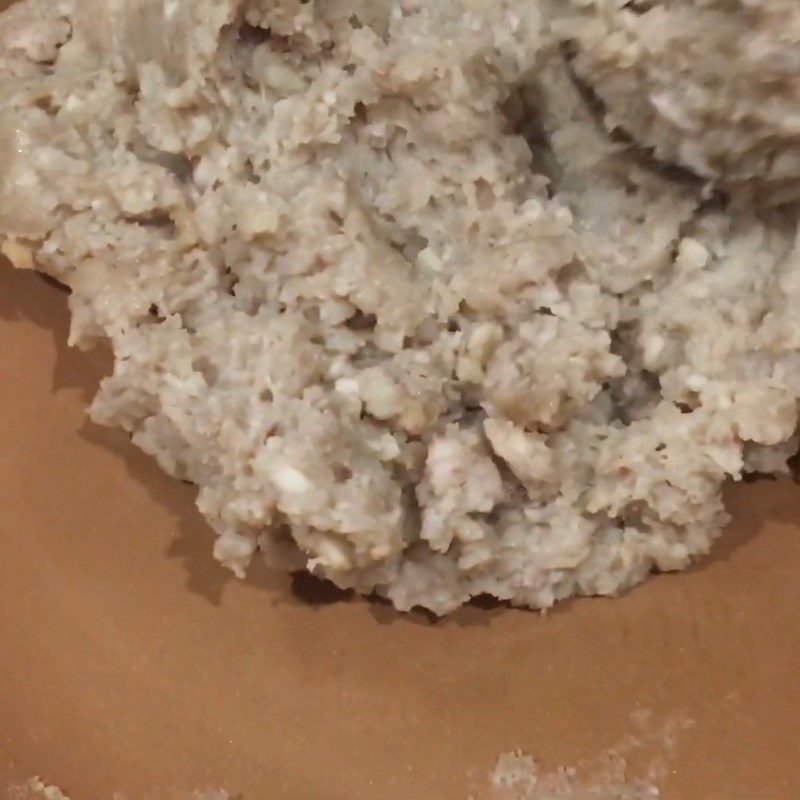
Then, place a pot on the stove with 500ml of water over high heat. When the water boils, add 500g of cut taro to boil for 15 – 20 minutes until the taro is soft, then turn off the heat and transfer the taro to a bowl to mash it finely.
How to peel taro without getting itchy
- The most commonly used method to avoid itching is to wear gloves while preparing to prevent contact with the taro.
- Alternatively, you can briefly boil the taro in diluted salt water for 7 – 10 minutes, then take it out to soak in cold water before peeling.
- Another method is to absolutely avoid letting the taro come into direct contact with water; use dry hands to peel it. Then soak it in a diluted salt water mixture for 10 minutes.
- Additionally, you can wrap the taro in aluminum foil and roast it for 2 minutes, which is also very effective.


-
Make the taro filling
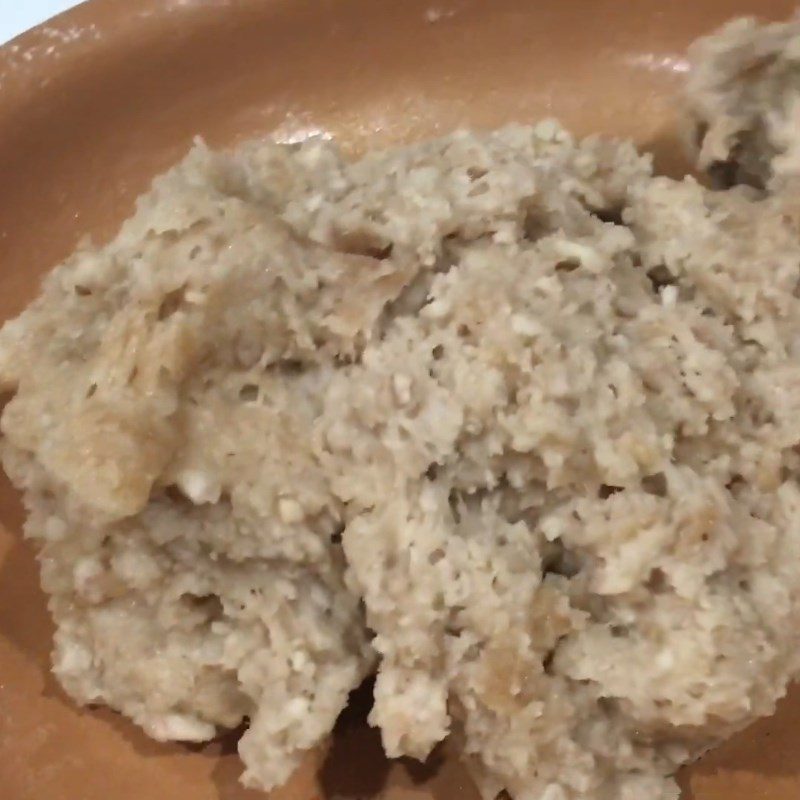
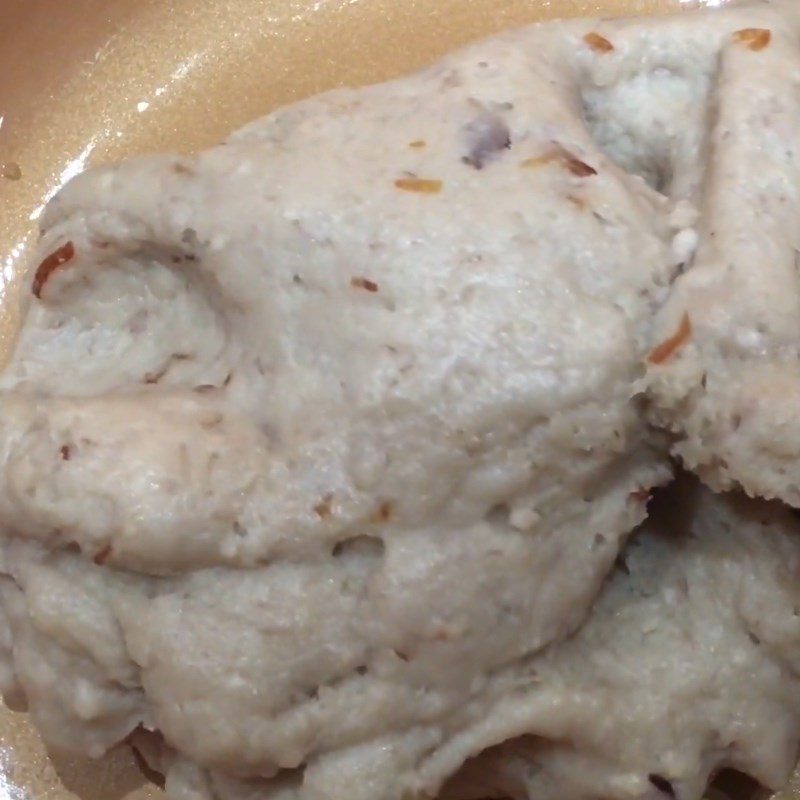
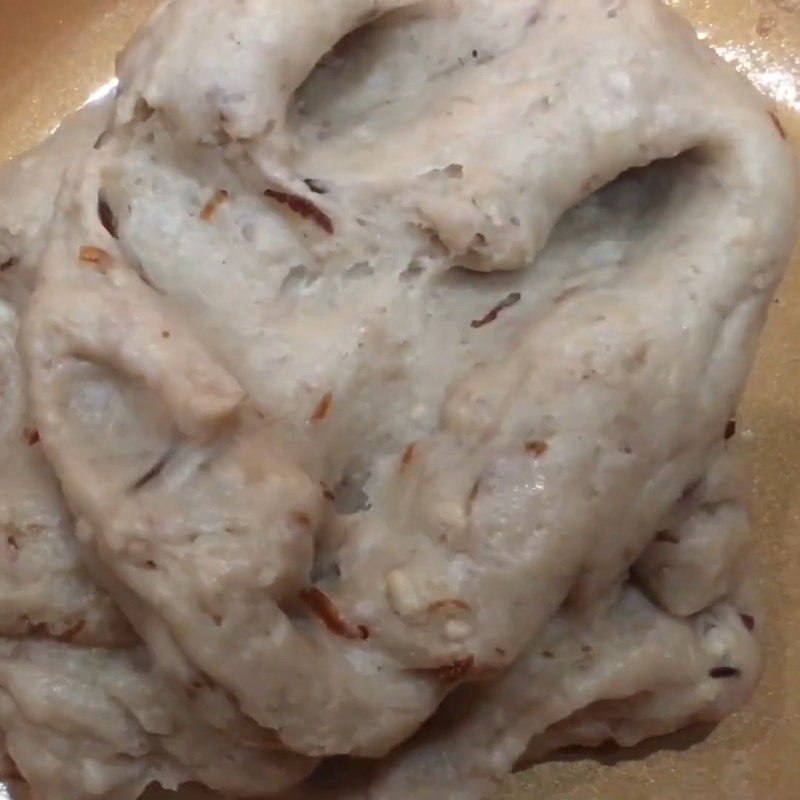
Put a pan on the stove with 1 teaspoon of vegetable butter over low heat. Once the butter melts, add 500g of taro, 3 tablespoons of sugar, 1/4 teaspoon of salt, and 2 tablespoons of glutinous rice flour, stirring well for about 15 – 20 minutes.
When you see the filling mixture is well combined, turn off the heat to let it cool, then add 2 tablespoons of fried shallots, continue kneading by hand, and roll into bite-sized balls.
Tip: To avoid burning the taro, do not use too high a heat when cooking.


-
Cook the syrup
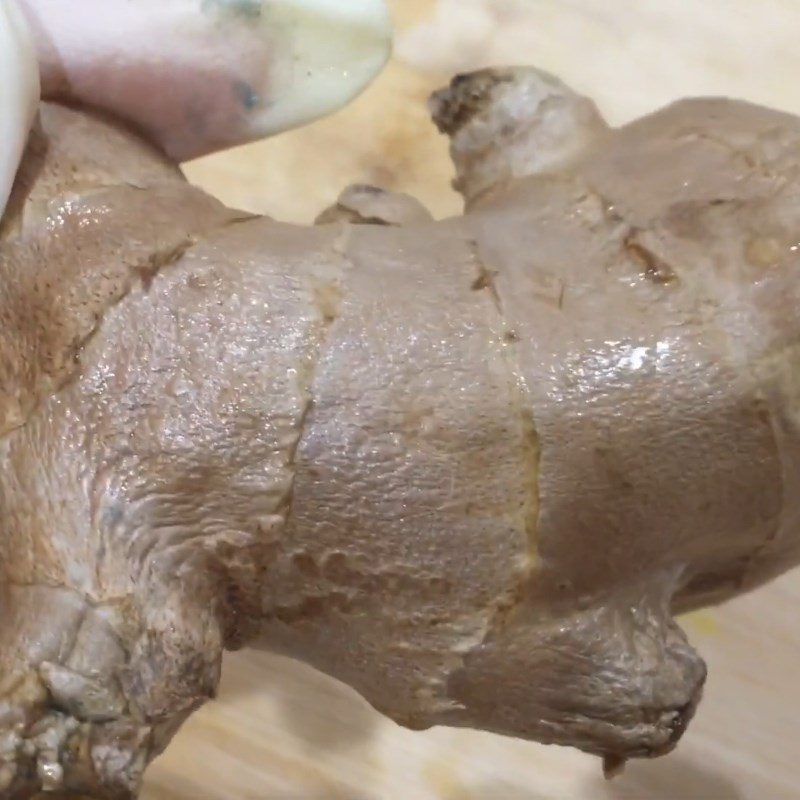
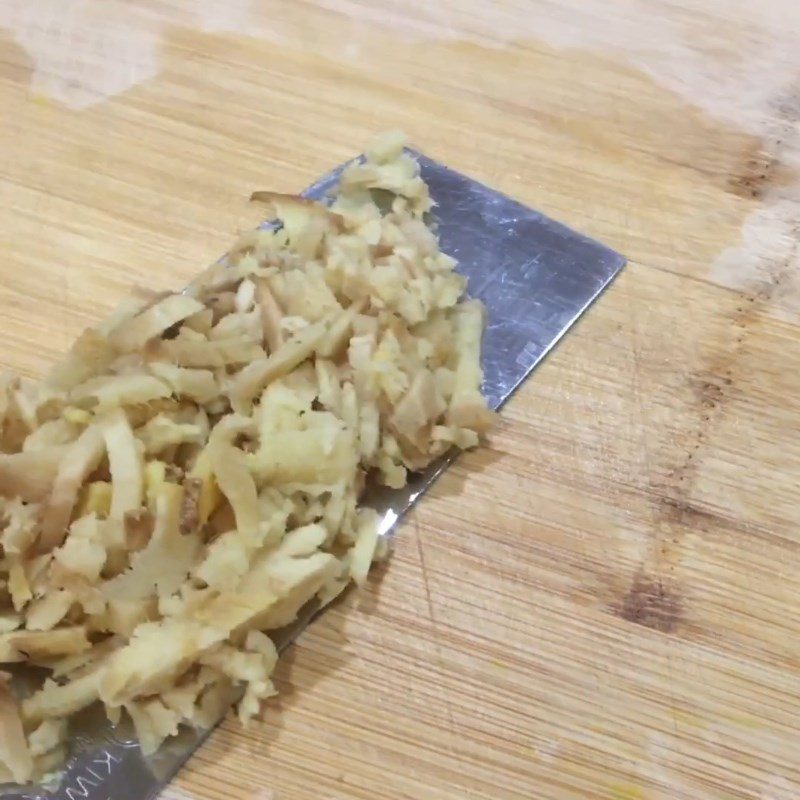
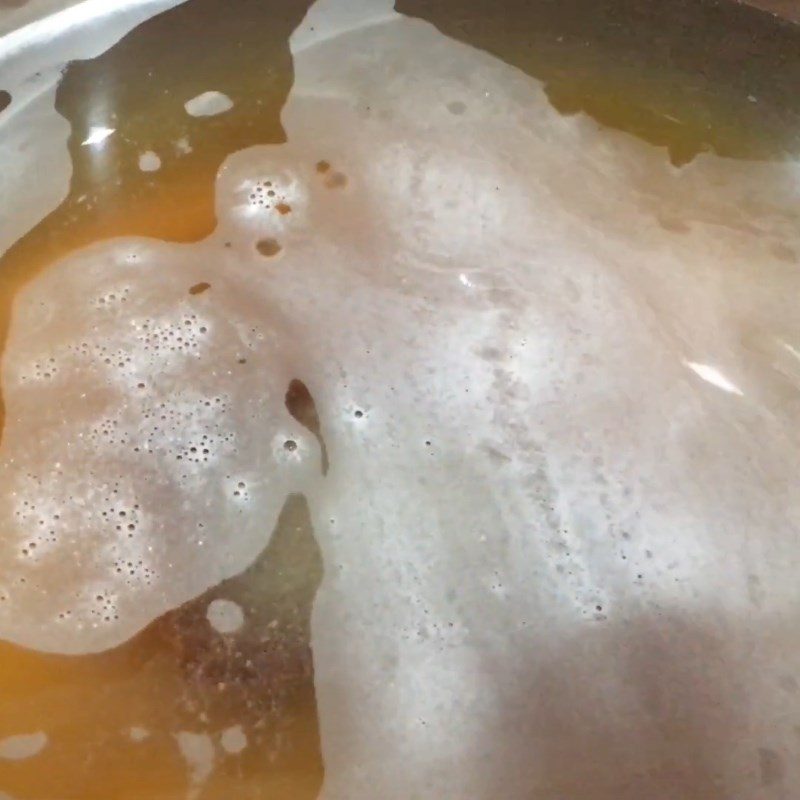
Peel the ginger and cut it into thin strips. Then, place another pot on the stove with 1kg of palm sugar and 700ml of water, stirring well over medium heat for about 15 – 20 minutes.
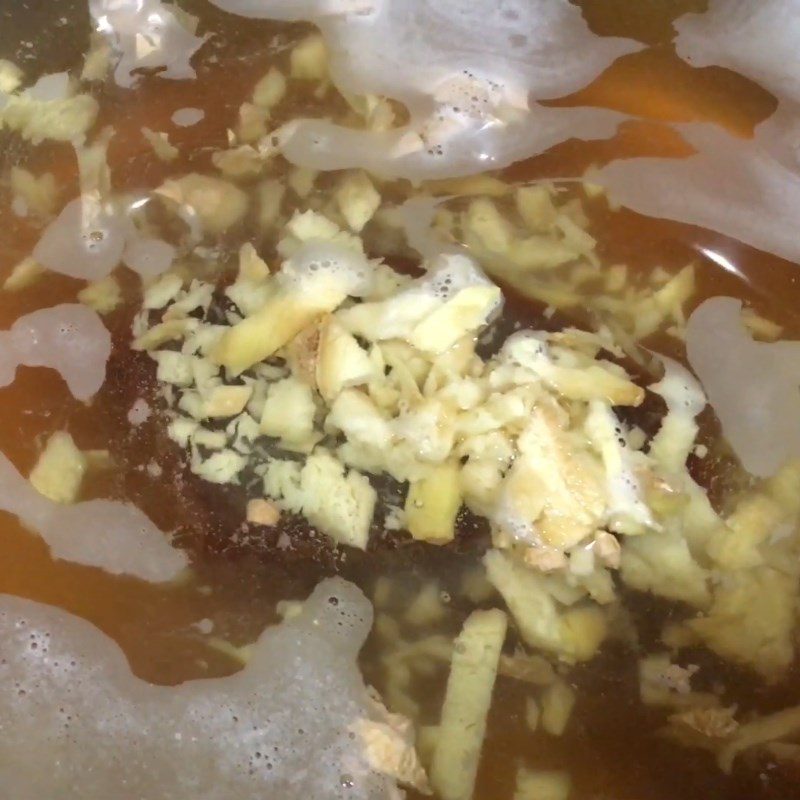
When the sugar has dissolved, add 50g of the sliced ginger and cook for an additional 5 – 7 minutes before reducing to low heat.
Tip: You can use white granulated sugar to make the syrup; however, using palm sugar will give it a more appealing golden color.


-
Kneading the dough
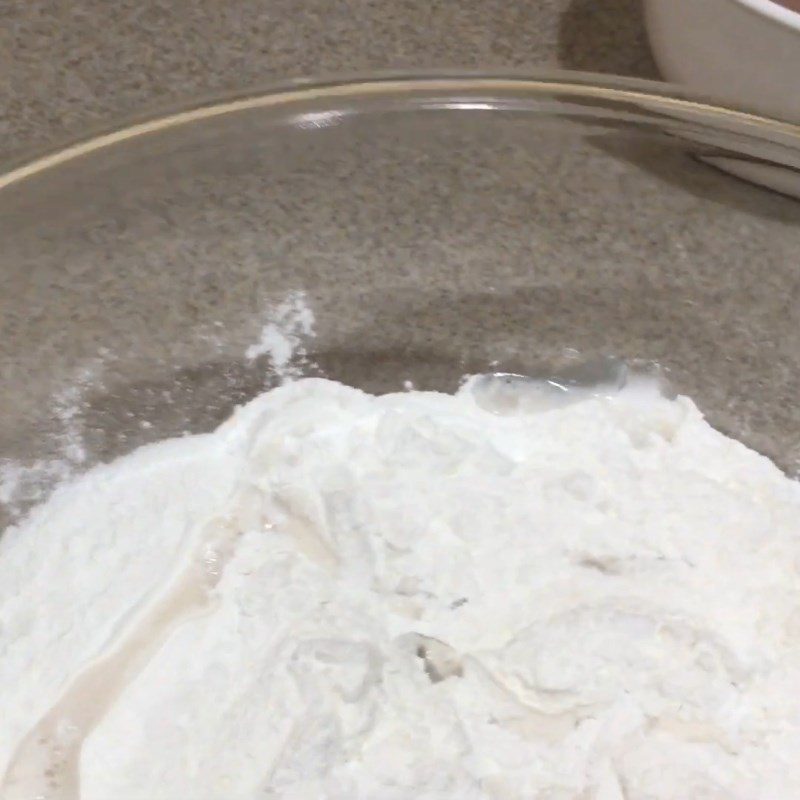
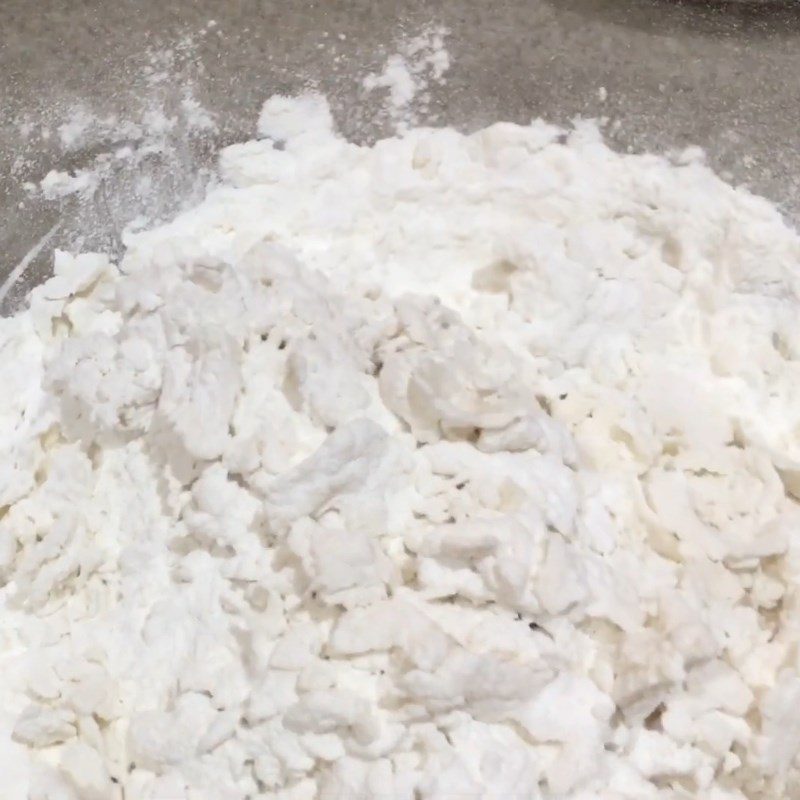
Take a bowl and add all the remaining glutinous rice flour, 1/2 teaspoon of salt, and 100ml of warm water, then mix well.
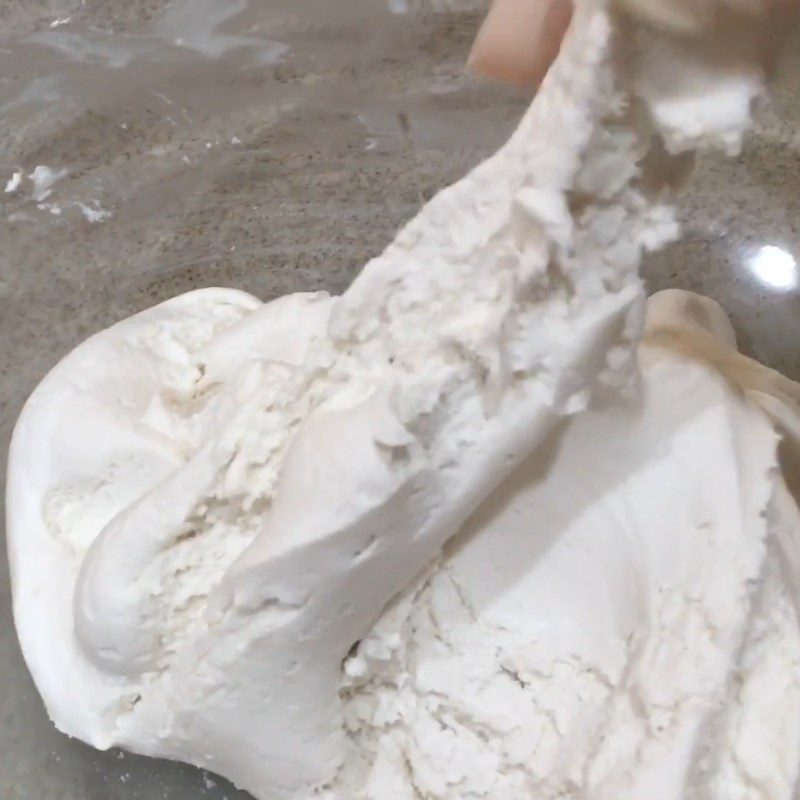
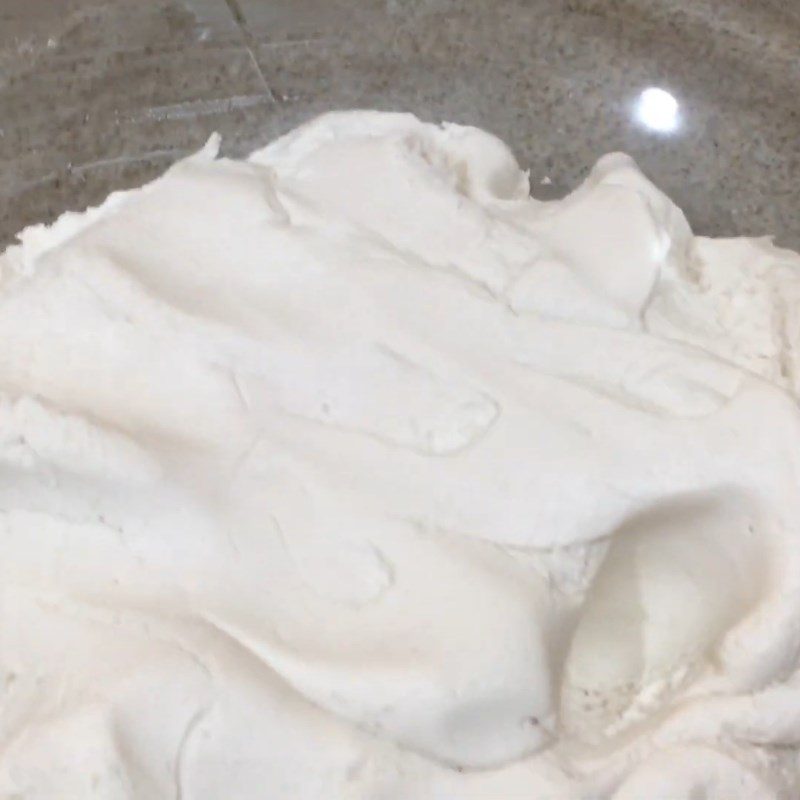
Then add 150ml of warm water and use your hands to knead the dough until it becomes elastic and no longer sticks to your hands.
Tip:- Depending on your preference, you can knead the dough with a few drops of food coloring to create a more colorful dessert.
- To give the dough a flavor of taro, you can use the water that was used to boil the taro to knead the dough.
- To avoid the dough becoming too wet, do not add too much water at once; add it gradually until the dough becomes elastic and chewy.
- If the dough is too dry or too wet, you can add a bit more flour or water to adjust.


-
Shaping and boiling the cake
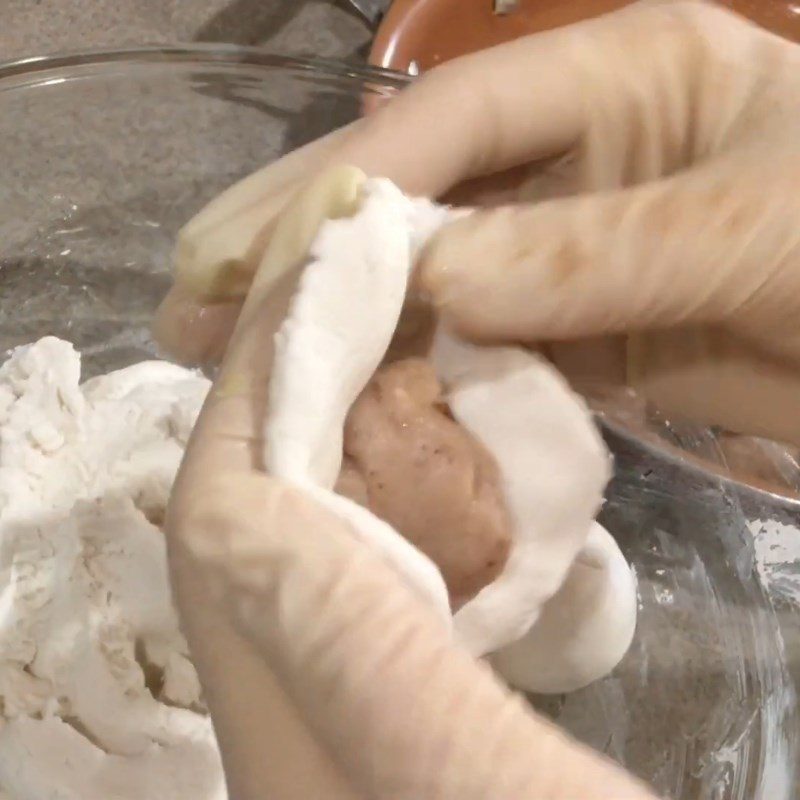
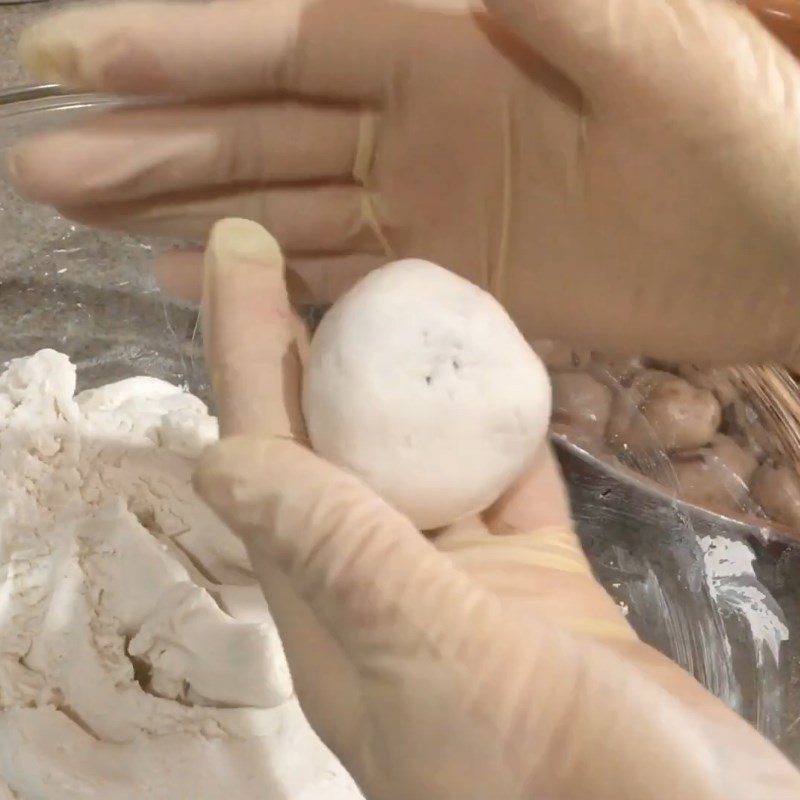
After the dough is kneaded, take a moderate amount and flatten it out, then place the taro filling in the middle, wrap it tightly, and roll it into a nice round shape. Continue this process until all the dough and filling are used up.
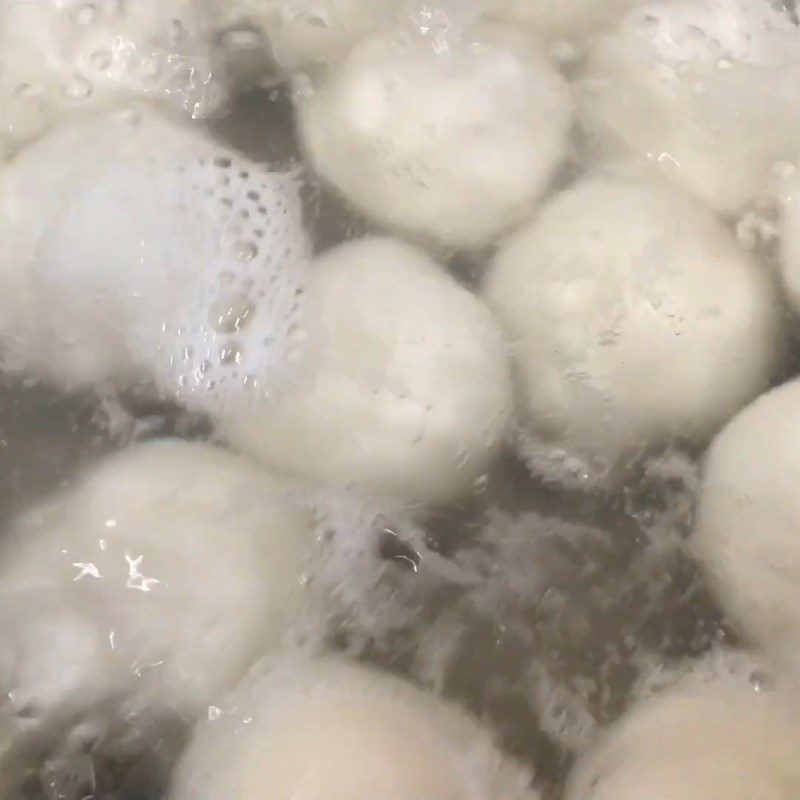
Then, place another pot on the stove with 1 liter of water over medium heat. When the water is gently boiling, add the shaped balls and boil for 10 – 15 minutes until they rise to the surface, then turn off the heat.
Tip:- To avoid air getting trapped inside the dough, which can cause the balls to crack, you should seal the dough tightly.
- To prevent the dough from drying out, you should shape and boil at the same time.
- Depending on your taste, you can make the balls larger or smaller, but don’t make them too large as they can become very filling quickly.


-
Cook the coconut milk
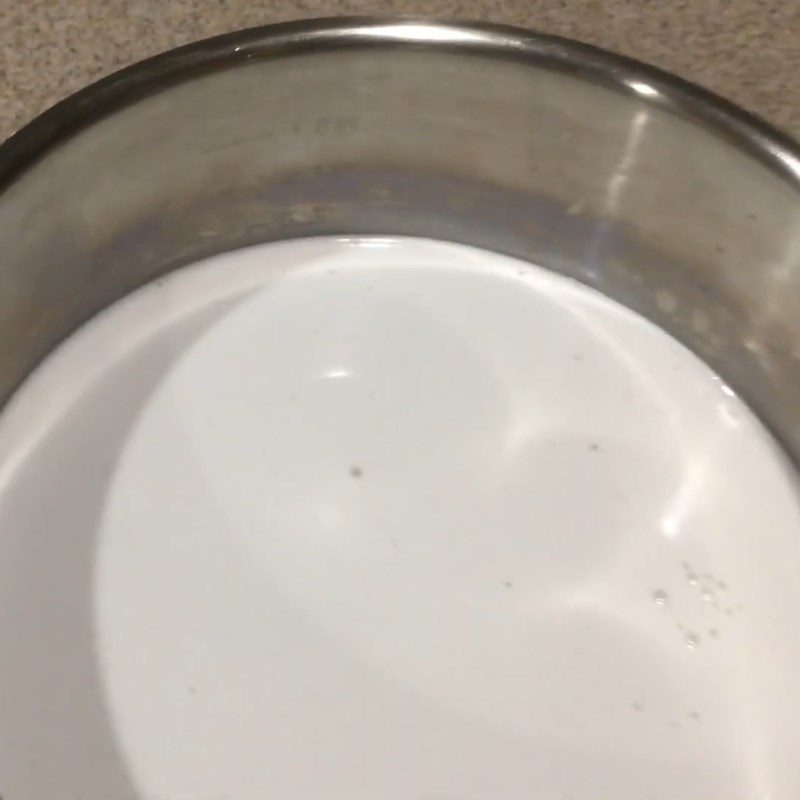
Take another pot and place it on the stove with 400 ml (1 can) of coconut milk, 200 ml of water, and a little salt, cooking on low heat for about 10 minutes.
When the coconut water boils, take a bowl and mix 1 tablespoon of cornstarch with 2 teaspoons of water, then add it to the pot of coconut milk and stir for an additional 5 – 7 minutes before turning off the heat.
Tip: To avoid the coconut water being too thick, gradually add the cornstarch and stir continuously.

-
Completion
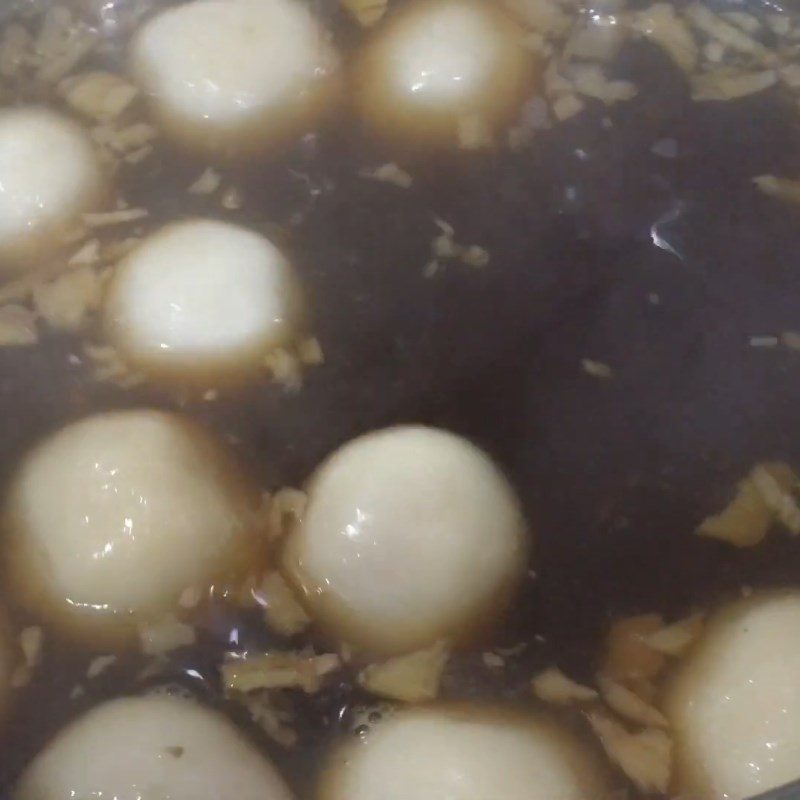
After the dumplings are cooked, remove them and place them in the pot of syrup, cooking for another 10 – 15 minutes over medium heat, then turn off the heat and it’s ready to enjoy.


-
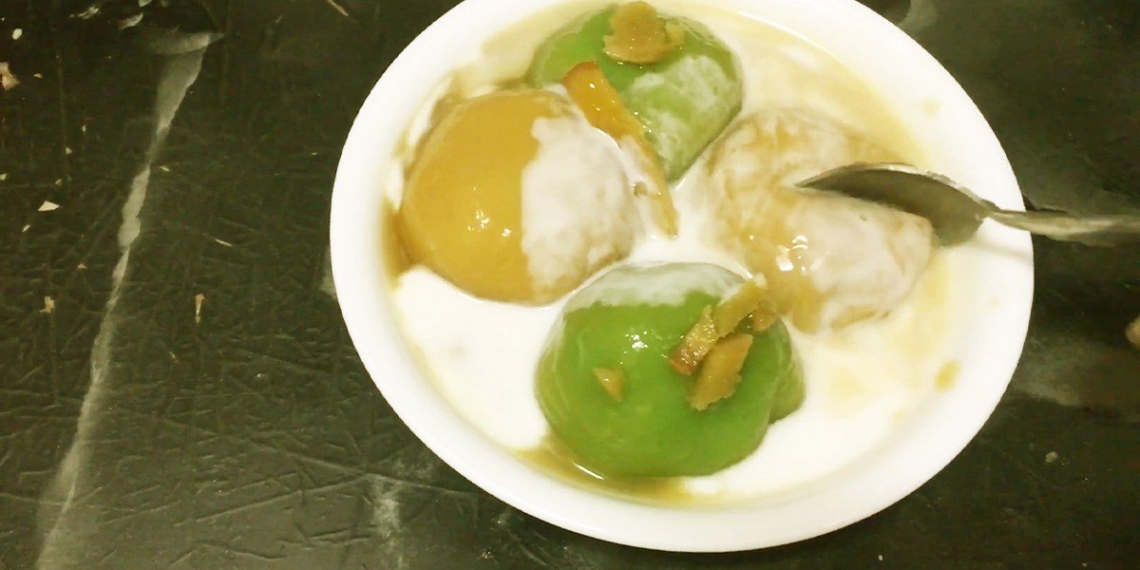
Finished Product
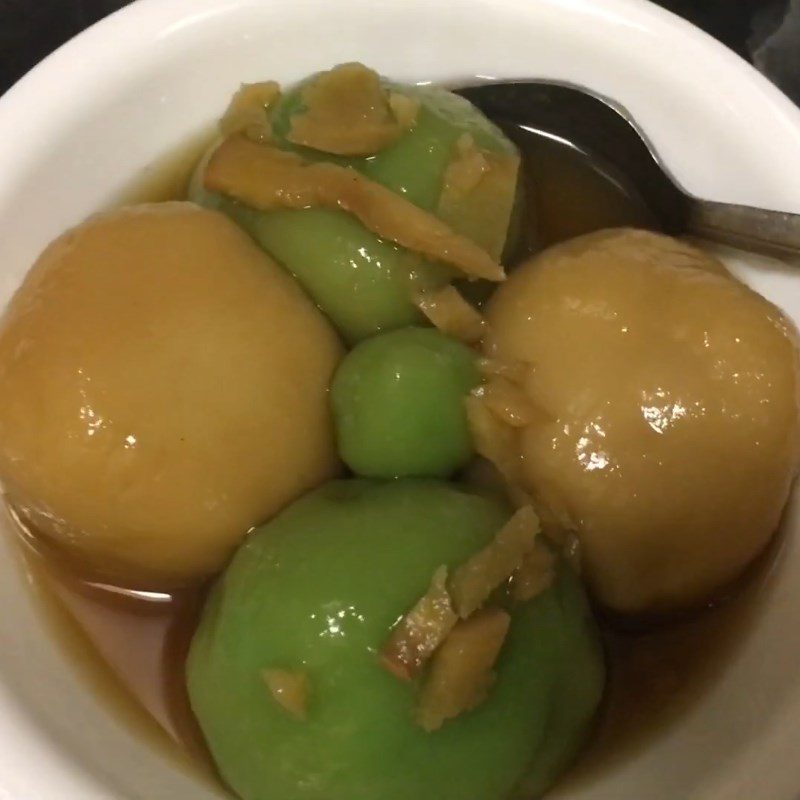
Truly excellent for a traditional dessert of our country. From the outside appearance, it captivates anyone with its enchanting beauty.
The mung bean paste-filled glutinous rice balls have the aroma of palm sugar syrup with a hint of ginger that is always fragrant, and the colorful balls are visually appealing. The creamy mung bean filling inside combined with the chewy exterior is definitely worth trying at least once.
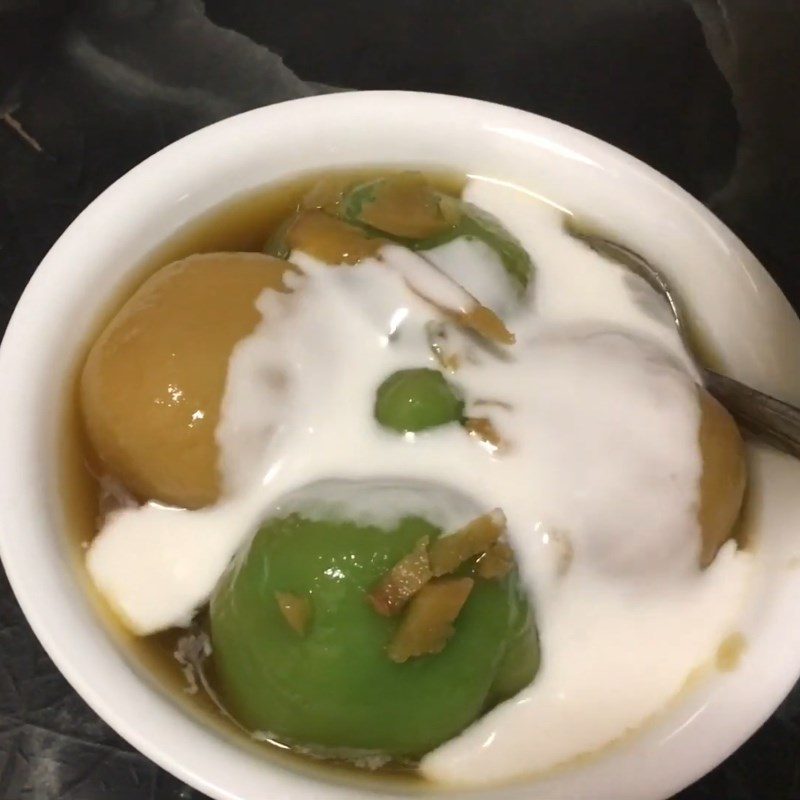
The glutinous rice balls will be even more delightful with a little coconut milk and sesame sprinkled on top. Go ahead and try your finished product!


See more:
Thus, the above article has provided you with a unique way to make taro-filled sticky rice balls, and your whole family will surely be amazed by the unexpected combination that is incredibly delicious. Wishing you great success with this recipe!
*Refer to images and the recipe from the YouTube channel Mai Truitt Cuộc sống Mỹ
