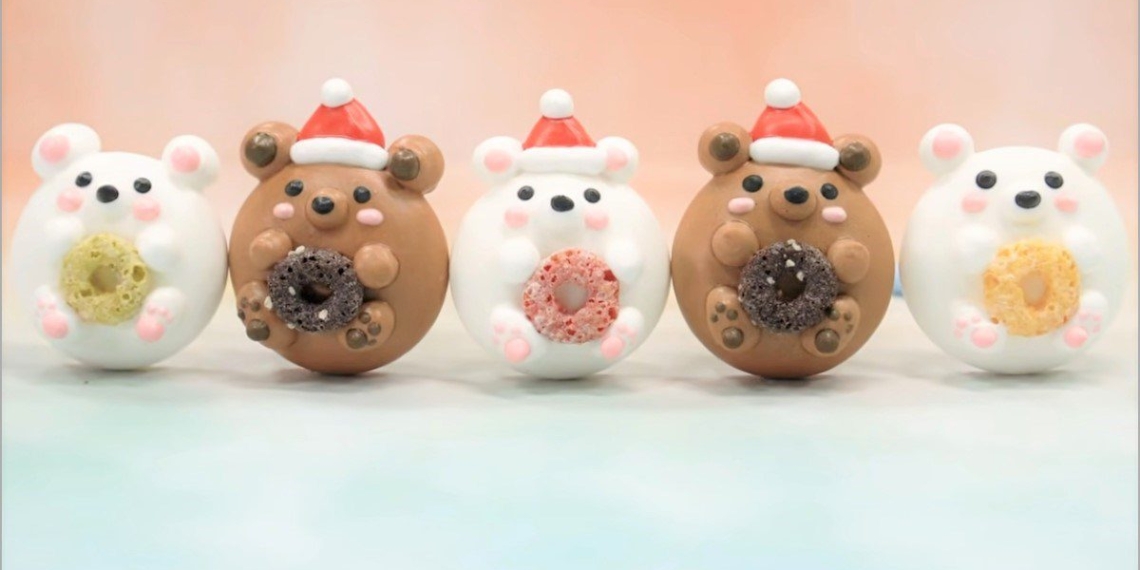
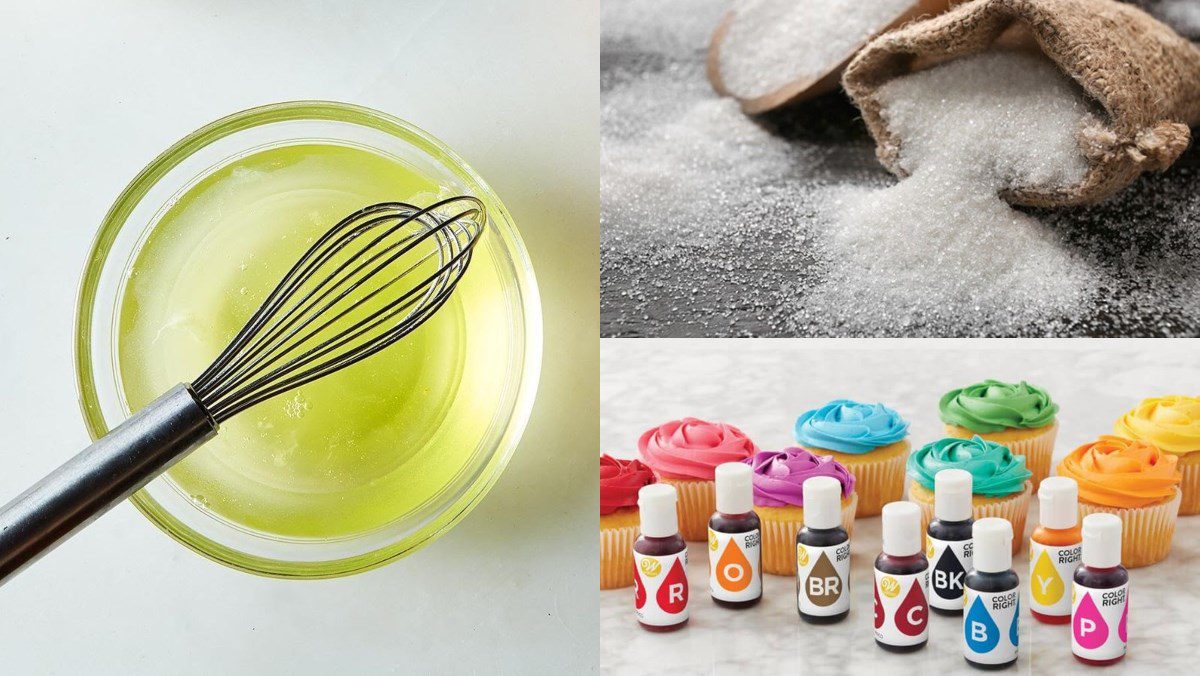
All over the world, not just in the S-shaped land, people are eagerly awaiting the upcoming meaningful holiday – Christmas. To make the gathering with family and friends more perfect, let’s get into the kitchen with TasteVN to make 4 ways of Swiss meringue decorations to make Christmas Eve cozier!
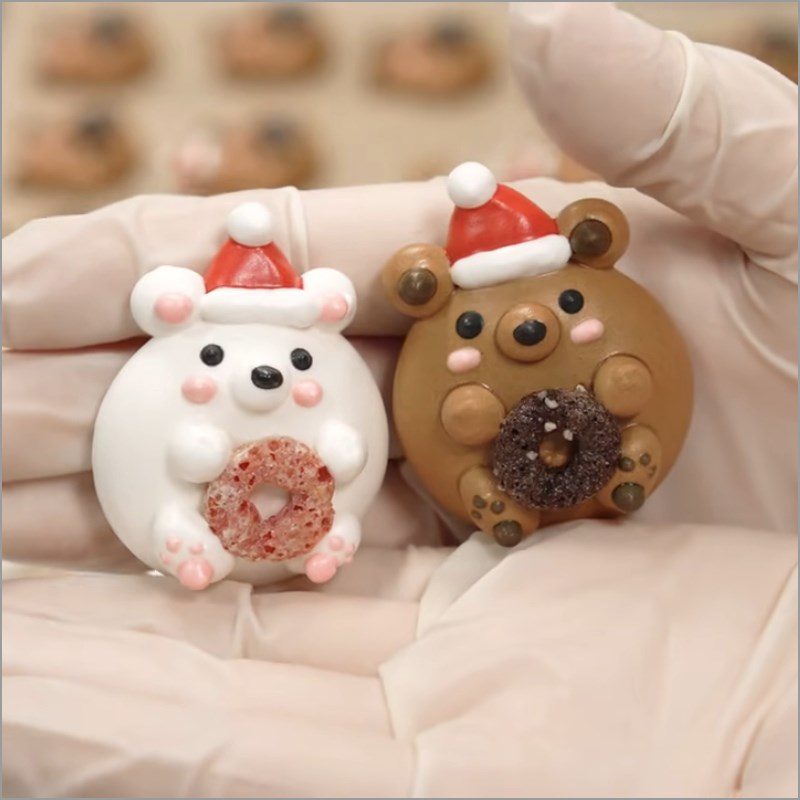
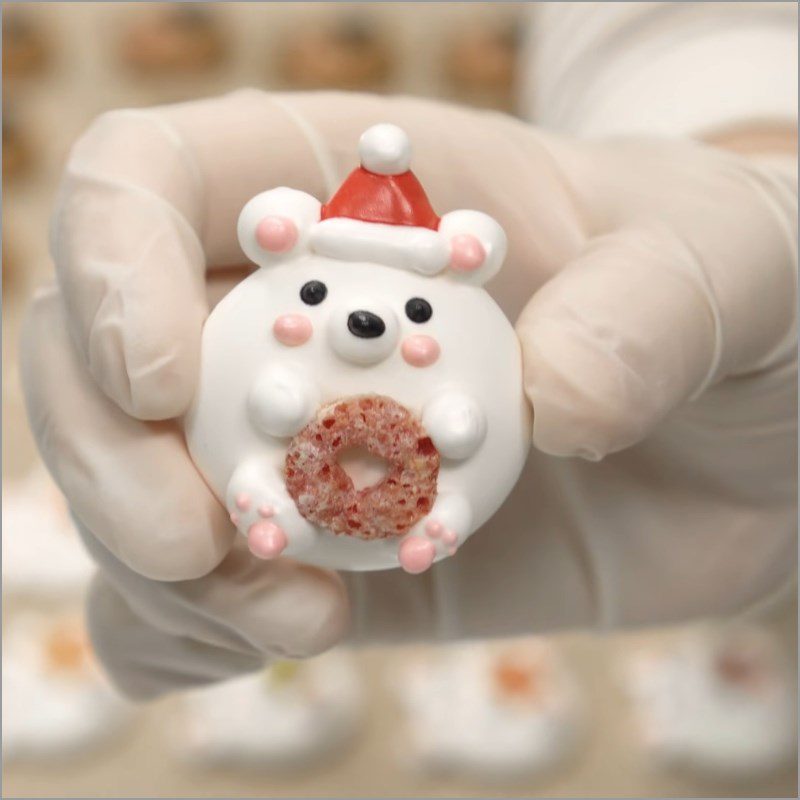
1. Swiss meringue bear with a hat
-
Preparation
50 minutes
-
Cooking
1 hour 40 minutes
-
Difficulty
Easy
Ingredients for Swiss meringue bear with a hat For 6 people
Egg whites 120 gr (about 3 eggs) Round snack cake 50 gr Food coloring A little (black/ dark brown/ light brown/ red/ pink) Vanilla extract 4 ml (4 drops) Sugar 132 gr
How to make Swiss meringue bear-shaped hats
-
Whip the egg whites
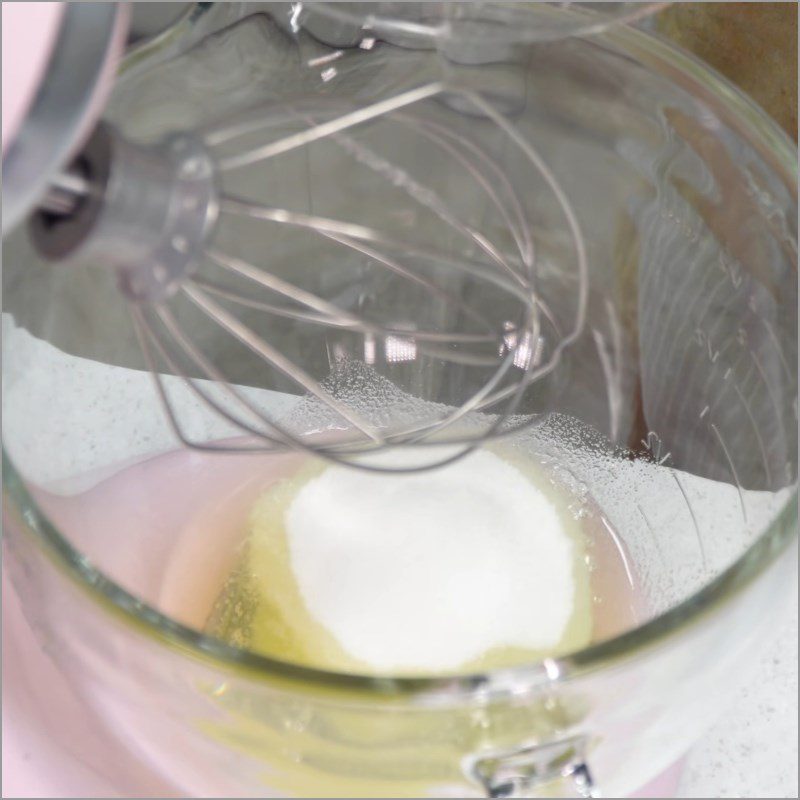
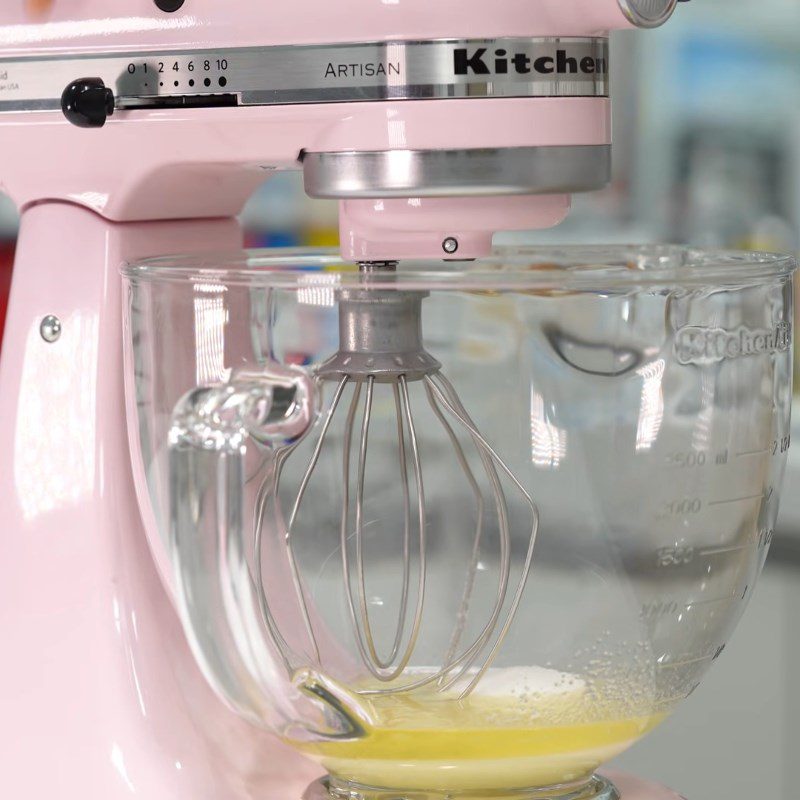
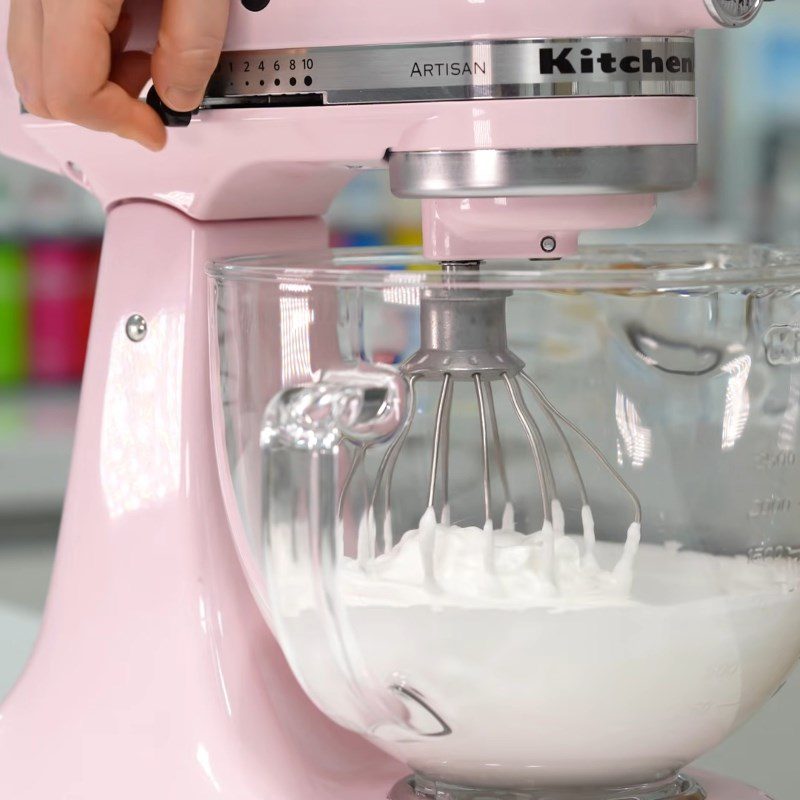
First, place 120gr of egg whites and 132gr of sugar into a bowl, and set it into the body of the egg beater, then whisk on low speed for about 45 – 60 seconds.
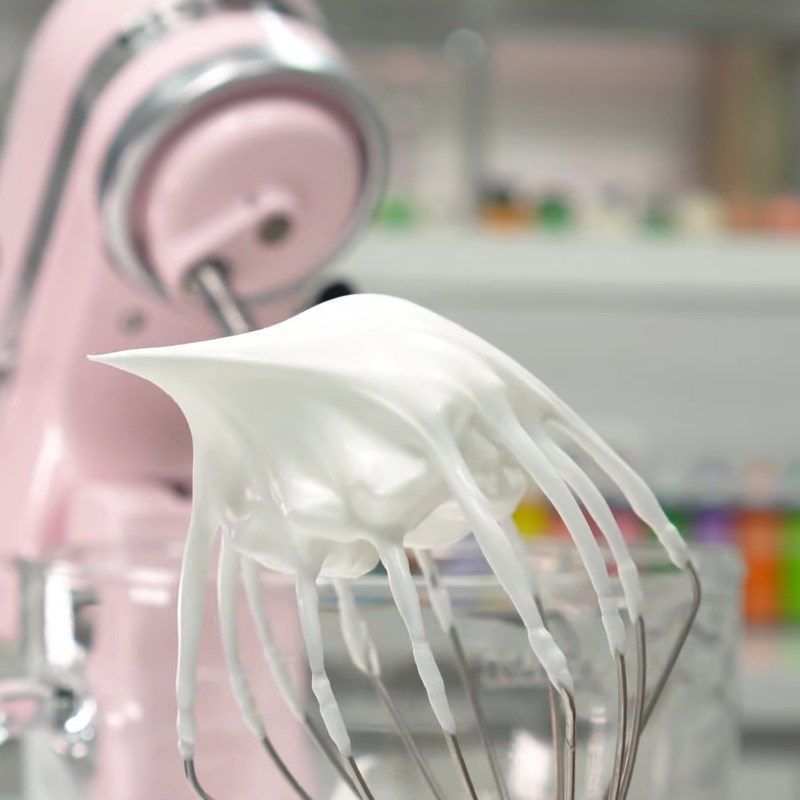
Once you see the egg whites start to foam, gradually increase to medium speed and whisk for an additional 10 – 12 minutes. When the mixture is completely whipped, add 4ml of vanilla extract, whisk for another minute, then gradually lower the speed to low and turn off the machine.
-
Color Mixing
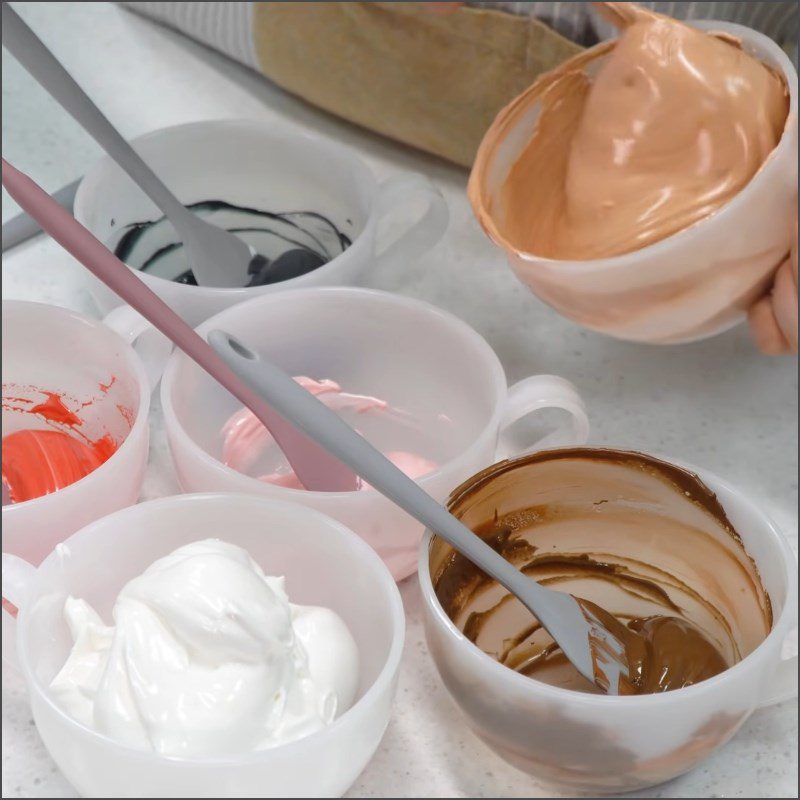
You divide the whipped egg whites into 5 different bowls. Then, slowly add a little food coloring to each bowl, including black, dark brown, light brown, pink, and red, using a flat spatula to mix until the mixture reaches the desired color.
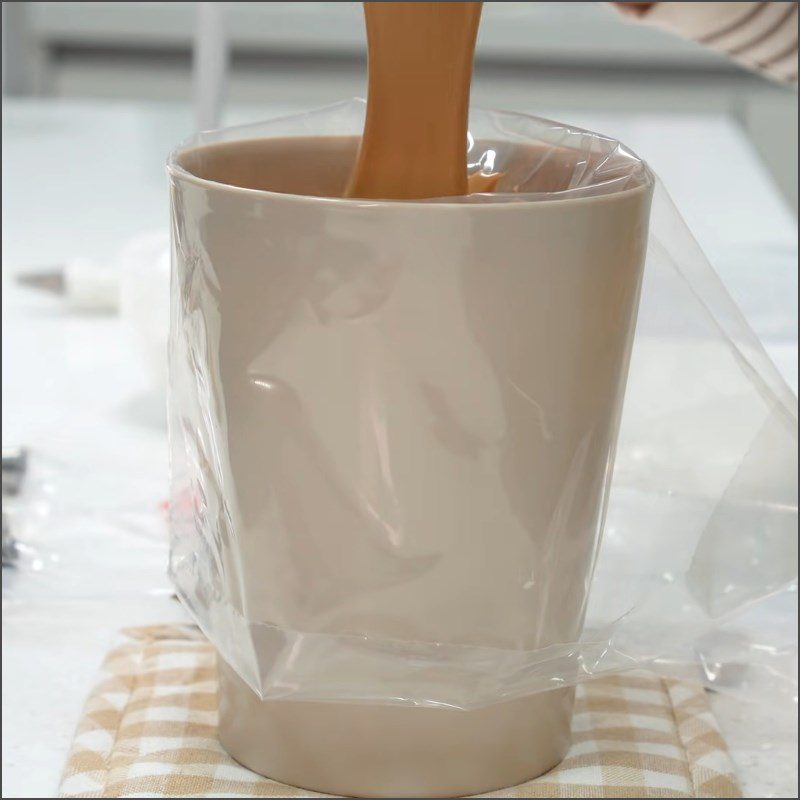
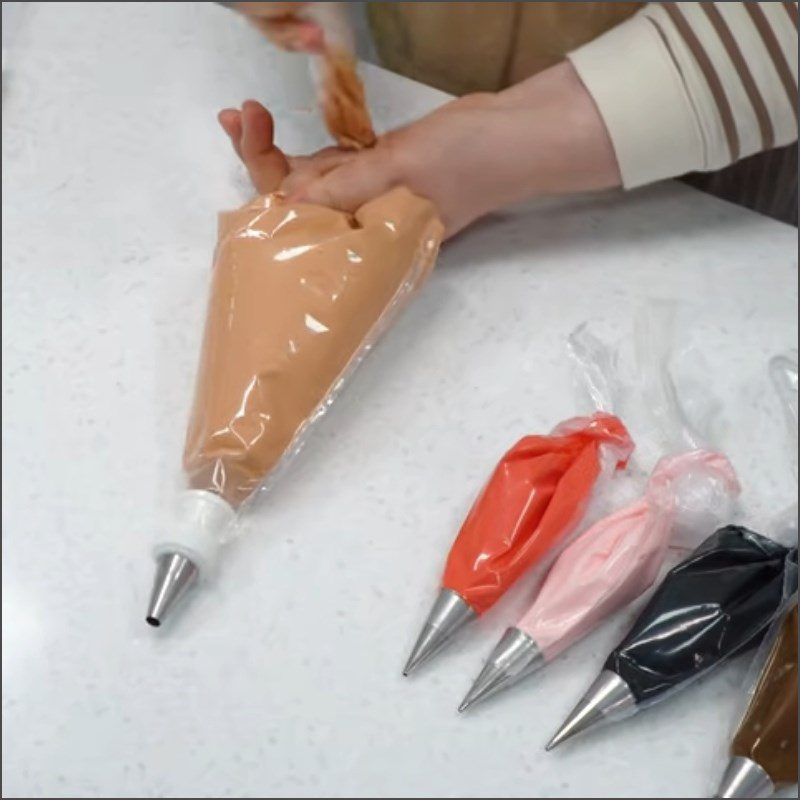
Next, you place a round piping tip into a piping bag, then insert the piping bag into a cup, carefully pour the colored egg whites into it, and place it on a flat surface. Use your hand to squeeze tightly so that the mixture is pushed closer to the tip, making it easier to pipe.
Finally, tie the piping bag securely. Continue doing this until all 4 bowls of mixture are completely used up!
Tip: You should note that the bowls of black and light brown will be larger than the other colors as they are used to make the body of the bear!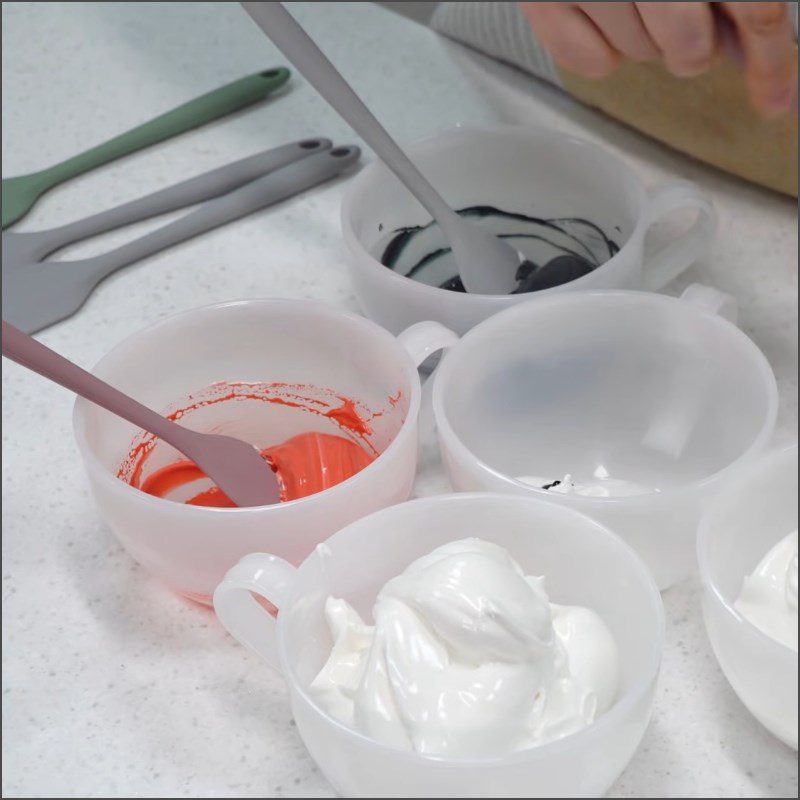
-
Shaping
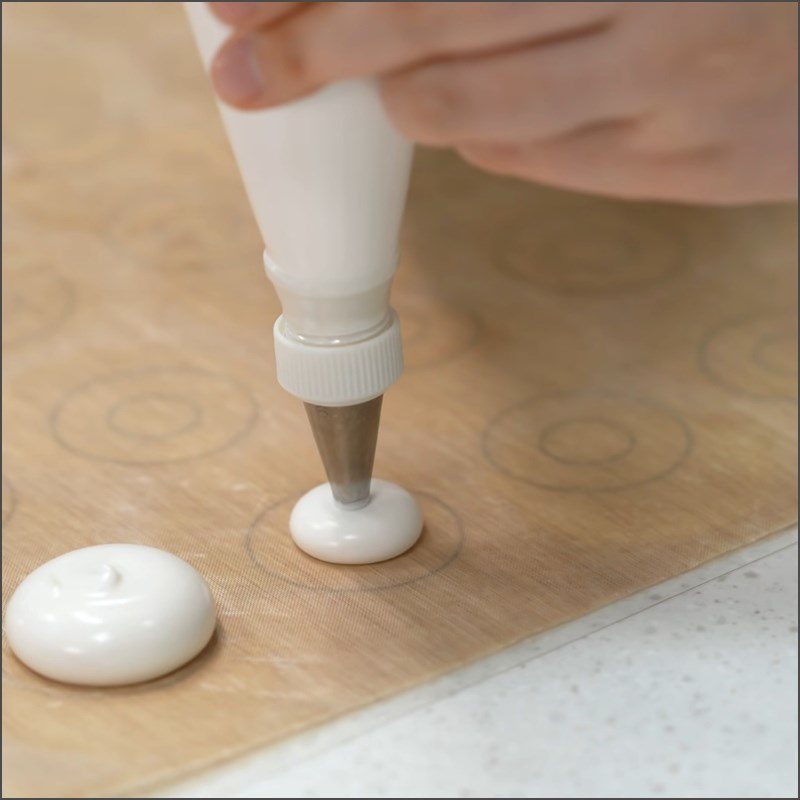
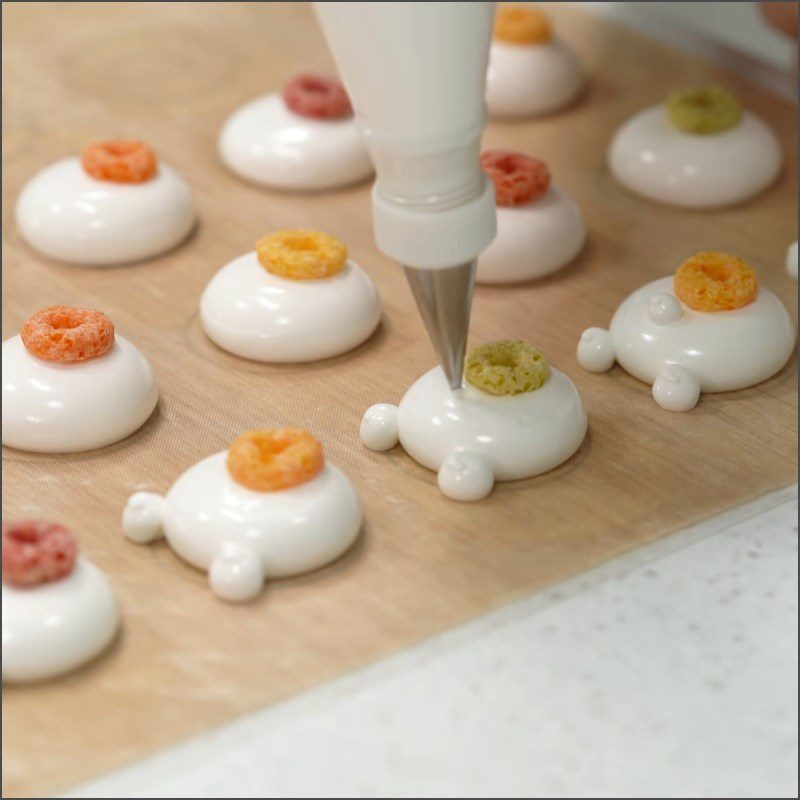
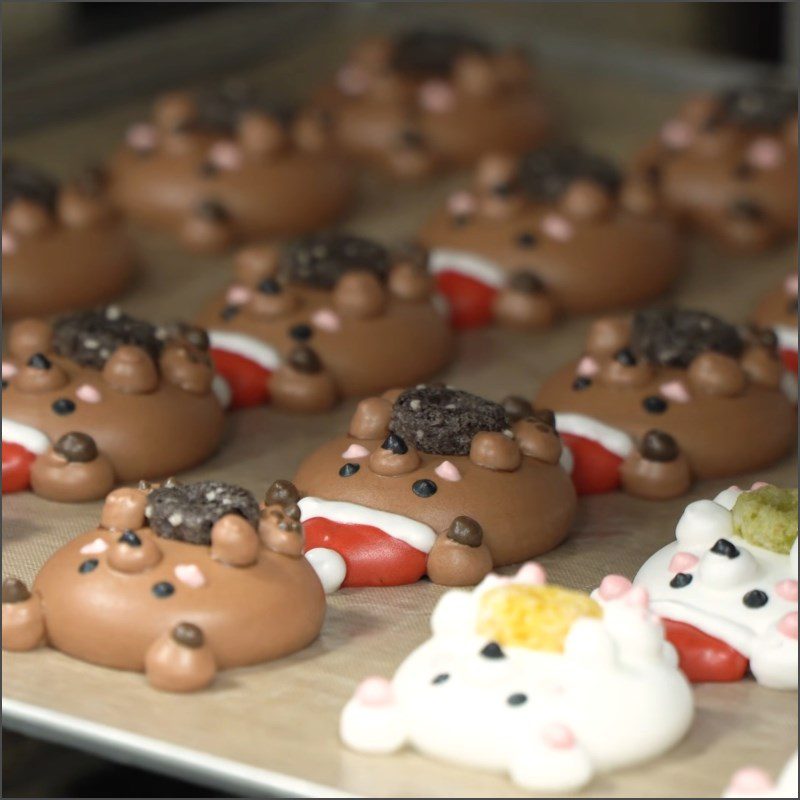
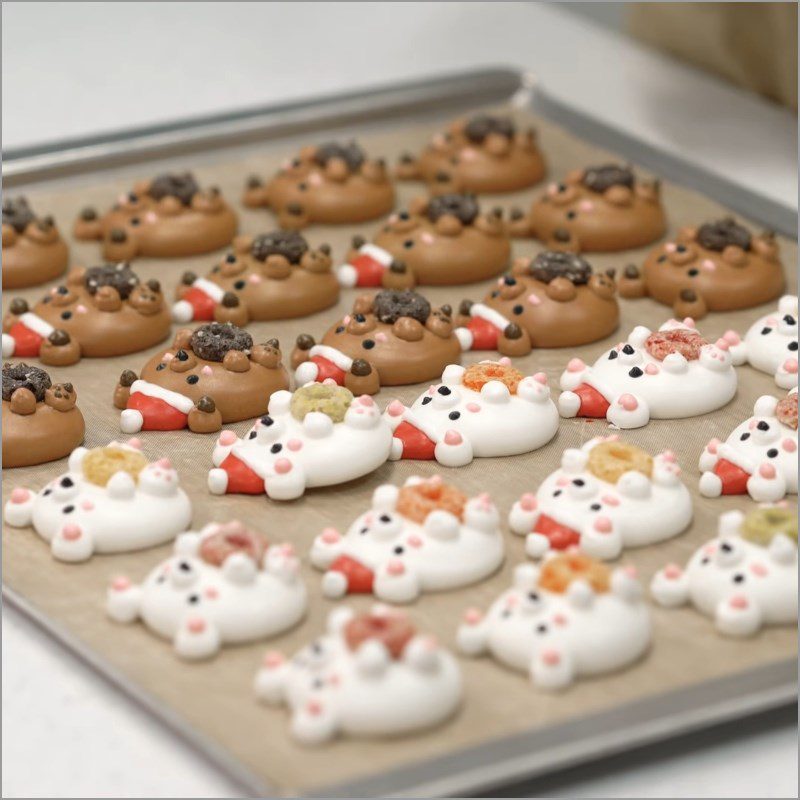
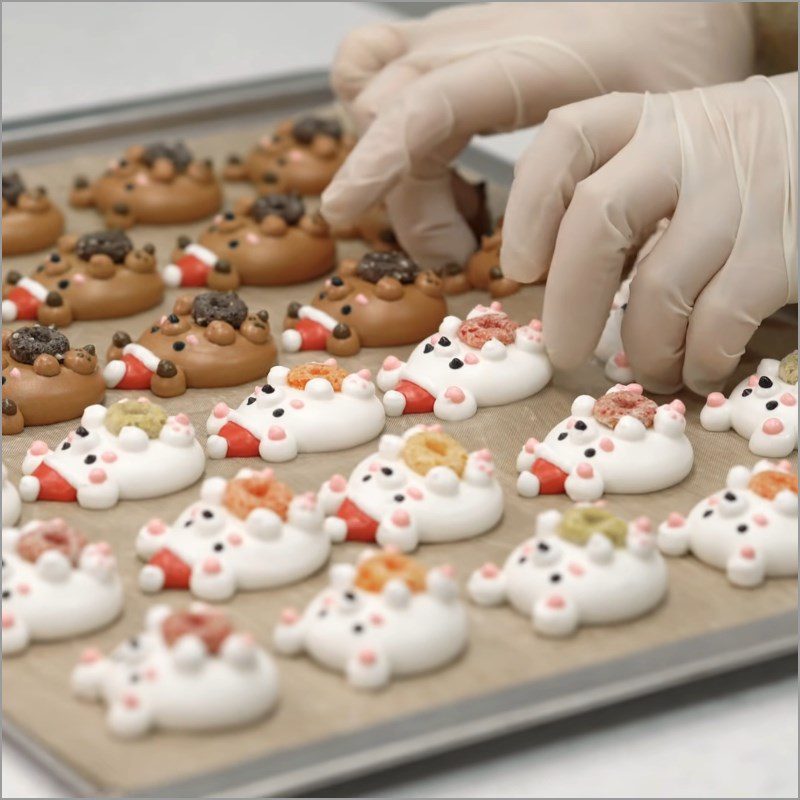
You place the parchment paper on the baking tray, take the white icing bag and squeeze it into round shapes to create the body of the bear. Note that you shouldn’t pipe them too close together, as you need to leave space to shape other parts.
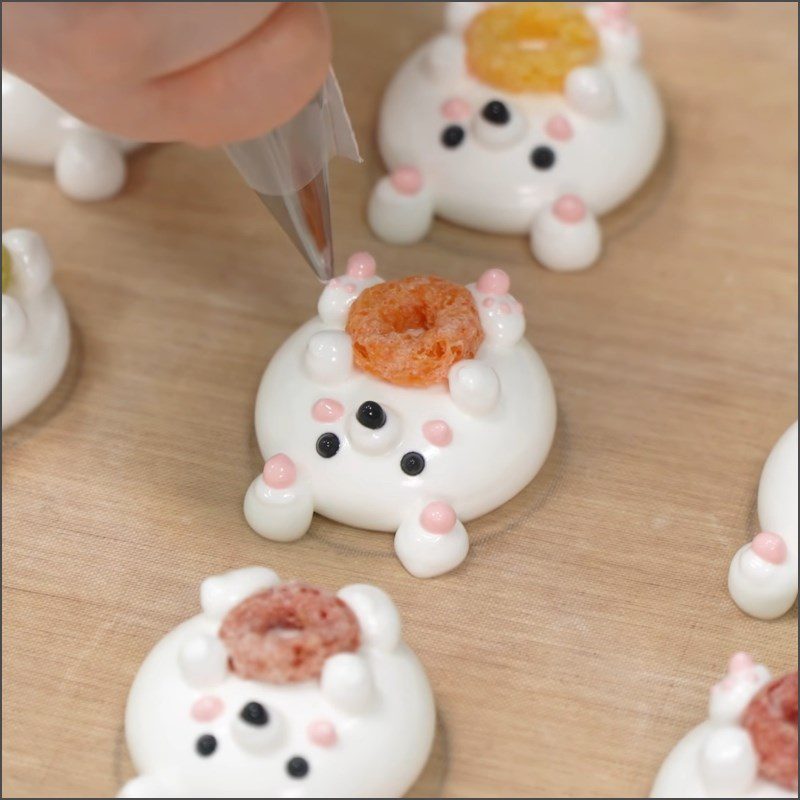
Next, carefully place each round snack cake onto the white layer you just piped, positioning them slightly towards the bottom. Continue by piping 2 ears, the nose, and the arms and legs holding onto the cake.
Then, take the black icing bag to pipe the eyes and lightly dot the nose for emphasis. After that, use the pink icing bag to create rosy cheeks, lightly dotting them on the 2 ears and the legs.
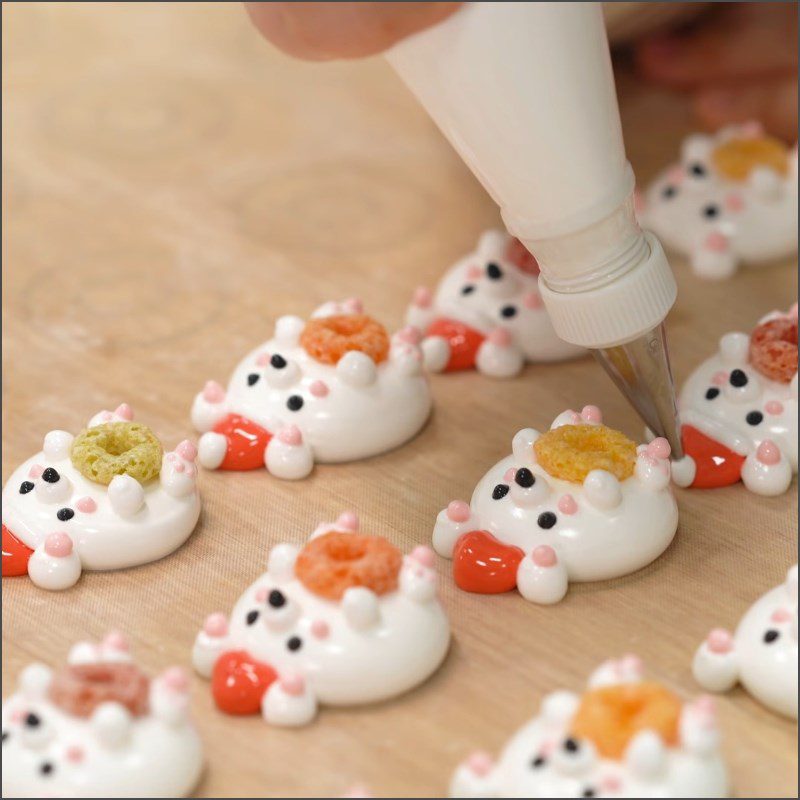
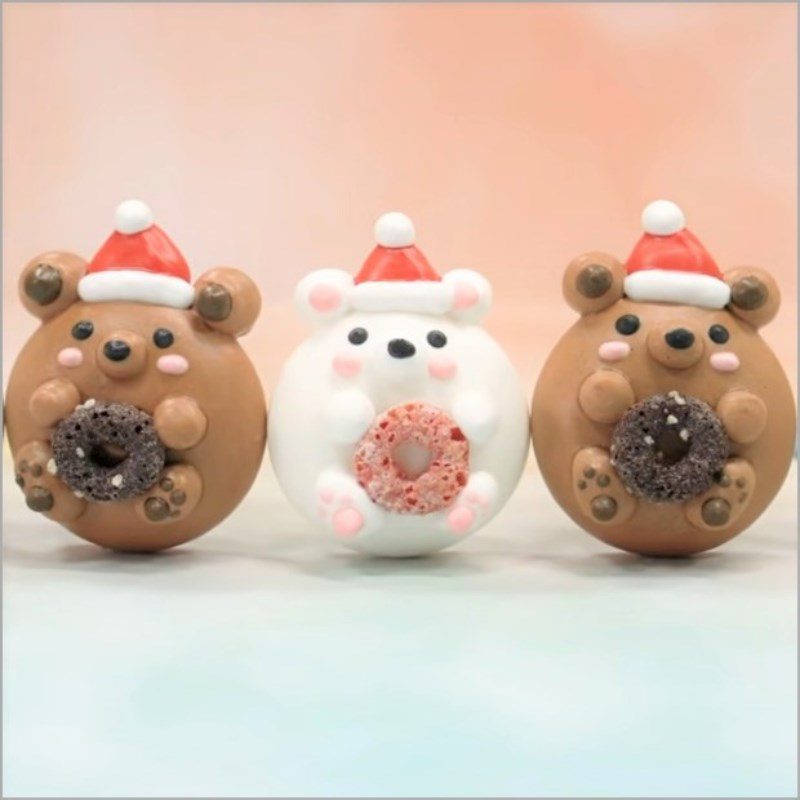
Then, take the red icing bag to pipe a triangle in the center of the 2 ears to create the hat. Finally, use the white icing bag to create the tip of the hat and the straps, and you’re done.
You can do the same with the light brown icing bag to shape another bear! Depending on your preference, you can mix different colors or shapes for your bear.
-
Baking the Cake
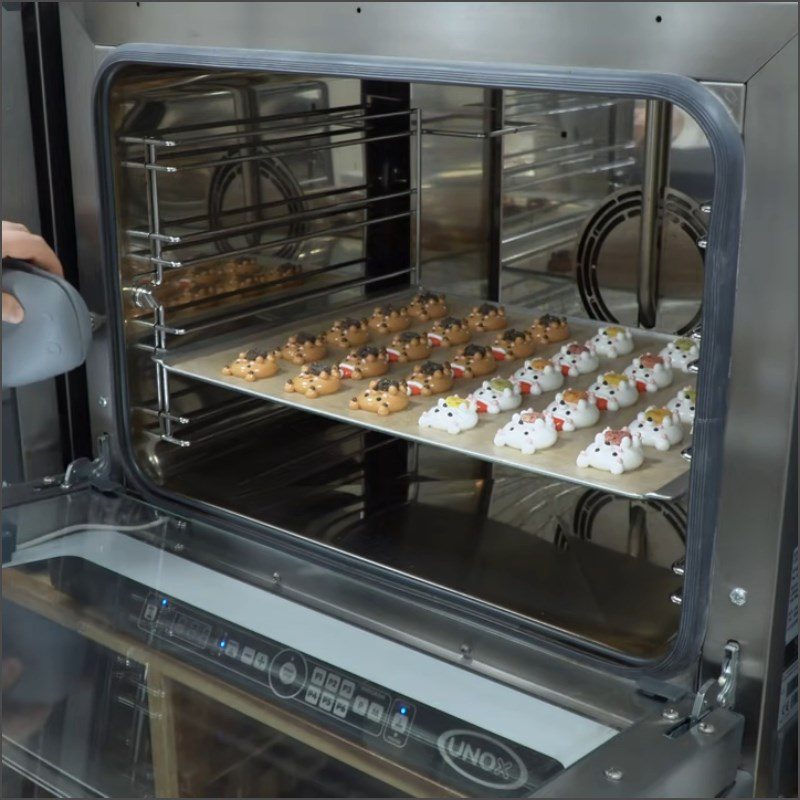
Once shaped, you need to preheat the convection oven to 160 degrees Celsius for about 10 – 15 minutes. Then, gradually place the baking tray inside and bake at 90 degrees Celsius for 90 – 100 minutes.
When the cake is evenly cooked, turn off the oven, carefully take out the baking tray, then remove the cake from the tray and decorate it for your party!
-
Final Product
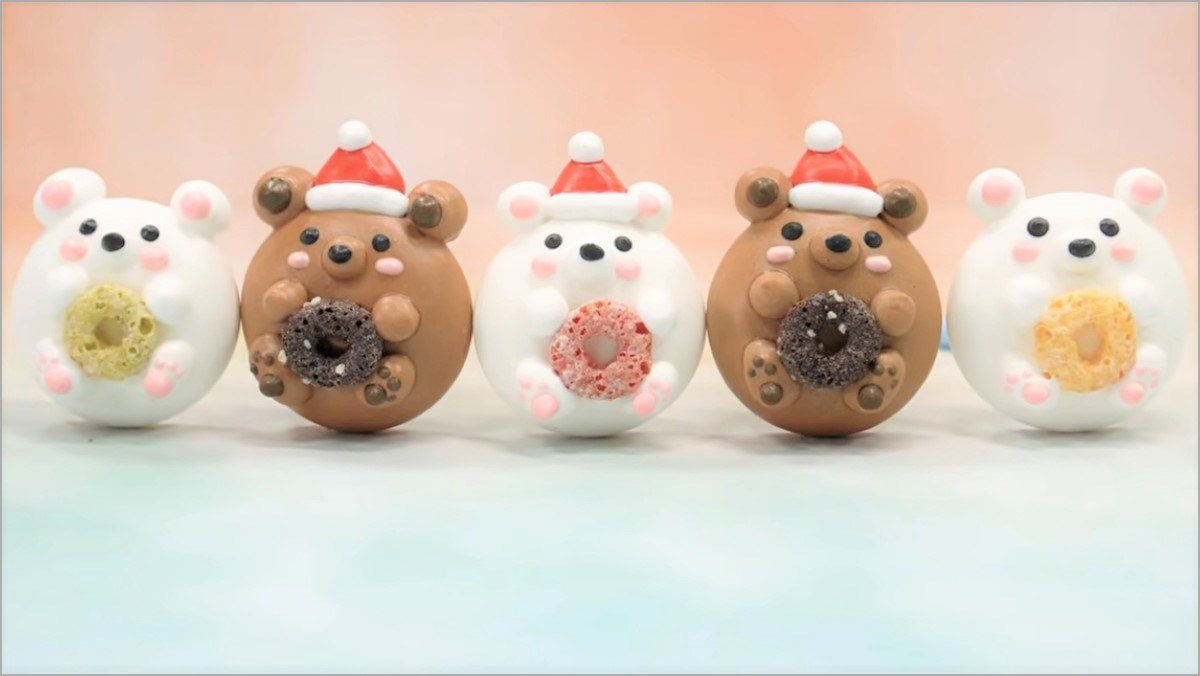
The Swiss meringue bear-shaped cake is sure to attract not just the little ones, but everyone will be drawn to this cake!
Each “bear” with its vibrant colors is very eye-catching and quite easy to make! Especially when enjoyed, the sweet flavor combined with the perfect fluffiness of the egg whites is simply delightful!

2. Swiss meringue Christmas tree
-
Preparation
30 minutes
-
Cooking
40 minutes
-
Difficulty
Easy
Ingredients for Swiss meringue Christmas tree Serves 6
Egg whites 3 pieces Decorative candies A little (depending on preference) Vanilla extract 4 ml Food coloring 6 ml (green) Sugar 60 gr
How to make Swiss meringue in the shape of a Christmas tree
-
Whipping eggs
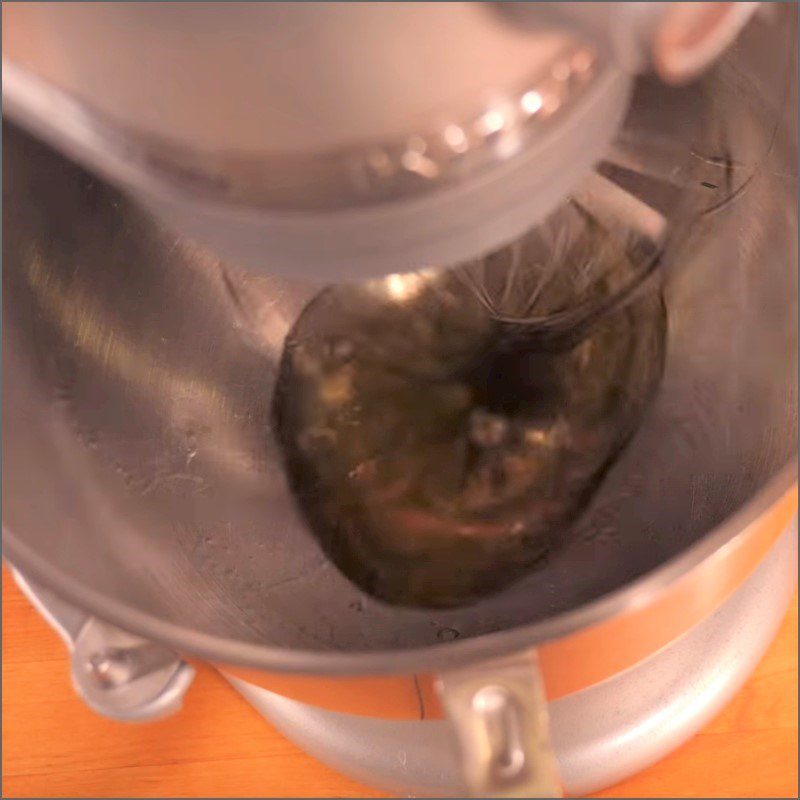
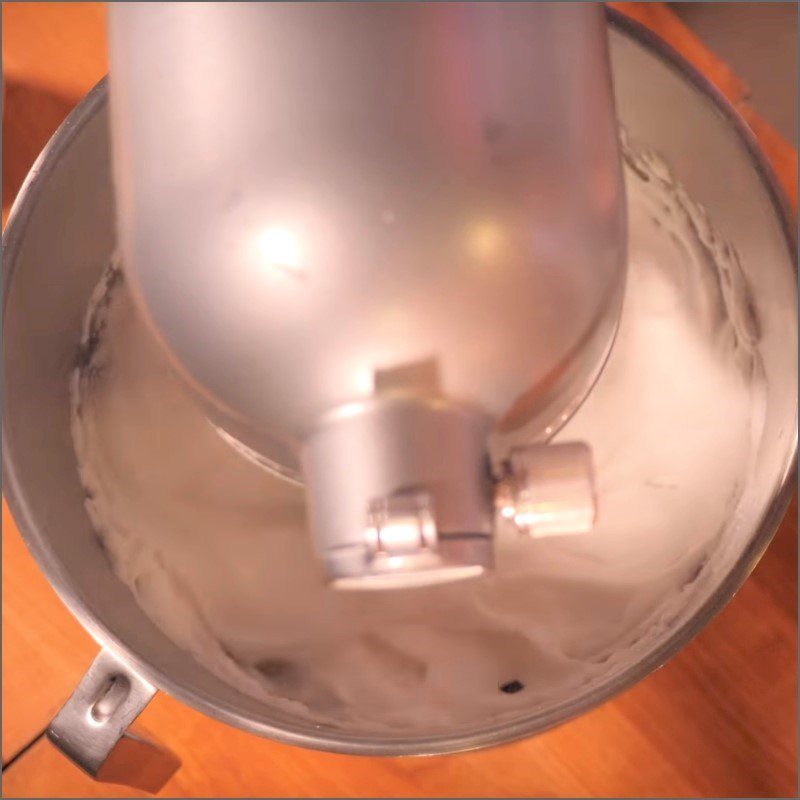
First, place 3 egg whites in a bowl, then attach it to the body of the mixer and start beating on low speed for about 45 seconds.
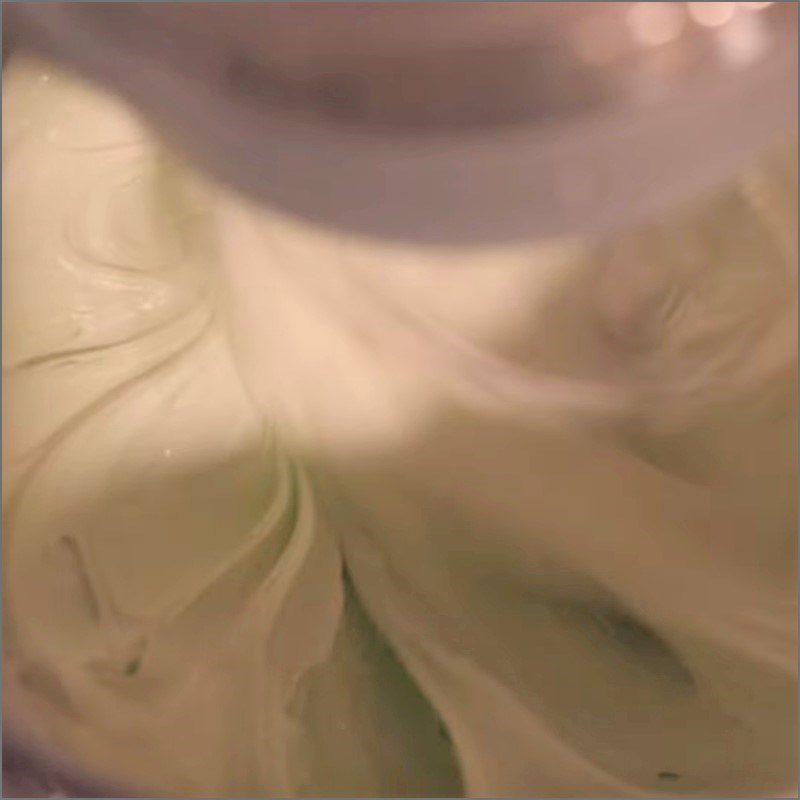
Once you see the egg whites starting to form bubbles, increase to medium speed and continue beating for 10 – 12 minutes. Then, add 4ml of vanilla extract and 3ml of green food coloring.
When the mixture turns light green, add 60gr of sugar, beat for another 1 – 2 minutes until the sugar is dissolved, then turn off the mixer.

-
Shaping
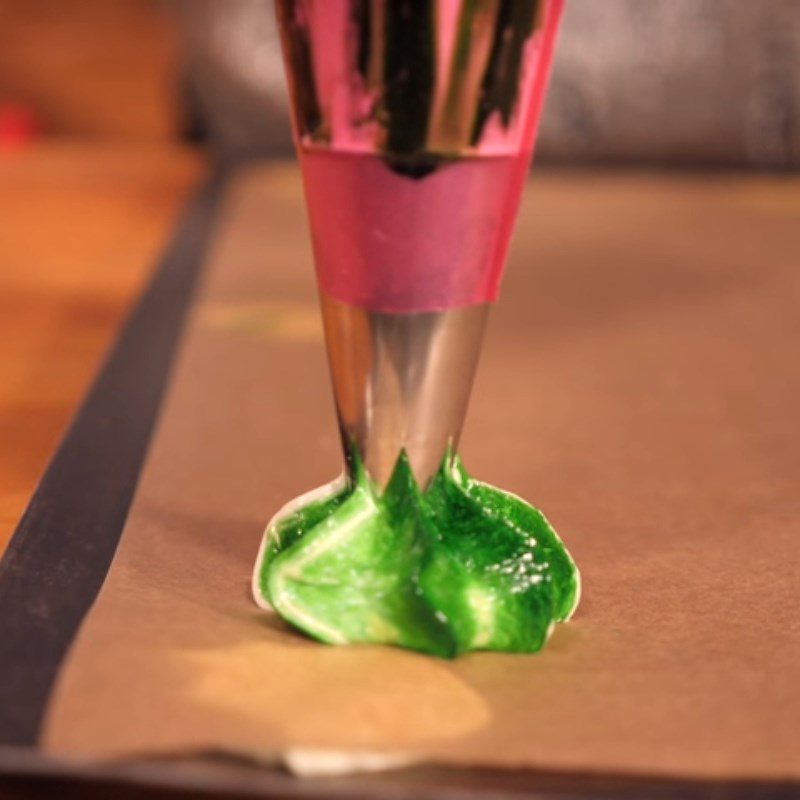
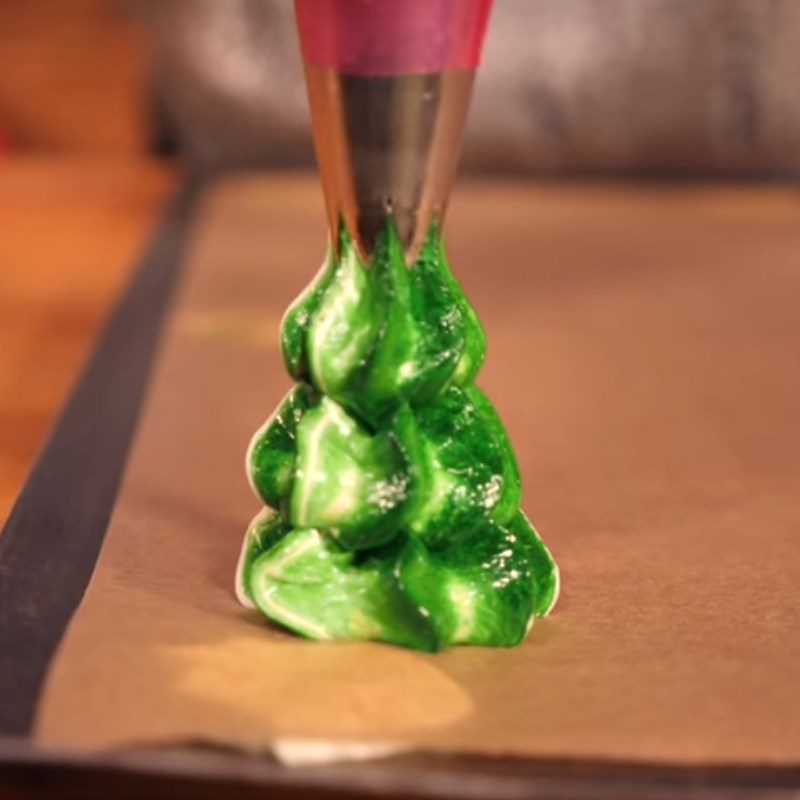
Next, you place the star-shaped piping tip into a specialized piping bag, use a stick to lightly dip into the remaining 3ml of green food coloring, and carefully draw long lines on the inside of the piping bag extending from the tip to near the end of the bag, then you add all the whipped egg whites into it, and tie the bag securely.
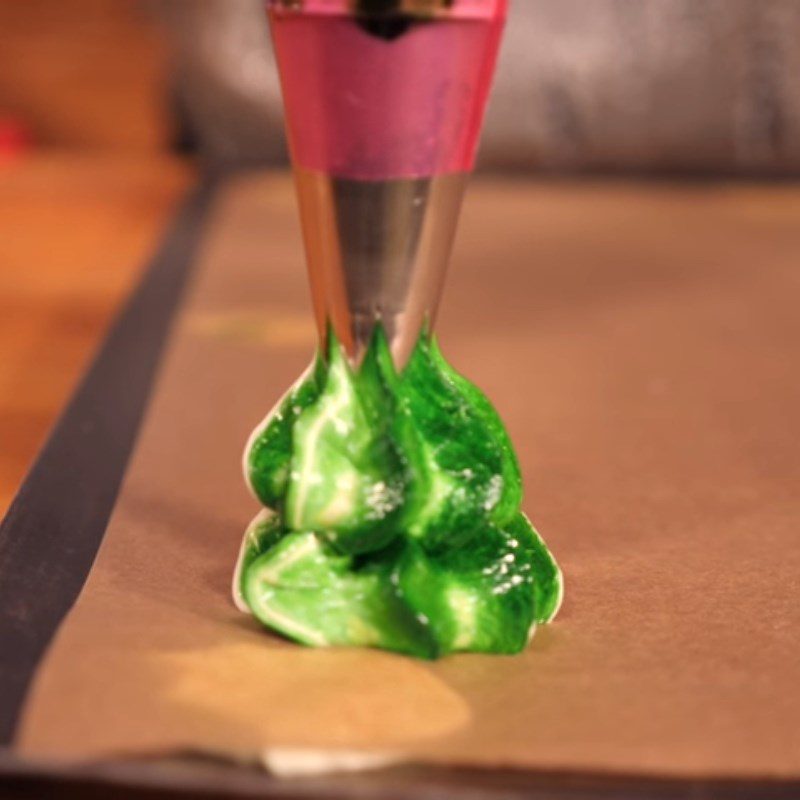
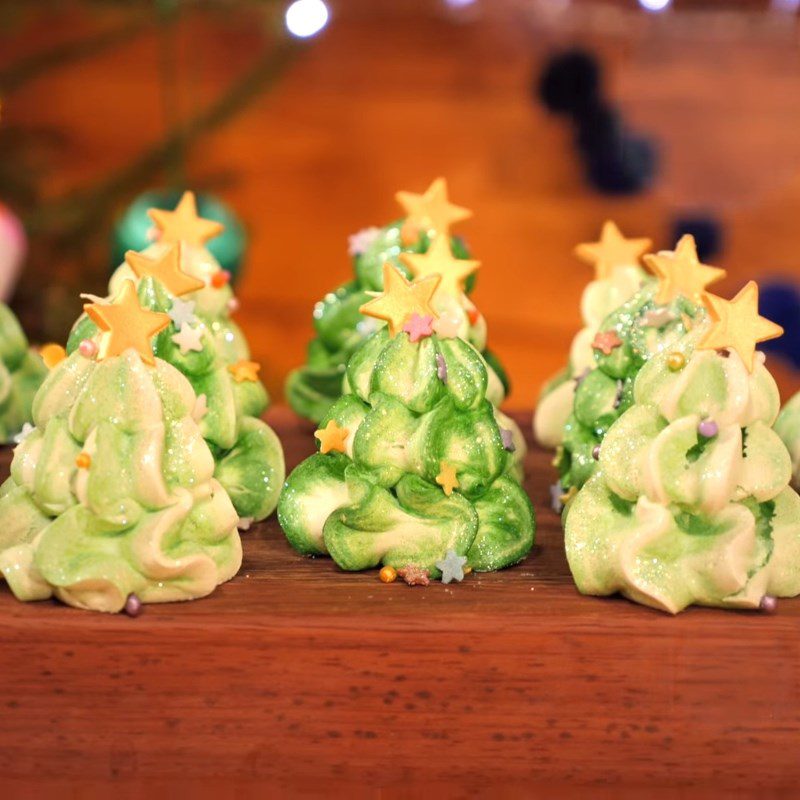
At the same time, you place a sheet of parchment paper on the baking tray. Then, slowly pipe out a star shape and pull a long line upward about the length of a finger but without breaking it, then use force again to pipe out another smaller star shape.
Next, similarly to the previous step, you pull a long line upward about the length of a finger but without breaking it, then pipe out another star shape smaller than the second one. Finally, quickly remove the piping bag to complete the tree.
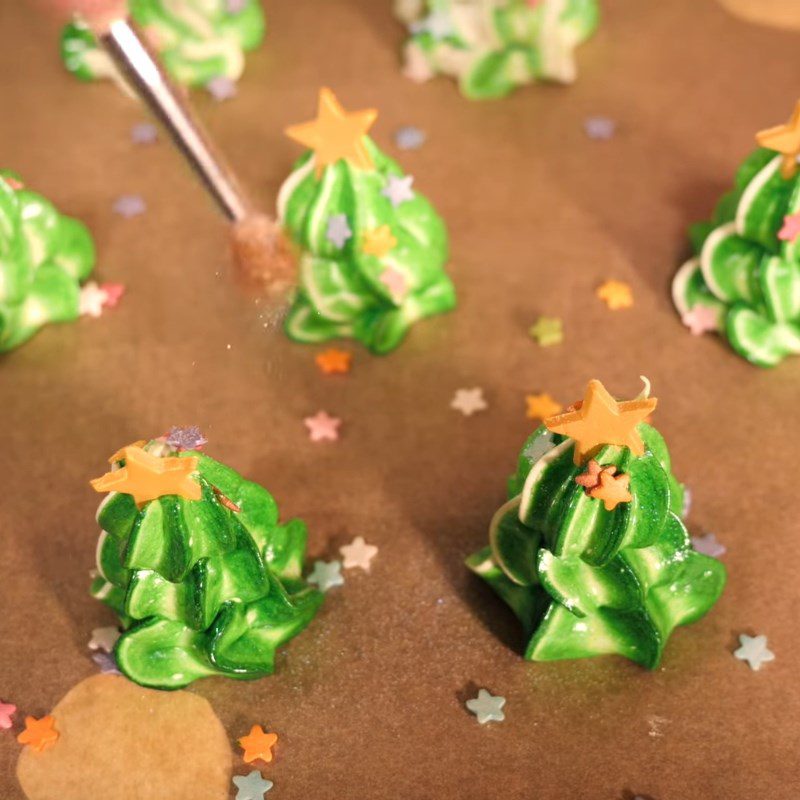
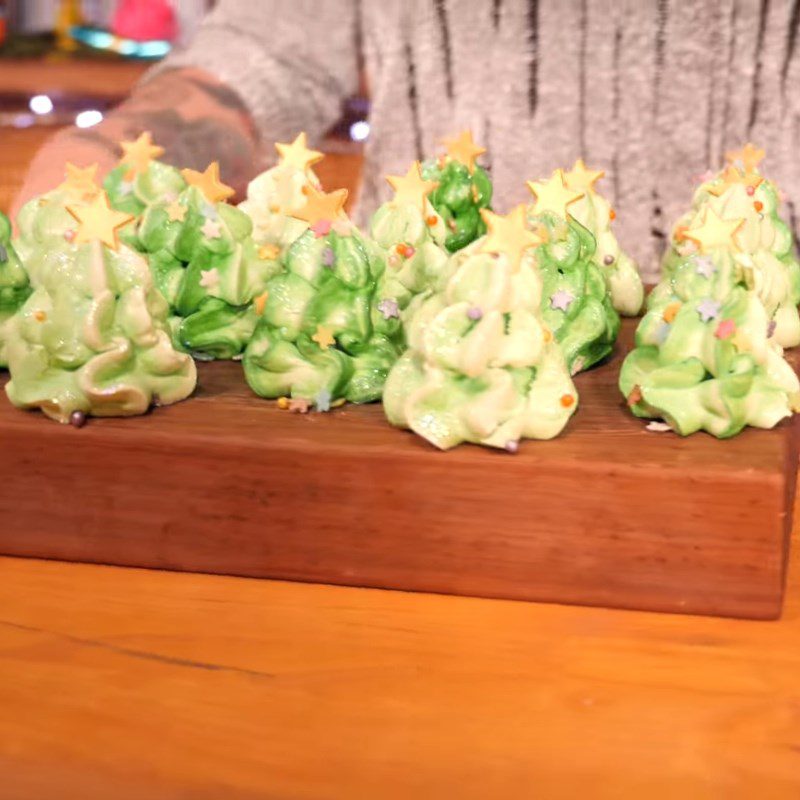
You continue to do this until you have completely used up the egg whites. Then, depending on your preference, you can decorate with a little bit of star-shaped cookies, candies, etc.
-
Baking the cake
After shaping, you proceed to preheat the convection oven at 160 degrees Celsius for 10 – 15 minutes.
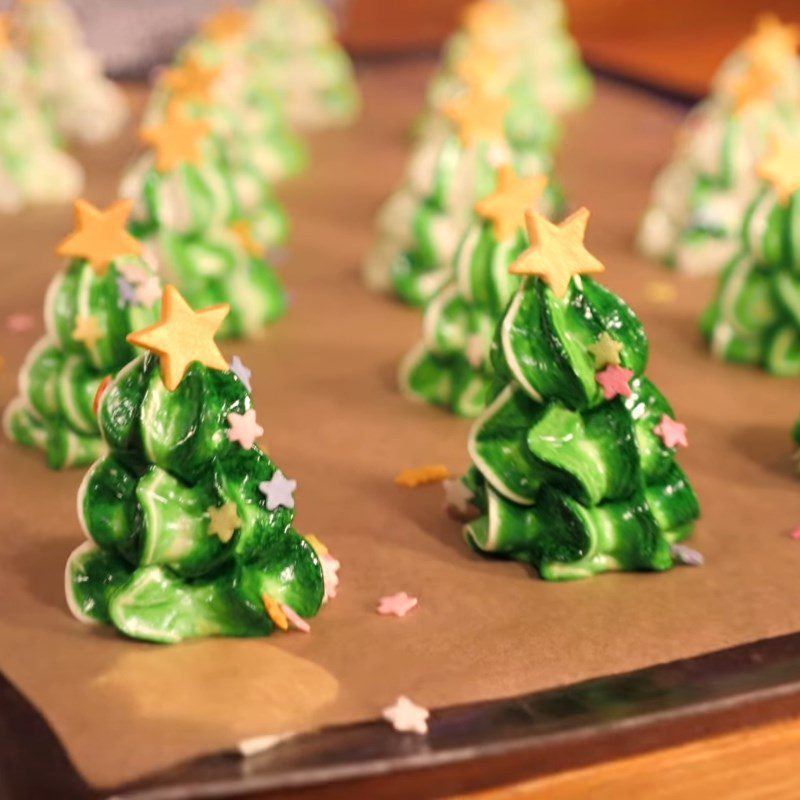
Then, you carefully place the baking tray inside, and bake at 90 degrees Celsius for 30 minutes. When the cake is completely cooked, you turn off the oven, take the mold out to cool, and then decorate the dishes to finish.
-
Final product
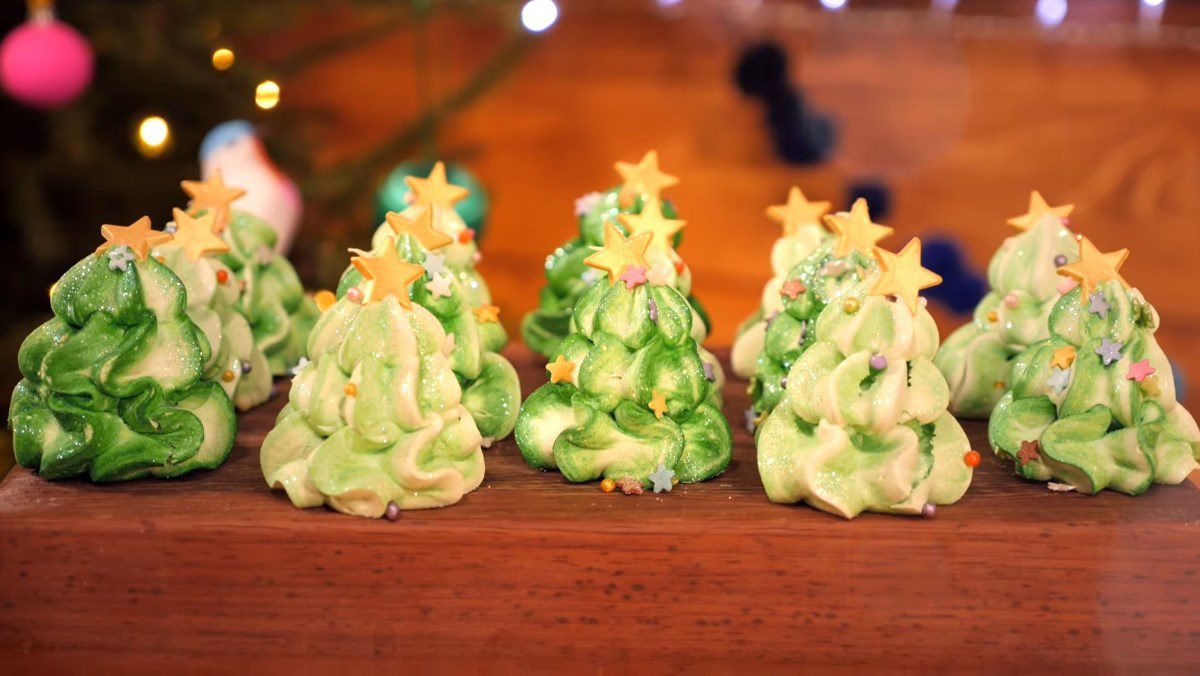
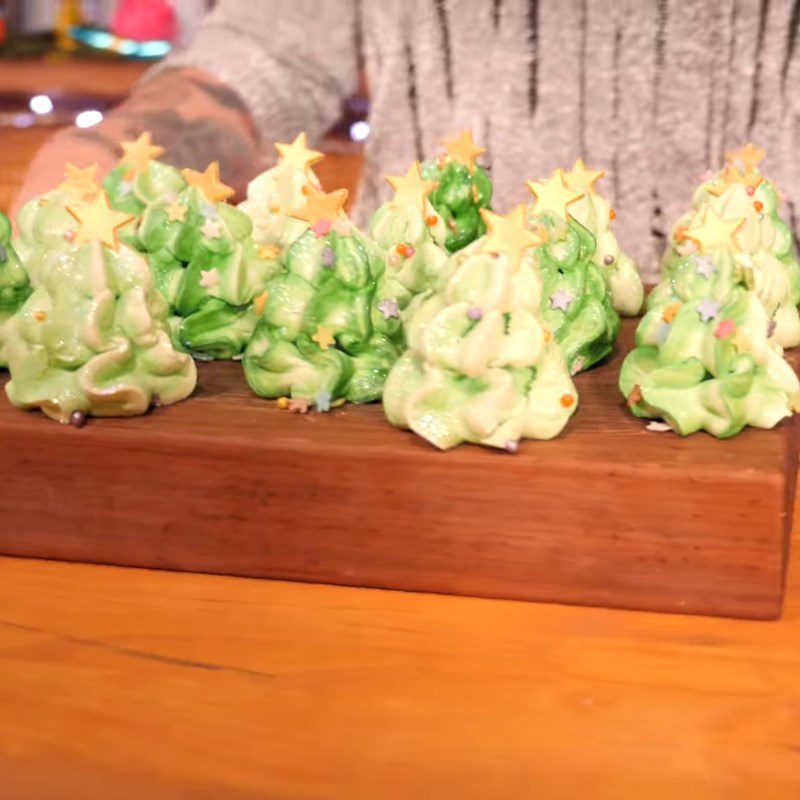
Swiss meringue in the shape of a Christmas tree truly represents the “symbol” of Christmas Eve that you definitely should not miss.
Aside from the eye-catching decoration, each Christmas tree also has a striking touch with a beautiful green color.
Especially, when combined with other cakes, the fluffiness, softness, and creaminess of the Swiss meringue blend perfectly with the other baked goods, making it incredibly delicious.
3. Swiss meringue snowman
-
Preparation
50 minutes
-
Cooking
1 hour 30 minutes
-
Difficulty
Easy
Ingredients for Swiss Meringue Snowman Serves 6
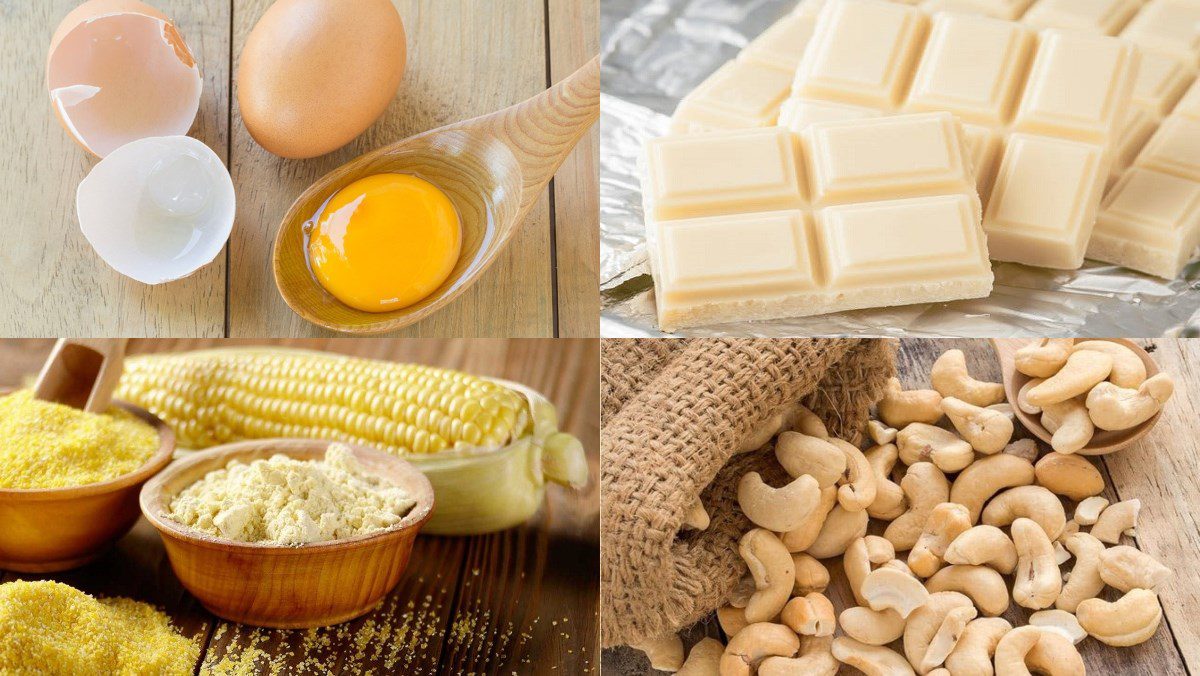
Egg whites 40 gr White chocolate 100 gr Nuts 50 gr Cashews 50 gr Cornstarch 35 gr Vanilla extract 2.5 ml Food coloring 2 ml (pink) Sugar 80 gr
Image of Ingredients
Required Tools
Oven, egg beater, knife, cutting board, specialized writing tools,…
How to make Swiss meringue snowman
-
Whipping the eggs
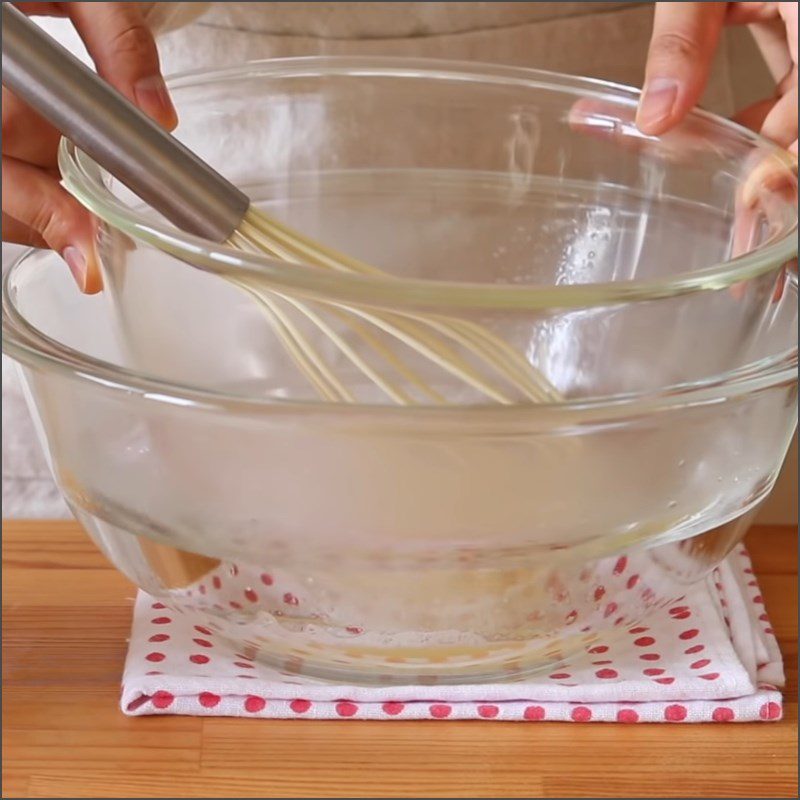
First, put 40gr egg whites and 20gr sugar into a bowl, and use a whisk to mix well for about 45 – 60 seconds.
At the same time, put 500ml of boiling water into another bowl, then place the bowl of eggs on top, continue to add 20gr of sugar and use the whisk to mix continuously.
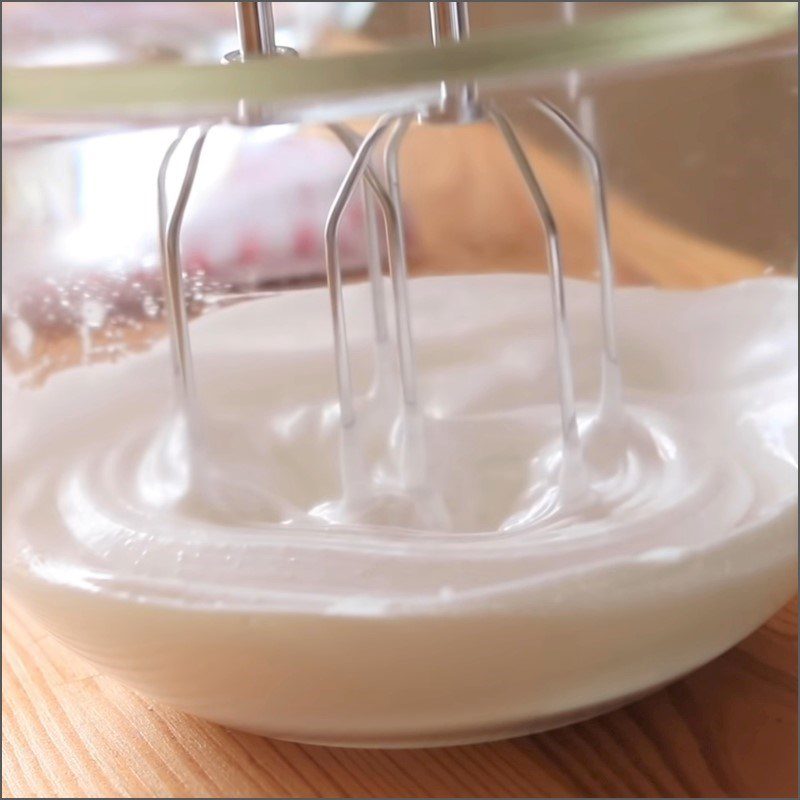
When the eggs are warm (about 50 degrees Celsius), take the bowl of eggs off and place it on a flat surface, add the remaining 40gr of sugar, and use a mixer to beat at medium speed for 10 – 12 minutes.
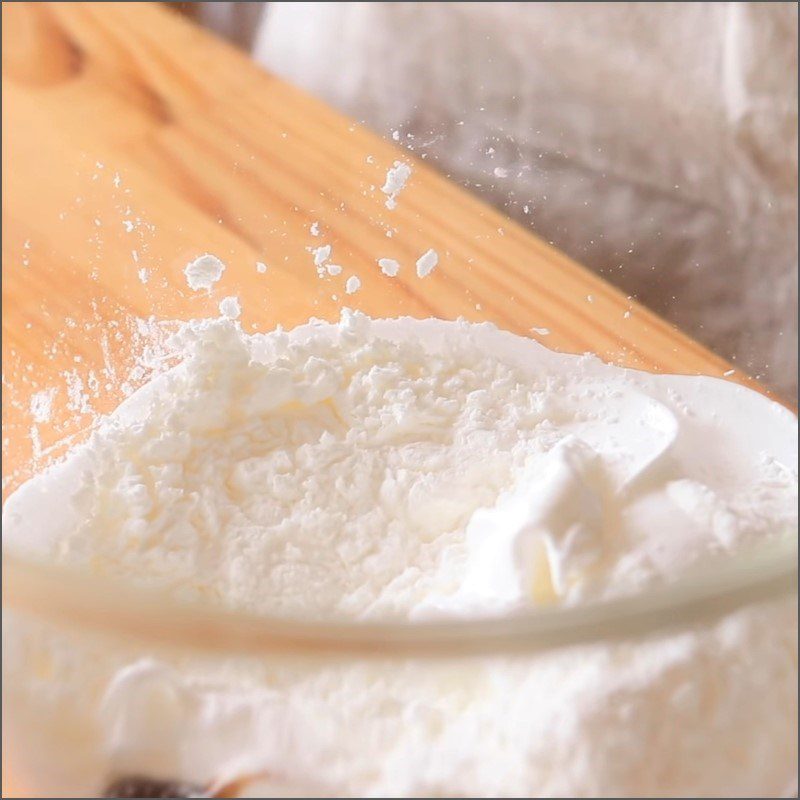
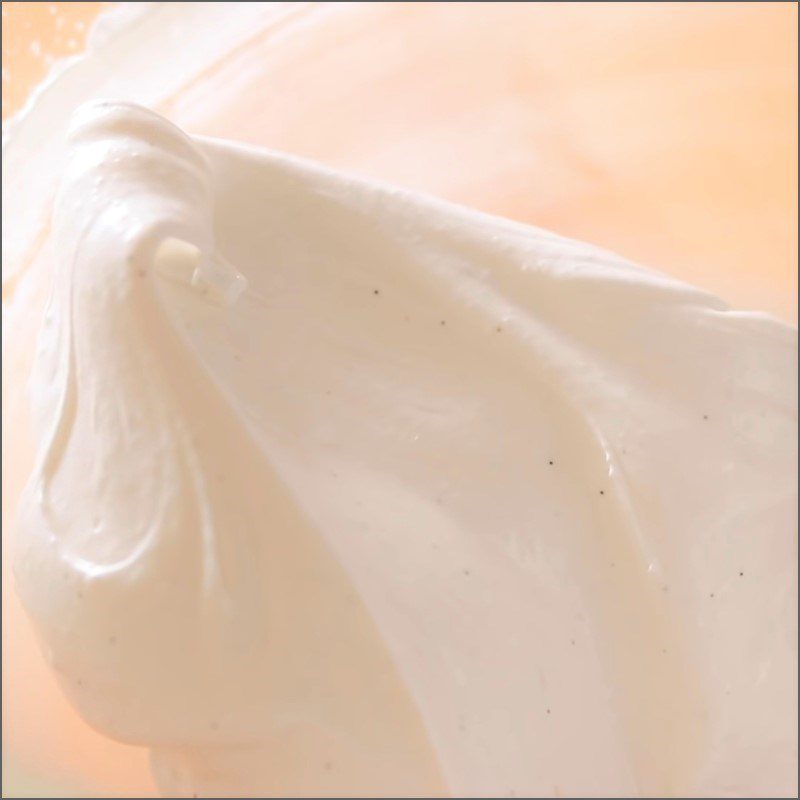
Once the eggs have completely fluffed up, add 2.5ml of vanilla extract and 35gr of corn starch, and use a spatula to fold gently to combine the mixture.
-
Shaping
You place a round piping tip into a specialized piping bag, add all the whipped egg whites, and then tie it securely.
Next, you place a sheet of parchment paper on the baking tray and gently pipe a large round shape for the body, then continue to pipe another smaller round shape attached to the body to form the snowman’s head.
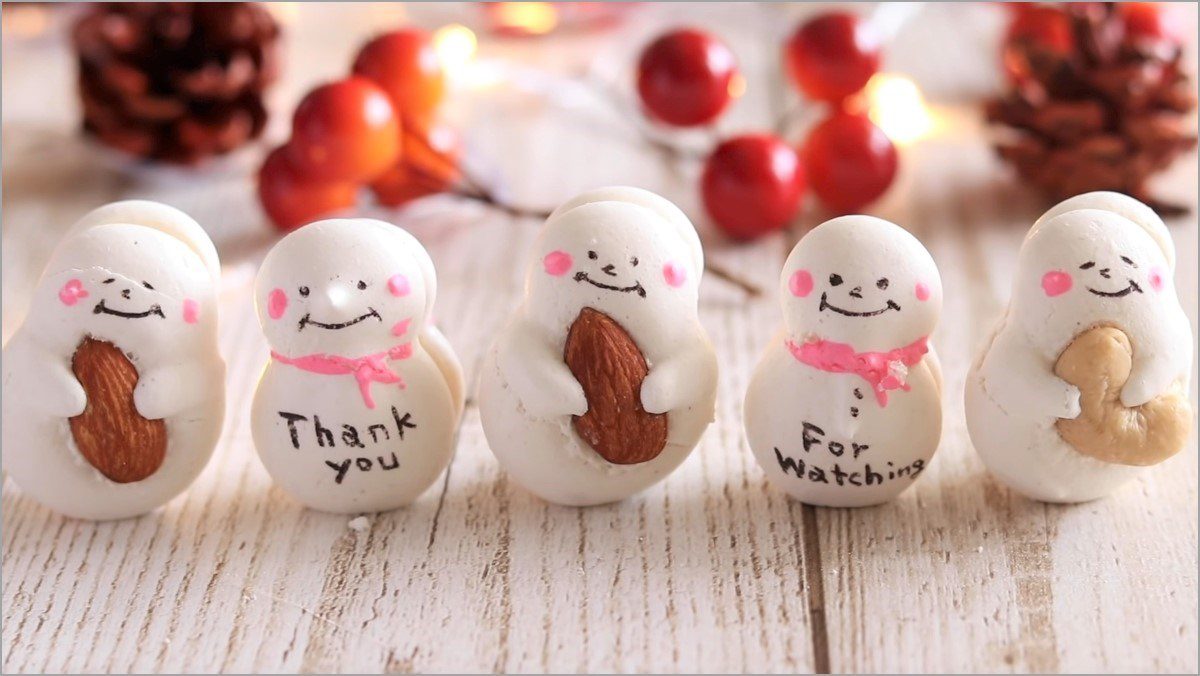
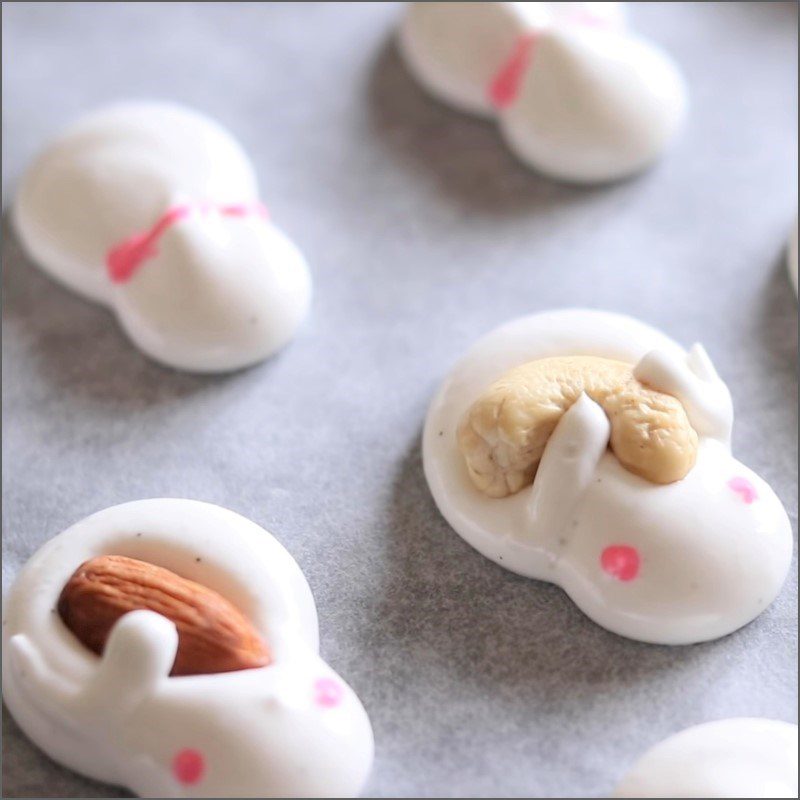
Then, you add cashews or nuts on the body and pipe 2 small arms hugging the nuts. At the same time, you pipe a little of the whipped egg whites and 2ml of pink food coloring into another bowl and mix well with a spoon.
Finally, you take a toothpick, gently dip it into the pink egg whites, and draw 2 eyes on the snowman and a bell around the neck – right at the joint between the head and body for a nice touch.
You can shape and create according to your preferences for different snowmen! However, you should try to make the snowmen uniform in size so that the decoration looks more appealing!
.jpg)
.jpg)
.jpg)
-
Baking the cake
You should preheat the oven to 160 degrees Celsius for 10-15 minutes. Then, carefully place the baking tray inside and bake at 100 degrees Celsius for 65-70 minutes.
Once the cake is done, turn off the oven and let it cool in the oven for about 4-6 hours before transferring it to a flat surface for decoration.
.jpg)
.jpg)
-
Melting chocolate
Chop 100g of white chocolate finely with a knife. At the same time, place all the white chocolate into a bowl and set it over another bowl containing 500ml of boiling water to melt it using the double boiler method.
Then, continuously stir with a spatula for about 10 minutes until the chocolate is completely melted.
.jpg)
.jpg)
.jpg)
.jpg)
-
Completion
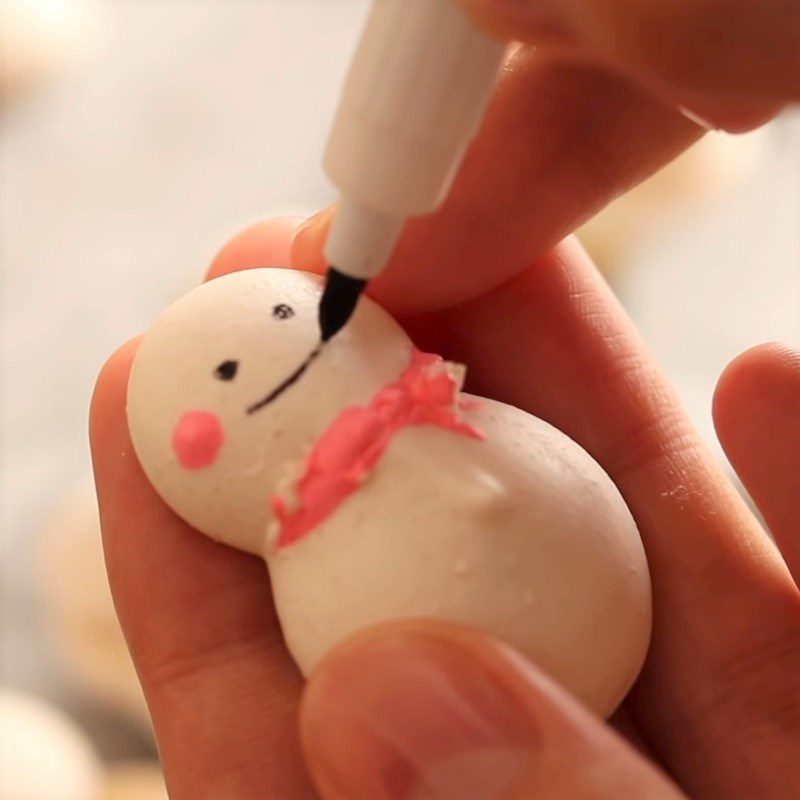
Once the cake has cooled completely, take one snowman, turn it over to its back, and add a little melted white chocolate, then continue to take another snowman and stack it on top.
When you see both sides of the snowman have stuck together, use a special pen to draw eyes, a mouth, and add decorative highlights according to your preference to finish. Keep doing this until you run out of snowmen!
.jpg)
.jpg)
.jpg)
-
Final Product
The Swiss meringue snowman, with its eye-catching white color and simple yet exquisite presentation, creates a Christmas atmosphere that feels right beside you!
When enjoying the Swiss meringue, you will find it very delightful with the cake being fluffy, not too soft or too dry, with a moderate sweetness blending with cashews and nuts, and if decorated with other baked goods, it couldn’t be better.


4. Swiss meringue Santa Claus
-
Preparation
1 hour
-
Cooking
2 hours 10 minutes
-
Difficulty
Easy
Ingredients for Swiss meringue Santa Claus Serves 6
Egg whites 100 gr Food coloring A little (red/ yellow/ white) Sugar 180 gr
How to make Swiss meringue for Santa Claus
-
Whip the eggs
First, put 100g of egg whites and 180g of sugar into a bowl. At the same time, place a pot on the stove with 500ml of water and bring it to a boil over high heat.
When the water is hot (about 55 degrees Celsius), reduce the heat to medium, place the bowl of eggs on top, and steam for about 3 – 4 minutes. To prevent the eggs from cooking, use a flat spatula to continuously stir in one direction.
Once the sugar has mostly dissolved, turn off the heat, carefully place the bowl of eggs on a flat surface, and use a hand mixer to beat at medium speed for about 10 minutes.
When the eggs have completely whipped up, reduce the speed to low, beat for another minute, then turn off the mixer.
.jpg)
.jpg)
.jpg)
.jpg)
-
Color Mixing
You divide the egg mixture into 3 parts. The first part is put into a piping bag that has already been fitted with a round nozzle.
For the remaining 2 parts, you place them in 2 different bowls. In the first bowl, add a little red food coloring, and use a flat spatula to mix until you achieve the desired red color.
In the other bowl, add a little red and yellow food coloring, and use a flat spatula to stir until you achieve a light brown color.
Finally, you just need to put the 2 colored egg mixtures into 2 different piping bags that have already been fitted with round nozzles.
.jpg)
.jpg)
.jpg)
.jpg)
-
Shaping
You place parchment paper on the baking tray, take a bag filled with white cream and pipe it into a slightly flat round shape, then take red to pipe another flat round shape on top of the white one with a similar size.
Next, you use a light brown bag to pipe another round shape on top of the red one to create the head. Continue by using white to pipe a circle around the newly piped head.
Then, use red to pipe a triangle pointing upwards to create a hat, as well as both arms. Next, take white to pipe the beard underneath in a zigzag shape, followed by the mustache, eyebrows, and 2 small round dots on the arms.
Finally, take light brown to lightly dot for the nose and right next to the eyebrow. Keep doing this until you finish shaping the entire egg!
.jpg)
.jpg)
.jpg)
.jpg)
-
Baking
You preheat the oven to 160 degrees Celsius for 10 – 15 minutes. Then, place the baking tray in, and bake at 80 degrees Celsius for 90 – 120 minutes.
When the cake is evenly cooked, turn off the oven, take the baking tray out to cool completely at room temperature. Finally, use a special pen to add more eyes and you’re done.
.jpg)
.jpg)
.jpg)
.jpg)
-
Final Product
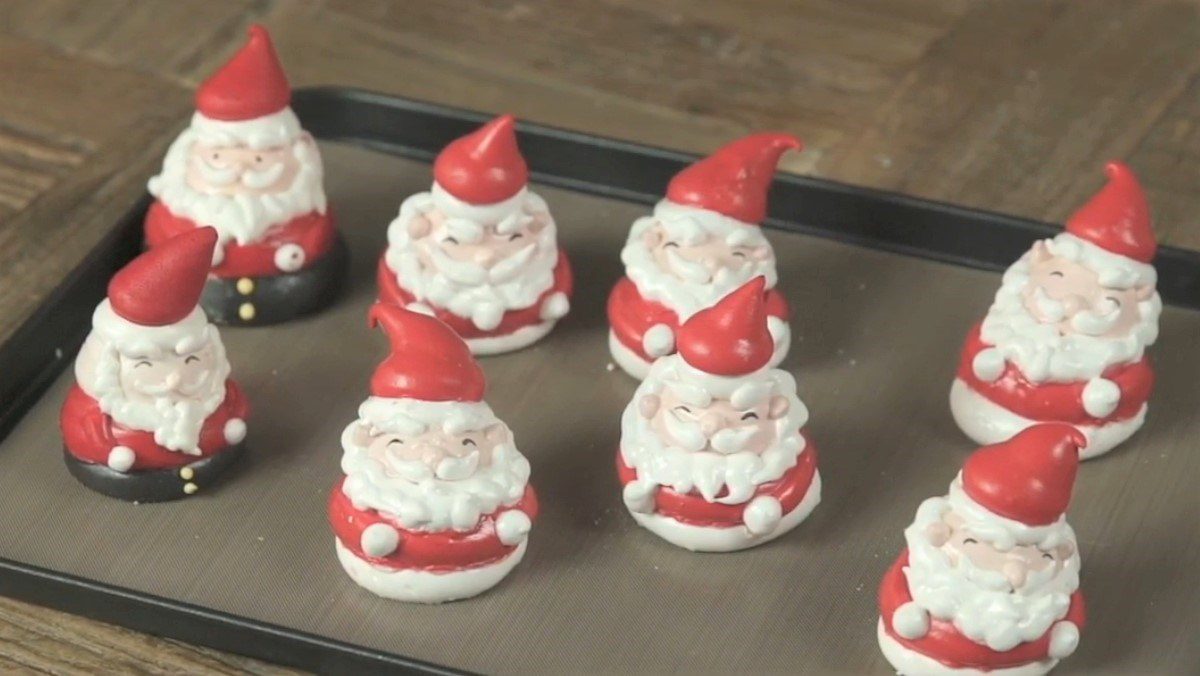
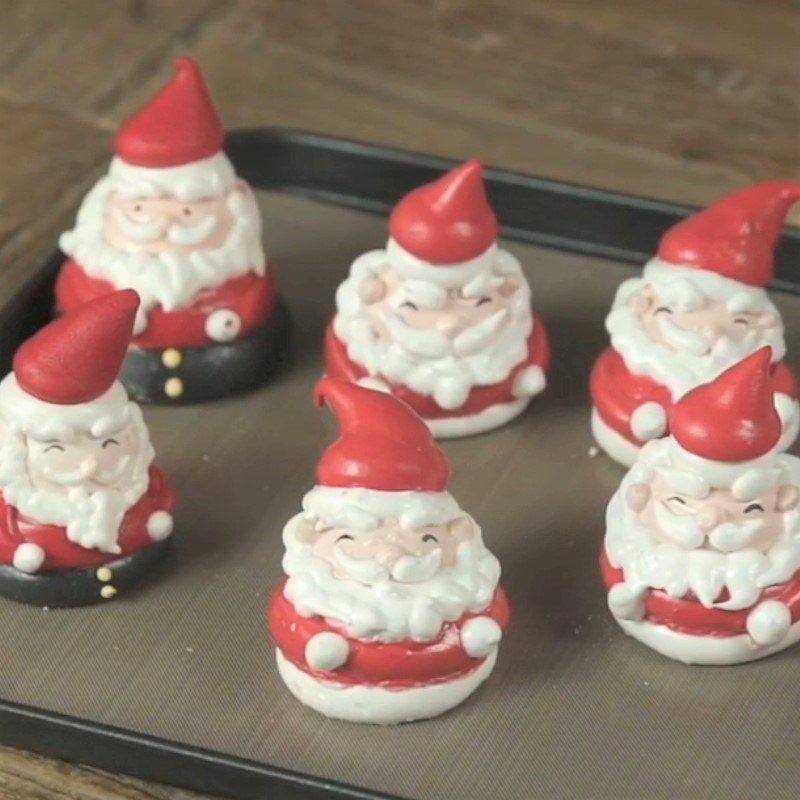
Swiss meringue Santa Claus is a wonderful cake decoration to elevate your Christmas night party.
Each Santa Claus looks so lively, with eye-catching colors that you can’t take your eyes off! Moreover, the cake is fluffy, not too dry, and incredibly airy!
.jpg)
How to choose fresh eggs
- Fresh eggs have a bright-colored shell that looks sturdy and shiny, without cracks or unusual rough shapes.
- To check for fresh eggs, the simplest method is to shake them; if you hear a sound of liquid sloshing inside, the egg is spoiled and should not be purchased.
- You should avoid buying eggs with cracked shells, especially those leaking liquid, as these are eggs that have gone bad due to being stored for too long.
How to properly whip egg whites
- Step 1: To ensure that the egg whites whip up quickly, you need to carefully separate the yolks from the whites, making sure not to leave any yolk behind.
- Step 2: Next, you should whip at a low speed for about 45 – 60 seconds, and when you see bubbles forming, gradually add the sugar, while increasing the speed to medium until you achieve the desired fluffiness. Additionally, make sure to prepare clean and dry tools for whipping the egg whites!
See more:
At first glance, it can be said that everyone is captivated by the products from the 4 ways to make swiss meringue that make Christmas even more eye-catching. Wishing you success!
