-
Preparation
3 hours
-
Difficulty
Hard
Jelly is a familiar dessert for everyone. Let’s get cooking and make the beautiful and delicious 4D flower jelly for your family!
Ingredients for 4D corn flower jelly Serves 5
Corn 350 kernels Fresh milk 500 ml Whipping cream 200 ml Sugar 350 g Jelly powder 50 g (Agar jelly powder) Pineapple essence 9 L Amaranth 1/4 root (Coloring ingredient) Carrot 1 root (Coloring ingredient)
Tips for selecting ingredients:
- You should choose yellow corn (American corn) so that when blended, the juice will be sweeter. For jelly powder, you should choose the crispy jelly powder – Agar jelly powder will taste better and shape more easily than soft jelly. If not available, you can also choose soft jelly powder and cook a bit more of it!
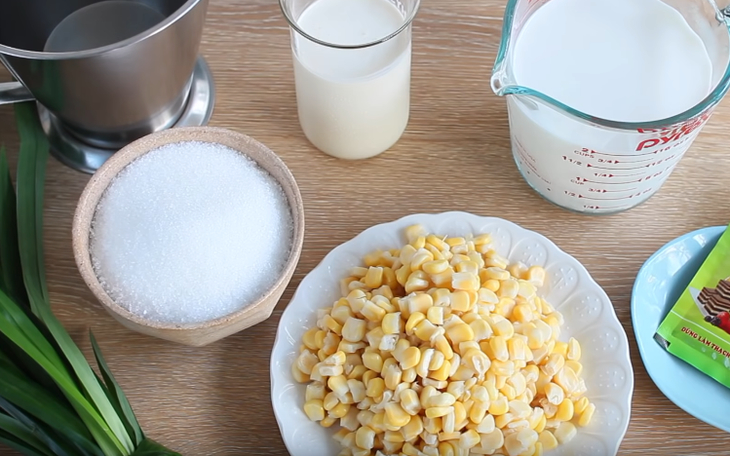
Tools: Pot, bowls, blender, flower and leaf shaped silicon molds, a 20cm round mold, and a medium rectangular mold.
How to make 4D jelly with corn-flavored floating flowers
-
Cooking jelly and mixing colors
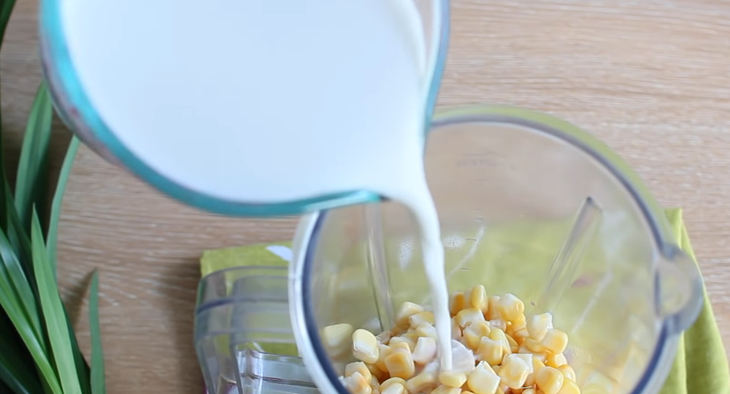
Add 350g of corn kernels and 500ml of fresh milk into a blender, and blend the mixture until smooth.
Pour the blended corn and milk mixture into a pot, and add about 2 – 3 cleaned pandan leaves into the pot. Cook over medium heat until the mixture boils.
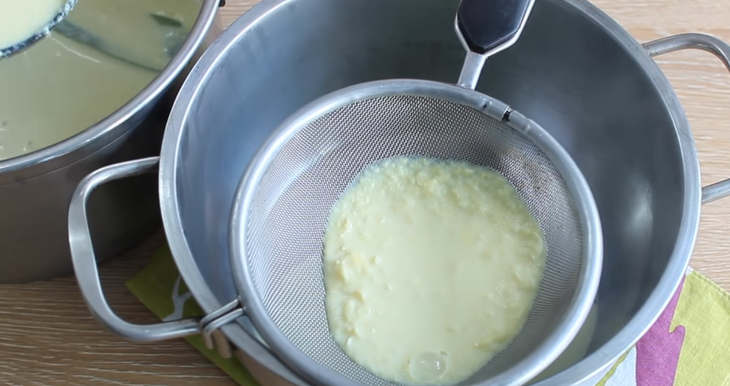
When the mixture has boiled for about 2 – 3 minutes, turn off the heat, and strain the cooked mixture through a sieve to extract the liquid and discard the solid parts.
Add about 200ml of water, 200ml of whipping cream, and 200g of sugar into the strained liquid, stirring well to combine the mixture. Gradually add 22g of agar powder while stirring until dissolved. (Set aside about 3g of agar powder and 1 teaspoon of sugar to make the clear jelly for cake decorating).
Bring the mixed solution to a boil over low heat so that the corn milk jelly dissolves completely. Cover the pot loosely and stir occasionally to prevent clumping.
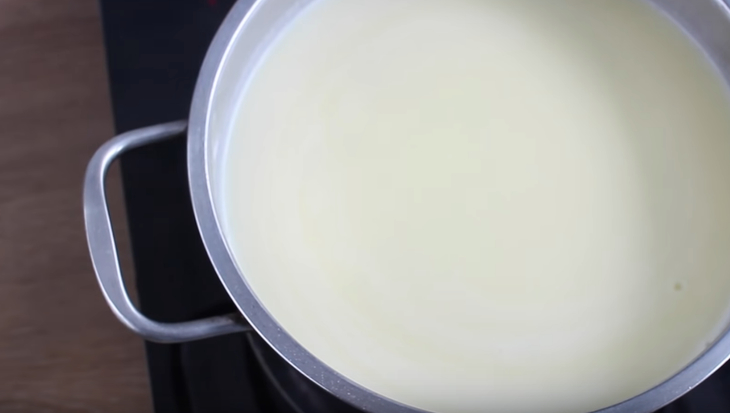
Once the mixture is boiling, turn off the heat and pour the mixture into a round mold. Remember to strain it once more for a smoother jelly; it will taste better. Let the jelly sit to completely set.
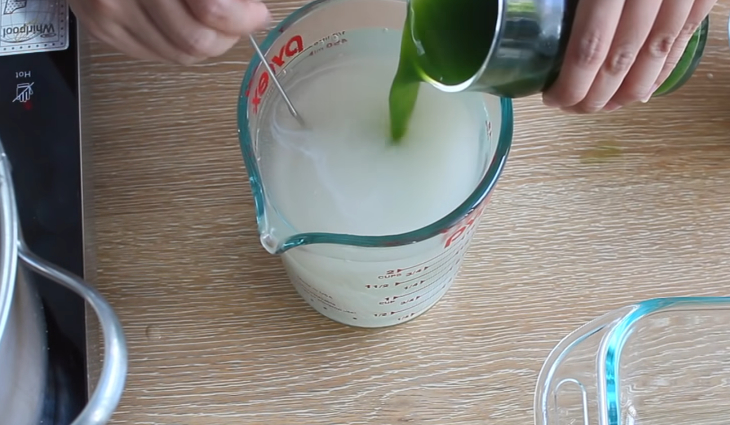
Create green color from pandan leaves, orange from carrots, and red from beetroot. Clean the ingredients, chop them up, then place each type into a blender, add a little water to make blending easier, and blend until smooth, then squeeze to extract the juice and set aside. This way, we will have 3 colors to pour the jelly into flower shapes for decoration.
Tip: You should use a concentrated juice so that when mixed with the jelly liquid, the color will be light enough to look beautiful.

-
Cook clear jelly water
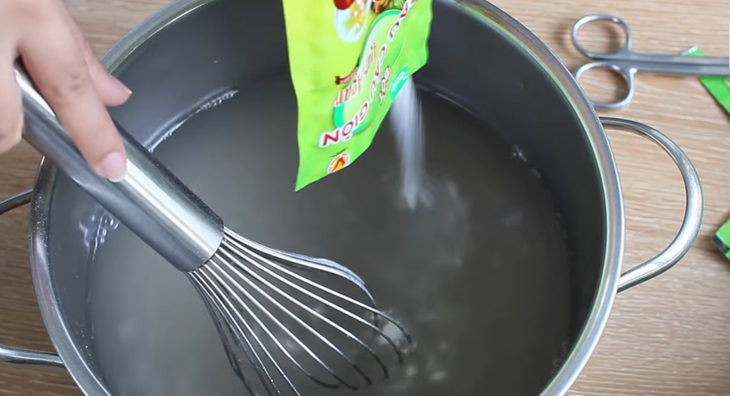
To cook clear jelly water: Add 1.2 liters of water and 150g of sugar into a pot, stir well, then gradually add 25g of jelly powder while continuously stirring until the mixture dissolves. Place the pot on the stove, bring the mixture to a boil over medium heat until fully dissolved. Cover the pot slightly, stir well, and skim off any foam if present.
-
Pour jelly into molds for shaping
Scoop the cooked jelly water into 2/3 of small cups, set aside and wait for it to fully set to create the base for the flowers to float on the cake.
Scoop about 500ml of jelly water into a glass or a large bowl, add 2 tablespoons of condensed milk and 50ml of pandan leaf water, mix well until combined. Pour 1/2 of the mixture into a long mold and wait for it to set. This part will be used for the branches.
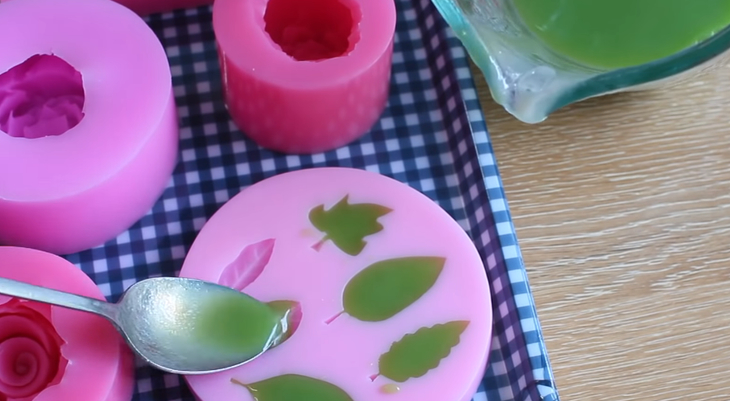
The remaining pandan jelly water should be gently poured into leaf-shaped silicone molds.
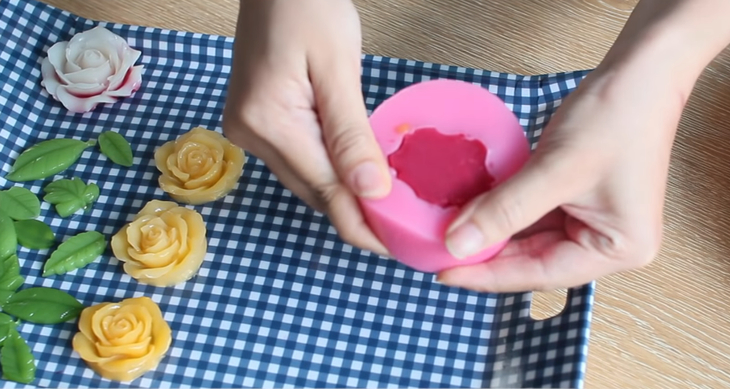
Scoop about 1 cup of jelly water, add 1/2 tablespoon of condensed milk and 2-3 tablespoons of carrot juice, mix well. Pour the carrot jelly mixture into rose-shaped molds and wait for it to set. Do the same with the beetroot mixture.
Tip: You can mix a bit more carrot juice into the carrot jelly mixture for a more vibrant color, similar to the beetroot. However, make sure to control the amount of liquid so that the jelly remains thick and not too runny; otherwise, when it sets, the jelly will be crumbly and not tasty.
-
Shaping the jelly
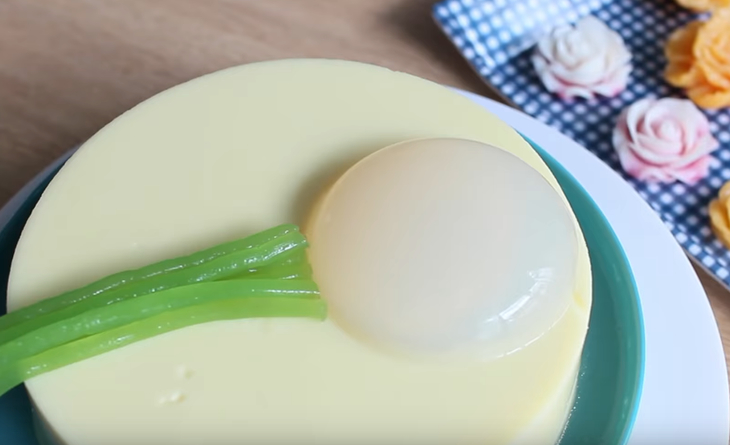
The corn milk jelly has set, so gently remove it from the mold. Place the jelly into a larger bowl, and carefully pour the remaining jelly liquid into the bowl; the clear jelly will help stabilize the cake.
Take the green jelly that has been poured into the long mold. Use a straw (choose one that is a bit sturdy) to gently pierce through the jelly piece to create long strands that will form branches. Do the same to get about 8 – 9 branches.
Remove the flower and leaf-shaped jelly from the silicone mold. Gently separate the edges of the mold, then use two fingers to quickly press the bottom of the mold. Do this gently and carefully so that the jelly does not break.
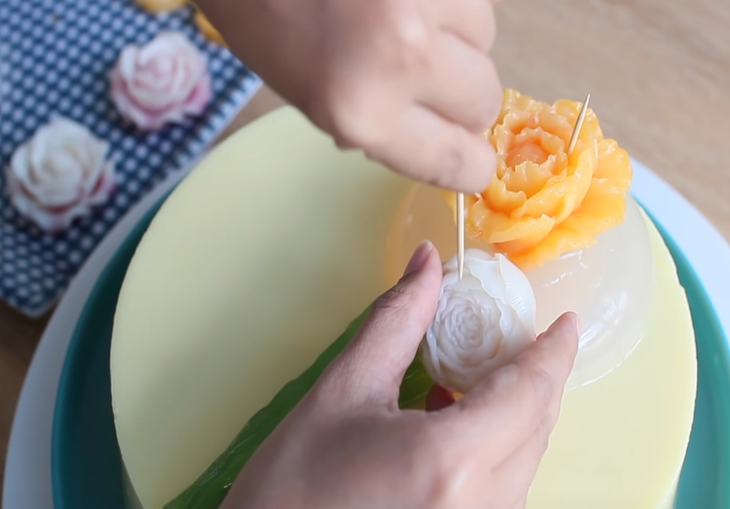
Boil a little more clear jelly liquid (ratio of 1 cup of water and about 3g of jelly powder, add about 1 teaspoon of sugar). Brush a little on the surface of the cake to stick the flower base and the branches. Place the flower piece on top. Then gradually stick the prepared branches on. Brush more jelly liquid to adhere the branches.
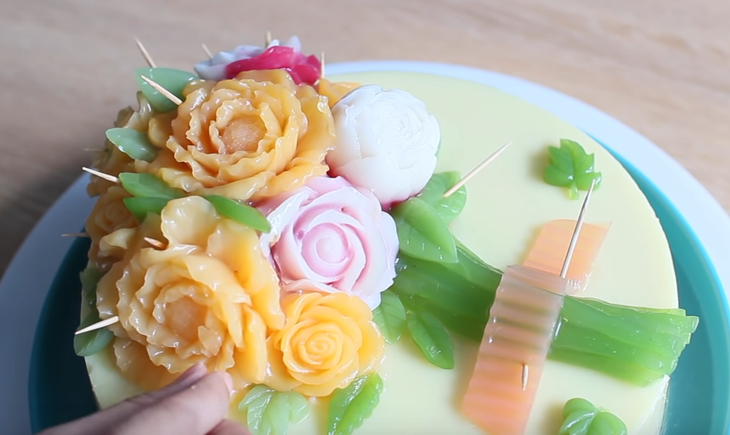
Brush jelly liquid on the flower base to attach the flower, then use toothpicks to secure it. Drizzle more jelly liquid into the corners of the flower to make them stick tightly to the base. Similarly, arrange and decorate the remaining jelly flowers to be visually appealing. Attach leaves to the gaps and drizzle jelly liquid on them to stick.
Keep the jelly cake in the fridge for 30 minutes, then take it out and remove the toothpicks in the order they were attached.
-
Final Product
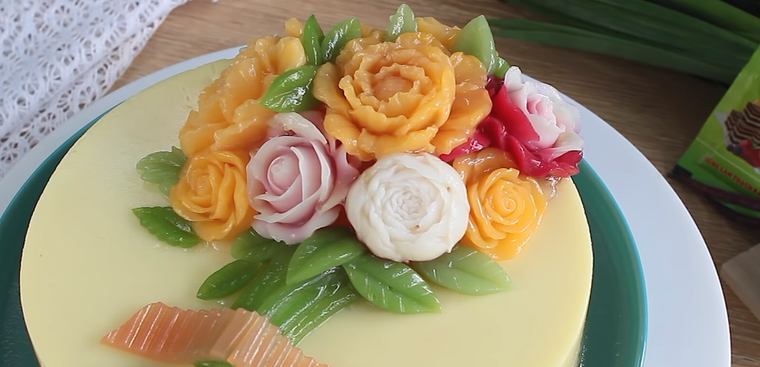
The 4D jelly with colorful floating flowers is not only visually appealing but also delicious. The jelly is cool, crunchy, and has a light aroma of corn, milk, and pandan leaves… really tempting, isn’t it?

- To keep the jelly from setting while shaping: You should cook the mixture on the lowest heat to keep it warm, preventing it from solidifying. It is recommended to use a bit more agar powder in this mixture for a better stickiness.
- You can change the flavors as desired, ensuring the amount of sugar and water is appropriate.
- Silicone molds will help you create prettier flowers that look more realistic compared to other plastic molds.
- Depending on your creativity, you can mix colors to make the jelly more visually appealing.
- If you don’t have much time, you can use food coloring, but it won’t be as tasty.
- Wrap the cake tightly and store it in the refrigerator; it can last about 1 – 2 days.
4D jelly is really simple to make and also very delicious. What are you waiting for? Try it in the kitchen right away.
*Refer to images and recipes from the YouTube channel Paris Apron.
