TasteVN
  • Home
  • Main Dishes
    • Beef Dishes
    • Braised Food
    • Fried Food
    • Steamed Food
    • Stir-fried Dishes
    • Soup
    • Grilled Food
    • Hot Pot
    • Liquid Dishes
    • Chicken Dishes
    • Dried and Fermented Dishes
    • Vegetarian Dishes
    • Porridge
  • Desserts
    • Cake
    • Ice Cream
    • Sweet Soup
    • Desserts
  • Beverages
    • Beverages
    • Juices
    • Milk Tea
    • Smoothies
  • Snacks
    • Rolls and Salads
    • Salad
    • Snacks
  • Tips & Holidays
    • Festivals & Holidays
    • Kitchen Tips
No Result
View All Result
TasteVN
No Result
View All Result
Home Cake

How to Make Beautiful Mint Chocolate Birthday Cake to Gift Loved Ones

by TasteT
5 months ago
in Cake
473 20
0
how to make chocolate birthday cake with beautiful buttercream 09202
739
SHARES
3.5k
VIEWS
Share on FacebookShare on Twitter
  • Preparation

    30 minutes

  • Processing

    1 hour

  • Difficulty

    Medium

Why not make a birthday cake for your loved ones yourself? With the chocolate mint cake shared from TasteVN, it will surely be a great suggestion for you to refer to. The cake base is soft and moist, and the fresh cream is cool and rich, bringing an incredibly delicious flavor. Let’s get cooking right away!

Quick view hide
1 Grind and sift mint candy
2 Mix the dry ingredients
3 Water bath method for eggs, heavy cream
4 Whip Egg Whites
5 Mix Chocolate Cake Batter, Pour into Molds
6 Blend oreo, make mint cream
7 Cut the cake, spread the cream
8 Make chocolate sauce for topping and decoration
9 Final Product

Ingredients for Chocolate Mint Birthday Cake For 10 people

Cake Flour 55 gr (or type 8 flour) Cocoa powder 11 gr Mint candy 165 gr Heavy cream 430 ml (or Whipping cream) Dark chocolate 33 gr Oreo cookie crumbs 10 pieces Oreo biscuits 6 pieces Eggs 2 pieces (104gr) Egg white 1 piece Sugar 30 gr Green food coloring a little

Differentiating Cocoa Powder and Chocolate Powder

  • Cocoa powder is made from the leftover part of chocolate liquor after the liquid has been pressed out. It is quite a complex process, where fresh cocoa beans are fermented for 2 – 9 days and then dried. After that, the cocoa beans are roasted to enhance the flavor of the cocoa powder.
  • Chocolate powder is a mixture of cocoa powder and cocoa butter, blended with sugar and milk in different ratios depending on the intended use.
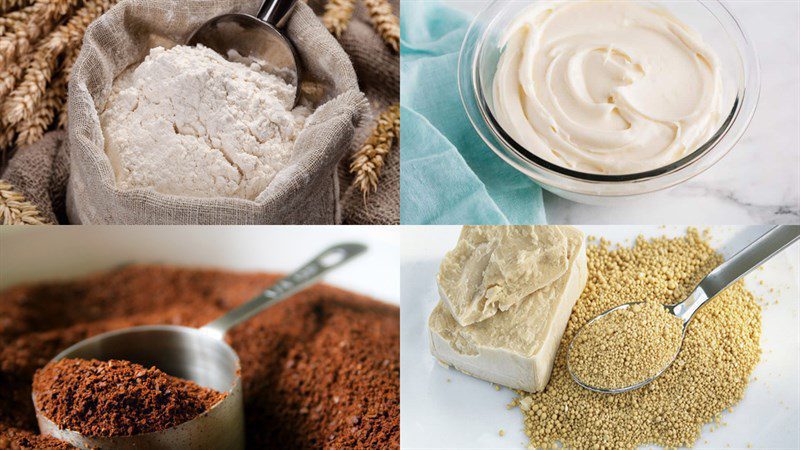
See details: Differentiating Cocoa Powder and Chocolate Powder

Ingredients for chocolate birthday cake with mint flavor

Required tools

Oven, egg beater, bowl, mixing whisk, round mold, piping bag and nozzle,…

How to make Chocolate Birthday Cake with Mint Flavor

  • Grind and sift mint candy

    Add 165g of mint candy into the blender and blend until the candy is finely crushed.

    Then, filter the candy through a sieve for a smooth texture.
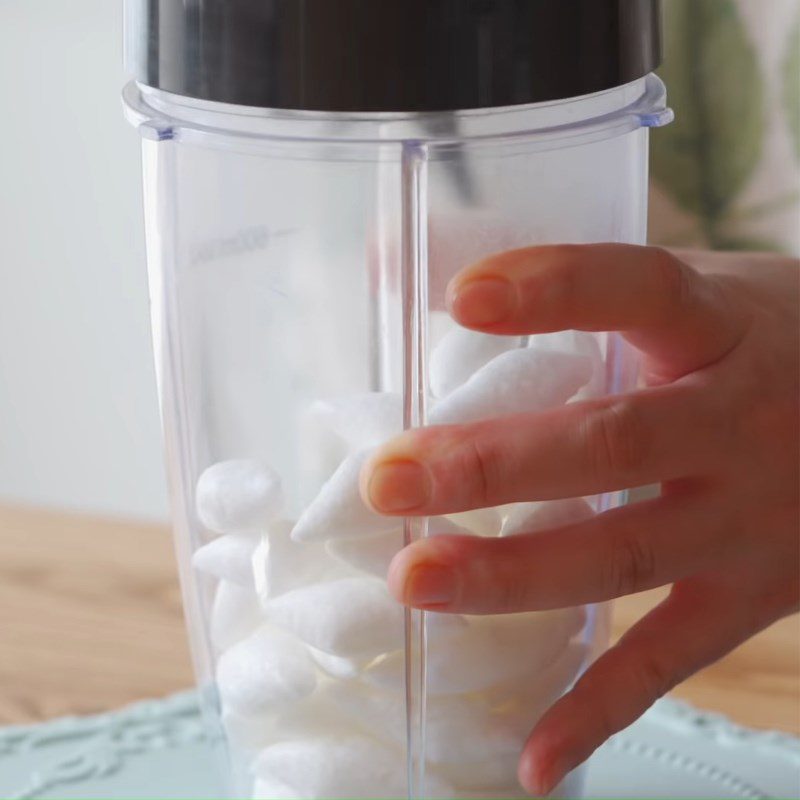
    Step 1 Grind and sift mint candy Chocolate birthday cake with mint flavor
    Step 1 Grind and sift mint candy Chocolate birthday cake with mint flavor
  • Mix the dry ingredients

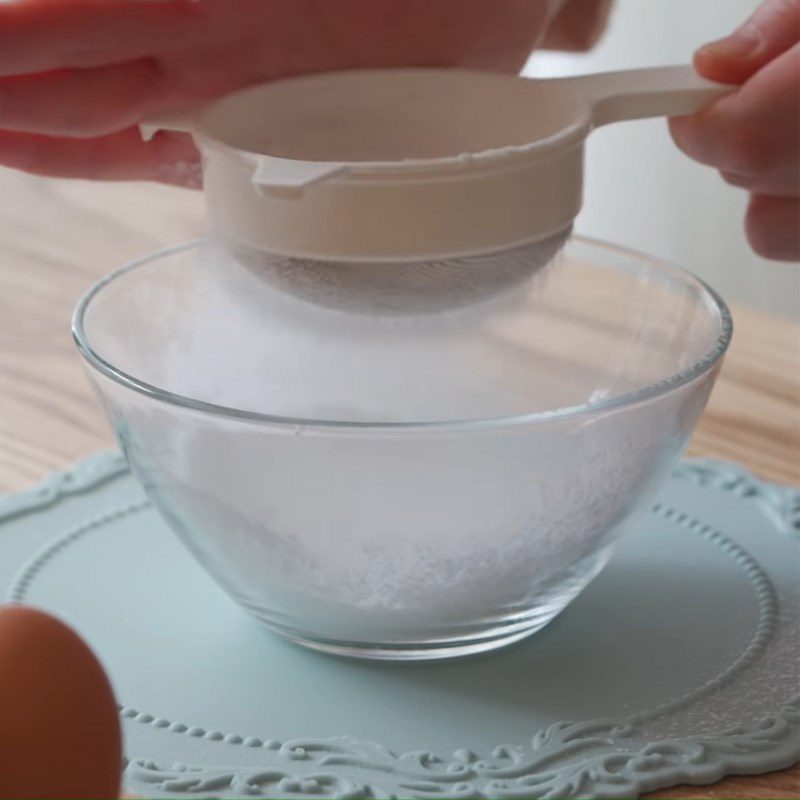
    Next, sift 55g of flour and 11g of cocoa powder and mix well to combine.
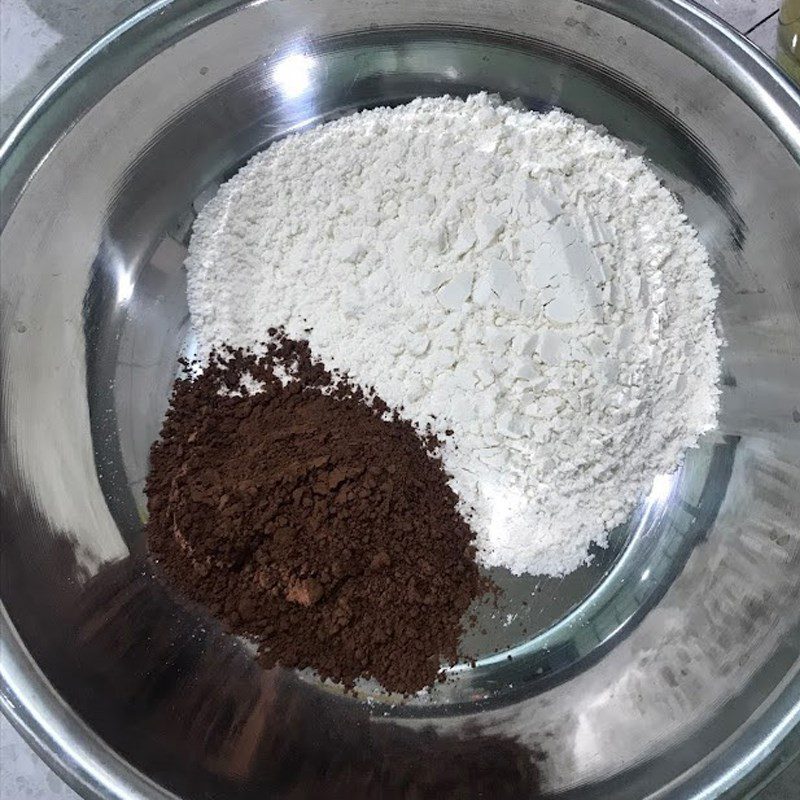
    Step 2 Mix the dry ingredients Chocolate birthday cake with mint flavor
  • Water bath method for eggs, heavy cream

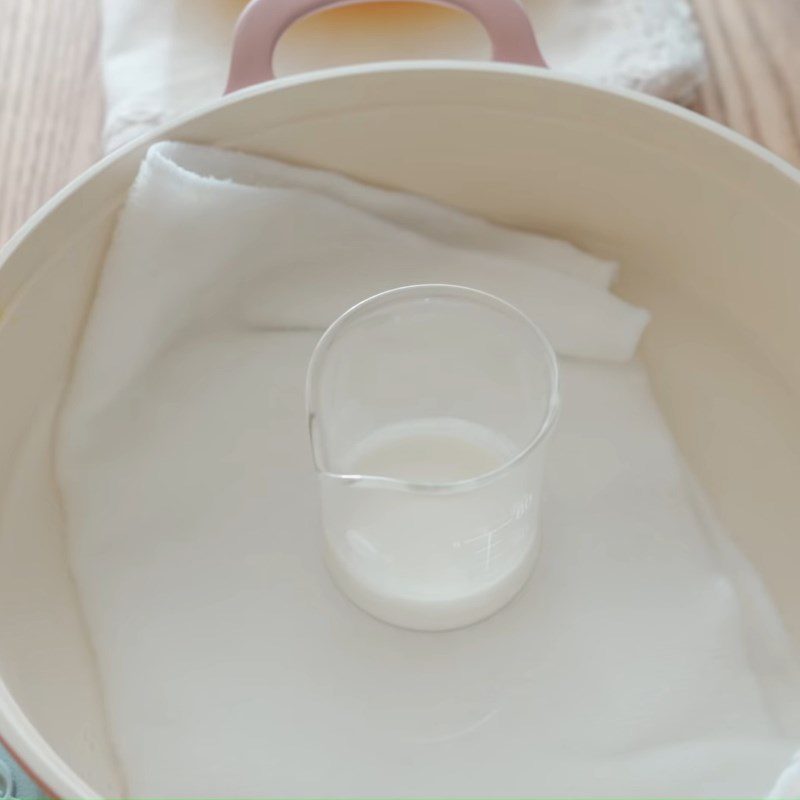
    Put 2 eggs and 90g of peppermint candy powder into a new bowl. Then place the bowl of eggs into a pot of hot water and stir well to combine.

    Remove the bowl of eggs from the pot of water, then continue to add 30ml of heavy cream to the pot to warm it up to 50 degrees Celsius.

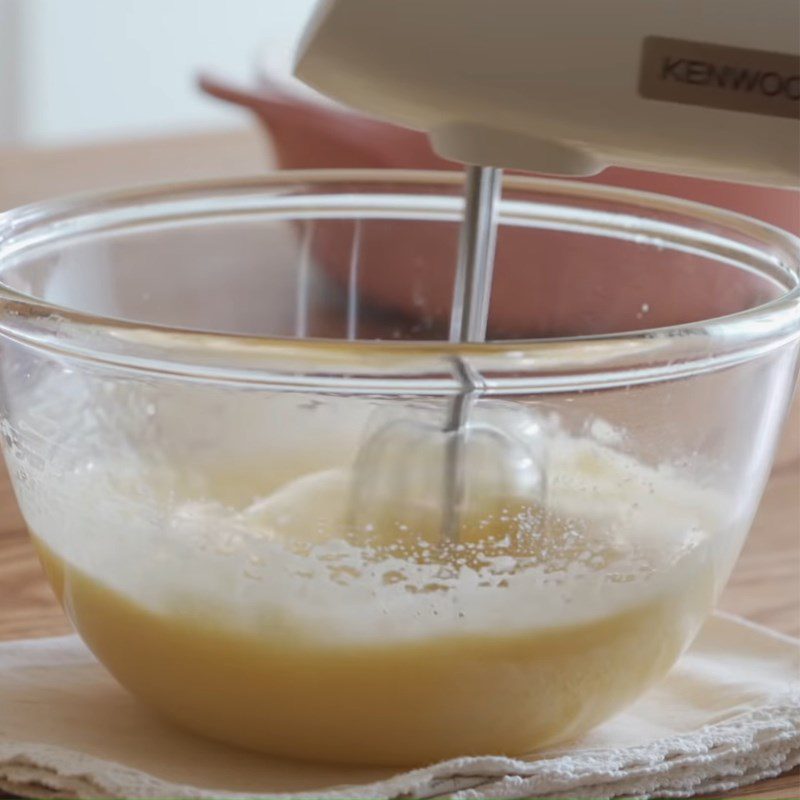
    Use a hand mixer to beat the egg mixture at medium speed for 6 minutes.

    After 6 minutes, lower the speed to low and continue to beat for another 2 minutes until the mixture is fluffy, lifting the whisk leaves a stream like a ribbon (Ribbon Stage).

    Purpose of warming the eggs: Warming the eggs will help them whip faster and stabilize their structure better. However, you should only warm the eggs to about 40 – 50 degrees Celsius, otherwise, if the eggs get too hot, they will cook and not whip well.
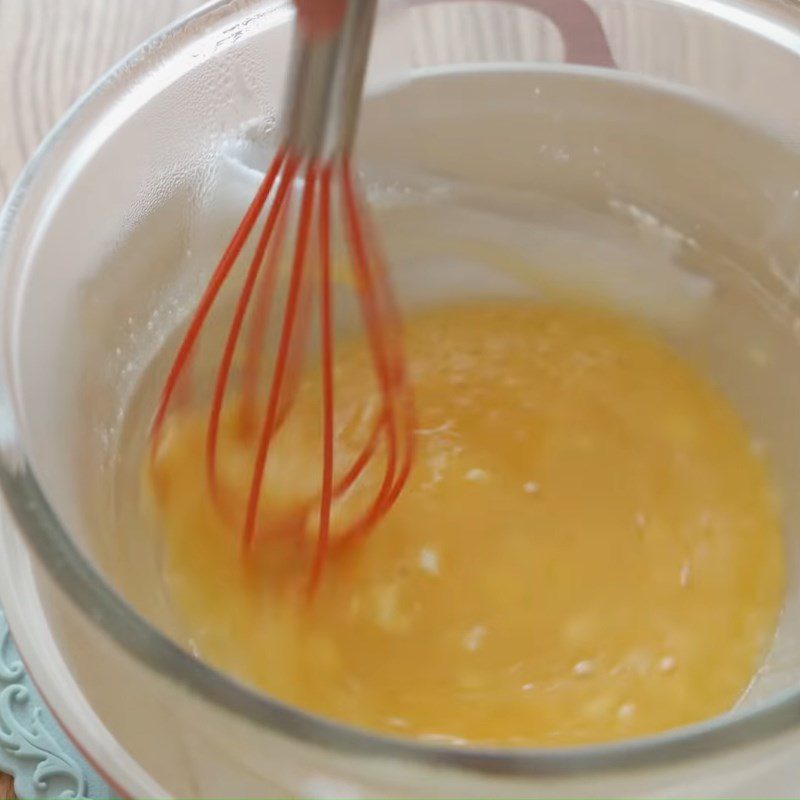
    Step 3 Water bath method for eggs, heavy cream Chocolate birthday cake with peppermint flavor
    Step 3 Water bath method for eggs, heavy cream Chocolate birthday cake with peppermint flavor
    Step 3 Water bath method for eggs, heavy cream Chocolate birthday cake with peppermint flavor
    Step 3 Water bath method for eggs, heavy cream Chocolate birthday cake with peppermint flavor
  • Whip Egg Whites

    Put 1 egg white into a new bowl, using a mixer to beat at low speed until the egg becomes foamy like soap.

    Divide 30g of sugar into 3 parts, gradually adding each part one at a time and beating until dissolved. Beat each part of sugar for about 30 seconds at low speed before adding the next part.

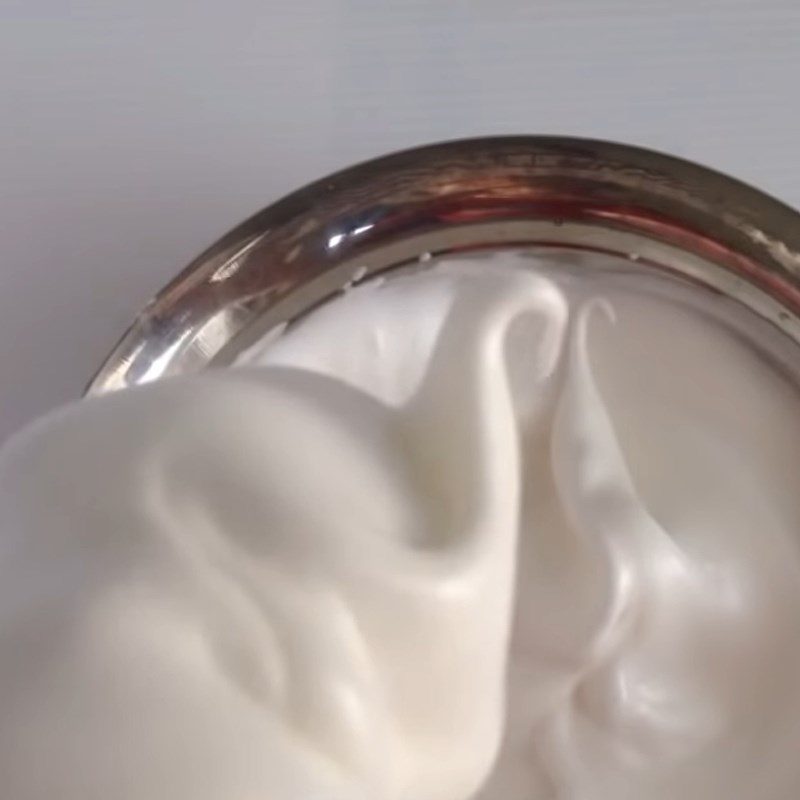
    When adding the last part of the sugar to the egg, turn the mixer to high speed and beat the egg until it is fluffy, with a creamy texture, the mixture is sticky, shiny, and smooth. Lift the whisk to create stiff peaks that bend downwards.

    Note:

    • Divide the sugar into 2 or 3 parts and add it gradually. Avoid adding it all at once.
    • The egg whites need to be at room temperature before whipping and must not contain any impurities such as oil, egg yolk, etc.
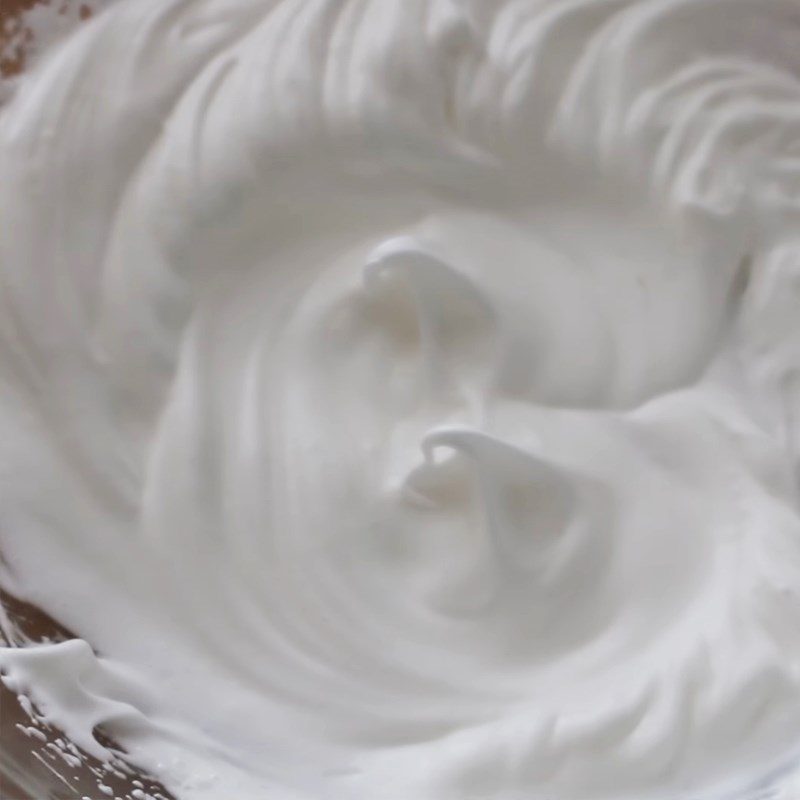
    Step 4 Whip egg whites Chocolate birthday cake with mint flavor
    Step 4 Whip egg whites Chocolate birthday cake with mint flavor
  • Mix Chocolate Cake Batter, Pour into Molds

    Sift the dry flour mixture into the whipped egg yolk mixture.

    Use a spatula to gently fold the mixture from the bottom up. Bring the spatula down to the bottom of the bowl, lift the heavy ingredients up and fold them to the side. Continue this process until the mixture is well combined.

    Next, add 30ml of Heavy Cream warmed to 50 degrees Celsius and mix well.

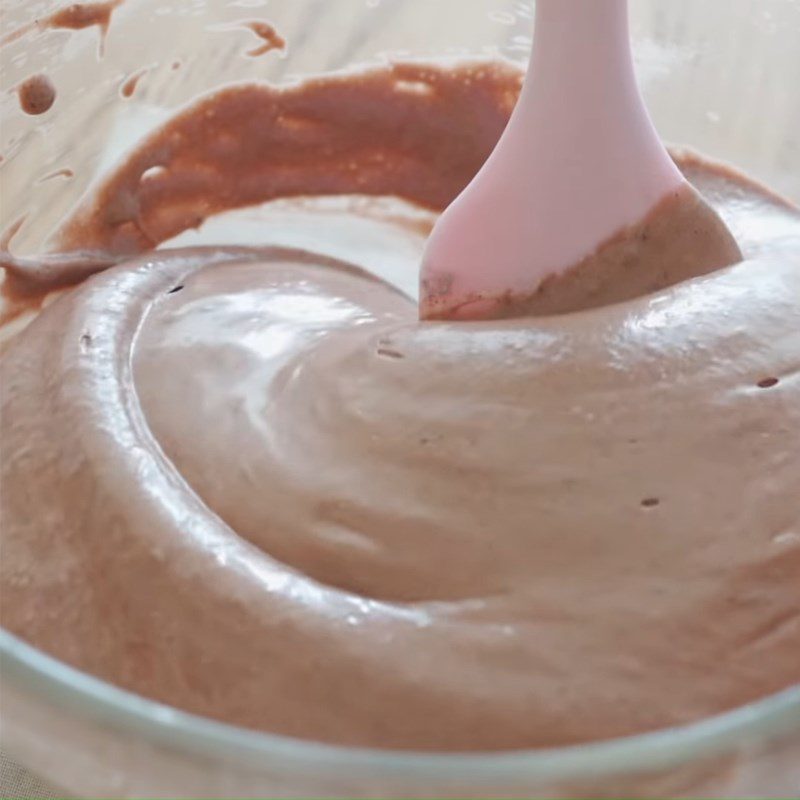
    Then, add the whipped egg whites to the bowl and gently fold them in.

    Note: It is important to fold correctly; otherwise, it will break the small air bubbles in the whipped egg, causing the cake not to rise.

    Preheat the oven to 170 degrees Celsius for 15 minutes.

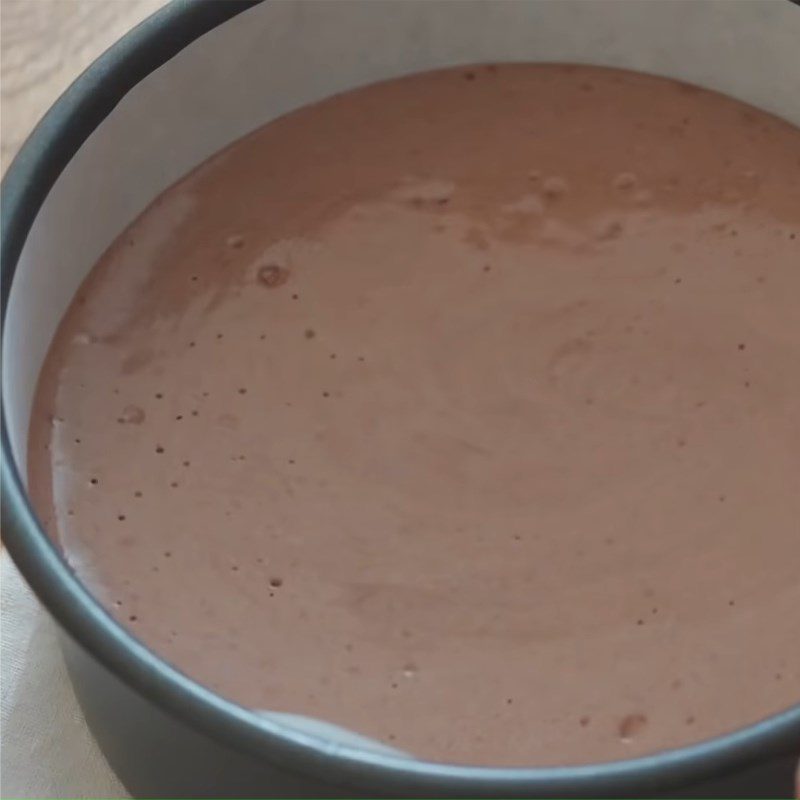
    Prepare a round mold lined with parchment paper, then pour the cake batter into it and bake for 30 minutes at 160 degrees Celsius.
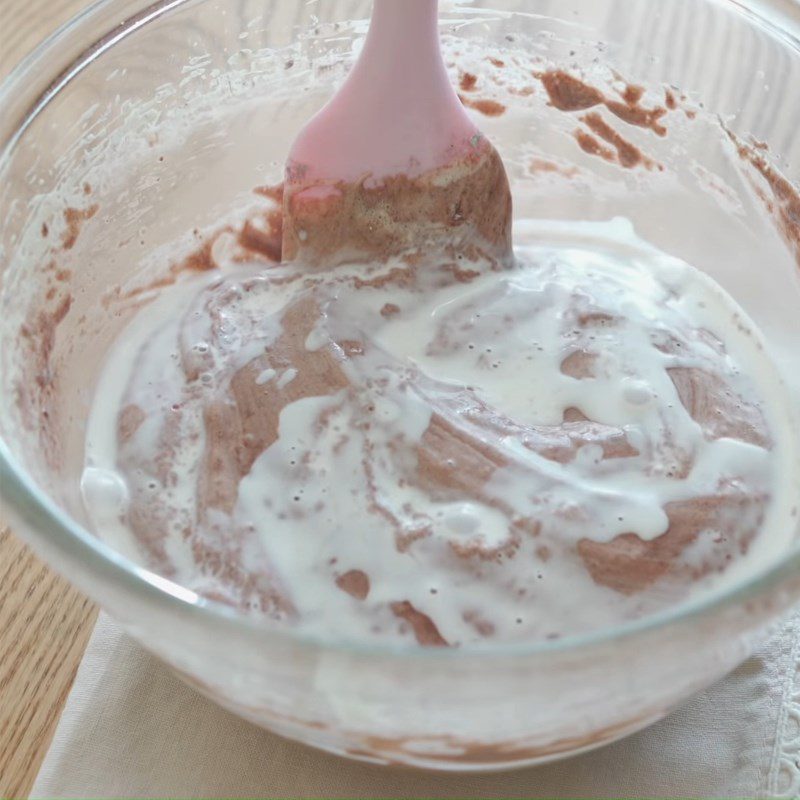
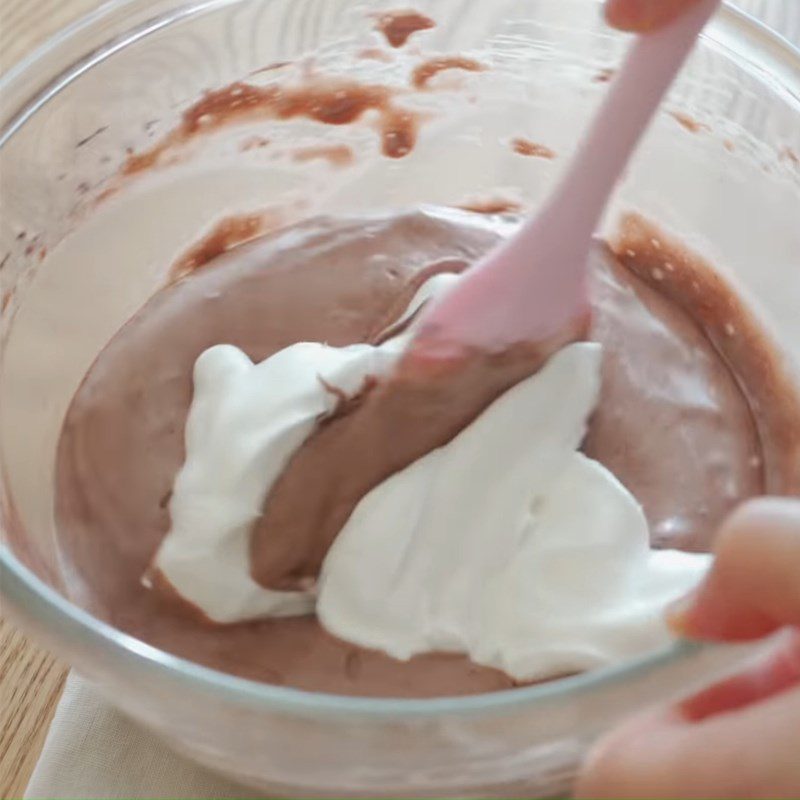
    Step 5 Mix chocolate cake batter, pour into mold to bake mint chocolate birthday cake
    Step 5 Mix chocolate cake batter, pour into mold to bake mint chocolate birthday cake
    Step 5 Mix chocolate cake batter, pour into mold to bake mint chocolate birthday cake
    Step 5 Mix chocolate cake batter, pour into mold to bake mint chocolate birthday cake
  • Blend oreo, make mint cream

    Put about 4 – 5 oreo cookie shells into the blender and blend until fine.

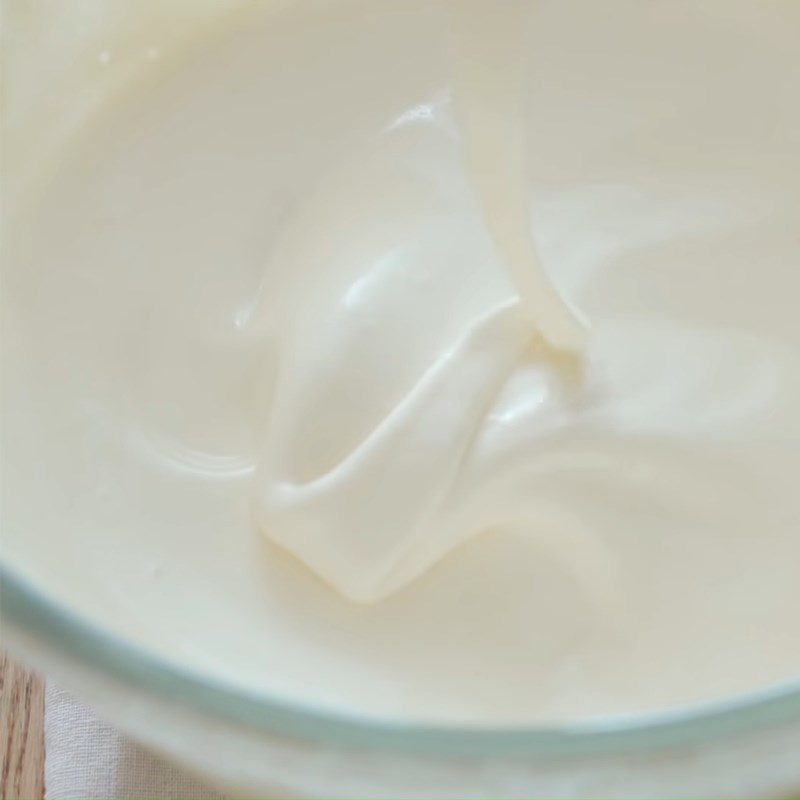
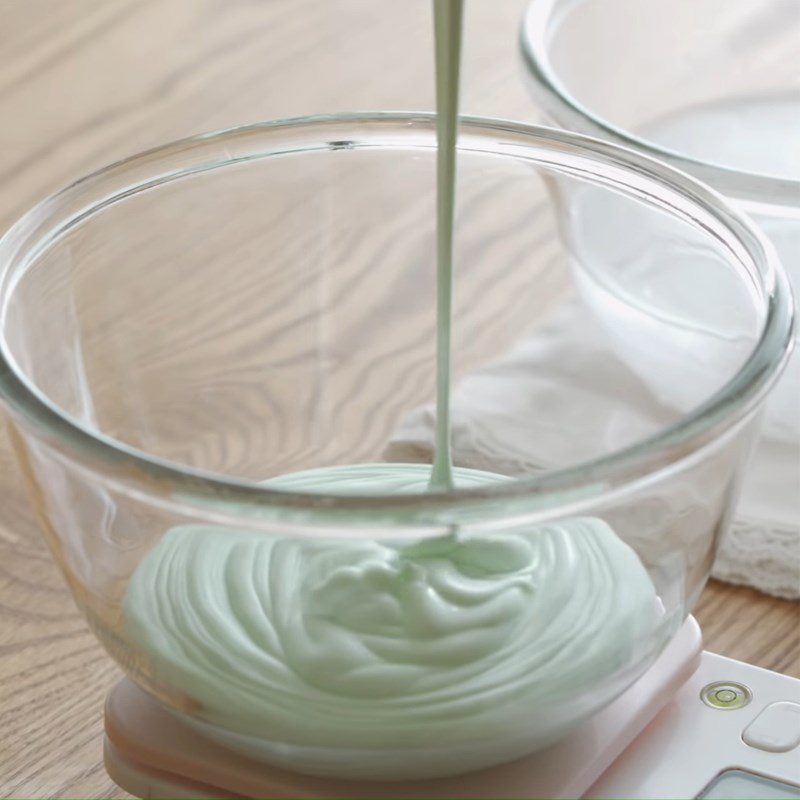
    Next, in a new bowl, add 300ml of heavy cream, 38gr of mint candy powder, and a little green food coloring. Place this bowl over a bowl of ice water and use a mixer to whip the mixture until it is 60% whipped.

    Tip: Whipped cream at 60% will be slightly thick, creating swirls but the whisk cannot form peaks.

    Pour the whipped cream mixture into a new bowl with a measurement of 140g and then place it in the refrigerator’s cool compartment.

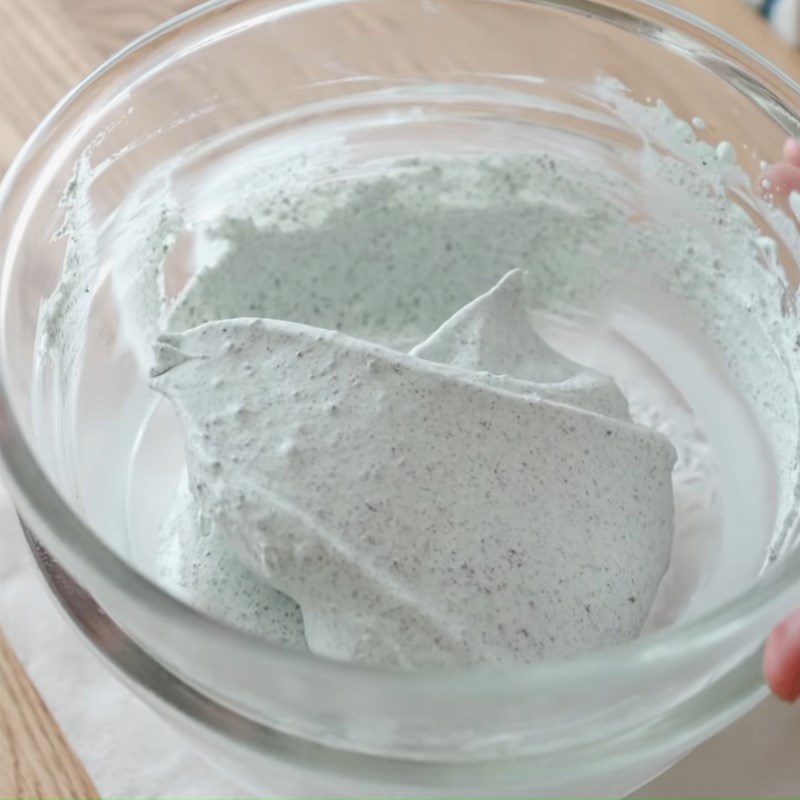
    Then, continue to use the mixer to whip the remaining cream mixture until stiff peaks form but do not droop down.

    Finally, add the finely crushed oreo cookie crust and gently fold it in using a spatula to combine.
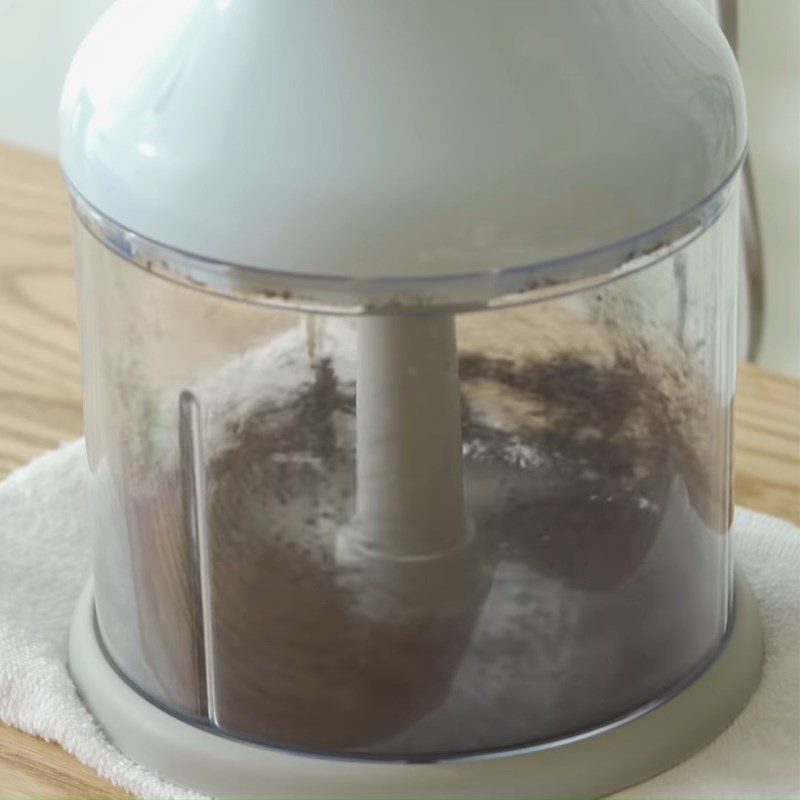
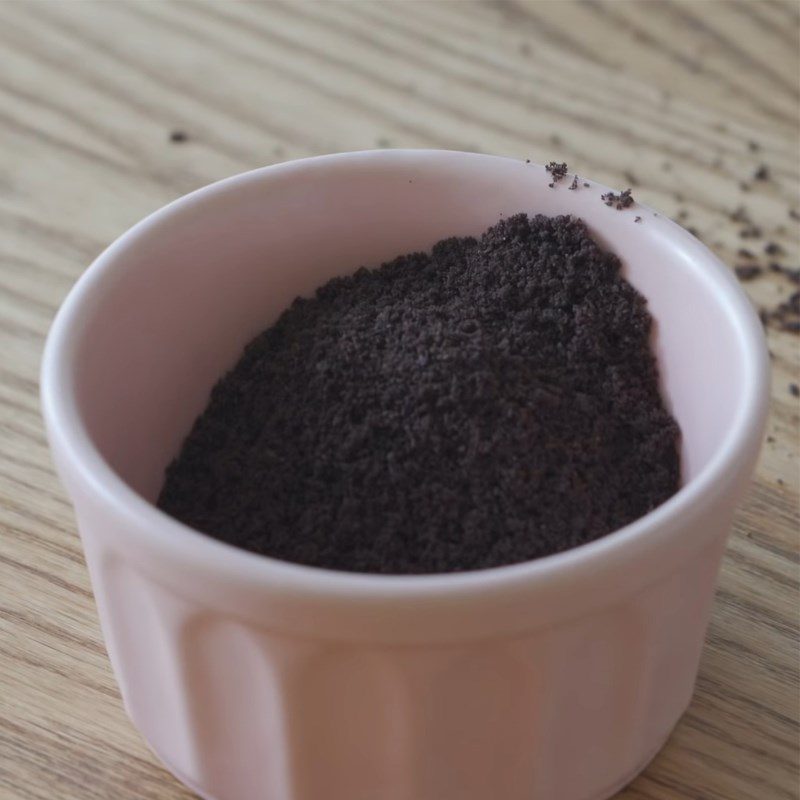
    Step 6 Crush oreo, make mint cream Birthday chocolate cake with mint flavor
    Step 6 Crush oreo, make mint cream Birthday chocolate cake with mint flavor
    Step 6 Crush oreo, make mint cream Birthday chocolate cake with mint flavor
    Step 6 Crush oreo, make mint cream Birthday chocolate cake with mint flavor
  • Cut the cake, spread the cream

    First, dissolve 25g of mint candy powder in 50ml of hot water and let it cool. Use a knife to cut the cake into several pieces about the thickness of a small finger.

    Spread a layer of mint syrup on the first piece of cake, then spread a layer of mint cream on top with a thickness of about a small finger.

    Next, place 6 oreo cookie crusts on top of the cream and continue to cover it with a layer of mint cream.

    Place the second layer of cake on top, spread syrup evenly, and then cover with a layer of mint cream.

    For the third layer of cake, just spread a layer of syrup on top, then secure the cake with a thin layer of mint cream and place it in the refrigerator for 15 – 20 minutes.

    Tip: It is advisable to put the cake in the refrigerator to firm up the cream and prevent it from melting.

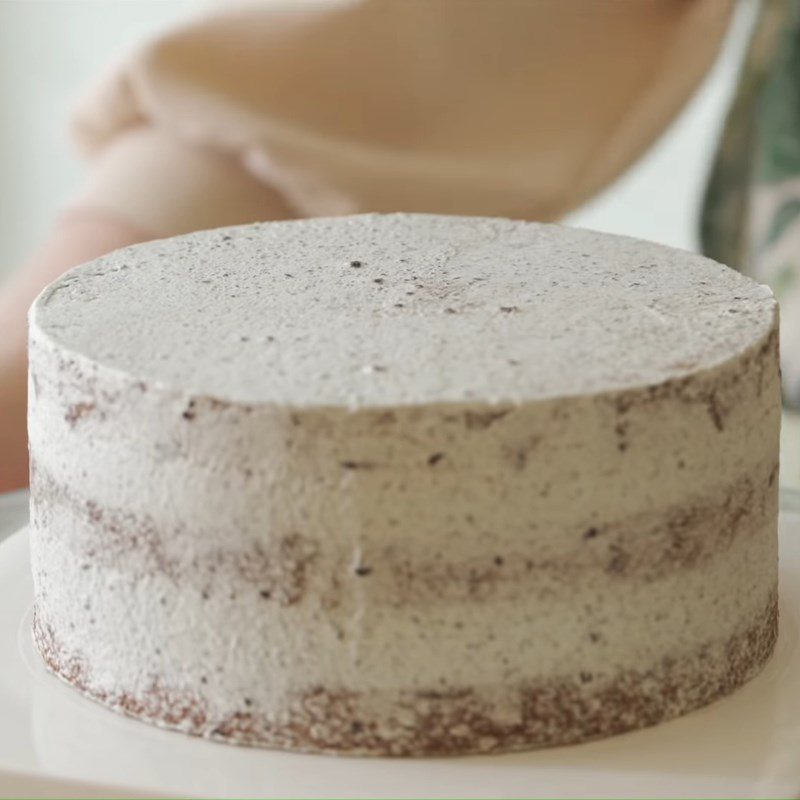
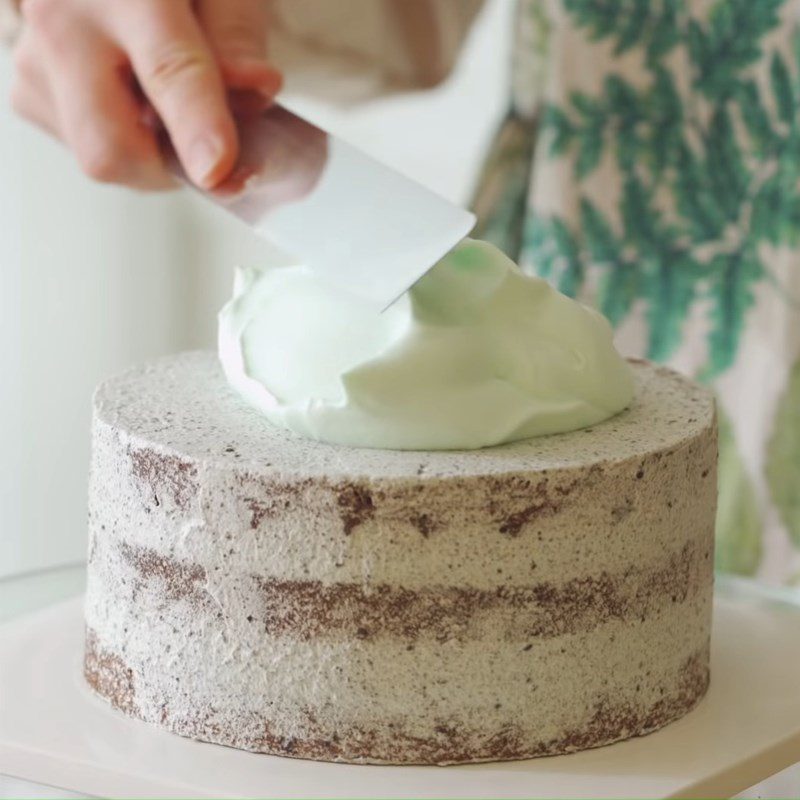
    Finally, whip 140g of remaining mint cream until stiff, then cover the cake completely and place it in the refrigerator for 15 minutes.
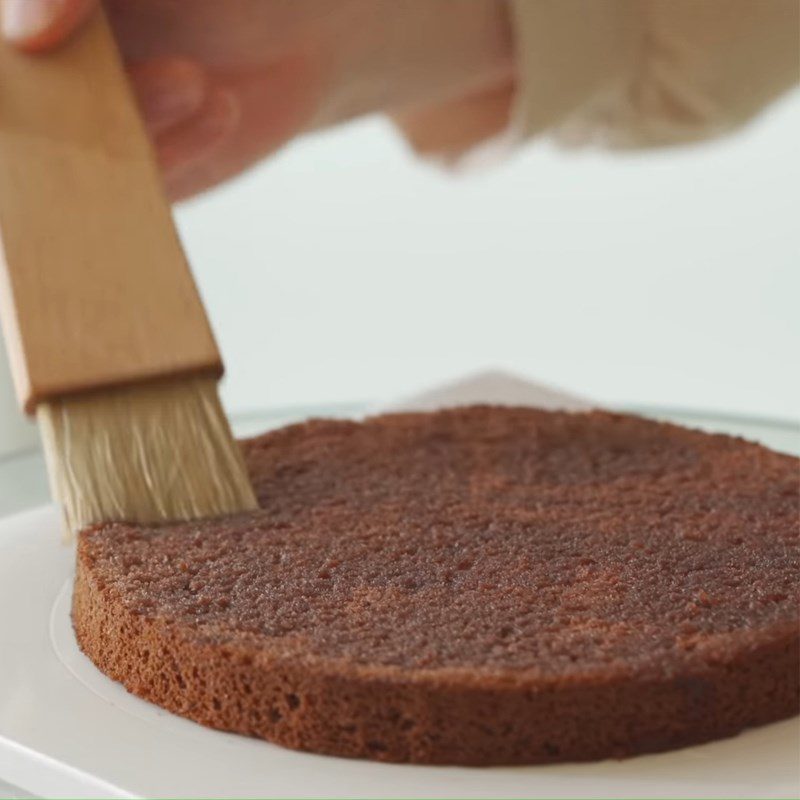
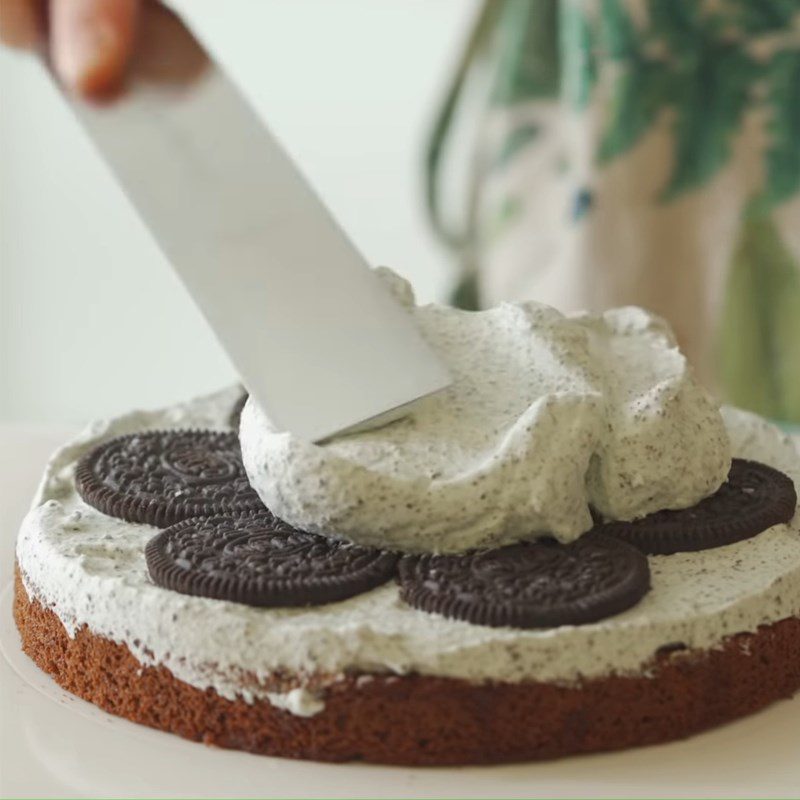
    Step 7 Cut the cake, spread the cream Birthday chocolate cake with mint flavor
    Step 7 Cut the cake, spread the cream Birthday chocolate cake with mint flavor
    Step 7 Cut the cake, spread the cream Birthday chocolate cake with mint flavor
    Step 7 Cut the cake, spread the cream Birthday chocolate cake with mint flavor
  • Make chocolate sauce for topping and decoration

    Put 33g of dark chocolate, 30ml of heated heavy cream in a bowl and stir well until the chocolate melts.

    Let the chocolate mixture cool down to about 34 degrees Celsius, then drizzle it evenly over the cake to create a dripping effect.

    Note: The chocolate mixture when drizzled over the cake should not be too hot, otherwise it will melt the cream. Conversely, the chocolate should also not be too cold as it will solidify.

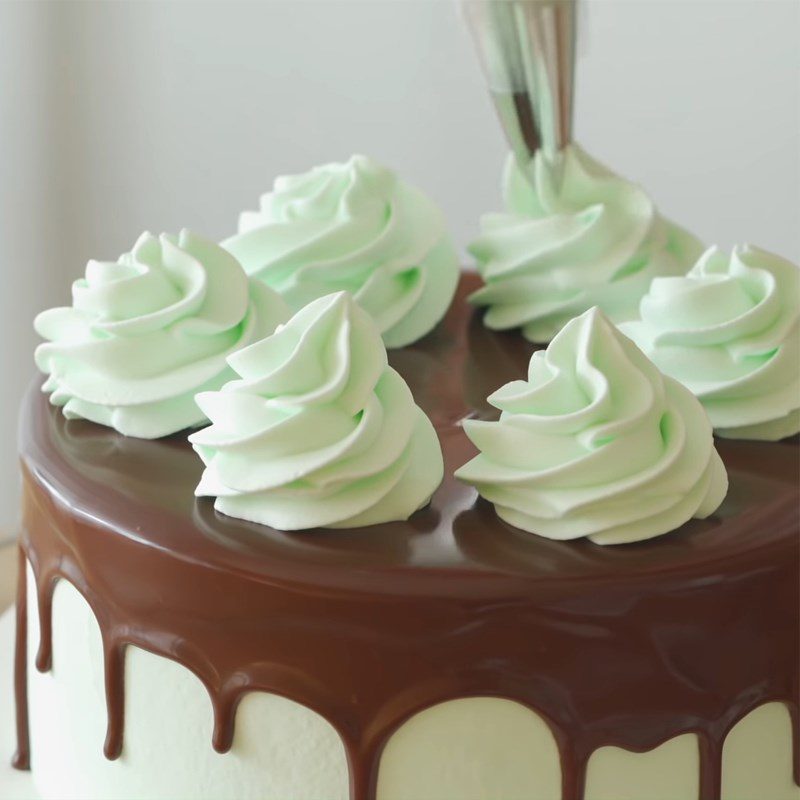
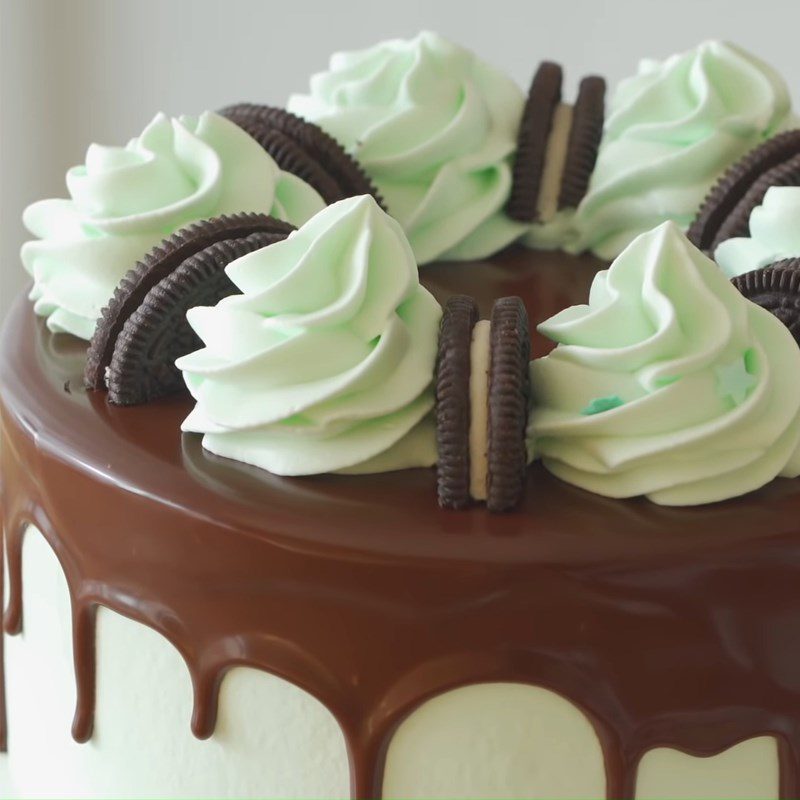
    Whip together 100ml of heavy cream and 12g of mint candy powder until stiff. Put the cream into a piping bag, then decorate the top of the cake with 6 Oreo cookies to complete.
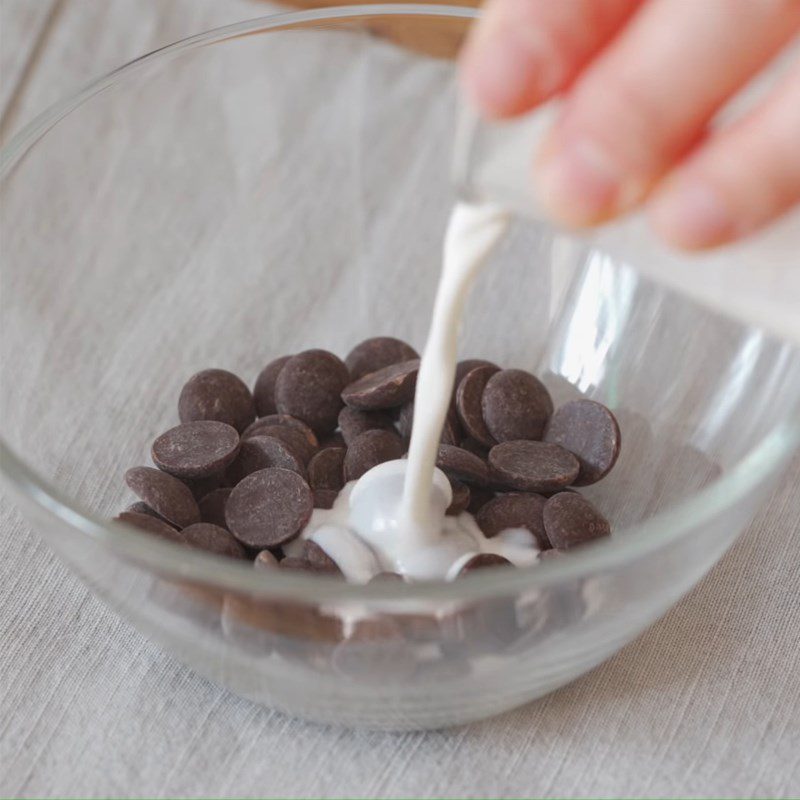
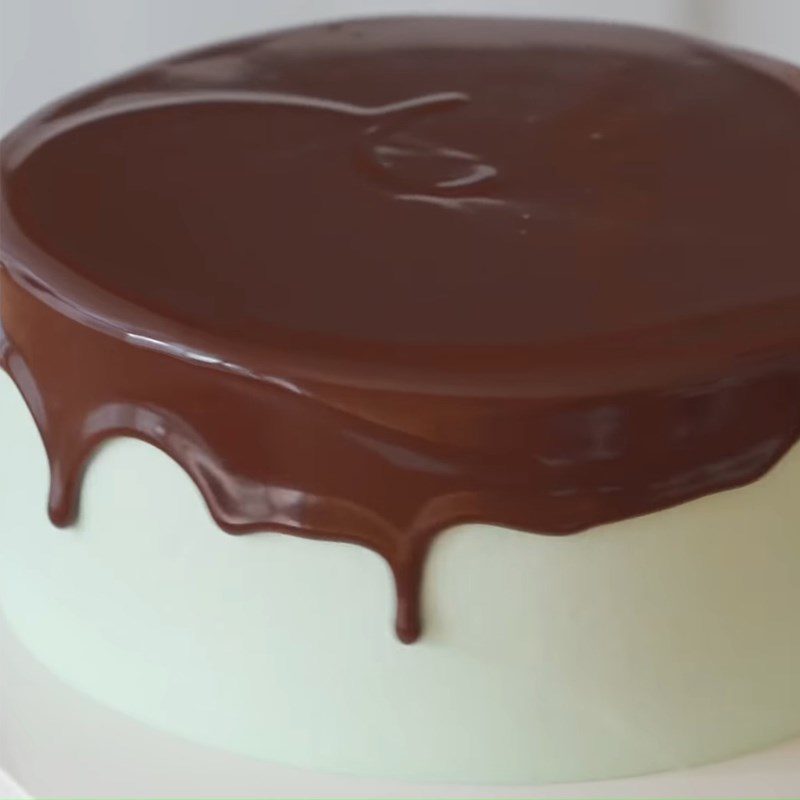
    Step 8 Make chocolate sauce for topping and decoration Birthday chocolate cake with mint flavor
    Step 8 Make chocolate sauce for topping and decoration Birthday chocolate cake with mint flavor
    Step 8 Making chocolate sauce to cover and decorate the mint chocolate birthday cake
    Step 8 Making chocolate sauce to cover and decorate the mint chocolate birthday cake
  • Final Product

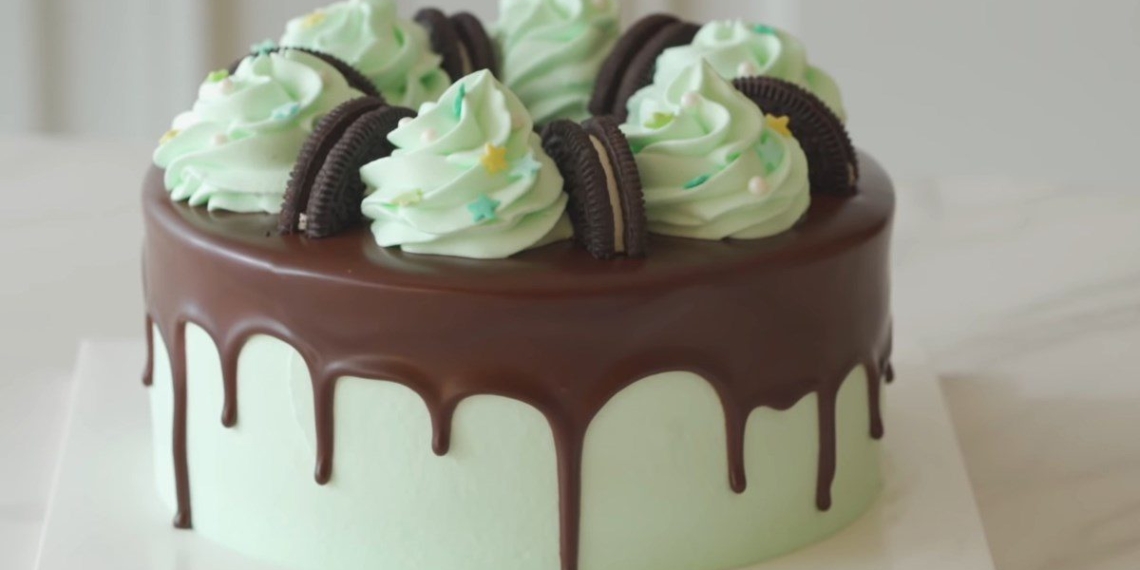
    The mint chocolate cake has a simple but incredibly classy decoration. The cake, when eaten, has a soft and moist cake base, with a mild sweet and bitter cocoa flavor mingled with the refreshing, cool mint cream, extremely delicious but not heavy.
    Step 9 Final product of the mint chocolate birthday cake
    Step 9 Final product of the mint chocolate birthday cake
See more:
  • How to make a simple heart-shaped strawberry chocolate cake for Valentine’s Day
  • How to make a beautiful raspberry Valentine cake for your loved one
  • How to make delicious, soft, and smooth cherry cake

With the above sharing, Dien May XANH wishes you success in making the mint chocolate birthday cake to give to your loved ones!

*Source of the recipe and images from the YouTube channel Joconde’s Baking
Cooking time: 60 minutes
Level: Medium
Tags: chocolate birthday cakehow to make birthday cakehow to make chocolate cakehow to make chocolate mint cakehow to make mint cake
Previous Post

How to Make Delicious Mixed Toast for an Energizing Breakfast

Next Post

How to make sakura cheesecake – creamy and beautiful cherry blossom cheesecake

TasteT

TasteT

I am a food writer specializing in Vietnamese cuisine, sharing traditional recipes, cooking tips, and the culture behind every dish. My goal is to bring the authentic flavors of Vietnam to your kitchen.

Related Posts

How to make beautifully special sushi birthday cake for loved ones
Festivals & Holidays

How to make beautifully special sushi birthday cake for loved ones

How to Make Beautiful and Delicious Birthday Cake Simply at Home
Cake

How to Make Beautiful and Delicious Birthday Cake Simply at Home

Next Post
How to make sakura cheesecake – creamy and beautiful cherry blossom cheesecake

How to make sakura cheesecake - creamy and beautiful cherry blossom cheesecake

Leave a Reply Cancel reply

Your email address will not be published. Required fields are marked *

Navigate

  • About
  • Privacy Policy
  • Contact

Recent Recipes

How to Make Unusual and Delicious Steamed Duck Intestines, Fragrant and Tempting

How to Make Unusual and Delicious Steamed Duck Intestines, Fragrant and Tempting

How to Make Delicious and Refreshing Sweet and Sour Papaya Salad that Stimulates the Taste Buds

How to Make Delicious and Refreshing Sweet and Sour Papaya Salad that Stimulates the Taste Buds

Browse by Category

  • Beef Dishes
  • Beverages
  • Braised Food
  • Cake
  • Chicken Dishes
  • Desserts
  • Dried and Fermented Dishes
  • Festivals & Holidays
  • Fried Food
  • Grilled Food
  • Hot Pot
  • Ice Cream
  • Juices
  • Kitchen Tips
  • Liquid Dishes
  • Milk Tea
  • Porridge
  • Rolls and Salads
  • Salad
  • Smoothies
  • Snacks
  • Soup
  • Steamed Food
  • Stir-fried Dishes
  • Sweet Soup
  • Vegetarian Dishes

Browse by Ingredients

beef beef stew braised fish cake dish dessert fried dish grilled dishes how to cook porridge how to make cake how to make ice cream into the kitchen mixed salad dish noodle soup snacks soup dish sponge cake steamed dish stir-fried dish stir-fried noodles vegetarian dish

© 2024 TasteVN - The ultimate Vietnam food destination for cooking tips, recipes, and more.

Welcome Back!

Login to your account below

Forgotten Password?

Retrieve your password

Please enter your username or email address to reset your password.

Log In
No Result
View All Result
  • Home
  • Main Dishes
    • Beef Dishes
    • Braised Food
    • Fried Food
    • Steamed Food
    • Stir-fried Dishes
    • Soup
    • Grilled Food
    • Hot Pot
    • Liquid Dishes
    • Chicken Dishes
    • Dried and Fermented Dishes
    • Vegetarian Dishes
    • Porridge
  • Desserts
    • Cake
    • Ice Cream
    • Sweet Soup
    • Desserts
  • Beverages
    • Beverages
    • Juices
    • Milk Tea
    • Smoothies
  • Snacks
    • Rolls and Salads
    • Salad
    • Snacks
  • Tips & Holidays
    • Festivals & Holidays
    • Kitchen Tips

© 2024 TasteVN - The ultimate Vietnam food destination for cooking tips, recipes, and more.