-
Preparation
1 hour 30 minutes
-
Processing
20 minutes
-
Difficulty
Medium
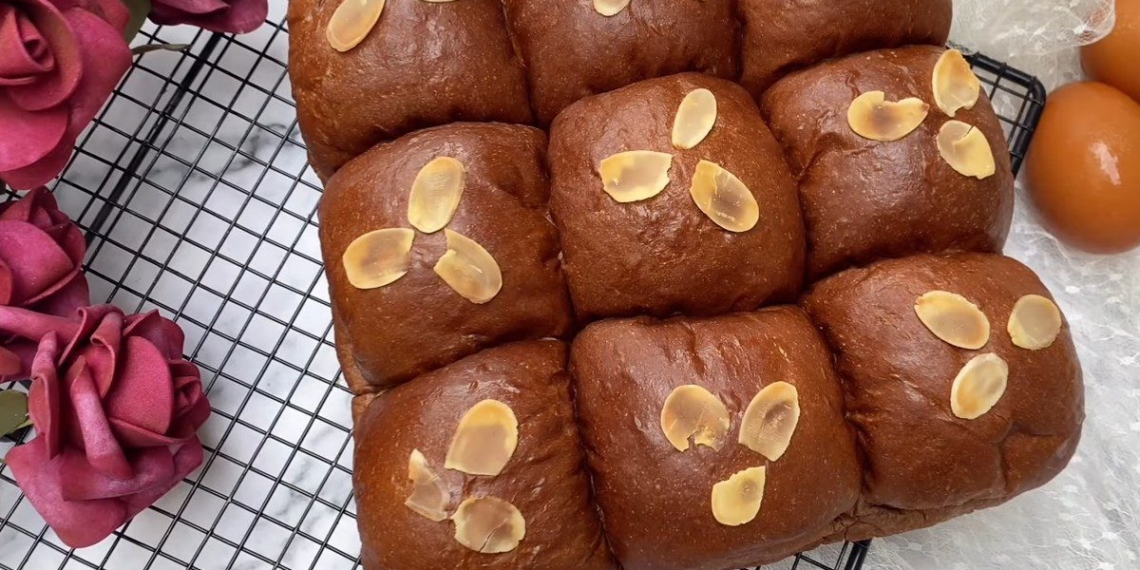
The chewy, soft chocolate bread, rich in fragrant chocolate flavor, sweet and fatty will be an attractive cake for your nutritious breakfast. The method is extremely simple, just with a compact air fryer. Let’s cook together with TasteVN!
Ingredients for Chocolate Bread using Air Fryer For 4 people
Wheat flour 13 250 g Milk powder 30 g Cocoa powder 20 g Granulated sugar 55 g Salt 5 g Instant yeast 5 g Unsweetened fresh milk 215 g Unsalted butter 35 g Sliced almonds 5 g
How to make Chocolate Bread using Air Fryer
-
Mix the bread dough
Sift 250g of flour, 20g of cocoa powder, and 30g of milk powder into a bowl.
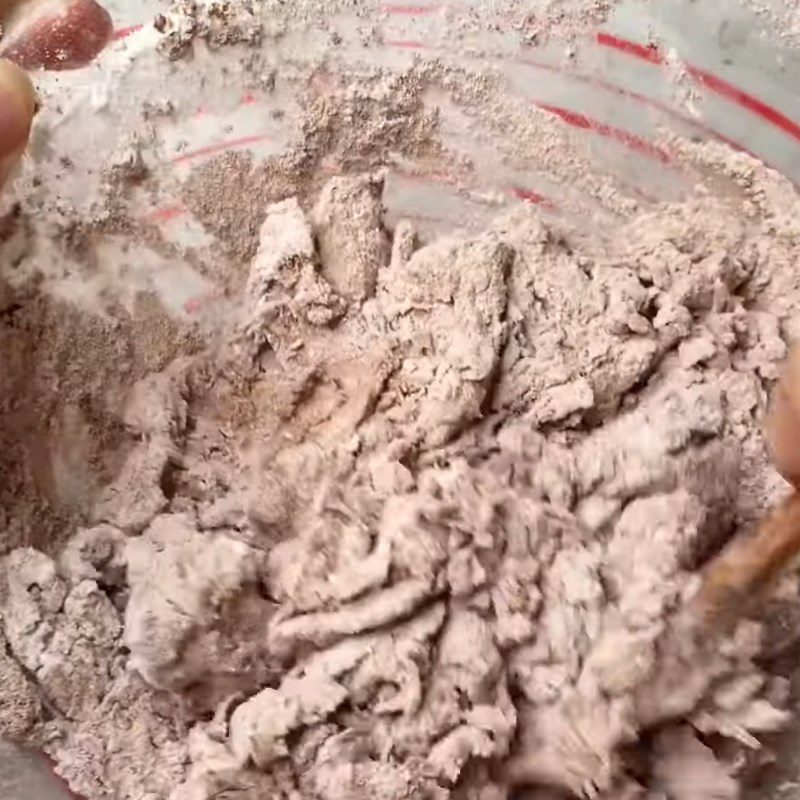
Add 5g of salt, 5g of yeast, 55g of sugar, and 200g of unsweetened fresh milk and mix well until the ingredients are combined.
Note: Do not add salt directly onto the yeast, as this will kill the yeast or weaken its activity. You can mix the salt with the flour first, then add the yeast.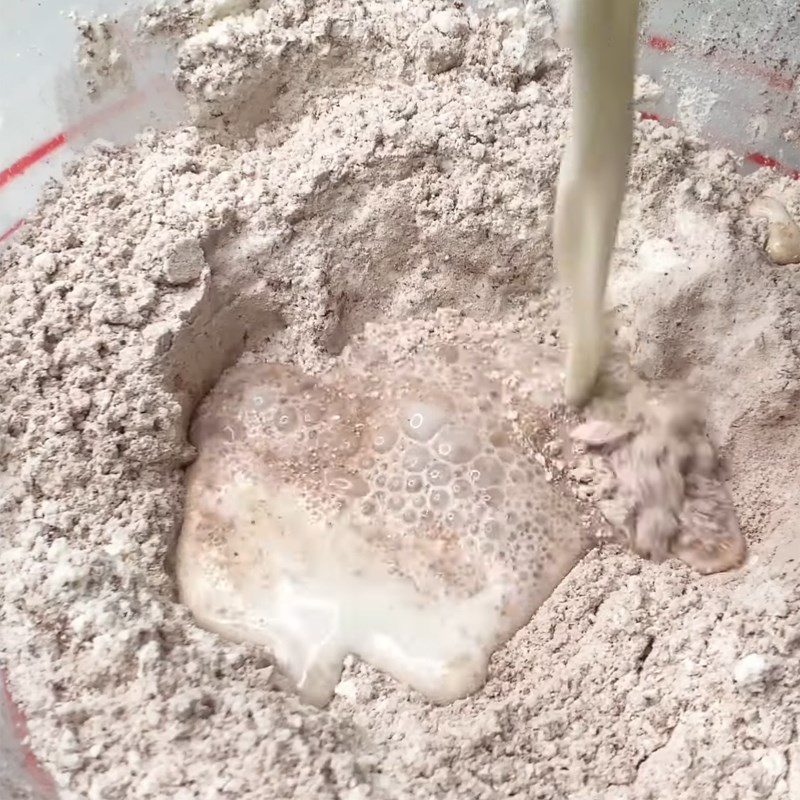
-
Knead the dough
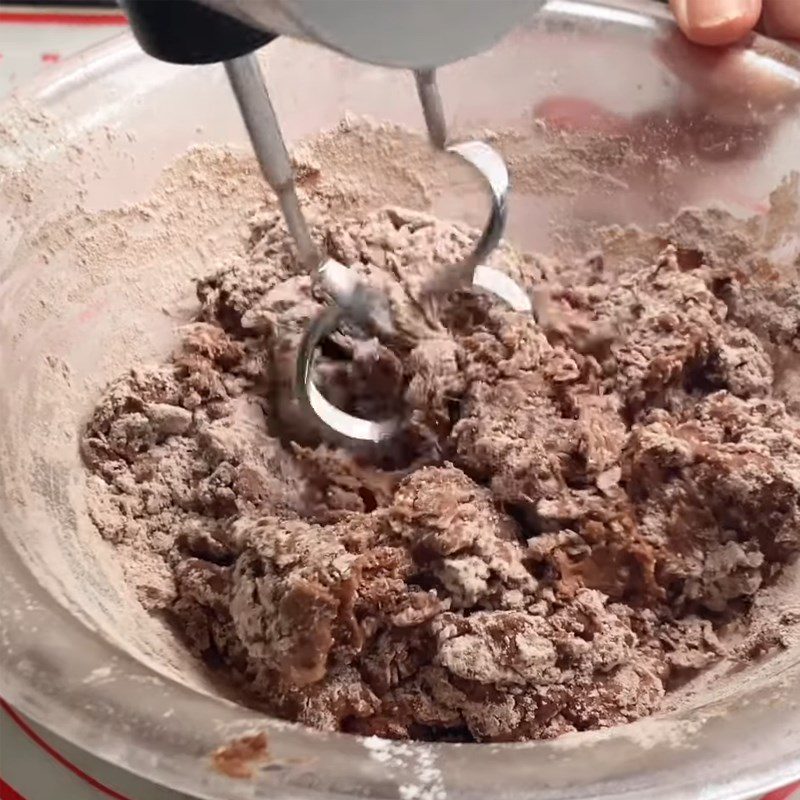
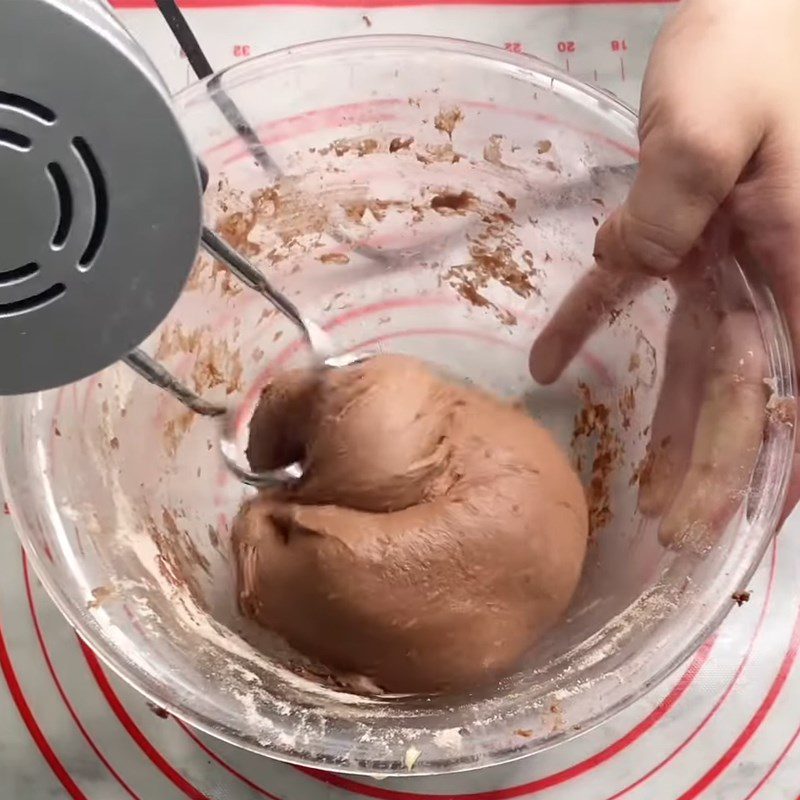
Use a mixer at low speed for 5 – 7 minutes until the dough is smooth.
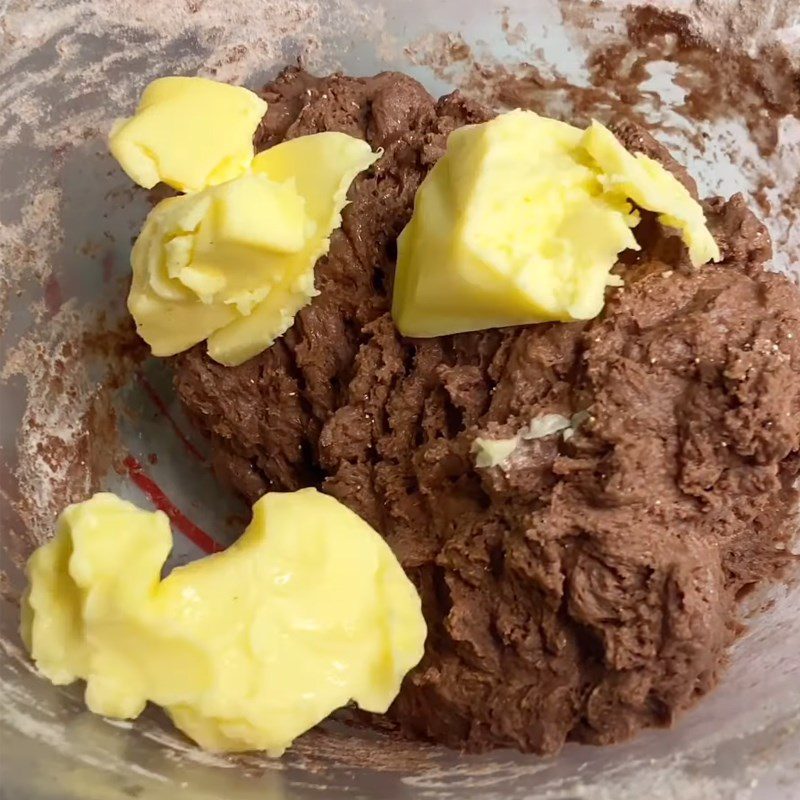
When the dough is smooth, add 35g of unsalted butter to soften, then continue kneading at medium speed until the dough forms a ball and doesn’t stick to your hands.
Transfer the dough to a work surface and knead by hand for 2 minutes.
Note:
- If you don’t have a dough mixer, you can knead by hand using the Folding and Stretching technique.
- First, fold the dough, then use the palm of your hand to press and stretch the dough away. Note that you should press and stretch the dough away, not push down. Next, rotate the dough 90 degrees and repeat the two steps above for 15 – 20 minutes.
How to tell if the dough is ready:
- The dough is elastic, smooth, and has good elasticity.
- The dough does not stick to your hands: When pressed, it feels slightly sticky, but when you lift your finger, the dough does not stick to your hands.
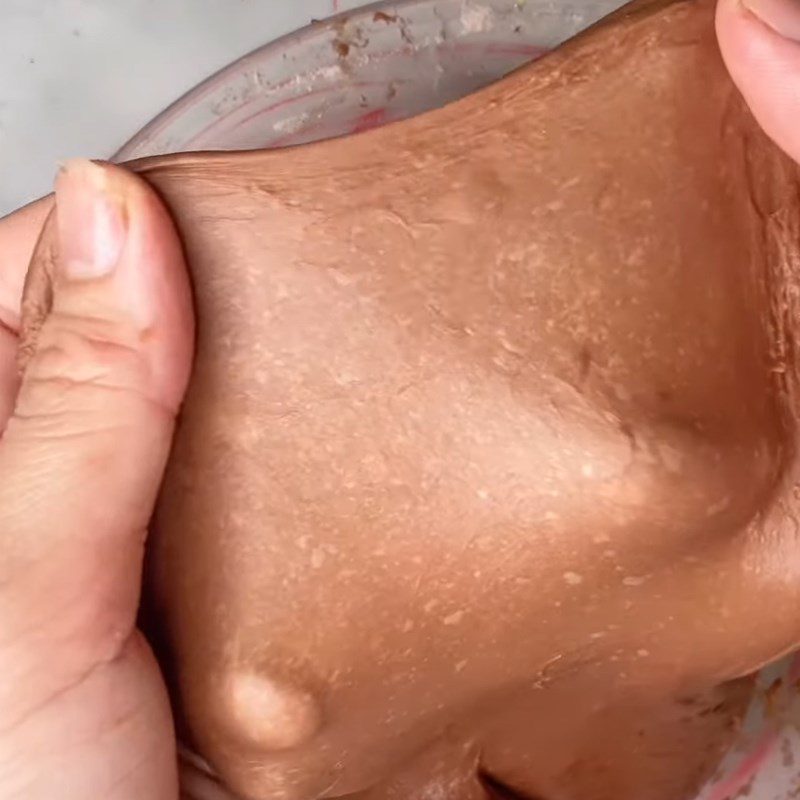
- You can stretch the dough into a thin film without tearing.
- Check the dough using the Windowpane method. Take a piece of dough and stretch it out. If the dough forms a thin film that is not easily torn and light can pass through, it is ready.
-
Proof the dough
Place the dough in a bowl, cover it with a cloth, and let it proof for 45 minutes to 1 hour until the dough doubles in size.
Tip: To check if the dough has proofed properly, press your finger deep into the dough; if the indentation remains, the dough is ready. -
Shape the dough and form the bread
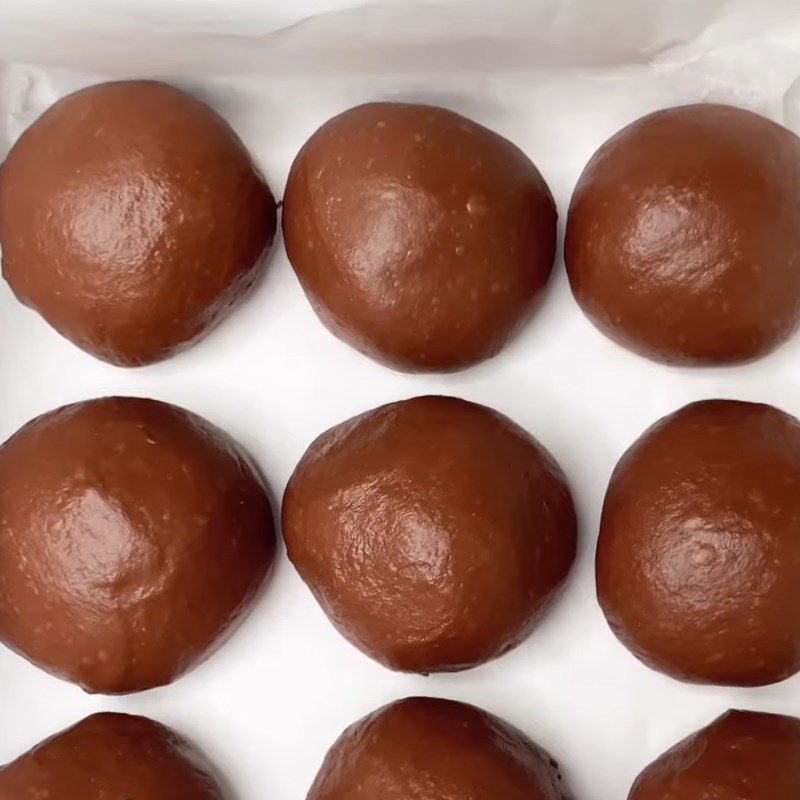
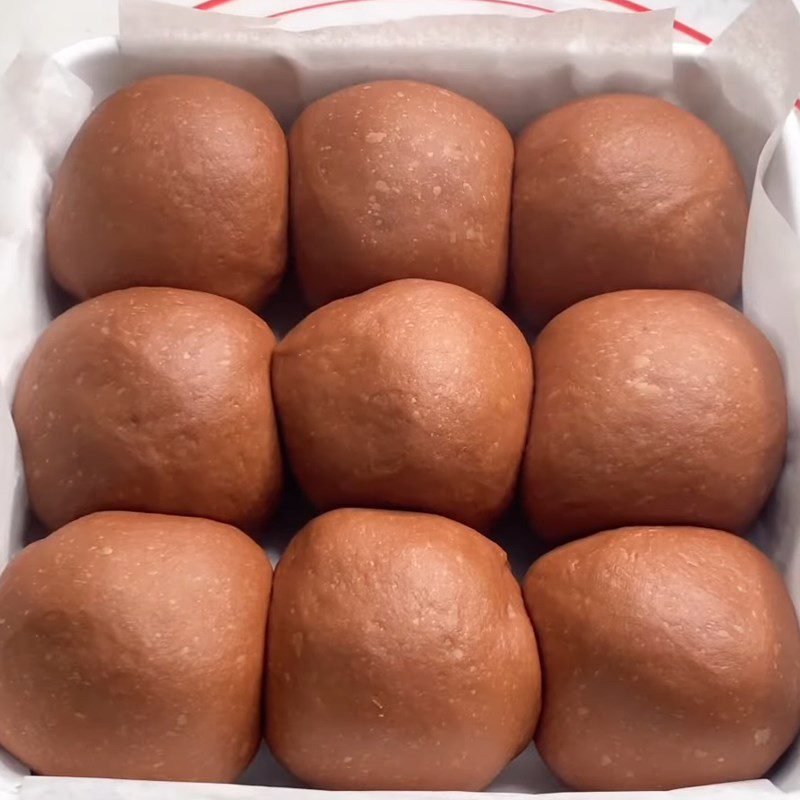
Lightly knead the dough for 1 minute, then divide it into 9 pieces, each weighing about 65g, and roll them into balls.
Line the mold with parchment paper, place the dough inside, and proof for a second time for about 30 minutes to 1 hour until the dough doubles in size.
-
Bake the bread
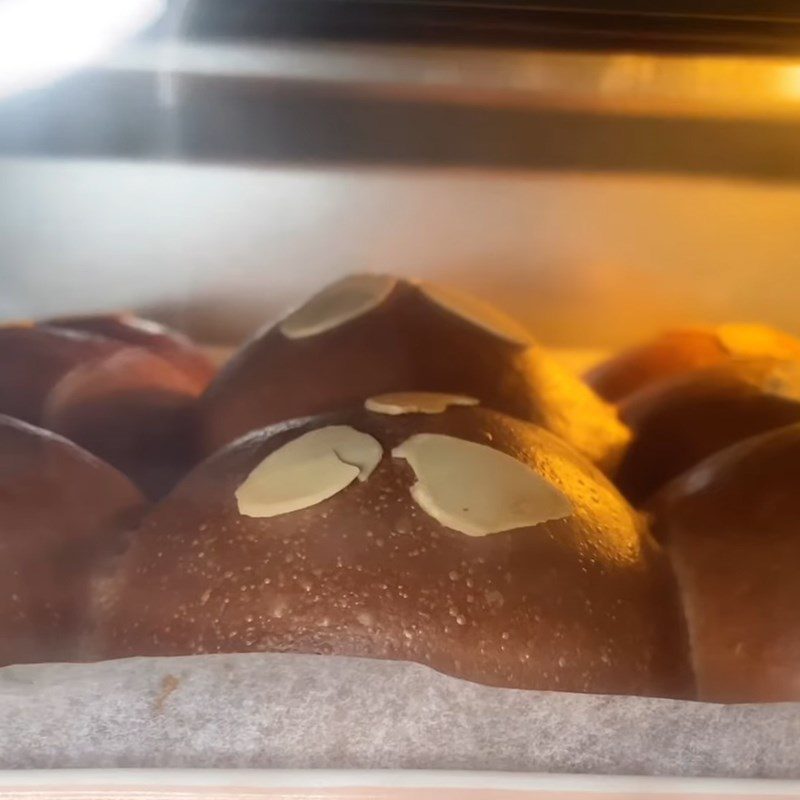
Preheat the air fryer to 180 degrees Celsius for 5 minutes.
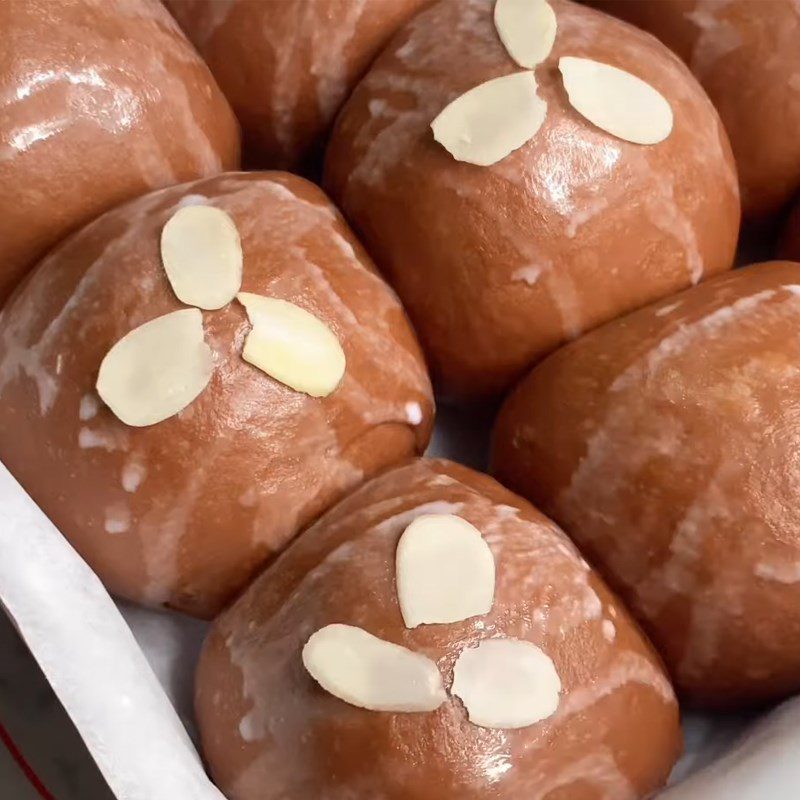
Brush fresh milk on the surface of the bread, sprinkle with sliced almonds, and bake at 180 degrees Celsius for 18 to 20 minutes.
-
Final Product
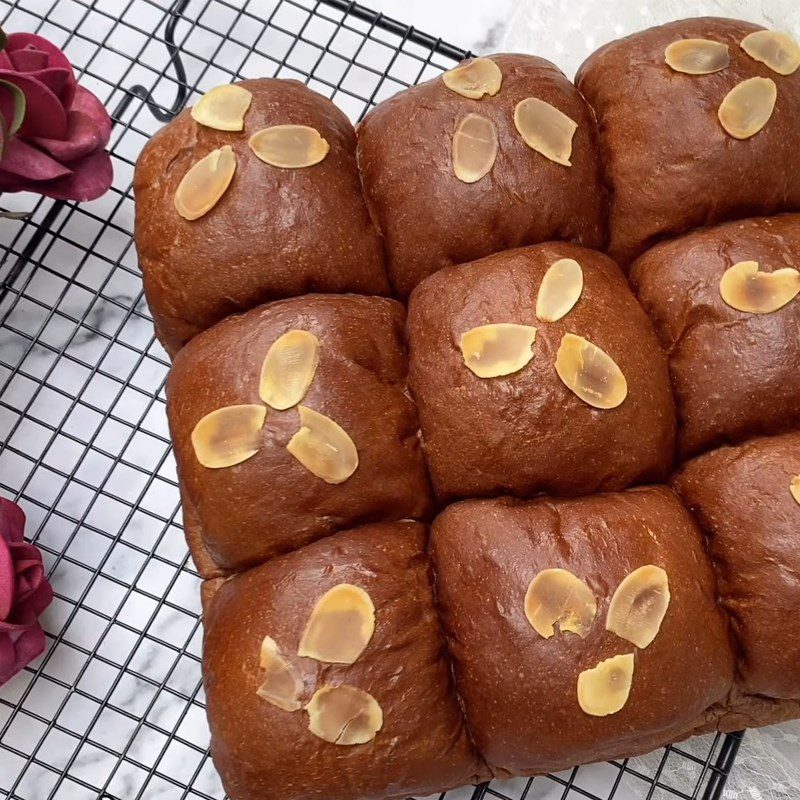
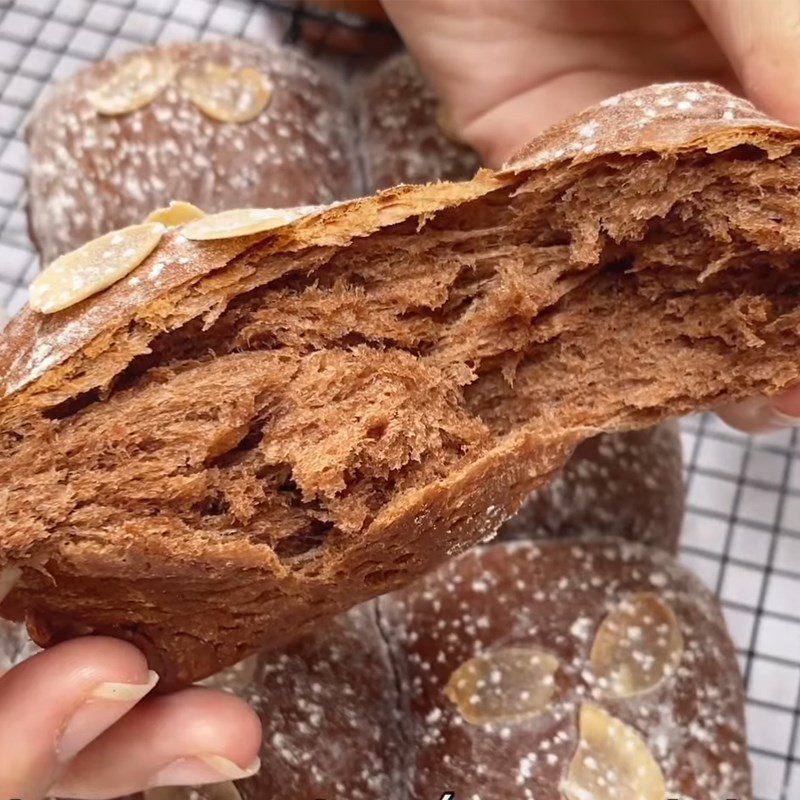
Soft and fluffy chocolate bread, each piece is chewy and sweet, with a distinctive aroma from cocoa powder, incredibly appealing.
Successful Execution Tips
- If you are not using instant dry yeast, you need to activate the yeast with warm water or milk at 35 – 40 degrees Celsius, stir well, and let it sit for 5 – 10 minutes until the yeast expands to form a mass resembling crab bricks. It must not be hotter, as it will kill the yeast or weaken its activity.
- If using instant yeast, it is advisable to use golden instant yeast for rich and sweet bread types.
- Do not mix salt and yeast directly together, as this will weaken the yeast’s activity and may kill the bread yeast.
- If the dough does not rise after proofing: Check the expiration date of the yeast; if the yeast is close to its expiration date, its activity may be weak, and it could be dead. To check, you can mix a little warm water at about 30 degrees (not more than 37 degrees). Add the yeast and wait about 15 minutes; if the yeast expands and bubbles like a crab brick, the yeast is still good, and you can use it with confidence.
- You should knead correctly to form gluten connections, so that the bread texture is chewy and soft after baking.
Storage Tips for Bread
Store the bread in a sealed box/bag in a cool place. It can be used for about 2-3 days.
Wishing you success in making this chocolate bread that is chewy, soft, and delicious!
*Source of the recipe and images from the Youtube channel Butter Fragrant Kitchen Corner
