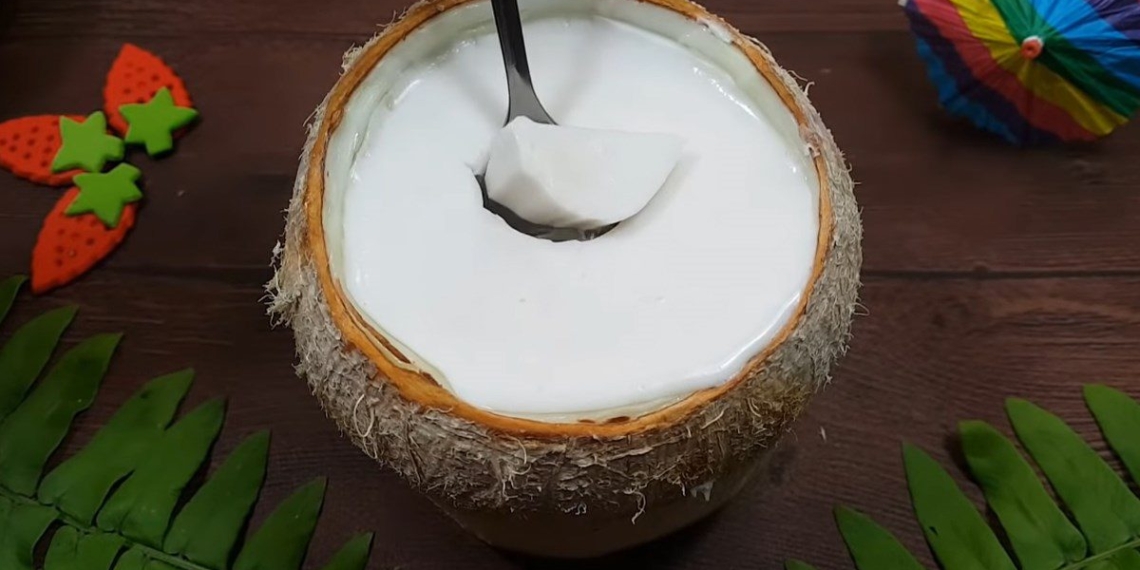
Coconut jelly is a dessert that is very familiar in every household. This dish is favored not only for its distinct delicious taste but also because it is extremely simple to make. Now let’s go to the kitchen with TasteVN to immediately discover 2 ways to make coconut jelly at home.
1. Coconut jelly
-
Preparation
30 minutes
-
Cooking
15 minutes
-
Difficulty
Easy
Ingredients for Coconut jelly For 8 people
Fresh coconut 8 fruits Jelly powder 13 gr Coconut milk 500 ml Rock sugar 320 gr Fresh butterfly pea flowers 30 gr Pandan leaves 10 stalks Vanilla 2 tubes Salt a little Lemon 1 fruit
How to choose quality butterfly pea flowers
- To buy quality butterfly pea flowers, you can rely on the color. Accordingly, you should buy flowers that are dark blue or purple. Avoid buying flowers that are black.
- If you use butterfly pea flowers for coloring, you should choose flowers with dark green stems instead of light green ones.
- You can also smell the flowers; if they have a characteristic fragrant smell, it means the flowers are fresh. Conversely, flowers that have been stored for a long time will smell musty.
- You can check if the flowers are dyed by soaking 5 flowers in 100ml of regular water, then shaking well. After the color is released, squeeze a piece of lemon into it. If the water changes from blue to almost transparent, then the flowers are not dyed. Conversely, if the color settles down but there is still light blue on top, you should not buy them.
-800x450-2-4.jpg)
Tools needed
How to make coconut jelly
-
Chop coconut to extract water
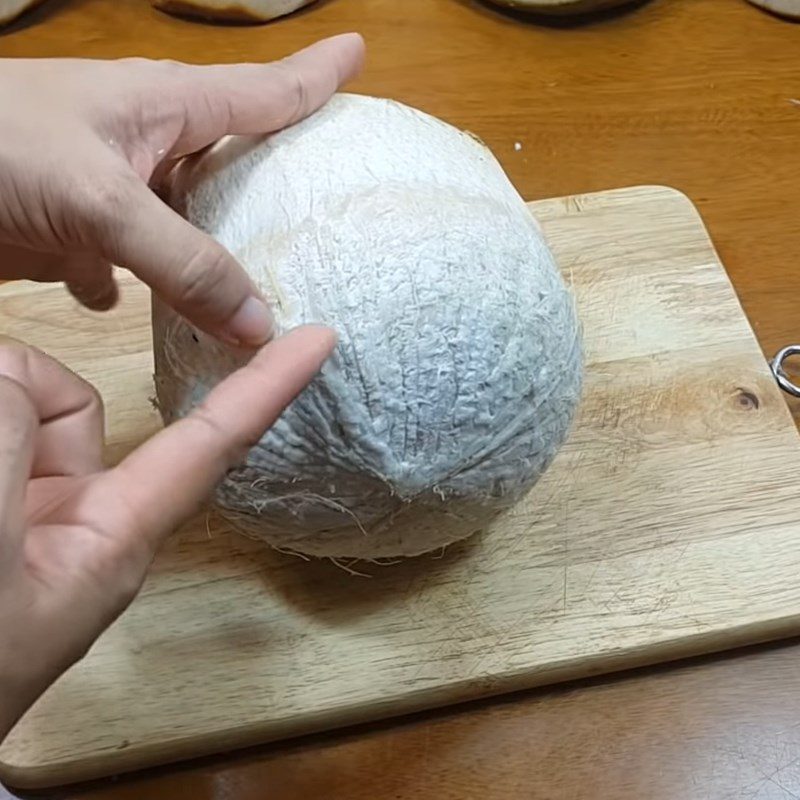
After buying fresh coconuts, you peel some of the outer shell, or you can choose coconuts that have already been peeled for quicker preparation.
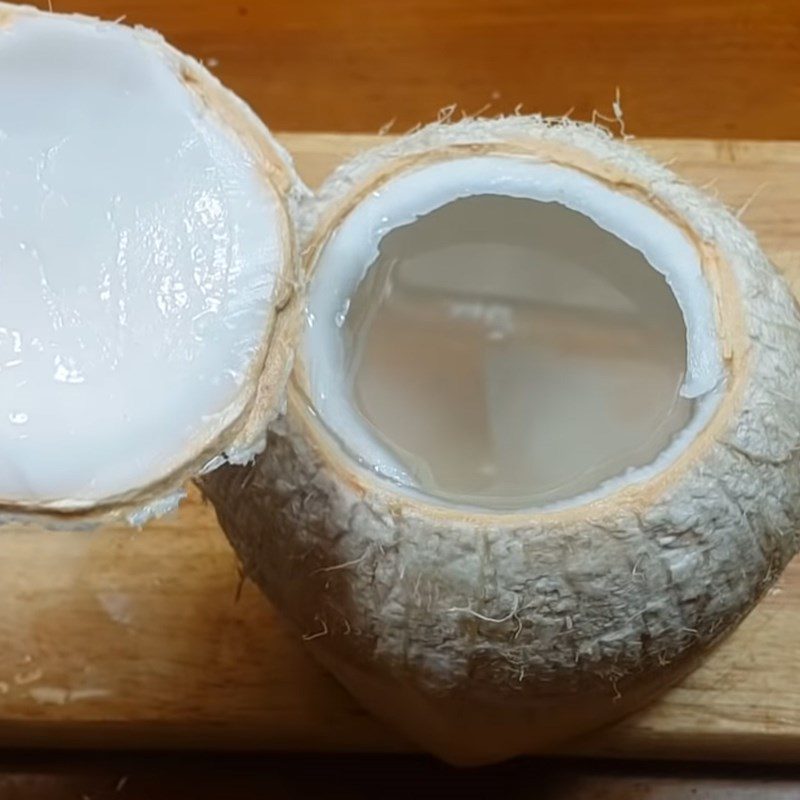
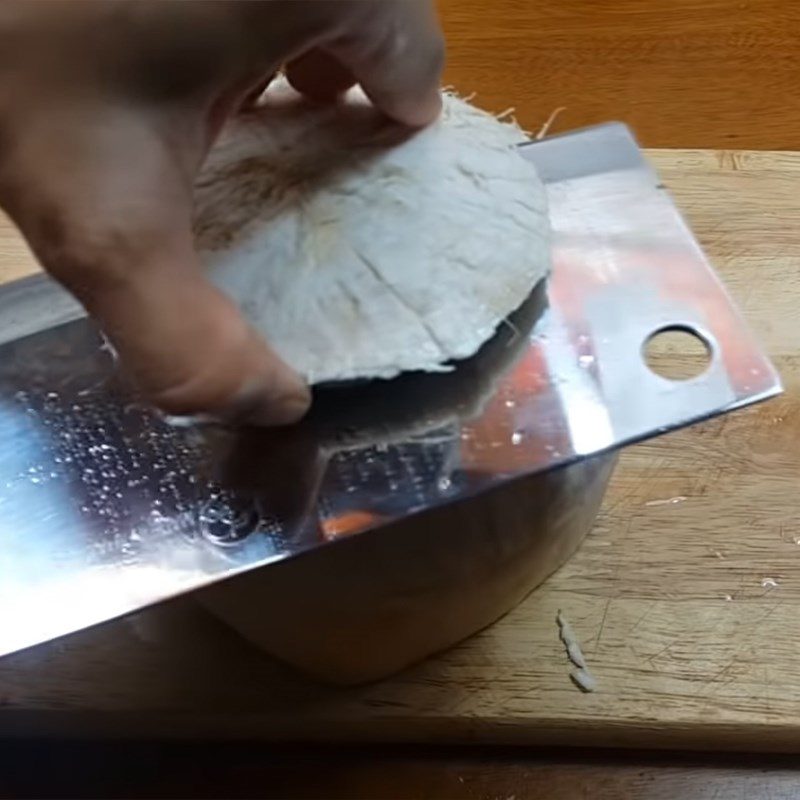
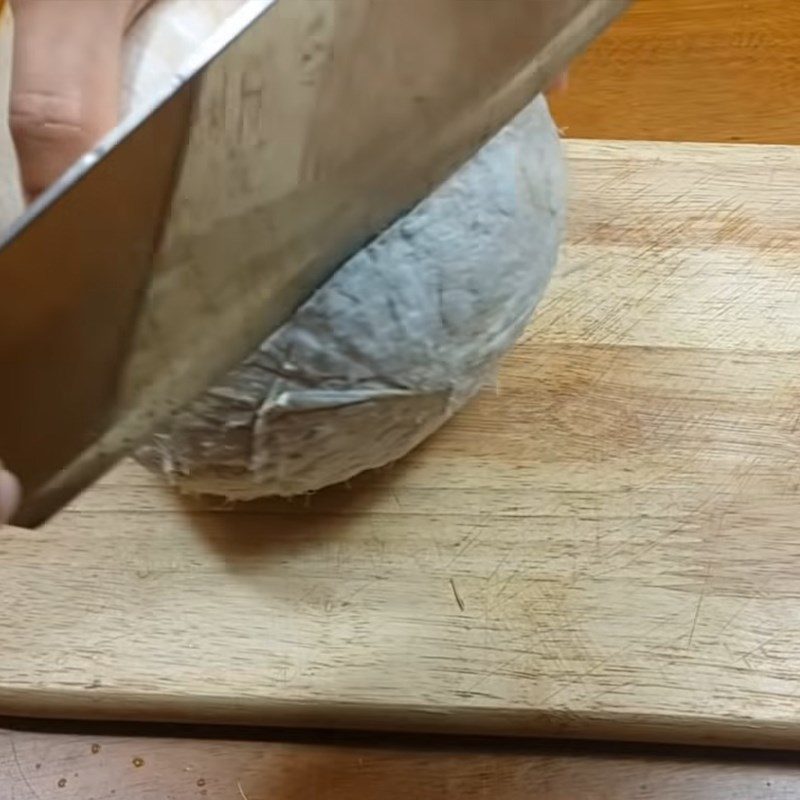
You place the coconut upright on the cutting board, then gently cut a circular line around the top lid of the coconut, then you place the coconut upright again and carefully remove the part that has been cut along the circular line.
Pour the coconut water into a large bowl. After that, you turn the coconut upside down so that the coconut meat inside can drain.
-
Filter to take the color from butterfly pea flowers and pandan leaves
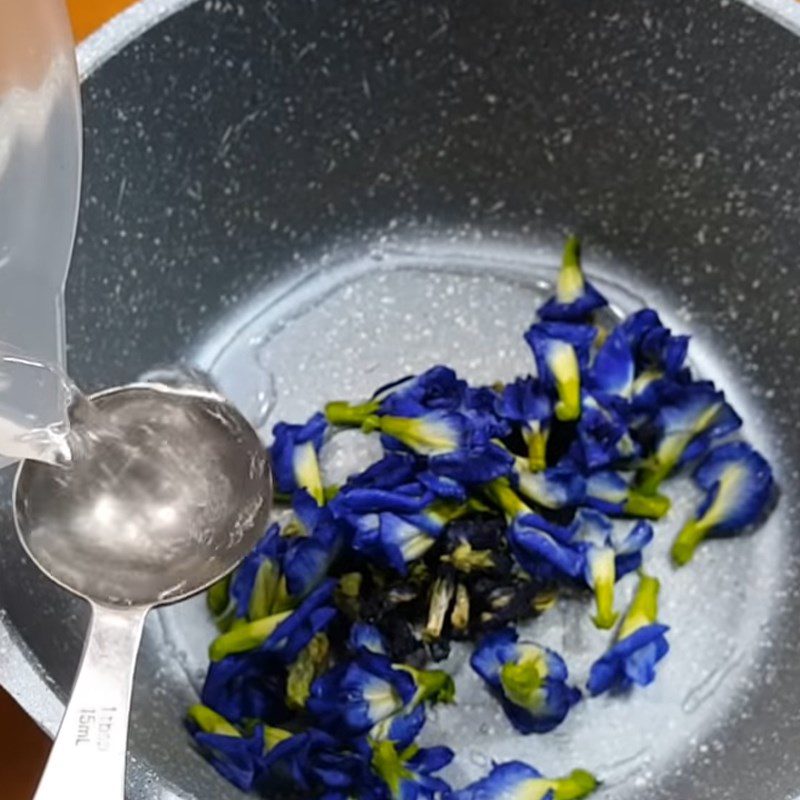
You place a pot on the stove, add 30g of butterfly pea flowers into the pot, then add 60ml of fresh coconut water, cook until it boils, the flowers will release a beautiful blue color, then you turn off the heat, use a sieve to filter out the flowers.
Next, you cut 5 pandan leaves into small pieces and put them into a mortar, grind them finely with 60ml of fresh coconut water, then strain the blended pandan through a sieve to remove the solid parts.
Tip: If you do not want to color your jelly, you can skip this step!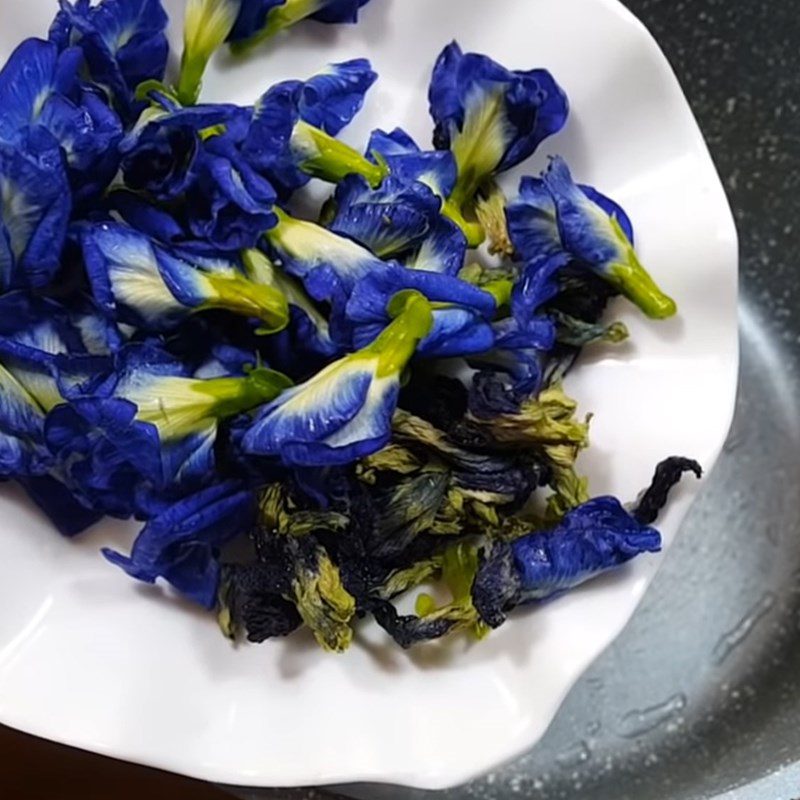
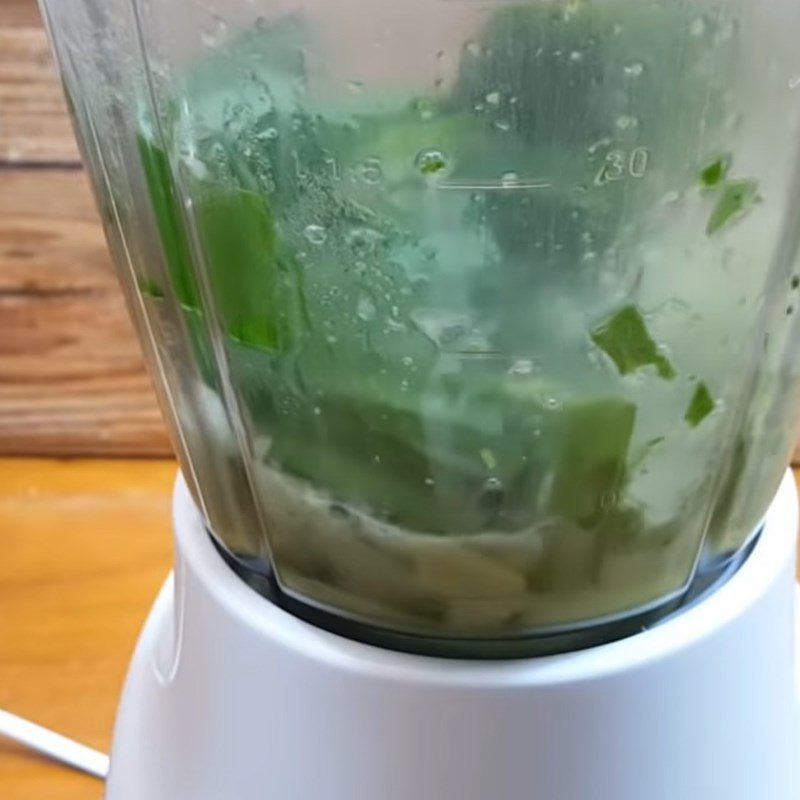
-
Cooking coconut jelly
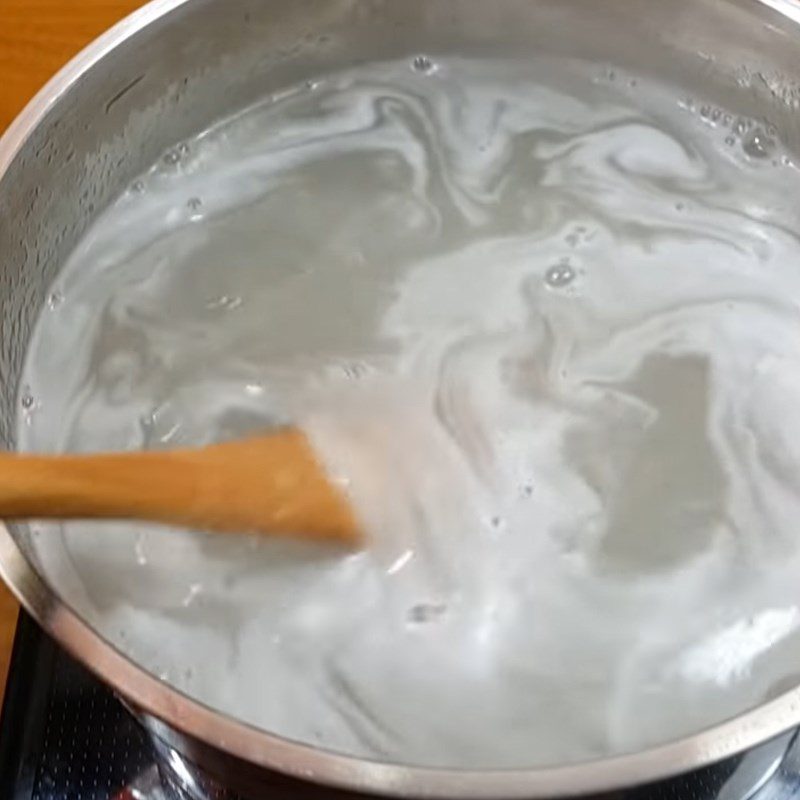
Slowly add 220g of rock sugar and 10g of agar powder into 3 liters of fresh coconut water, add a little salt, and stir well to dissolve the mixture.
Place the jelly pot on the stove, cook over medium heat, and stir continuously until the mixture boils. Next, add 5 pandan leaves tied into small bundles.
Stir for about 2 more minutes, then remove the pandan leaves. At this point, keep the jelly pot on the stove at the lowest heat to prevent it from solidifying after cooking.
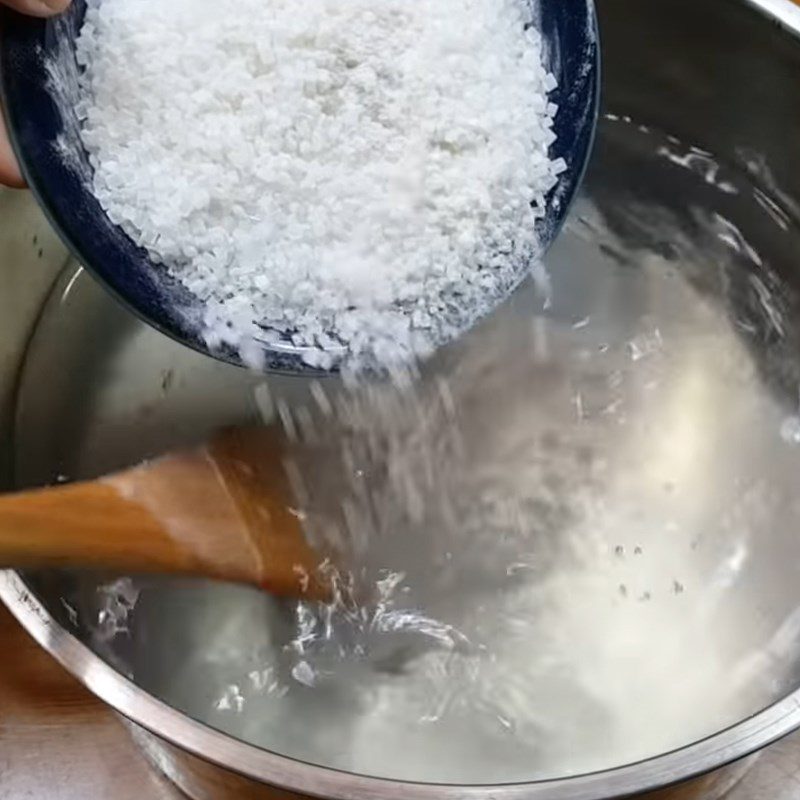
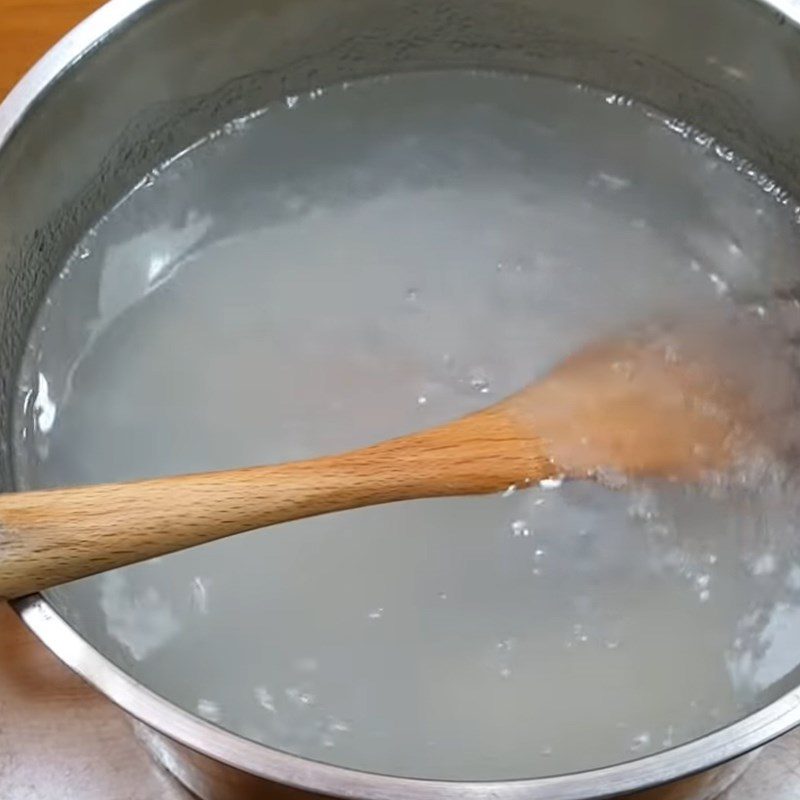
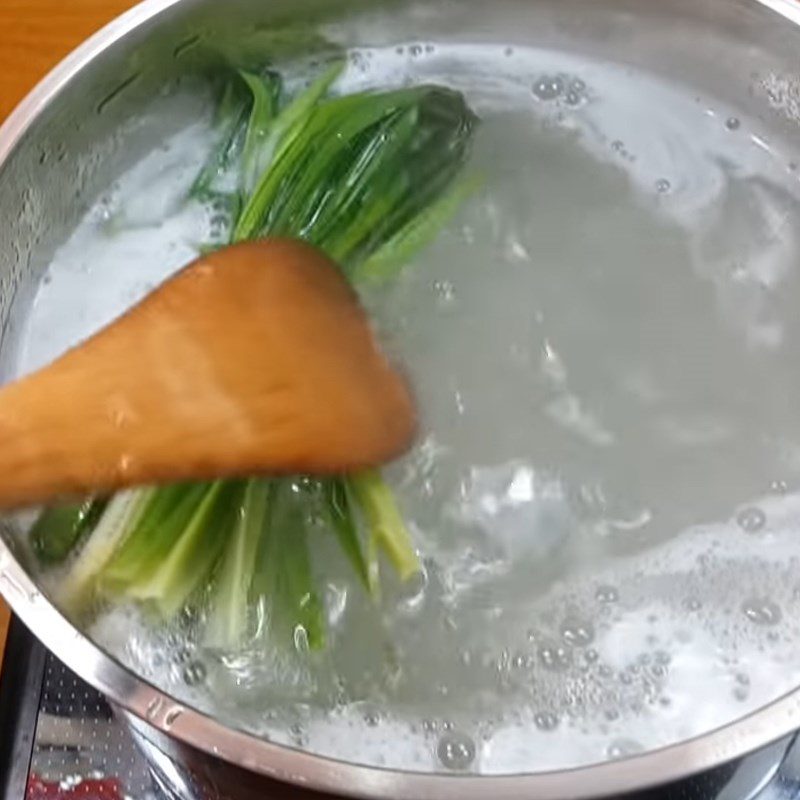
-
Cooking coconut milk jelly and coloring
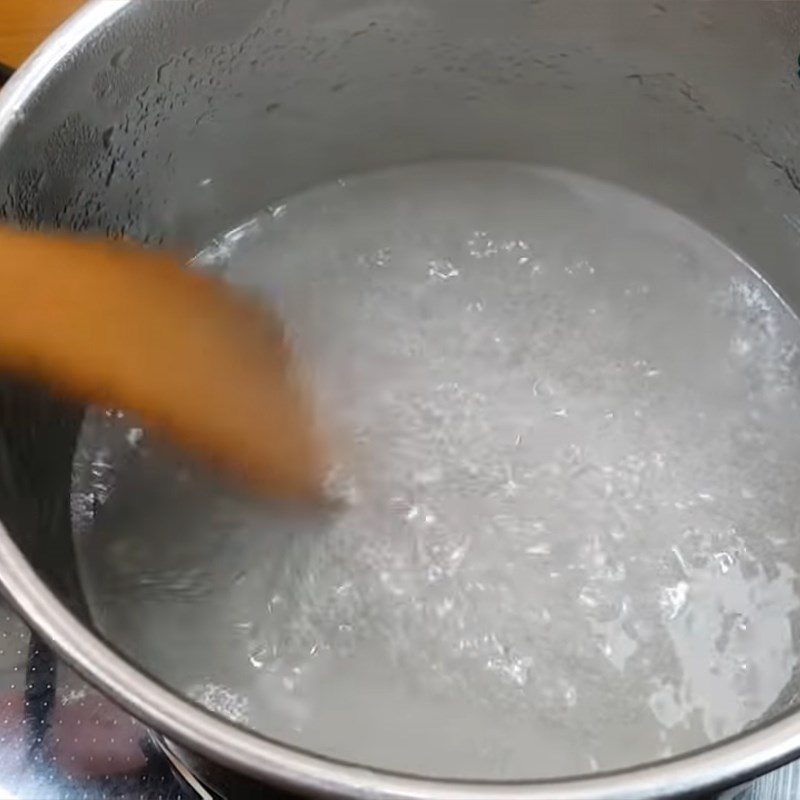
Add 250ml of water into a pot, slowly add 100g of rock sugar and 3g of agar powder to dissolve, and add a little more salt.
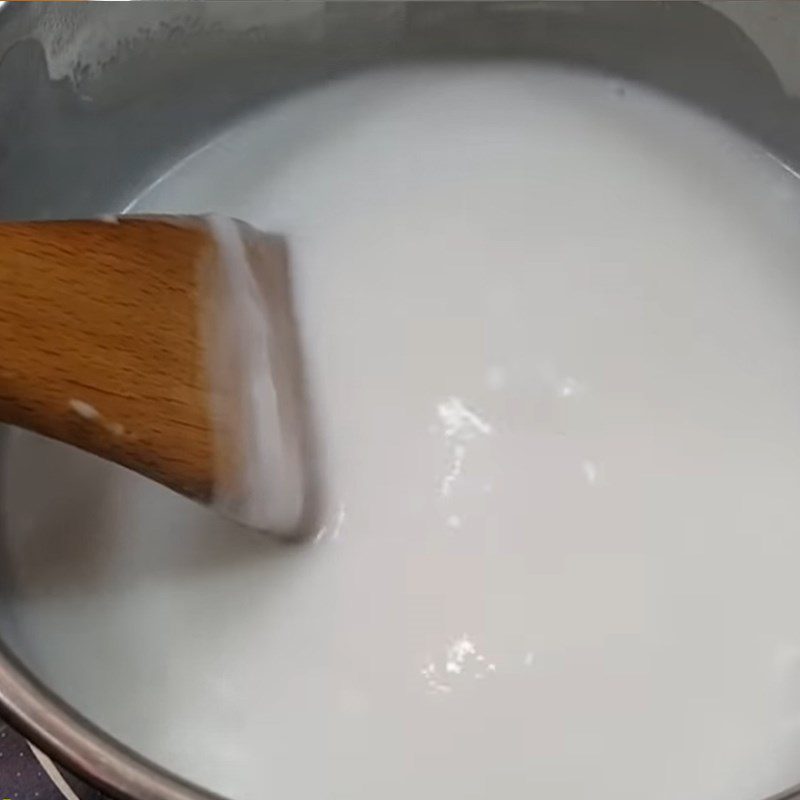
Place the pot on the stove, cook over medium heat for about 5 minutes until the mixture boils, then add 500ml of coconut milk, stir well until the mixture boils again, then turn off the heat and stir in 2 vanilla pods.
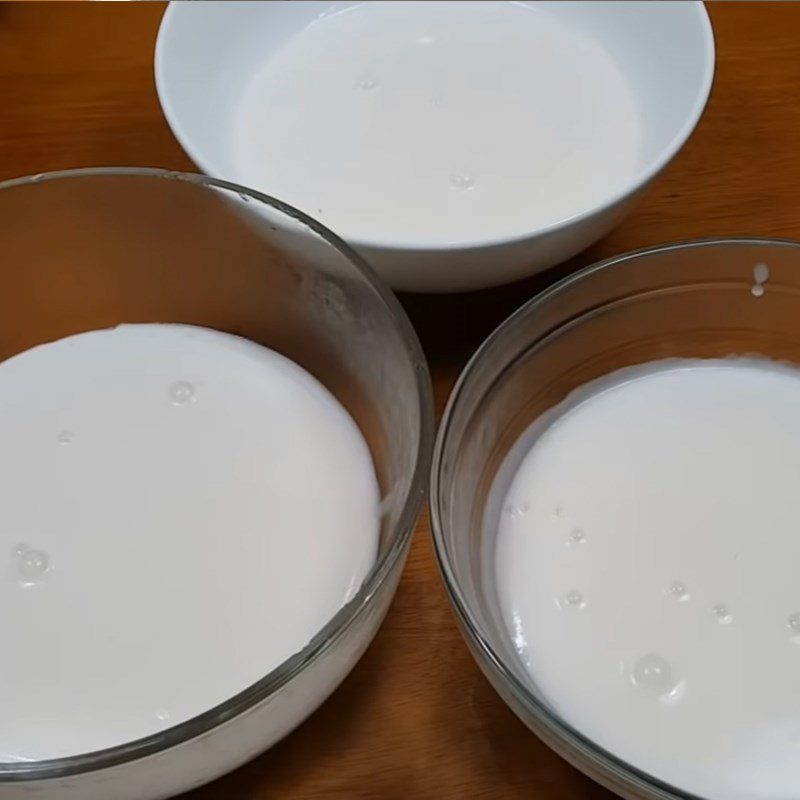
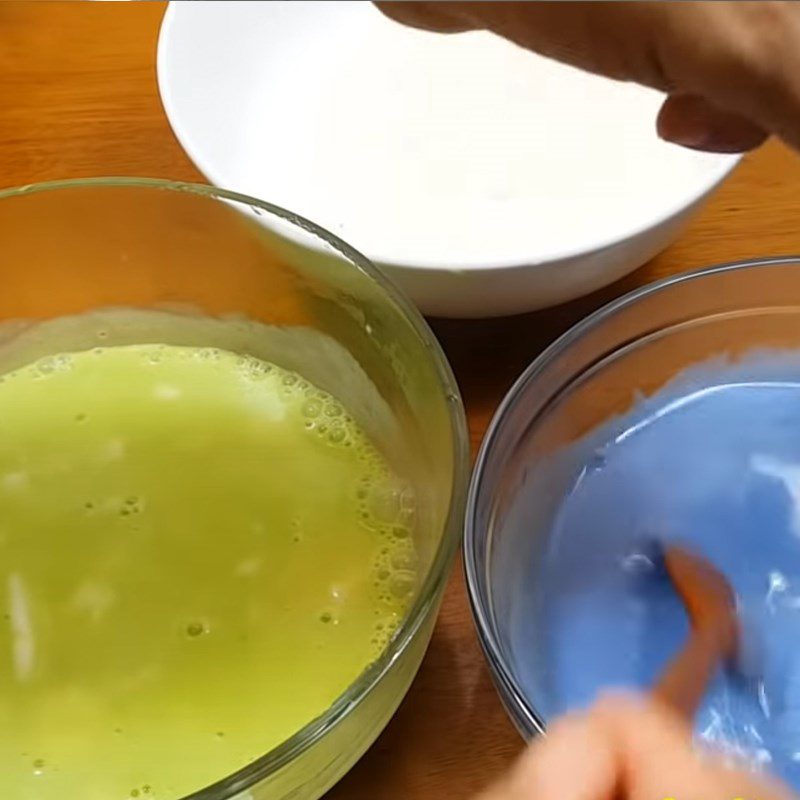
Divide the coconut milk jelly mixture into three equal parts, successively mix with 60ml of fresh coconut water, 60ml of pandan leaf water, and 60ml of prepared butterfly pea flower water.
To make the butterfly pea flower water have a more beautiful purple color, add a little lemon juice.
-
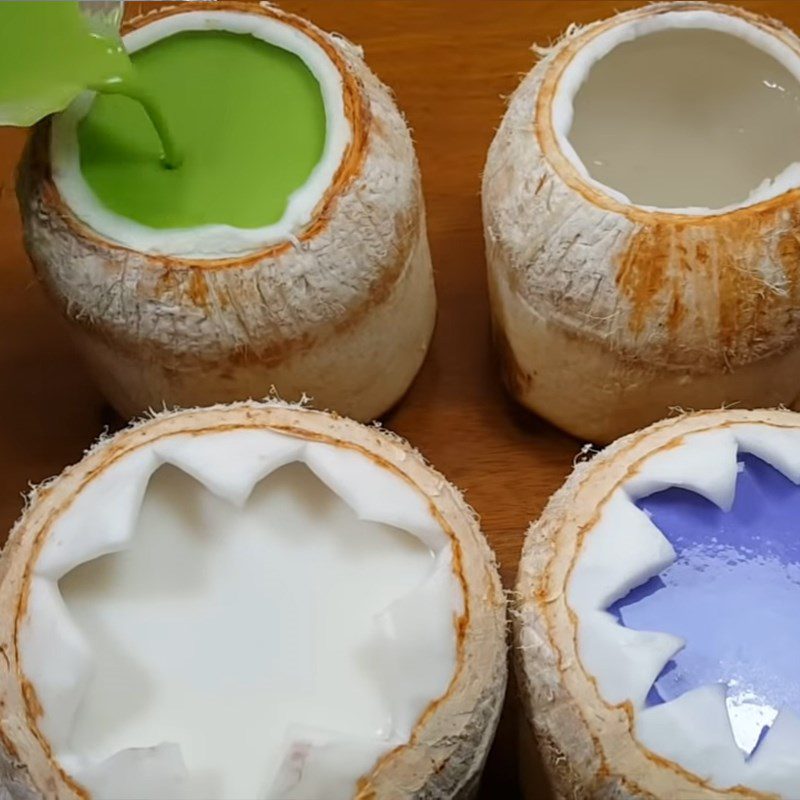
Pour the jelly into the coconut
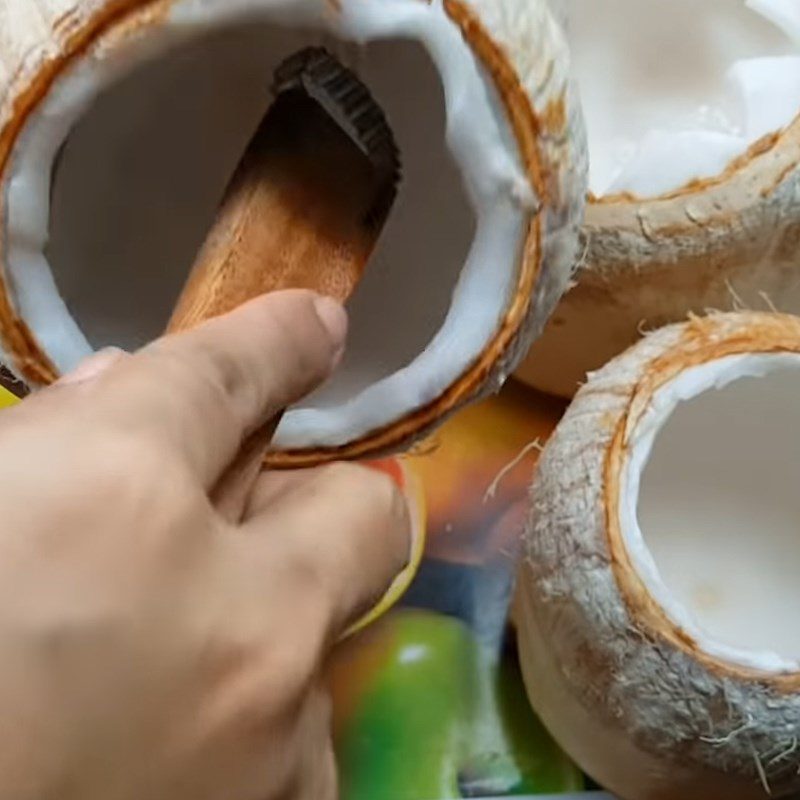
First, use a scraper or spoon to gently scrape the coconut meat inside, be careful not to hit the shell.
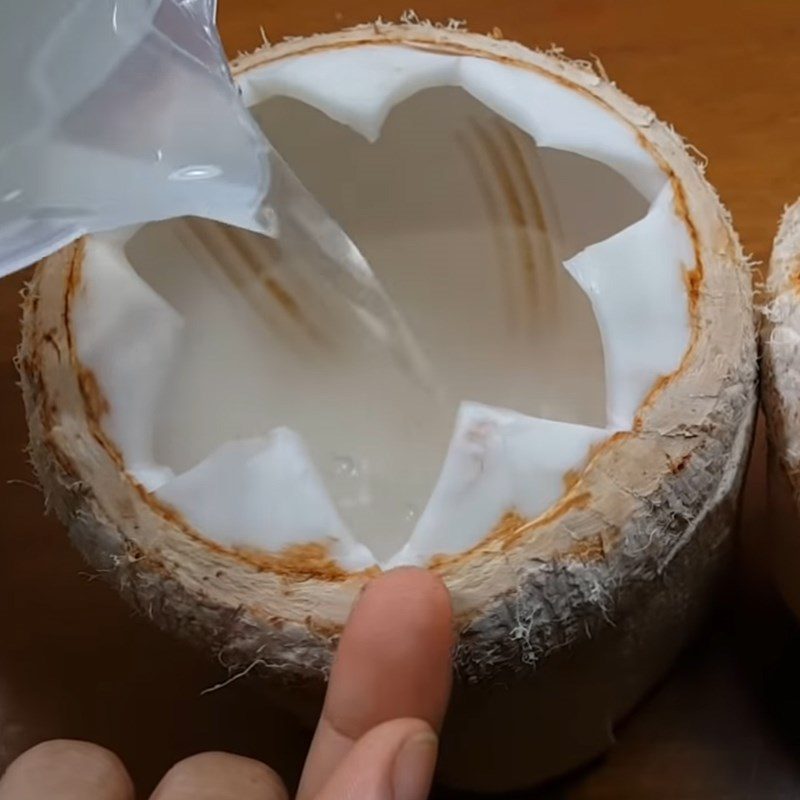
Next, pour the coconut jelly mixture into each coconut until it is about one finger width from the rim.
Wait for a while until you see the jelly set on the surface, and when pressed lightly, it feels a bit firm, pour the colored coconut milk jelly mixture on top.
Once the jelly has cooled, use the lid you removed to cover the coconut and place it in the refrigerator cooling compartment.
Tip: If you don’t want to use a coconut, you can pour the jelly into any mold you like.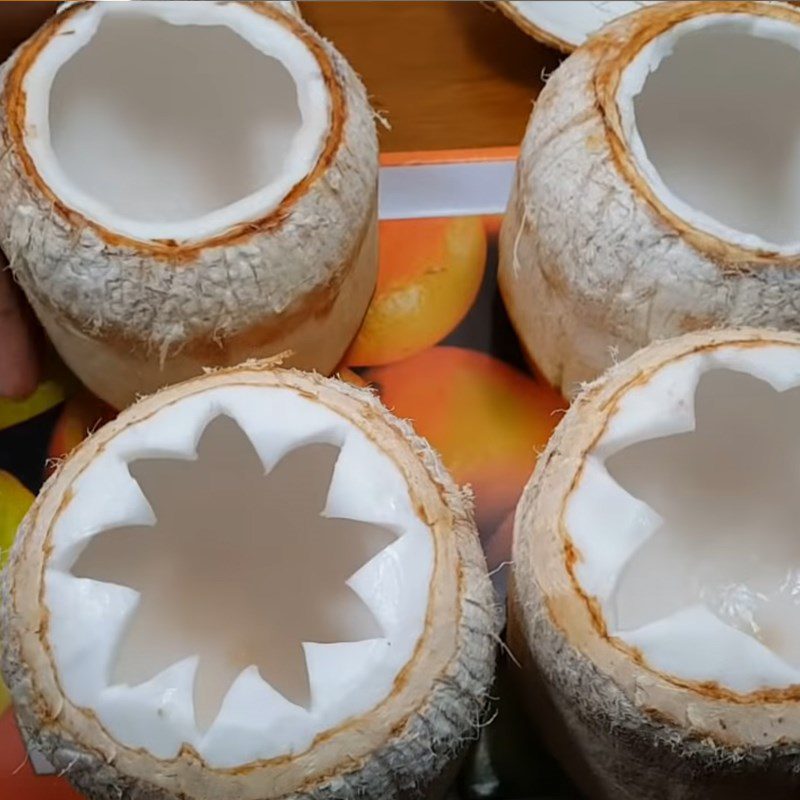
-
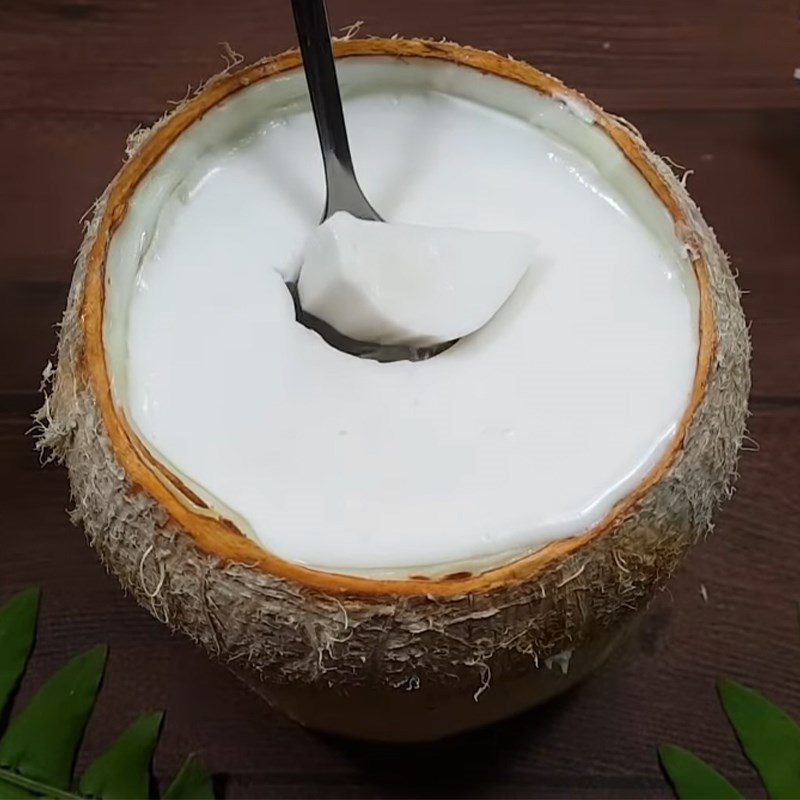
Finished Product
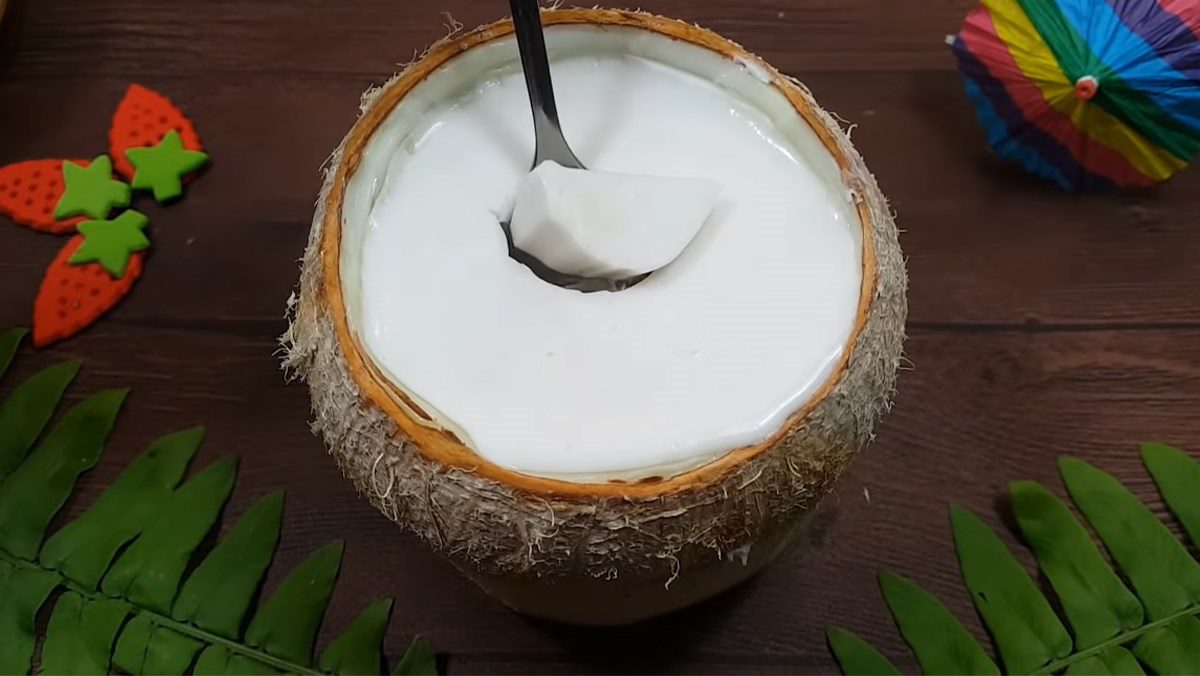
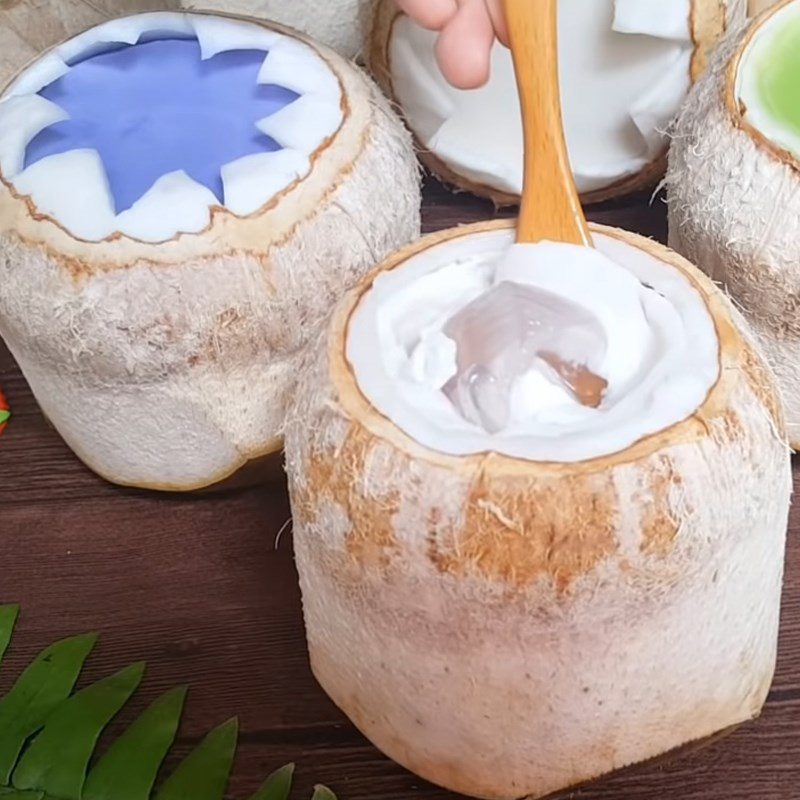
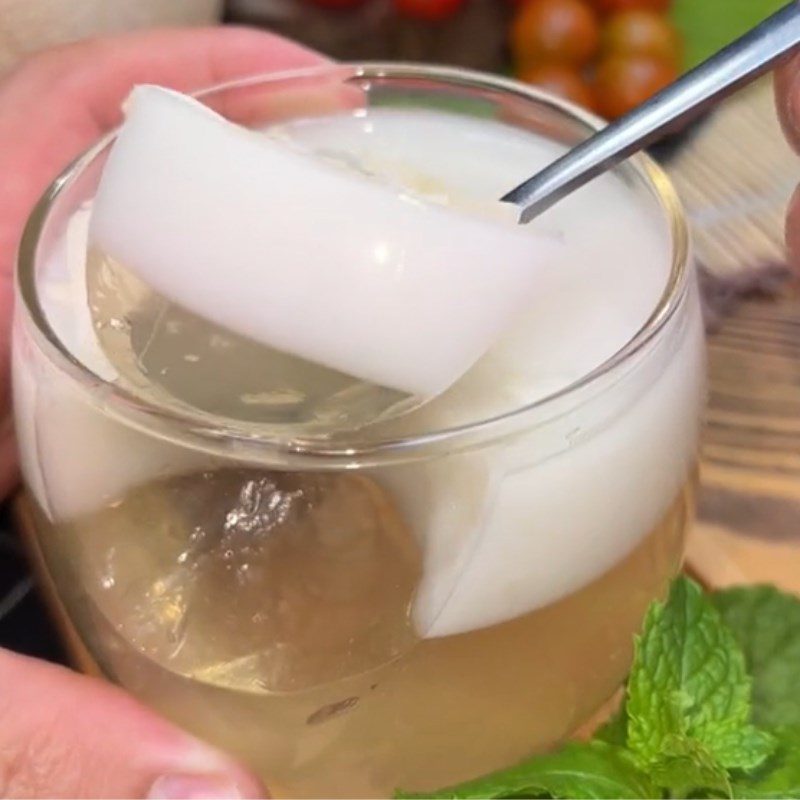
Delicious and refreshing coconut jelly, with the coconut water jelly being sweet and chewy, blended with a layer of rich, aromatic coconut milk jelly.
On hot summer days, enjoying a beautifully presented, appealing, and cool coconut jelly like this is just wonderful, isn’t it, everyone!
2. Fresh Coconut Jelly
-
Preparation
20 minutes
-
Cooking
30 minutes
-
Difficulty
Easy
Ingredients for Fresh Coconut Jelly Serves 4
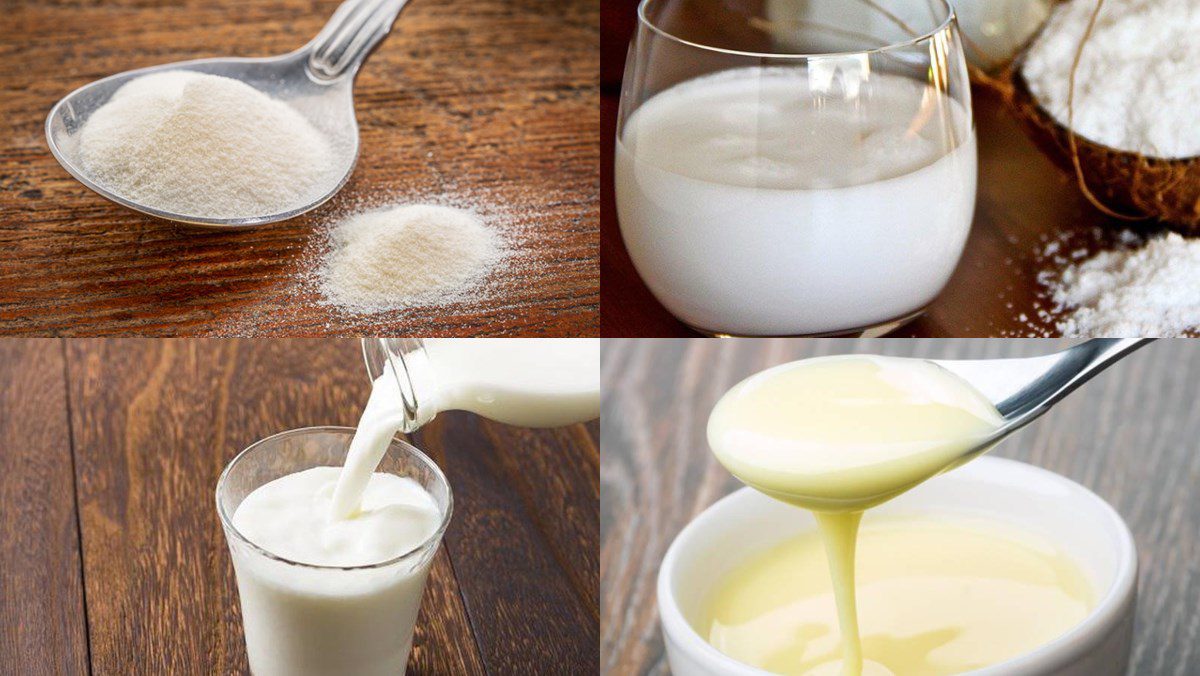
Gelatin powder 25 gr Coconut milk 100 ml Fresh milk 220 ml Sweetened condensed milk 50 ml Filtered water 1.1 liters Sugar 100 gr
Ingredient Image
How to Make Coconut Jelly with Fresh Milk
-
Mixing jelly powder
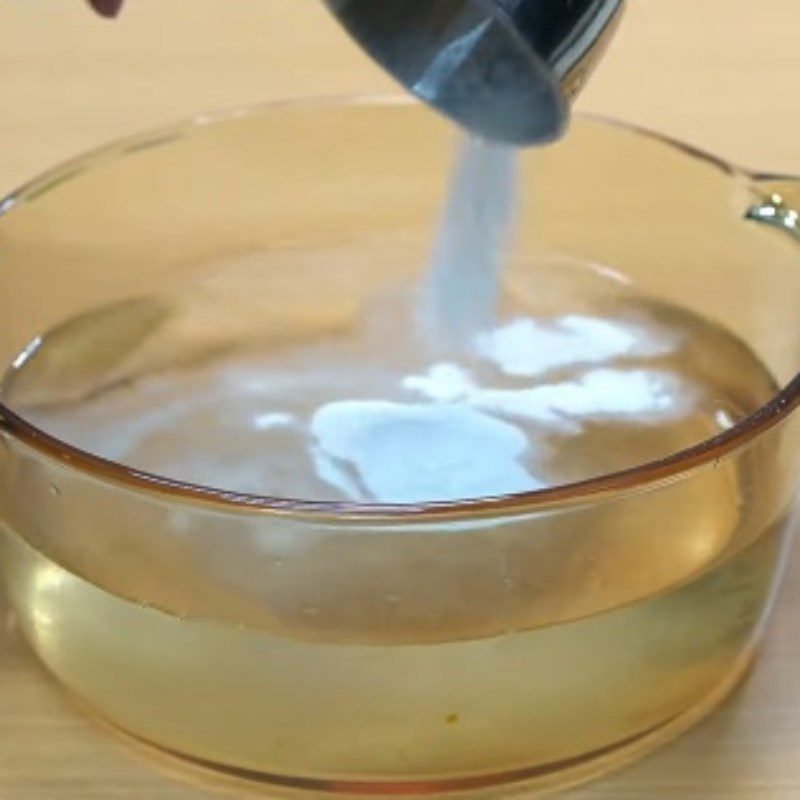
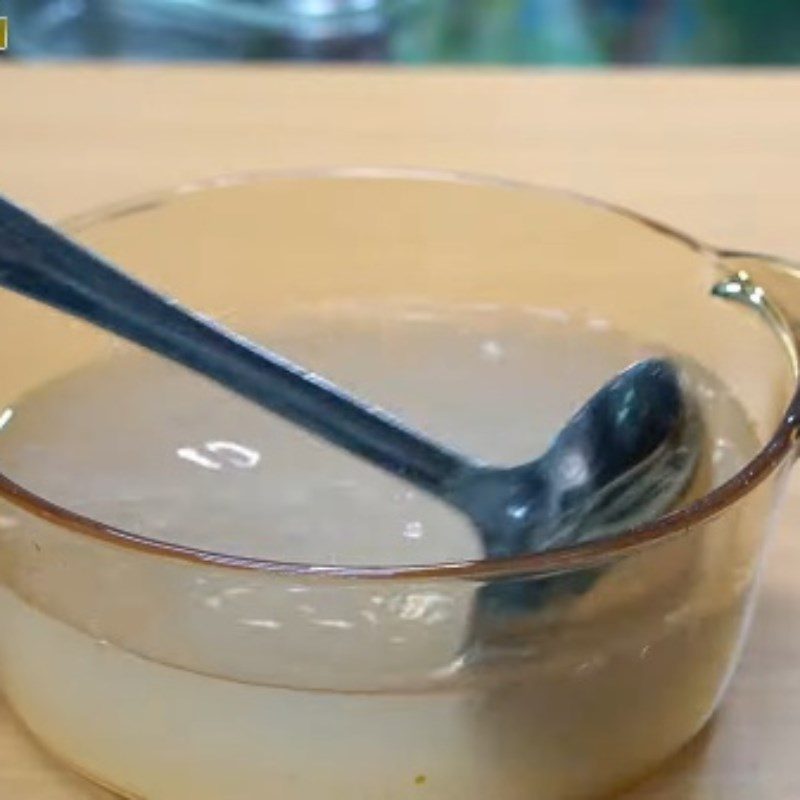
First, add 800ml of purified water and 13gr of jelly powder into a glass pot, then use a ladle to stir well until the powder is completely dissolved.
After stirring, cover the pot for 10 minutes to let the jelly expand.
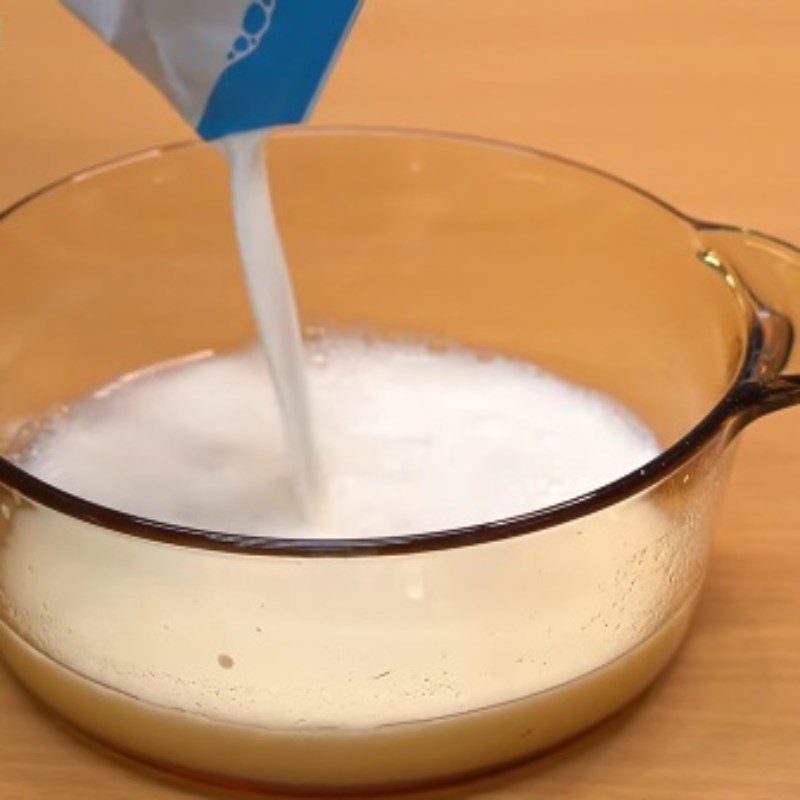
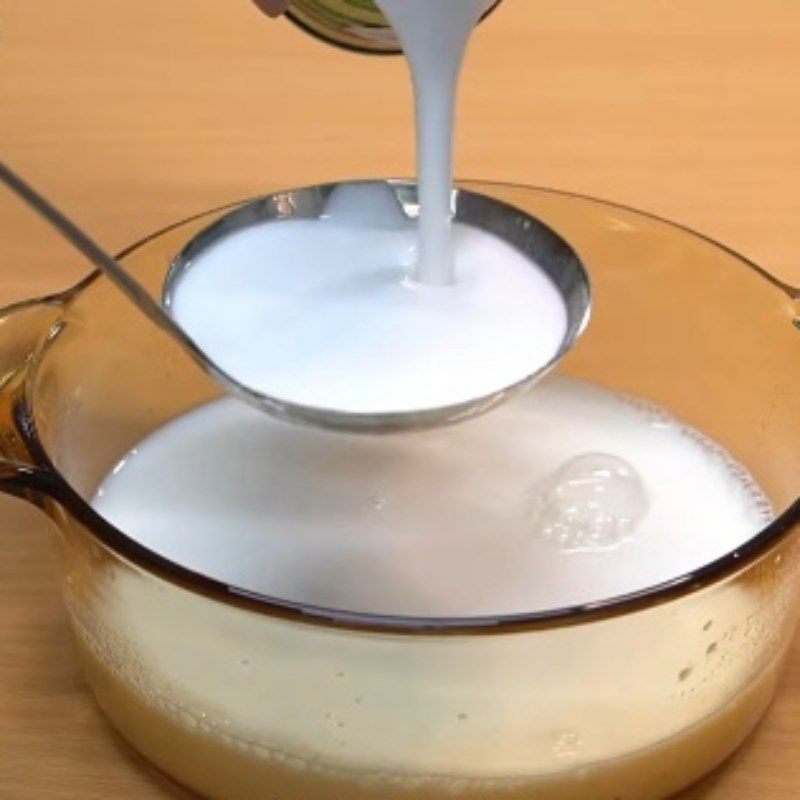
Next, pour 300ml of purified water into another pot, then gradually add 12gr of jelly powder, 220ml of fresh milk, 100ml of coconut milk, 50ml of sweetened condensed milk, and stir well. Then cover it for another 10 minutes.
-
Cooking the jelly
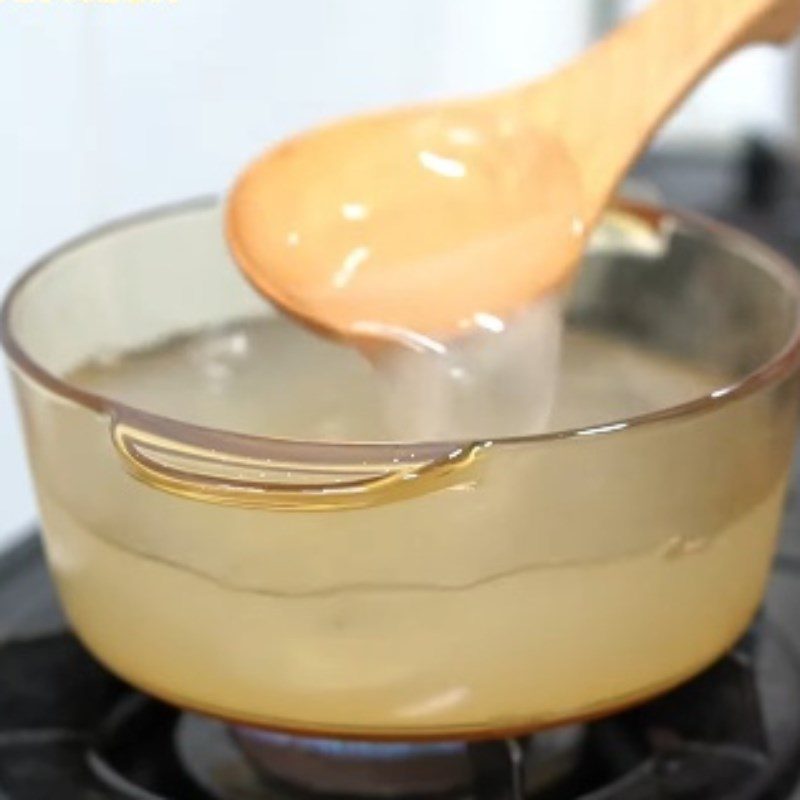
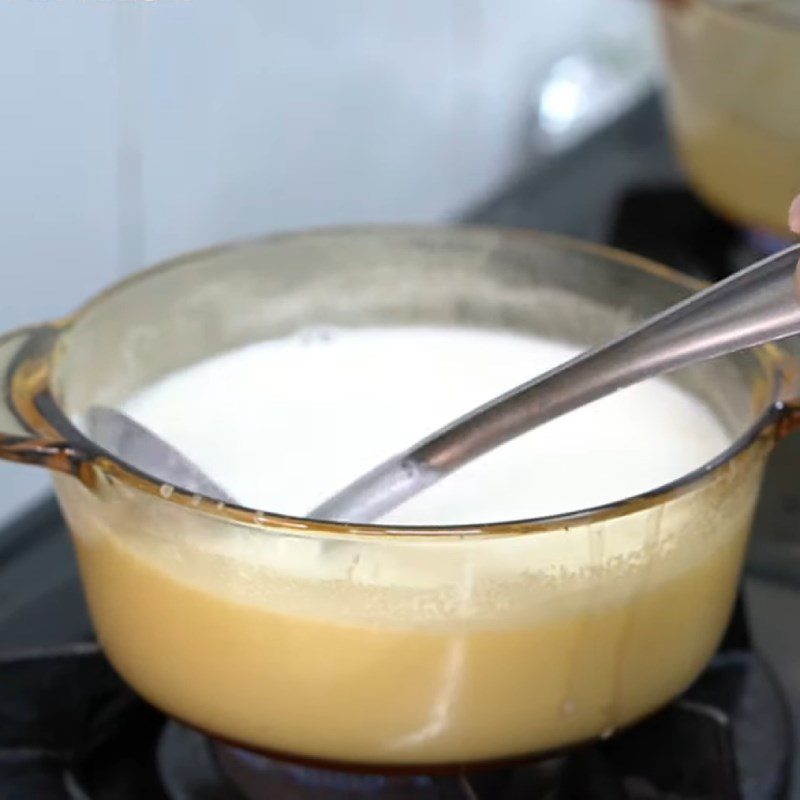
You then place both pots of jelly mixture on the gas stove, cooking on medium heat, stirring the mixture continuously.
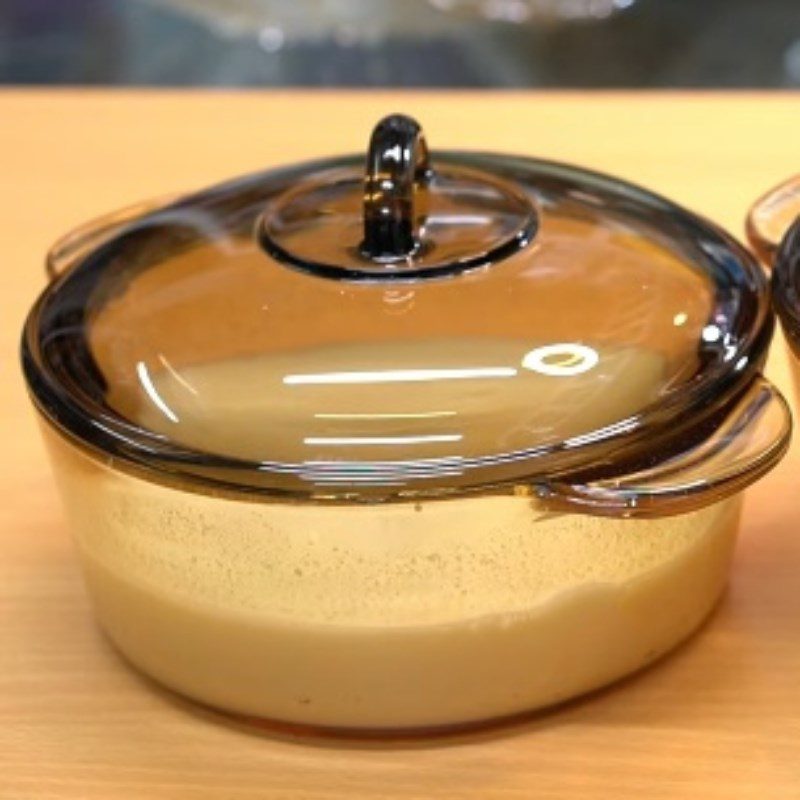
Next, add 70gr of sugar to the clear jelly pot and 30gr of sugar to the milk jelly pot, and continue to cook for 20 minutes. After 20 minutes, turn off the heat.
Note: During cooking, you must continuously stir the jelly mixture to prevent it from clumping and sticking to the bottom of the pot.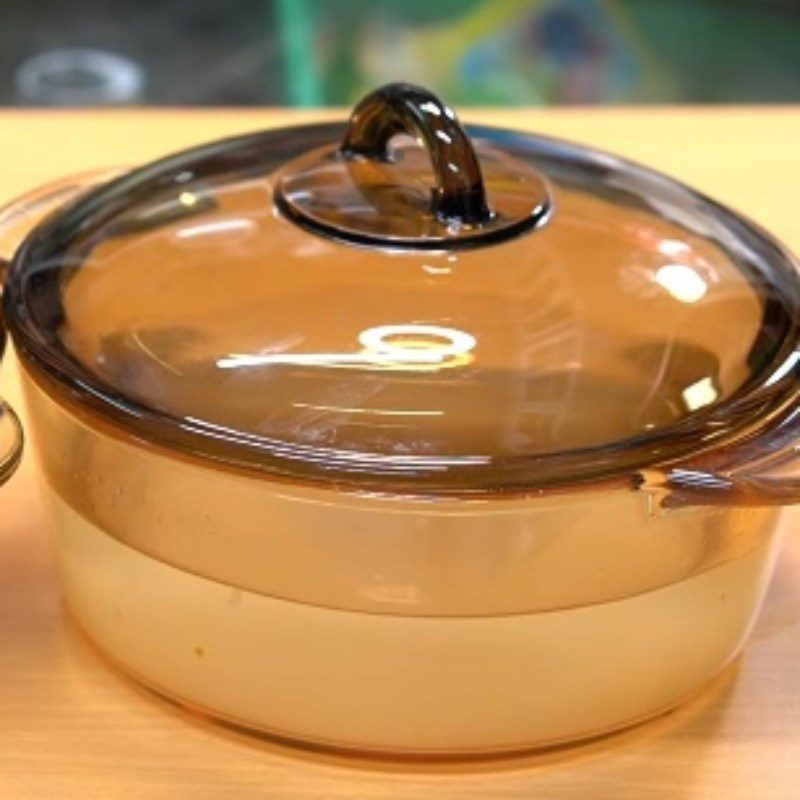
-
Pouring the jelly into molds
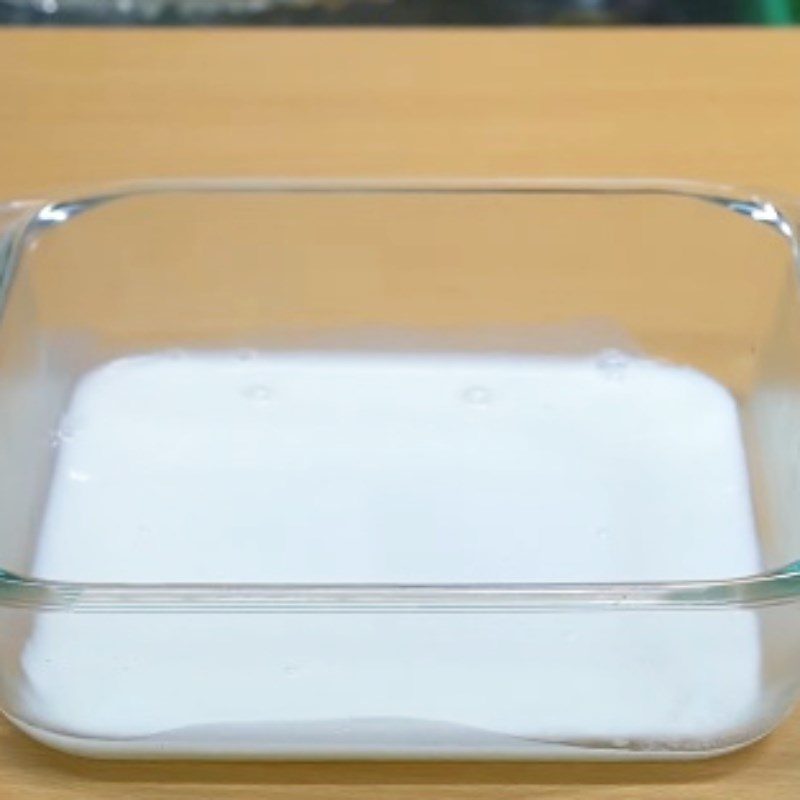
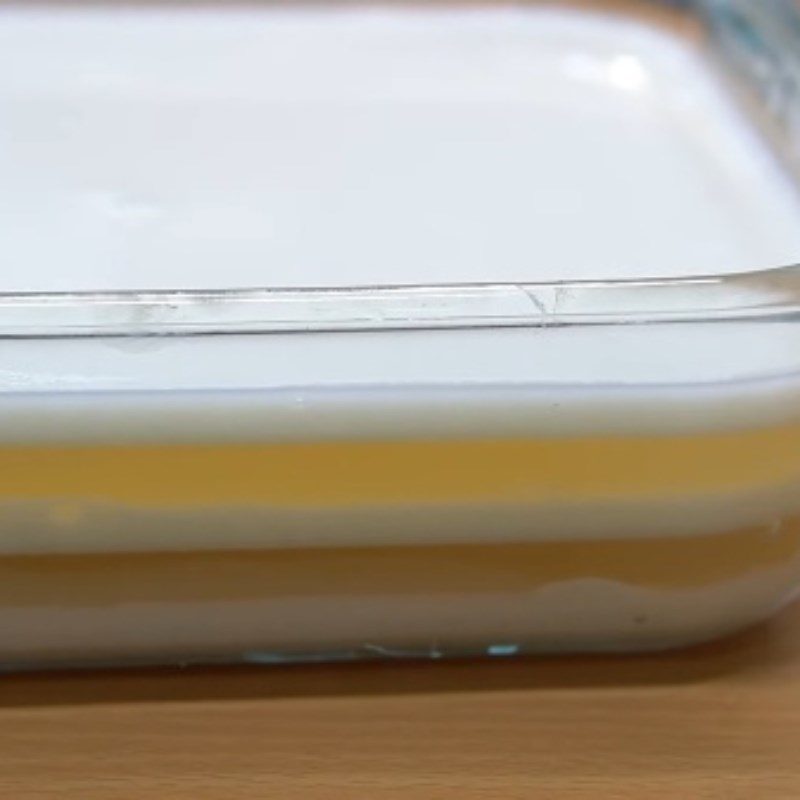
First, use a ladle to scoop the milk jelly mixture and pour a thin layer into the mold.
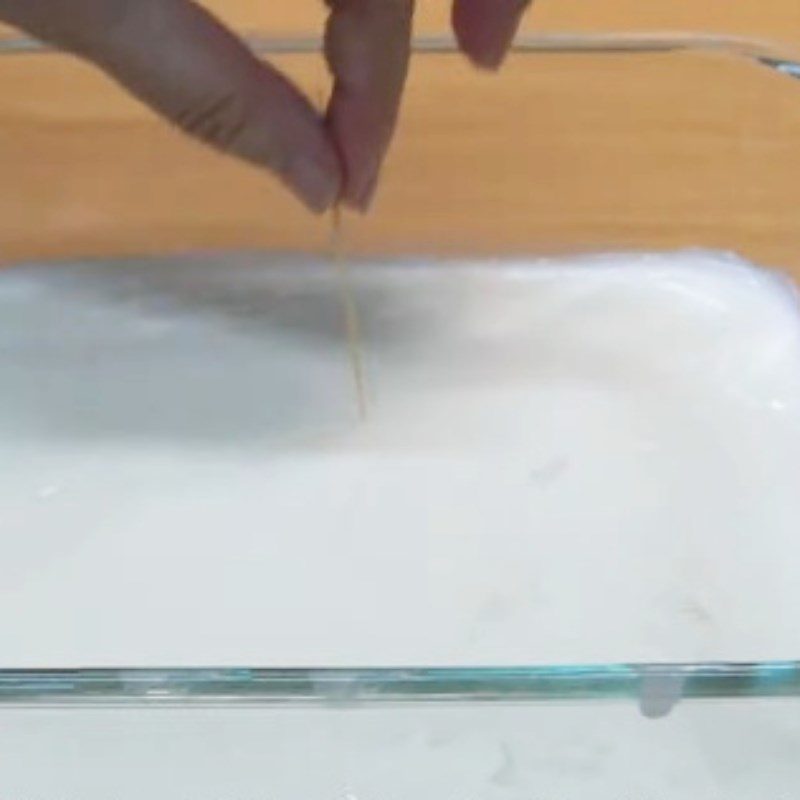
After 7 minutes, check if the jelly layer has dried by gently touching the surface with a toothpick. If the surface feels dry, proceed to pour the second layer.
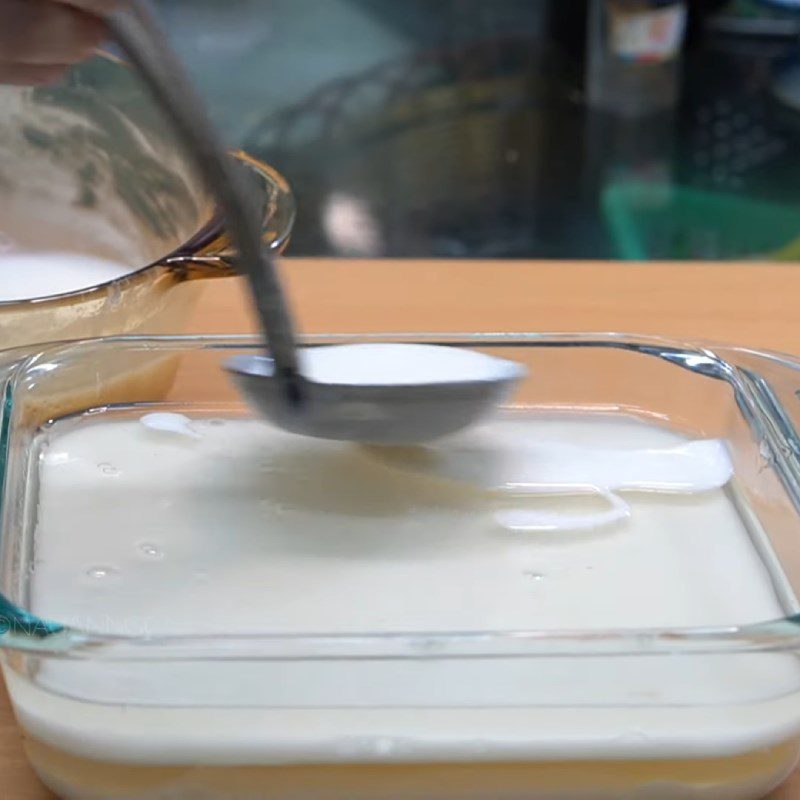
Similar to the first layer, use the ladle to scoop the jelly mixture and pour a thin layer over the dried milk jelly layer.
Continue this process until the jelly mixture is finished, with each layer separated by 7 minutes.
After pouring, let it cool for 1 hour, then place it in the refrigerator.
-
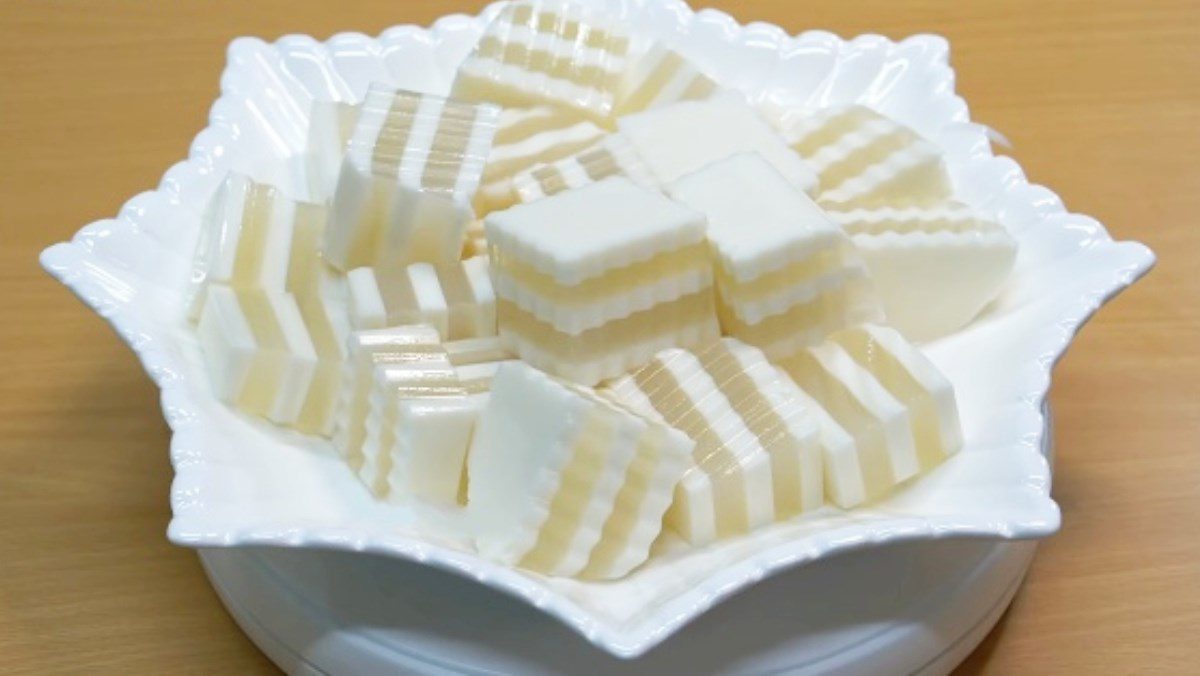
Final product
When removing the jelly from the mold, you can use pandan leaves to cushion the four corners of the mold to remove the jelly more easily.
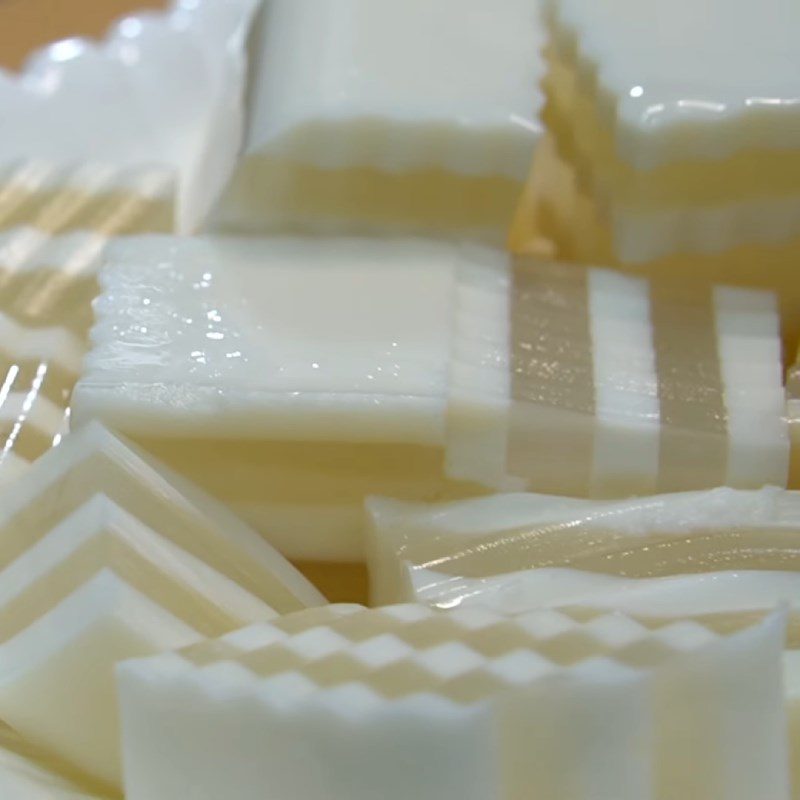
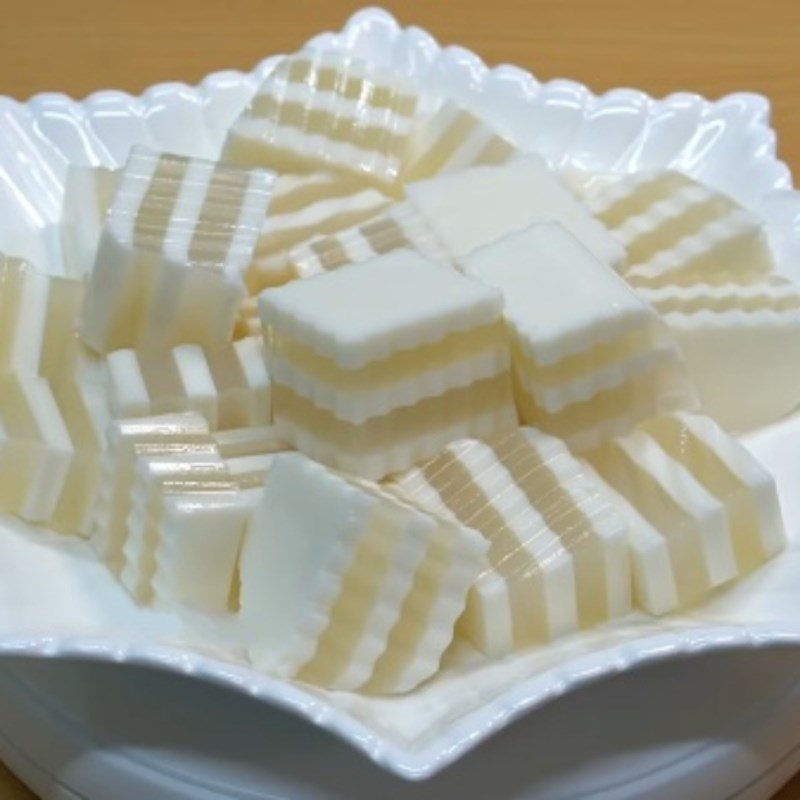
Fresh coconut jelly when cut does not separate, does not break. The jelly has a layered color that looks very eye-catching, when eaten it is cold, crunchy, with a rich flavor from coconut and milk that is extremely enjoyable.
3. Coconut jelly (Recipe shared from Tiktok Cooking with TasteVN)
-
Preparation
10 minutes
-
Cooking
20 minutes
-
Difficulty
Easy
Ingredients for Coconut jelly (Recipe shared from Tiktok Cooking with TasteVN) For 1 – 2 people
Jelly powder 30 g Sugar 250 g Coconut milk 250 g
Ingredient image
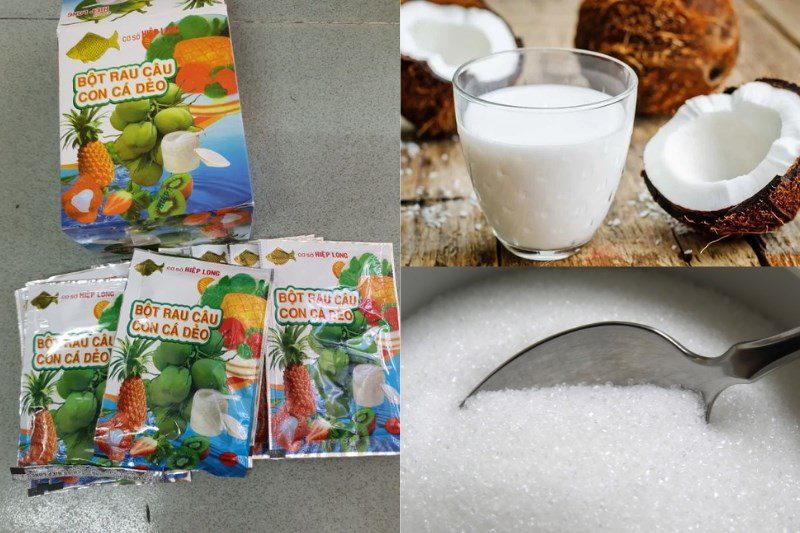
How to make Coconut Jelly (Recipe shared from Tiktok Cooking with TasteVN)
-
Cook the jelly
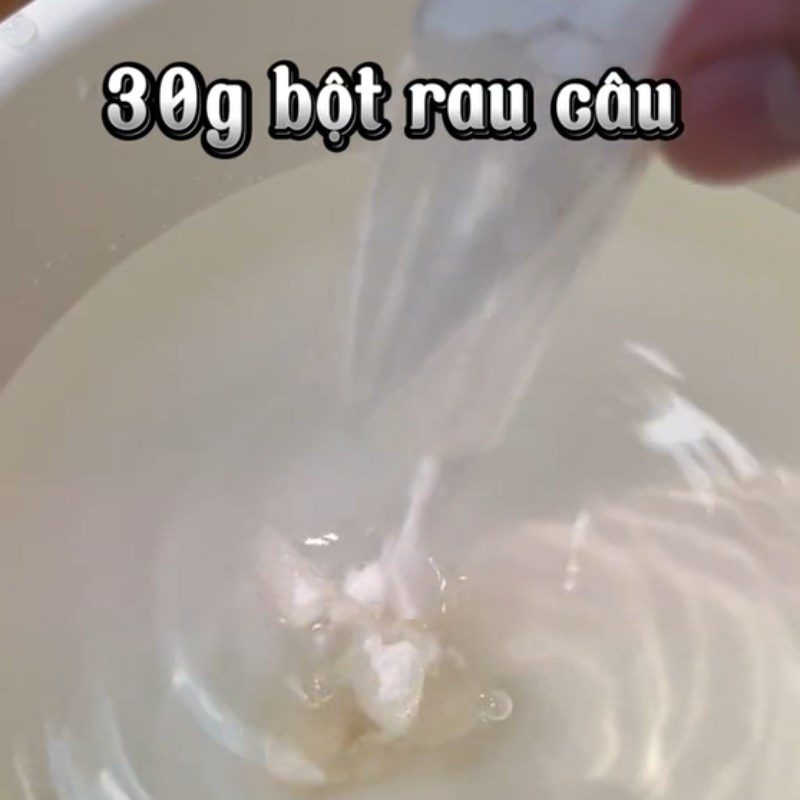
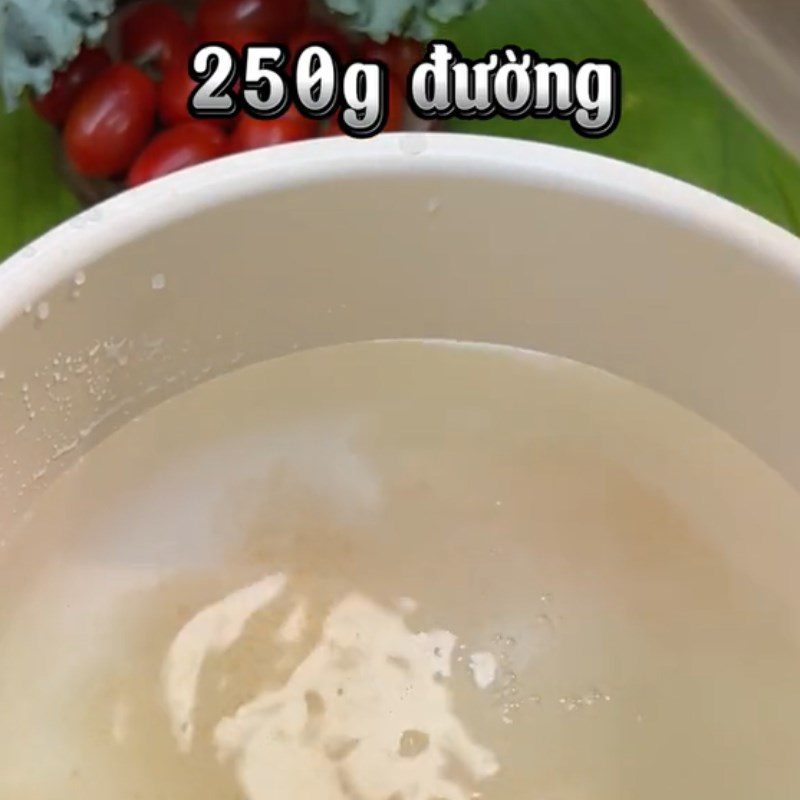
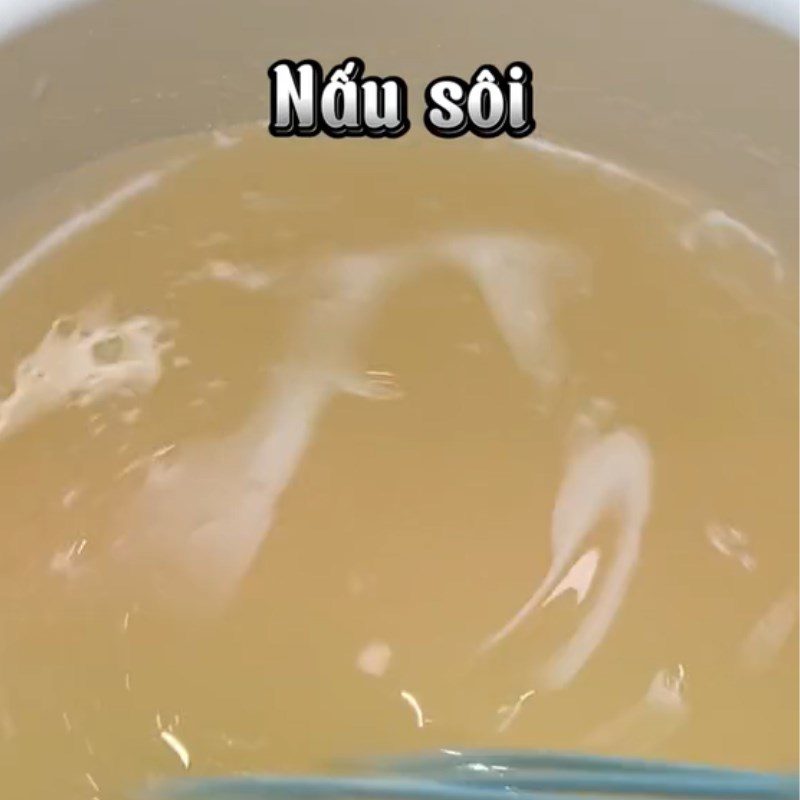
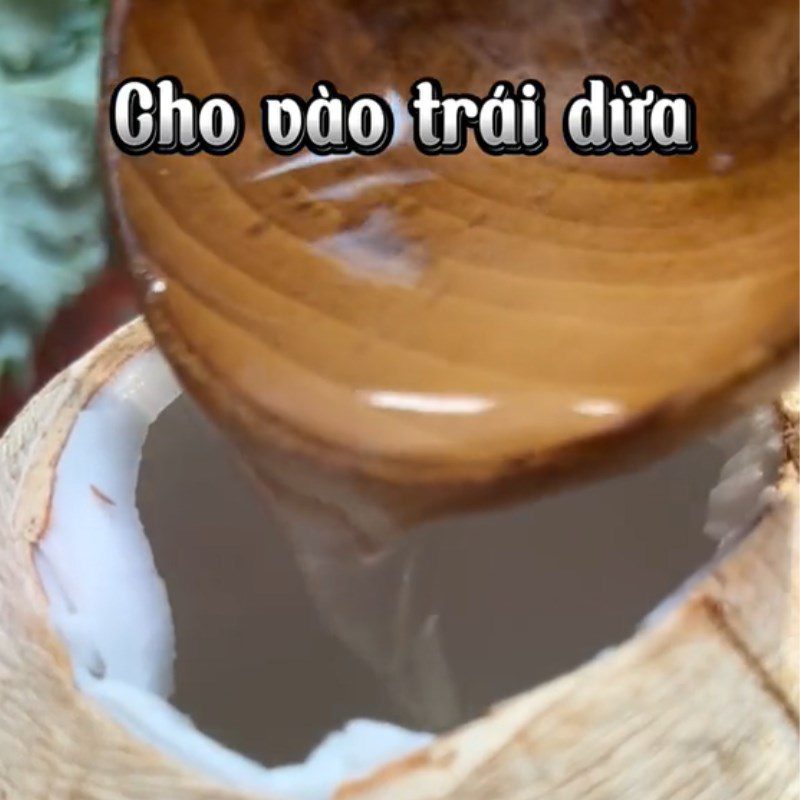
You prepare a pot of water about 1.5 liters, put it on the stove and cook on low heat. Next, add 30g of jelly powder and 250g of sugar, and stir well with a spoon until the powder and sugar dissolve completely. Cook the mixture on low heat until it simmers, and the mixture starts to thicken.
You can also use coconut water to cook the jelly, which will give it a lighter sweetness. After cooking, pour the jelly mixture into a coconut or any container you prefer. You should save a little of this jelly mixture to cook with coconut cream later.
-
Coconut jelly
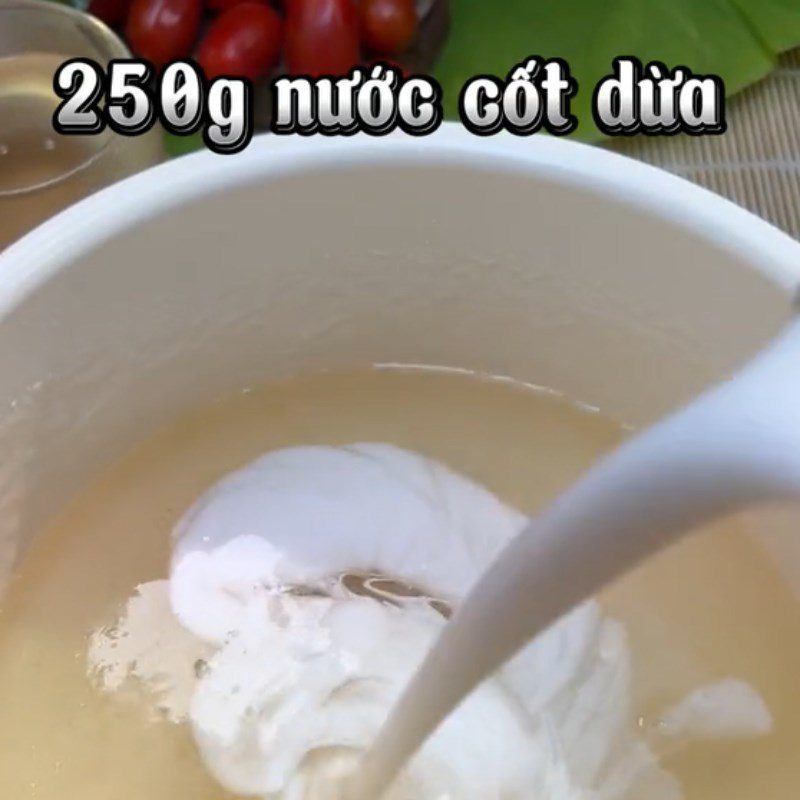
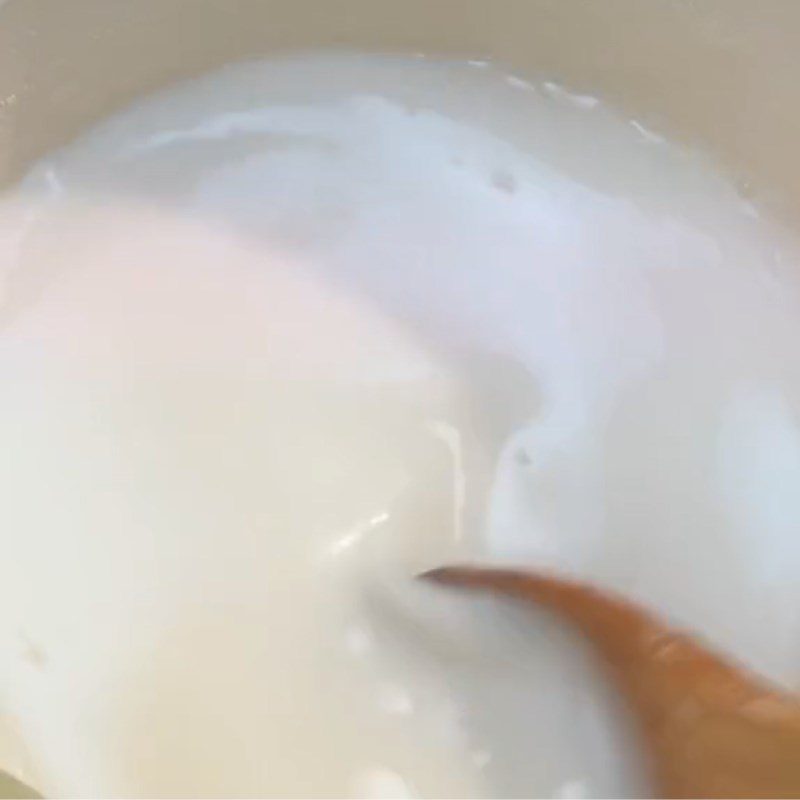
The leftover jelly mixture from above can be cooked further. Add 250g of coconut milk to the mixture and stir well until it boils again.
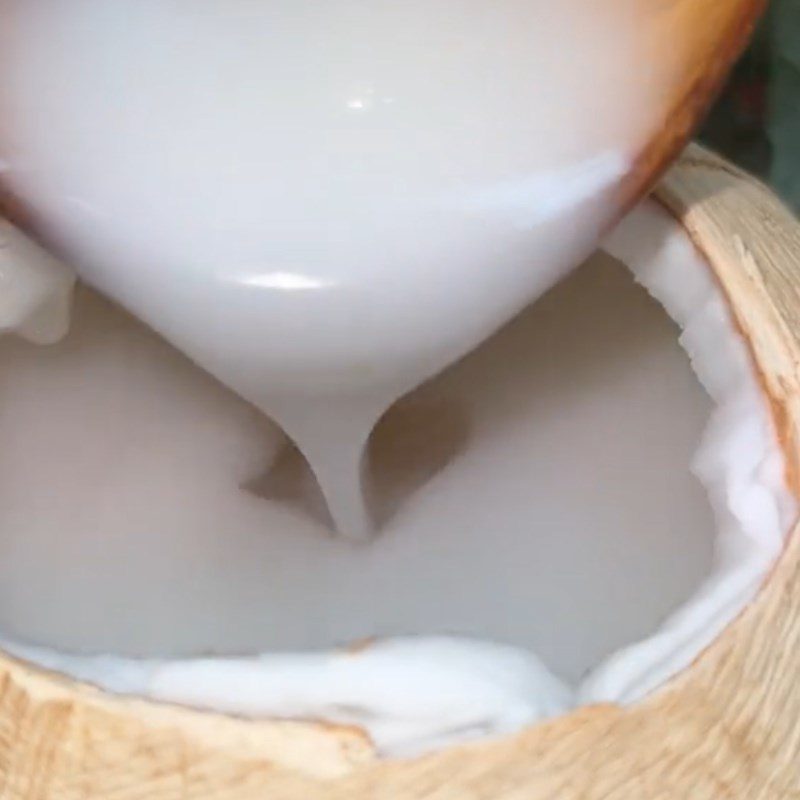
It is advisable to cook on low heat to ensure that when making the second layer of coconut jelly, the surface of the first layer has already dried so that you can pour it into two layers. Once the first layer of jelly has set, you can start pouring the second layer of coconut milk jelly on top. After pouring the second layer, place them in the refrigerator to help the jelly set faster.
-
Final product
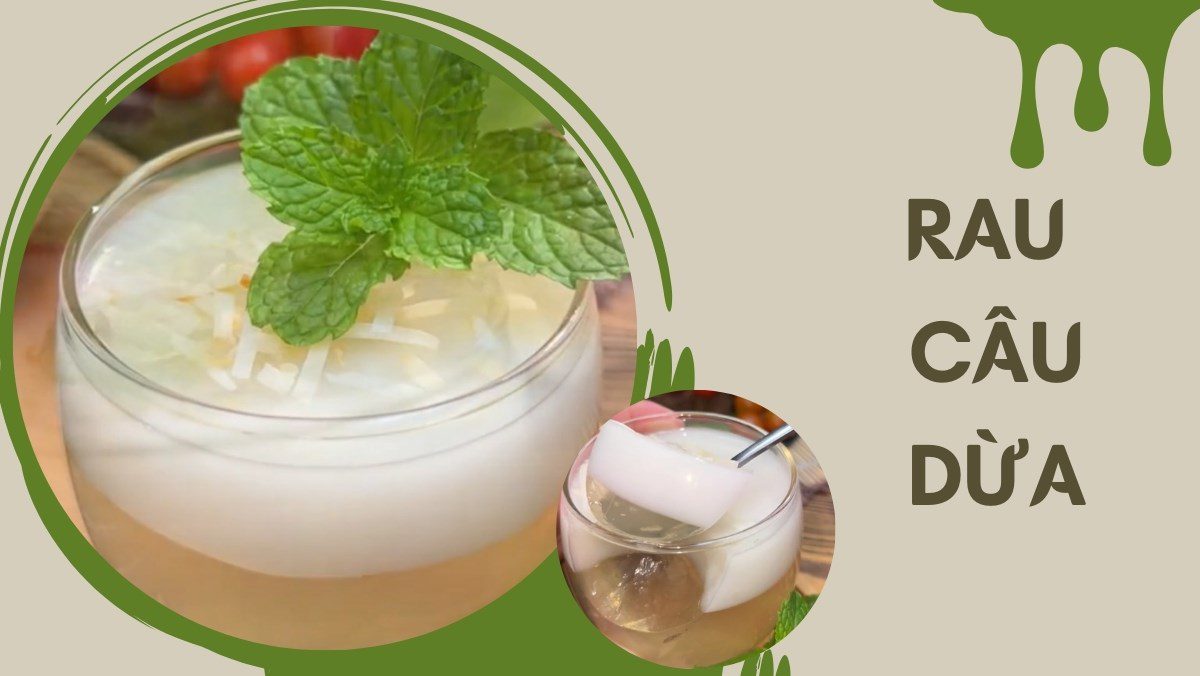
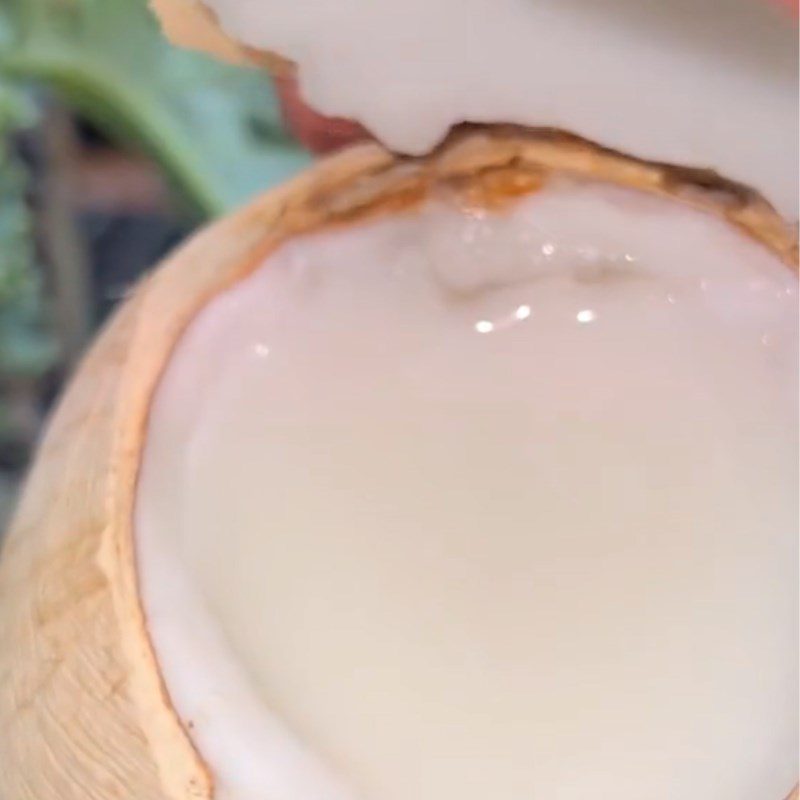
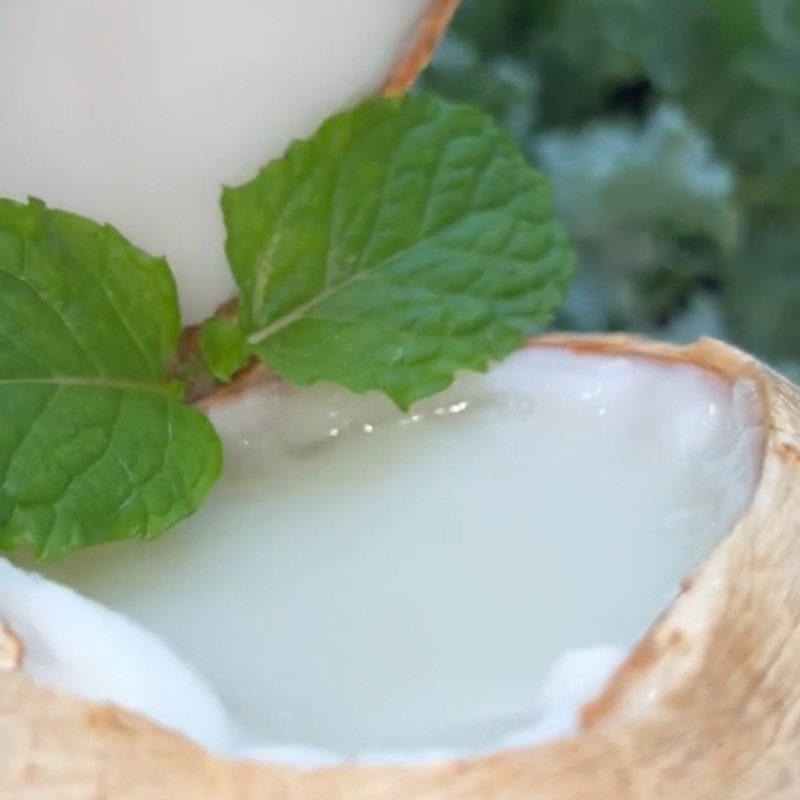
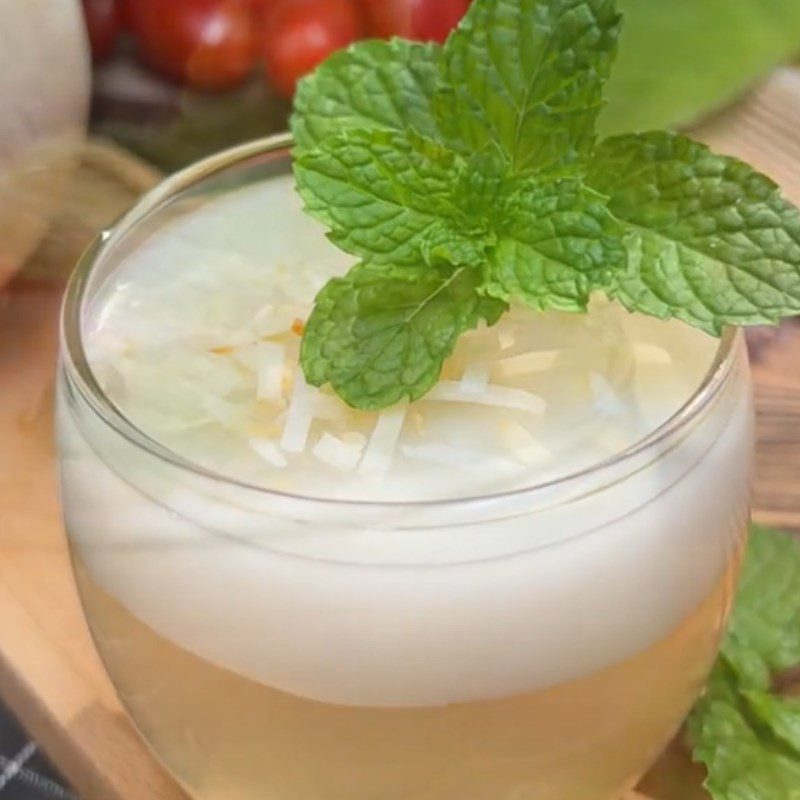
The coconut jelly after cooking is poured into two very beautiful layers, with the jelly being crispy and sweet, and the coconut milk layer being fragrant and rich, which tastes even better when served with shaved ice. If you want it sweeter, you can add more condensed milk or sugar water!
How to choose fresh coconuts with plenty of water
- Fresh coconuts with plenty of water will still have their stem intact, the stem is not bruised or bubbling, and the outer shell is intact without scratches.
- You should choose coconuts of moderate size, avoiding those that are too large as they may be overripe, or too small as they may still be immature, resulting in less water and sourness.
- When buying, you can lightly tap the coconut with your hand. If the coconut makes a loud sound, it means the flesh will be thick and the water very sweet. Conversely, if you hear a low, soft sound, it means the coconut is still immature, the flesh is thin, and the water will not be sweet.
- If you choose pre-peeled coconuts, avoid those that are too white as they may have been treated with chemicals.
- Avoid selecting coconuts that are deformed, have no stem, or feel light when picked up.
Distinguishing between jelly powder and agar powder
- Jelly powder differs from agar powder in that jelly powder creates a softness and wobbliness in the finished product, while agar powder provides a firmer and slightly harder texture.
- Jelly powder is processed by freezing agar-agar (a type of red algae), then hydraulically pressed to separate the water, dried, and finally ground into fine powder.
- Agar powder is processed by boiling a type of red algae from Japan, filtering out the water, drying the remaining solid, and then grinding it into fine powder.
2 how to make coconut jelly and fresh milk coconut jelly is extremely simple, isn’t it? With these 2 recipes, TasteVN is sure that you will make a jelly dish that your whole family will love. Be quick to note down the recipe! Wishing you success!
