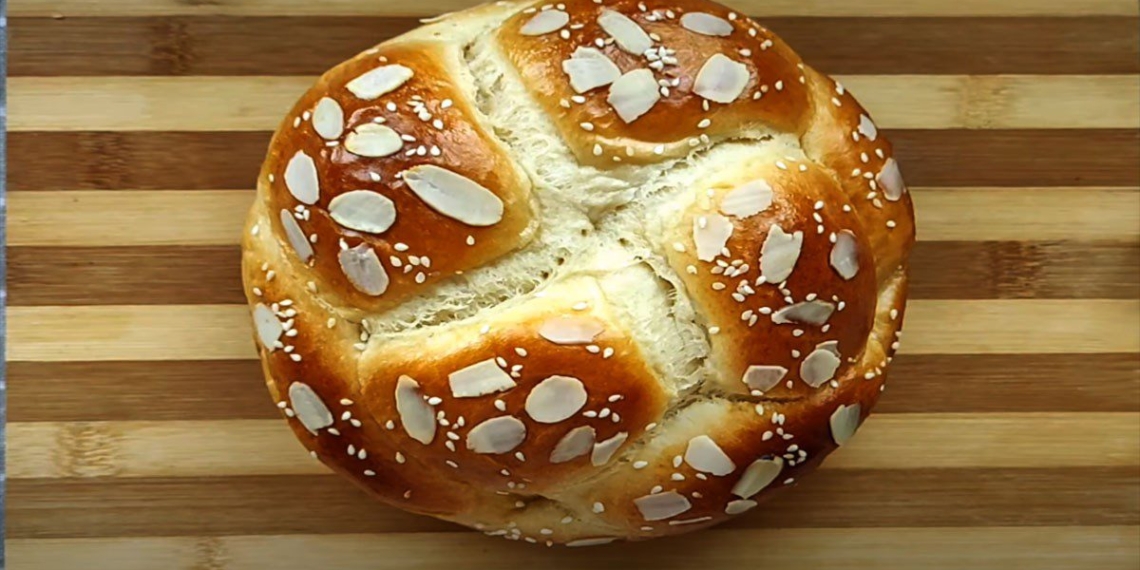
Cake flower bread is a type of bread originating from France, characterized by its softness and rich flavor. Right now, TasteVN will guide you through 2 simple methods to make flower bread using an oil-free fryer. Let’s get into the kitchen to make this cake dish!
1. Cake flower bread
-
Preparation
1 hour 30 minutes
-
Cooking
1 hour
-
Difficulty
Easy
Ingredients for Cake Flower Bread For 2 pieces
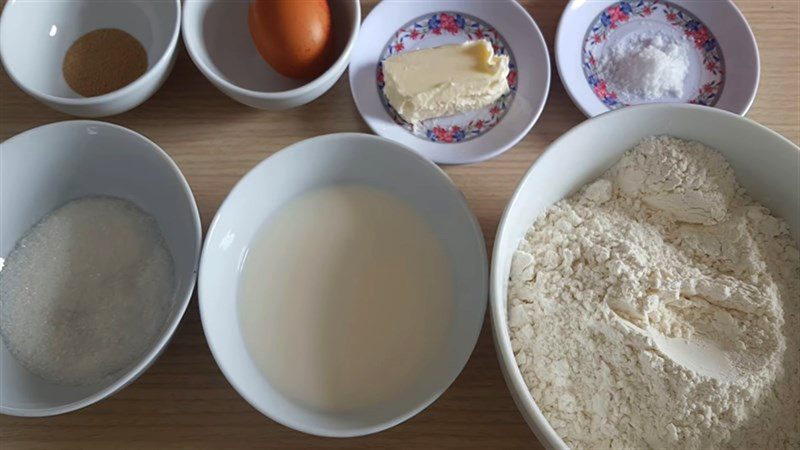
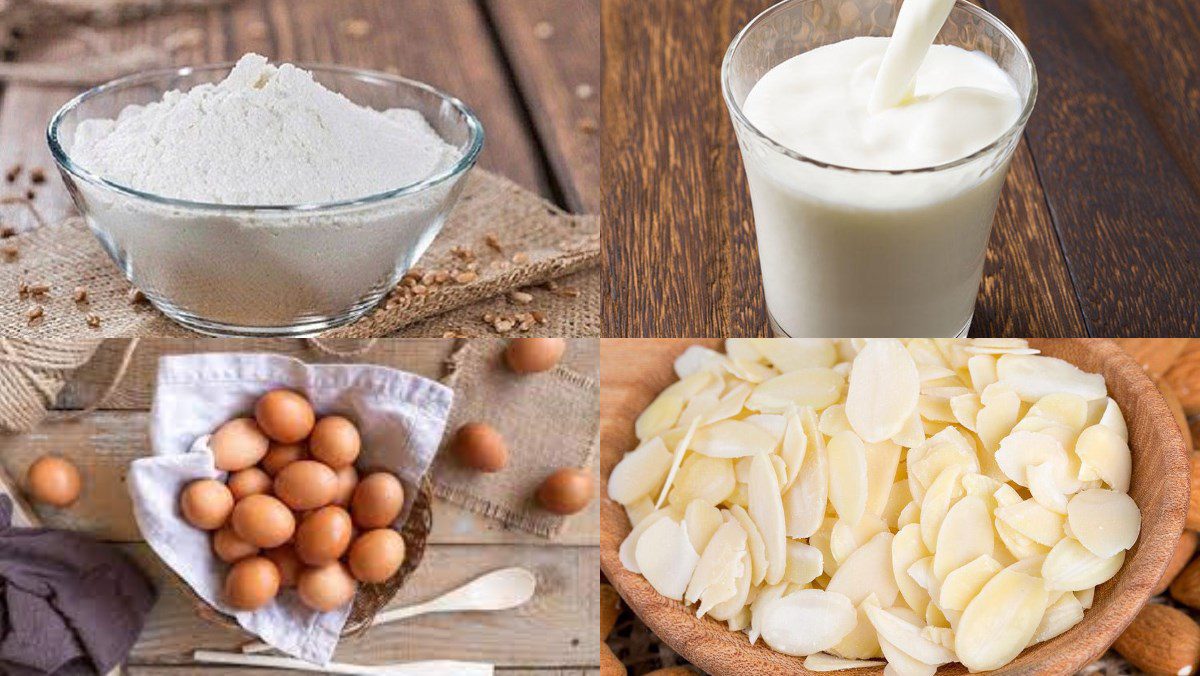
All-purpose flour 230 gr Instant yeast 5 gr Chicken eggs 2 pieces Unsweetened milk 60 ml Unsalted butter 80 gr Almonds a little (sliced) Orange blossom essential oil 2.5 ml Sugar/salt a little
How to make Chrysanthemum Bread
-
Activate the yeast
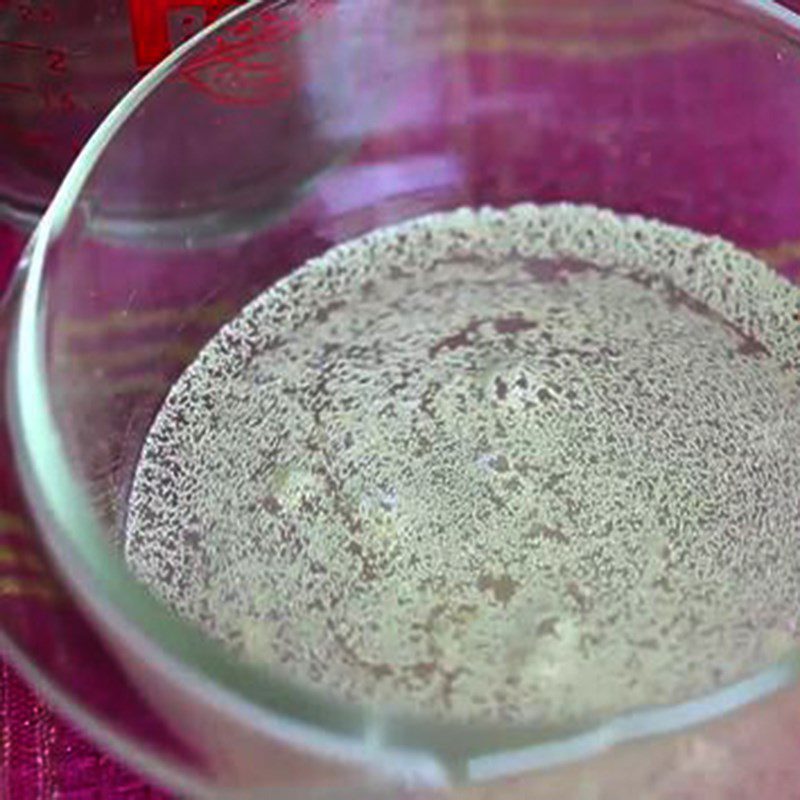
First, prepare a cup for 5g of yeast, 200ml of warm water at 32 – 38 degrees Celsius.Add 20g of sugar to the yeast and water mixture and stir well until dissolved.
Let it sit for about 15 minutes until the yeast rises with a foam like crab bricks.
-
Mix the dough
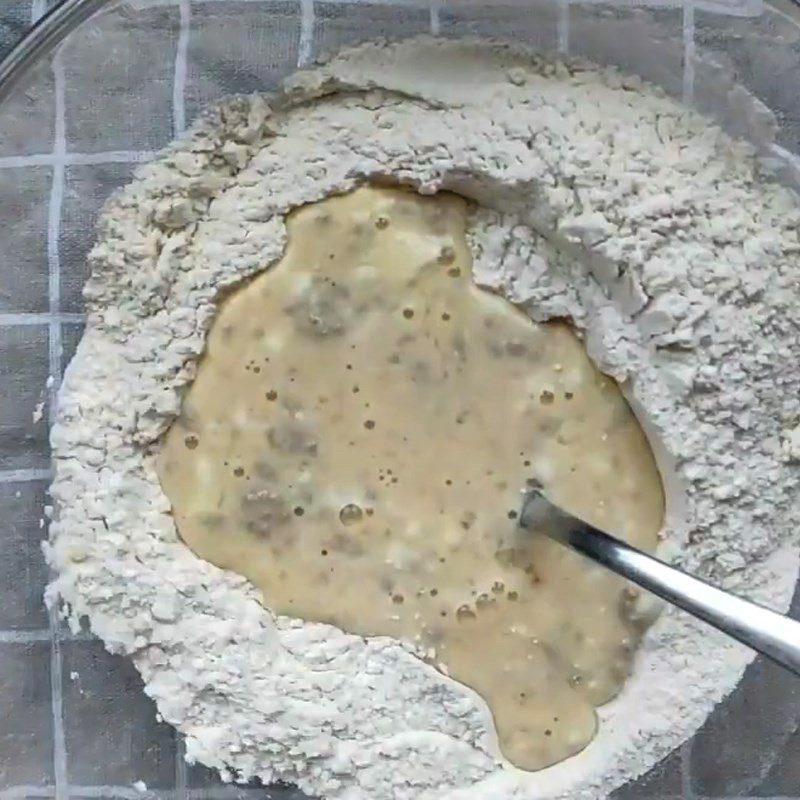
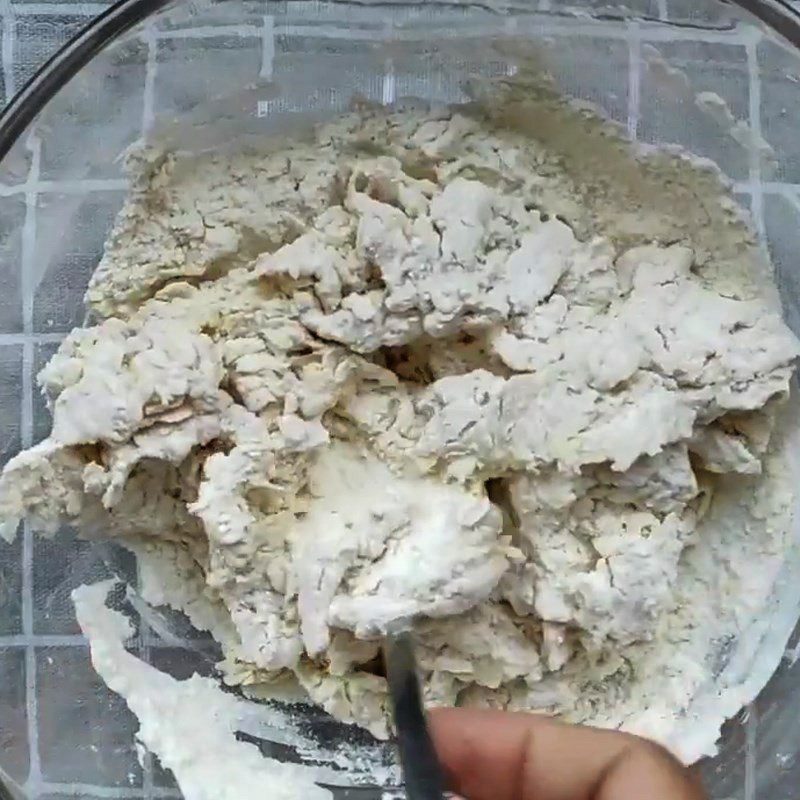
Add 230g of all-purpose flour, 1/4 teaspoon of salt, 40g of sugar, 1 chicken egg, the yeast mixture, 2.5ml of orange blossom essential oil, 80g of unsalted butter, and 60ml of unsweetened milk and mix the ingredients well.
-
Kneading the dough
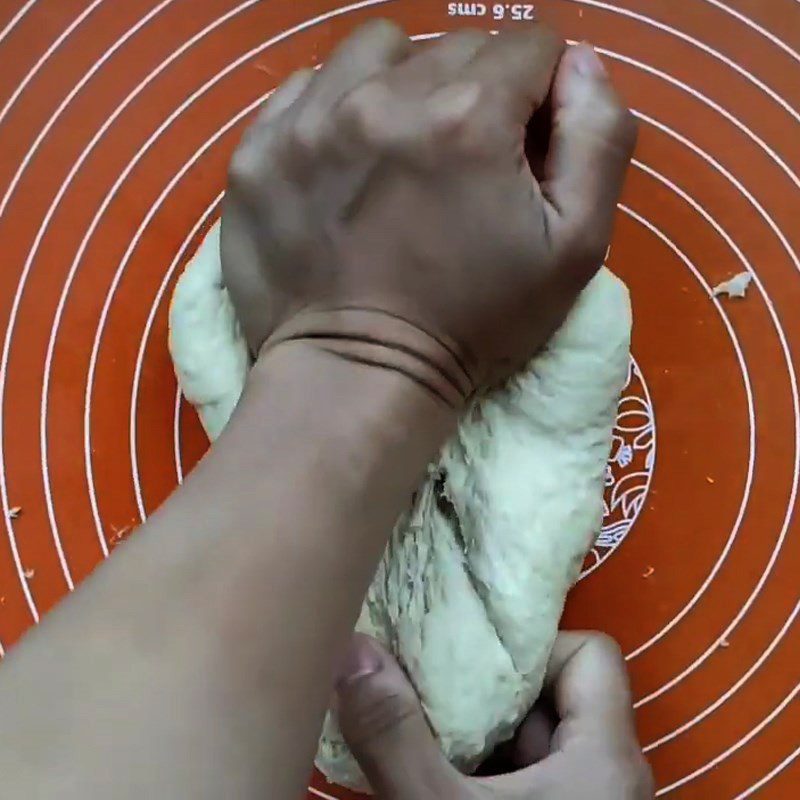
Use your hands to briefly knead the mixed dough until it sticks together. Then start kneading using the Folding and Stretching technique.
First, fold the dough over, then use the palm of your hand to press and stretch the dough away from you. Note that you should press and stretch the dough away, not press down. Next, rotate the dough block 90 degrees and repeat the two steps above for 10 minutes.
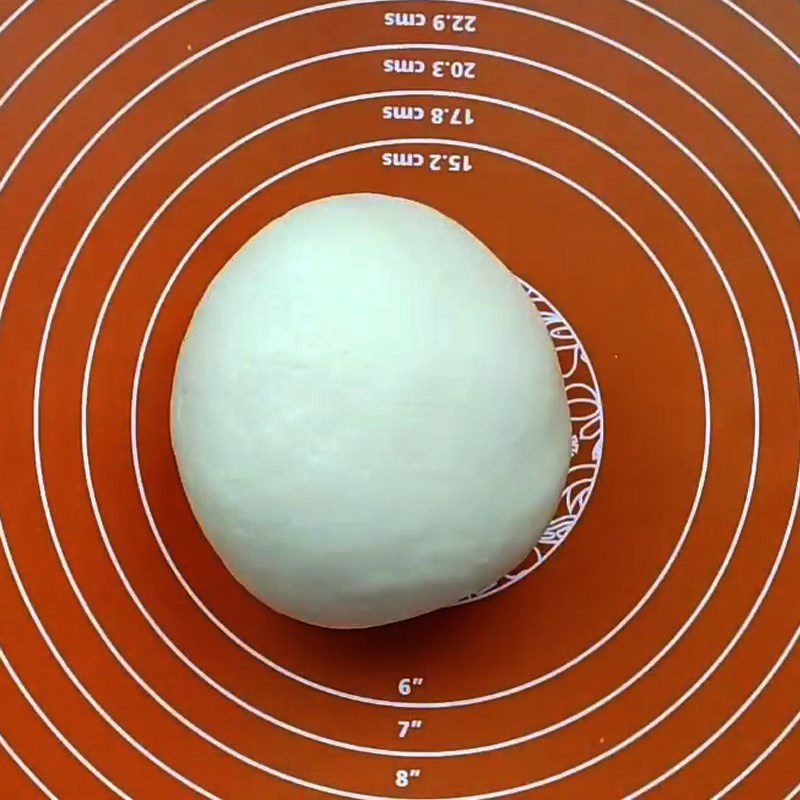
When the dough starts to become smooth, add 30g of unsalted butter, then continue kneading for another 15 minutes until the dough forms a uniform, smooth, elastic mass.
-
Proofing the dough
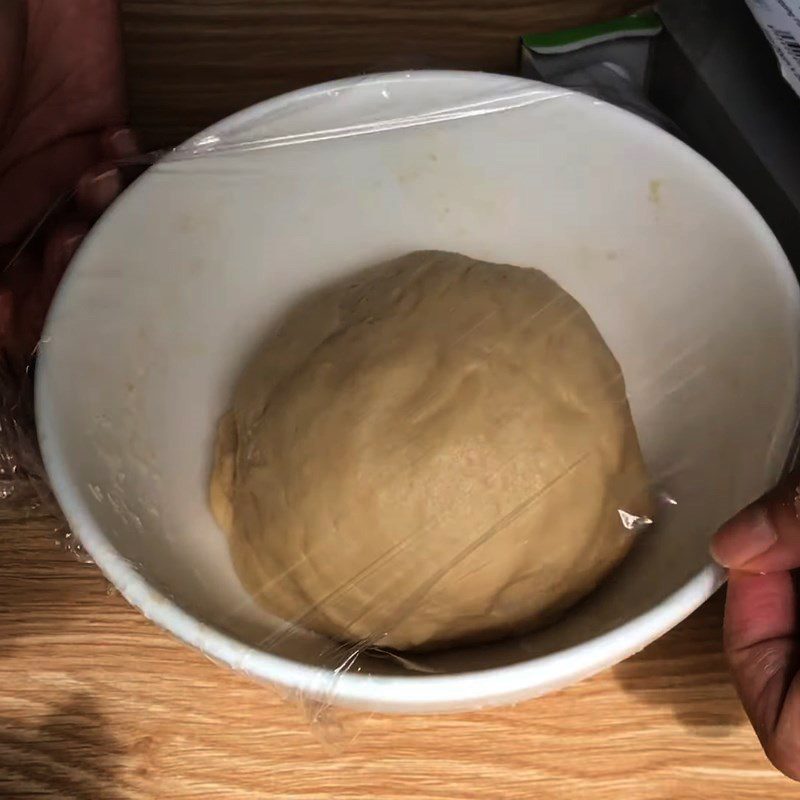
Wrap the bowl of dough tightly with plastic wrap or a thin cloth and let it proof for about 45 minutes depending on room temperature until the dough doubles in size.
-
Shaping the chrysanthemum
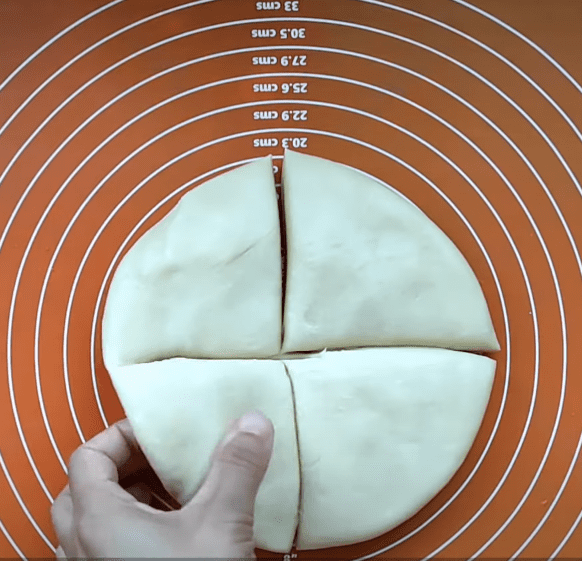
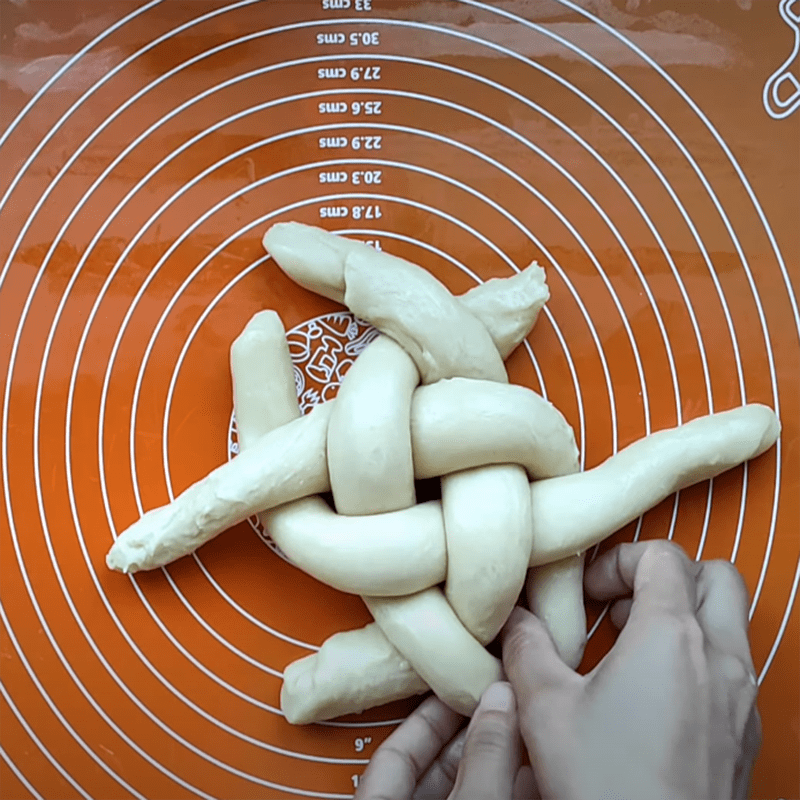
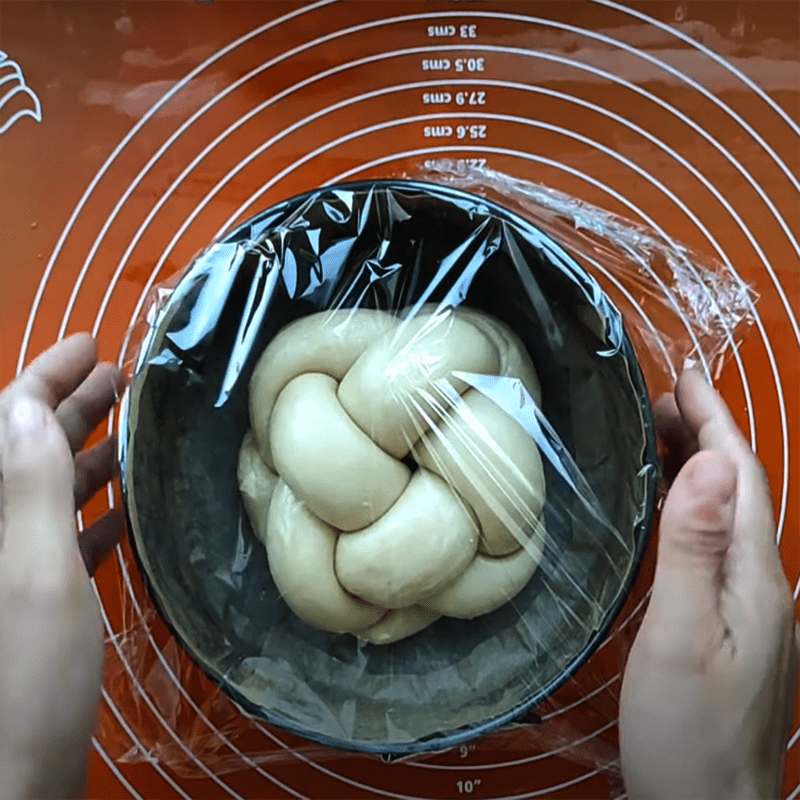
Divide the dough into 4 equal parts, roll each portion into a strip about 30cm long and braid them.
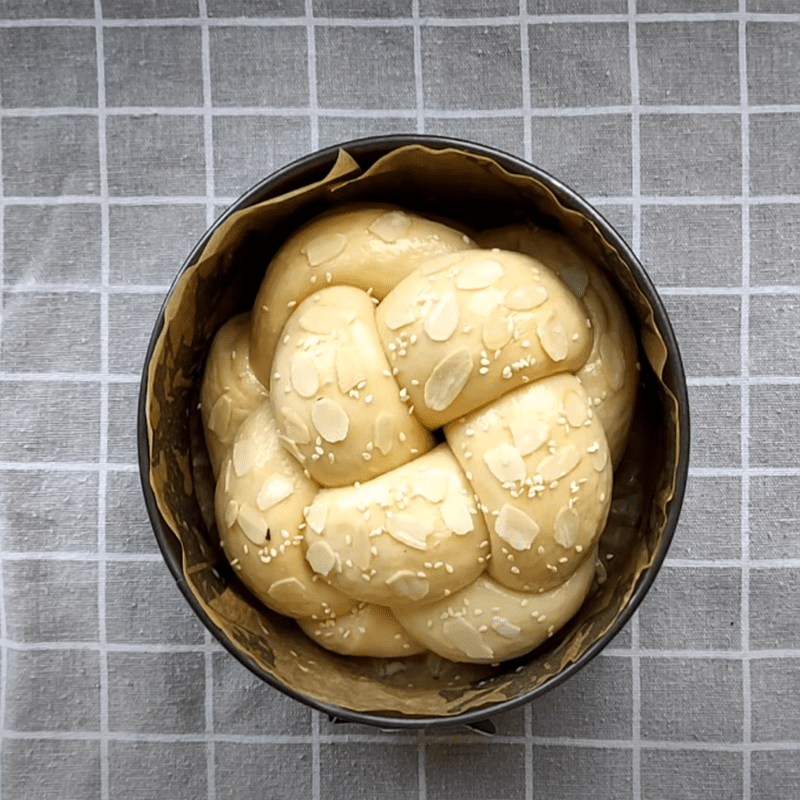
Proof the dough a second time, place the dough in a mold and cover the surface of the mold with plastic wrap, let it proof for about 20 minutes in a warm place until the dough doubles in size compared to when it was placed in the mold.
After the dough has proofed a second time, to achieve a beautiful golden-brown color after baking, gently brush the remaining beaten egg over the surface of the dough. Then sprinkle sliced almonds evenly on top.
-
Baking the bread
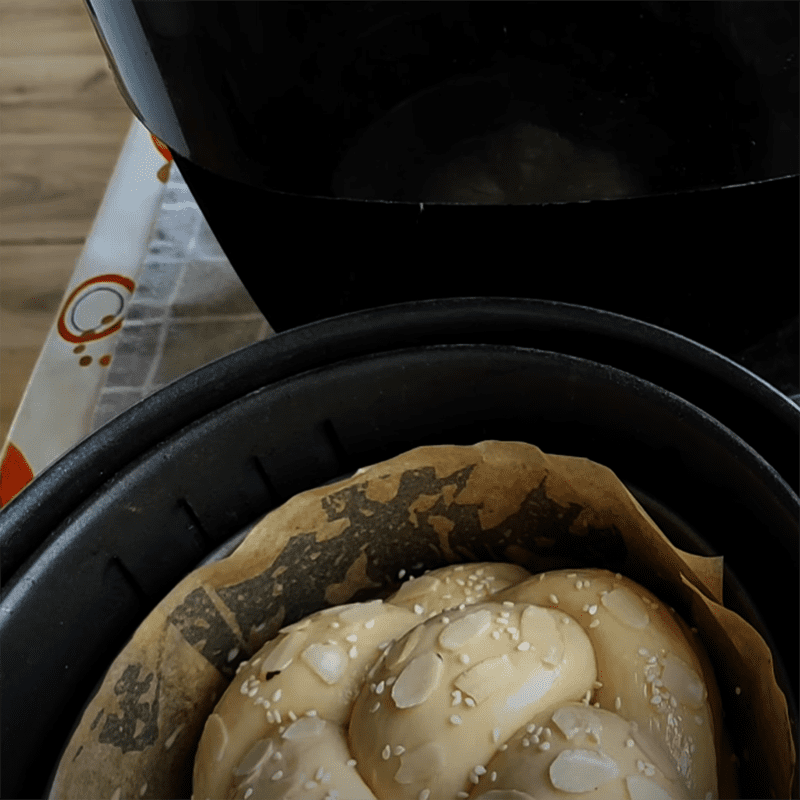
First, you need to preheat the air fryer to 160 degrees for about 4 minutes.
Next, arrange the bread in the fryer basket, then bake the bread at 160 degrees Celsius for 5 minutes, after that open the fryer, turn the bread over and bake for another 5 minutes for even cooking.
-
Final product
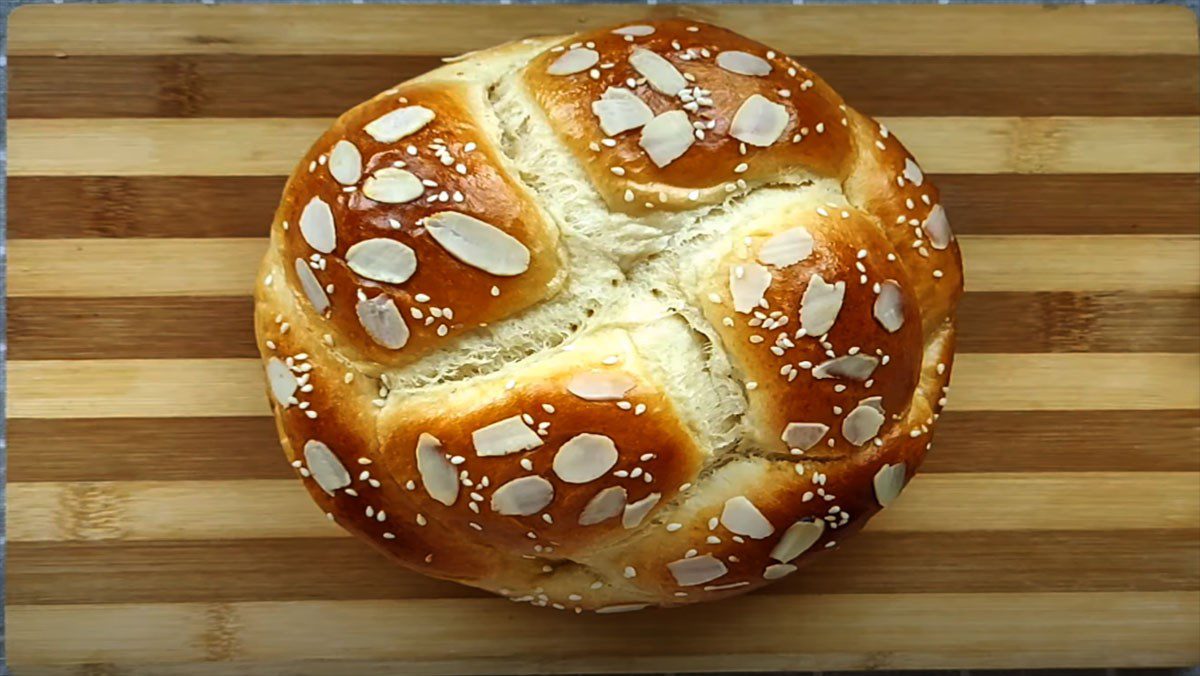
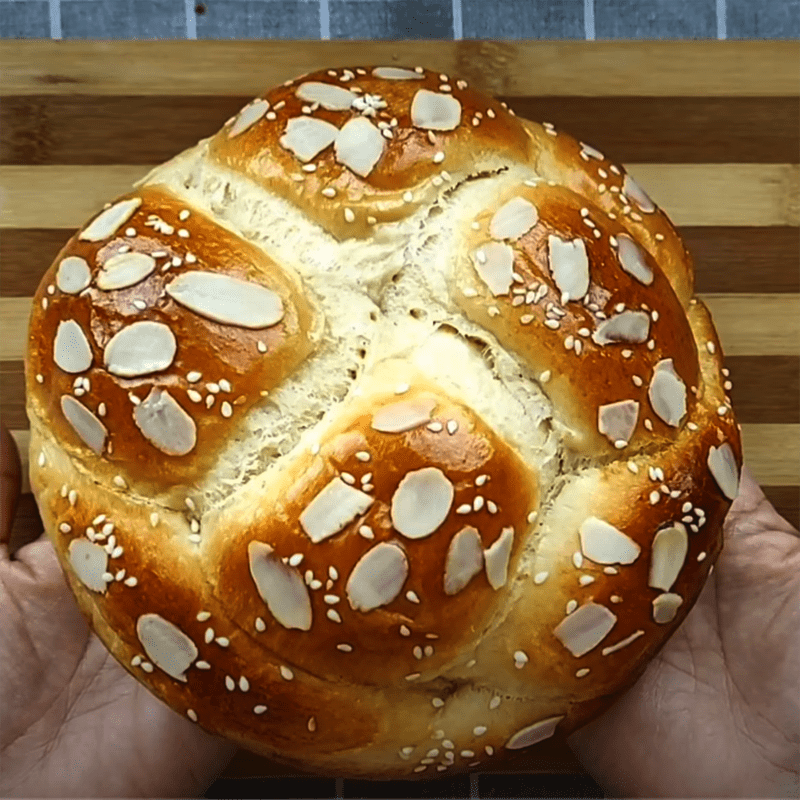
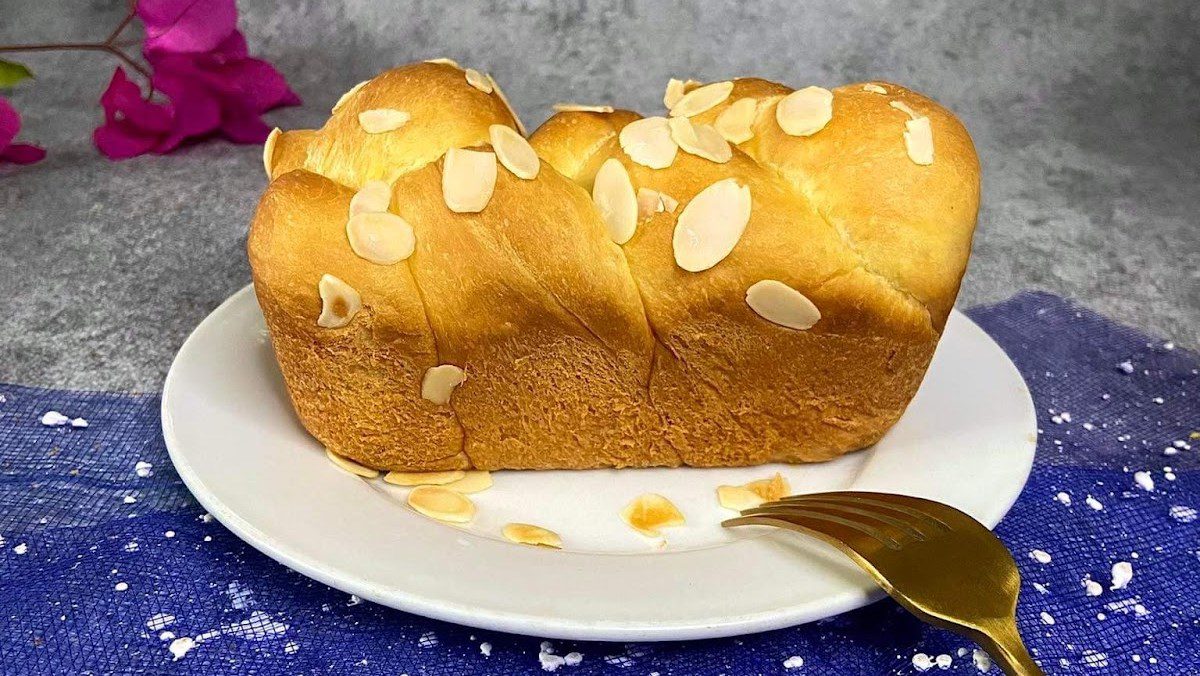
The chrysanthemum bread is sweet, soft, delicious, and rich with a fragrant butter aroma, making it very appealing. The bread is well-baked, so it has a very eye-catching golden color.
This dish is very suitable for the family’s breakfast. You can enjoy the bread with tea or fresh milk.
2. Chrysanthemum bread (recipe shared by a user)
-
Preparation
5 hours
-
Cooking
30 minutes
-
Difficulty
Easy
Ingredients for Daisy Bread (recipe shared by a user) For 2 pieces
All-purpose flour 190 gr Yeast 4 gr Chicken egg 1 piece Unsweetened milk 55 gr Unsalted butter 50 gr Honey 10 gr Almonds a little (sliced type) Vanilla 1/2 teaspoon Sugar/salt a little
How to make Butter Flower Bread (recipe shared by users)
-
Mixing ingredients
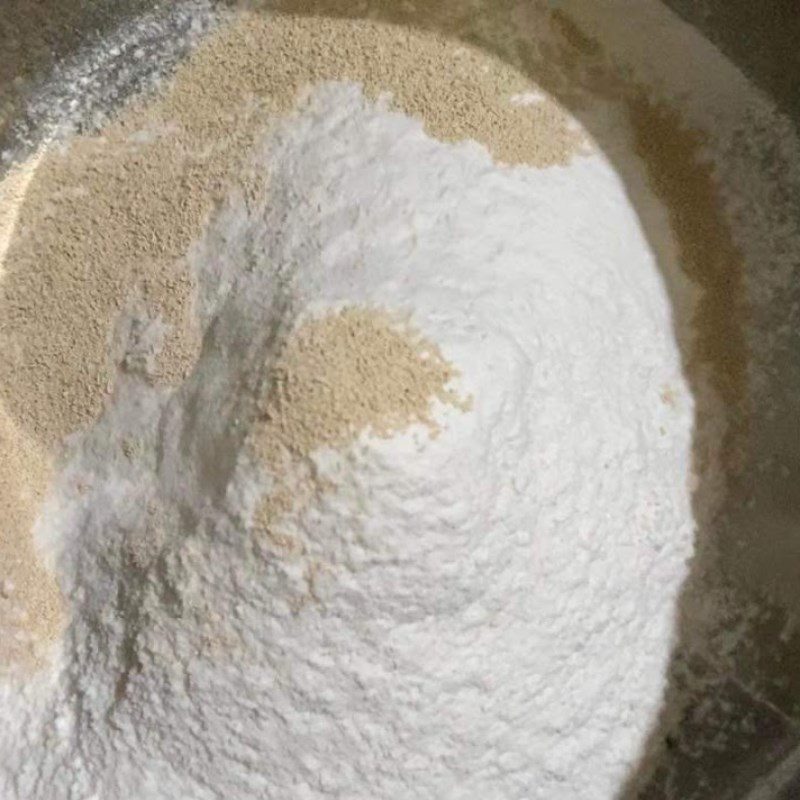
First, use a fine sieve to sift 190gr of all-purpose flour into a bowl. Then add 4gr of yeast into the flour and mix well.
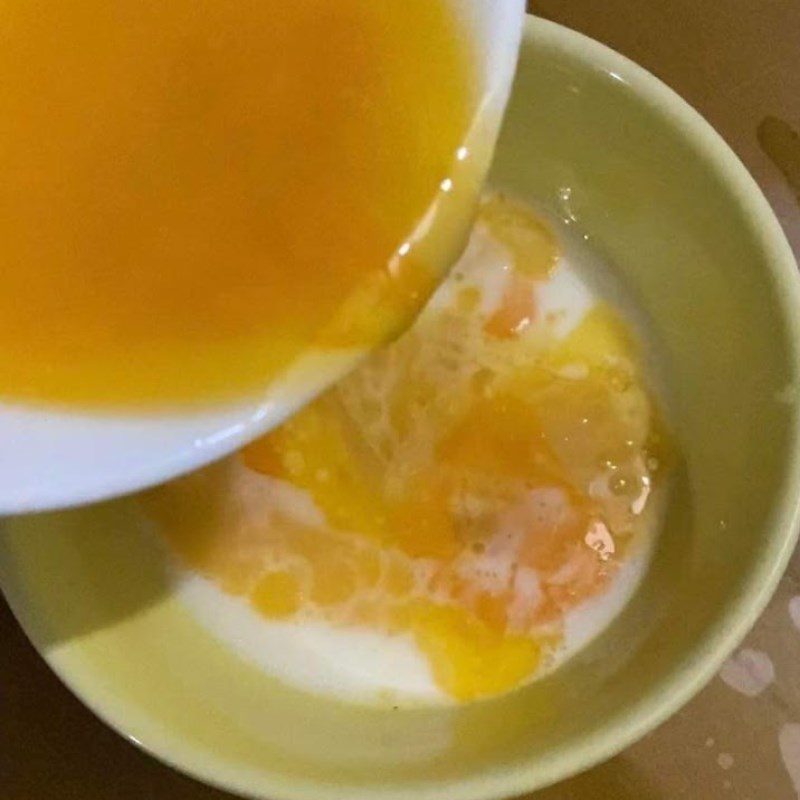
For the liquid mixture, heat 50gr of unsalted butter until it melts. Next, gradually add 55gr of unsweetened milk, 30gr of sugar, 10gr of honey, 1 egg, 1/4 teaspoon of salt, 50gr of melted unsalted butter, and 1/2 teaspoon of vanilla into a bowl, then stir well until the mixture is dissolved.
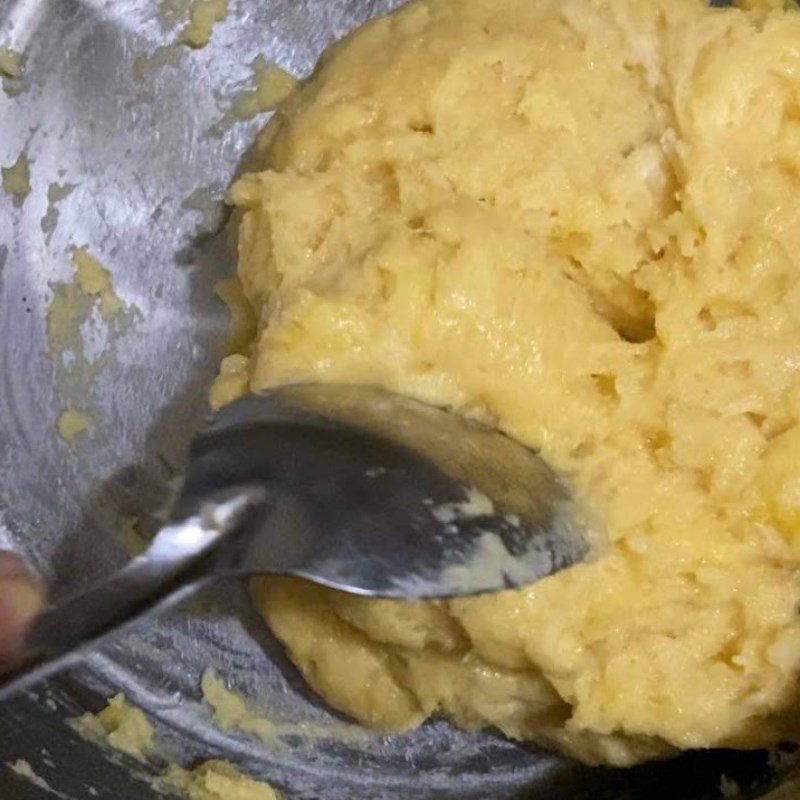
Then, slowly pour the entire liquid mixture into the flour and yeast mixture, stirring until the mixture becomes cohesive.

-
Dough Fermentation
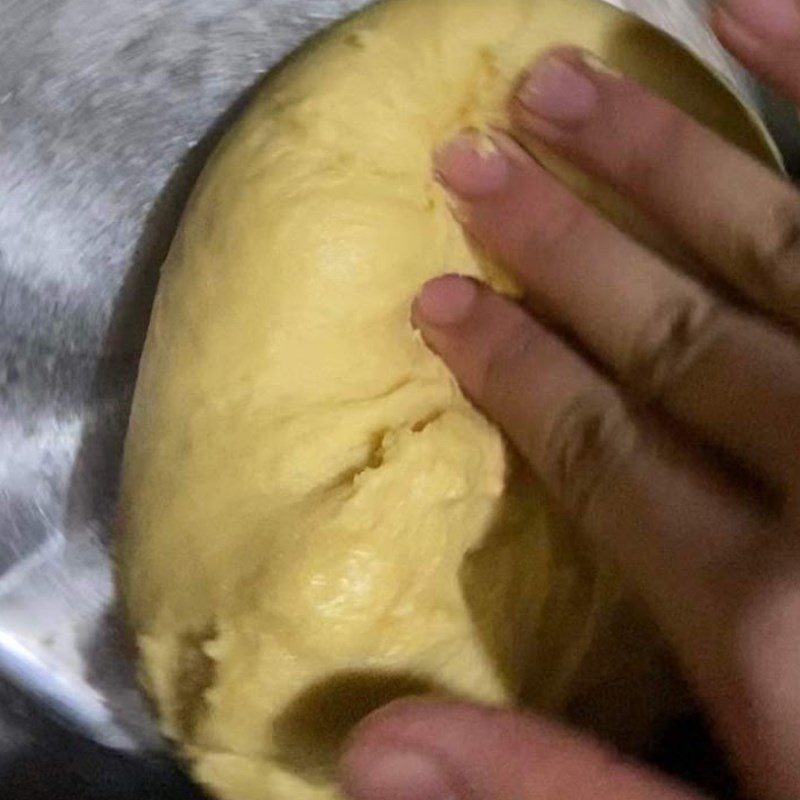
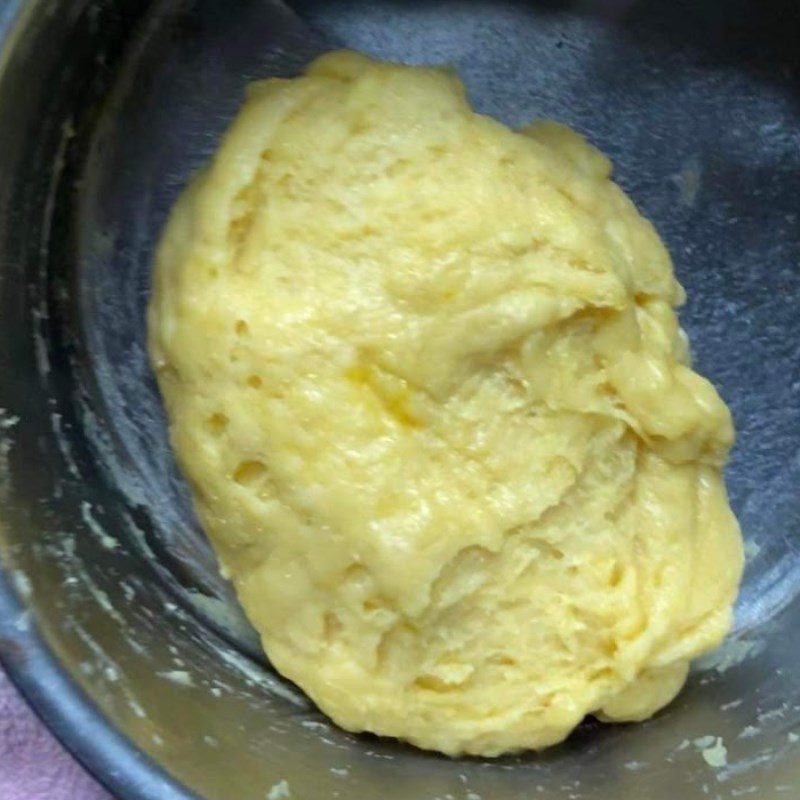
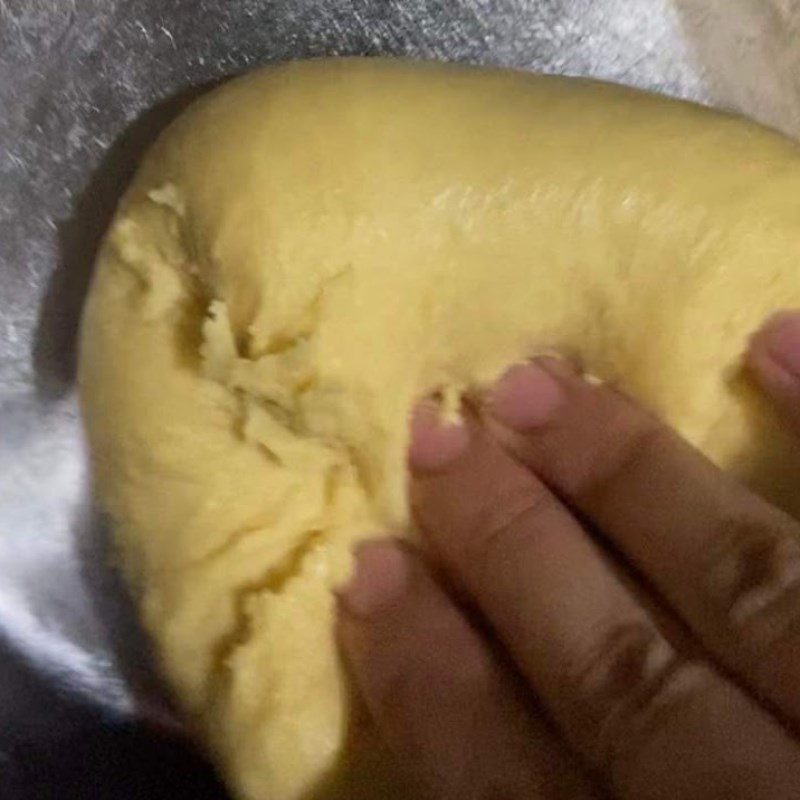
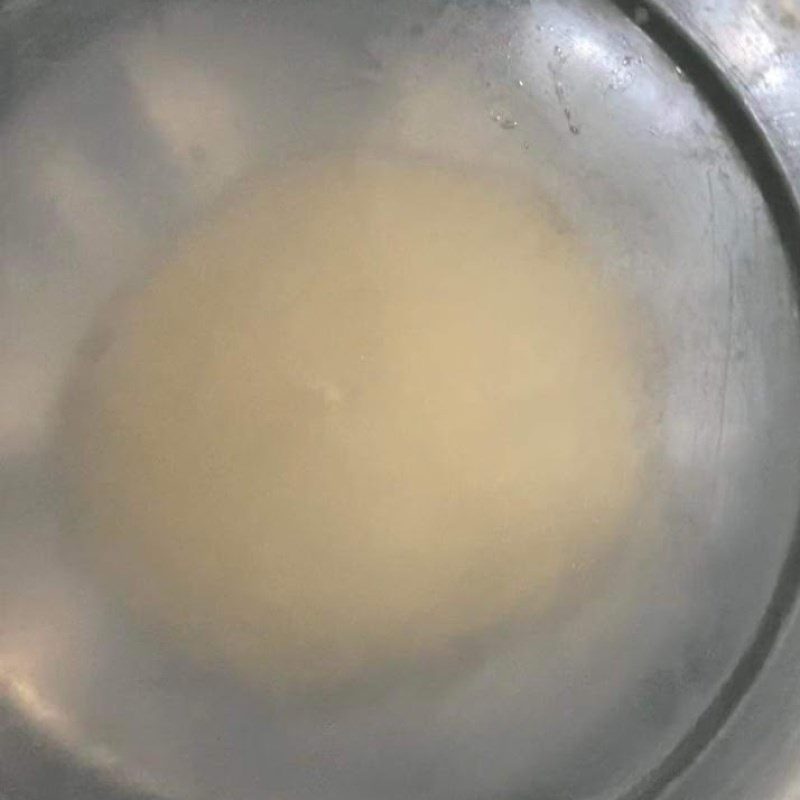
After mixing the dough, cover the bowl with a dry cloth and let the dough rest for the first time for about 15 minutes.
After 15 minutes, knead the dough from the outside in, rotating in a circle for 12 – 15 times, then cover it again with a cloth and let the dough rest for the second time for another 15 minutes.
Next, repeat the kneading process from the outside in for 12 – 15 times, then continue to let the dough rest for the third time for another 15 minutes.
Note: The kneading action involves pressing and stretching the dough away and then folding it back, not just pressing the dough down.After performing the kneading process three times and letting the dough rest, you press out the air bubbles. Then take the dough to ferment in the refrigerator for 1.5 – 2 hours.
-
Shaping
After the resting time is up, when you see the dough has doubled in size, gently knead the dough to release all the air bubbles.
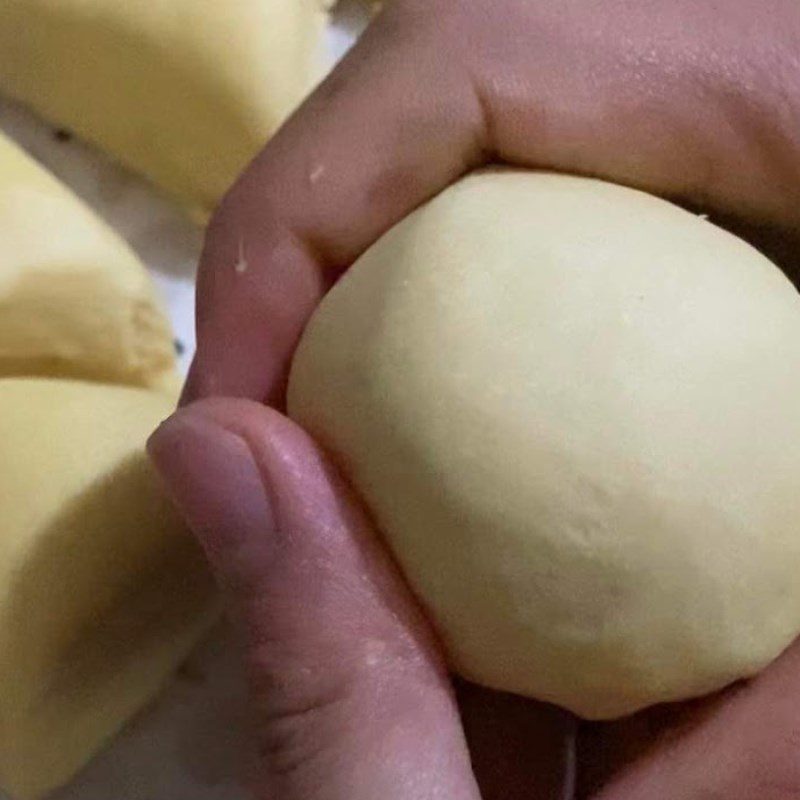
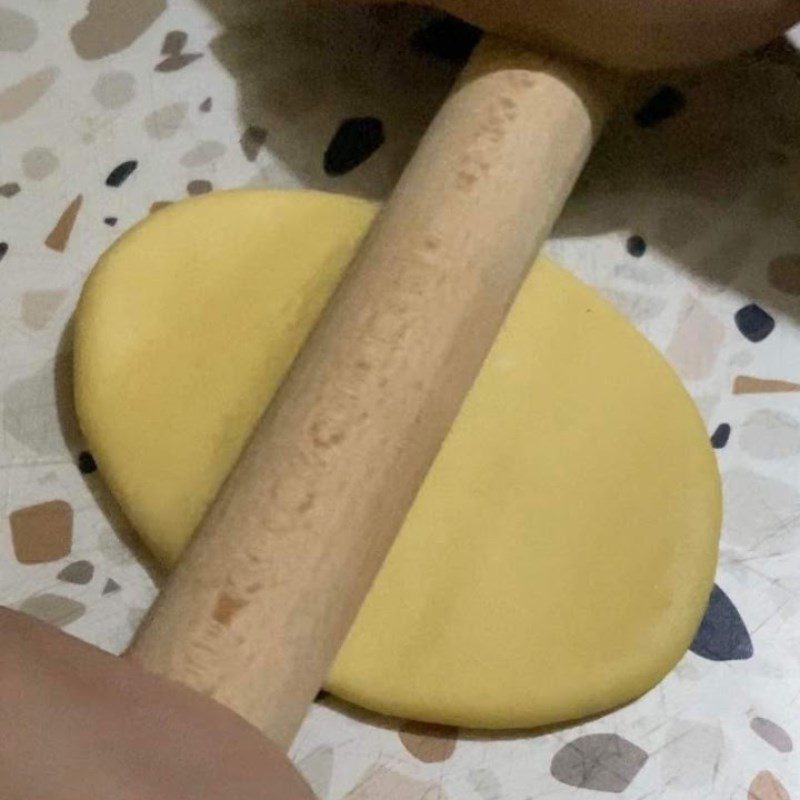
Next, divide the dough into 6 portions, each portion weighing about 66gr – 68gr. Use your hands to fold the edges of the dough into the center to create a smooth surface, then use a rolling pin to lightly flatten each portion of dough.
After lightly rolling all 6 portions, return to the first portion and roll it again to shape it into an elongated form. Then, flip the rolled portion over, roll it up, and pinch the ends tightly. Stretch the dough portions into long strands so that they are 1.8 – 2 times the length of the baking mold.
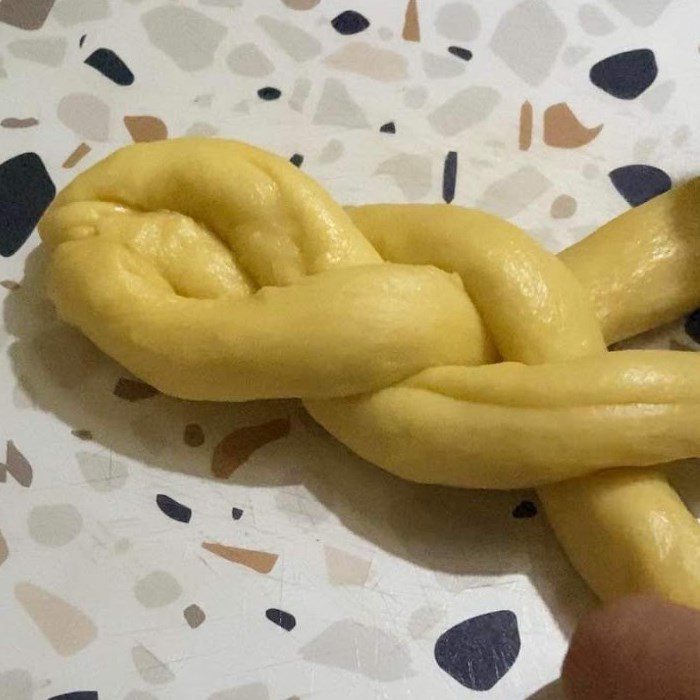
Then, place 3 strands of dough close together, secure the ends, and start weaving the first strand over the other two, alternating similarly with the other two strands. This action is like braiding hair, and press the ends of the dough firmly.
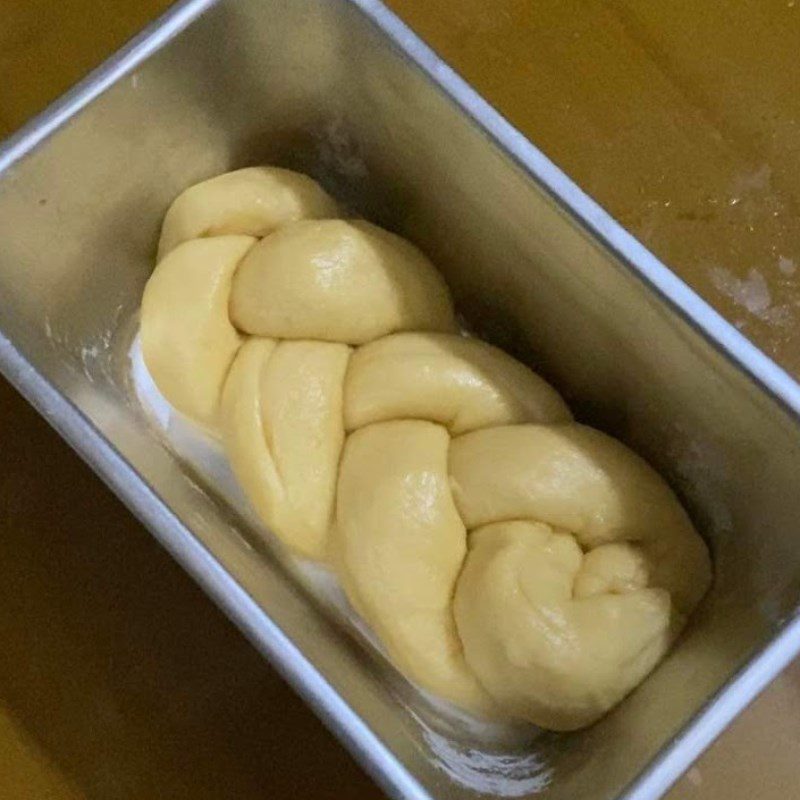
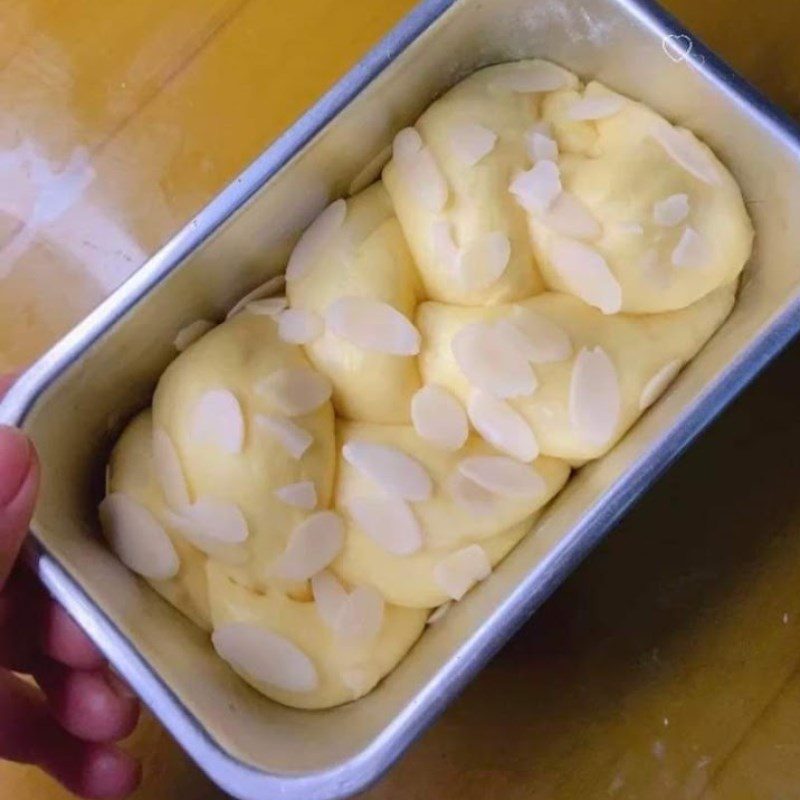
Finally, place the shaped dough into the mold, cover it, and let it rise for about 1 – 1.5 hours until the dough has doubled in size.
-
Baking the cake
Before baking the cake, you need to preheat the air fryer to 180 degrees Celsius for 5 minutes.
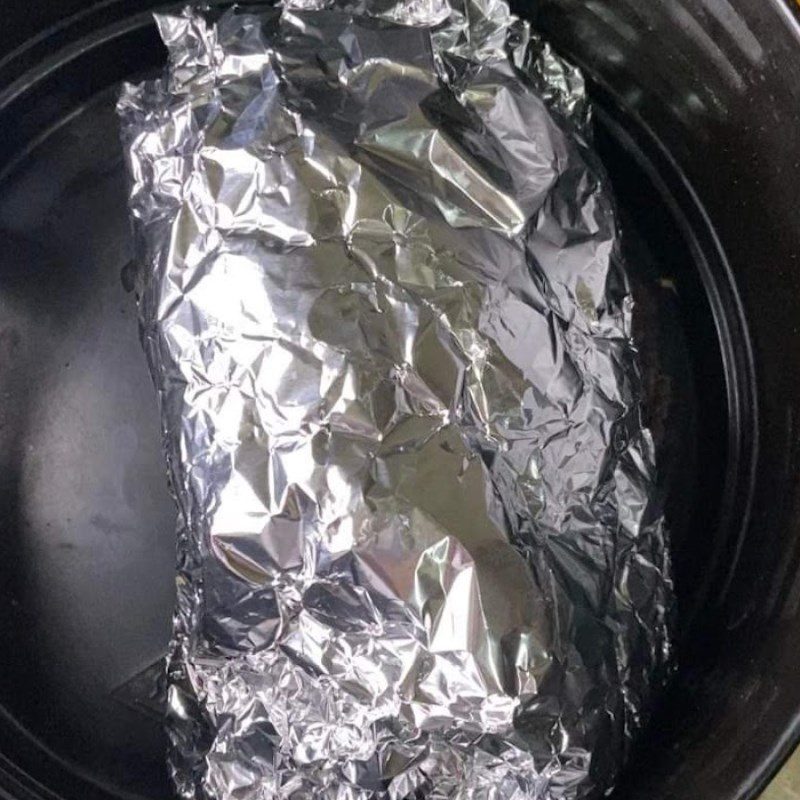
After the dough has risen, place sliced almonds on top of the cake’s surface, then wrap the cake mold in aluminum foil, and put the cake in the air fryer to bake at 160 degrees Celsius for 25 minutes.
After 25 minutes, if the cake has risen but has not turned golden, remove the aluminum foil and bake again at 160 degrees Celsius for an additional 3 minutes.
Note:- When wrapping with aluminum foil, leave some space for the cake to rise.
- Depending on the air fryer, the baking temperature may vary; it is possible that the cake is already evenly golden after the first bake. Therefore, you need to adjust the temperature according to your air fryer.
-
Finished product
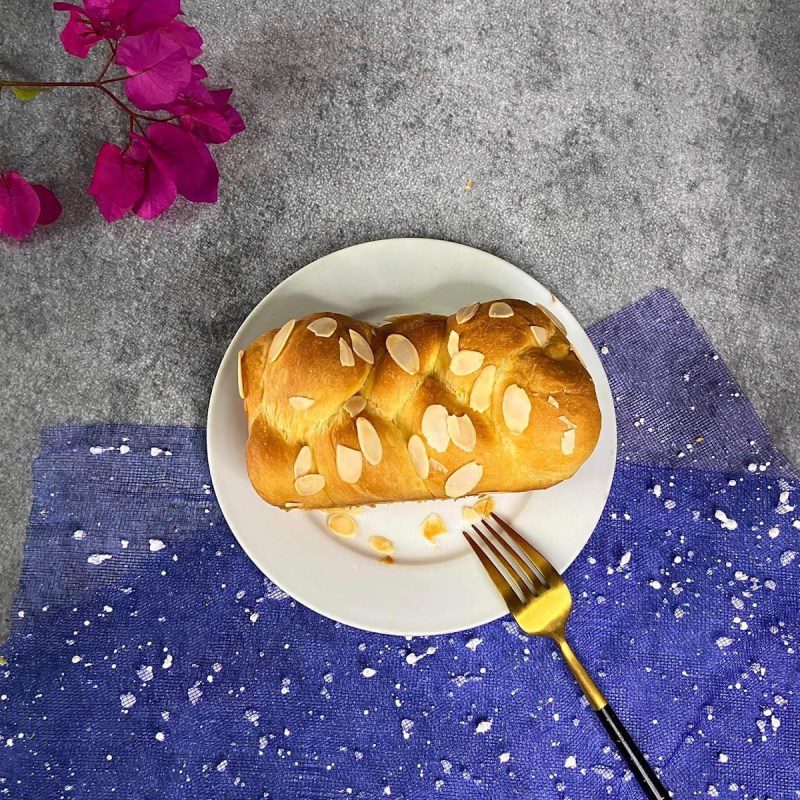
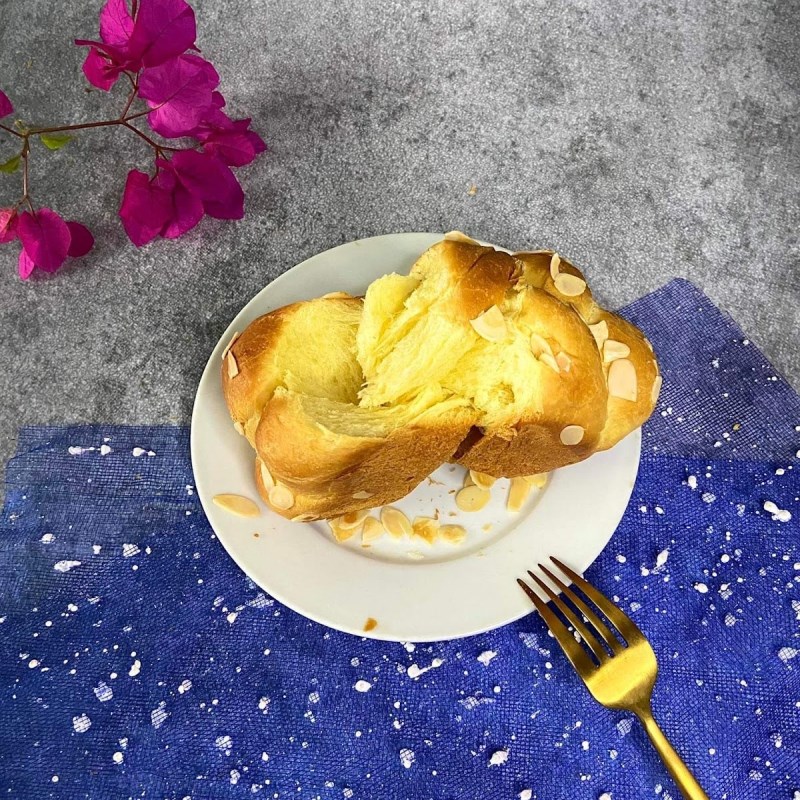
Cucumber flower bread is characterized by the rich flavor of butter and eggs. With this recipe, the amount of butter is not too much, which helps the cake feel less greasy.
Even though it doesn’t require much kneading, the cake still rises very soft, moist, and with a chewy texture. The cake is lightly sweet and very pleasant to eat.
Where to buy flour and yeast?
- You can easily find flour and yeast at baking ingredient stores, supermarkets, or reputable e-commerce sites, and online ingredient selling pages.
- When purchasing, you should choose reputable brands with clear origin, provenance, and expiration dates printed on the product packaging.
- You should choose to buy from reputable sellers to ensure quality!
How to recognize quality dough
- The dough is smooth and elastic.
- The dough does not stick to your hands: When pressed, it feels slightly sticky, but when you lift your finger, the dough does not stick to your hands.
- Check the dough using the Windowpane test: Tear off a piece of dough and stretch it out. If the dough forms a thin membrane that is not easily torn and light can pass through, it is good.
Tips for successful execution
- When brushing eggs, be gentle, do not press too hard, to avoid flattening the dough. Just brush a thin layer of egg, do not brush too thickly.
- The dough after the first proofing can be tightly wrapped and stored in the freezer; when needed, simply take it out to thaw and continue with the second proofing.
- If the dough after proofing has a sour smell and strong yeast odor, it is because the yeast has been active in the dough for too long, producing a lot of gas and causing a strong yeast smell. Therefore, you should reduce the amount of yeast or be mindful that the second proofing time is not too long.
- If you have leftover bread, you can wrap it tightly, store it in an airtight container or ziplock bag for 1 week, and in the freezer, it can be stored for 1 month. When you want to eat it, thaw it in the refrigerator and then warm it in the microwave, and the bread will be delicious, not dry or hard.
Above are 2 simple ways to make butterfly bread using an air fryer at home. You should quickly pocket the recipe to treat your family. TasteVN wishes you success in making this dish!
