-
Preparation
1 hour 30 minutes
-
Processing
20 minutes
-
Difficulty
Difficult
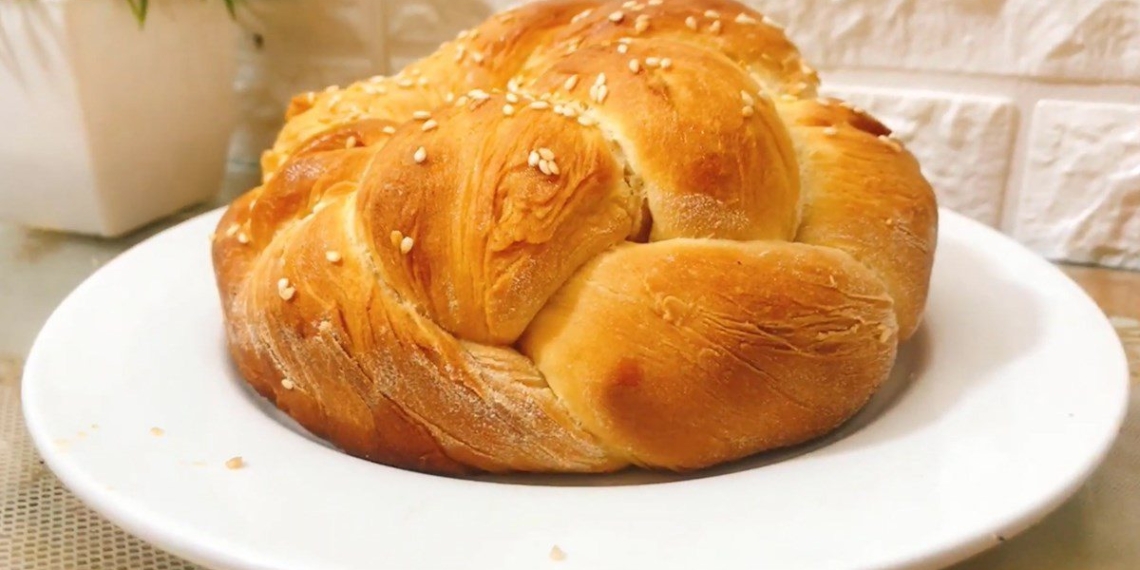
Hokkaido milk bread is quite famous in the “land of cherry blossoms” for its fragrant, rich, and sweet taste. You can also make this baked good for your family right at home with just a compact air fryer. Cooking with TasteVN to discover the recipe!
Ingredients for Hokkaido Japanese Bread using an air fryer Serves 4
All-purpose flour No. 13 300 g (or all-purpose flour No. 11) Instant yeast 5 g Whipping cream 20 ml Chicken egg 1 piece Sugar 50 g Salt 1/4 teaspoon
How to Make Hokkaido Japanese Bread Using an Air Fryer
-
Mix the dough
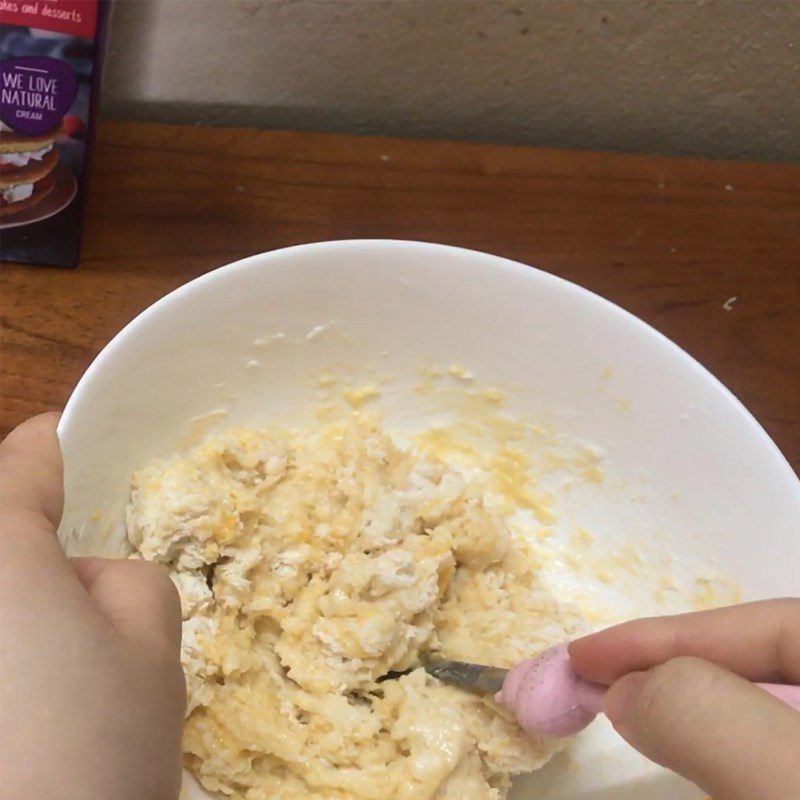
Put 300g of flour, 1/4 teaspoon of salt, 5g of yeast, 50g of sugar, 20ml of whipping cream, 40ml of fresh milk, and 1 chicken egg into a bowl.
Mix thoroughly to combine all ingredients.
Note: Do not directly put salt on the yeast, as this will kill the yeast or weaken its activity. You can mix the salt with the flour first, then add the yeast.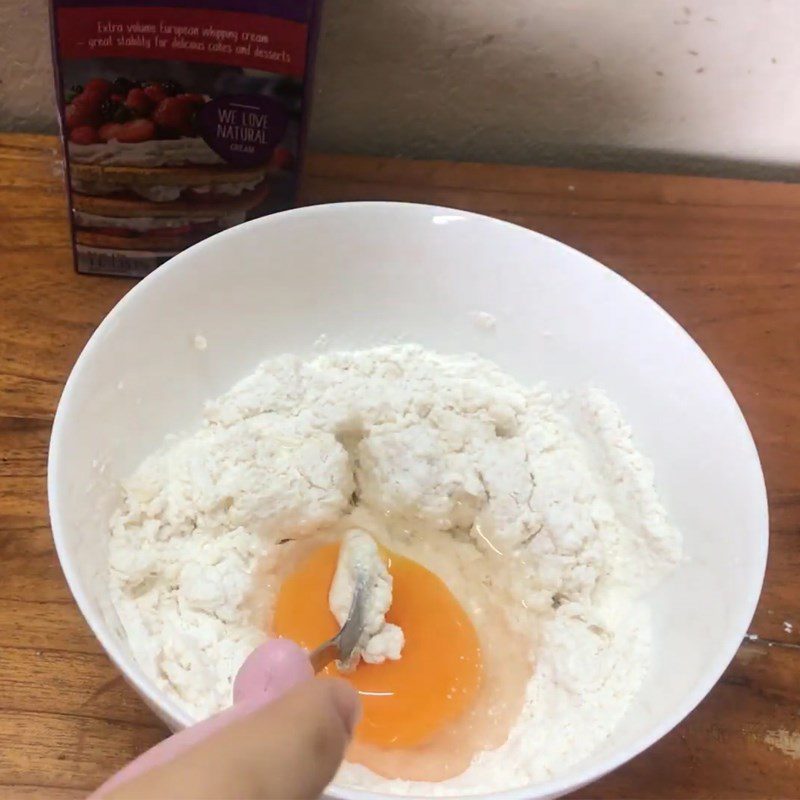
-
Knead the dough
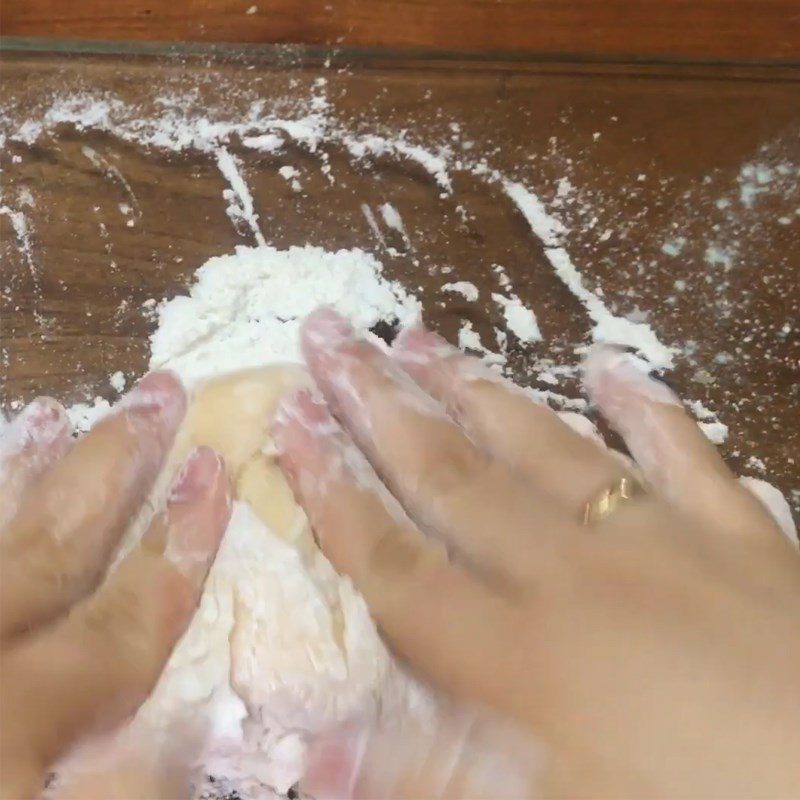
Dust a thin layer of flour on the table, then put the dough mixture on it and perform the kneading technique of Folding and Stretching.
First, fold the dough, then use the palm to press and stretch the dough away. Note to press and stretch the dough away, not down. Next, turn the dough mass 90 degrees and repeat the two steps above for about 15 – 20 minutes.
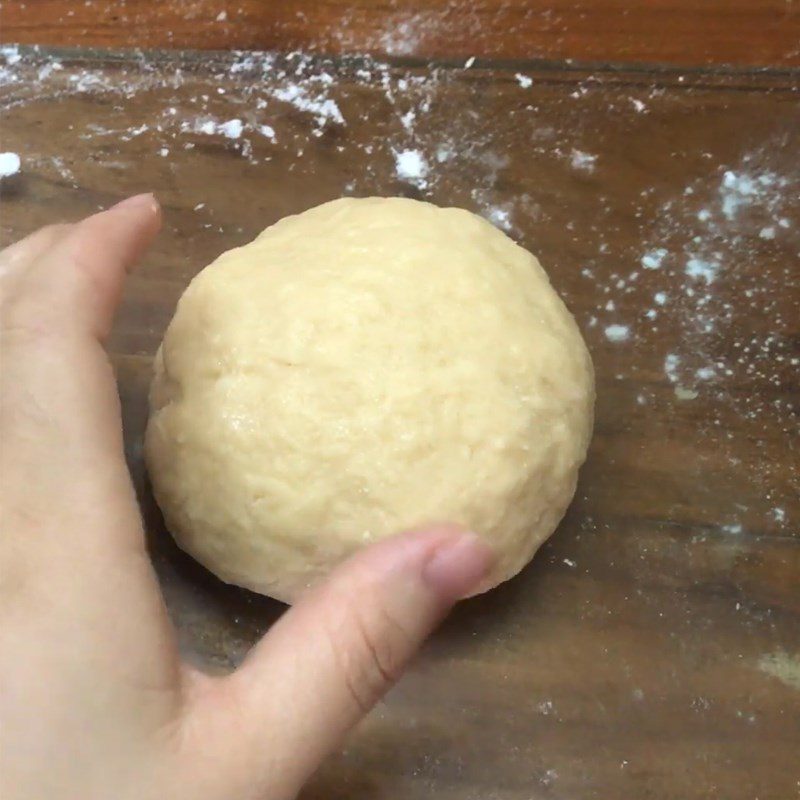
When the dough becomes a smooth, elastic mass that does not stick to your hands, can be stretched into a thin film without tearing, and bounces back when you press a finger into it, it is done.
Note:- The dough for Hokkaido bread is quite wet, so during kneading you can use flour dusting but use it sparingly.
- Avoid using too much in the early stages as it will cause the dough to dry out, and the bread will not rise as soft and fluffy.
- You can knead the dough with a machine for a similar time. First, run the machine at the lowest speed until the dough is combined into a mass, then increase to medium speed. Knead until the dough mass is smooth and elastic.
- Avoid over-kneading as it will damage the Gluten strands.
How to know if the dough meets the requirements:
- The dough is smooth and has good elasticity.
- The dough does not stick to your hands: When pressed, it feels slightly sticky, but when you lift your finger, the dough does not stick to your hands.
- The dough can be stretched into a thin film without tearing.
- Check the dough using the Windowpane test. Tear off a piece of dough, stretch it out. If it forms a thin membrane that is not easily torn and light can pass through, it is done.
-
Proof the dough
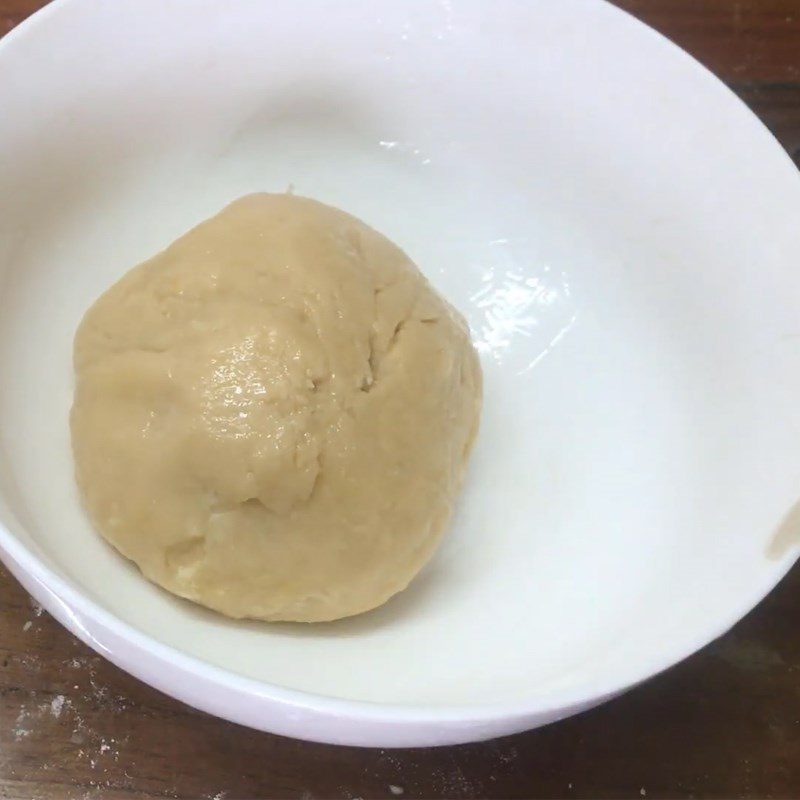
You brush a thin layer of cooking oil on the bottom and sides of a large bowl. Add the dough and turn it until the dough is evenly coated with oil.
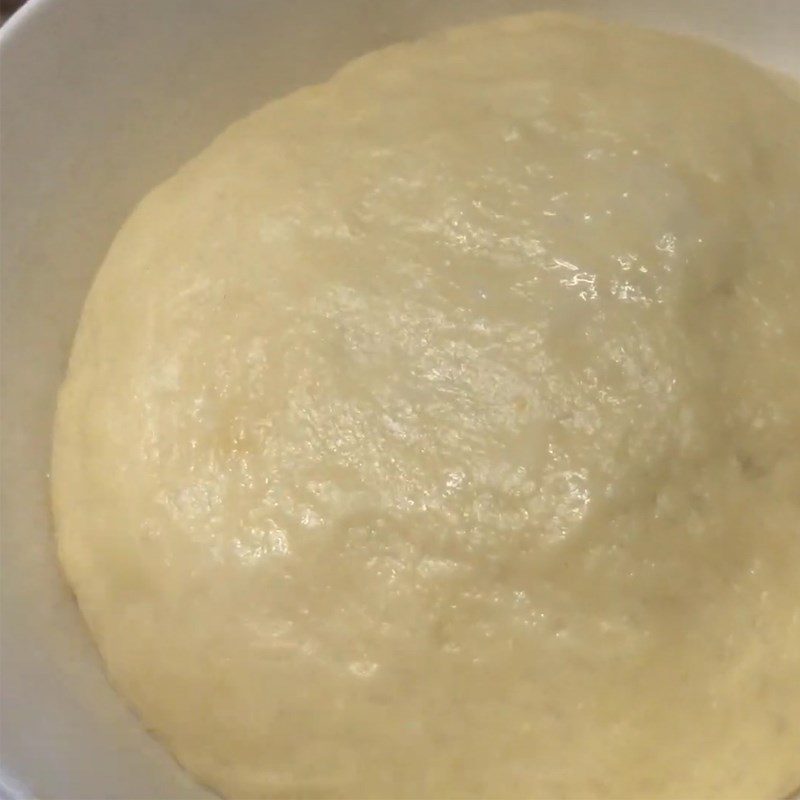
Cover with a damp cloth or plastic wrap and let the dough proof at room temperature (25 – 32 degrees Celsius) until it doubles in size.
Note:- There is no fixed proofing time as the dough rises quickly depending on the proofing temperature.
- You can check by pressing two fingers deep into the dough about 1 – 2cm. If the indentation stays the same, the dough has proofed enough; if it springs back, it needs more time to proof.
-
Shape the bread
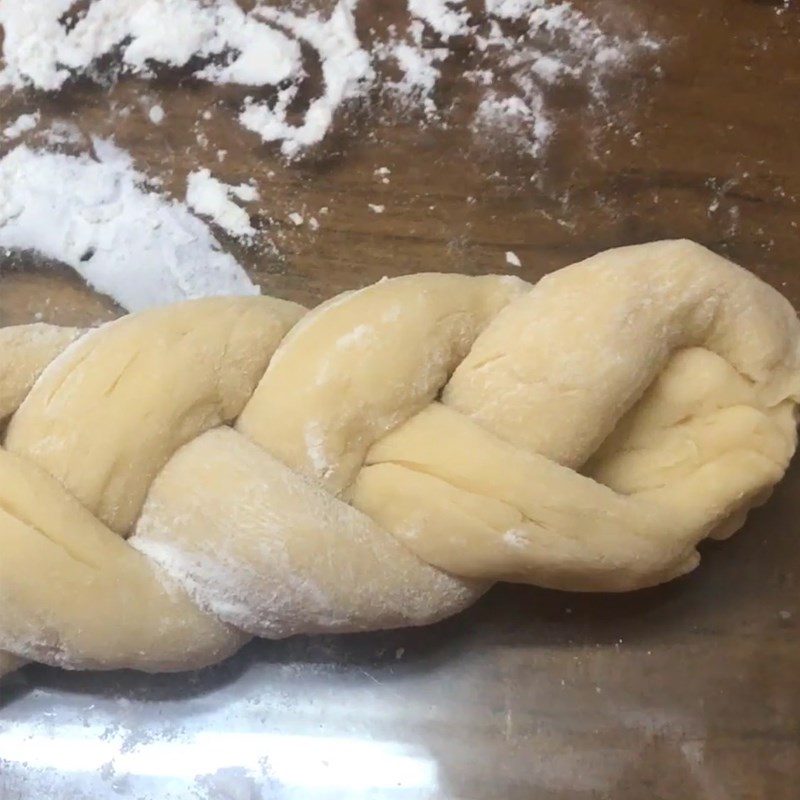
Divide the dough into 3 equal parts, then roll them into long strands.
Pinch the 3 ends of the strands together and braid them like a braid.
Finally, roll it into a circle, connecting the two ends of the dough to finish.

-
Baking the bread
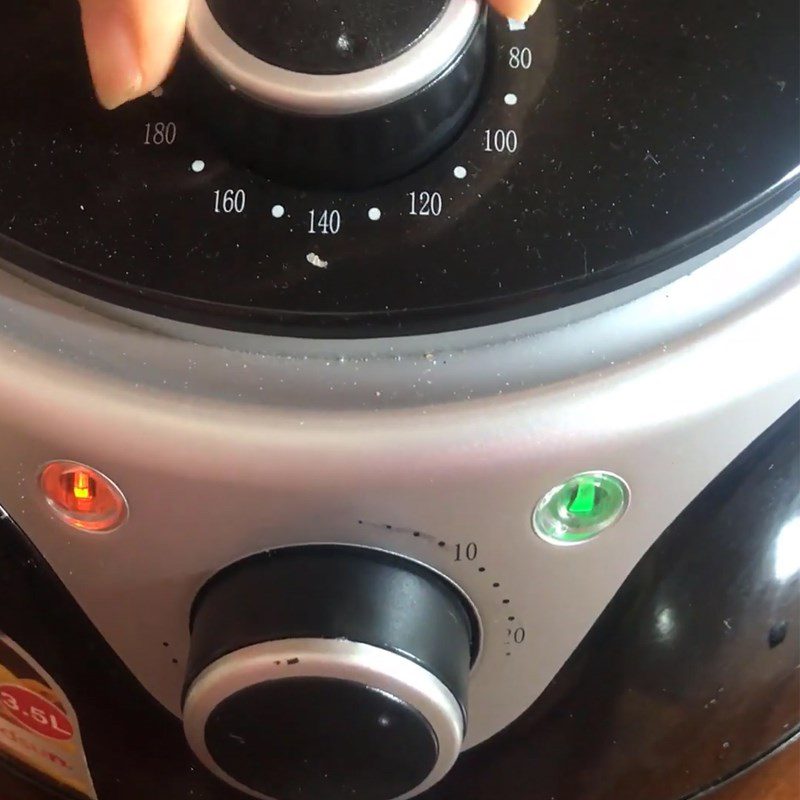
Preheat the air fryer to 140 degrees Celsius for 15 minutes.
Brush a layer of butter into the mold, place the dough inside, and let it rest for an additional 5 minutes.
Then, brush a layer of egg yolk on top of the bread, sprinkle with white sesame seeds, and bake for 20 minutes at 140 degrees Celsius.

-
Final product
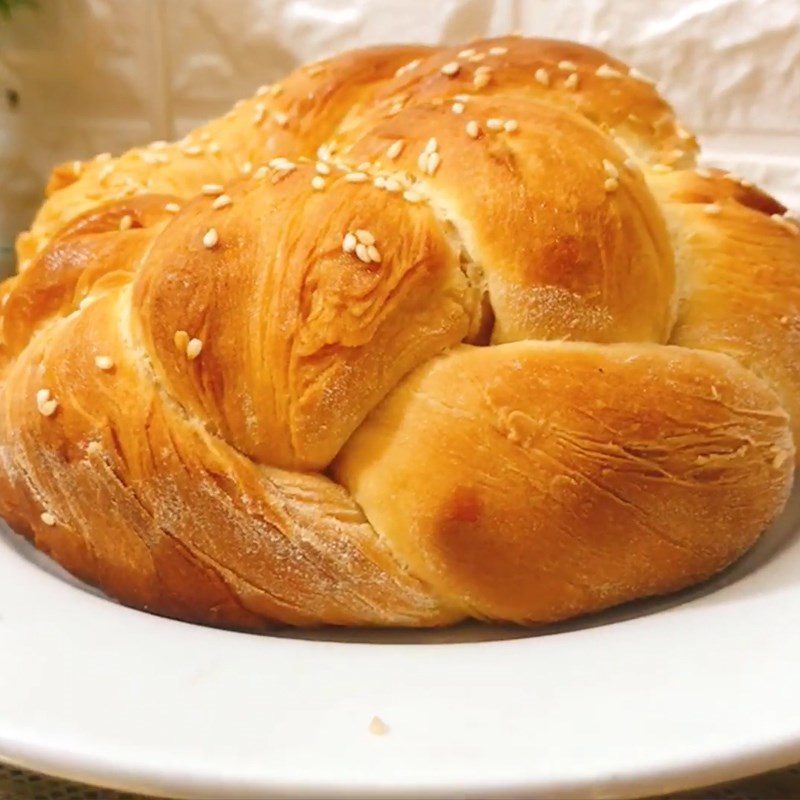
The Hokkaido bread is fragrant, with each slice being chewy and soft, having a rich sweetness from the cream; just one small bite is enough to make you fall in love!
Tips and notes for successful execution
- If you are not using instant dry yeast, you must activate the yeast with warm water or milk at 35 – 40 degrees Celsius, stir well and let it sit for 5 – 10 minutes until the yeast blooms into a mass similar to crab bricks. It should not be hotter as it will kill the yeast or weaken its activity)
- If using instant yeast, it is recommended to use golden instant yeast for rich and sweet bread types.
- If the surface of the bread turns golden quickly, cover the top with a piece of foil to prevent it from burning. Do not lower the temperature as it will cause the crust to be thick and chewy
- You can freeze the dough after the first proofing. When needed, take it out to thaw and then proof a second time (the second proofing time will be slightly longer than usual) before baking as normal.
- In the case of the bread crumb being yellow instead of white: This could be due to inadequate kneading or ingredients like eggs or butter affecting the color of the bread.
- If the bread crumb is dry after baking: This could be due to baking for too long or the type of flour used having high water absorption. Therefore, during the kneading process, be flexible in adding milk to help keep the dough soft, moist, and tastier.
- When the bread has a strong yeast smell after proofing, it is due to the yeast working in the dough for too long, leading to a lot of gas production and causing the bread to have a strong yeast smell. Therefore, you should reduce the amount of yeast or pay attention to the second proofing time not being too long.
Wishing you success in making this delicious Hokkaido milk bread from Japan!
*Source of the recipe and images from the Youtube channel Eat Clean Live Healthy
