-
Preparation
10 minutes
-
Processing
45 minutes
-
Difficulty
Medium
Soy milk mochi with a chewy soft exterior and smooth creamy filling will be a great choice for the whole family to enjoy. Go to the kitchen with TasteVN to make this cake dish right away!
Ingredients for Soy Milk Mochi For 2 people
Soy milk 300 ml (warm up) Condensed milk 1 tablespoon Gelatin powder 3 gr Flour 15 gr Corn starch 35 gr (corn flour) Egg yolk 1 piece Fresh cream 150 ml (Whipping cream) Fresh milk 90 ml Sugar 12 tablespoons Glutinous rice flour 50 gr Peanut butter 10 gr Soybean flour 10 gr
You can buy soy milk from outside or make soy milk at home using TasteVN’s recipe!
See details: How to make soy milk with a blender
-800x450.jpg)
Tools needed
Pot, microwave, whisk, rectangular mold, silicone dough kneading pad,….
How to make Soy Milk Mochi
-
Making Soy Milk Jelly Filling
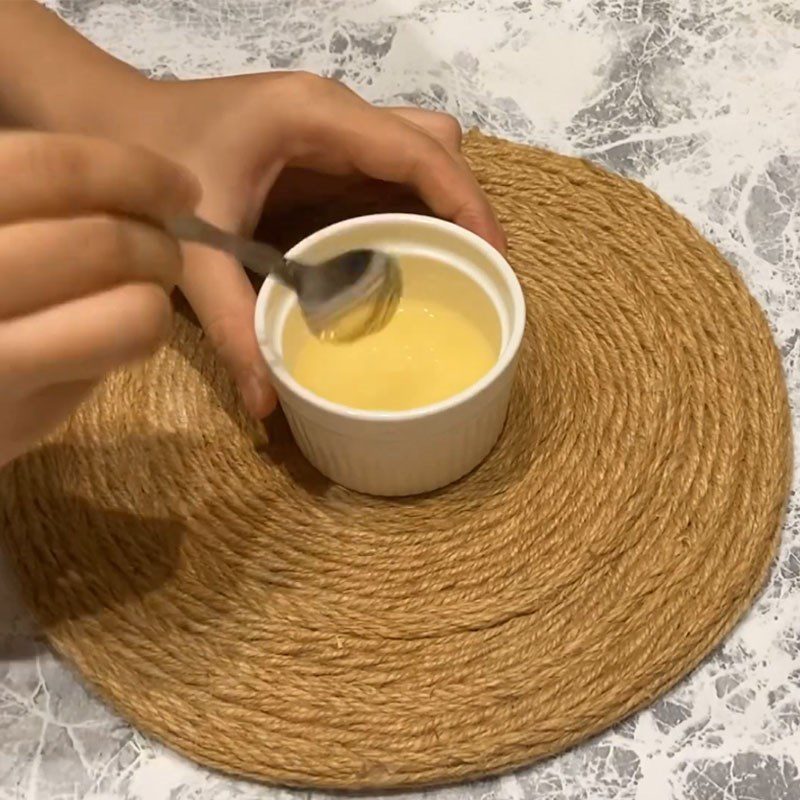
First, we proceed to soak the gelatin by putting 3g of powdered gelatin into a small bowl with 20ml of cold water, using a spoon to stir well, then let it sit for about 10 – 15 minutes for the gelatin to bloom.
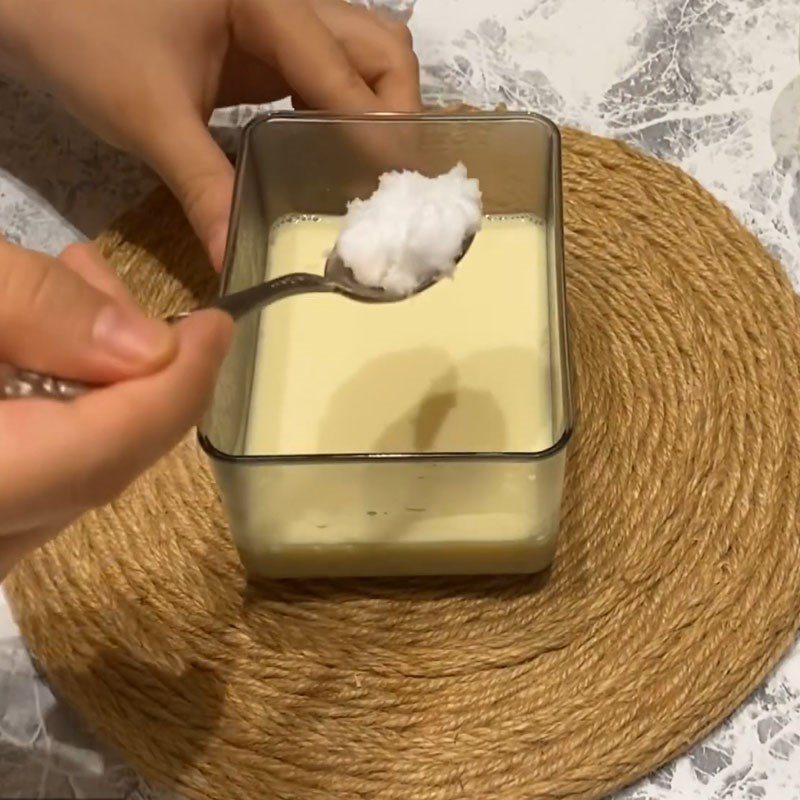
Tip: You can substitute powdered gelatin with sheet gelatin! If using sheet gelatin, the amount is 7g instead of 3g like powdered gelatin.Next, pour 150ml of warmed soy milk into a mold, then add 1 tablespoon of sugar and 1 tablespoon of condensed milk, using a spoon to stir gently until the sugar and milk dissolve.
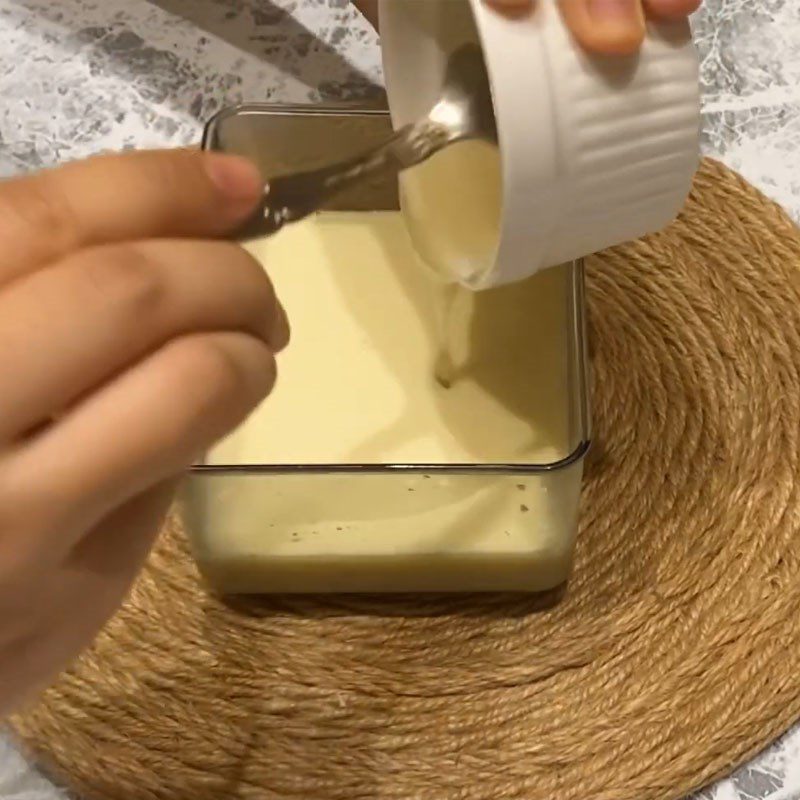
Tip: The soy milk only needs to be warmed up or put in the microwave to heat up; do not boil it, okay?Then add the bloomed gelatin mixture, stirring until everything combines into one. Place the mixture in the refrigerator for about 3 – 4 hours to set.
After the jelly has set, use a knife to cut it into small square pieces.
-
Boil the egg milk mixture
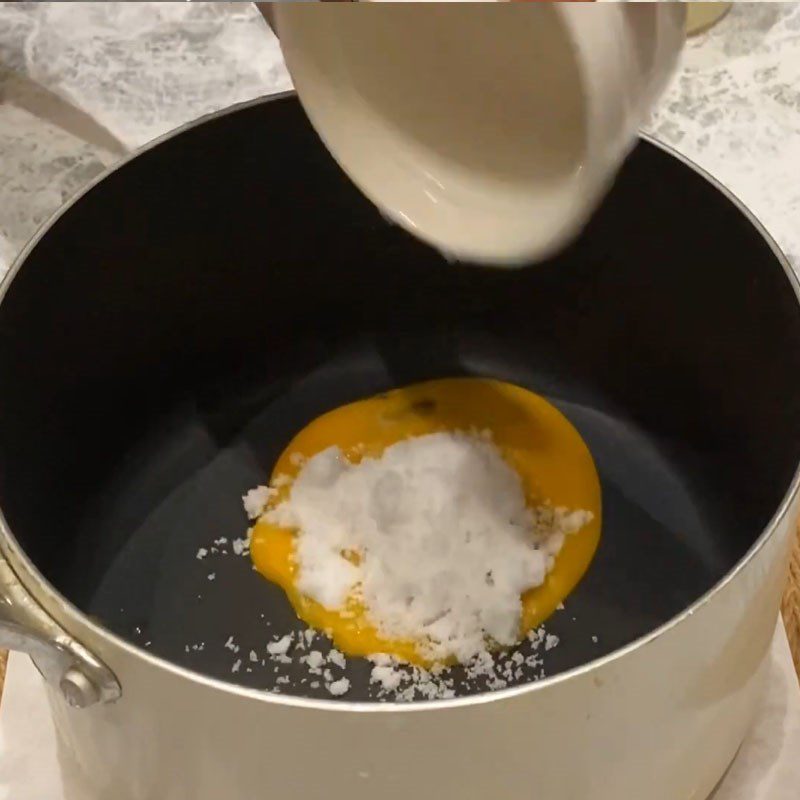
Separate one egg yolk into a pot, add 4 tablespoons of sugar, and whisk it together with the egg yolk.
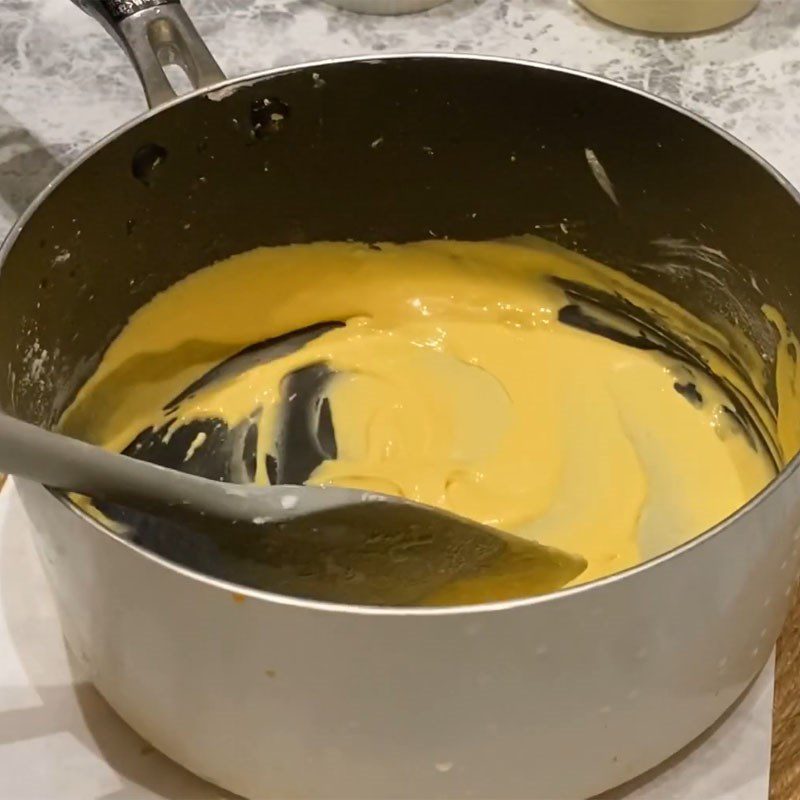
Gradually add 15g of flour, using a flat whisk to mix it in, then add 5g of cornstarch, and continue to mix until the egg, sugar, and flour mixture becomes homogeneous.
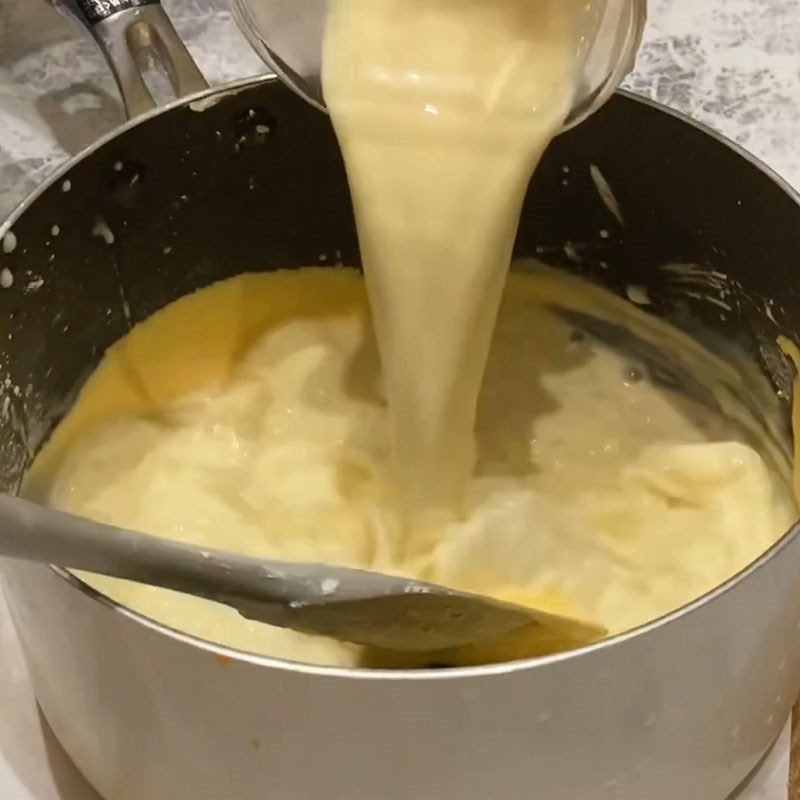
Next, add 150ml of warm soy milk to the pot, stirring until it is well combined with the egg milk mixture.
Place the pot on the stove and turn on low heat, then cook the egg milk mixture. Stir continuously until the mixture thickens and large bubbles appear.
Turn off the heat and transfer the mixture to a bowl, cover it with plastic wrap, and use a toothpick to poke small holes in the wrap to allow steam to escape.
Finally, place it in the refrigerator to keep the egg milk mixture chilled.
-
Whipping cream
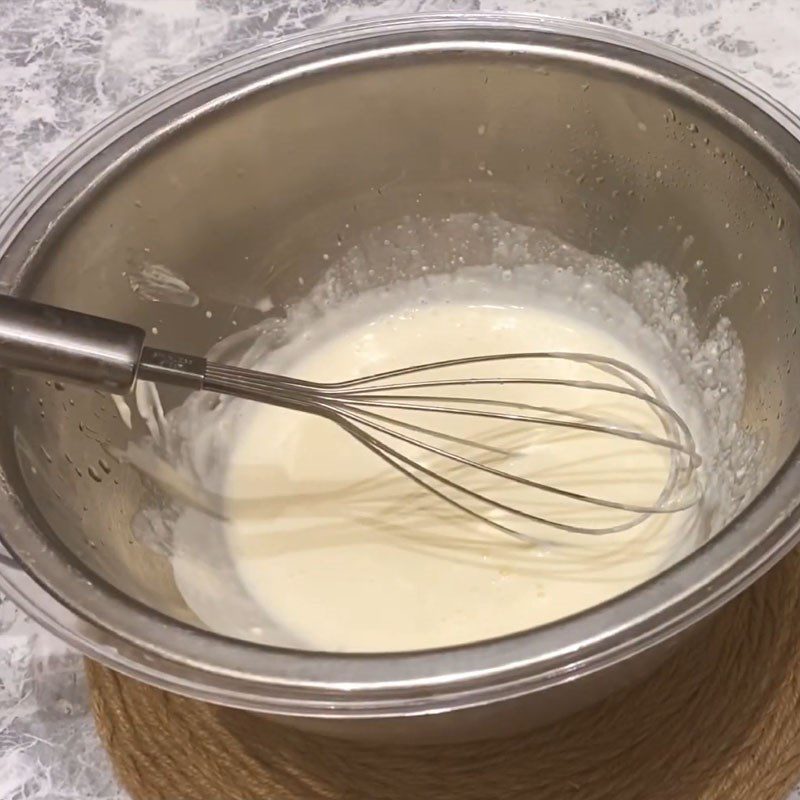
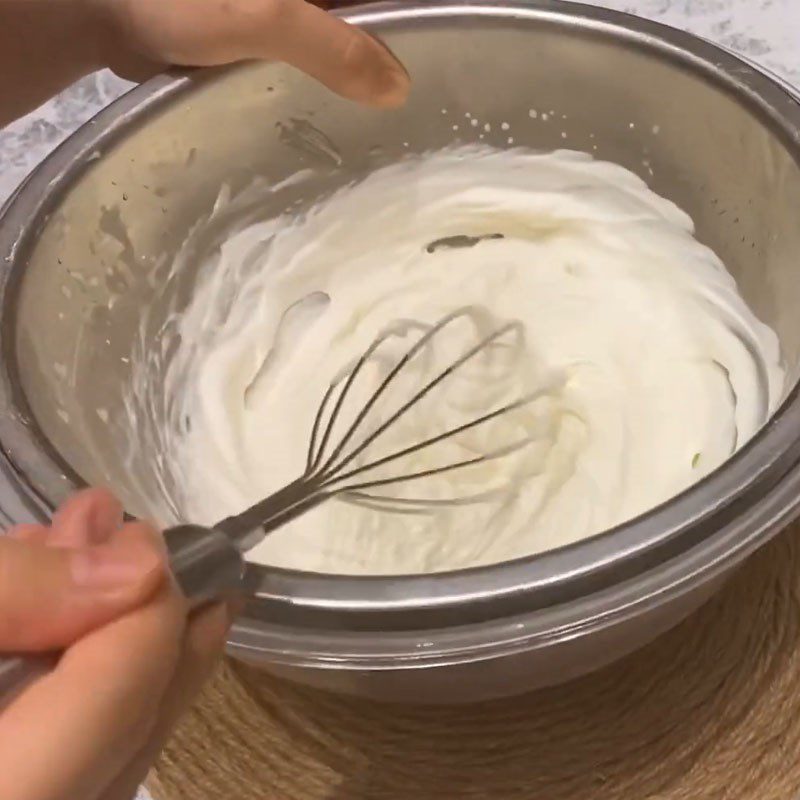
Pour 150ml of whipping cream into a bowl to start whipping, add about 2 – 3 tablespoons of sugar and begin to whisk with a whisk.
Whisk vigorously until the whipping cream becomes fluffy and thick, then stop.
Tip:- Before whipping the cream, place a bowl of ice water underneath the mixing bowl and chill the whisk beforehand, this will help the cream whip faster and be more successful.
- Do not whip the cream for too long, as it will become too stiff; when the cream is just whipped, if you lift the whisk and the cream does not drip down, it’s done.
-
Mix the soy milk cream mixture
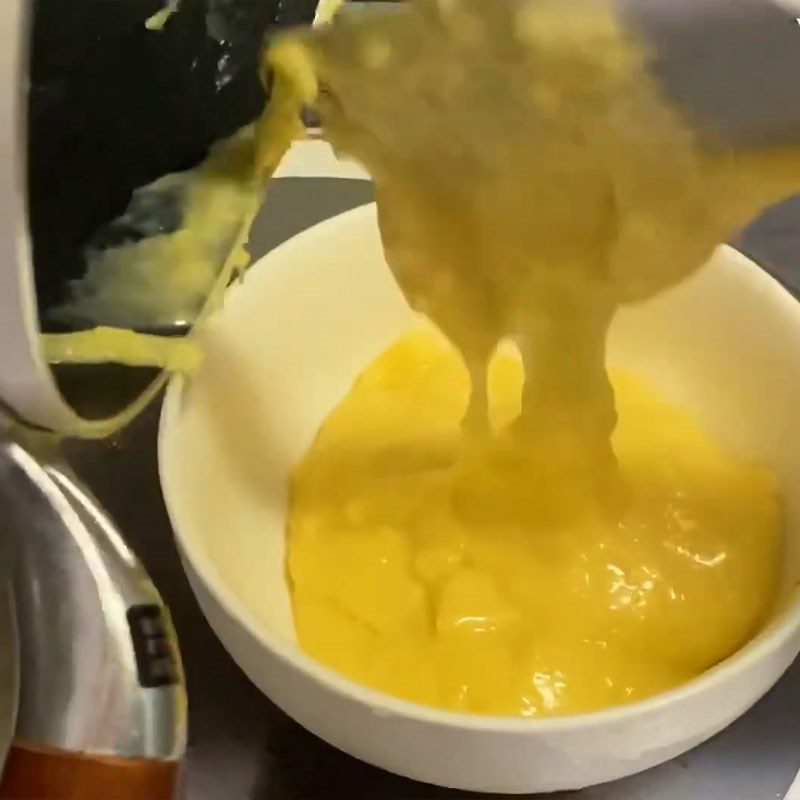
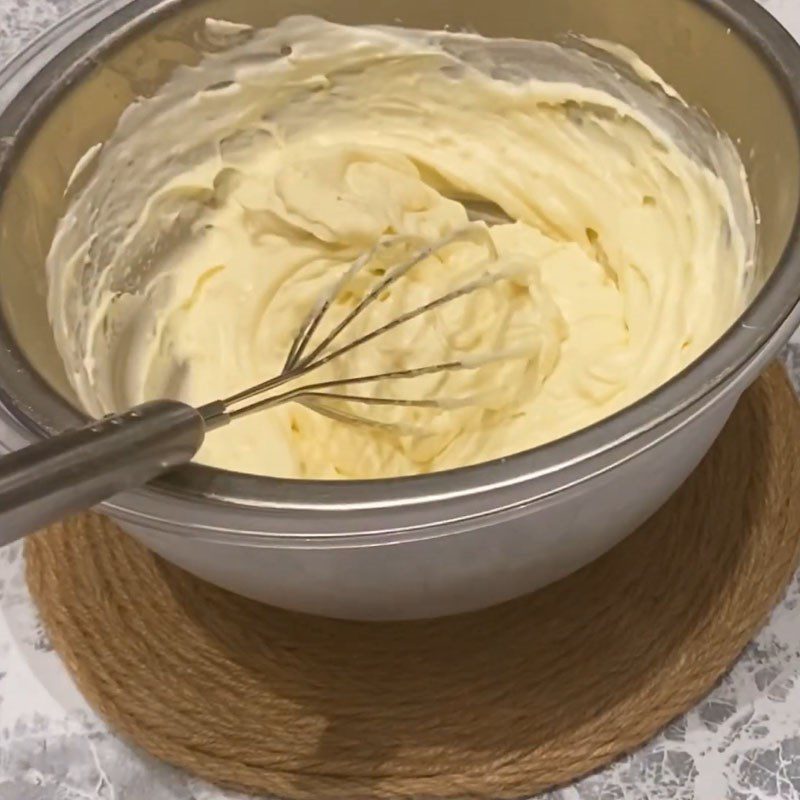
Take the egg milk mixture out of the refrigerator, place it in a bowl to whip until fluffy, using the whisk to fluff the mixture until smooth as shown in the picture.
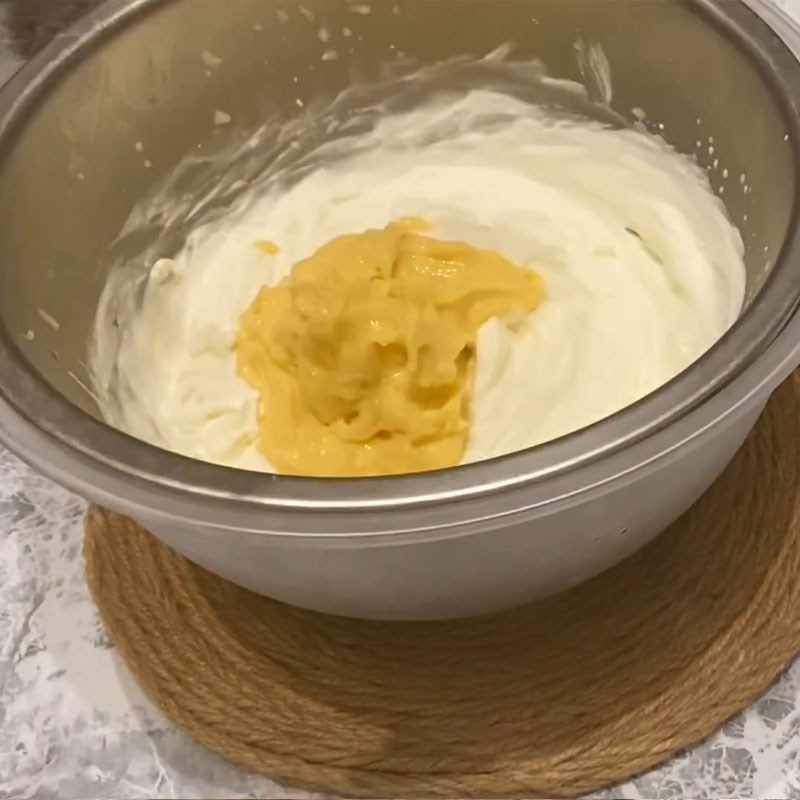
Pour the entire whipped mixture into the previously whipped cream bowl. Use the whisk to blend both together.
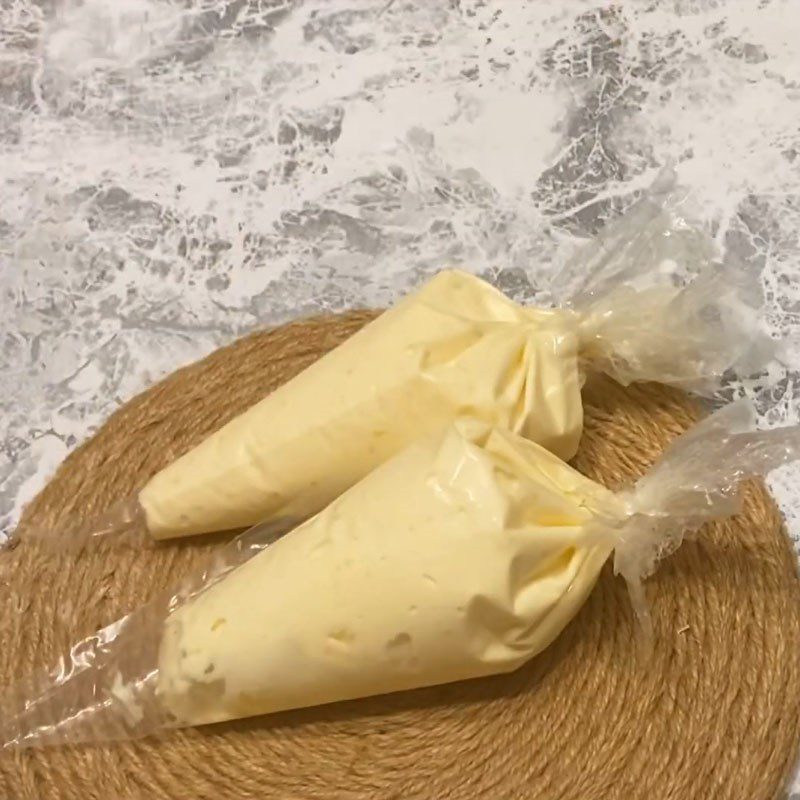
Finally, divide the mixture into a piping bag and place it in the refrigerator.
Tip: If you don’t have a piping bag, you can use a plastic bag and put the mixture into one corner of the bag as shown in the picture!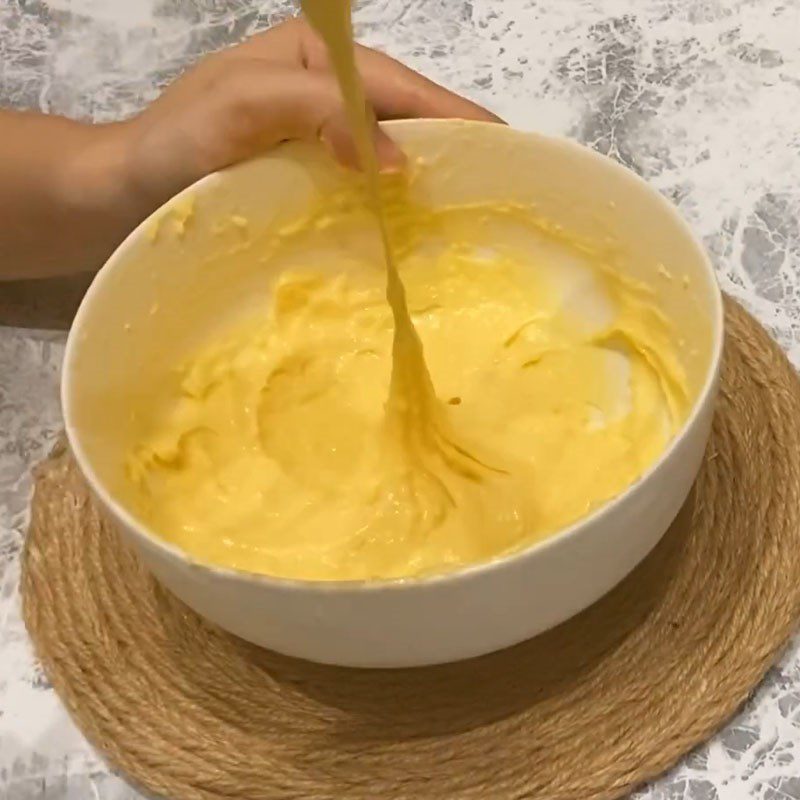
-
Mix the mochi dough
Pour 90ml of warmed fresh milk into a bowl, add about 3 – 5 tablespoons of sugar, and stir until the sugar dissolves evenly.
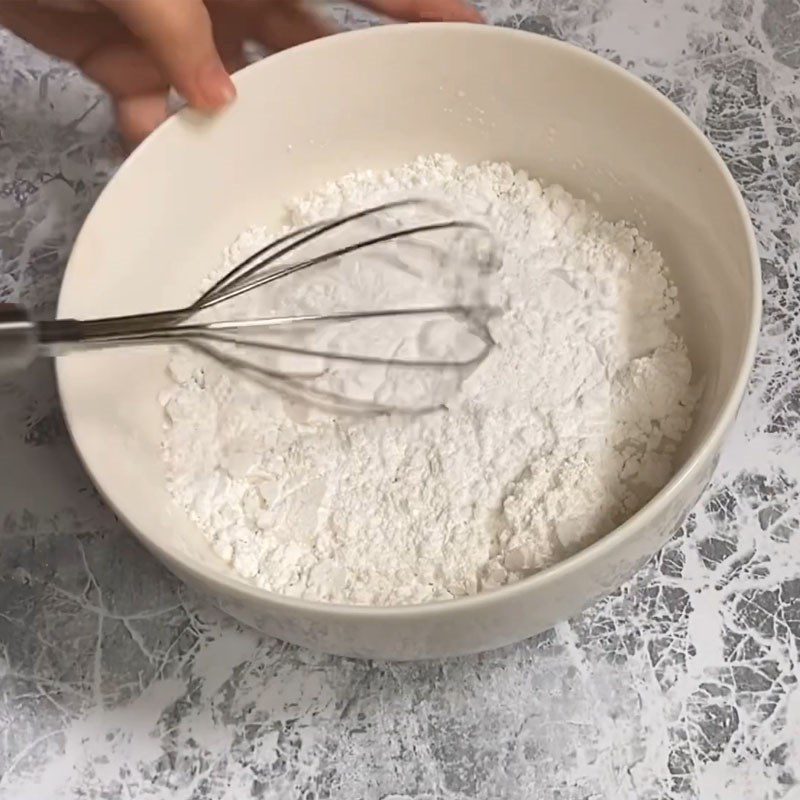
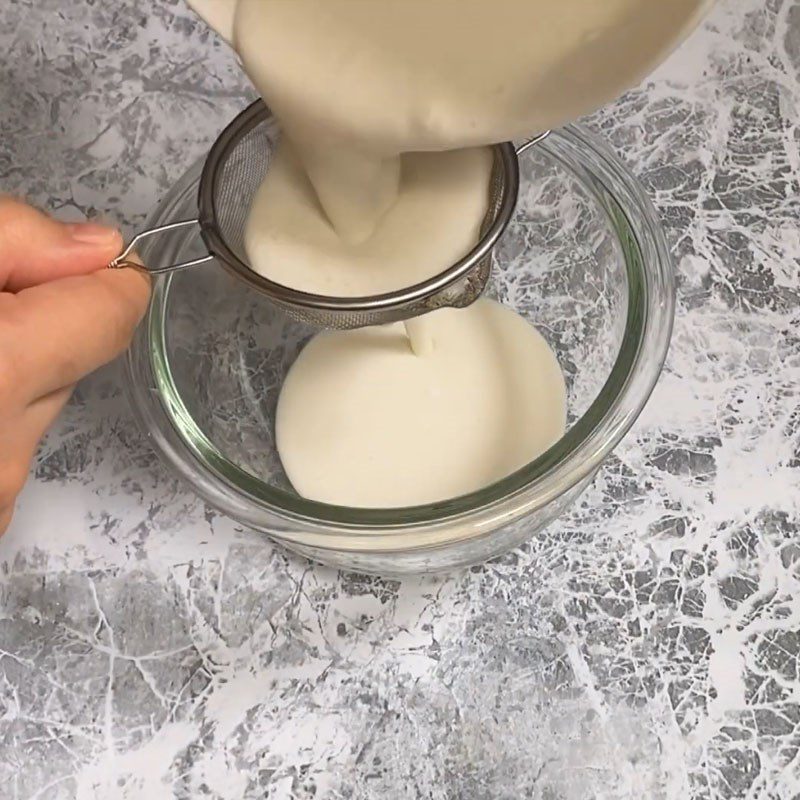
Gradually add 50gr of glutinous rice flour and 30gr of cornstarch into the bowl of fresh milk, use a whisk to mix the flour, then strain the flour mixture through a sieve to remove any lumps.
Tip: Warm fresh milk will help the flour dissolve faster and reduce the chance of lumps, you can warm the fresh milk on the stove or microwave it to heat it up.After straining through the sieve, cover it with plastic wrap, and microwave for 2 – 4 minutes at medium power.
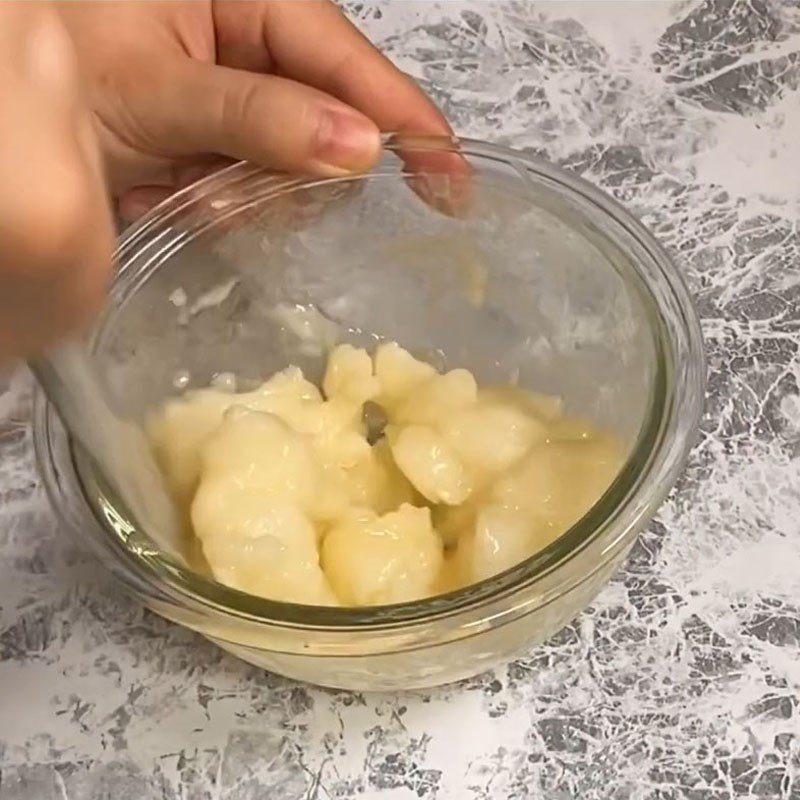
Once the dough is cooked, take it out and add 10gr of peanut butter, using a spatula to mix it thoroughly into the dough.
Tip:- If you don’t have a microwave, you can steam the mixture for about 15 – 20 minutes.
- To check if the dough is cooked, you can taste it; if it is chewy, smooth, soft, and not powdery, it is done.
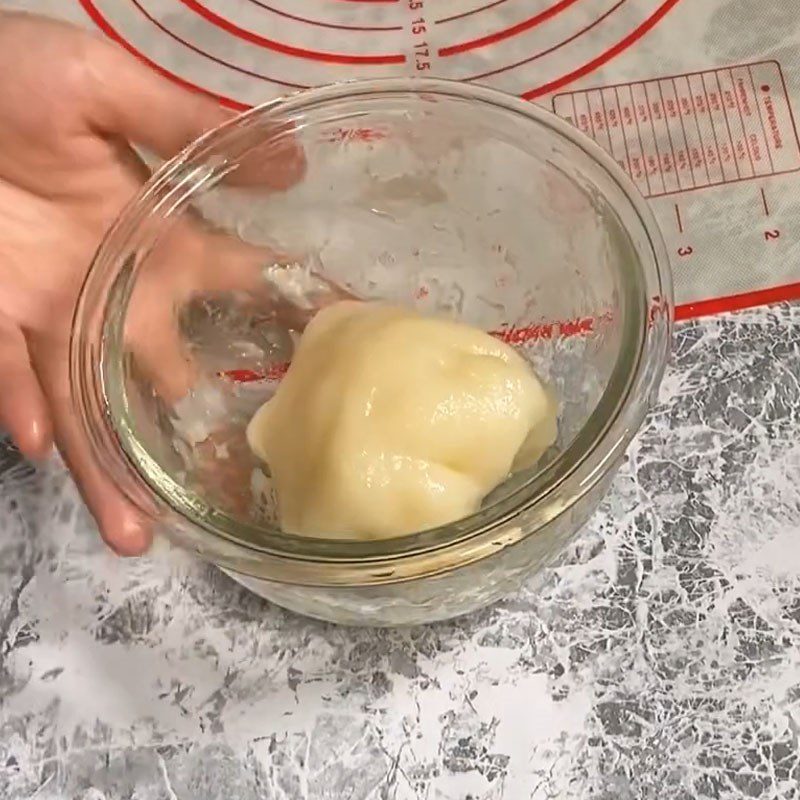
Wait for the dough to cool a bit, then we proceed to knead the dough, wearing gloves and using your hands to knead until the dough forms a smooth and pliable mass.
-
Dividing and rolling the dough
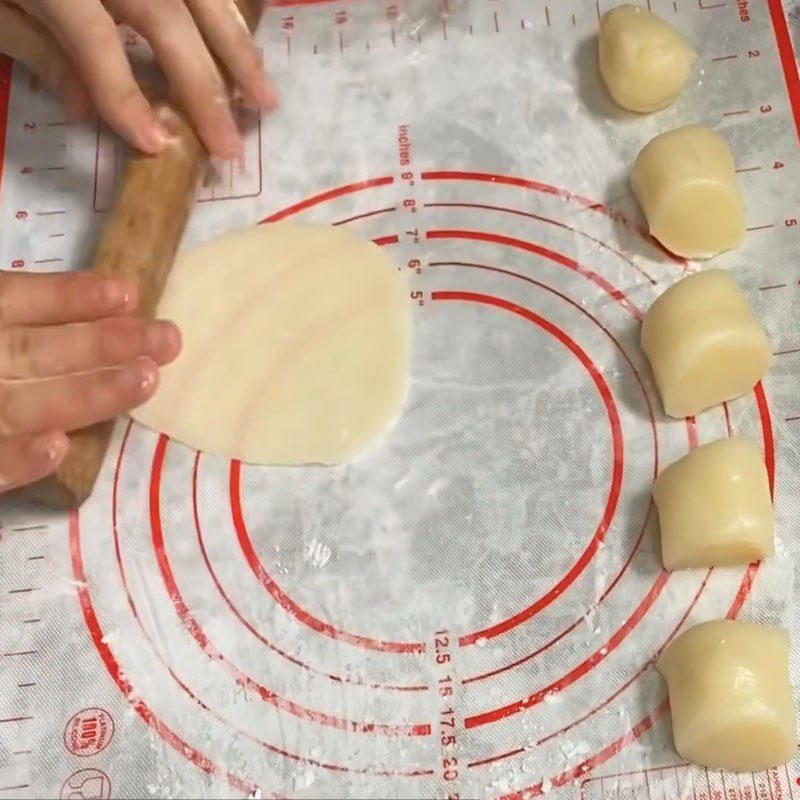
Wait until the dough for the cake skin cools a bit, then proceed to divide and roll the dough. Sprinkle a little cornstarch on the surface used for rolling the dough to prevent sticking.
Take the dough out, use your hands to knead it into a pliable mass.
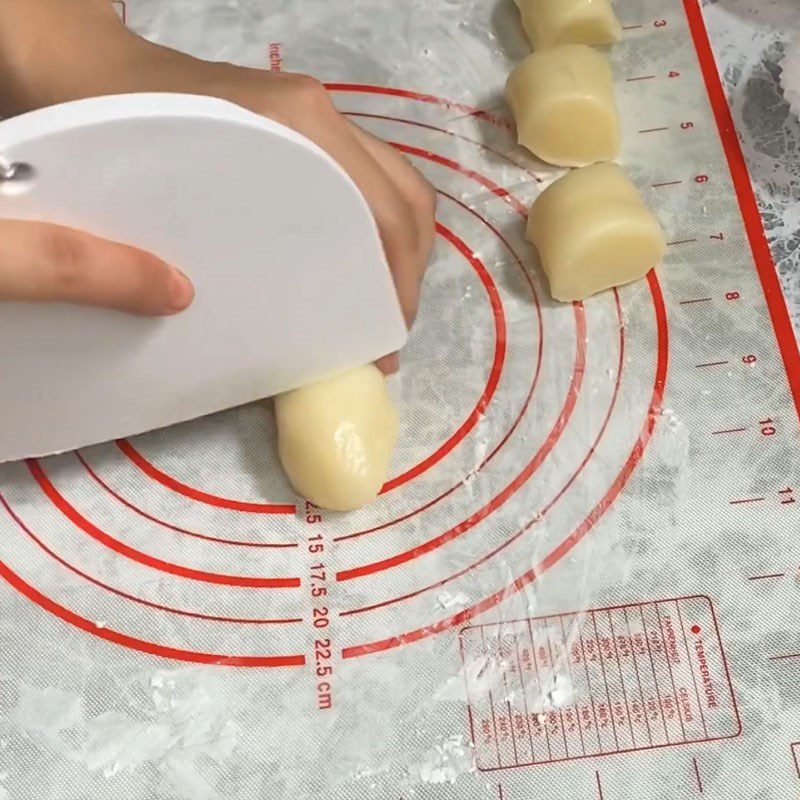
Shape the dough into a long cylindrical form as shown in the picture to proceed with cutting, dividing the dough into equal small portions.
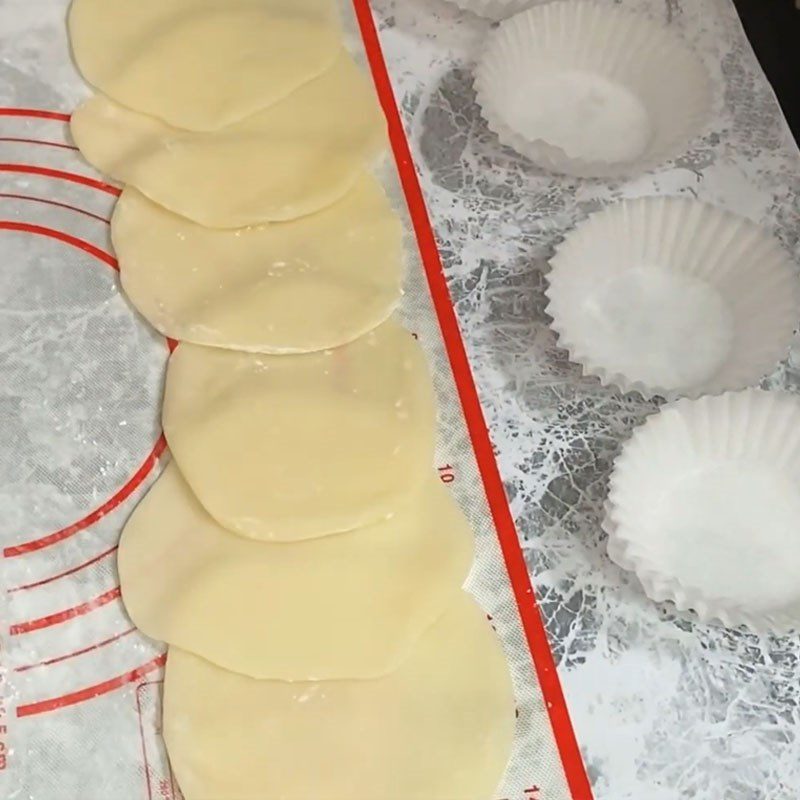
Use your hands to roll the cut dough into balls, then use a rolling pin to flatten them as shown in the picture, continue until all the dough is used up.
Note: During the kneading, dividing, and rolling of the dough, ensure that the dough remains warm to prevent it from hardening and losing its shape.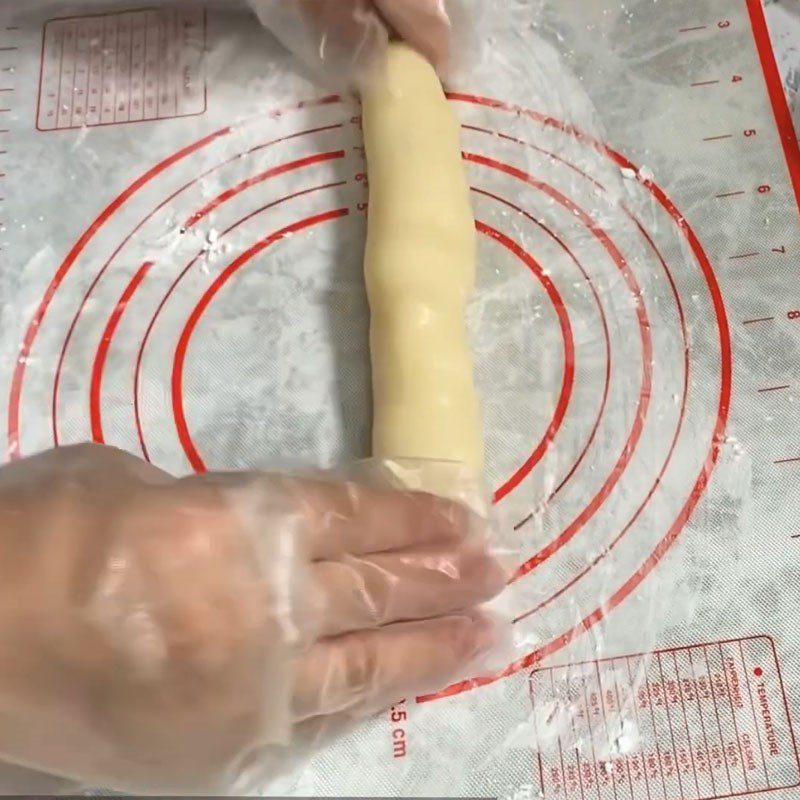
-
Shaping the mochi cake
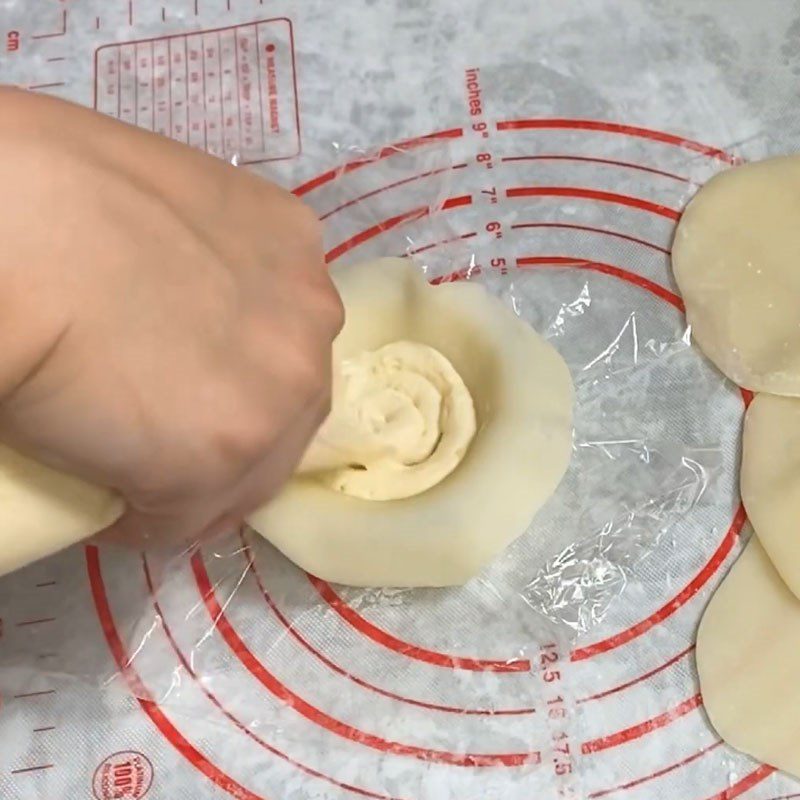
Prepare about 5 – 6 round bottom molds to shape the cake, lining a thin layer of plastic wrap at the bottom of the mold.
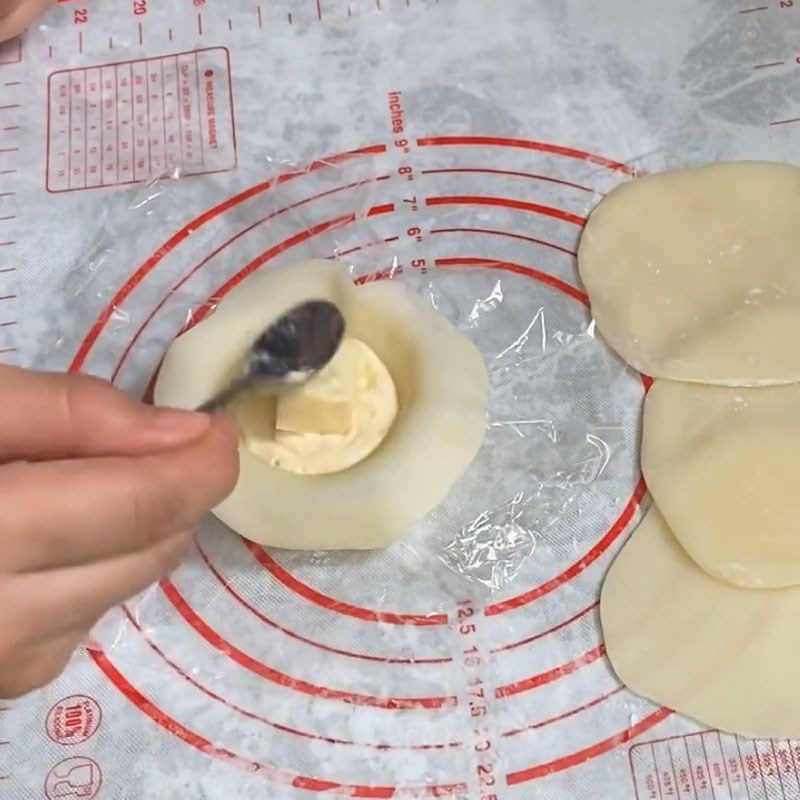
Place the rolled-out dough into the mold, gently pressing it down so that the dough fits in the mold, then pipe a thin layer of whipped cream that was whipped earlier into the cake shell.
Next, add the jelly that has been set and cut into squares from step 1 into the center of the cream, then pipe another thin layer of cream over the jelly.
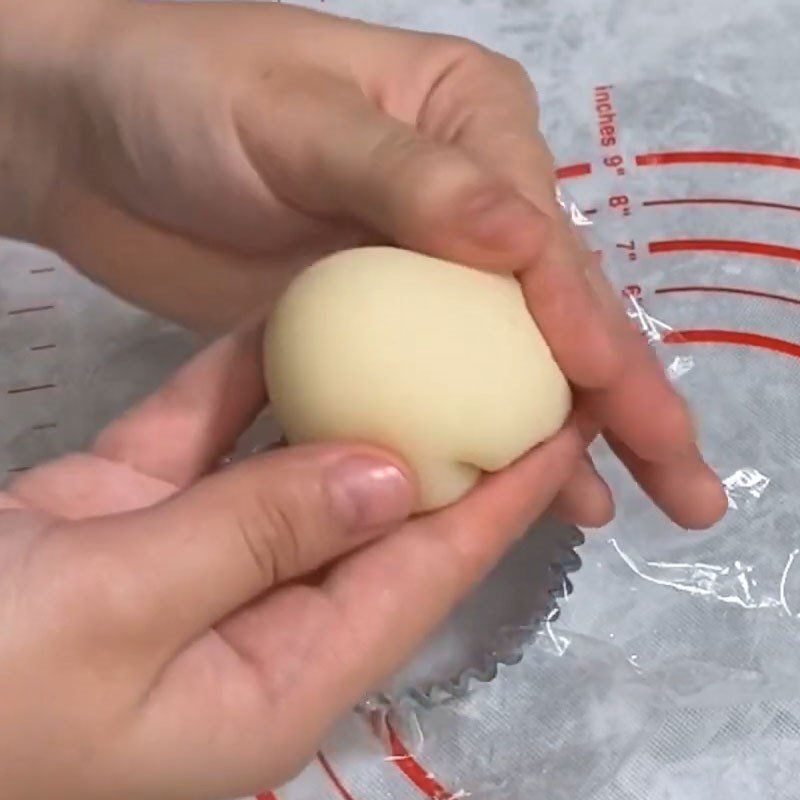
Use your hands to gather the edges of the dough together, gently adjusting to ensure that the cream does not spill out, trimming off any excess dough.
Adjust and shape so that the cake is evenly round, then place it on baking paper.
Note:- Once the cake is made, you can place it in the refrigerator for about 30 minutes, so the cake is cold and the filling remains soft when eaten.
- If you prefer it firmer, place it in the freezer for about 45 – 60 minutes, so the cake is cold and the filling is set.
- Depending on your preference, you can leave it in the freezer or refrigerator for however long suits your taste.

-
Decoration
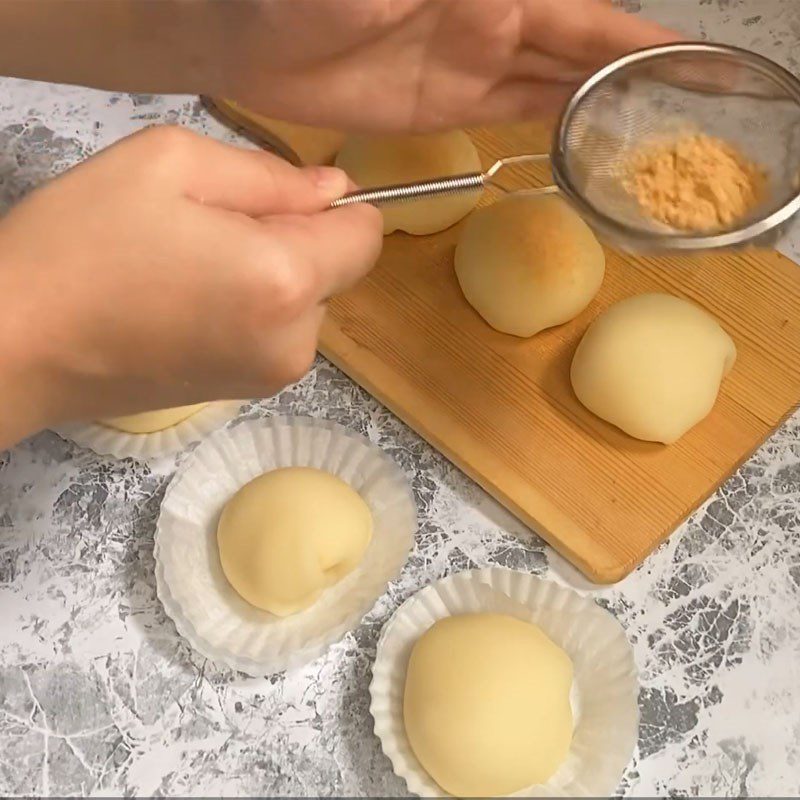
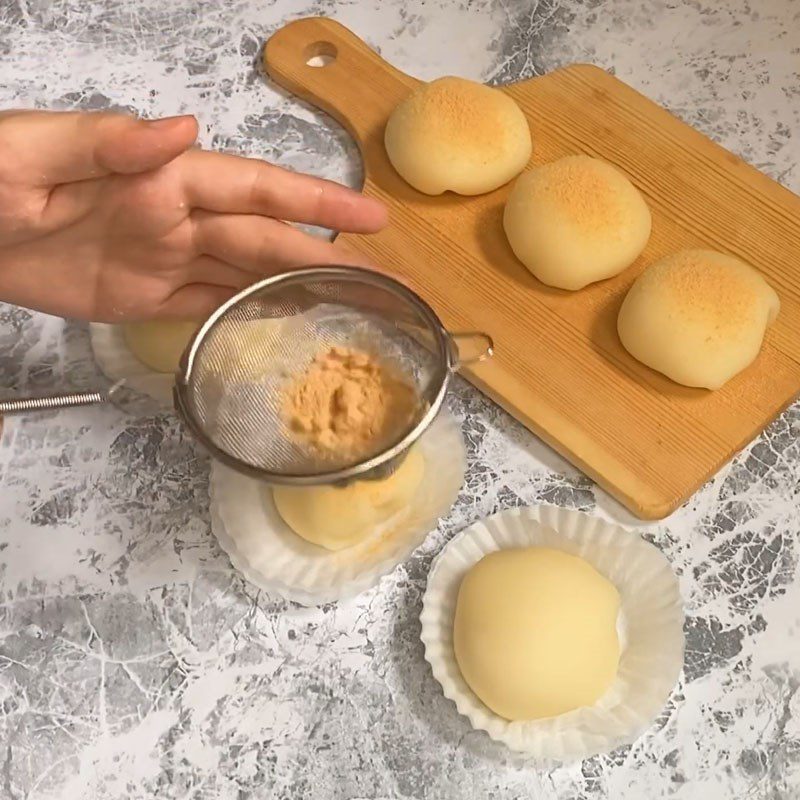
Arrange the mochi on a plate, sift the soybean flour and lightly sprinkle a layer on top of the mochi.
Continue until all the cakes are done, and you have completed the delicious soybean milk mochi.
-
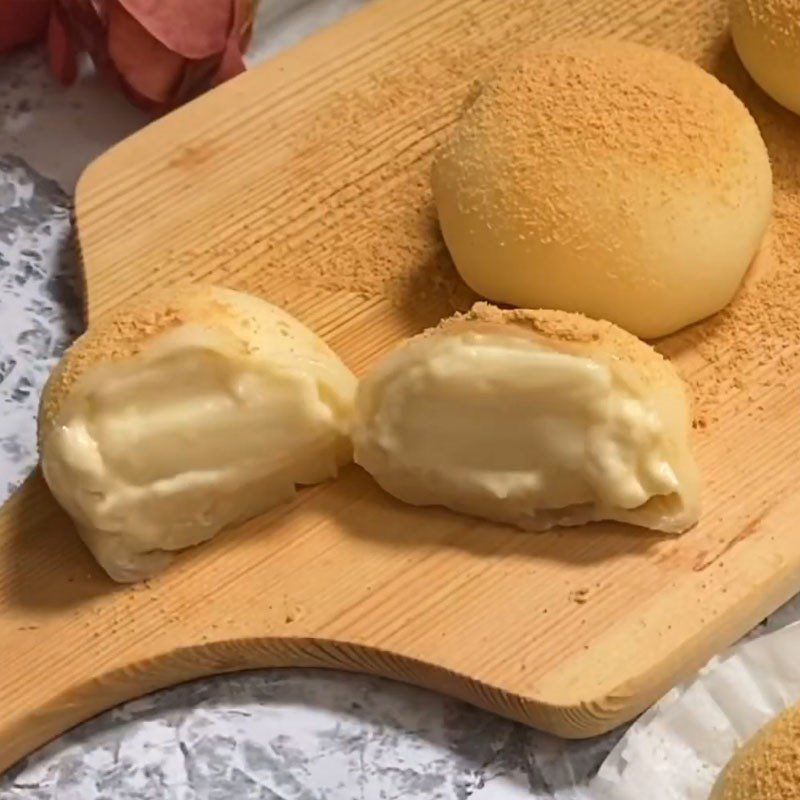
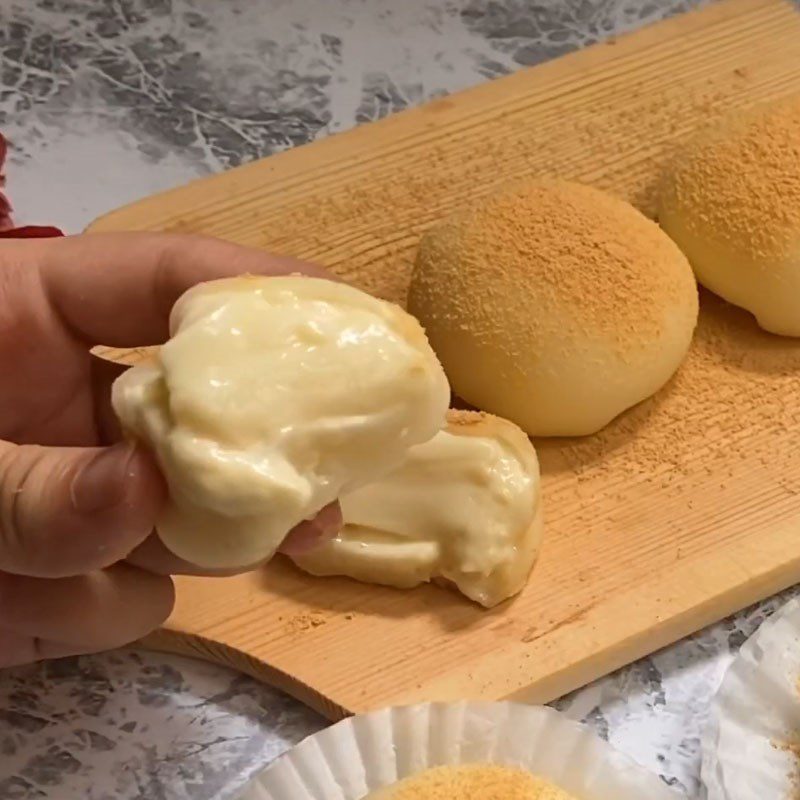
Final Product
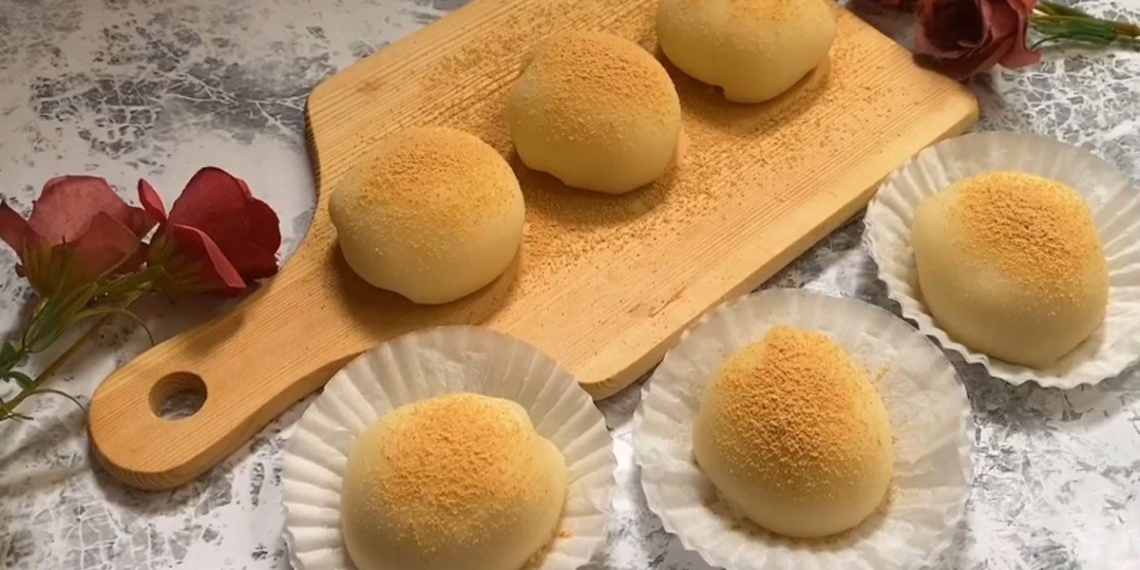
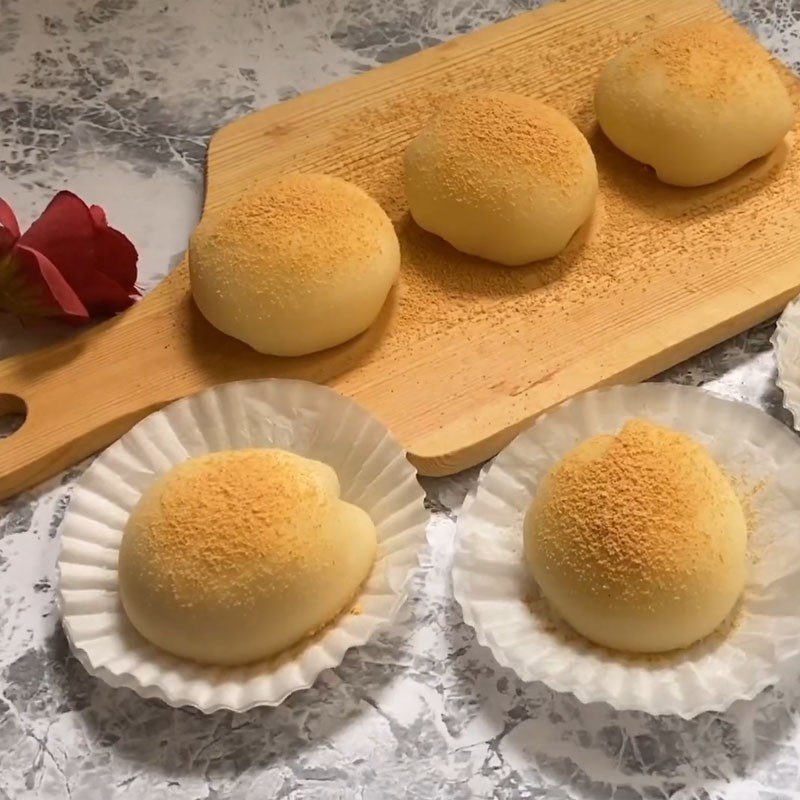
The cake has a soft and slightly chewy outer layer, and when you take a bite, you will feel the creamy, fragrant filling melting on your tongue, with a sweet taste and the fragrant soybean milk jelly, making it easy to eat several without getting tired of it.
This dish will definitely attract anyone with its lovely white exterior and its wonderfully delicious interior.
Tips for successfully making mochi
- To successfully make this dish, remember to strictly follow the ingredients and steps.
- Do not arbitrarily adjust the ratio of ingredients to avoid the cake being too hard or too soft.
- The processes of rolling out the dough and shaping must be done while the dough is still warm; absolutely do not let the dough cool because at that point, it will be hard to shape, and you cannot adjust the dough as you wish.
What is mochi?
Mochi is a type of sweet cake that has existed for a long time in Japan, where mochi is considered a traditional cake.
Mochi appears in daily life and during holidays, with special significance to the people during these times.
Hopefully, with the simple method above, it will help you successfully make the soy milk mochi that is smooth, fragrant, and rich at home. Visit the cooking section to see more ways to make many other delicious dishes with TasteVN! Wishing you success.
*Source of the recipe and reference images from the YouTube channel YÊU BẾP YÊU PET
