TasteVN
  • Home
  • Main Dishes
    • Beef Dishes
    • Braised Food
    • Fried Food
    • Steamed Food
    • Stir-fried Dishes
    • Soup
    • Grilled Food
    • Hot Pot
    • Liquid Dishes
    • Chicken Dishes
    • Dried and Fermented Dishes
    • Vegetarian Dishes
    • Porridge
  • Desserts
    • Cake
    • Ice Cream
    • Sweet Soup
    • Desserts
  • Beverages
    • Beverages
    • Juices
    • Milk Tea
    • Smoothies
  • Snacks
    • Rolls and Salads
    • Salad
    • Snacks
  • Tips & Holidays
    • Festivals & Holidays
    • Kitchen Tips
No Result
View All Result
TasteVN
No Result
View All Result
Home Cake

How to Make Soft Mooncakes in the Microwave Extremely Simple at Home

by TasteT
4 months ago
in Cake
473 20
0
how to make mooncake with simple steamed oven 13016
740
SHARES
3.5k
VIEWS
Share on FacebookShare on Twitter
  • Preparation

    35 minutes

  • Difficulty

    Easy

The moon season is approaching, make your own traditional cake for the Mid-Autumn Festival with these chewy cakes that not only have meaning but also ensure the delicious quality of the cake. Today, let’s join TasteVN cook a super simple chewy cake for the Mid-Autumn Festival using just a microwave!

Quick view hide
1 Mix the dough for the mooncake skin
2 Steaming the dough in the microwave
3 Mixing the filling mixture
4 Cook the filling using a microwave
5 Divide the dough and wrap the filling
6 Press the mold
7 The finished product
8 Some notes when making chewy mooncakes using a microwave
9 How to store chewy mooncakes

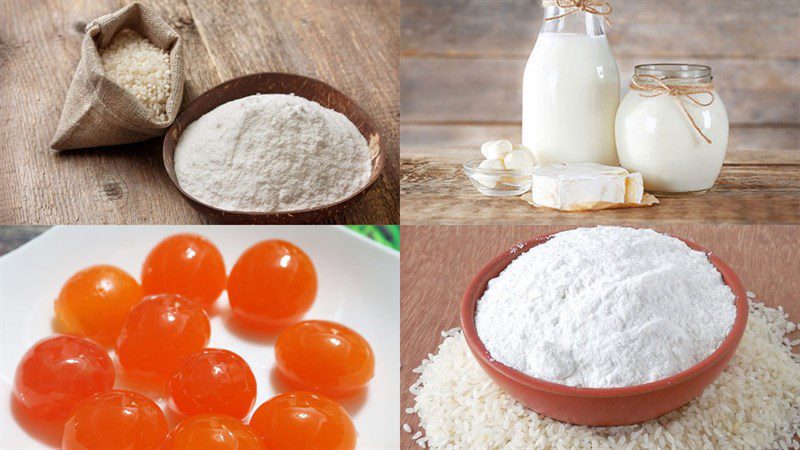
Ingredients for Chewy Mid-Autumn Cake using Microwave For about 12 cakes (50gr)

Glutinous Rice Flour 65 gr Rice Flour 35 gr Wheat Flour 20 gr Tapioca Flour 55 gr (can be replaced with wheat flour) Unsalted Butter 20 gr Unsweetened Fresh Milk 230 gr Whole Fresh Milk 70 gr Condensed Milk 30 gr Salted Egg Yolks 3 pieces Chicken Eggs 2 pieces Vegetable Oil 25 gr Sugar 95 gr

Image of Ingredients

Ingredients for chewy Mid-Autumn cake using microwave

Tools Required

Microwave, bowl, flat whisk, plastic wrap, 50gr mooncake mold,…

How to make Sticky Mooncake using a Microwave

  • Mix the dough for the mooncake skin

    Add all the following ingredients: 35g glutinous rice flour, 35g rice flour, 35g tapioca flour, 180g unsweetened fresh milk, 35g whole fresh milk, 25g vegetable oil, and 40g sugar into a bowl.

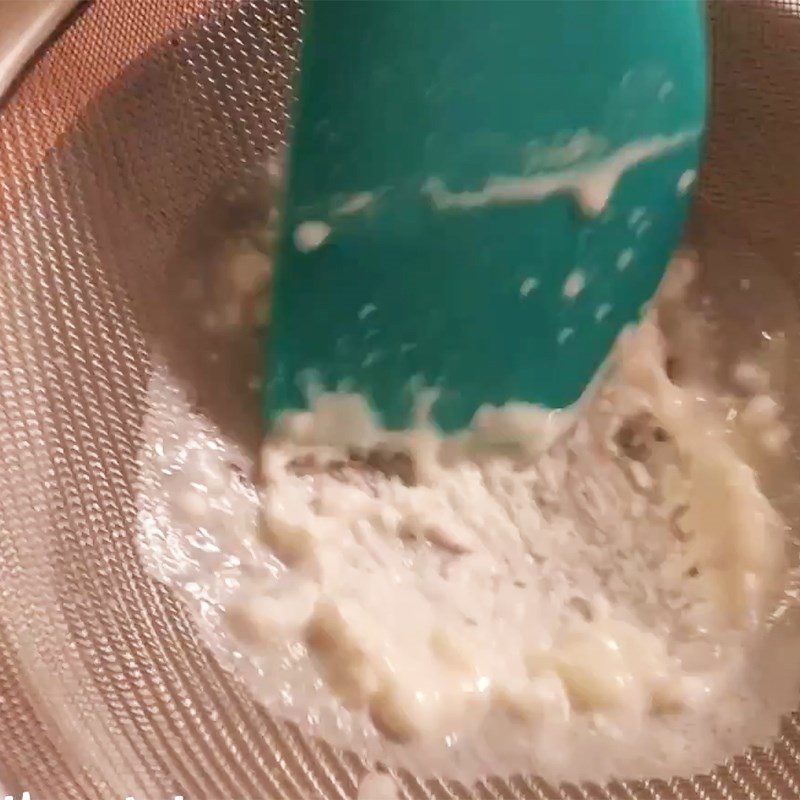
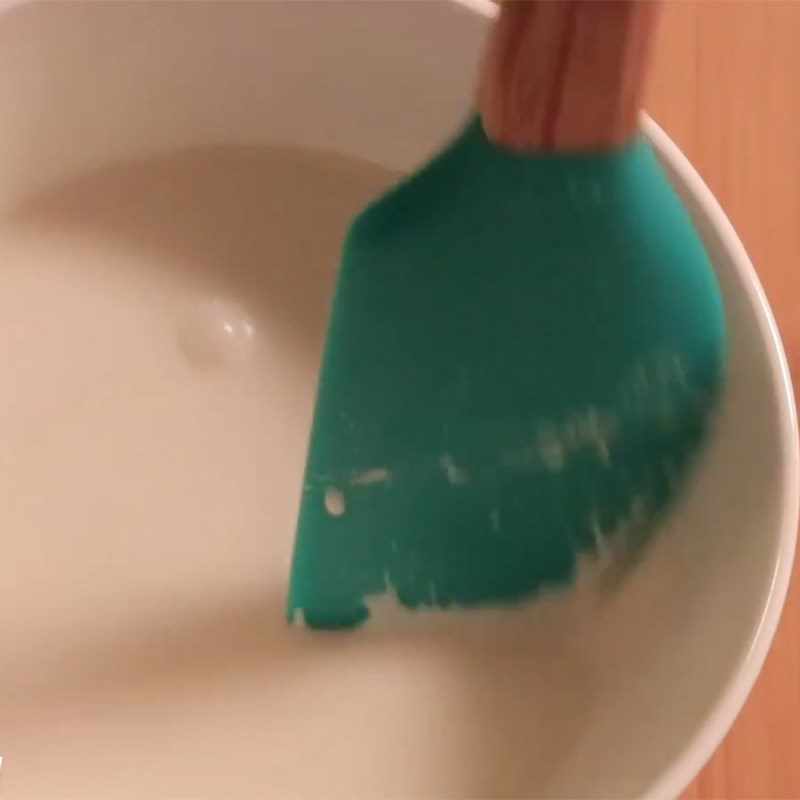
    Mix well so that the dough blends together; remember to stir thoroughly to avoid lumps. Next, sift the flour mixture again, using a flat whisk to stir and rub well to make the dough as smooth as possible.
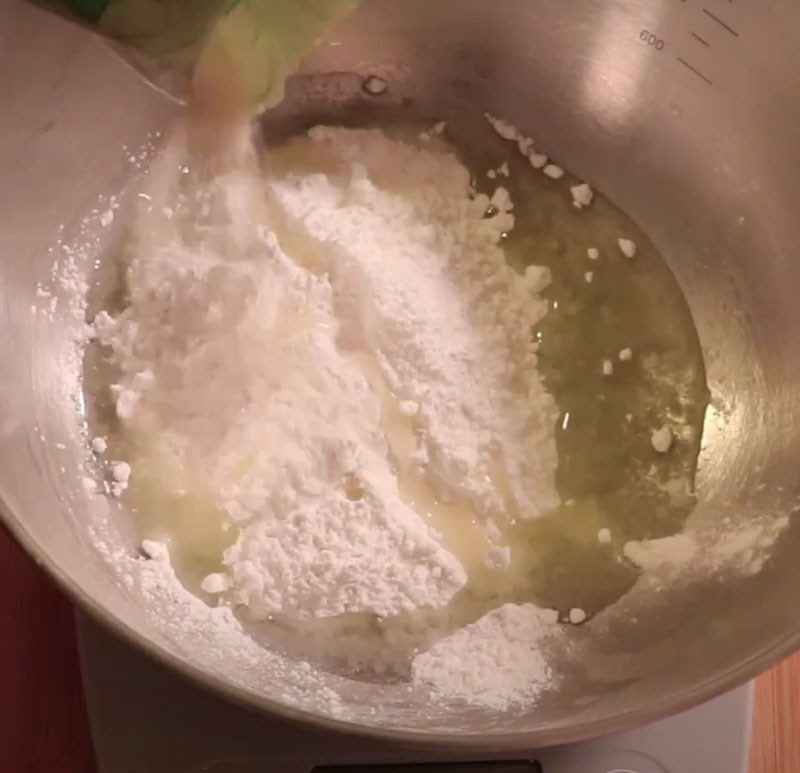
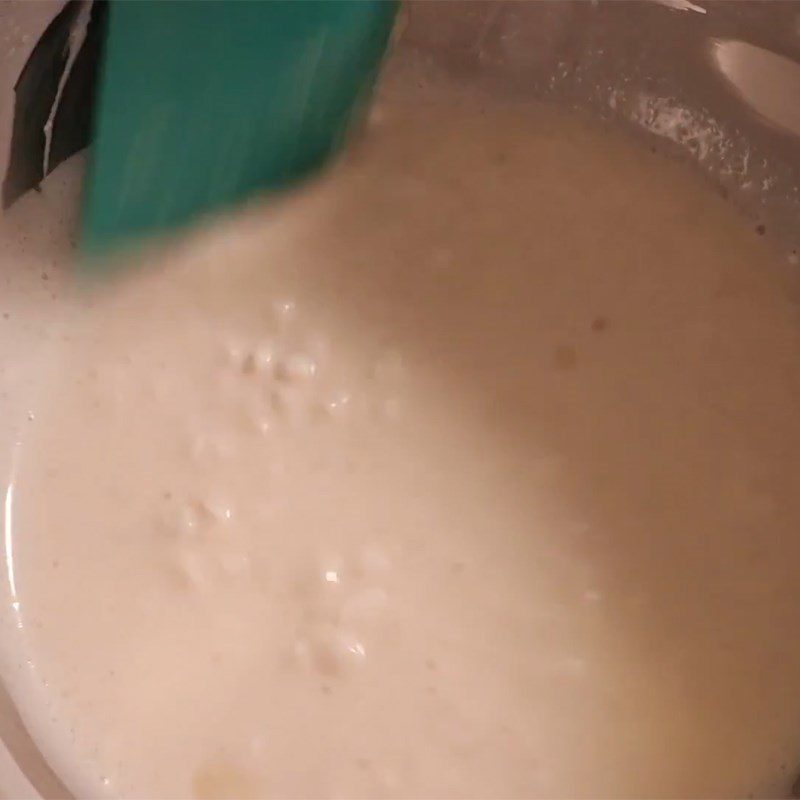
    Step 1 Mix the dough for the mooncake skin Sticky Mooncake using a Microwave
    Step 1 Mix the dough for the mooncake skin Sticky Mooncake using a Microwave
    Step 1 Mix the dough for the mooncake skin Sticky Mooncake using a Microwave
    Step 1 Mix the dough for the mooncake skin Sticky Mooncake using a Microwave
  • Steaming the dough in the microwave

    Put the sifted flour into a bowl, cover the bowl with plastic wrap, and use a toothpick to poke small holes for the dough to release steam.

    Place the bowl of dough in the microwave and heat on medium for about 1 minute.

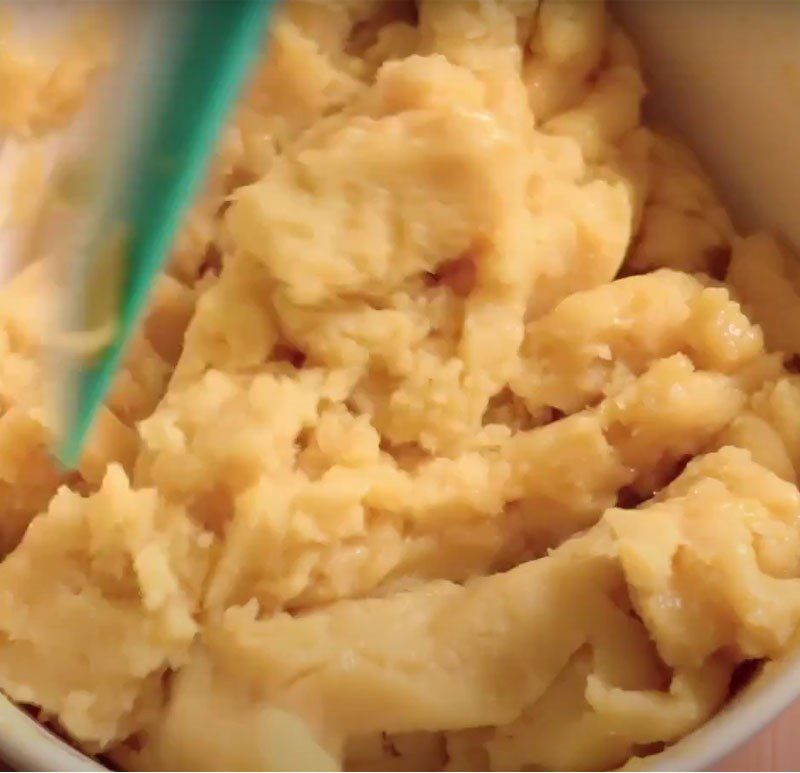
    After 1 minute, take the bowl of dough out and use a spatula to stir the dough evenly. Then, put the bowl back in the microwave and heat for another 30 seconds to 1 minute.

    After about 30 seconds, take the bowl of dough out and continue to mix the dough while it is still warm. When the dough becomes pliable and forms a mass, cover it tightly with plastic wrap and let it cool.
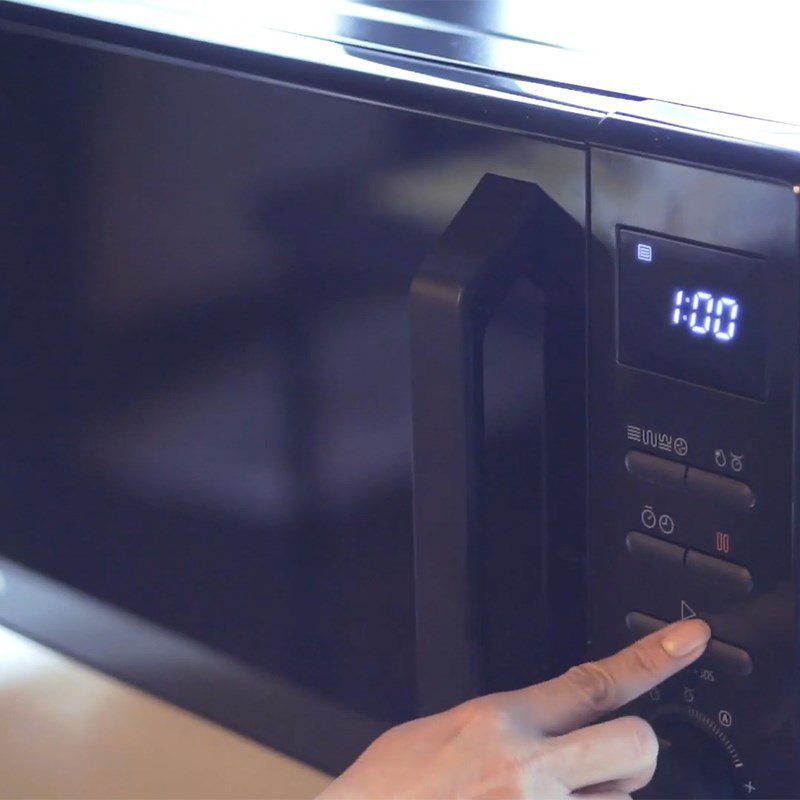
    Step 2 Steaming the dough in the microwave Mooncake dough steamed in the microwave
    Step 2 Steaming the dough in the microwave Mooncake dough steamed in the microwave
    Step 2 Steaming the dough in the microwave Mooncake dough steamed in the microwave
  • Mixing the filling mixture

    First, clean 3 salted egg yolks, then steam them in the microwave for about 2 minutes and transfer them to a large bowl.

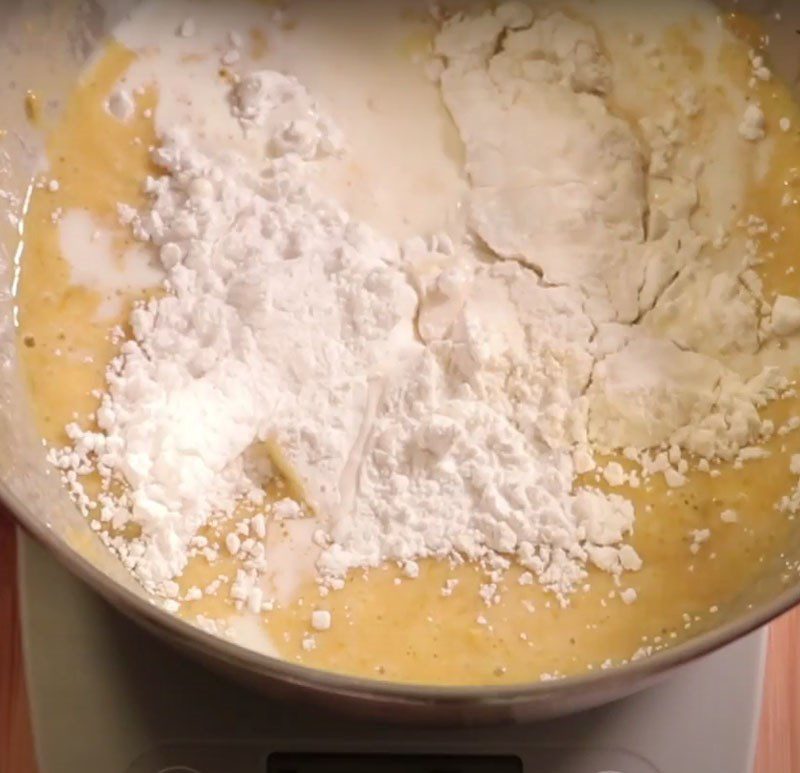
    Next, add to the bowl with the salted egg yolks 2 chicken eggs, 20g of flour, 20g of cornstarch, 45g of sugar, 20g of unsalted butter, 35g of whole milk, 50g of unsweetened milk, and 30g of condensed milk.

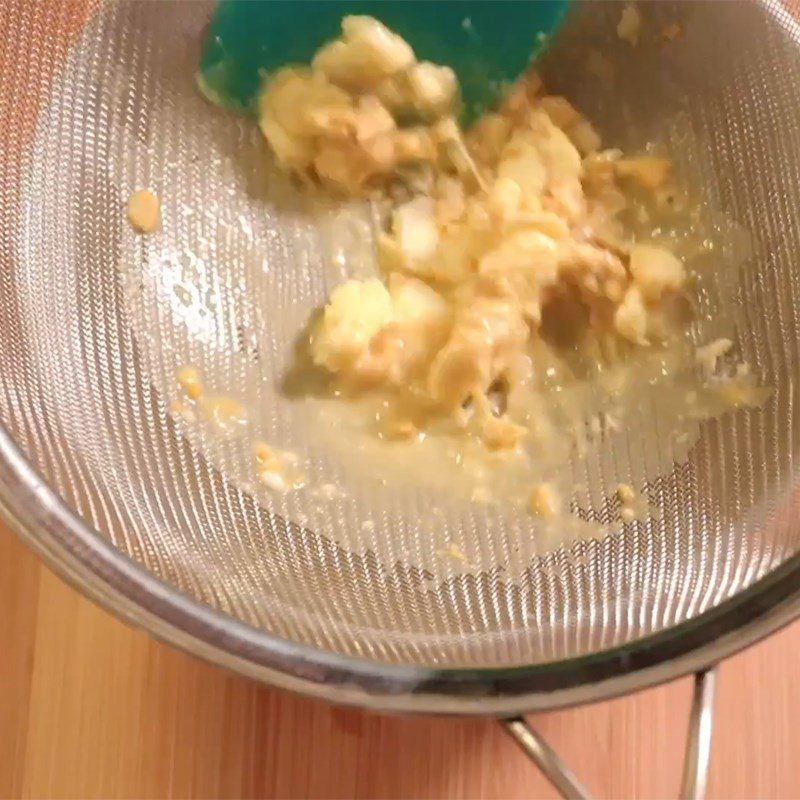
    Use a whisk to mix the mixture well, then sift the mixture 1 to 2 times to achieve a smooth and thick egg-milk mixture.

    Step 3 Mixing the filling mixture Mooncake dough steamed in the microwave
    Step 3 Mix the filling for the soft mooncake using a microwave
    Step 3 Mix the filling for the soft mooncake using a microwave
    Step 3 Mix the filling for the soft mooncake using a microwave
  • Cook the filling using a microwave

    Wrap the filling with plastic wrap, using a toothpick to poke a few holes for the steam to escape. Then place the bowl of filling in the microwave and heat for 30 seconds at medium power.

    After 30 seconds, take the bowl of filling out; at this point, the filling will be slightly thick and still quite runny. Use a whisk to mix the mixture evenly, then continue to microwave for another 30 seconds at medium power.

    After 30 seconds, the mixture will be quite thick and slightly clumpy; continue to use a flat whisk to stir well, then microwave for 30 seconds to 1 minute at medium power.

    After microwaving, the filling will be thick enough to be rolled into balls for the mooncake. Use a whisk to stir the filling until smooth, then cover the bowl tightly with plastic wrap and let it cool.
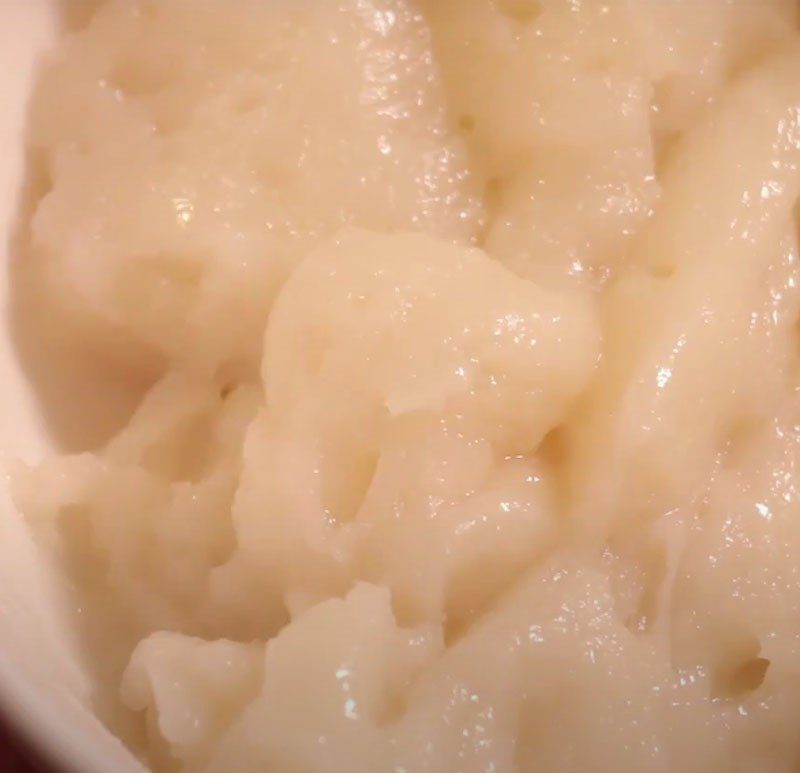
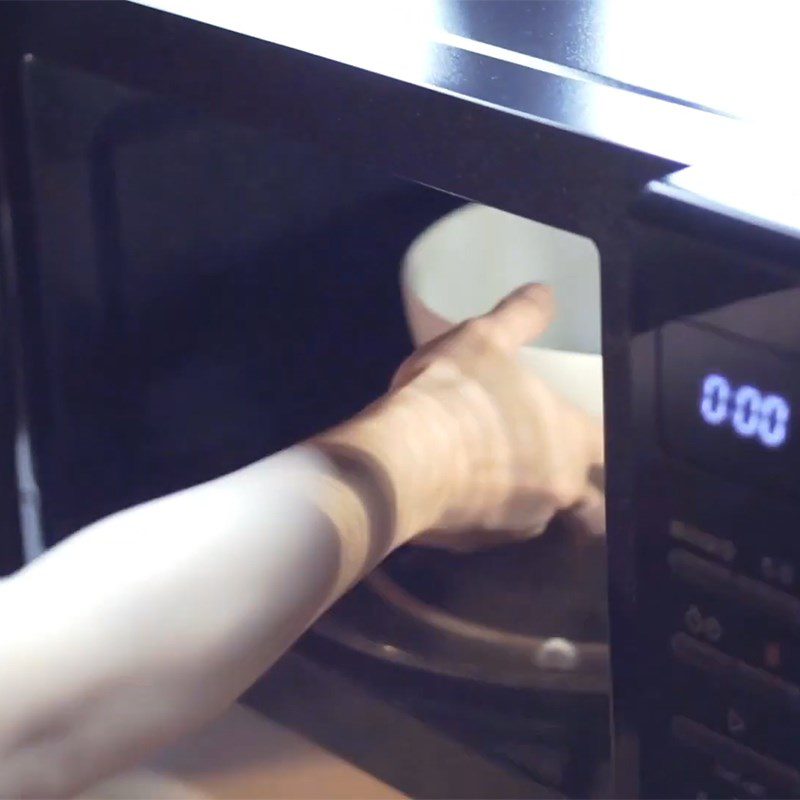
    Step 4 Cook the filling using a microwave for the soft mooncake
    Step 4 Cook the filling using a microwave for the soft mooncake
    Step 4 Cook the filling using a microwave for the soft mooncake
    Step 4 Cook the cake filling in the microwave for chewy mooncakes
  • Divide the dough and wrap the filling

    Take about 30g of glutinous rice flour and microwave it on medium heat for 30 seconds. If you already have cooked glutinous rice flour, you can skip this step. This flour will be reserved for dusting the dough of your chewy mooncake.

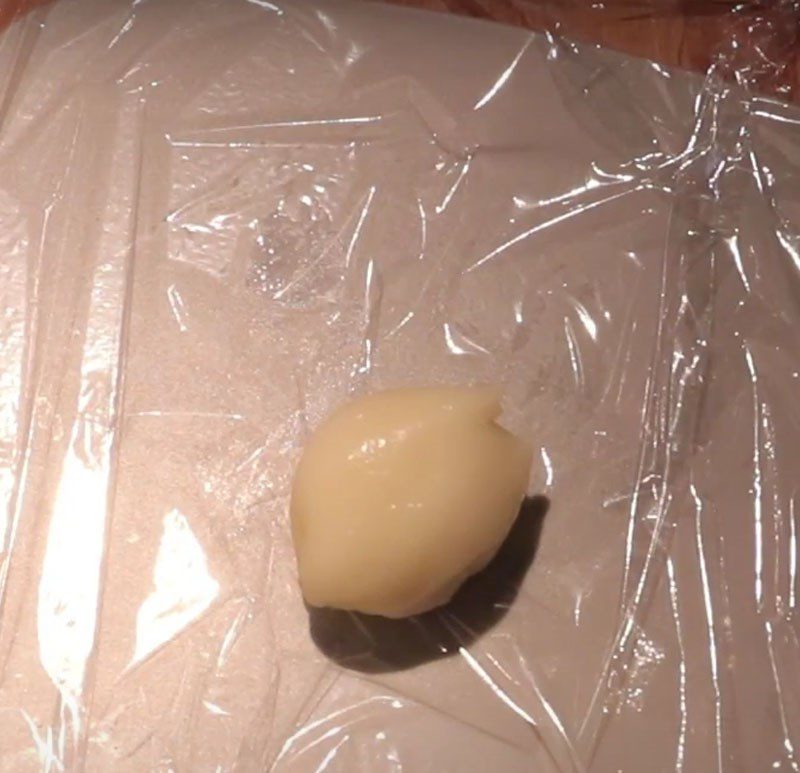
    After the cake dough and filling have cooled, use your hands to knead the dough until it becomes smooth and pliable. Then divide the filling and dough according to the ratio of 2 dough : 3 filling.

    Next, roll the filling and dough into balls. Use a rolling pin to roll the dough out into a circular shape. Note not to roll it too thin, as it may tear during filling or create uneven thickness.

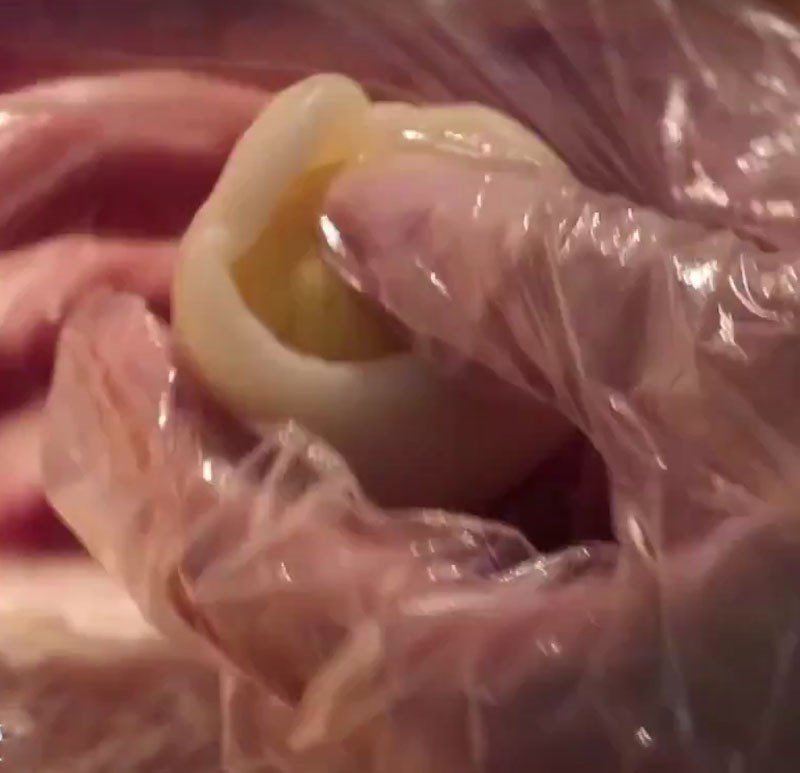
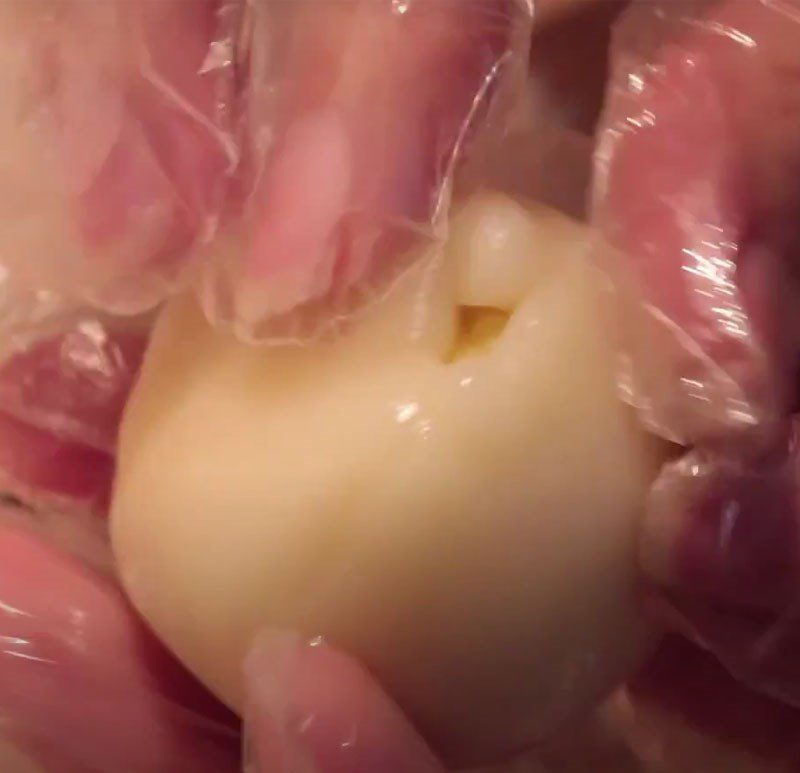
    Place the filling in the center of the dough, gather the dough around the filling, and roll it into a ball.

    Tip: If you want to make larger cakes, you can refer to the following ratios for each type of mold:
    • 50g mold: Divide with a ratio of 20g dough, 30g filling
    • 75g mold: Divide with a ratio of 30g dough, 45g filling.
    • 125g mold: Divide with a ratio of 50g dough, 75g filling.
    • 150g mold: Divide with a ratio of 60g dough, 90g filling
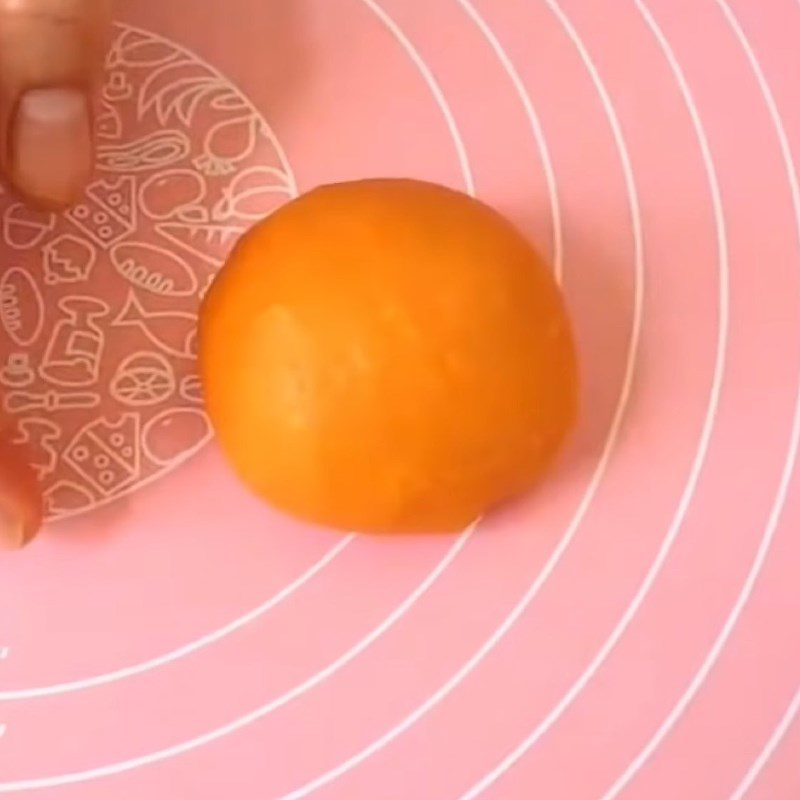
    Step 5 Divide the dough and wrap the filling for chewy mooncakes
    Step 5 Divide the dough and wrap the filling for chewy mooncakes
    Step 5 Divide the dough and wrap the filling for chewy mooncakes
    Step 5 Divide the dough and wrap the filling for the chewy mooncake using a microwave
  • Press the mold

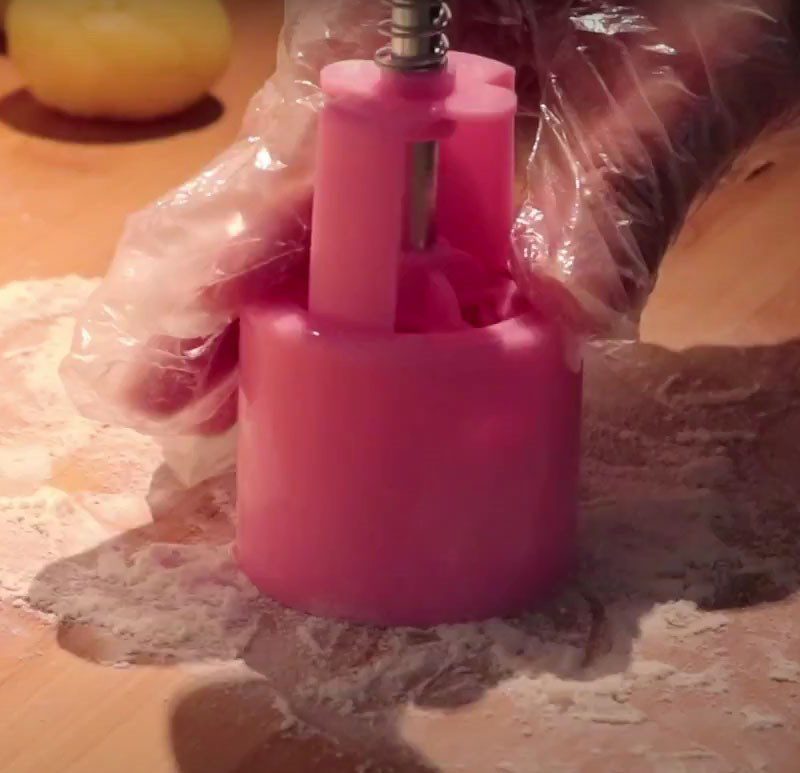
    Use a brush to coat a thin layer of oil on the cake mold, then place the cake into the mold. Your left hand should hold the mold tightly, while your right hand presses down firmly on the spring and then gently lifts the cake out of the mold. Do the same with the other pieces of dough.

    After molding the cakes, you can lightly dust the outside with toasted glutinous rice flour to prevent sticking. And there you have it, you have successfully made chewy mooncakes.

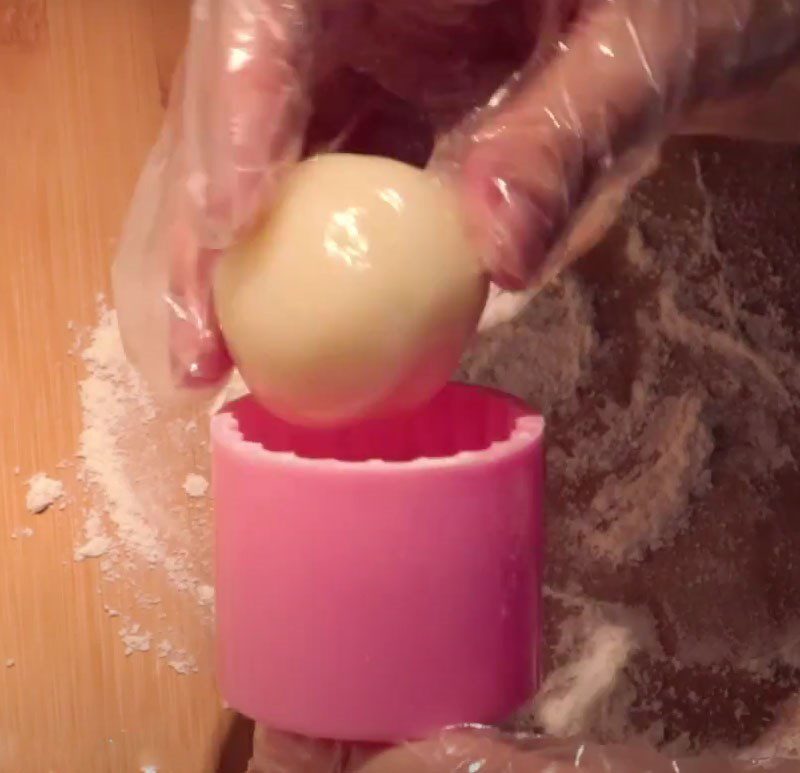
    Step 6 Press the mold for the chewy mooncake using a microwave
    Step 6 Press the mold for the chewy mooncake using a microwave
    Step 6 Press the mold for the chewy mooncake using a microwave
    Step 6 Press the mold for the chewy mooncake using a microwave
  • The finished product

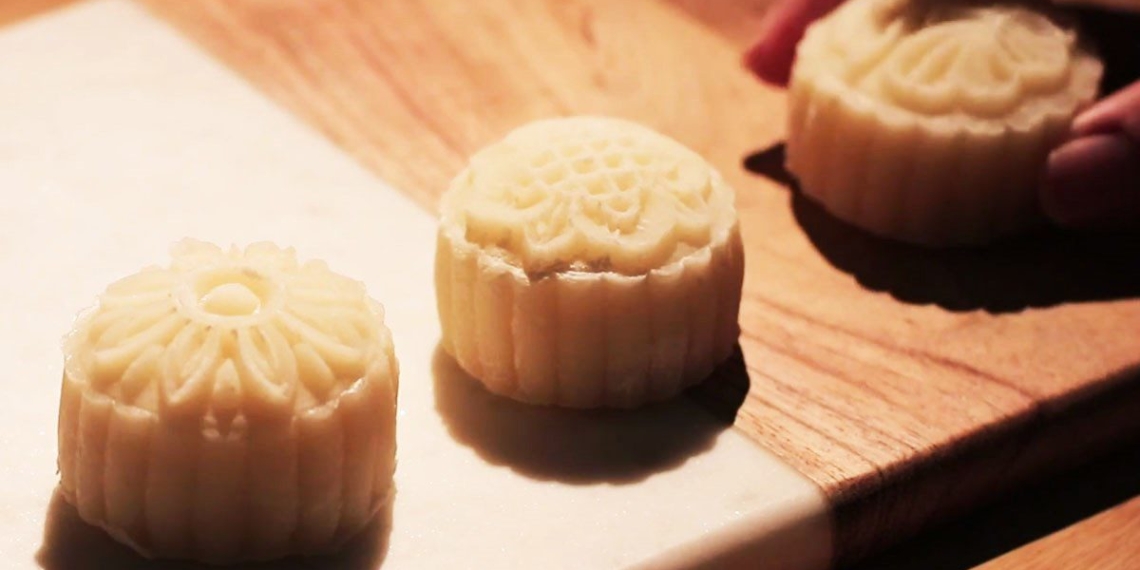
    With this method of making chewy mooncakes using a microwave, you can easily prepare them while ensuring they turn out delicious.

    The cake has a soft chewy outer layer with a rich and fragrant egg and milk filling. This chewy mooncake, if made to gift to family and relatives for the upcoming Mid-Autumn Festival, would be even more wonderful.
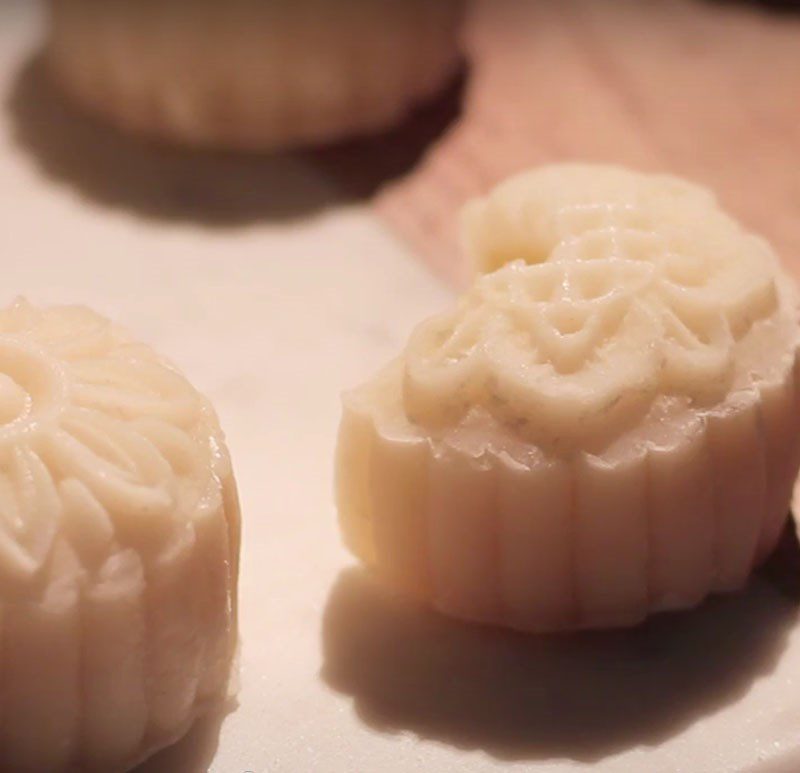
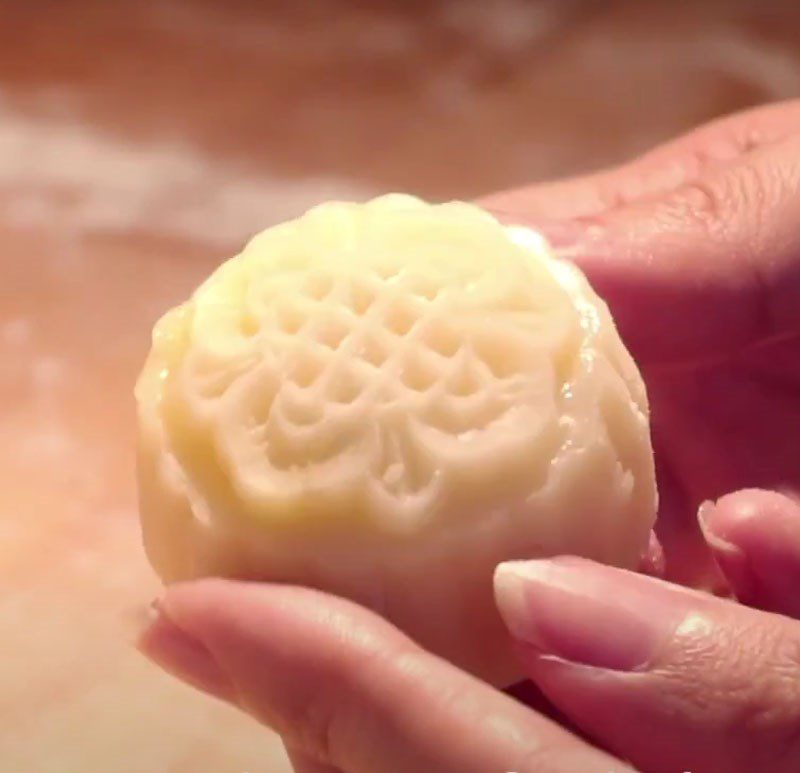
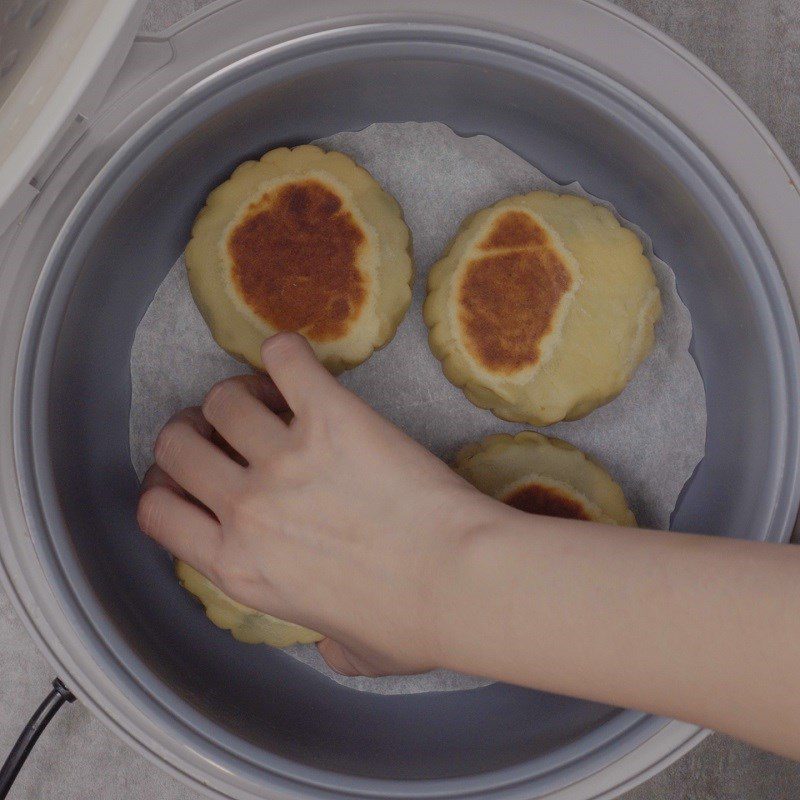
    Step 7 The finished product of the chewy mooncake using a microwave
    Step 7 Finished product of chewy mooncake made with microwave

Some notes when making chewy mooncakes using a microwave

  • The wheat starch used in the recipe will help make your cake softer and clearer. If you can’t find wheat starch, you can replace it with potato starch or all-purpose flour. Alternatively, you can substitute the amount of glutinous rice flour with wheat starch for the recipe.
  • You can use rich cream or Whipping Cream to replace the full-fat fresh milk. This ingredient will help increase the richness of the cake. However, if you can’t find it, you can use fresh milk or even replace it with plain water.
  • If you want the final product to be chewier, you can also adjust the ratio of glutinous rice flour and rice flour to 3 parts glutinous rice flour and 2 parts rice flour.

How to store chewy mooncakes

  • After making the cake, let it cool completely, then wrap it tightly with plastic wrap, store it at room temperature, and consume it within 2-3 days.
  • You can also put the cake in the refrigerator to preserve it and use it within 3-5 days. When eating, you can microwave it for about 30 seconds to warm it up, making the cake dough chewy and soft again.

See more:

  • How to make chewy cold mooncakes with delicious five-color mung bean filling
  • How to make chewy cold mooncakes with delicious peach flavor, unique and simple
  • How to make chewy cold mooncakes with Singapore durian filling

Wishing you success in implementing the how to make chewy mooncake using a microwave that TasteVN has introduced to invite the whole family during the upcoming Mid-Autumn Festival!
Cooking time: 15 minutes
Level: Medium
Tags: how to make mooncakehow to make mooncake with microwavehow to make sticky mooncake with microwavemooncake with microwavesticky mooncake with microwave
Previous Post

How to Make Mixed Mooncake Using a Simple Rice Cooker at Home

Next Post

How to Cook Perfect Mooncake Syrup: Beautiful Color, Unbeatable

TasteT

TasteT

I am a food writer specializing in Vietnamese cuisine, sharing traditional recipes, cooking tips, and the culture behind every dish. My goal is to bring the authentic flavors of Vietnam to your kitchen.

Related Posts

How to Make Soft, Sweet, Delicious Vegetarian Pia Cakes at Home
Cake

How to Make Soft, Sweet, Delicious Vegetarian Pia Cakes at Home

How to Make Delicious and Simple Green Bean Mooncakes Using a Rice Cooker
Cake

How to Make Delicious and Simple Green Bean Mooncakes Using a Rice Cooker

How to Make Mooncakes with Durian Coconut Filling Using an Air Fryer
Festivals & Holidays

How to Make Mooncakes with Durian Coconut Filling Using an Air Fryer

3 Ways to Make Sweet, Fragrant Chocolate Mooncakes, Simple and Unusual for the Whole Family
Festivals & Holidays

3 Ways to Make Sweet, Fragrant Chocolate Mooncakes, Simple and Unusual for the Whole Family

How to make chewy and fragrant mochi mooncakes that everyone loves
Festivals & Holidays

How to make chewy and fragrant mochi mooncakes that everyone loves

How to Make Mooncake with Salted Egg Yolk and Golden Filling Using an Air Fryer
Festivals & Holidays

How to Make Mooncake with Salted Egg Yolk and Golden Filling Using an Air Fryer

Next Post
How to Cook Perfect Mooncake Syrup: Beautiful Color, Unbeatable

How to Cook Perfect Mooncake Syrup: Beautiful Color, Unbeatable

Leave a Reply Cancel reply

Your email address will not be published. Required fields are marked *

Navigate

  • About
  • Privacy Policy
  • Contact

Recent Recipes

Simple, Delicious, and Unique Rambutan Chicken Recipe

Simple, Delicious, and Unique Rambutan Chicken Recipe

2 Ways to Make Delicious Steamed Ribs with Winter Melon and Flavorful Steamed Ribs with Soy Sauce for Family Meals

2 Ways to Make Delicious Steamed Ribs with Winter Melon and Flavorful Steamed Ribs with Soy Sauce for Family Meals

Browse by Category

  • Beef Dishes
  • Beverages
  • Braised Food
  • Cake
  • Chicken Dishes
  • Desserts
  • Dried and Fermented Dishes
  • Festivals & Holidays
  • Fried Food
  • Grilled Food
  • Hot Pot
  • Ice Cream
  • Juices
  • Kitchen Tips
  • Liquid Dishes
  • Milk Tea
  • Porridge
  • Rolls and Salads
  • Salad
  • Smoothies
  • Snacks
  • Soup
  • Steamed Food
  • Stir-fried Dishes
  • Sweet Soup
  • Vegetarian Dishes

Browse by Ingredients

beef beef stew braised fish cake dish dessert fried dish grilled dishes how to cook porridge how to make cake how to make ice cream into the kitchen mixed salad dish noodle soup snacks soup dish sponge cake steamed dish stir-fried dish stir-fried noodles vegetarian dish

© 2024 TasteVN - The ultimate Vietnam food destination for cooking tips, recipes, and more.

Welcome Back!

Login to your account below

Forgotten Password?

Retrieve your password

Please enter your username or email address to reset your password.

Log In
No Result
View All Result
  • Home
  • Main Dishes
    • Beef Dishes
    • Braised Food
    • Fried Food
    • Steamed Food
    • Stir-fried Dishes
    • Soup
    • Grilled Food
    • Hot Pot
    • Liquid Dishes
    • Chicken Dishes
    • Dried and Fermented Dishes
    • Vegetarian Dishes
    • Porridge
  • Desserts
    • Cake
    • Ice Cream
    • Sweet Soup
    • Desserts
  • Beverages
    • Beverages
    • Juices
    • Milk Tea
    • Smoothies
  • Snacks
    • Rolls and Salads
    • Salad
    • Snacks
  • Tips & Holidays
    • Festivals & Holidays
    • Kitchen Tips

© 2024 TasteVN - The ultimate Vietnam food destination for cooking tips, recipes, and more.