-
Preparation
1 hour
-
Difficulty
Easy
Ice cream is a familiar dish for hot summer days, and red bean coconut milk ice cream is one of the great choices. The creamy aroma of milk combined with the nutty flavor of the beans creates a wonderful ice cream. Today, let’s join TasteVN into the kitchen to prepare this delicious dessert.
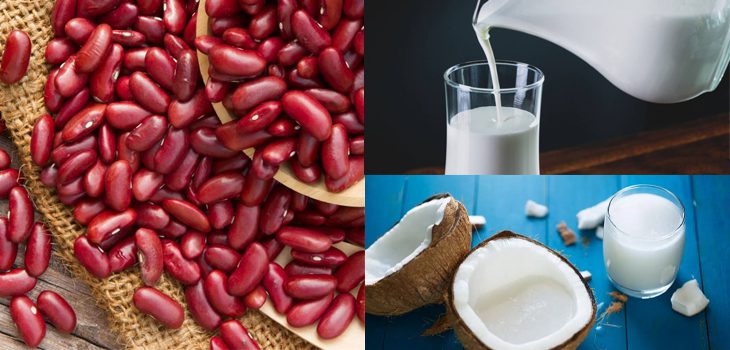
Ingredients for Red Bean Coconut Milk Ice Cream For 15 ice cream sticks
Red beans 250 gr Granulated sugar 150 gr Coconut milk 250 ml Fresh milk 300 ml Condensed milk 100 ml Tapioca starch 1/2 tablespoon Whipping cream 250 gr
How to choose good quality red beans
- Choose beans that are bright red, free from pests, and have no signs of mold or unpleasant odors.
- Choose beans of moderate size so that they achieve the right softness and delicious nutty flavor after cooking.
- Avoid choosing beans that are too large, as these tend to taste worse, have fewer nutrients than smaller beans, and can especially create a slight bitterness when eaten.
Note: If you do not have Whipping cream, you can substitute with Rich lùn (low-fat vegetable cream) or increase the amount of coconut milk.
Tools needed
How to make Red Bean Coconut Milk Ice Cream
-
Cook the beans
After purchasing, wash the red beans thoroughly and soak them for about 4 – 6 hours until they expand, then cook.
Put the soaked red beans into a pot and add enough water to cover the beans, adding 1/2 teaspoon of salt to enhance the flavor.
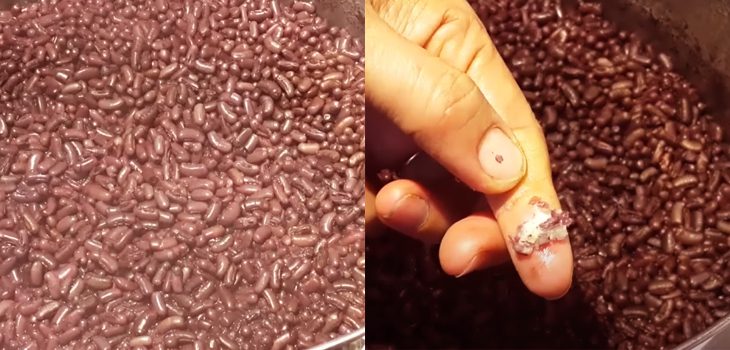
Cook the beans over high heat until boiling, then reduce to low heat, letting it simmer for about 30 – 45 minutes until the beans are soft. Add 150g of sugar, stir well, and cook for another 5 minutes before turning off the heat.
Note:
- If the beans are not soaked, when making ice cream and putting it in the freezer, the beans may harden and become chewy, making it less enjoyable. You can refer to the benefits of soaking beans shared by TasteVN.
- To check if the beans are cooked, you can squeeze a few beans with your hand; if they are soft and mushy, they are done, and you can turn off the heat.
-
Cook the coconut milk and milk mixture
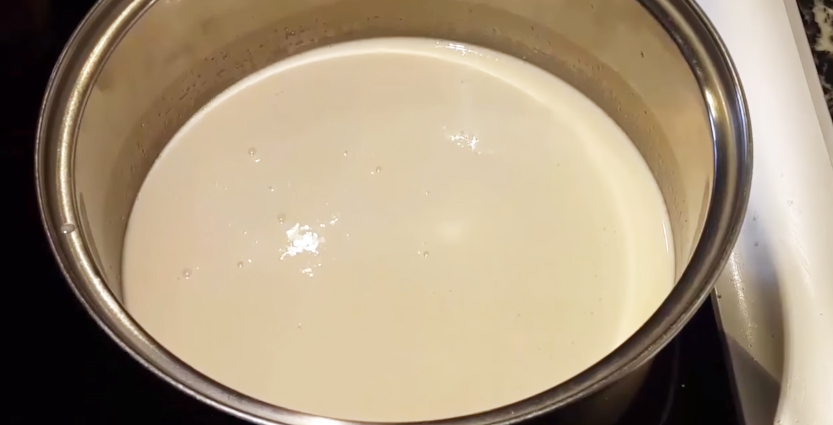
Put 200ml of coconut milk along with 300ml of fresh milk and 100ml of condensed milk with 1/2 tablespoon of cornstarch into a pot and stir well until the cornstarch dissolves and the ingredients are mixed together.
Place on the stove and cook over medium heat while continuously stirring until the mixture simmers, then turn off the heat and add 1 vanilla pod and stir well.
-
Blend the beans with the coconut milk mixture
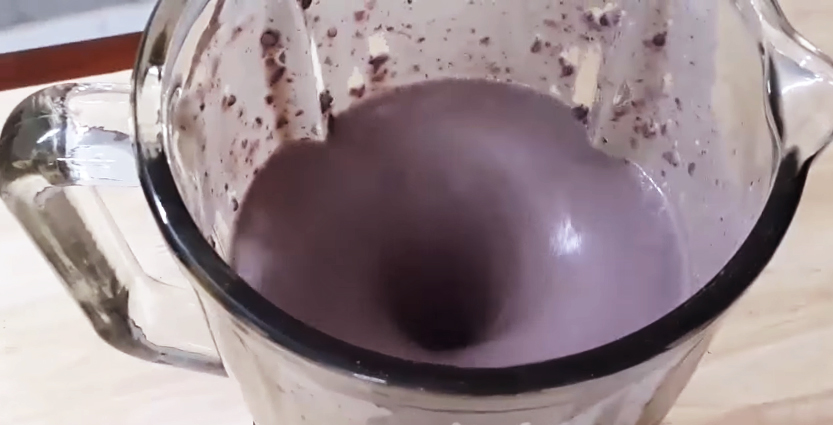
Add 2/3 of the red beans into the blender along with 2/3 of the coconut milk mixture and start blending until smooth.
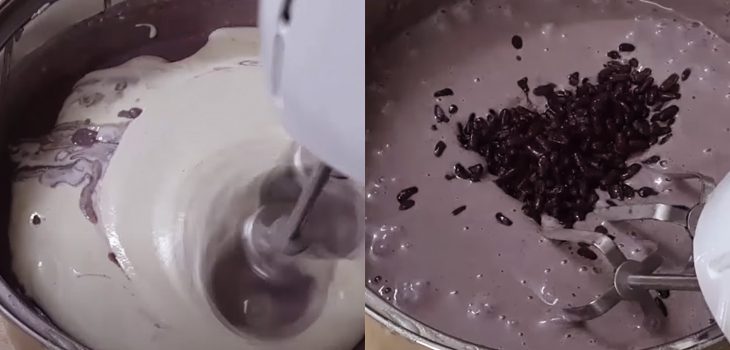
Pour the blended mixture into the remaining coconut milk, add 250g of whipping cream, and use a mixer to beat all the ingredients until well combined.
Finally, add the remaining 1/2 of the red beans, leaving a little for decoration, and mix the mixture well.
-
Make ice cream
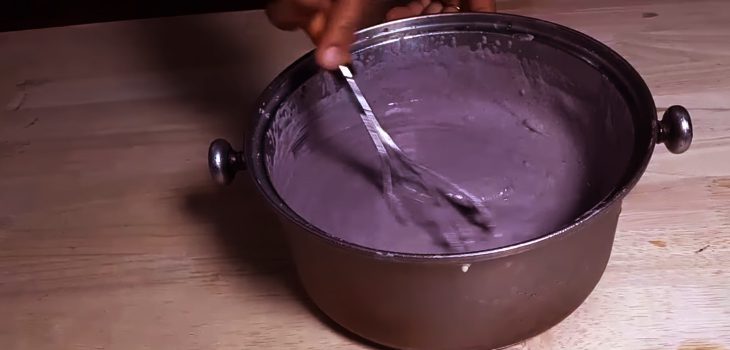
Put the blended mixture in the refrigerator for 2 hours, then take it out, stir well, and continue to put it in the refrigerator for another 2 hours. After 2 hours, repeat the same steps, doing this about 2 to 4 times is sufficient; the more you stir the ice cream, the fluffier it will become.
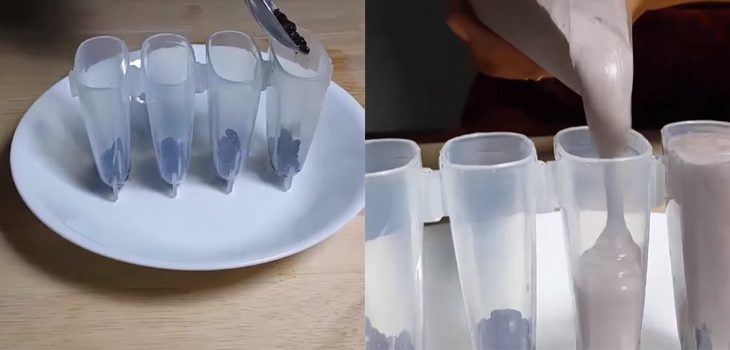
After the last stirring, prepare the ice cream mold, add the reserved beans, then pour the ice cream mixture in, leaving about 2 to 3 cm of space at the top of the mold. Close the lid and put it in the freezer for about 4 to 6 hours before it can be used.
Note: You can use a box or paper cup, plastic cup to freeze the ice cream.
-
Final product
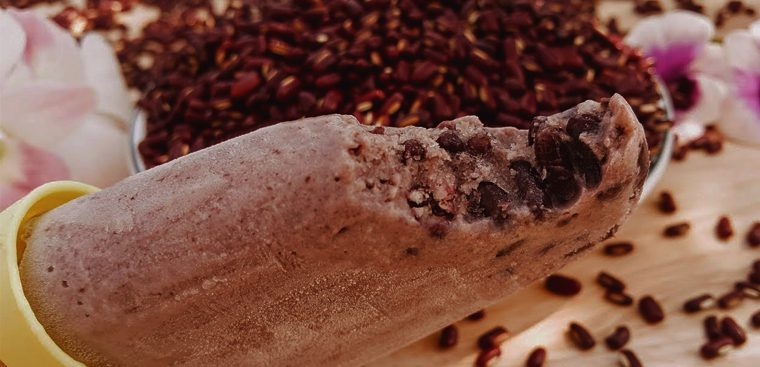
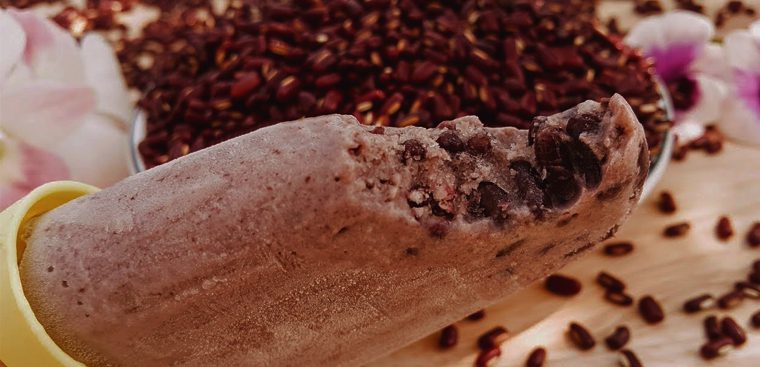
Red bean coconut milk ice cream is appealing with beans decorated on the outside; when you bite into it, you will feel the creamy aroma of coconut milk combined with the rich flavor of the beans, creating a perfect overall experience. This ice cream is extremely suitable for eating in the summer; it is refreshing, delicious, and nutritious.
See more:
Red bean and coconut milk ice cream is a delicious, creamy treat that’s perfect for cooling off in the hot summer weather. With just a few simple steps, you can make ice pops for your family to enjoy; why not give it a try? Wishing you success.
*Refer to the images and recipe from the YouTube channel Mom’s Best Food.
