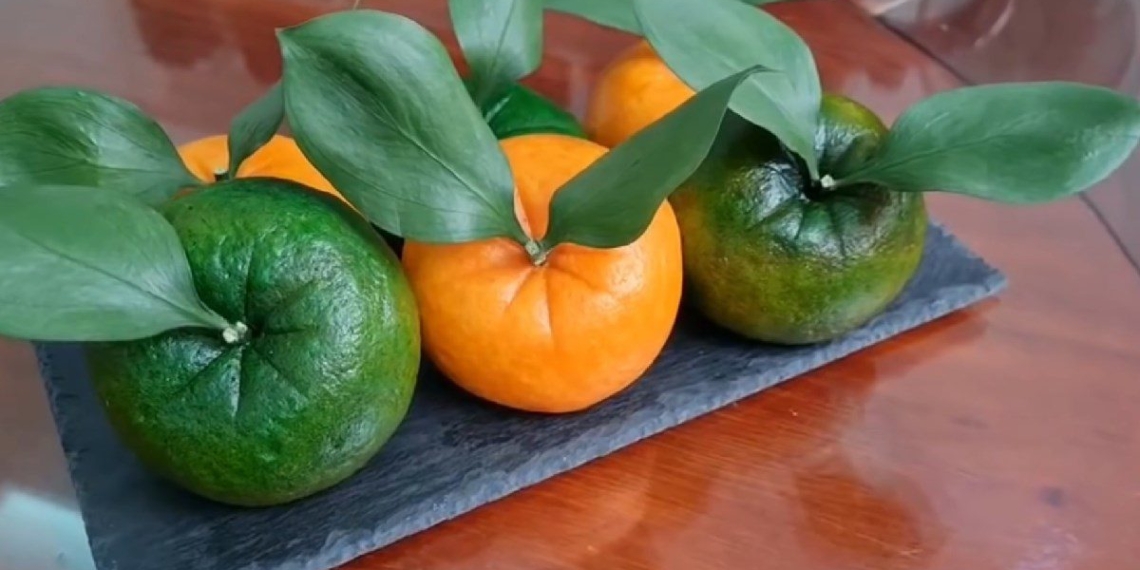
To create something special and refresh the familiar bao bun that you usually eat, today TasteVN will share with you 2 ways to make orange-flavored bao buns and tangerine-flavored bao buns that are unique, eye-catching, and incredibly soft and delicious. Let’s head to the kitchen and make these 2 dishes right away!
1. Orange-flavored bao bun
-
Preparation
40 minutes
-
Cooking
30 minutes
-
Difficulty
Medium
Ingredients for Orange-flavored Bao Buns For 5 pieces
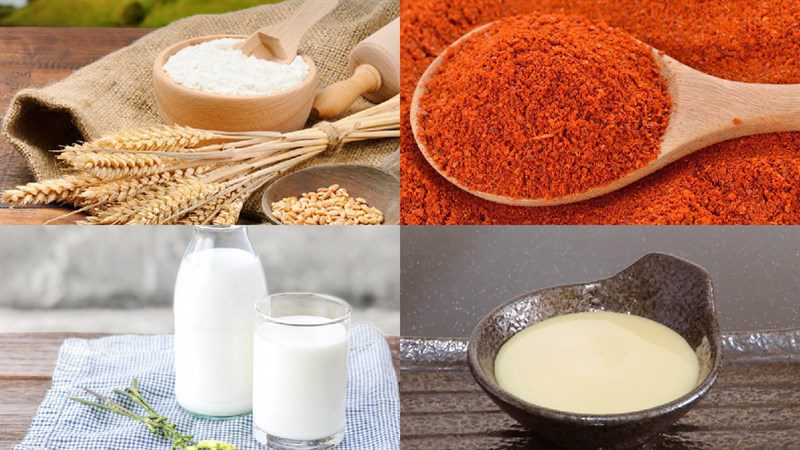
All-purpose flour 170 gr (or flour type 8) Whole milk powder 25 gr (or baby milk powder) Red gac powder 5 gr (or pumpkin powder) Instant yeast 0.5 gr Chicken eggs 3 eggs (1 whole/ 2 separated for yolk) Condensed milk 65 gr Unsweetened fresh milk 140 gr Unsalted butter 40 gr Cooking oil 12 gr Sugar 23 gr Vanilla powder 1 teaspoon Food coloring orange A little Food coloring green A little Salt 1/4 teaspoon
Where to buy Hoa Ngoc Lan flour?
- Hoa Ngoc Lan flour is a type of flour that is commonly chosen to make bao dough, and you can find it at stores selling baking ingredients, at markets, or in supermarkets.
- If you cannot find Hoa Ngoc Lan flour, you can substitute it with flour number 8. If using flour number 8, the amount of water you need to mix with the flour is only 75g!
Where to buy red gac flour?
- You can find red gac flour at markets, grocery stores, stores selling baking ingredients, or at supermarkets near your home.
- For convenience, you can order red gac flour from popular online shopping websites.
- Additionally, you can also substitute red gac flour with pumpkin flour. Besides that, you can use fresh gac, filter the flesh and then grind it with water, and strain it to get the red juice.
Tools needed
Steamer, strainer, spoon, rolling pin, toothbrush or wooden skewers (for shaping),…
How to make Orange Bun
-
Make milk egg filling
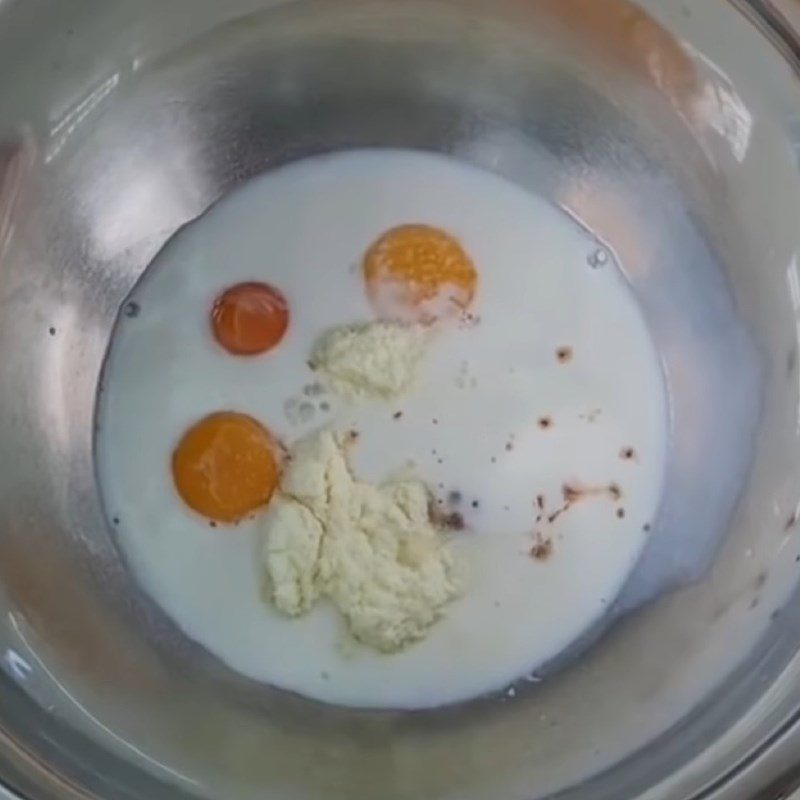
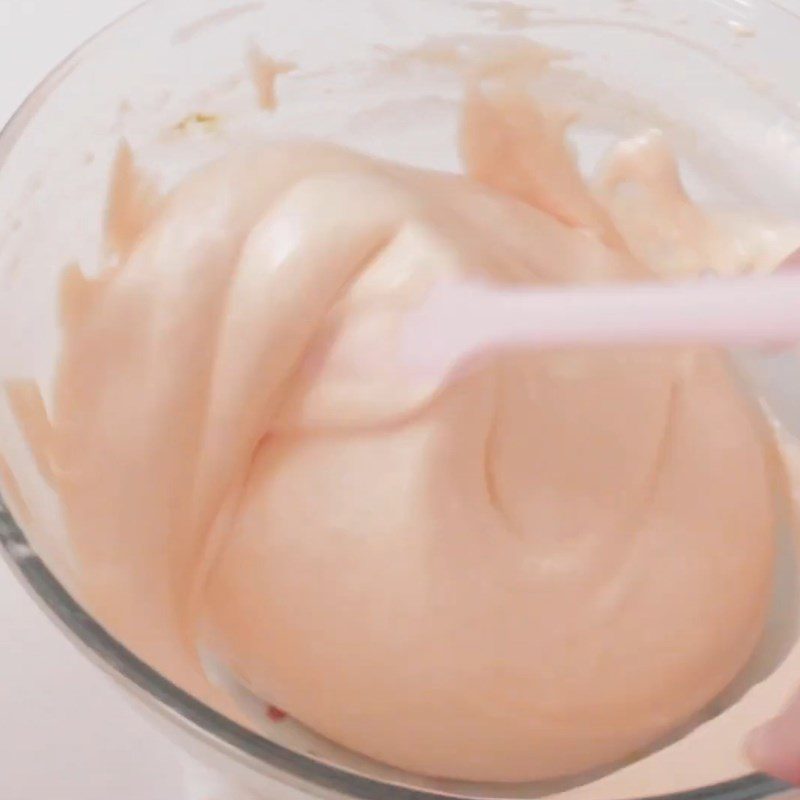
Put 1 egg, 2 egg yolks, 140g of unsweetened fresh milk, 10g of whole milk powder, 65g of condensed milk, 1 teaspoon of vanilla powder, and 20g of Hoa Ngoc Lan flour into a bowl, stir well to combine the ingredients and prevent clumping.
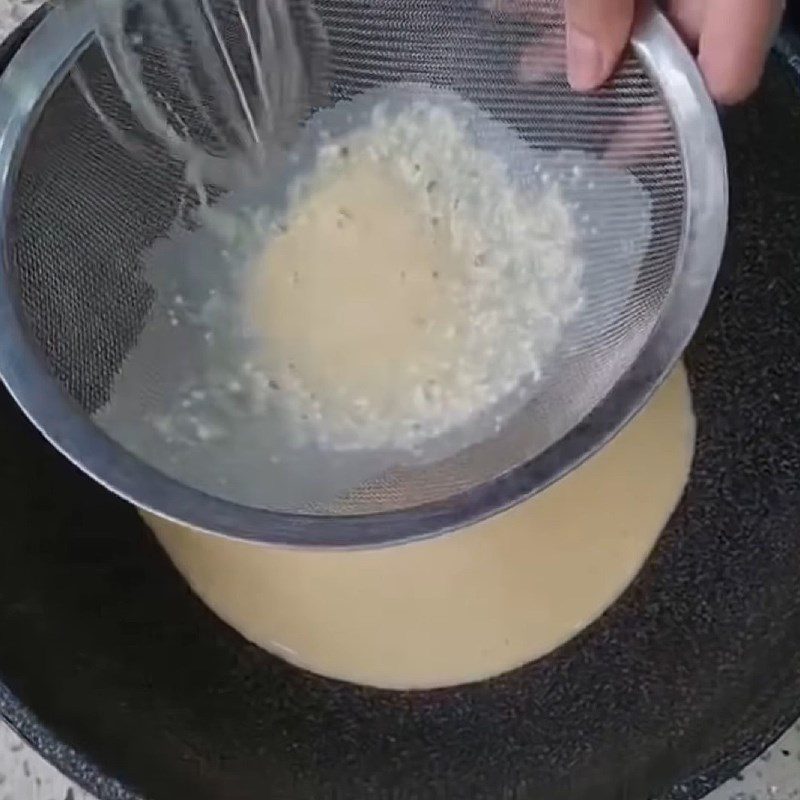
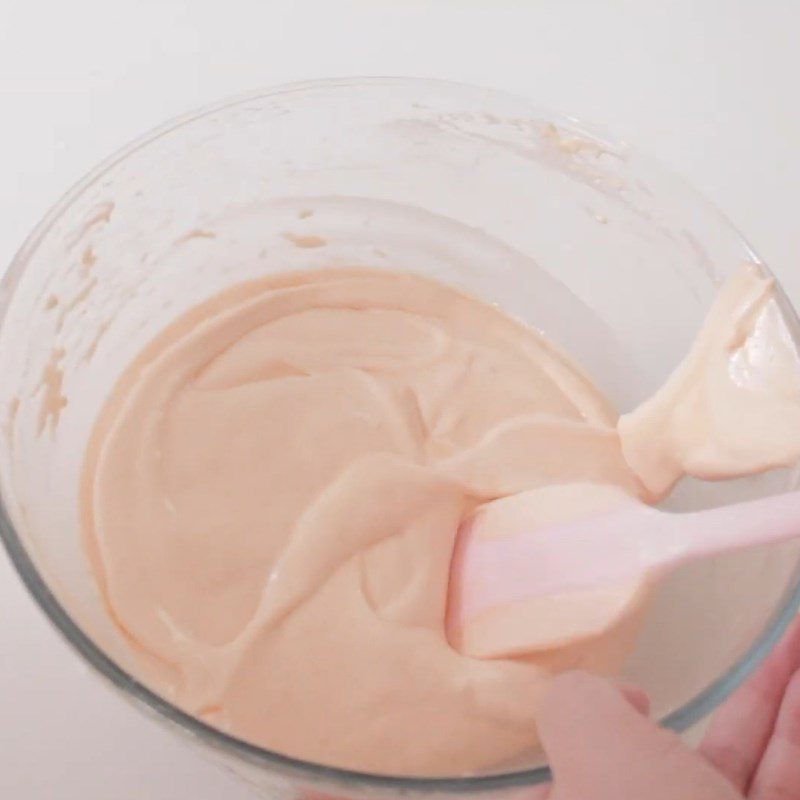
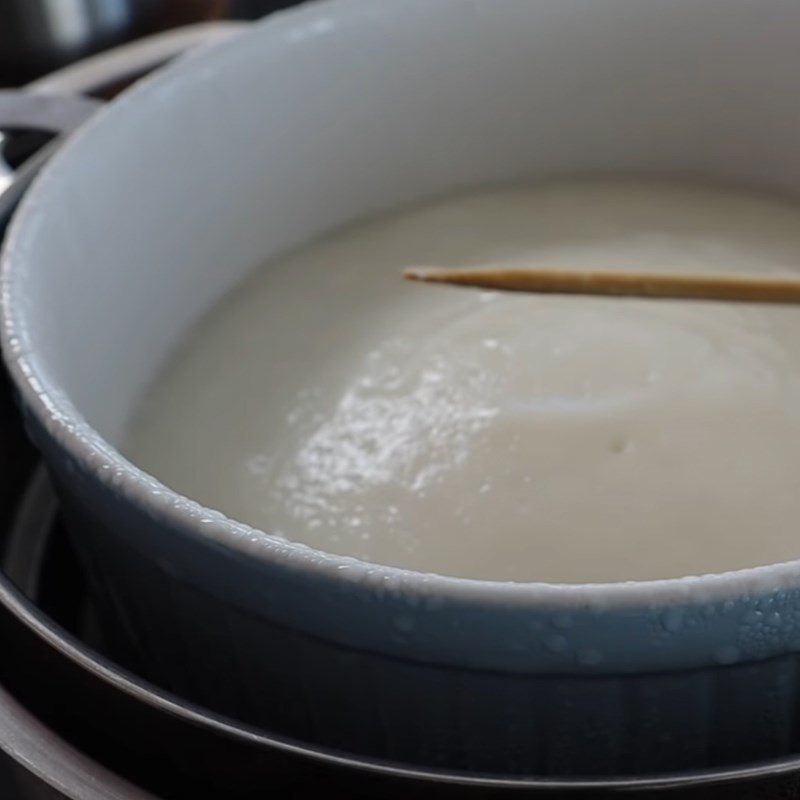
Prepare a sieve, and strain the mixture through the sieve to make it smoother, then pour it into a pan and cook on low heat, stirring continuously to prevent burning.
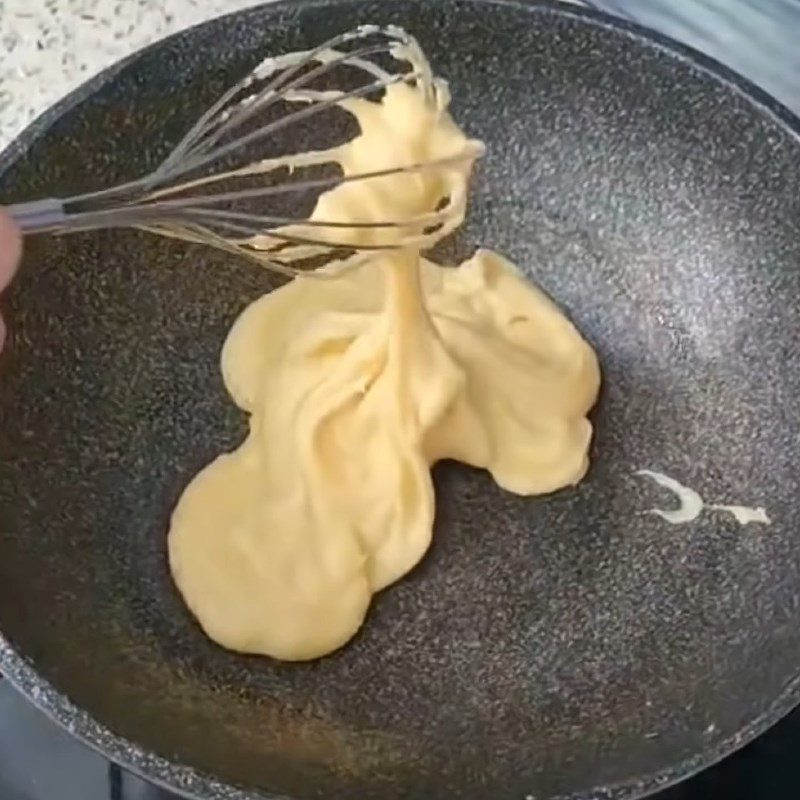
When the mixture thickens, add 40g of unsalted butter, stirring well to mix everything until the filling becomes sticky, smooth, thick, and no longer sticks to the bottom of the pan.
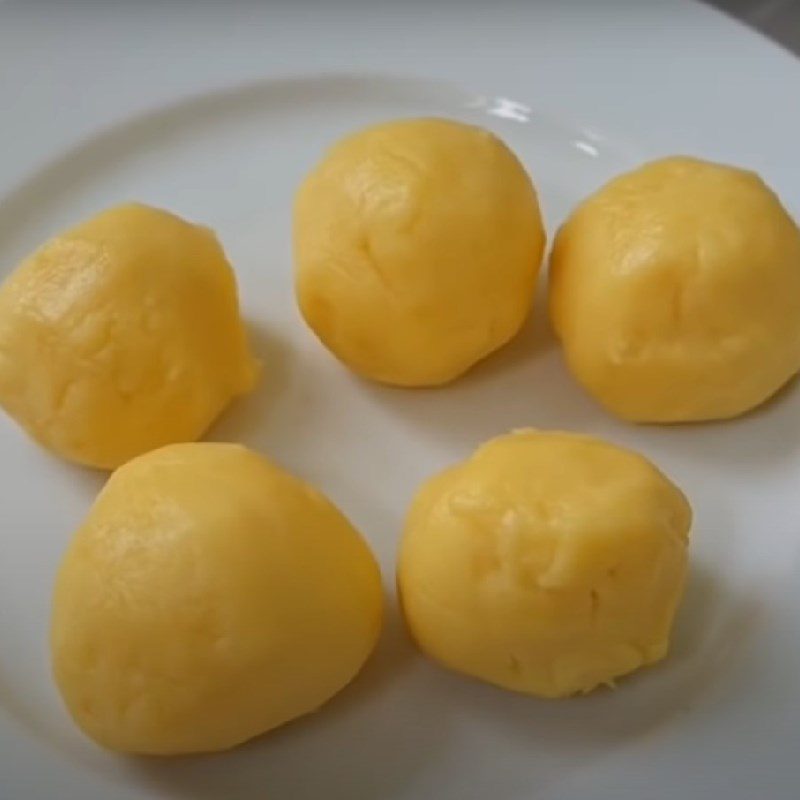
Wait for the filling to cool completely, divide it into 10 equal parts, roll into balls, and place them in the refrigerator.
-
Mixing red gac powder
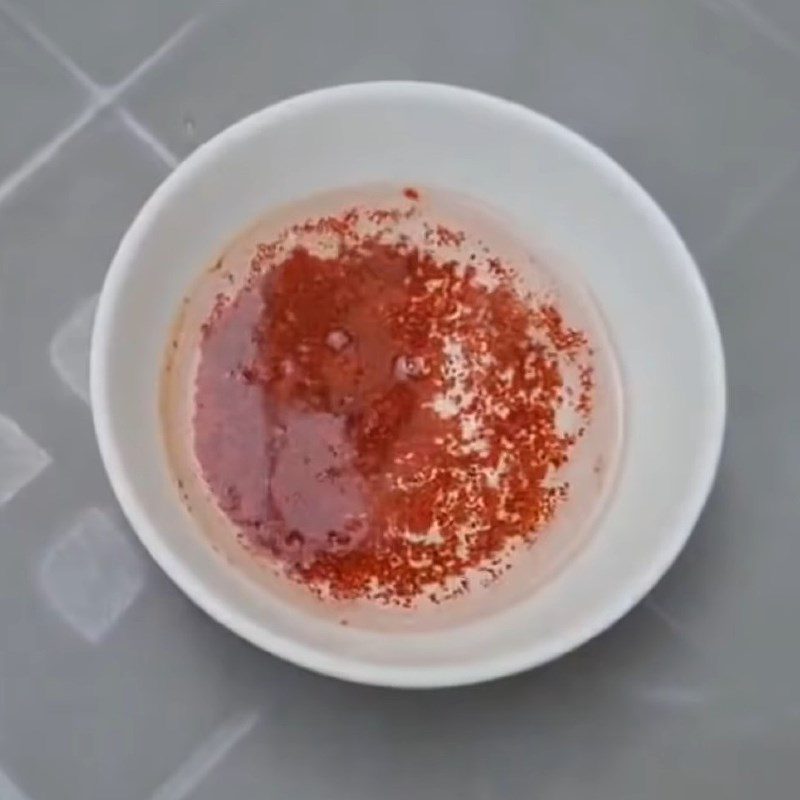
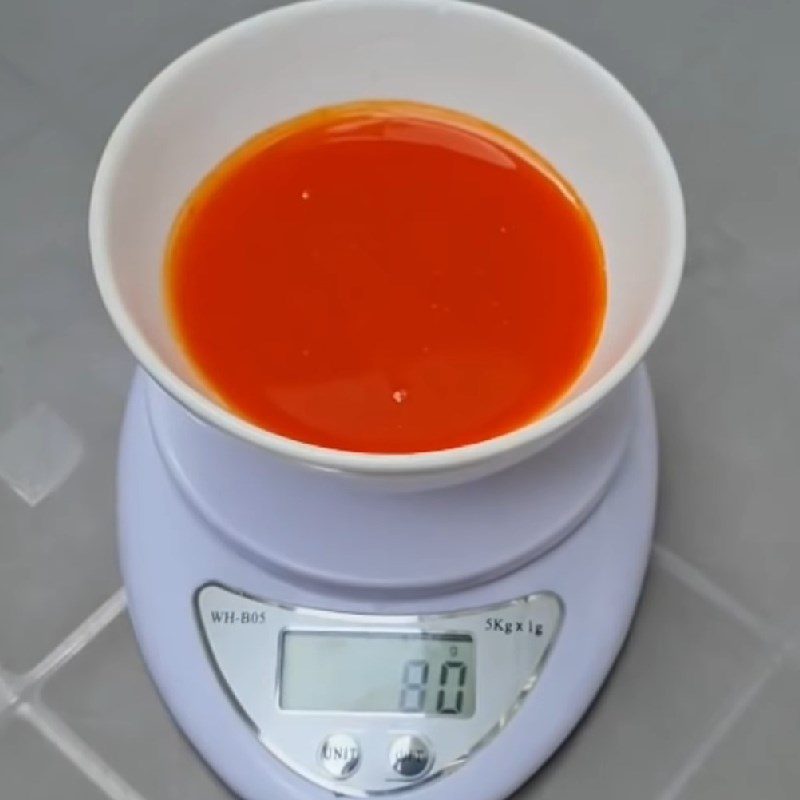
Add 5g of red gac powder into 80ml of pure water, soak for 5 – 10 minutes to allow the powder to release color, then filter again using a sieve to collect the juice and discard the residue.
To make the cake color prettier, add 2 drops of food coloring into the filtered gac juice, stir well, and refrigerate for about 30 minutes.
-
Mixing dough for the bun
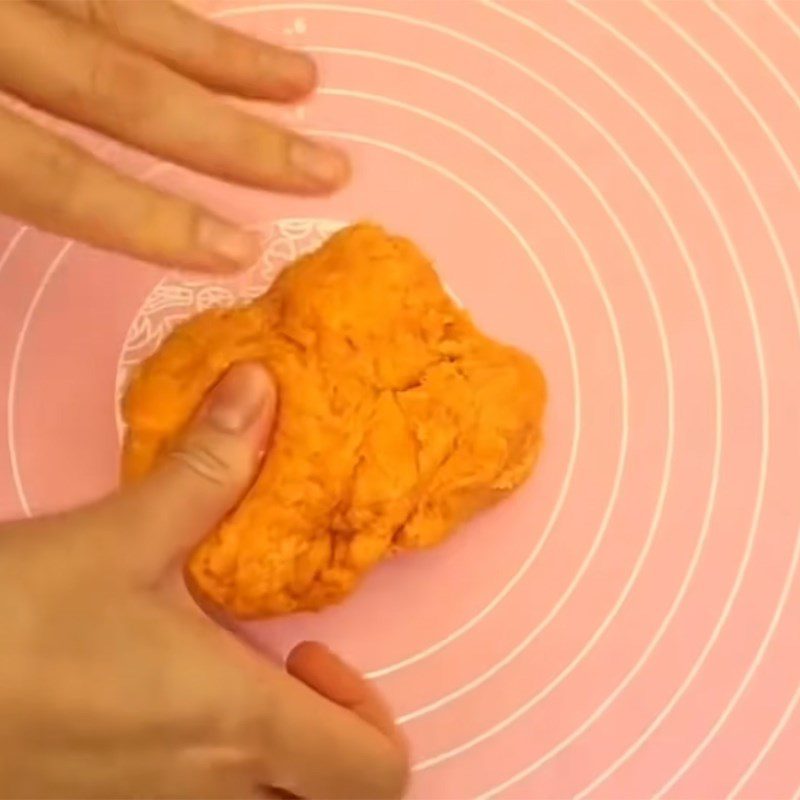
Put 150g of Hoa Ngoc Lan flour, 0.5g of instant yeast, 23g of sugar, and 15g of whole milk powder into a bowl, and use a spoon to stir well to mix the ingredients together.
Next, add 1/4 teaspoon of salt, 12g of cooking oil, and 80ml of the prepared gac juice into the flour mixture and mix until the dough becomes a uniform mass.


-
Kneading the dough
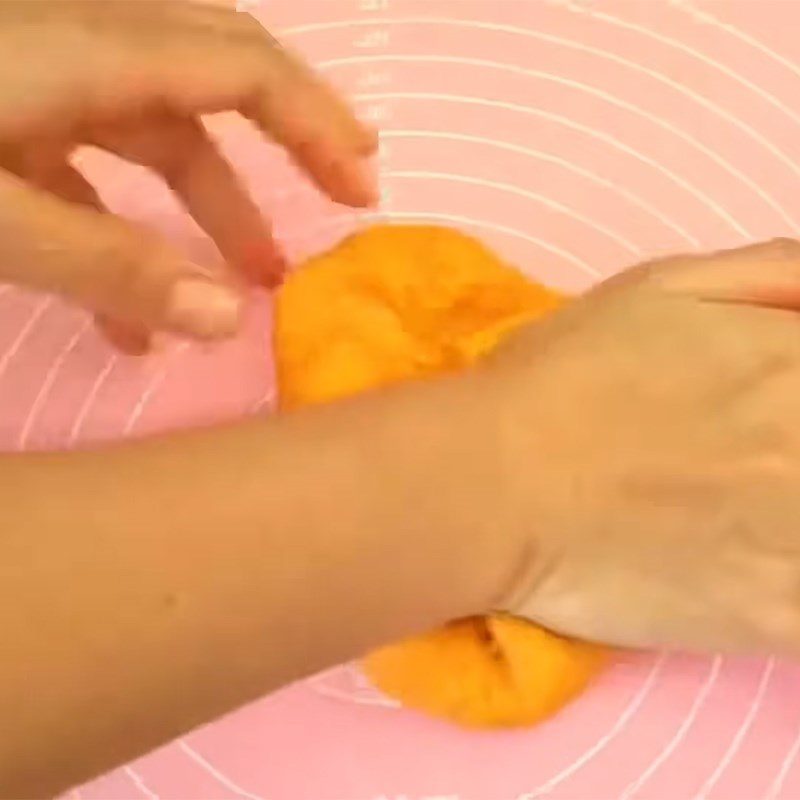
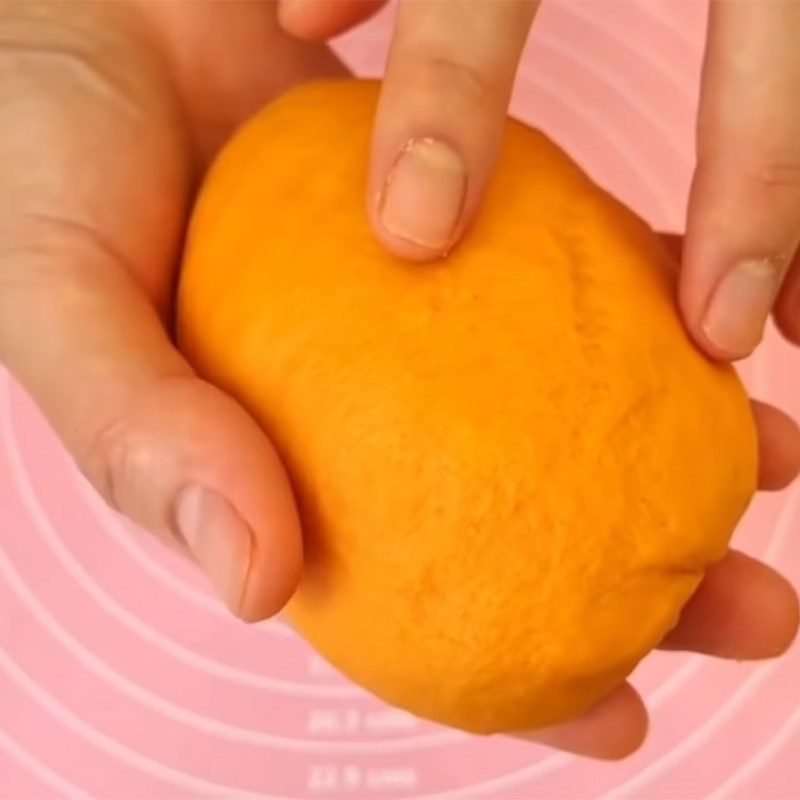
Take the dough out onto a flat surface, use your hands to knead the dough until it becomes smooth, shiny, moist, and no longer sticky to your hands.
Note:- When kneading dough by hand, you should only knead about 300g of dough. If you knead too much dough at once, it will be difficult to achieve a shiny texture, and the surface of the dough will not be smooth.
- Typically, the dough should be kneaded for about 10 – 15 minutes to be ready. Do not knead for too long, as the dough may become tough.


-
Dividing the dough and wrapping the filling
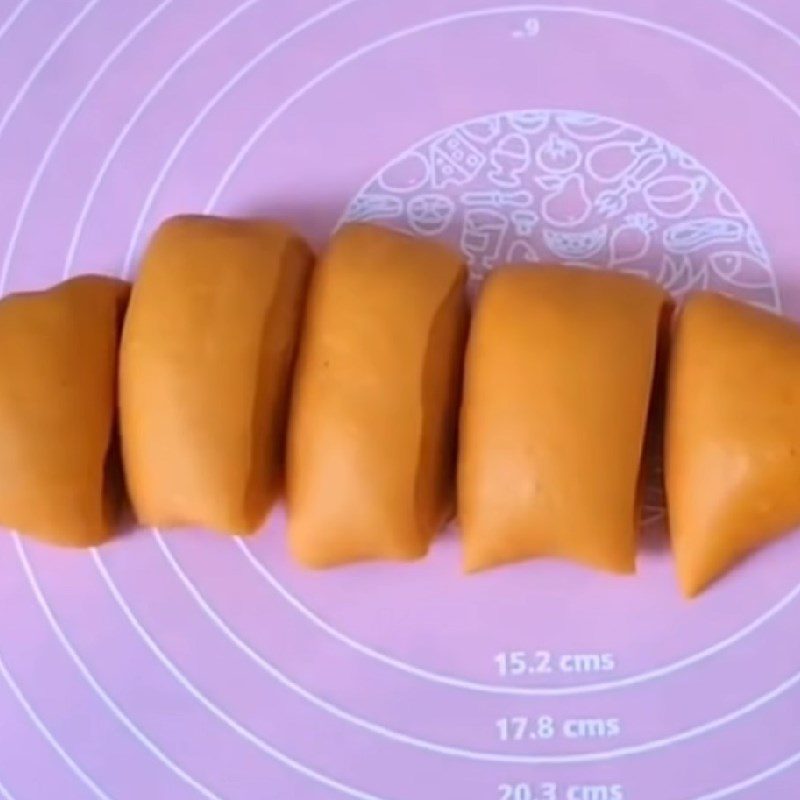
Divide the dough into 5 parts and wrap them tightly with plastic wrap, keeping them out of the wind to prevent the dough from drying out.
Next, take one part of the dough and place it on a flat surface, lightly roll the dough, and continuously fold the edges of the dough inward to push the smooth part of the dough outward, creating a smooth surface for the dough.
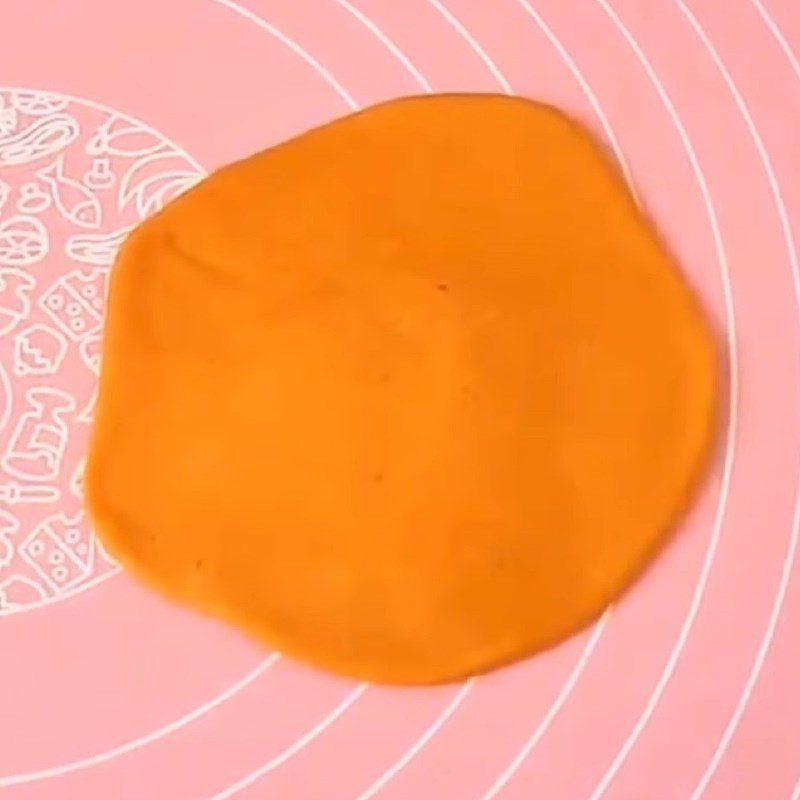
Place the smooth side down, use a rolling pin to roll the piece of dough into a round shape, with the edges of the dough being thinner than the center.
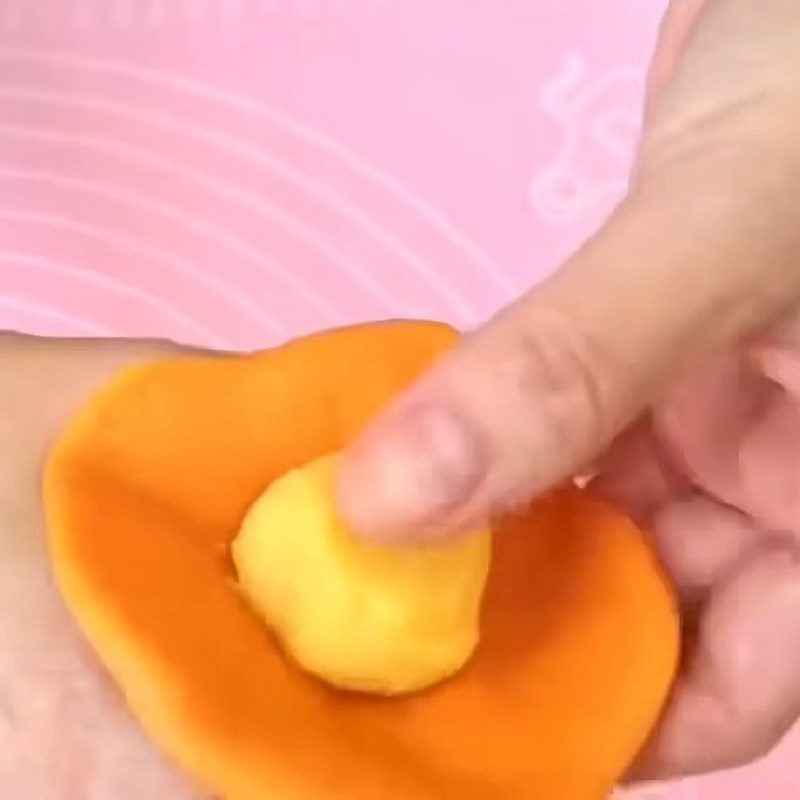
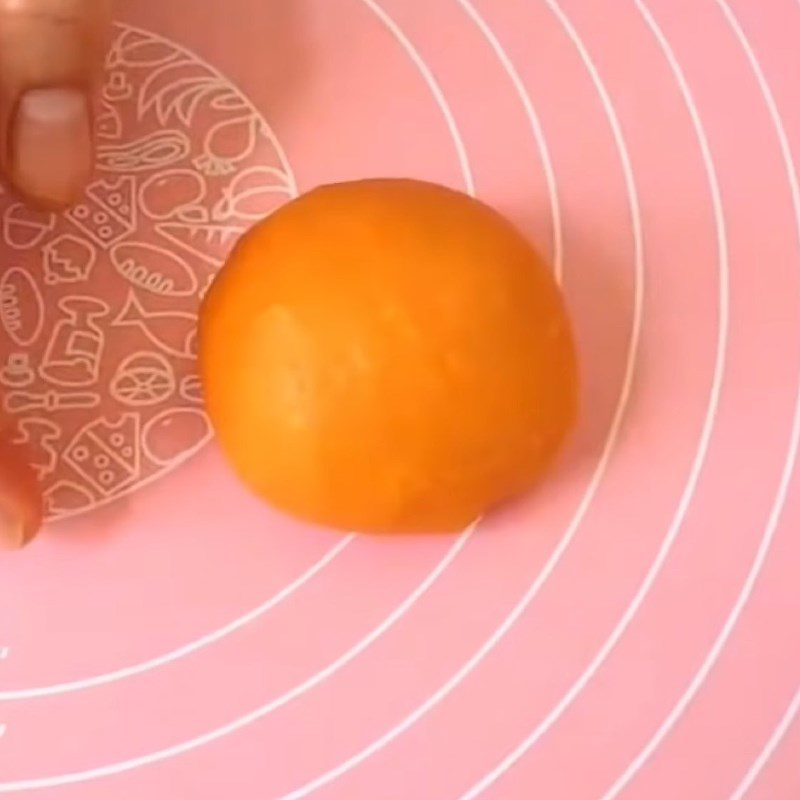
Take the prepared filling and place it in the center of the dough piece, then pinch it tightly to form round dough balls. Apply a little water to the bottom and squeeze the dough ball.
Repeat the same process with the remaining dough parts!
-
Create the orange peel and steam the cake.
After wrapping the filling, roll the dough balls into a round shape and place them on a piece of parchment paper. Next, use a toothbrush to gently press around the dough ball to create a textured orange peel.
Do the same with the remaining dough and then wrap all the dough balls in plastic wrap and let them rise for about 45 – 60 minutes.
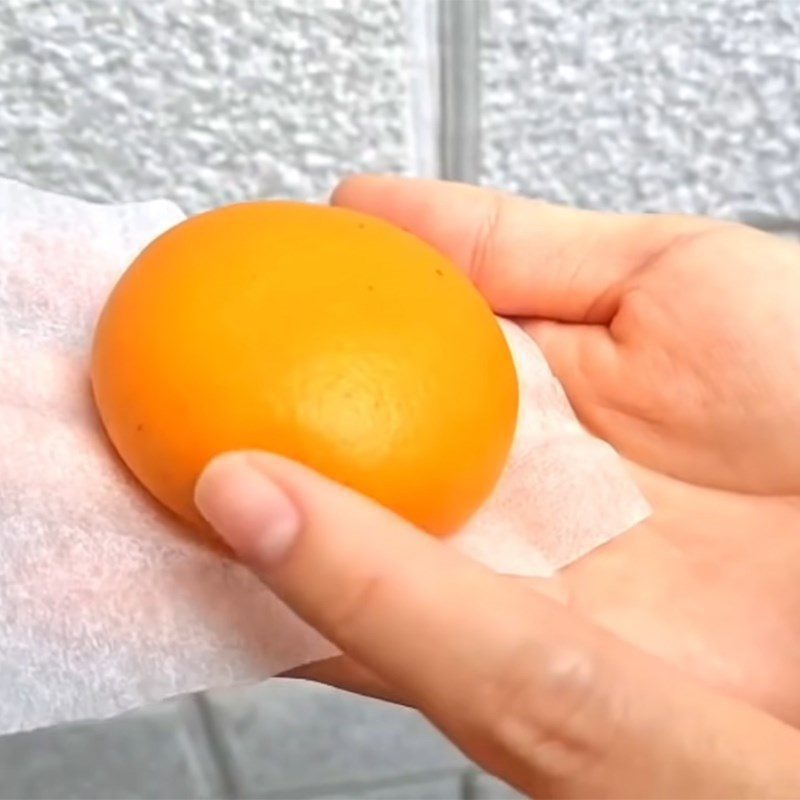
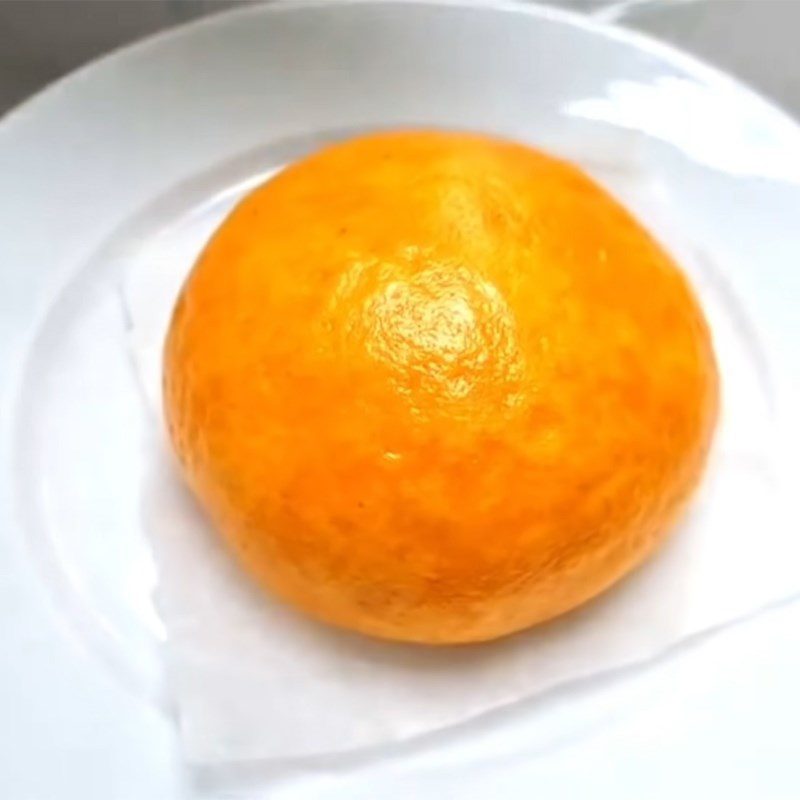
Then, steam the cake for 10 minutes; once the time is up, turn off the heat and let the cake rest for another 3 minutes before taking it out.

-
Shaping the orange
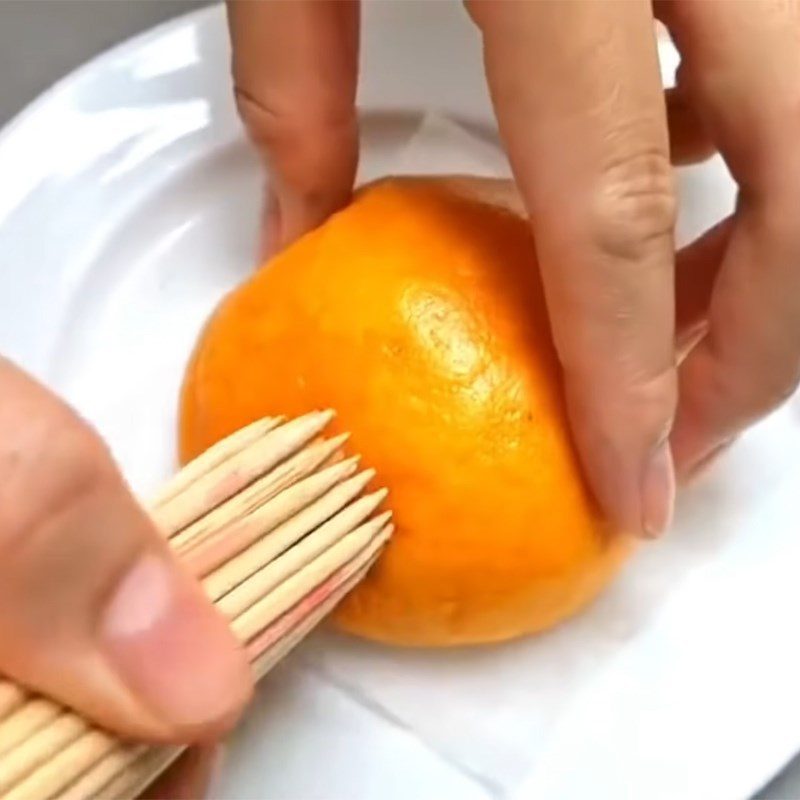
After steaming, when the cake is still warm, take a bundle of wooden skewers and gently prick around the cake to make the skin of the orange more textured.
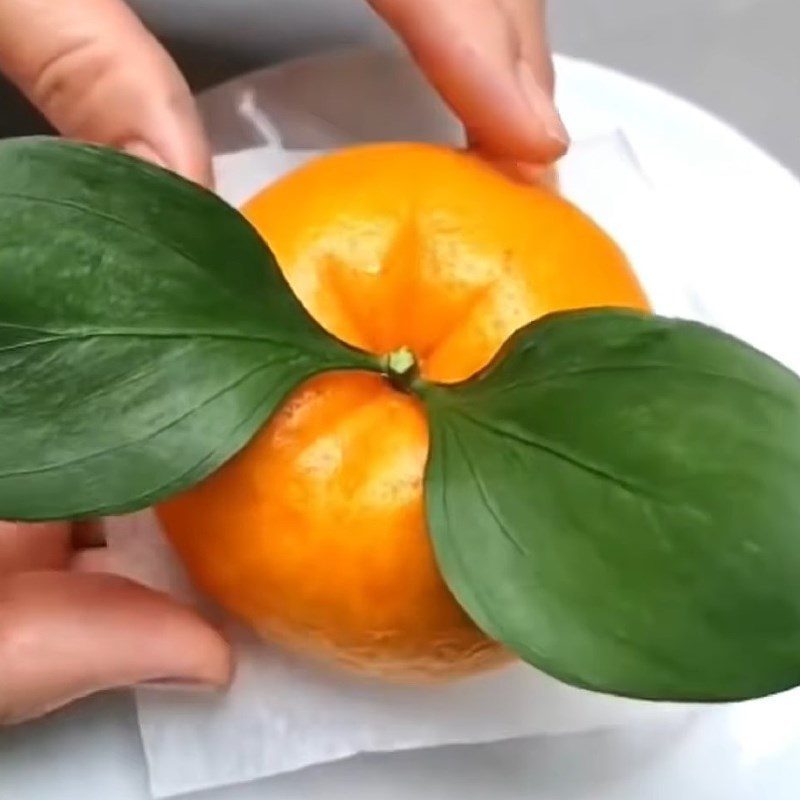
Next, use the end of the chopsticks to gently press the middle part at the top of the cake to create a stem for the orange, then use a knife to gently press around to create indentations around the stem.
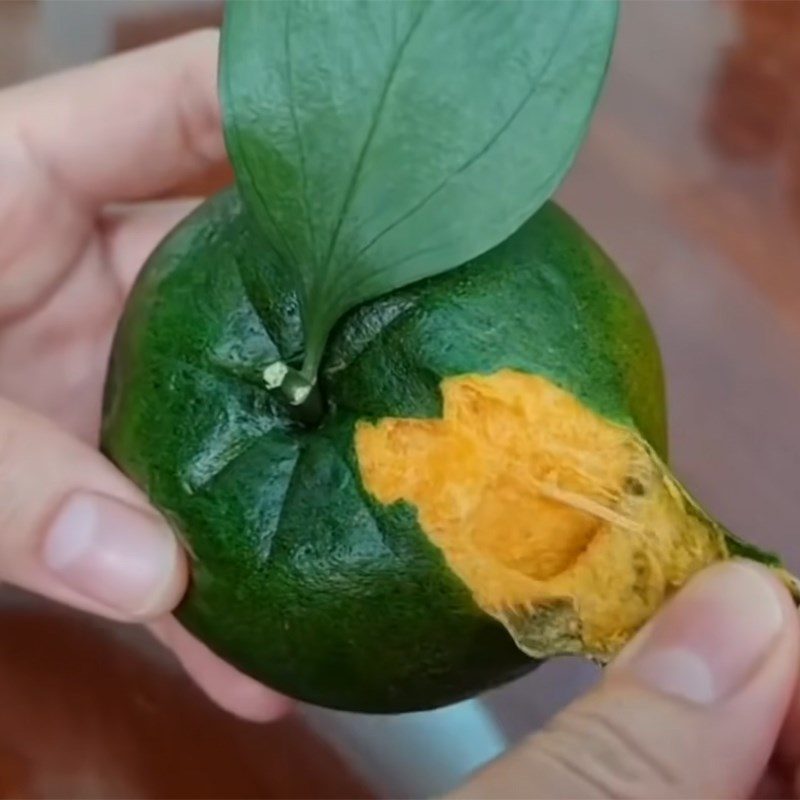
Cut a branch of orange leaves and insert it into the previously created stem to make the orange look more realistic.
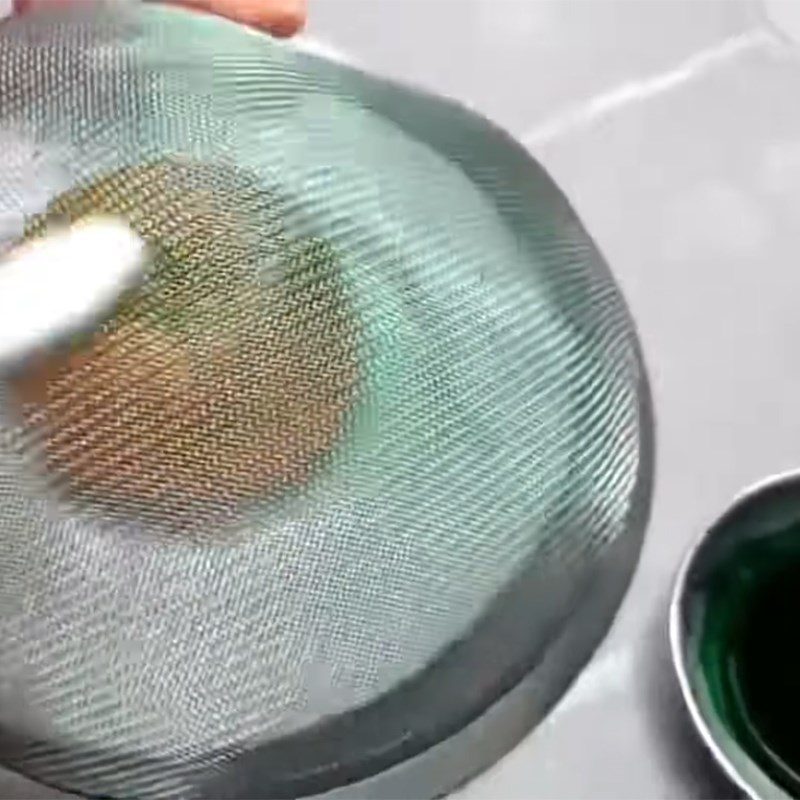
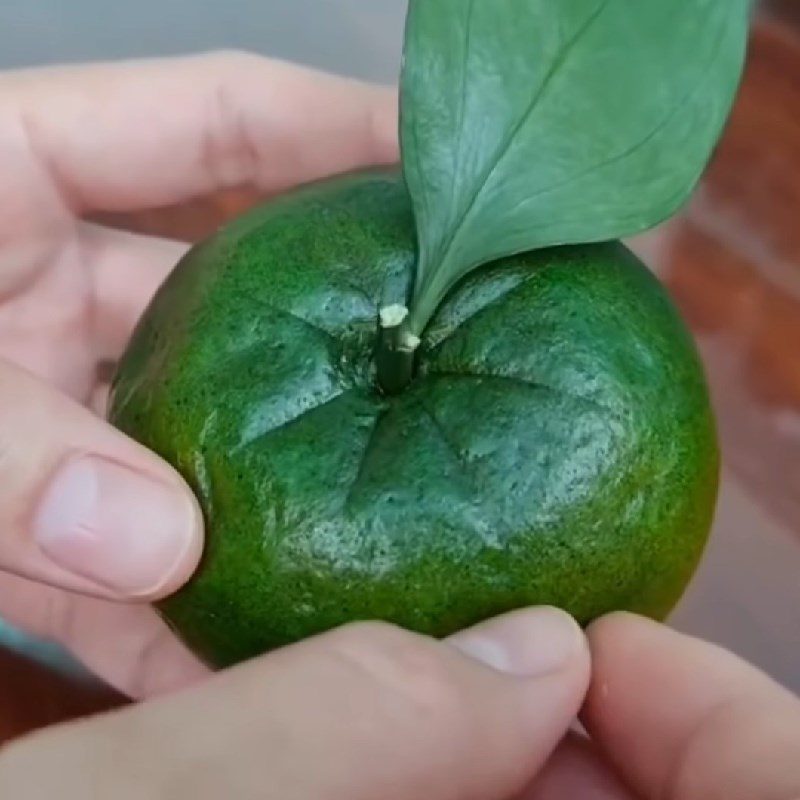
To give the orange a green color, after shaping the textured skin, mix 2 drops of green food coloring with 10ml of drinking water and stir until the two ingredients combine.
Place a sieve over the cake, use a toothbrush dipped in the coloring water and scrub around the sieve to let the coloring water fall evenly onto the cake, creating a green skin. Finally, make the stem and add more leaves.

-
Final product
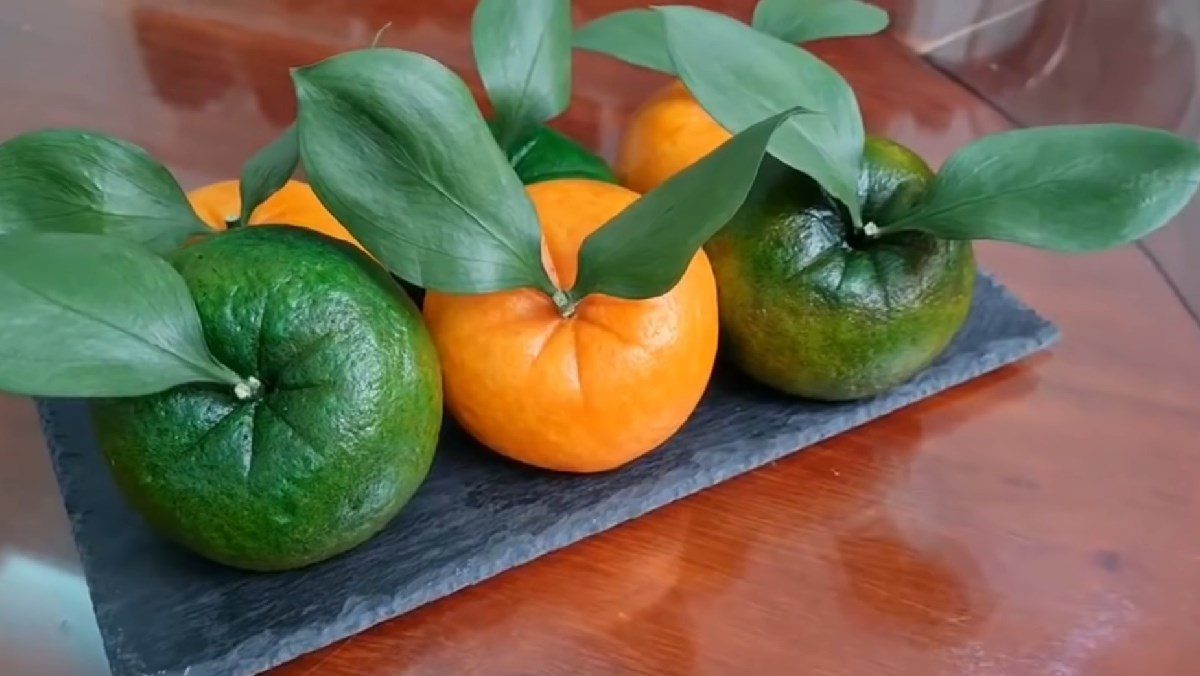
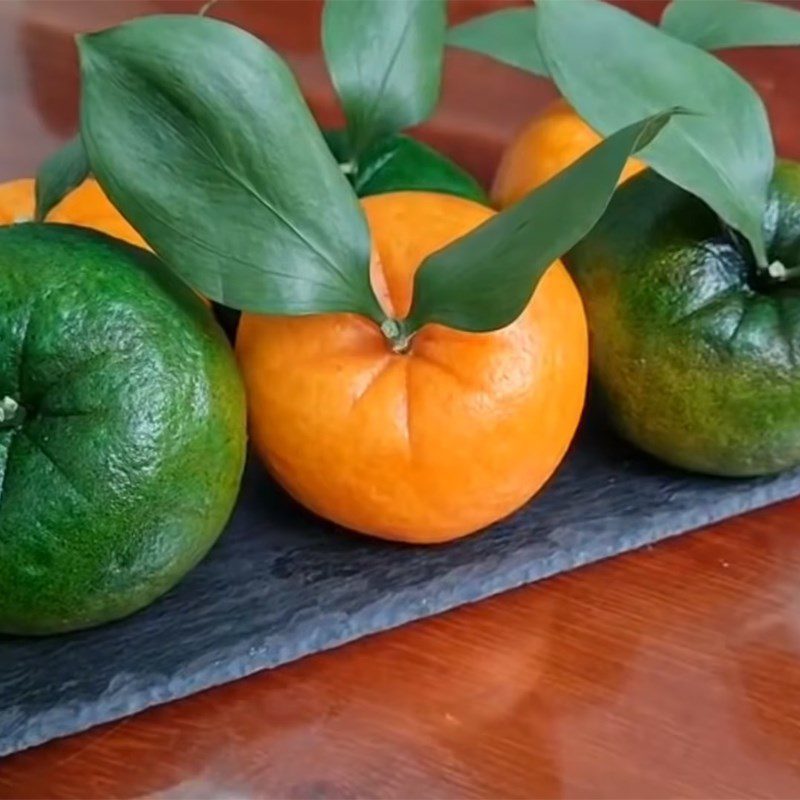
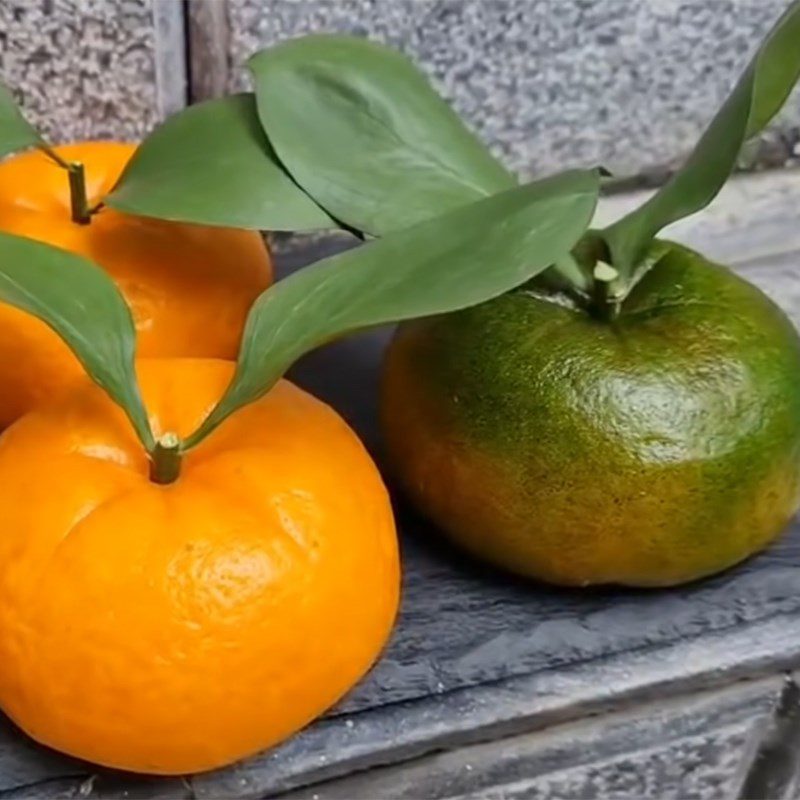
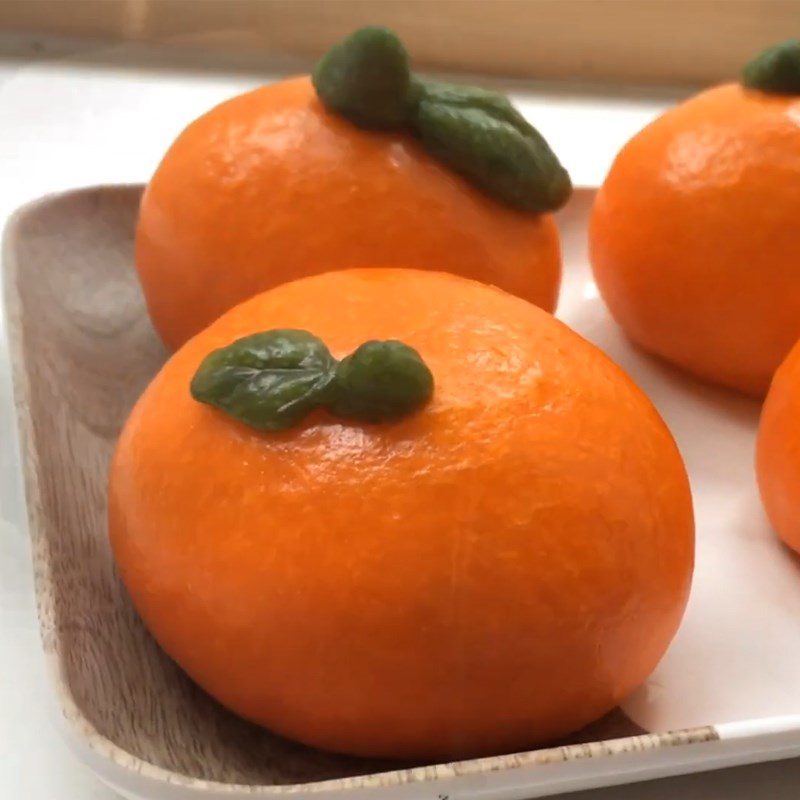
The orange-shaped steamed bun is beautifully completed with an incredibly realistic appearance, indistinguishable from a real orange.
Not only does it catch everyone’s eye, but it is also delicious and satisfies every palate. When eaten, you will feel the fluffy softness of the outer layer along with the fragrant, rich, and sweet filling inside, creating an extremely mouthwatering combination!

2. Tangerine buns
-
Preparation
2 hours
-
Difficulty
Medium
Ingredients for Tangerine buns For 4 people
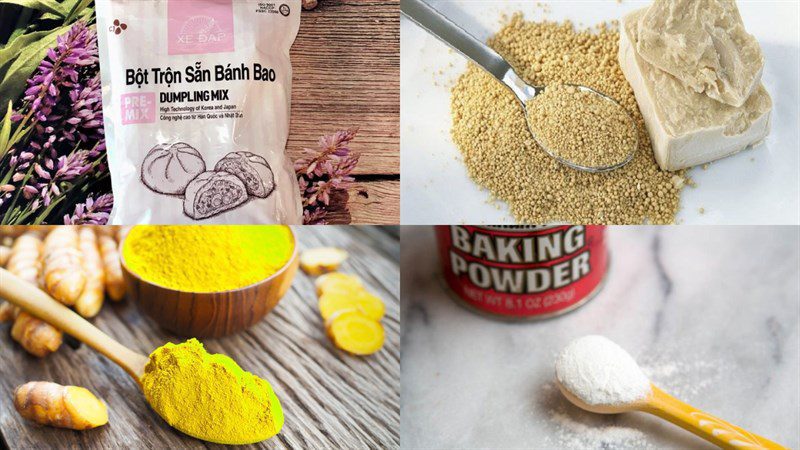
Ready-made bun flour 250 gr Yeast 2 gr (Dried instant yeast) Baking powder 4 gr (Baking powder) Coconut milk 170 ml (warm up to about 40 degrees C) Lard 20 gr (Or cooking oil) Sugar 30 gr Salt a little Turmeric powder a little Red food coloring a little Green food coloring a little
How to choose ingredients
- Pre-mixed bao dough, yeast, baking powder,…. you can easily find them at stores or supermarkets that specialize in baking supplies and tools.
- Coconut milk can be purchased in canned form available at TasteVN supermarkets nationwide or online at bachhoaxanh.com. Additionally, you can also make coconut milk at home.
Tools needed
How to make Mandarin Orange Bao
-
Mix the dough
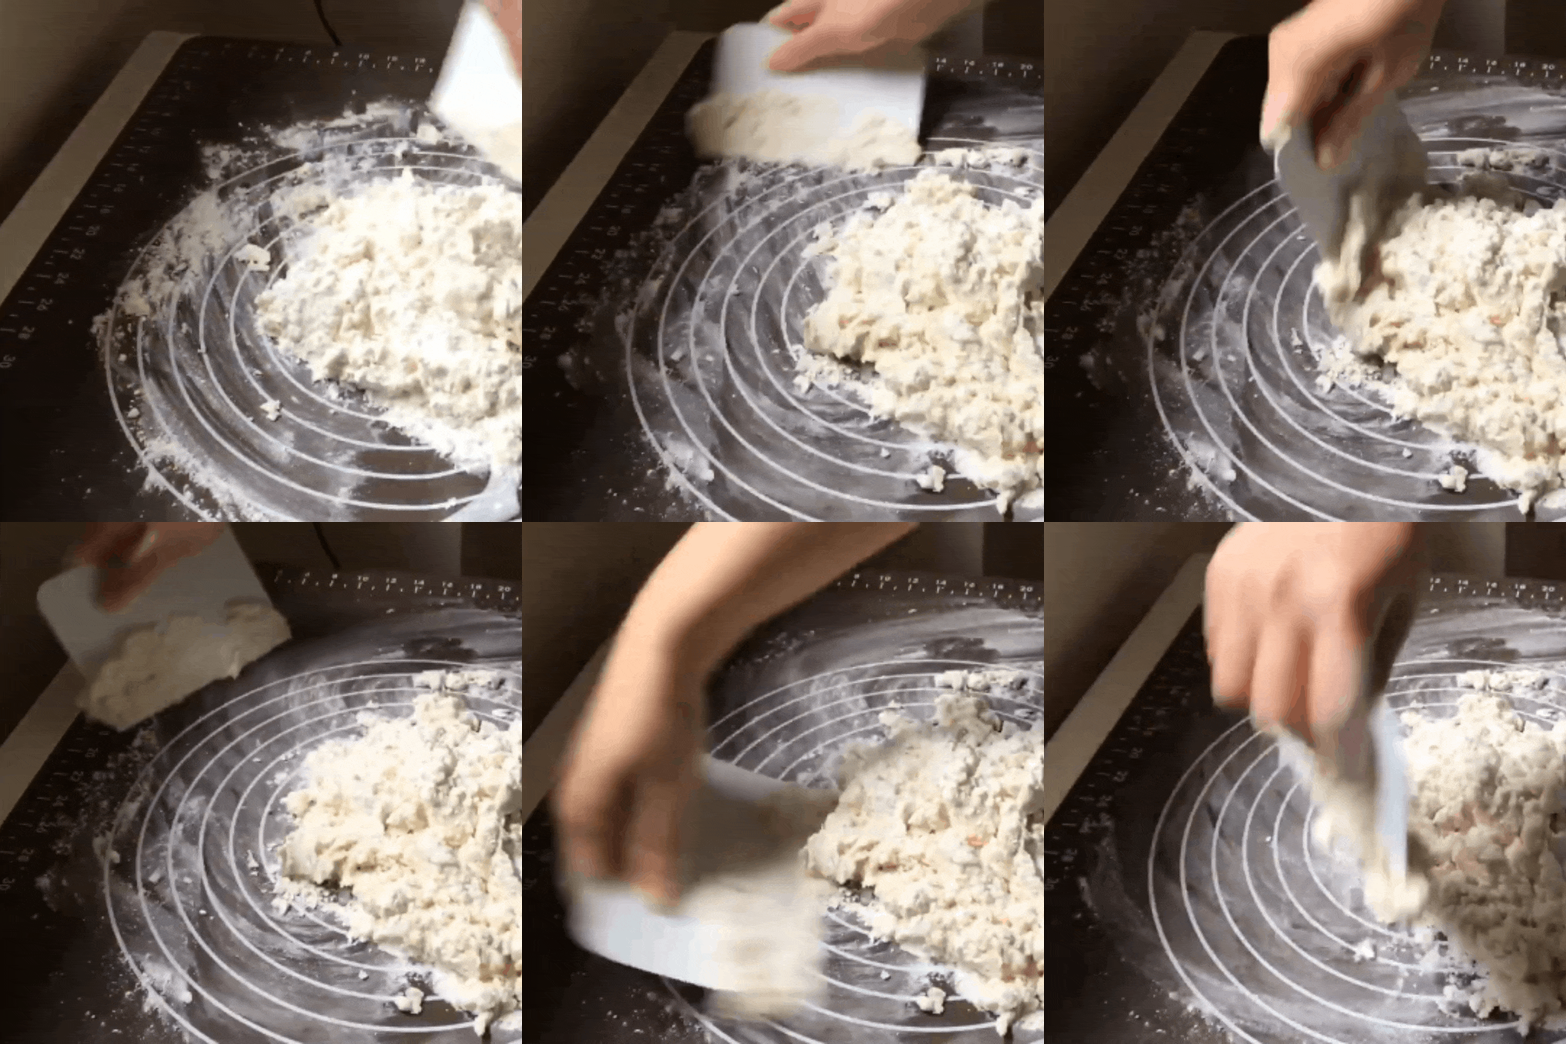
Place 250g of pre-mixed bao dough on a silicone sheet, add 30g of sugar, and a little salt. Use your hand to create a hole in the center of the dough and add 2g of yeast and 4g of baking powder.
Gradually pour in 150 – 170ml of slightly warm coconut milk (about 40 degrees Celsius), mixing it with a plastic scraper (the type used for cutting dough in baking) until the coconut milk is well combined with the dry dough.
Tip: You should add the coconut milk gradually to avoid making the dough too wet!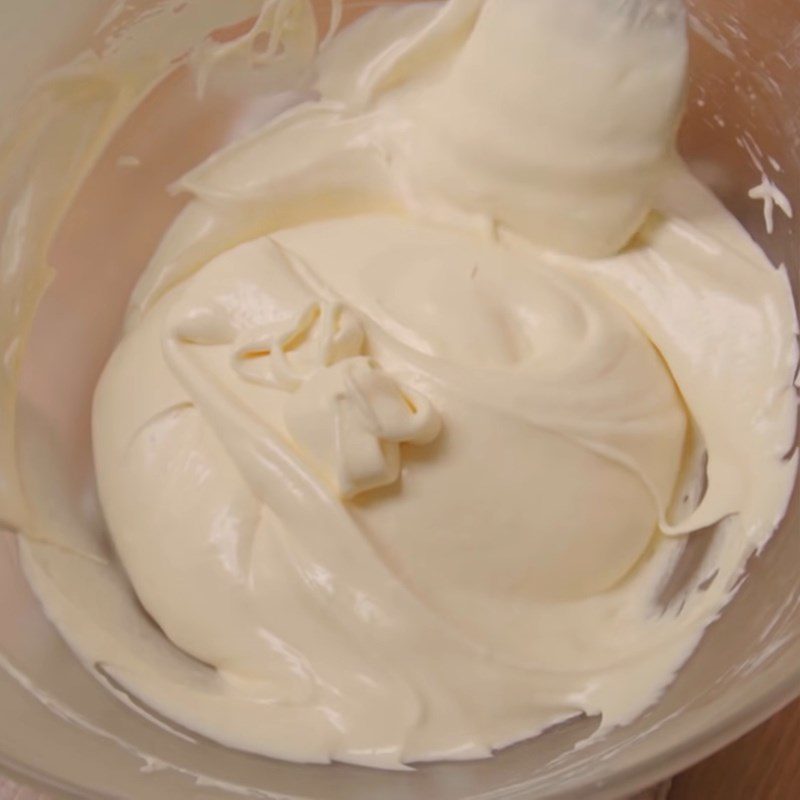
-
Kneading the dough and coloring it
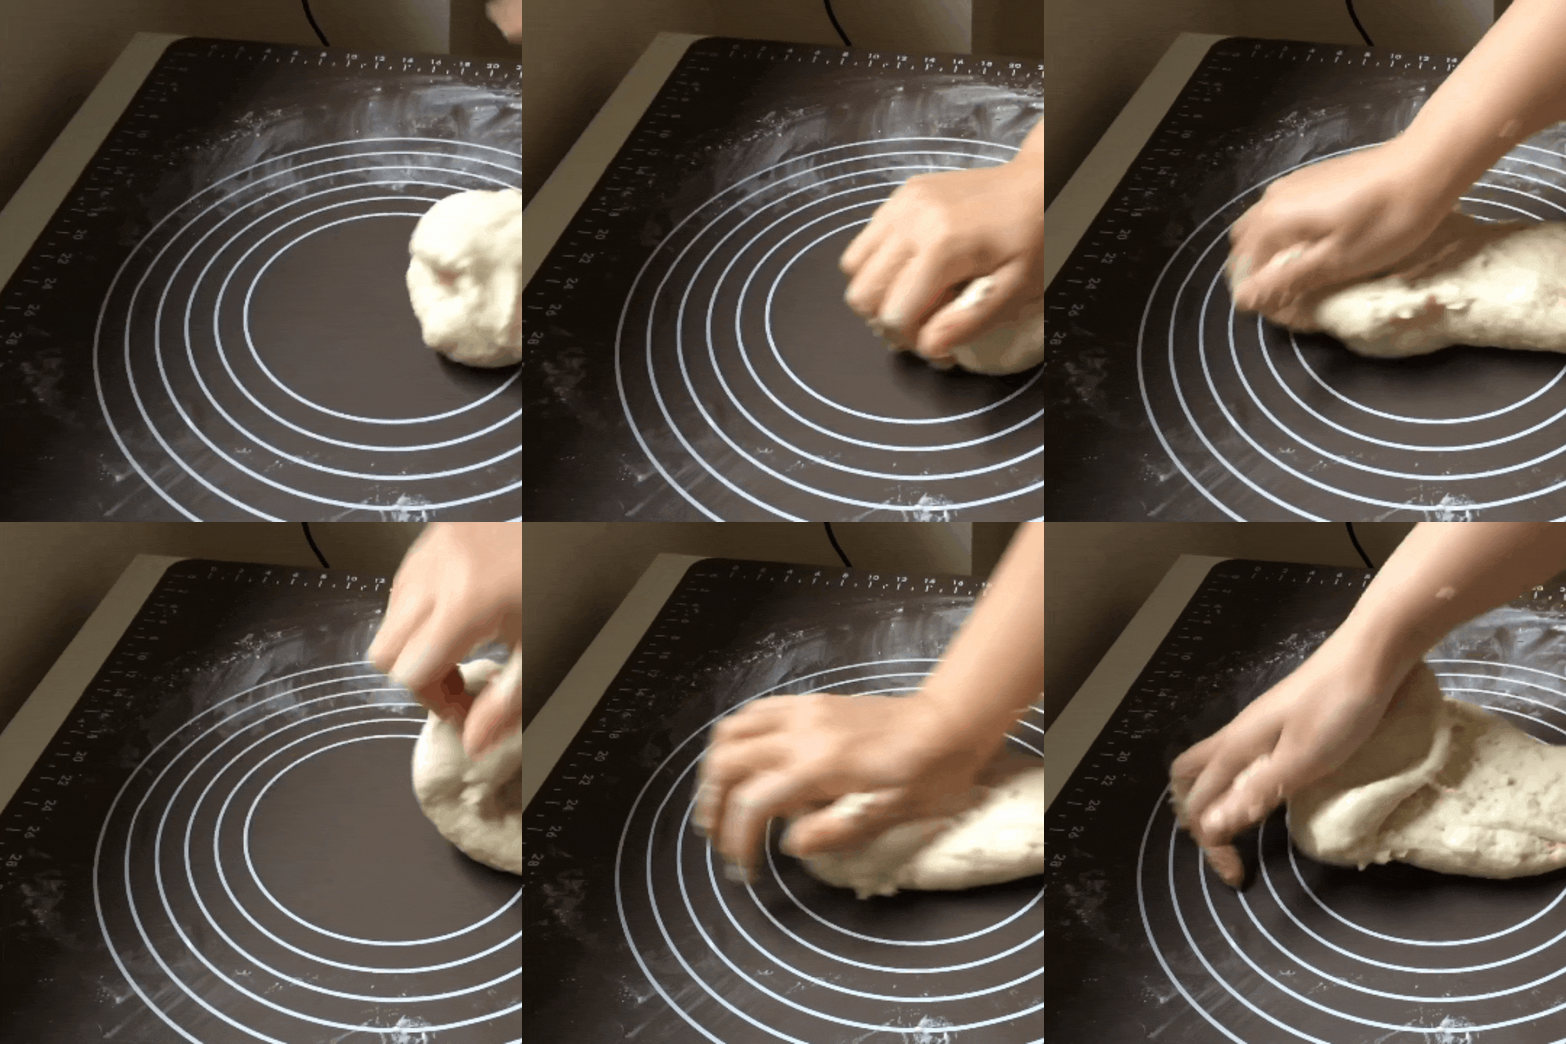
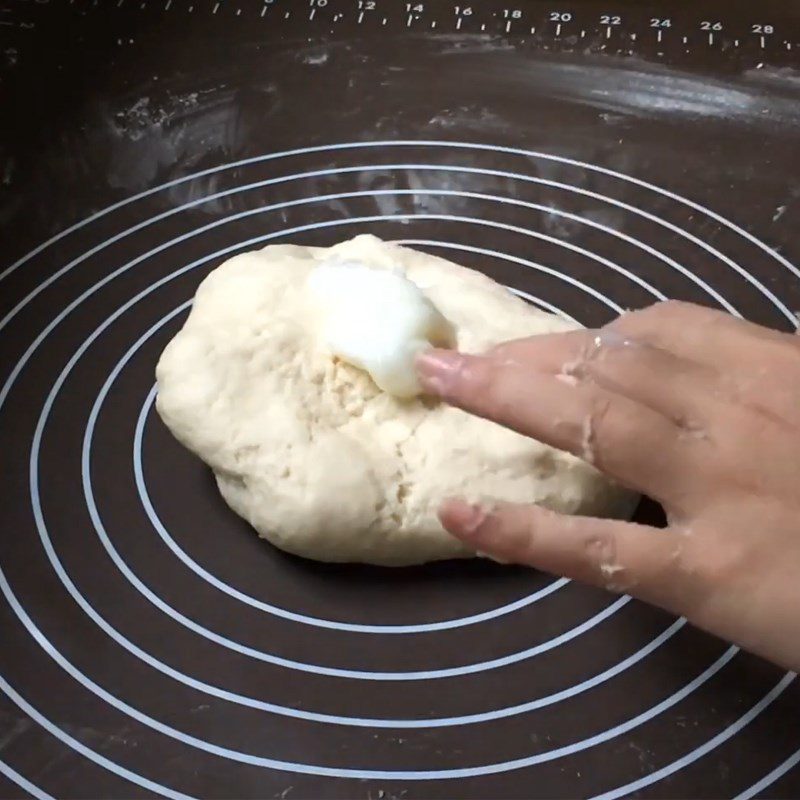
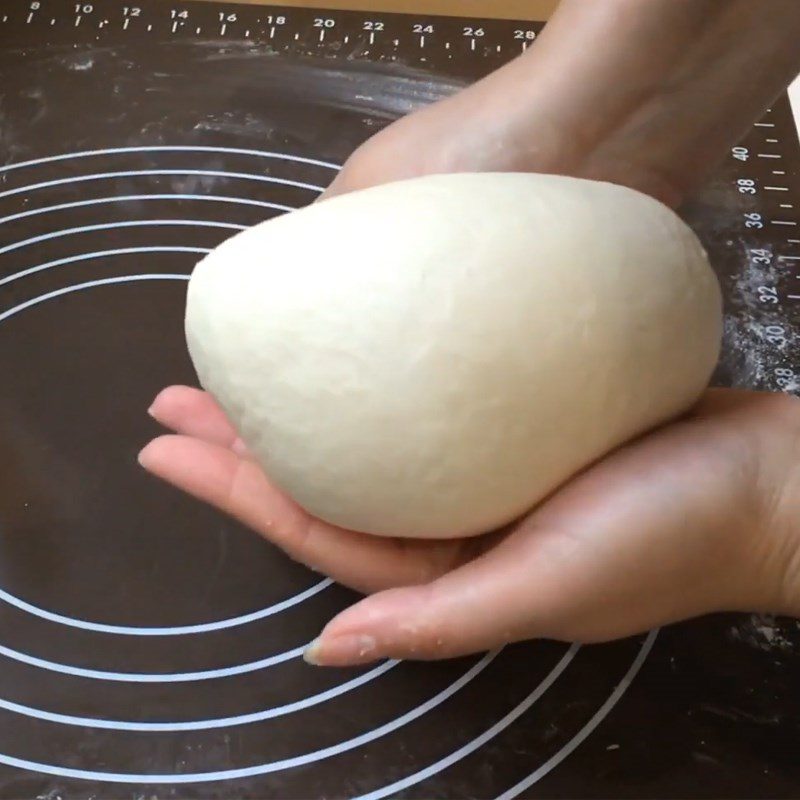
When the coconut milk has blended with the flour, and the dough has become more cohesive, use your hands to knead the dough for about 15 – 20 minutes until you have a smooth, elastic dough that is no longer sticky to the hands.
After the dough is ready, add 20g of lard (or cooking oil) to the dough, and knead evenly for another 3 – 5 minutes to make the dough smooth.
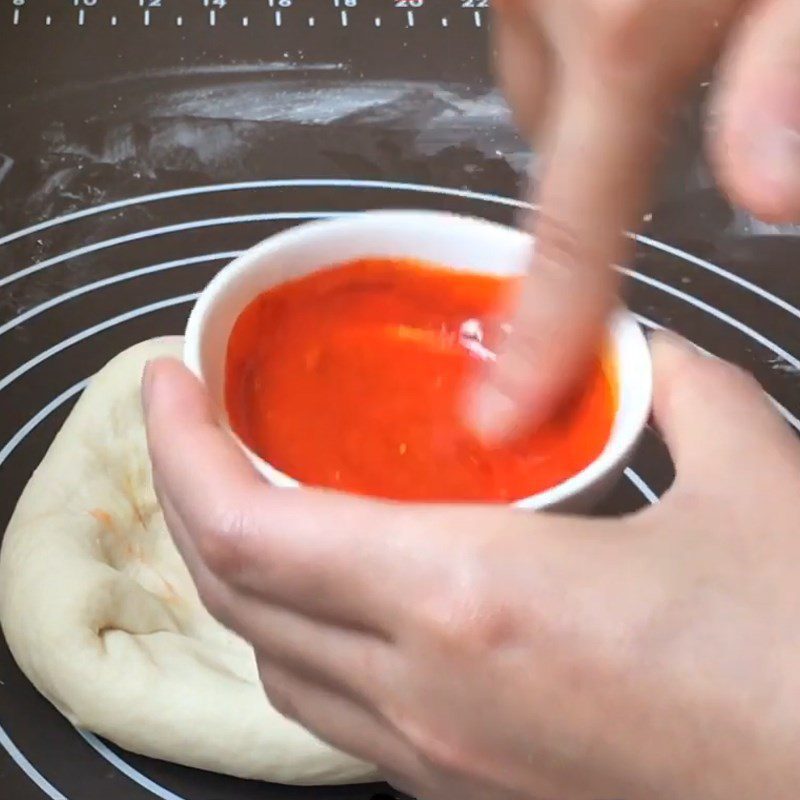
Next, to give the buns a color similar to tangerines, mix a little turmeric powder, a bit of annatto powder (or red food coloring) with about 5ml of coconut milk, and stir well until the powder is completely dissolved, resulting in an orange-colored mixture.
-
Proofing the dough
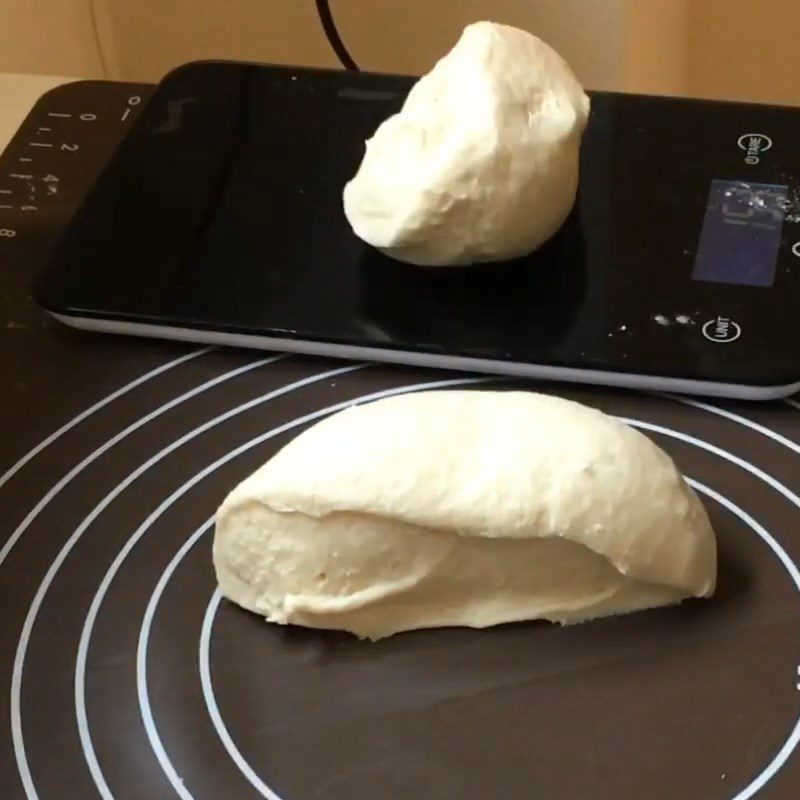
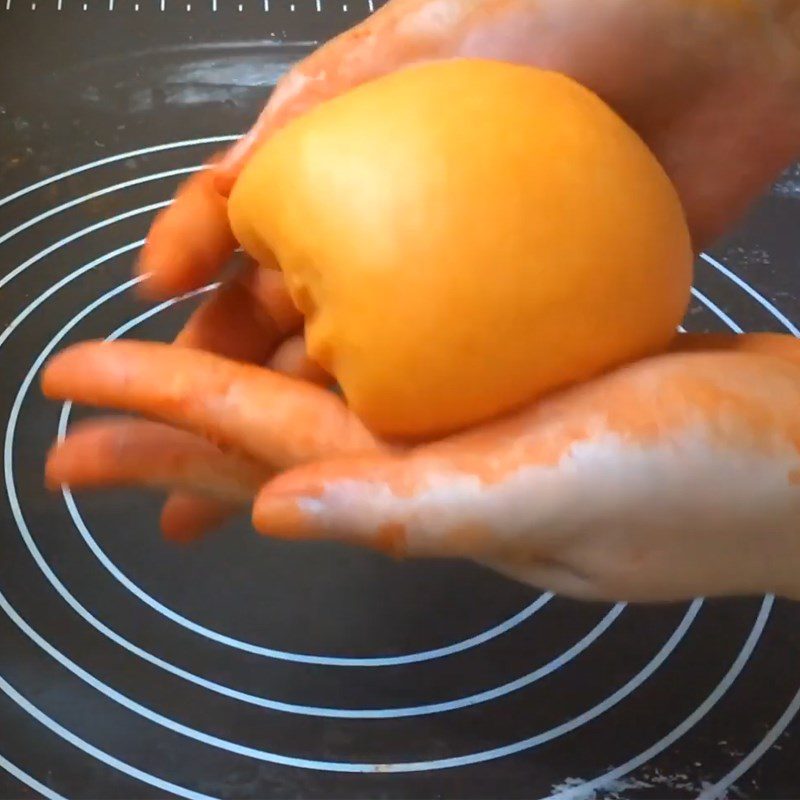
Divide the kneaded dough into 2 parts, making sure to take 1 part that is 20g heavier than the remaining dough. This larger portion of white dough should be kneaded until smooth and then wrapped tightly in plastic wrap.
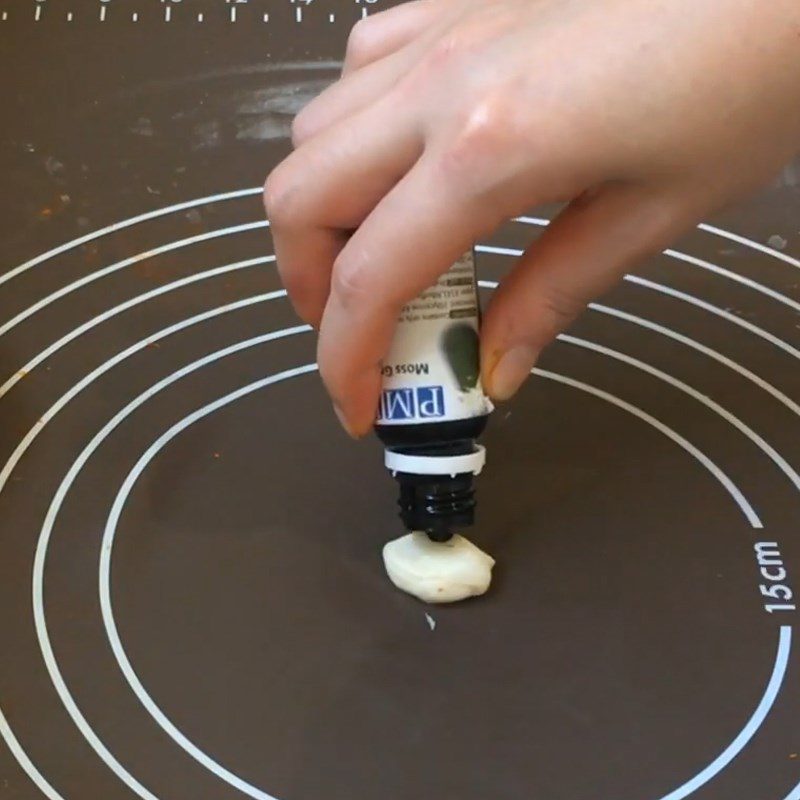
Tip: This larger portion of dough will be used as the filling for the cake.For the other portion of dough, take out 4g to make the leaf stalk for the tangerine. For the remaining dough, add the orange-colored mixture, knead well to ensure the dough is evenly coated in orange, and also wrap it tightly in plastic wrap.
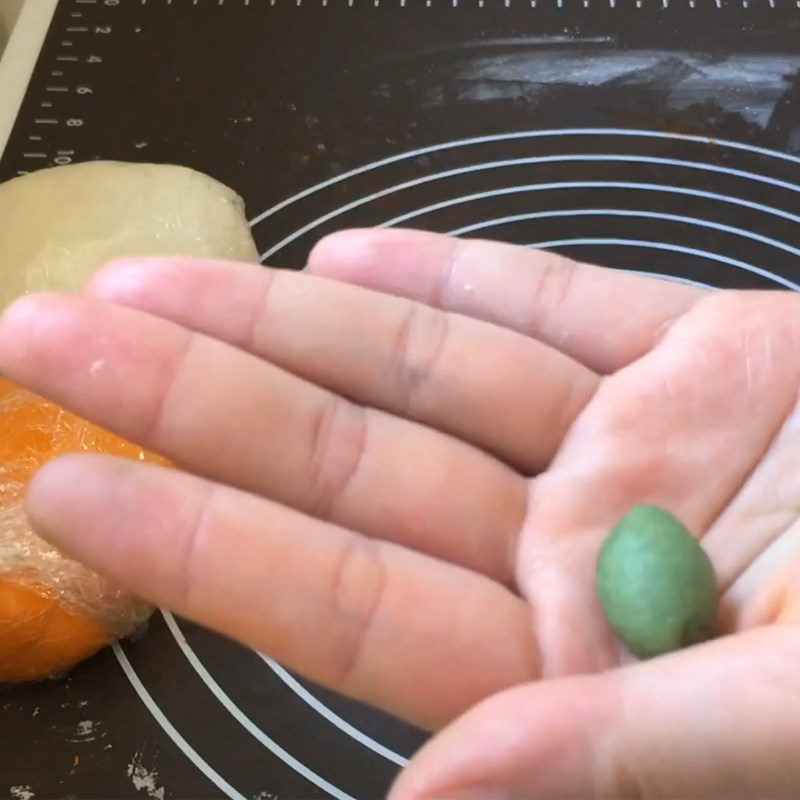
To achieve a green color like a real leaf stem, add a tiny bit of green food coloring to the 4g of dough you just cut, and knead well until the dough is evenly colored.
-
Dividing and rolling the dough
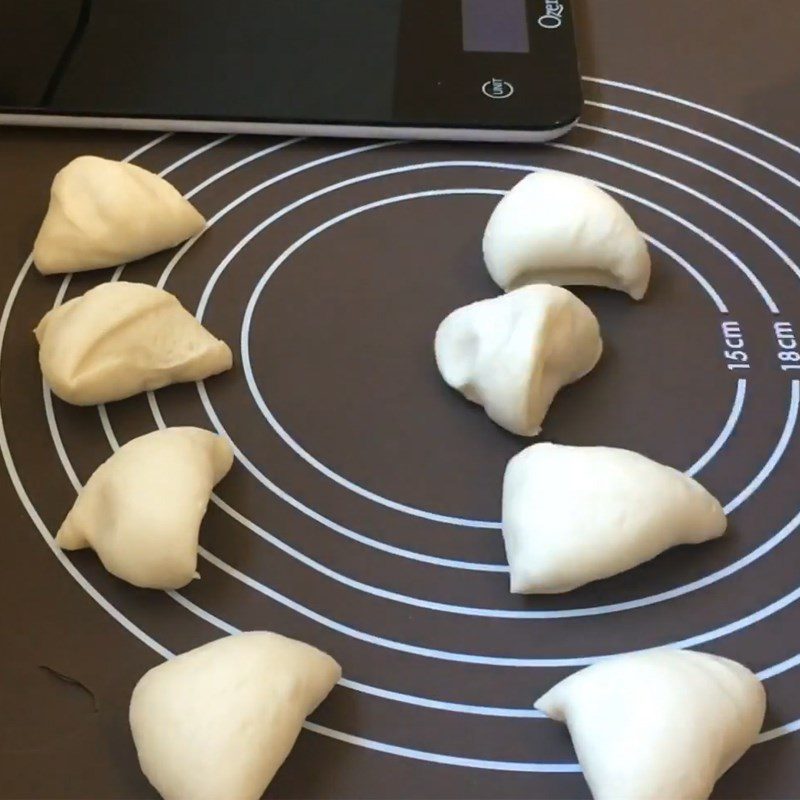
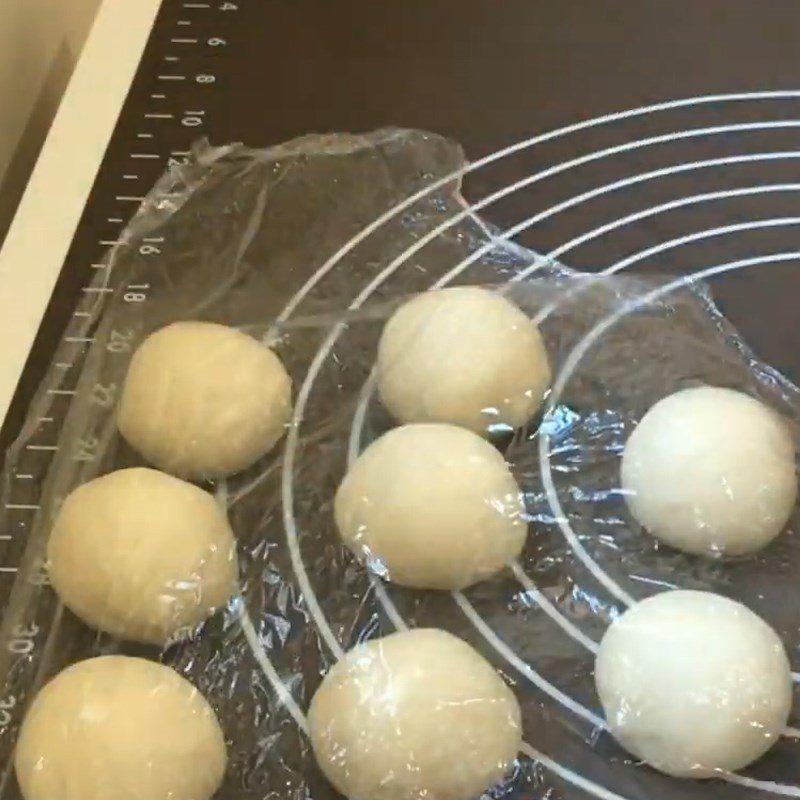
Divide the white dough for the filling into smaller pieces, weighing between 19 to 20g each.
Tip: Since the tangerine will look like an orange, but is smaller in size, if you want to shape it like an orange, take a bit more of this dough, around 30g, and the final product will be larger, resembling an orange!Next, you roll these small pieces of dough into balls and then wrap them with plastic wrap, letting them rest for about 5 minutes.
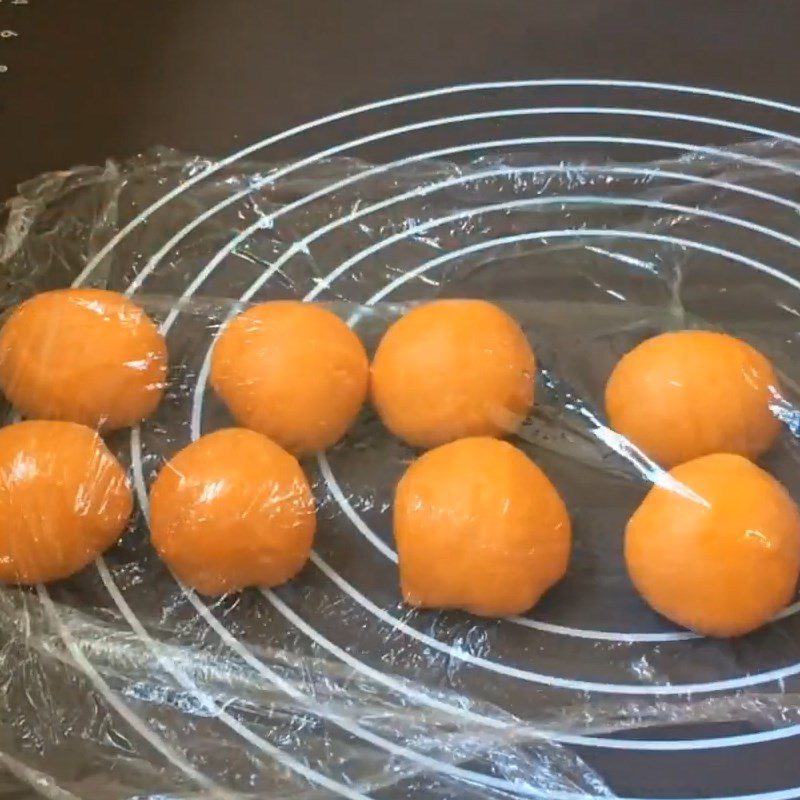
While waiting for the white dough to rest, you continue to divide the orange dough into small pieces weighing about 16 – 17 grams to make the tangerine skin. After dividing, you also roll these small pieces of dough into balls and then wrap them with plastic wrap, letting the dough rest for about 5 minutes.
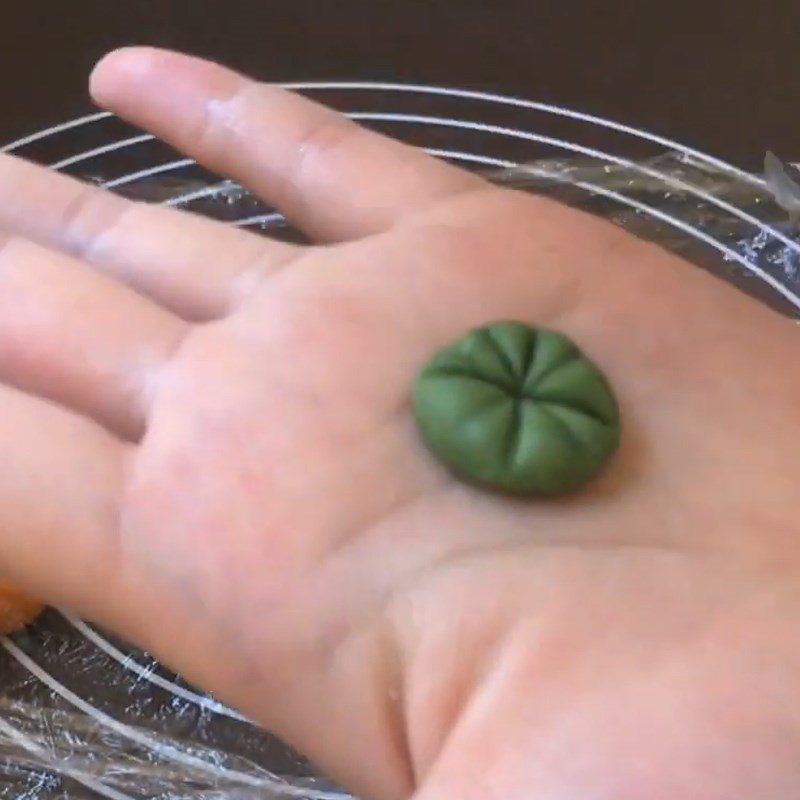
Tip: You should time it so that the two pieces of orange and white dough have equal resting time of about 5 minutes!For the green dough, you use a plastic piece to gently press and evenly divide this dough according to the number of orange and white dough pieces you have. Then cut this dough decisively.
-
Shaping the Tangerine
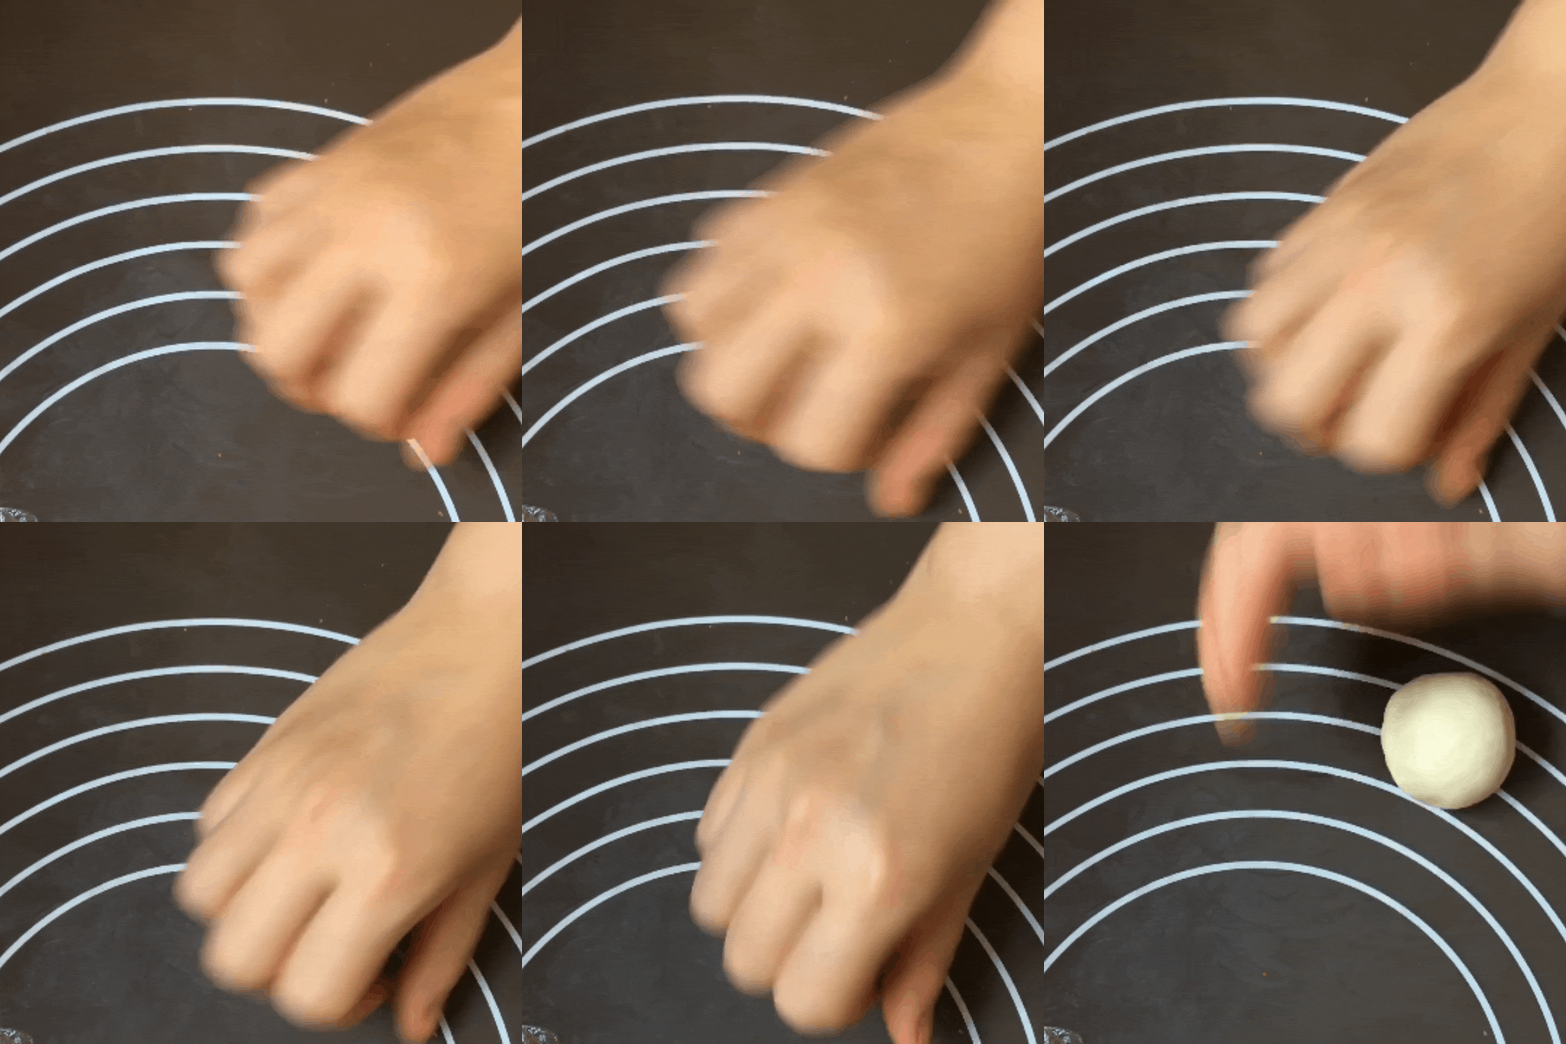
Take each piece of white dough, knead it back and forth, then roll it into a ball. Repeat until all the white dough is used up.
For the orange dough, take each piece one at a time, knead it back and forth, then use a rolling pin to flatten these pieces of orange dough.
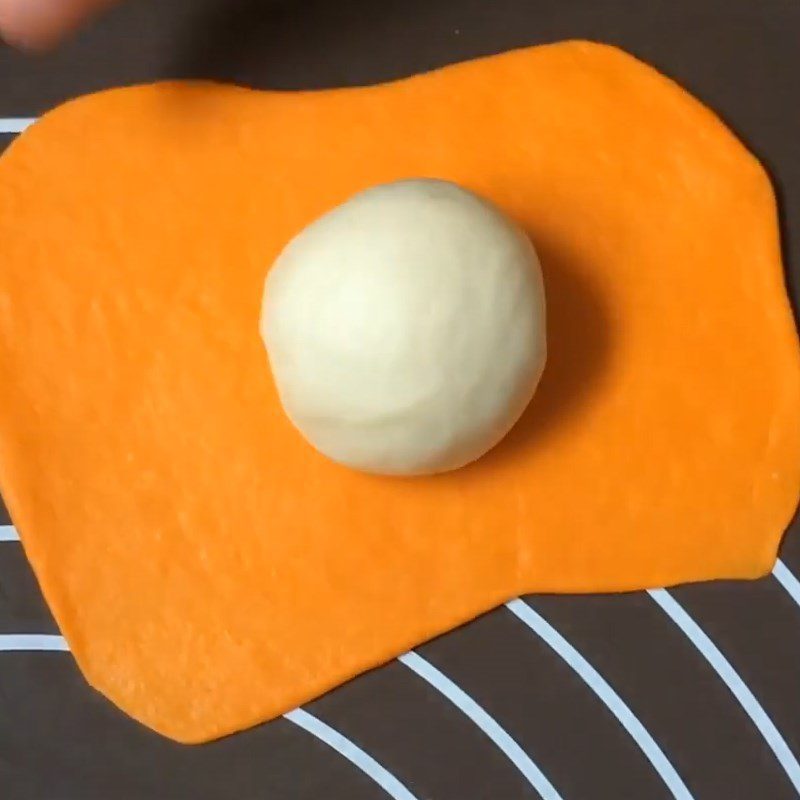
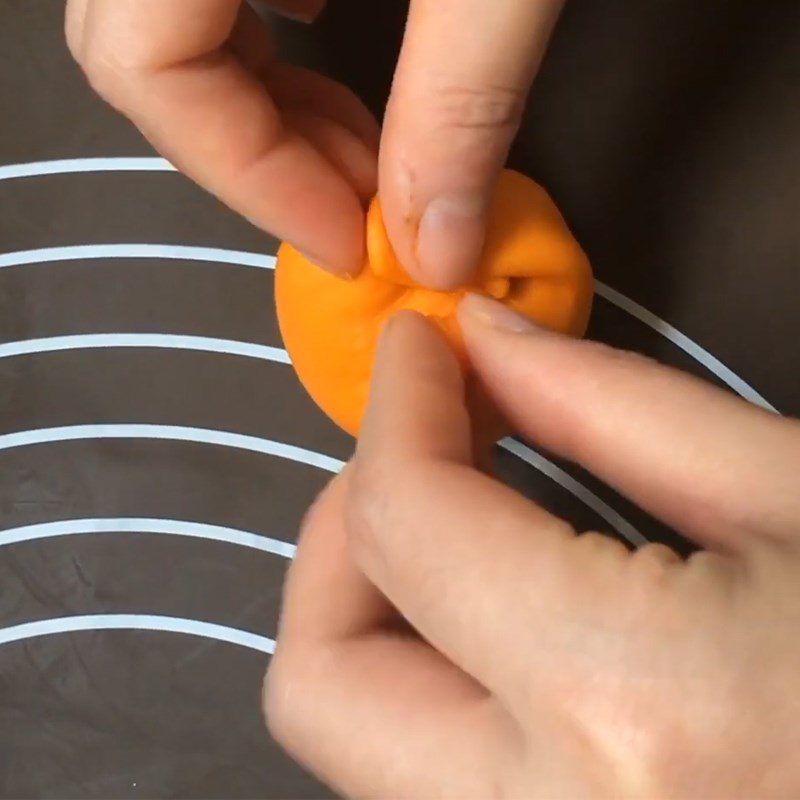
Next, place the pieces of white dough in the center of the flattened orange dough pieces, then use your hands to fold the orange dough around the white dough so that it completely covers it. Roll it back and forth until the dough is round like a tangerine.
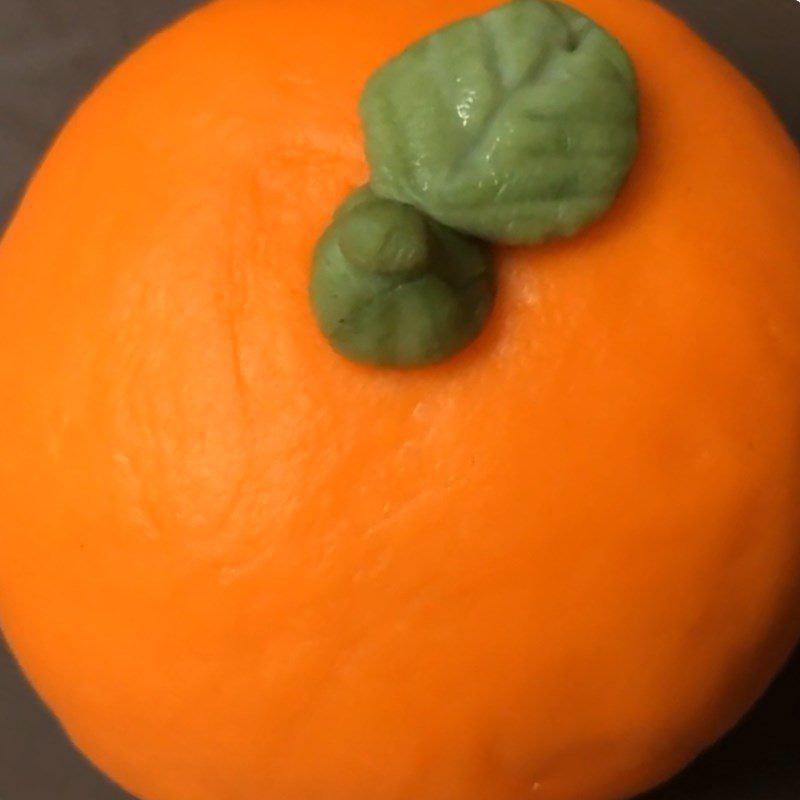
Tip: To make the dough skin wrinkled like the skin of a real tangerine, after rolling it into a ball, you can wrap it with a thin cloth. Gently twist it around to create wrinkles on the skin!Finally, use a slightly pointed object like the end of chopsticks to gently press down on the top of the dough ball, then take the green dough pieces that you divided earlier and place them on top to create the stem and leaves for the tangerine.
Tip: When you finish shaping the tangerine for each piece of dough, place any that are done first into the refrigerator to slow down the rising, while you wait for the other pieces to finish.Once all the shaping is done, take all the dough balls out, place them in a pot or steamer, cover with a lid, and let them rise at room temperature for about 30 minutes.
-
Steaming the cake
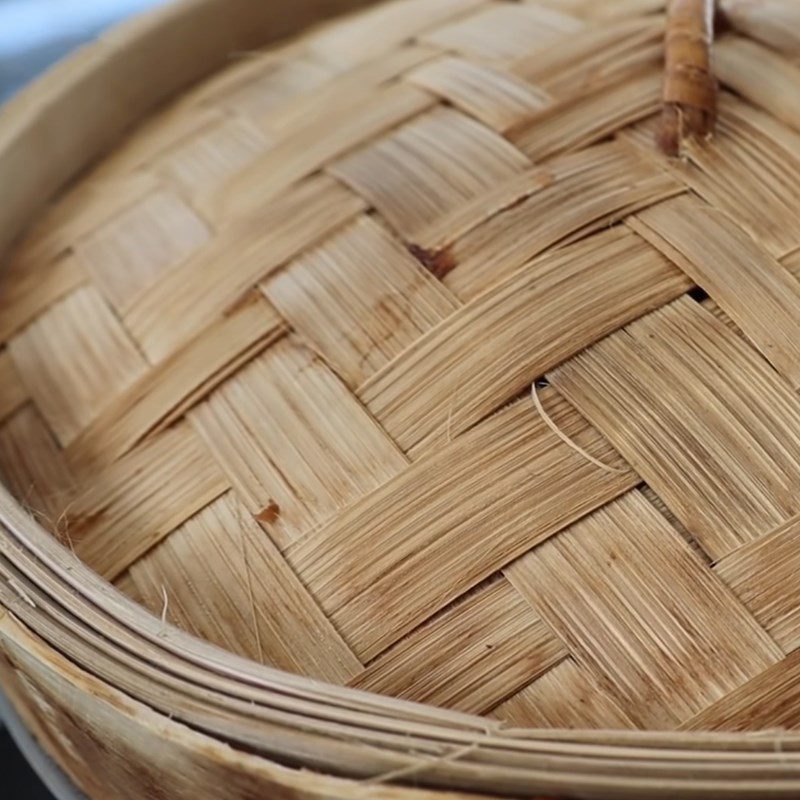
After the dough has risen, place the dough pieces in the steamer and steam for about 15 minutes. Then turn off the heat and let it sit for another 3 minutes.
Tip: When the water in the steamer starts to boil, reduce the heat to low. Use a cloth to wrap around the pot lid to prevent any water from dripping onto the cake!After steaming the cake, slightly open the steamer lid and gently tilt it to one side to prevent water from dripping onto the cake. Remove the cake with tongs and it’s done.
-
Final product
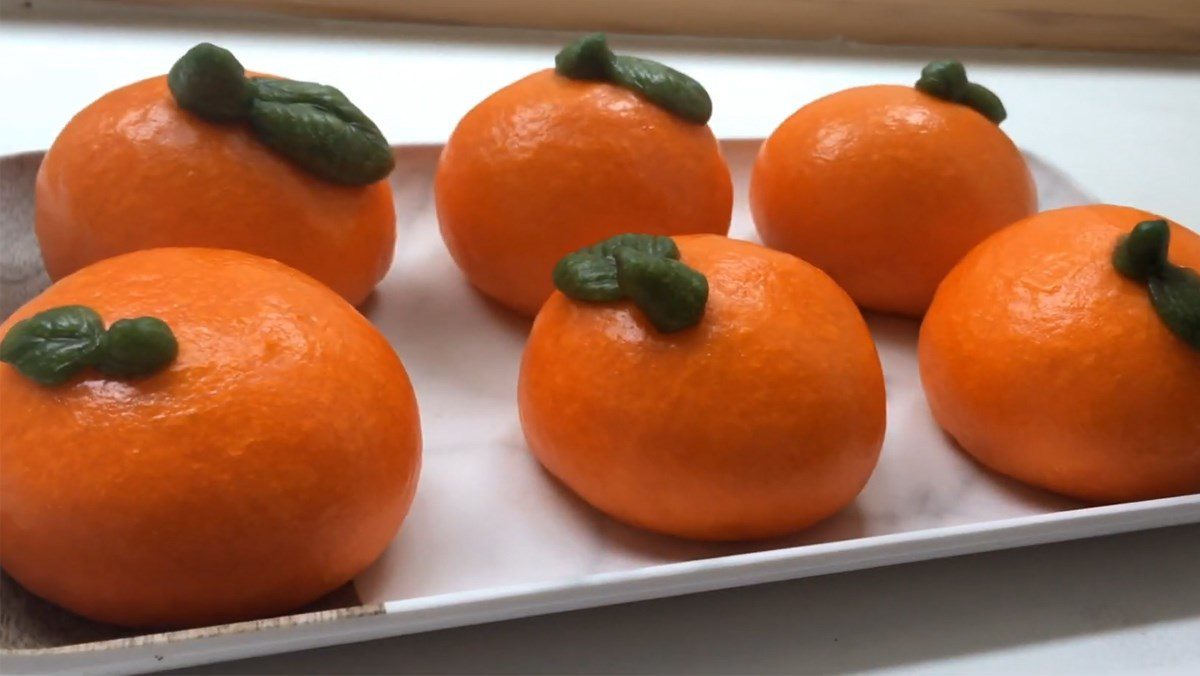
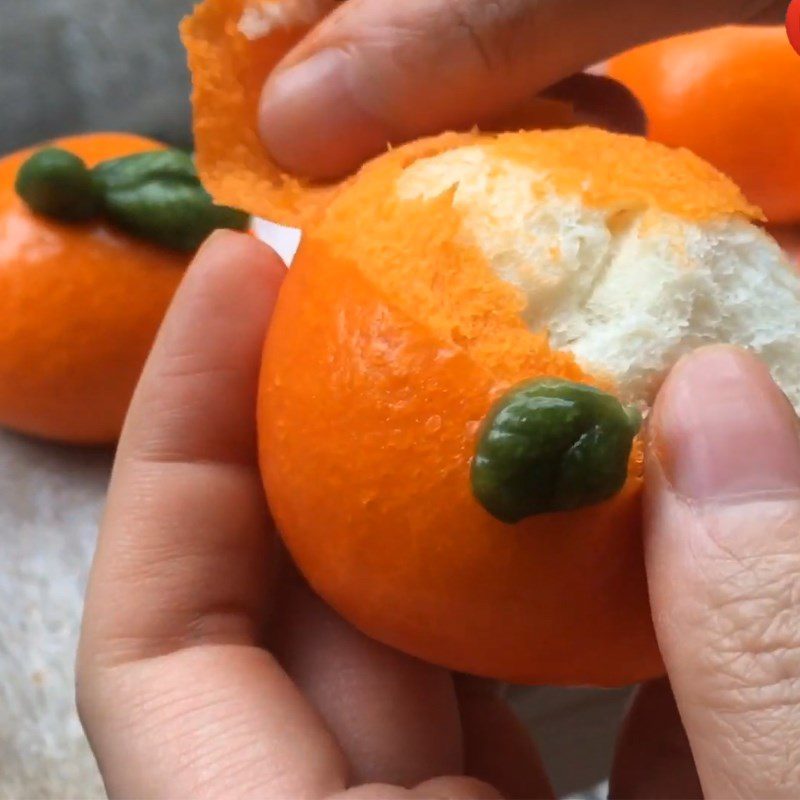
These bao cakes with a small, round tangerine shape are super cute, fragrant with a hint of coconut milk. When eating, you can gently peel off the orange skin outside to reveal the white filling inside, just like peeling a tangerine! Isn’t it interesting? It’s not only delicious but also visually delightful!
How to store steamed buns:
- Let the buns cool completely, place them in a box or a sealed bag, and store them in the refrigerator.
- When eating, you can steam them again or microwave them in the microwave for about 1 minute (depending on the microwave power and the size of the bun). If using a microwave, you should place the buns in a bowl with a lid or covered with plastic wrap to prevent the bun skin from drying out.
- Additionally, you can also store the buns in the freezer. Before eating, thaw them in the refrigerator and then steam or microwave them again for a delicious taste.
See more:
Dien May Xanh hopes that, with the 2 how to make mandarin orange buns, tangerine buns shared above, you can make delicious and beautiful steamed buns to treat your family. Wishing you success in your cooking!
