-
Preparation
30 minutes
-
Cooking
20 minutes
-
Difficulty
Easy
The gourd, gourd or aromatic gourd is an easily found, familiar ingredient that can be used to make many delicious dishes. Today, TasteVN will introduce you to the recipe for pickled gourd mixed with garlic and chili, a very unique and tasty dish that your whole family will love. Let’s cook and check out tips for making it!
Ingredients for Pickled Gourd Mixed with Garlic and Chili Serves 4
Gourd 3 pieces (about 0.7 – 1kg) Garlic 4 cloves Fresh chili 4 pieces Palm sugar 2 tablespoons (or other types of sugar as preferred) White salt 4 tablespoons Rice washing water 700 ml
How to choose fresh, delicious squash
- When buying squash, pay attention to choose those with bright green skin, not yellowing.
- Holding the squash should feel firm and solid, not soft.
- Choose young, elongated fruits, not too big or too small.
- If the stem is still green and there is sap on the skin and stem, it is fresh squash that you should buy.

Tools needed
Glass jar, bowl, basket, chopsticks, bowl, tray
How to make salted sour squash mixed with garlic and chili
-
Prepare and sun-dry the squash
After buying the squash, cut off the stem and soak it in diluted salt water for about 20 minutes, then rinse with clean water and let it drain.
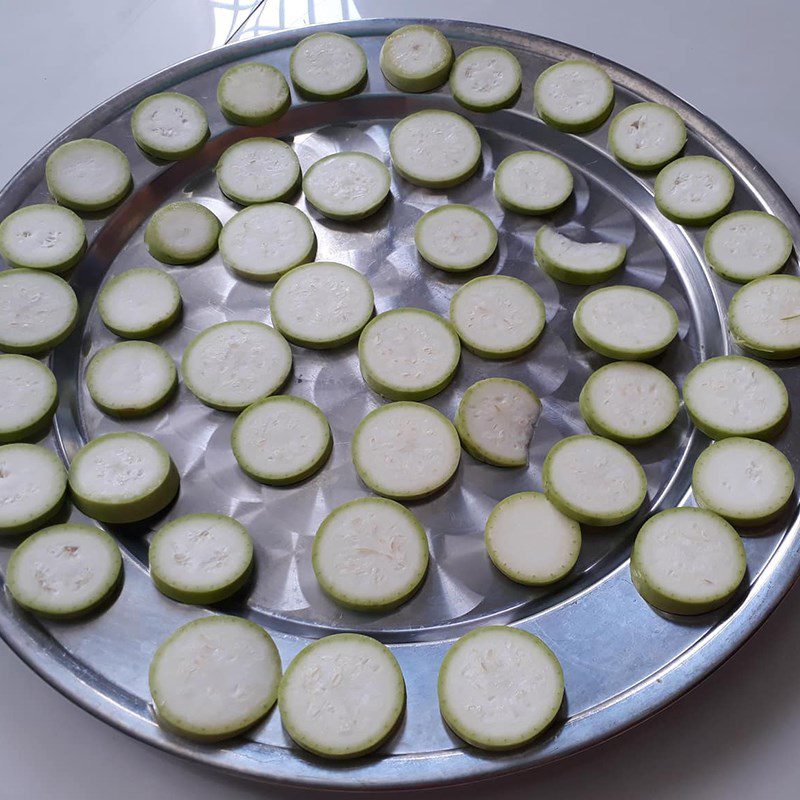
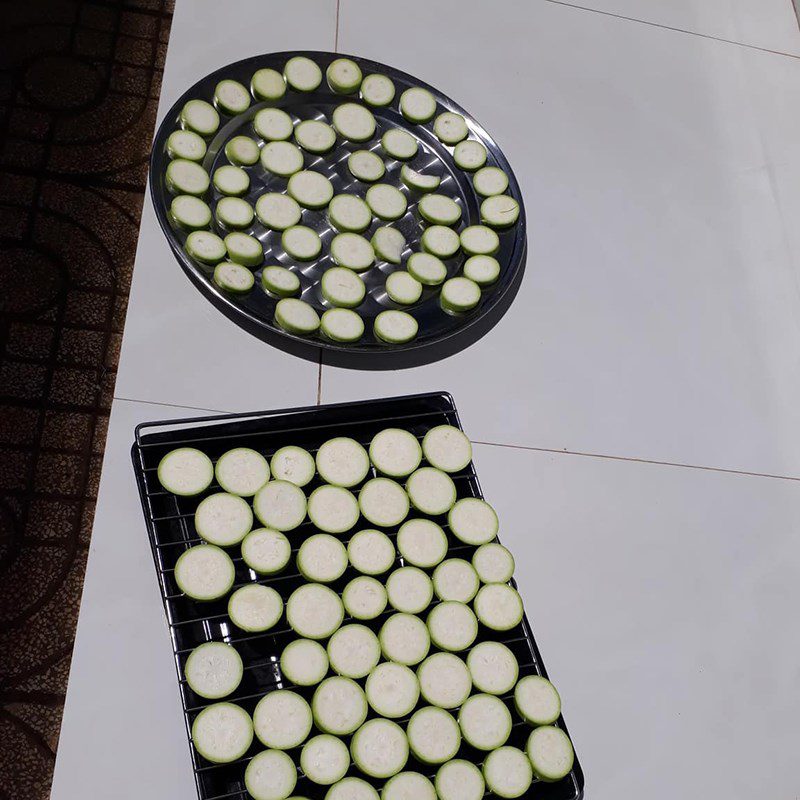
After draining, cut the squash into round slices about the thickness of one finger and arrange the cut pieces on a tray, sun-dry for about 4 – 5 hours until they wilt and become chewy.
Tip:
- To make the squash tastier and not mushy, when cutting the squash, you should leave the skin on. The previous soaking in salt has already disinfected it, so you can use it with confidence.
- During the drying process, to ensure the squash wilts evenly on both sides, remember to flip it every 30 minutes.
-
Make salted sour bitter melon
First, dissolve all the rice washing water with 3 tablespoons of salt.
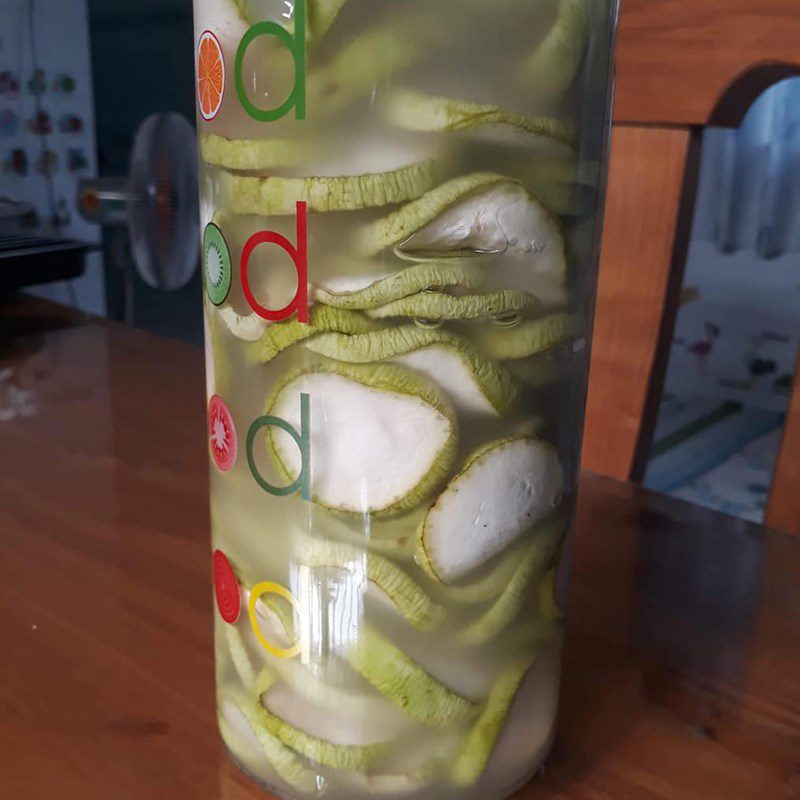
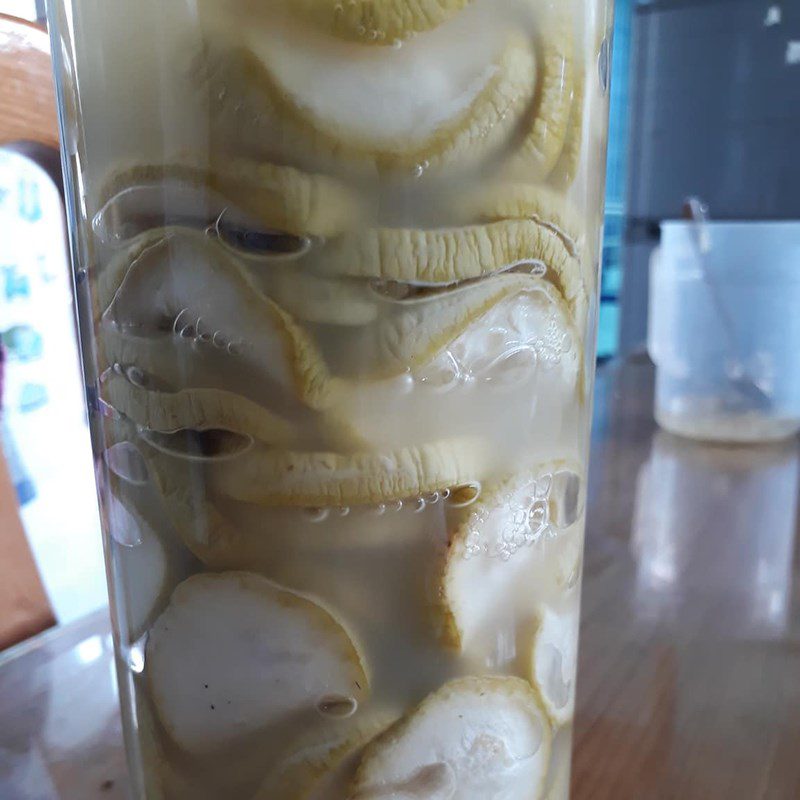
Next, arrange the dried bitter melon in a glass jar, slowly pour the mixed water from above into the jar until the bitter melon is submerged, then press down tightly and cover the lid.
Keep the jar containing the bitter melon in a dry, cool place for about 4 hours and the salted sour bitter melon is ready.
Tip:
- To check whether the soaking water mixture is ready, you can use a spoon to scoop a little and taste it. If the soaking water is slightly saltier than broth, it’s ready.
- Depending on the size of the glass jar, you can adjust the amount of water added accordingly.
-
Mix salted sour bitter melon with garlic and chili
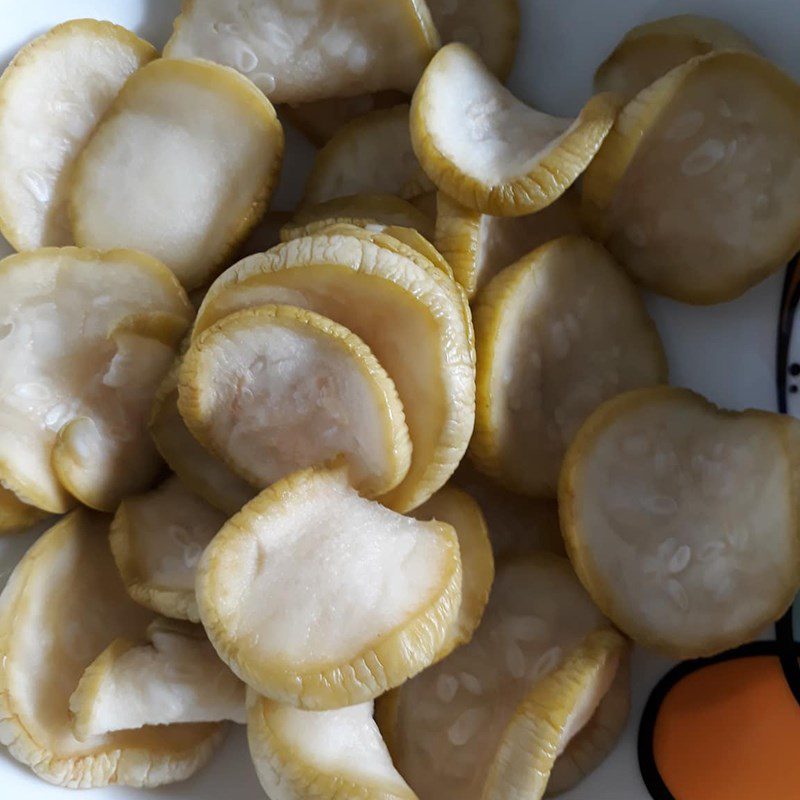
After the salted sour bitter melon is ready, take it out and gently squeeze to drain the water.
Wash the chili and garlic, chop them finely, then put them in a bowl with 2 tablespoons of palm sugar.
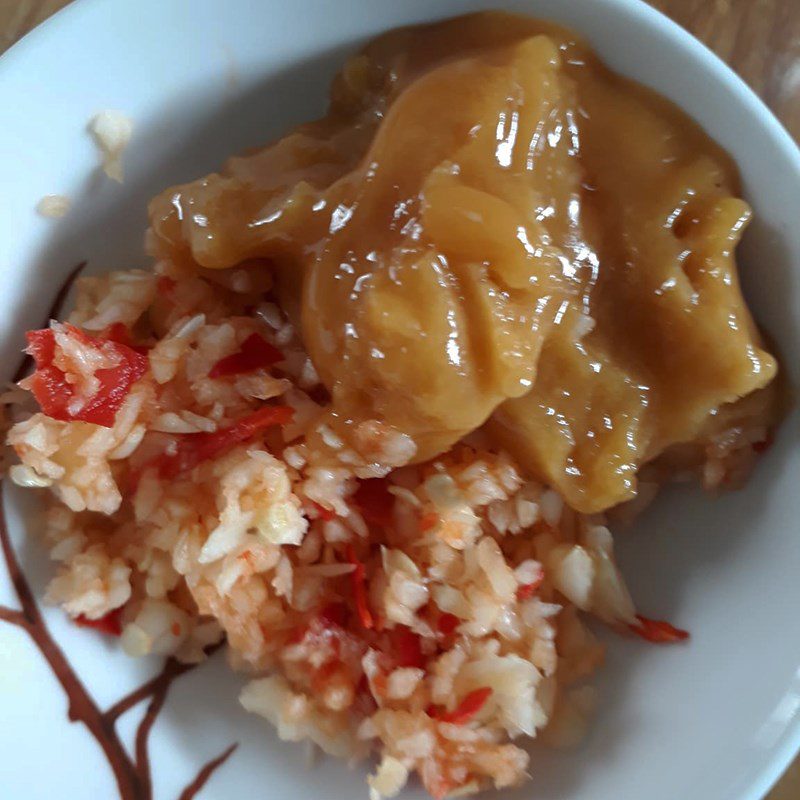
Then, add all the bitter melon and the garlic and chili mixture into a bowl, mix well and leave it in the refrigerator for about 3 hours before enjoying.
Tip: Depending on how long you have made the salted sour bitter melon, if it has been left for a long time, you should rinse it with filtered water 1-2 times to reduce the saltiness.
-
Final product
Sour melon mixed with garlic has a chewy, sour taste combined with a hint of sweetness from sugar, mingled with the spicy flavor of garlic and chili that is really hard to resist, isn’t it?
This dish goes well with white rice, sticky rice, vermicelli, or pho. Wishing you success!

How to store sour melon
- Any unused sour melon should be stored in the fridge refrigerator which not only helps preserve the melon better but also makes it chewier and tastier.
- Note that sour melon should be stored for a maximum of 1 week. After this period, the melon will become salty and may develop mold, making it unsafe to eat.
- To prevent the melon from turning black while pickling, you can put filtered water in a plastic bag, tie it tightly, and then press it on top of the jar so that the melon does not float, preventing scum from forming on the surface.
See more
Finally, we have completed the super delicious and attractive dish pickled gourd mixed with garlic and chili to treat the family. Wishing you success with this recipe!
*Refer to the images and recipe from Facebook: Phan Thị Phúc
