TasteVN
  • Home
  • Main Dishes
    • Beef Dishes
    • Braised Food
    • Fried Food
    • Steamed Food
    • Stir-fried Dishes
    • Soup
    • Grilled Food
    • Hot Pot
    • Liquid Dishes
    • Chicken Dishes
    • Dried and Fermented Dishes
    • Vegetarian Dishes
    • Porridge
  • Desserts
    • Cake
    • Ice Cream
    • Sweet Soup
    • Desserts
  • Beverages
    • Beverages
    • Juices
    • Milk Tea
    • Smoothies
  • Snacks
    • Rolls and Salads
    • Salad
    • Snacks
  • Tips & Holidays
    • Festivals & Holidays
    • Kitchen Tips
No Result
View All Result
TasteVN
No Result
View All Result
Home Cake

How to Make Sweet and Chewy Taiwanese Taro Mochi Extremely Simple

by TasteT
4 months ago
in Cake
478 15
0
how to make sweet taro mochi taiwanese simple delicious 12040
740
SHARES
3.5k
VIEWS
Share on FacebookShare on Twitter

Mochi cake is always loved by many people for its mild sweetness and soft, chewy skin. If you are also a fan of cakes, then let’s cook with TasteVN to make this sweet and chewy Taiwanese taro mochi cake that is extremely simple!

Quick view hide
1 Prepare taro
2 Steam and mash the taro
3 Mix the filling mixture
4 Cook the taro filling
5 Final Product
6 Mixing the Dough
7 Steaming and kneading the dough
8 Coloring and shaping the dough
9 Shaping the mochi
10 Final Product

1. Taro Filling

Taro Filling
  • Preparation

    7 minutes

  • Cooking

    15 minutes

  • Difficulty

    Easy

Ingredients for Taro Filling For 300g of filling

Taro 300 g Wheat flour 1/2 teaspoon Granulated sugar 60 g Water 100 ml Cooking oil 25 ml

How to choose delicious, non-stringy taro

  • Choose taro roots that are evenly round, with a slightly rough skin and little dirt sticking to them. Additionally, the more eyes on the taro, the more flavorful it is.
  • Choose roots that feel just right in your hand, not too heavy. If the root feels heavy, it usually contains a lot of water, resulting in a bland taste and is not delicious.
  • Avoid choosing roots with very smooth skin, few eyes, or those that are too large, as they usually have a bland taste and are not fragrant.
See details: Tips for choosing fragrant, flavorful, and chewy taro

Ingredients for Taiwanese taro mochi

Tools needed

Steamer, knife, cutting board, sieve, pot,…

How to prepare Taro filling

  • Prepare taro

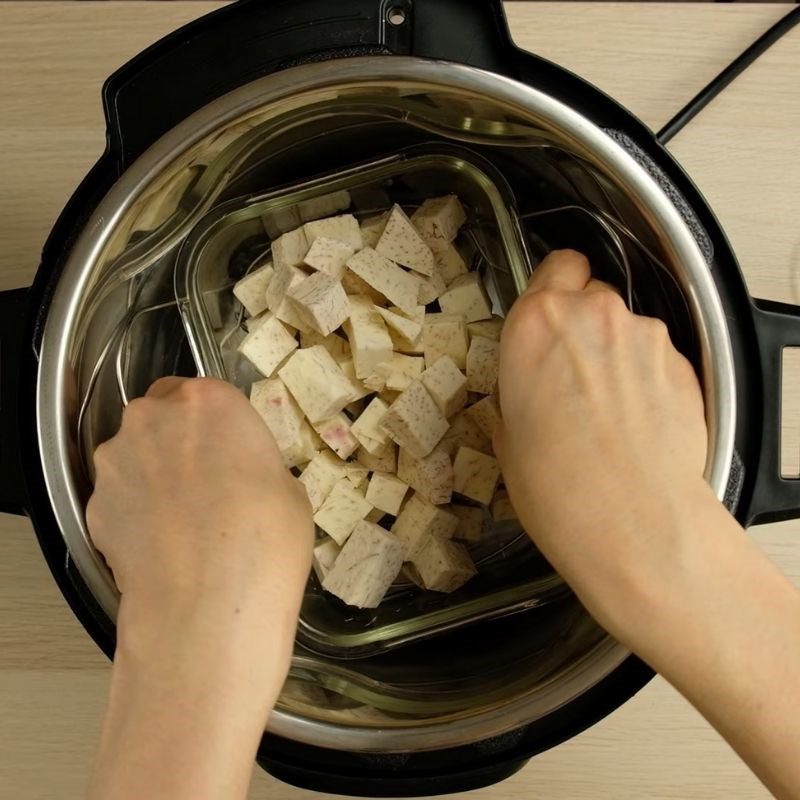
    Wash the taro directly under running water to remove dirt, then let it drain. Use a knife to peel the taro and cut it into small square pieces into a glass bowl.

    Tip:

    Cutting the taro into smaller pieces before steaming helps it cook faster and makes it easier to mash.
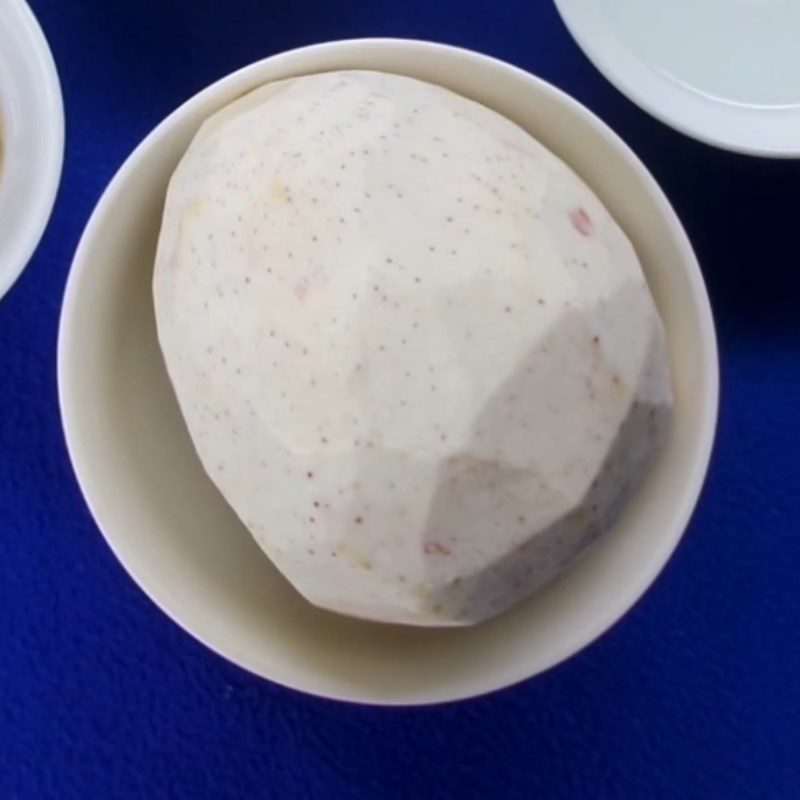
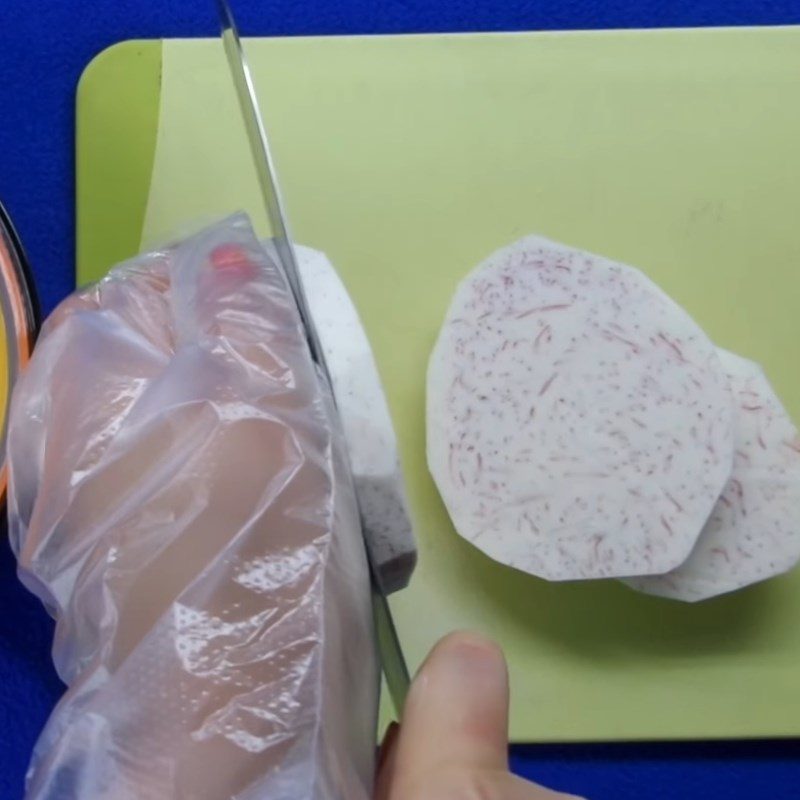
    Step 1 Prepare taro Taro filling
    Step 1 Prepare taro Taro filling
  • Steam and mash the taro

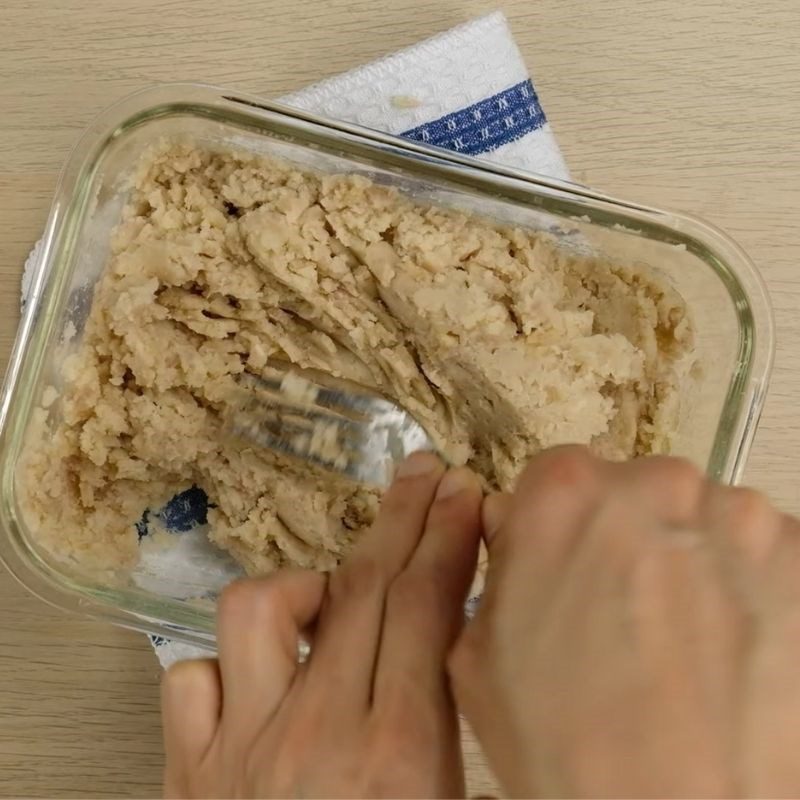
    The taro pieces after being cut and placed in a bowl should be steamed for 5 – 7 minutes. Remove the steamed taro while it’s still hot and use a fork to mash it finely.
    Step 2 Steam and mash the taro Taro filling
    Step 2 Steam and mash the taro filling
  • Mix the filling mixture

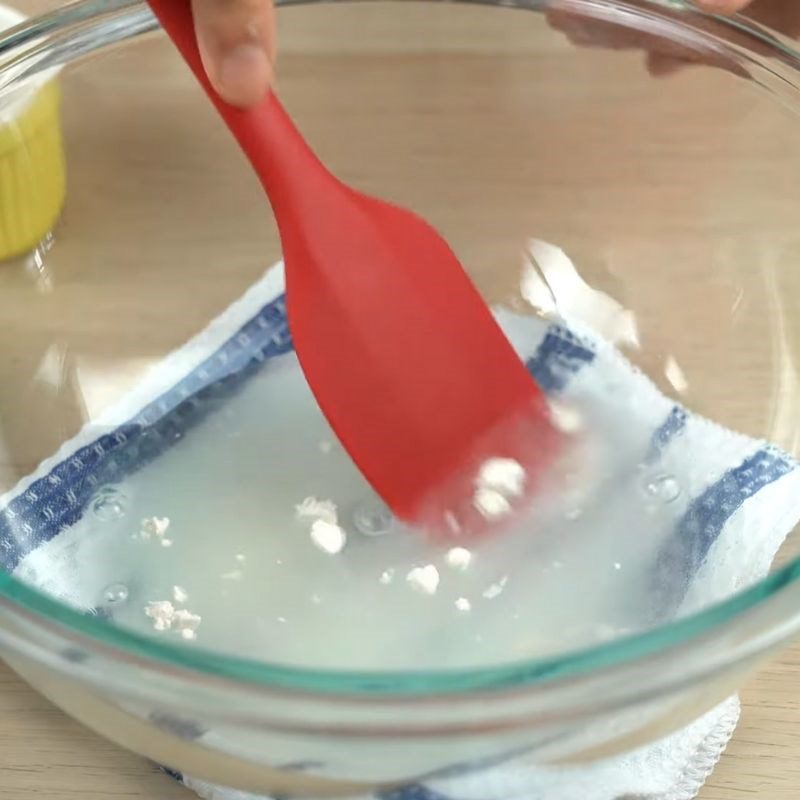
    Use a large bowl or basin to mix the taro filling mixture. Gradually add 60g of white sugar, 1/2 teaspoon of flour, and 100ml of water into the bowl, using a spoon to stir until dissolved.

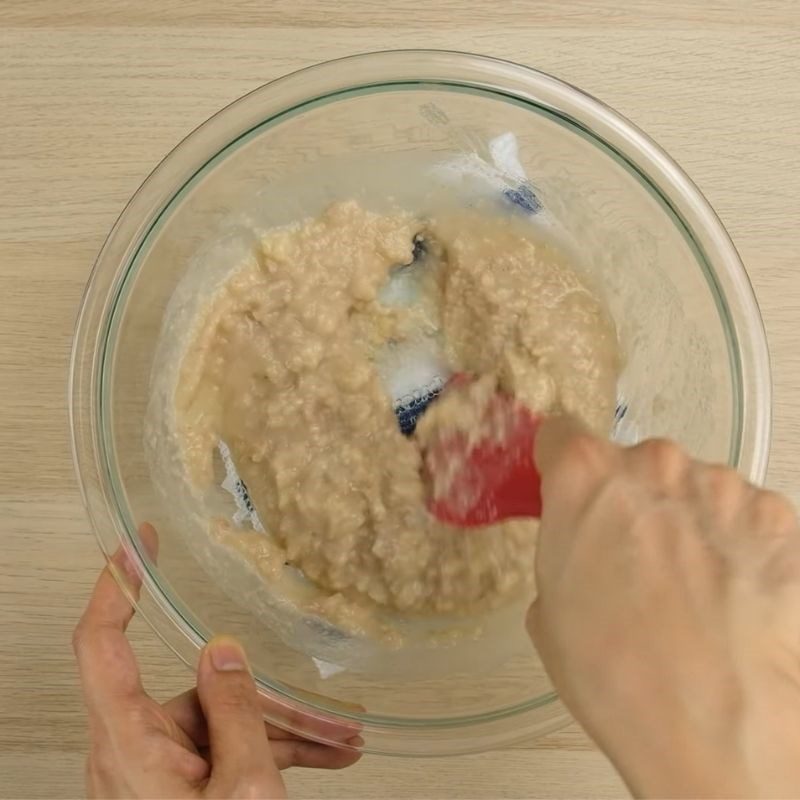
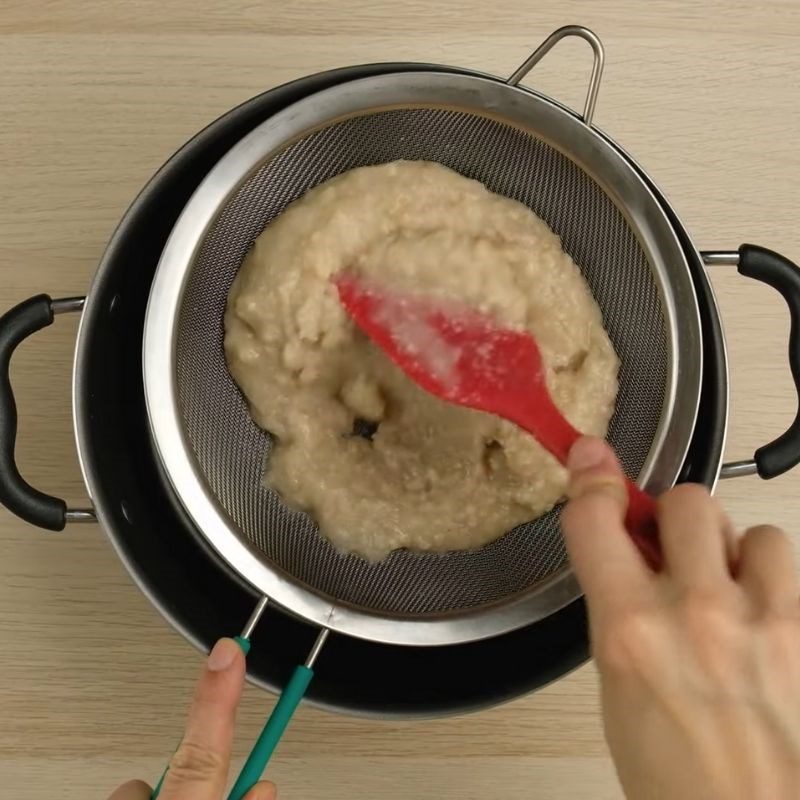
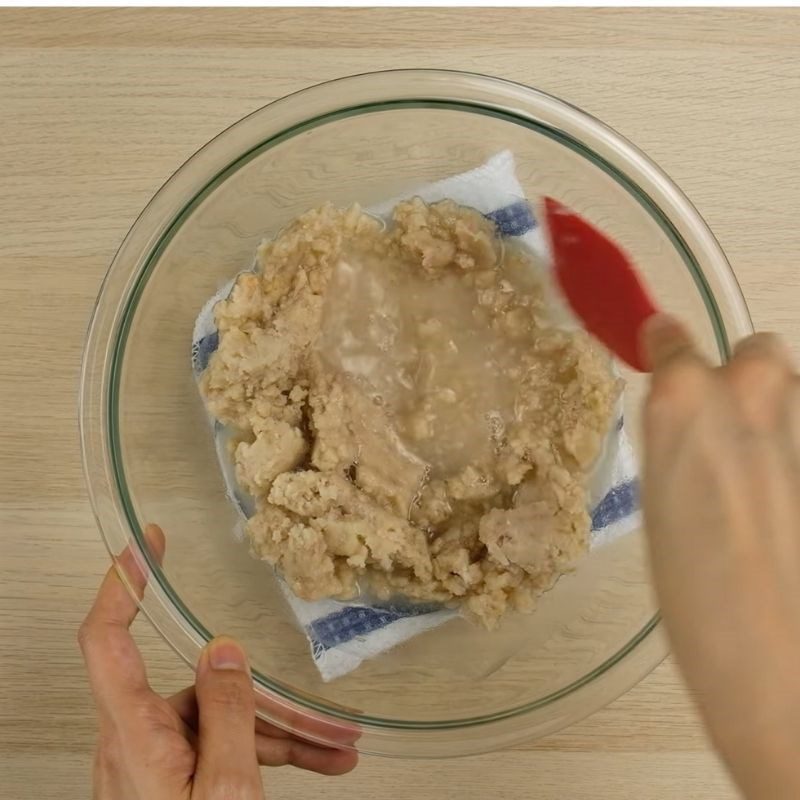
    Continue to add the mashed taro into the sugar water and mix thoroughly until the mixture thickens slightly, then strain through a sieve to make the taro filling smoother and finer.
    Step 3 Mix the filling mixture Taro filling
    Step 3 Mix the filling mixture Taro filling
    Step 3 Mix the filling mixture Taro filling
    Step 3 Mix the filling mixture Taro filling
  • Cook the taro filling

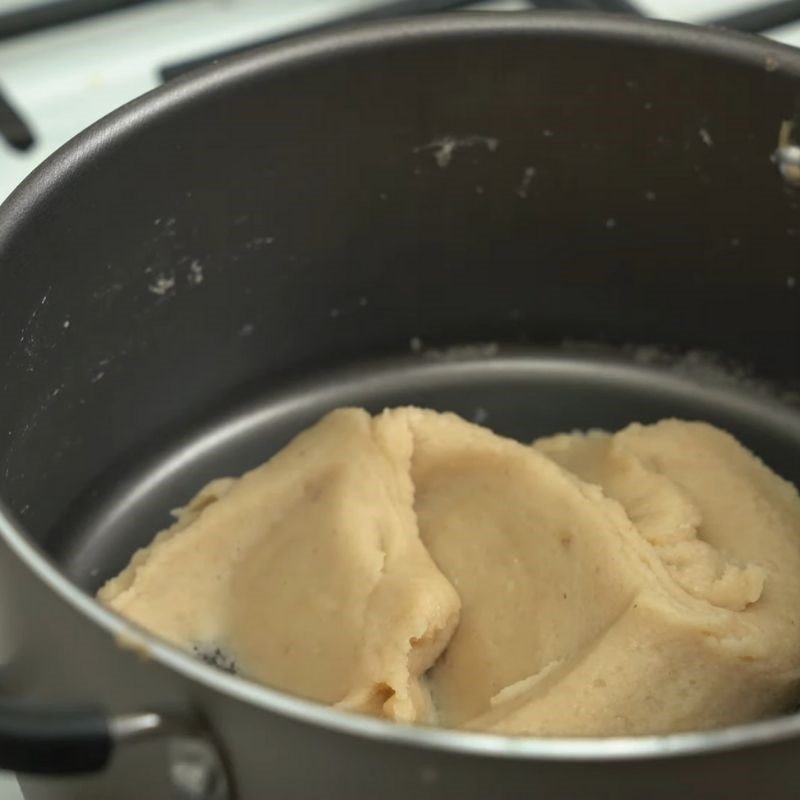
    After straining the taro filling, place it into a pot. Add 25ml of cooking oil and cook the filling on low heat for about 5 – 10 minutes until the filling thickens and becomes sticky, then turn off the heat.

    Scoop the taro filling into a bowl and let it cool.

    Tip:

    While cooking the filling, you should continuously stir to prevent it from burning or scorching.
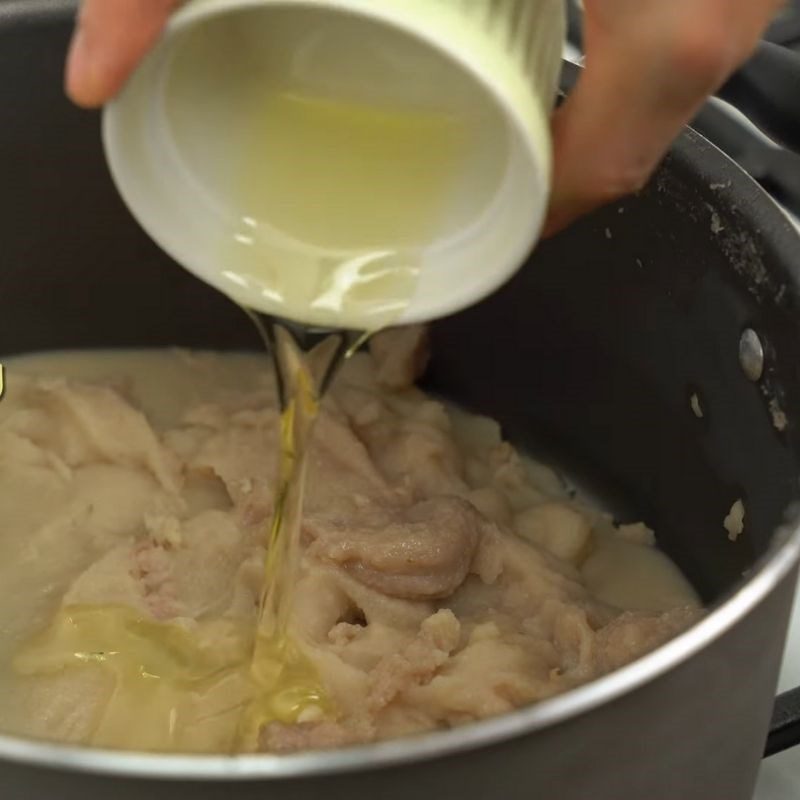
    Step 4 Cook the taro filling Taro filling
    Step 4 Make taro filling
  • Final Product

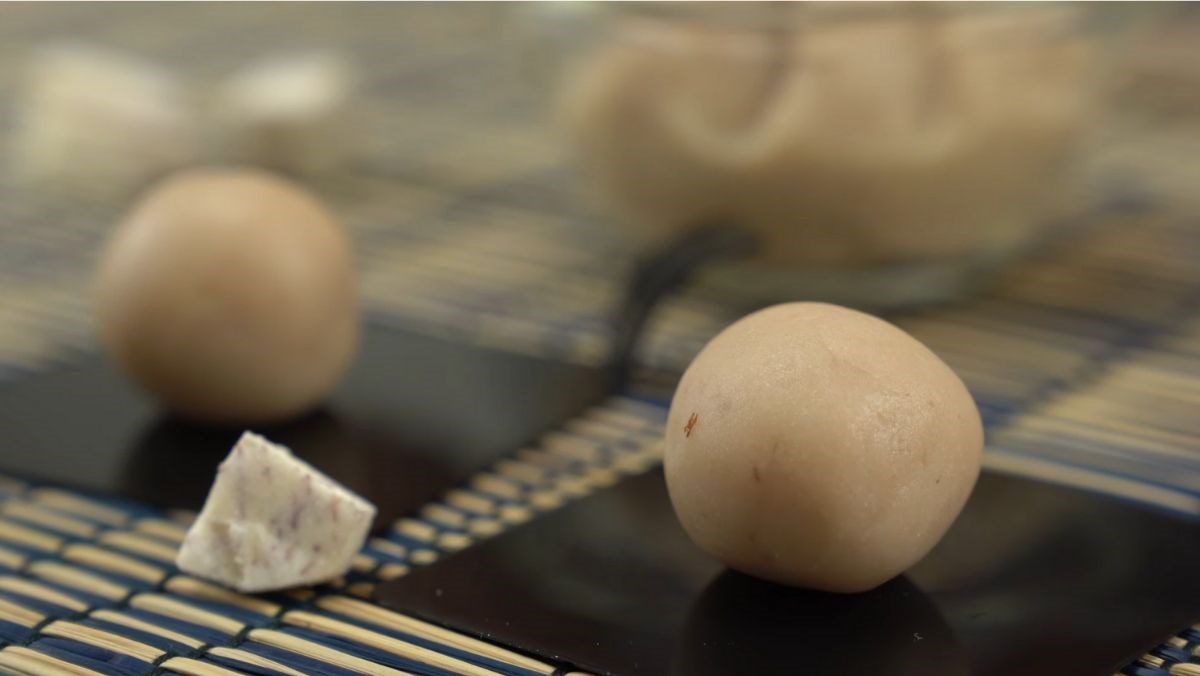
    Just after about 10 minutes, you have completed the smooth taro filling. The filling has a creamy, sweet taste that will enhance your mochi cake.
    Step 5 Final Product Taro filling
    Step 5 Final Product Taro filling

2. Taiwanese Taro Mochi

Taiwanese Taro Mochi
  • Preparation

    10 minutes

  • Cooking

    20 minutes

  • Difficulty

    Easy

Ingredients for Taiwanese Taro Mochi For 10 pieces

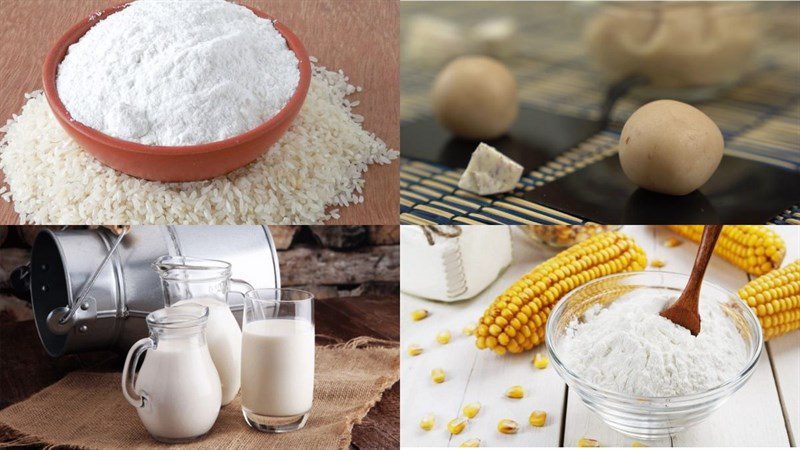
Glutinous rice flour 100 gr Corn starch 25 gr Tapioca starch A little Taro filling 300 gr Fresh milk 170 ml White sugar 30 gr Cooking oil 15 ml Salt A little Purple food coloring A little

Ingredients Image

Ingredients for Taiwanese taro mochi

Tools Required

Steamer, whisk, bowl, knife,…

How to Make Taiwanese Taro Mochi

  • Mixing the Dough

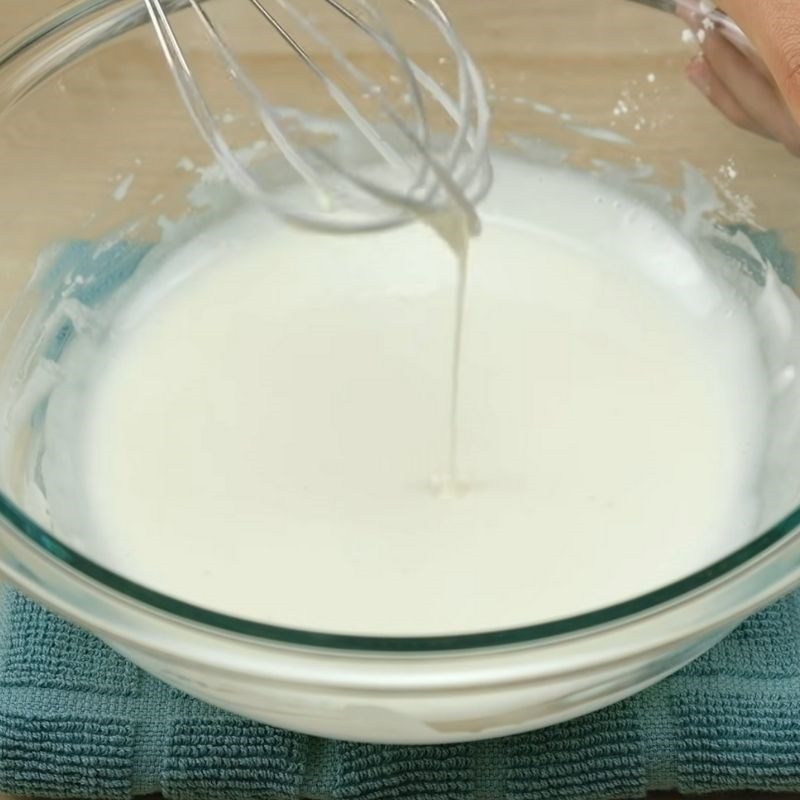
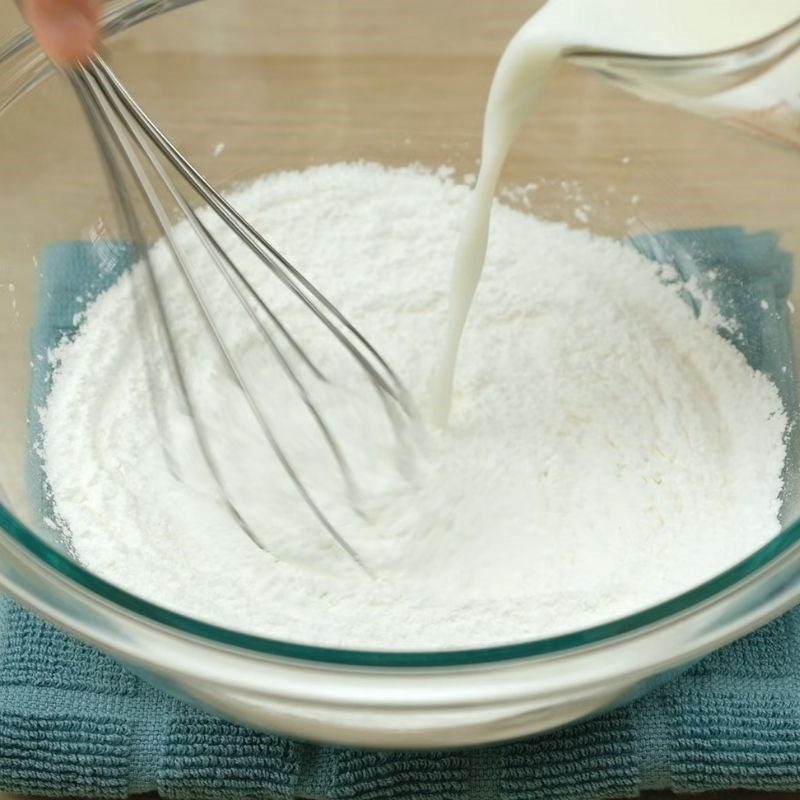
    Use a large glass bowl or a basin to mix the dough. Add to the bowl 100g of glutinous rice flour, 25g of cornstarch, 30g of white sugar, and a little salt, then use a whisk to mix the ingredients well.

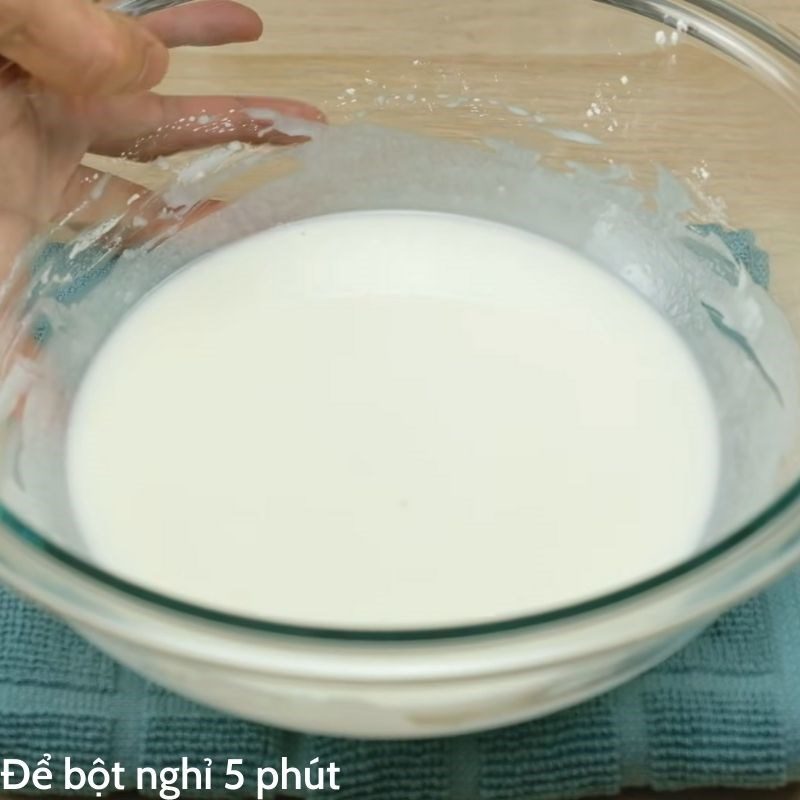
    Divide 170ml of fresh milk into 2 portions and gradually add it to the flour, mixing for about 3 minutes until the dough is thick and smooth as in the picture. Let the dough rest for 5 minutes before steaming it.
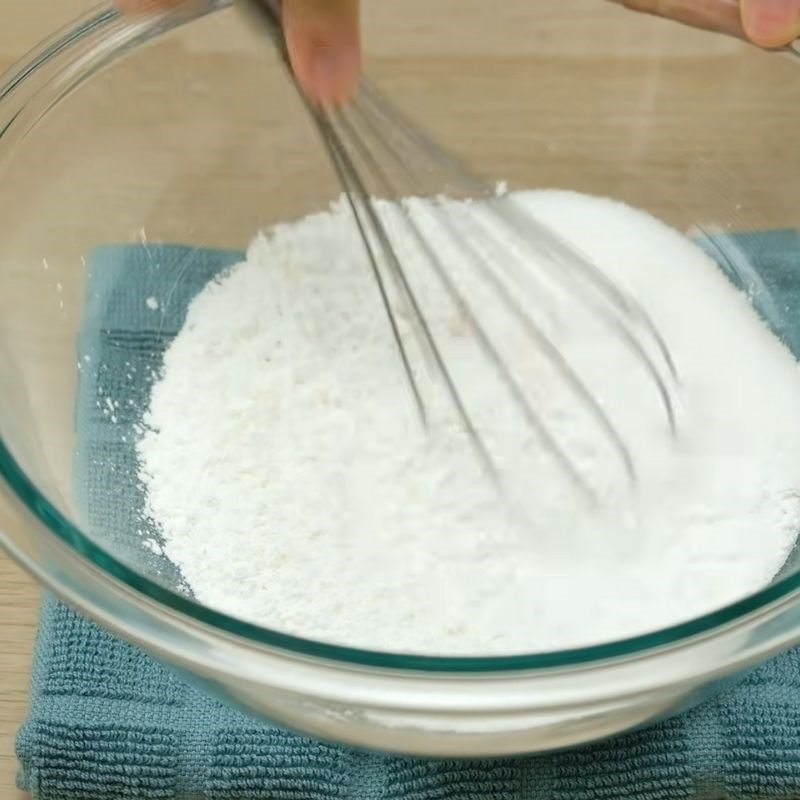
    Step 1 Mixing the dough for Taiwanese taro mochi
    Step 1 Mixing the dough for Taiwanese taro mochi
    Step 1 Mixing the dough for Taiwanese taro mochi
    Step 1 Mixing the dough for Taiwanese taro mochi
  • Steaming and kneading the dough

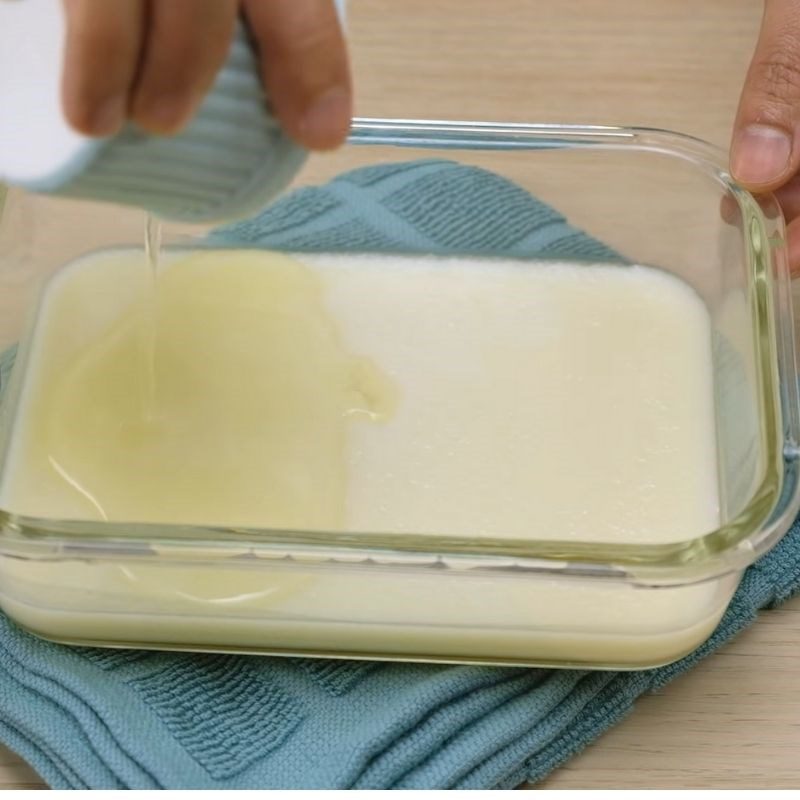
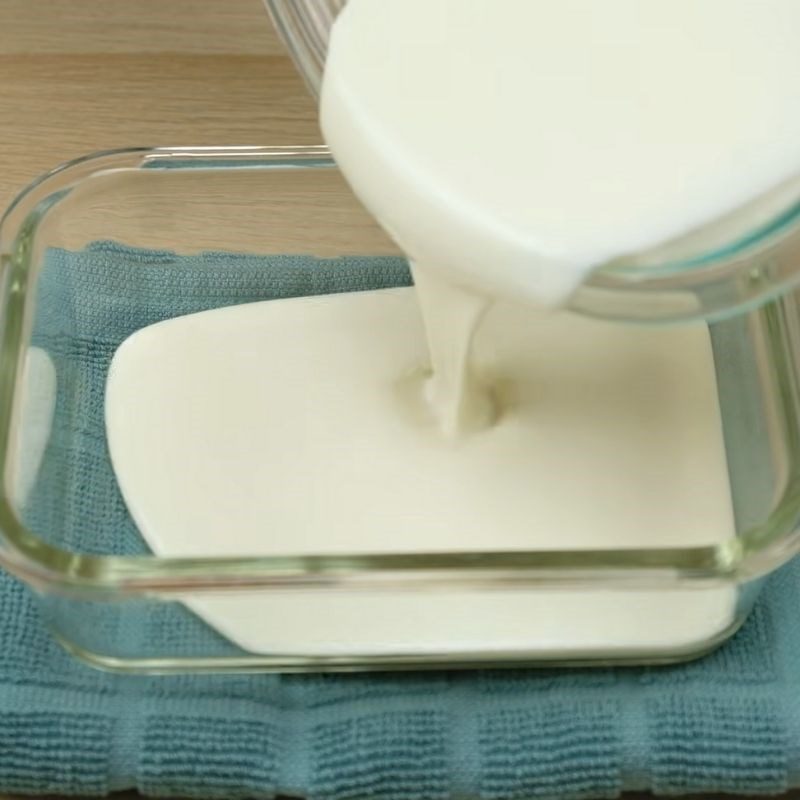
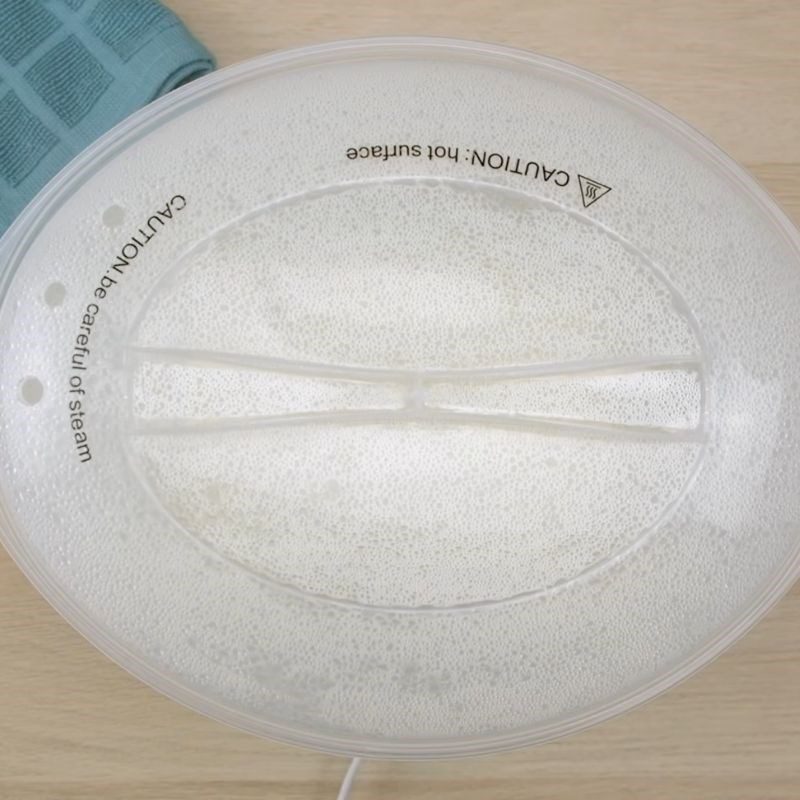
    After letting the dough rest for 5 minutes, stir it once more evenly and then pour the dough into the mold. Place the dough mold in the steamer and steam for 15 minutes.

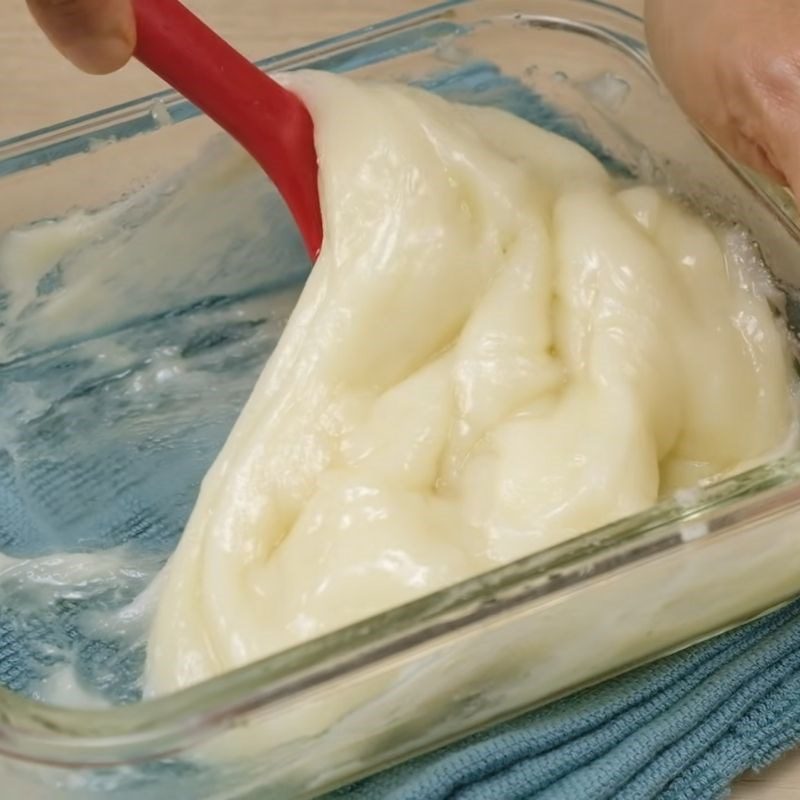
    After 15 minutes, take out the steamed dough mold and add 15ml of cooking oil to the mold. Use a flat spatula to knead the dough and oil thoroughly. Knead for about 5 – 7 minutes until the oil and dough are combined into a single mass.

    Tip:

    You can use a spoon or ladle to knead the dough, but mixing with a specialized flat spatula will be less sticky and easier to knead.
    Step 2 Steaming and kneading the dough Taiwanese taro mochi
    Step 2 Steaming and kneading the dough Taiwanese taro mochi
    Step 2 Steaming and kneading the dough Taiwanese taro mochi
    Step 2 Steaming and kneading the dough Taiwanese taro mochi
  • Coloring and shaping the dough

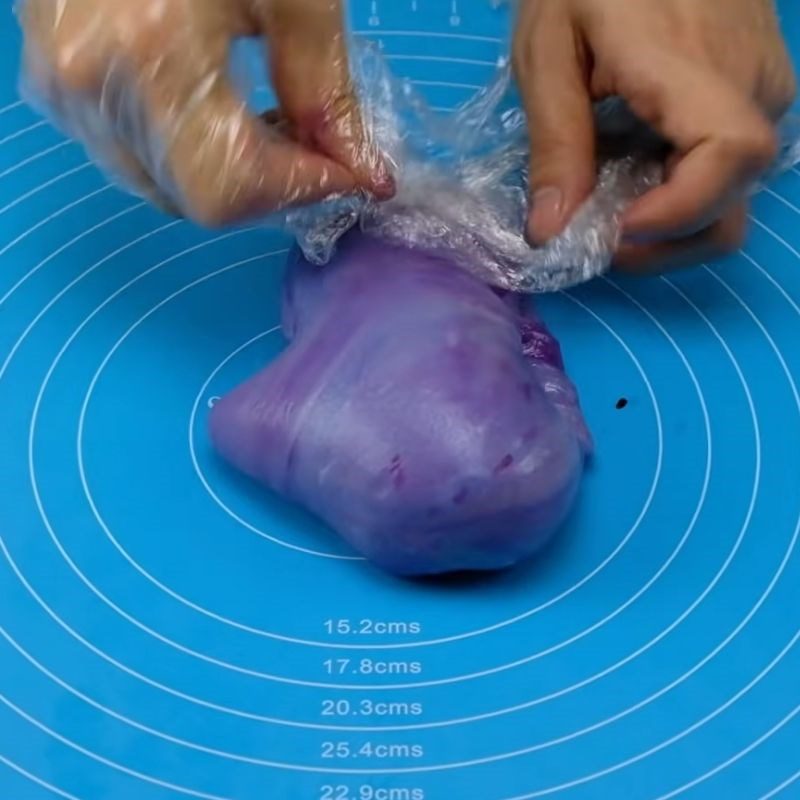
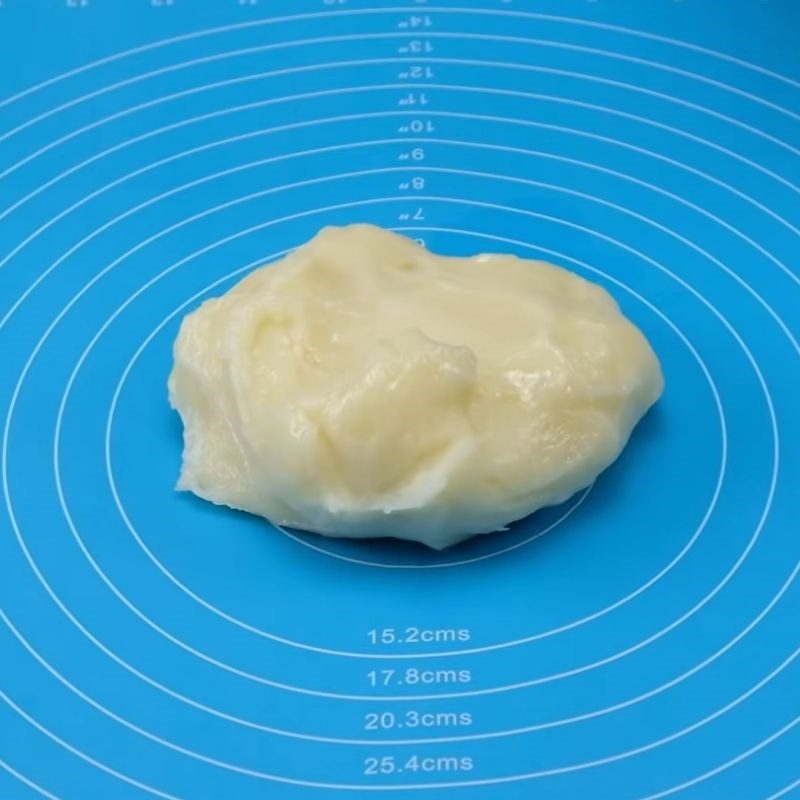
    Sprinkle some tapioca flour and use your hands to evenly spread the flour on the cutting board. Pour the mochi dough from the mold onto the cutting board and gently flatten it with your hands. Add a little food coloring, then fold the edges of the dough so that the food coloring is in the middle and does not spill out.

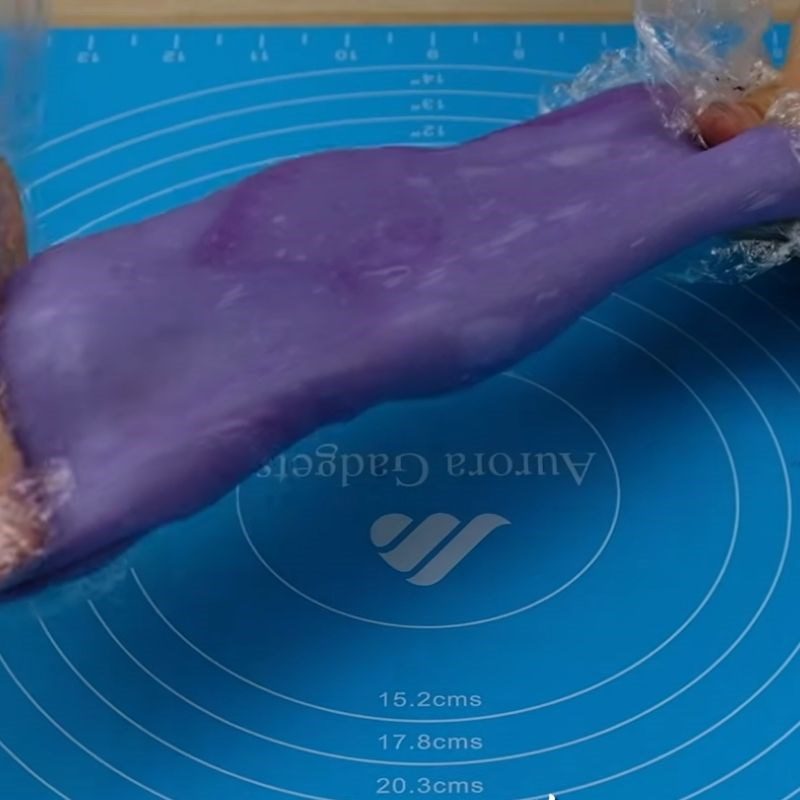
    Use your hands to knead the dough and food coloring for about 5 – 10 minutes until the dough is evenly colored purple. Continue kneading the mochi dough until it becomes very elastic; if you can stretch both ends without the dough breaking, it’s ready.

    Tip:

    You can apply a little cooking oil or wear gloves while kneading the dough to prevent it from sticking.
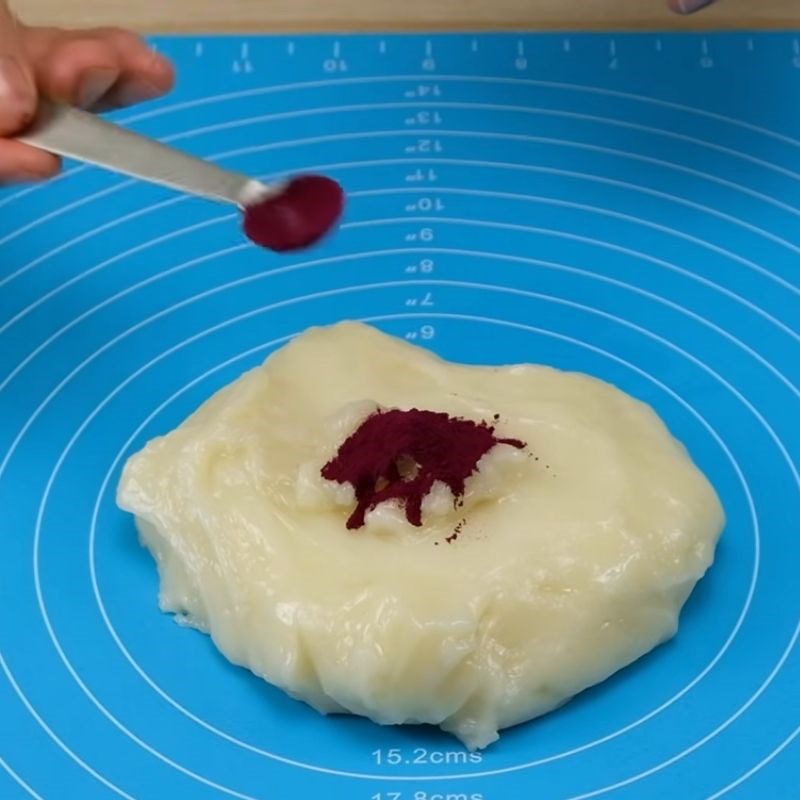
    Step 3 Create color and shape the dough for Taiwanese taro mochi
    Step 3 Create color and shape the dough for Taiwanese taro mochi
    Step 3 Create color and shape the dough for Taiwanese taro mochi
    Step 3 Create color and shape the dough for Taiwanese taro mochi
  • Shaping the mochi

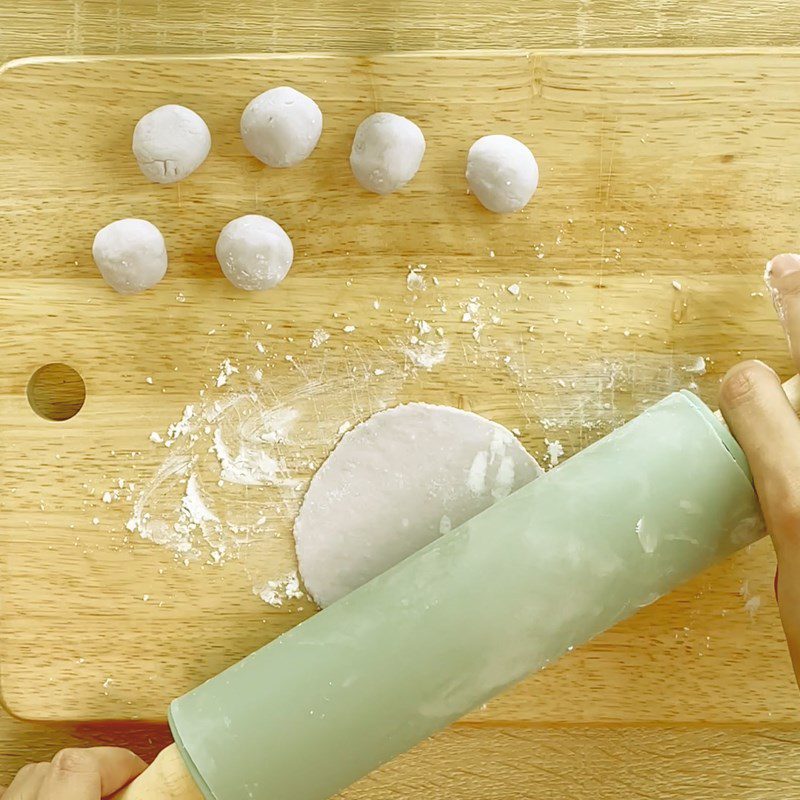
    Divide the kneaded dough into 10 equal parts, and shape the taro filling into 10 balls, each weighing 30g. Use your hands to flatten each piece of dough so that it is just enough to wrap around the taro filling.

    Place the taro filling in the center of the dough piece, then pull the four corners of the dough together to enclose the filling. Use your hands to roll the mochi into a round shape and dust a little cornstarch all over the mochi to prevent them from sticking together.

    Continue doing this until all the remaining mochi are finished.
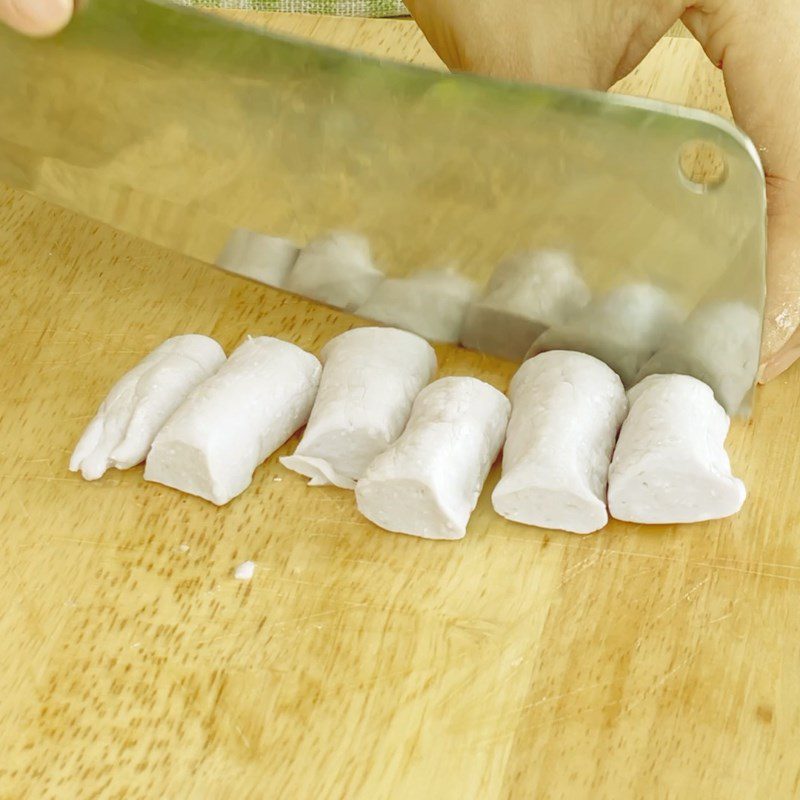
    Step 4 Shaping the mochi Taiwanese taro mochi
    Step 4 Shaping the mochi Taiwanese taro mochi
    Step 4 Shaping the mochi Taiwanese taro mochi
    Step 4 Shaping the mochi Taiwanese taro mochi
  • Final Product

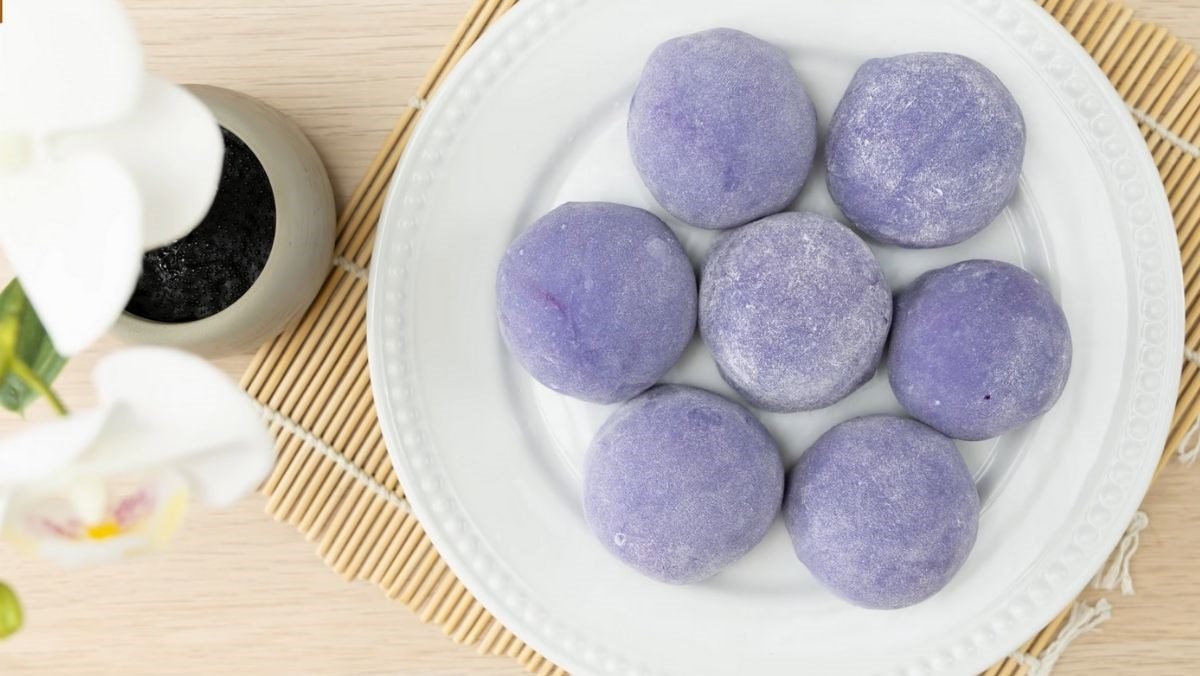
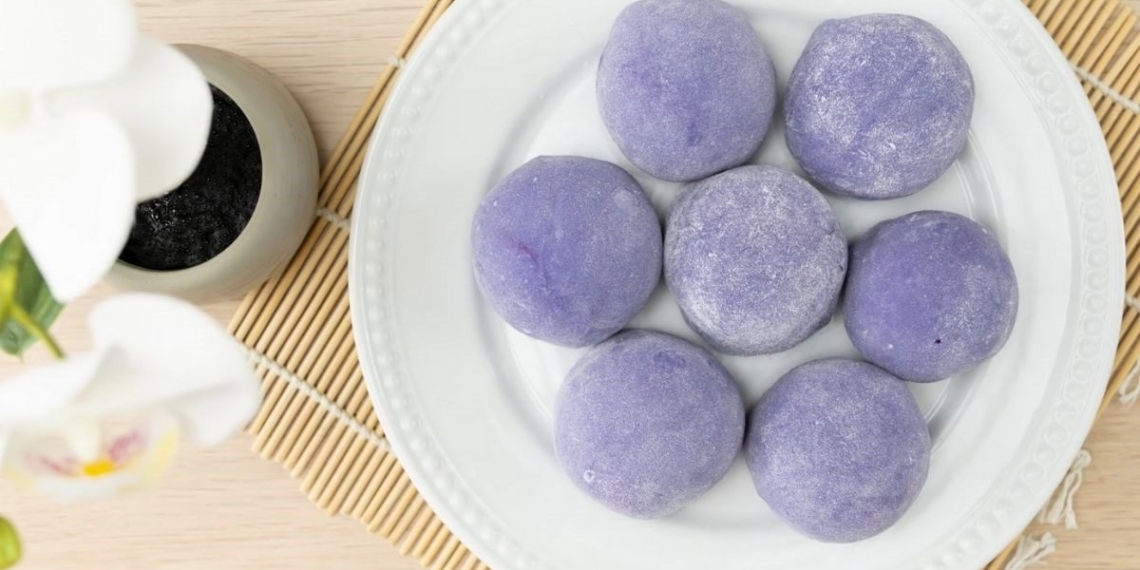
    Thus, with just 4 extremely simple steps, we can complete the delicious Taiwanese taro mochi that uses inexpensive and easily found ingredients.

    The mochi skin is chewy and elastic, blended with the sweet and creamy taro filling, so it is not at all overwhelming to eat.
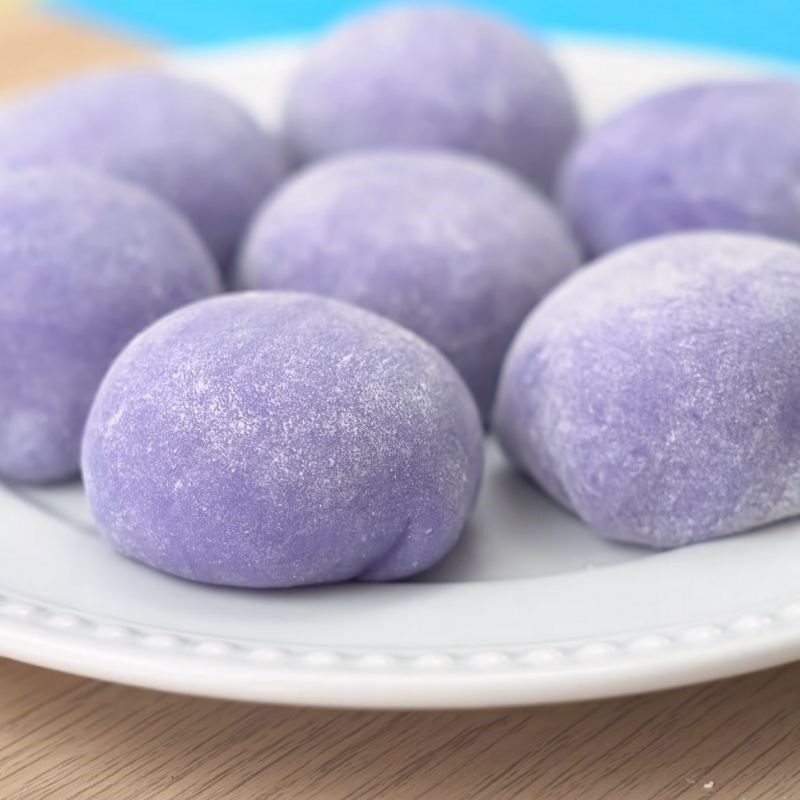
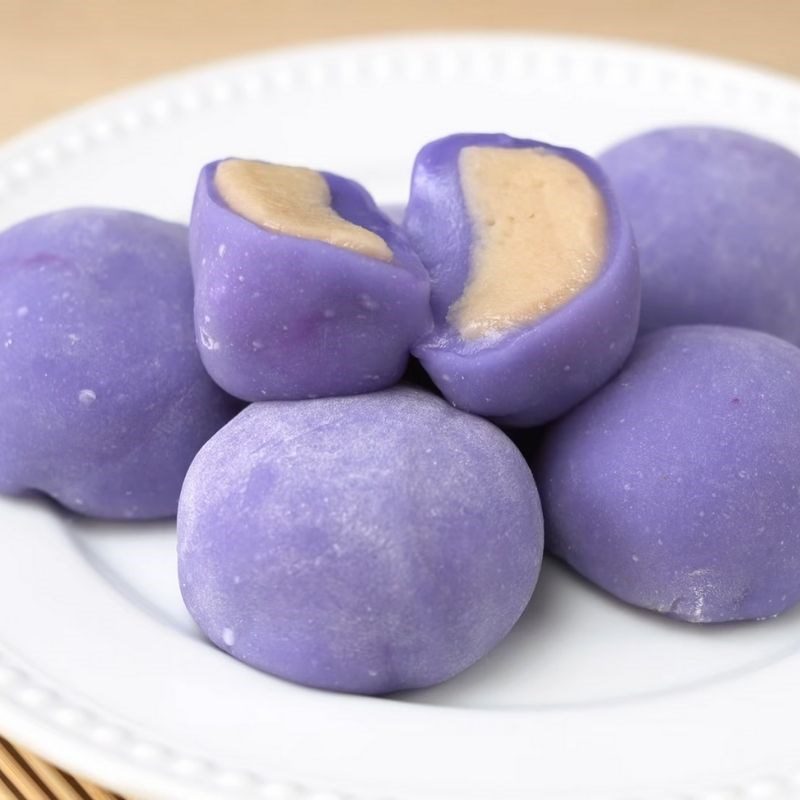
    Step 5 Final Product Taiwanese Taro Mochi
    Step 5 Final Product Taiwanese Taro Mochi

See more:

  • How to make delicious and soft taro mochi
  • How to make soft and creamy steamed taro cake that everyone loves
  • How to make delicious crispy fried taro dumplings

Taiwanese Taro Mochi is really easy to make, right? I hope that with the recipe shared by TasteVN in this article, you can easily make this cake. Wishing you success with this delicious chewy taro mochi!
Cooking time: 20 minutes
Level: Easy
Tags: how to make mochihow to make taro mochiTaiwanese mochiTaiwanese taro mochitaro mochi
Previous Post

How to Make Delicious and Irresistible Stir-Fried Vermicelli with Snakehead Fish

Next Post

How to Make Delicious Stir-Fried Long Beans with Beef, Restaurant-Style

TasteT

TasteT

I am a food writer specializing in Vietnamese cuisine, sharing traditional recipes, cooking tips, and the culture behind every dish. My goal is to bring the authentic flavors of Vietnam to your kitchen.

Related Posts

How to make smooth and fragrant soy milk mochi at home
Cake

How to make smooth and fragrant soy milk mochi at home

How to make sweet, chewy black sesame mochi, incredibly delicious and super simple
Cake

How to make sweet, chewy black sesame mochi, incredibly delicious and super simple

Next Post
How to Make Delicious Stir-Fried Long Beans with Beef, Restaurant-Style

How to Make Delicious Stir-Fried Long Beans with Beef, Restaurant-Style

Leave a Reply Cancel reply

Your email address will not be published. Required fields are marked *

Navigate

  • About
  • Privacy Policy
  • Contact

Recent Recipes

How to make fried fish balls from leftover rice with delicious garlic dipping sauce, super easy

How to make fried fish balls from leftover rice with delicious garlic dipping sauce, super easy

How to Cook Delicious and Unusual Mackerel Noodle Soup from Da Nang

How to Cook Delicious and Unusual Mackerel Noodle Soup from Da Nang

Browse by Category

  • Beef Dishes
  • Beverages
  • Braised Food
  • Cake
  • Chicken Dishes
  • Desserts
  • Dried and Fermented Dishes
  • Festivals & Holidays
  • Fried Food
  • Grilled Food
  • Hot Pot
  • Ice Cream
  • Juices
  • Kitchen Tips
  • Liquid Dishes
  • Milk Tea
  • Porridge
  • Rolls and Salads
  • Salad
  • Smoothies
  • Snacks
  • Soup
  • Steamed Food
  • Stir-fried Dishes
  • Sweet Soup
  • Vegetarian Dishes

Browse by Ingredients

beef beef stew braised fish cake dish dessert fried dish grilled dishes how to cook porridge how to make cake how to make ice cream into the kitchen mixed salad dish noodle soup snacks soup dish sponge cake steamed dish stir-fried dish stir-fried noodles vegetarian dish

© 2024 TasteVN - The ultimate Vietnam food destination for cooking tips, recipes, and more.

Welcome Back!

Login to your account below

Forgotten Password?

Retrieve your password

Please enter your username or email address to reset your password.

Log In
No Result
View All Result
  • Home
  • Main Dishes
    • Beef Dishes
    • Braised Food
    • Fried Food
    • Steamed Food
    • Stir-fried Dishes
    • Soup
    • Grilled Food
    • Hot Pot
    • Liquid Dishes
    • Chicken Dishes
    • Dried and Fermented Dishes
    • Vegetarian Dishes
    • Porridge
  • Desserts
    • Cake
    • Ice Cream
    • Sweet Soup
    • Desserts
  • Beverages
    • Beverages
    • Juices
    • Milk Tea
    • Smoothies
  • Snacks
    • Rolls and Salads
    • Salad
    • Snacks
  • Tips & Holidays
    • Festivals & Holidays
    • Kitchen Tips

© 2024 TasteVN - The ultimate Vietnam food destination for cooking tips, recipes, and more.