-
Preparation
4 hours
-
Processing
2 hours
-
Difficulty
Easy
Mooncake with mung bean filling features a fragrant, chewy crust harmoniously combined with the rich, sweet mung bean filling. Especially, the way to make cake dish is extremely quick and simple without the need for an oven. Let’s join TasteVN to the kitchen to learn the recipe right away!
Ingredients for Chewy Mooncake with Mung Bean Filling For 8 cakes
Mung beans 200 gr Chewy cake flour 210 gr (toasted sticky rice flour) Corn starch 10 gr (can be substituted with wheat flour or tapioca starch) Chewy cake syrup 400 ml Grapefruit essential oil 1 teaspoon (5ml) Cooking oil 70 ml Salt 1/2 teaspoon Sugar 80 gr
Product Information
- You can use Philips HR2041/50 blender – 3 jars to make mooncakes with green bean filling more easily.
- The product includes 3 plastic jars, suitable for various purposes. The jars are break-resistant, safe, very easy to clean, and can be washed in a dishwasher.
- The machine is equipped with ProBlend technology that helps produce a smooth mixture quickly, without clumping, and can even crush ice cubes.
- The machine has a power of 450W with 4-wing and 2-wing stainless steel blades, making it easy for users to blend food quickly.
- If you need to blend a lot of food, you can consider purchasing this machine for your kitchen.
Tools Required
Mooncake mold 100gr, small scale, mixing whisk, non-stick pan, blender.
Ingredients Image

How to Make Green Bean Mooncake
-
Prepare Ingredients
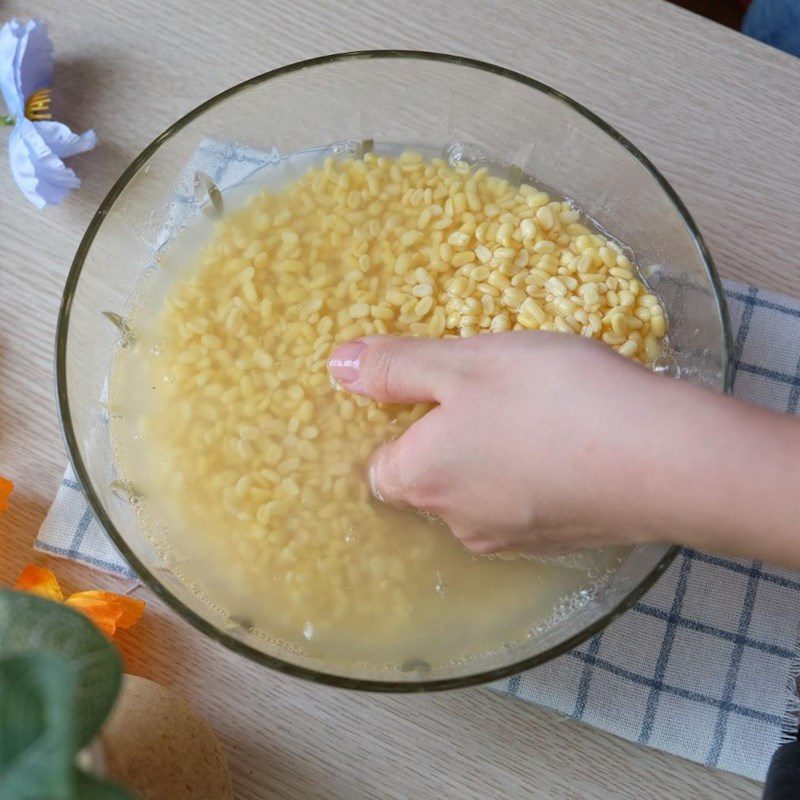
First, wash 200gr of green beans with water, discarding any bad or damaged beans. Then, soak the green beans in water for about 3 – 4 hours until they are soft.
After soaking the green beans, rinse them one more time.
-
Stew mung beans
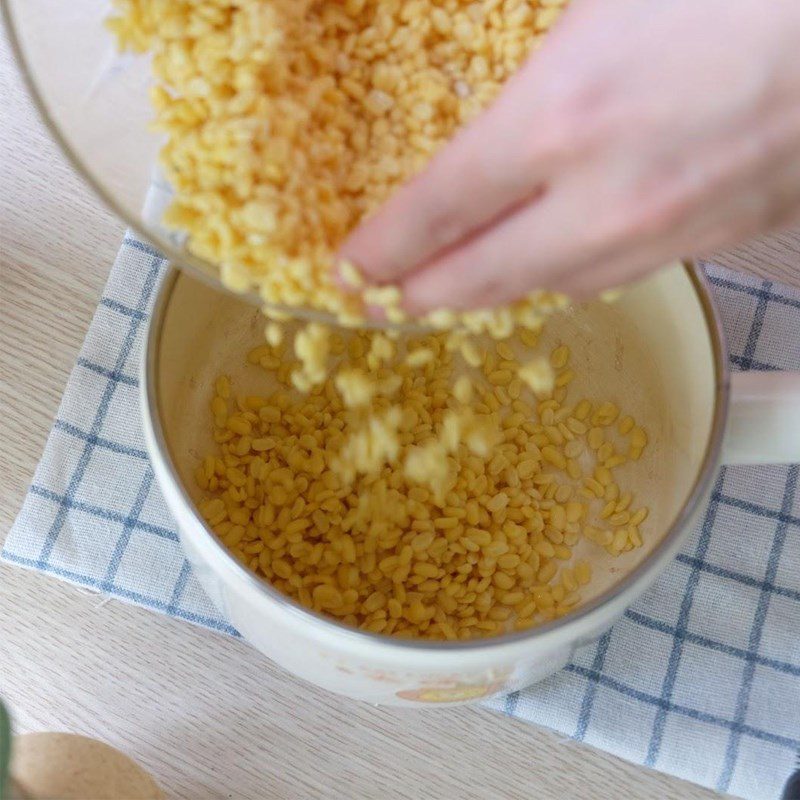
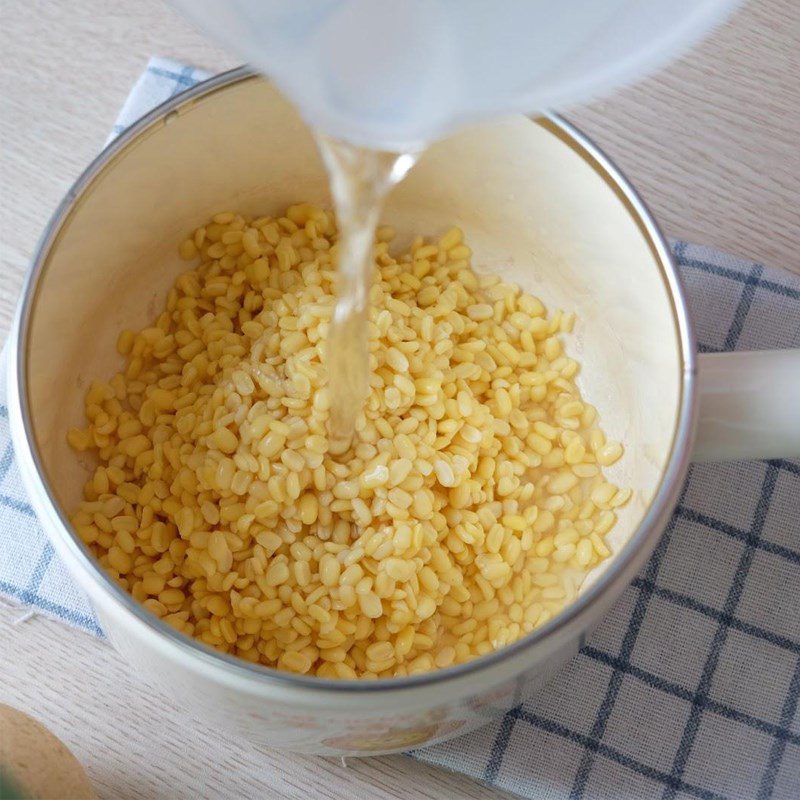
Next, add the soaked mung beans, 500ml of water, and 1/2 spoon of salt into the pot, place the pot on the stove, and boil over high heat until the beans come to a boil.
At this point, reduce the heat to low and continue to cook for about 15 – 20 minutes until the mung beans are soft.
Tip: During the cooking process, remember to skim off the foam from the pot. Also, occasionally stir well to prevent the beans from sticking to the bottom, which can burn the beans and make the filling taste bad when cooked.
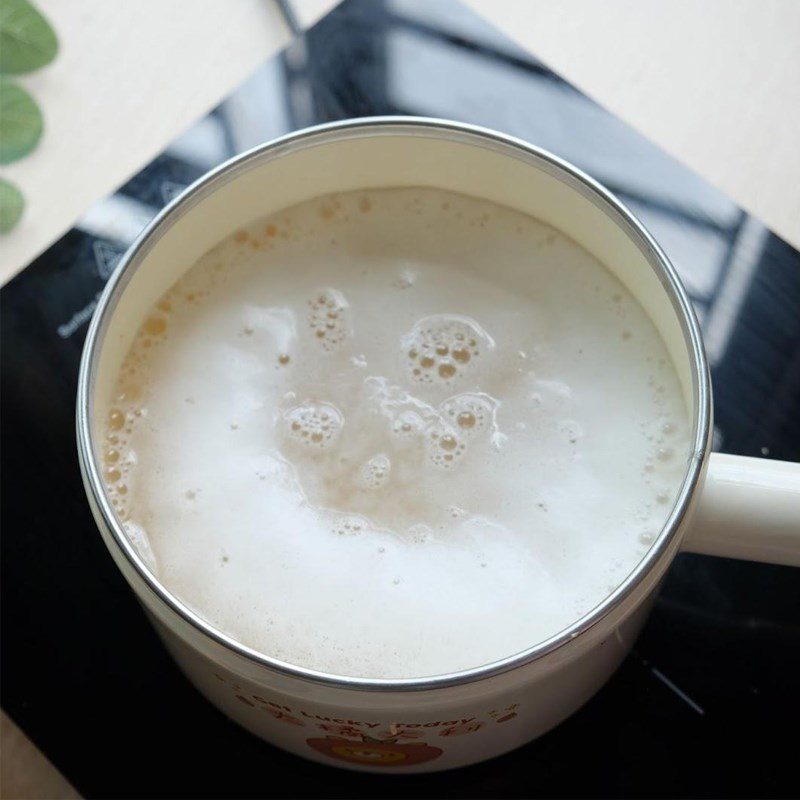
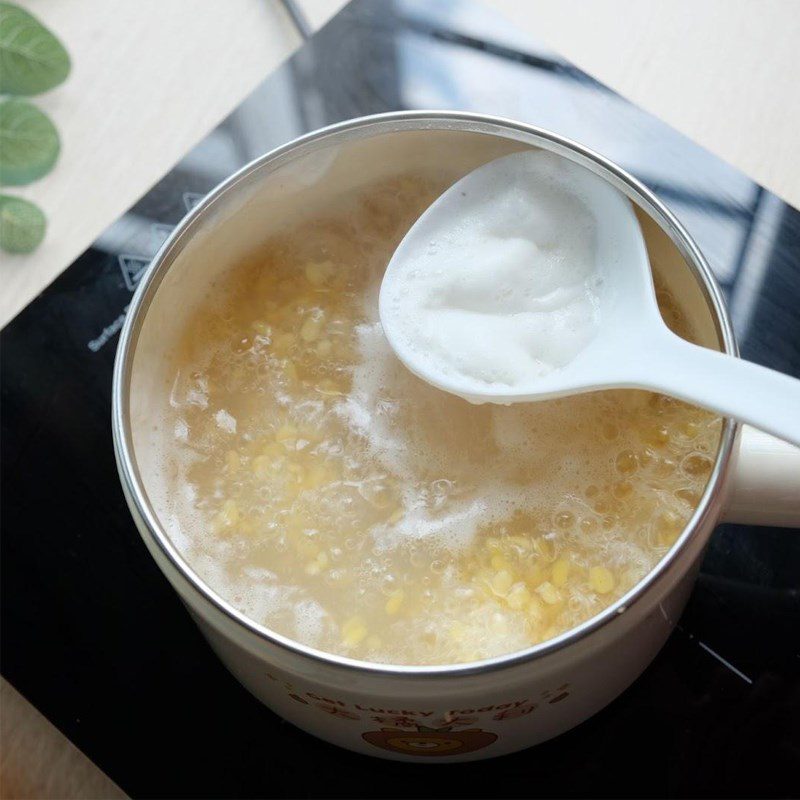
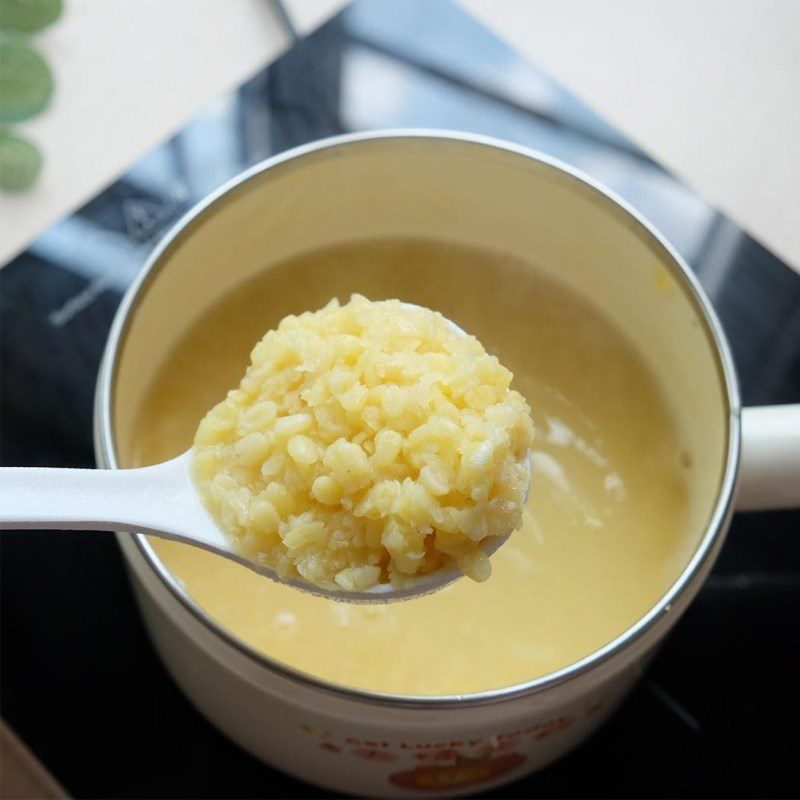
-
Puree the mung beans
Once the beans are cooked until soft, let them cool slightly, then place them all in a blender and blend until very smooth.

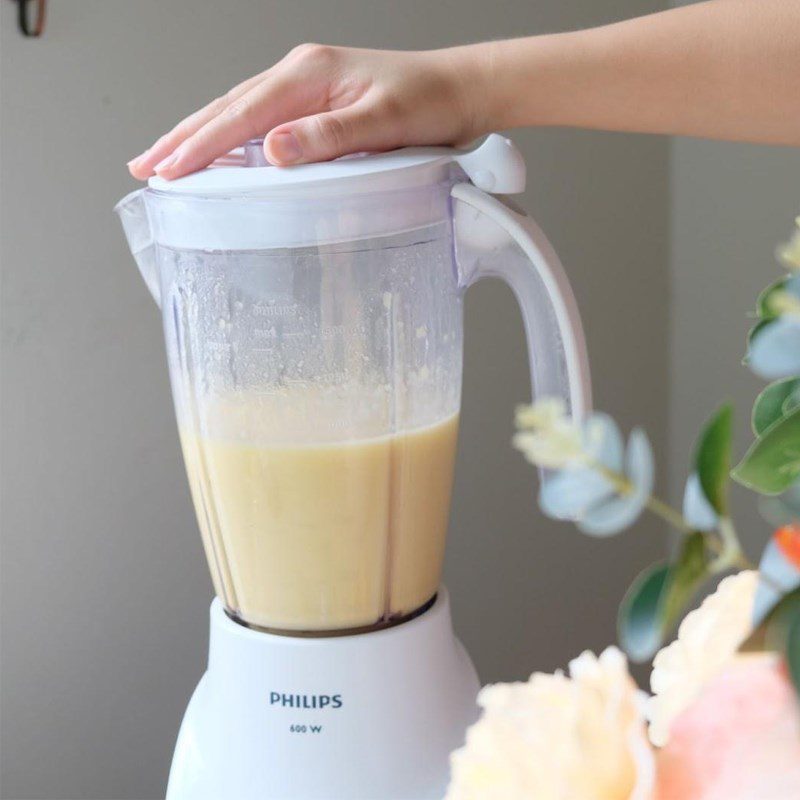
-
Cook the mung bean filling
Before cooking, prepare 80g of sugar and 70ml of cooking oil.
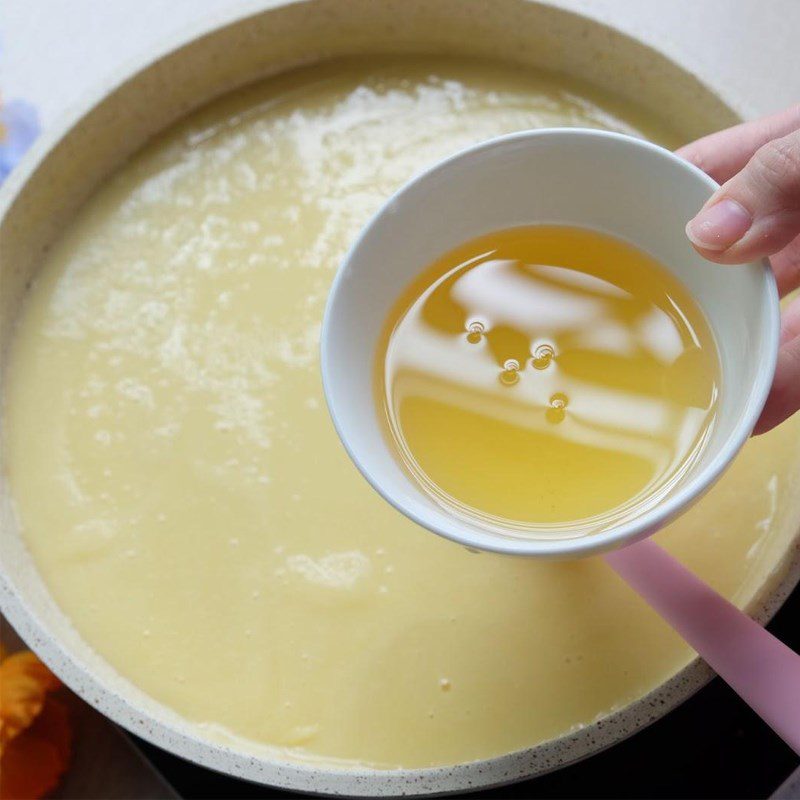
Place a non-stick pan on the stove, add the pureed beans, and cook on low heat. Next, add 80g of sugar while the beans are still liquid. Use a spatula to stir until the sugar is completely dissolved into the beans.
Once the sugar has fully dissolved, divide the cooking oil into 4 parts. Gradually add each part to the pan, mixing well until the oil is incorporated into the beans before adding the next portion.
After adding all 70ml of cooking oil, dissolve 10g of cornstarch in 40ml of water. Then, divide this cornstarch mixture into 2 parts, and gradually add each part to the mung bean filling as it cooks.
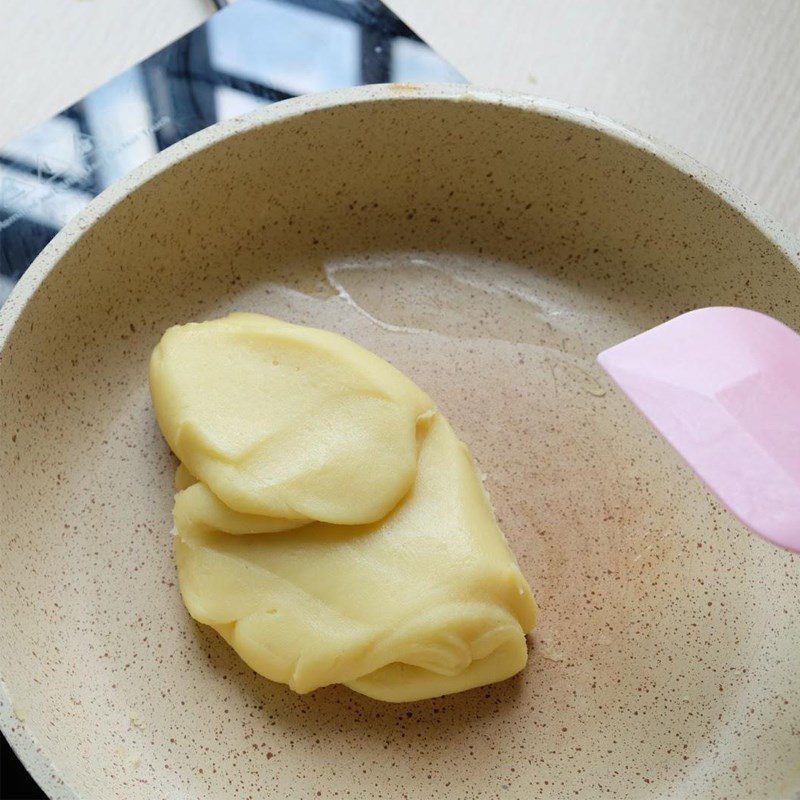
When the filling starts to thicken, add 10g of glutinous rice flour to the pan and continue cooking until the filling forms a homogeneous, smooth, and non-sticky mass, then turn off the heat.
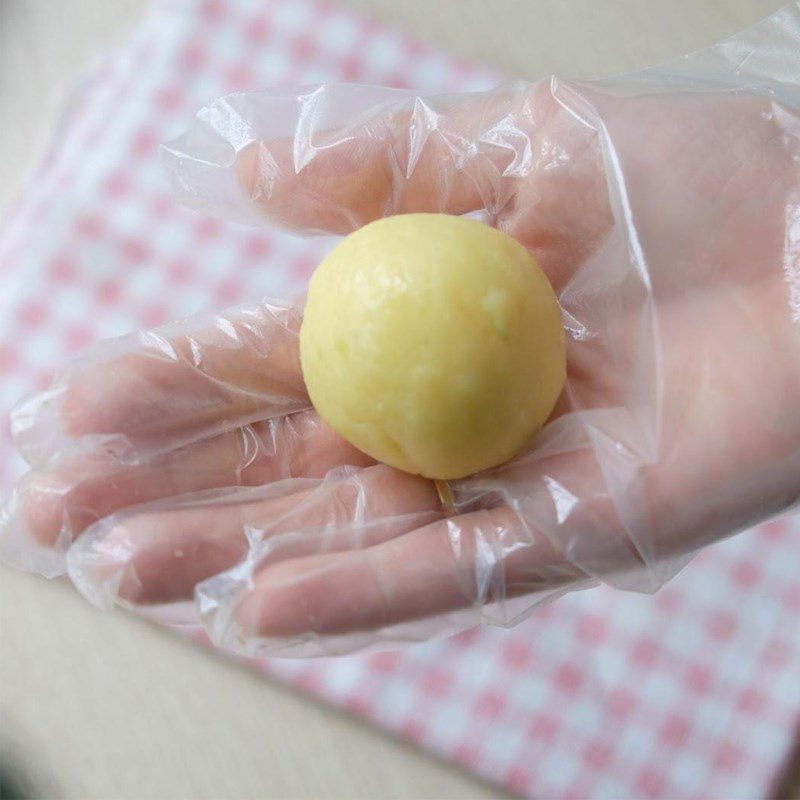
Finally, let the filling cool slightly, then divide it into equal portions of 40g, roll them into balls, and wrap tightly in plastic wrap to prevent the filling from drying out.
Tip:
- Adding oil to the pan while the mung bean filling is still liquid will help prevent the filling from being greasy. You can take a small portion of the filling, roll it into a ball; if it holds its shape without sagging, it’s done.
- If the filling is greasy while cooking, it might be due to high heat; you can fix this by adding a little hot water and then continue cooking.
- After cooking, if the filling is crumbly, it might be because you didn’t cover it, causing it to lose moisture, or you used too little cooking oil or sugar.

-
Make the sticky cake skin
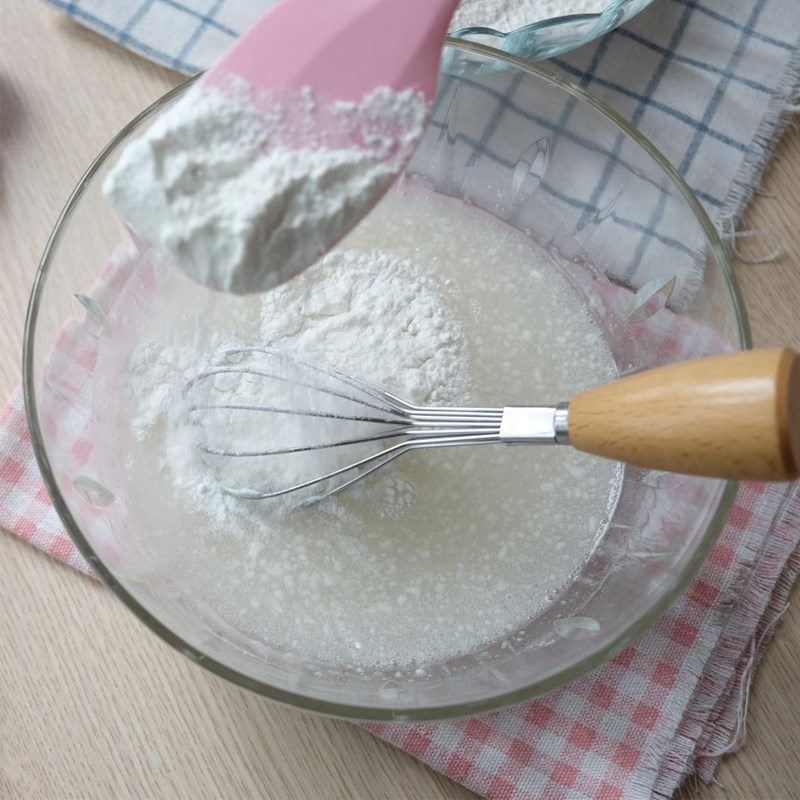
Add 400ml of cooled syrup into a bowl, 1 teaspoon of pomelo essential oil, and stir the mixture well.
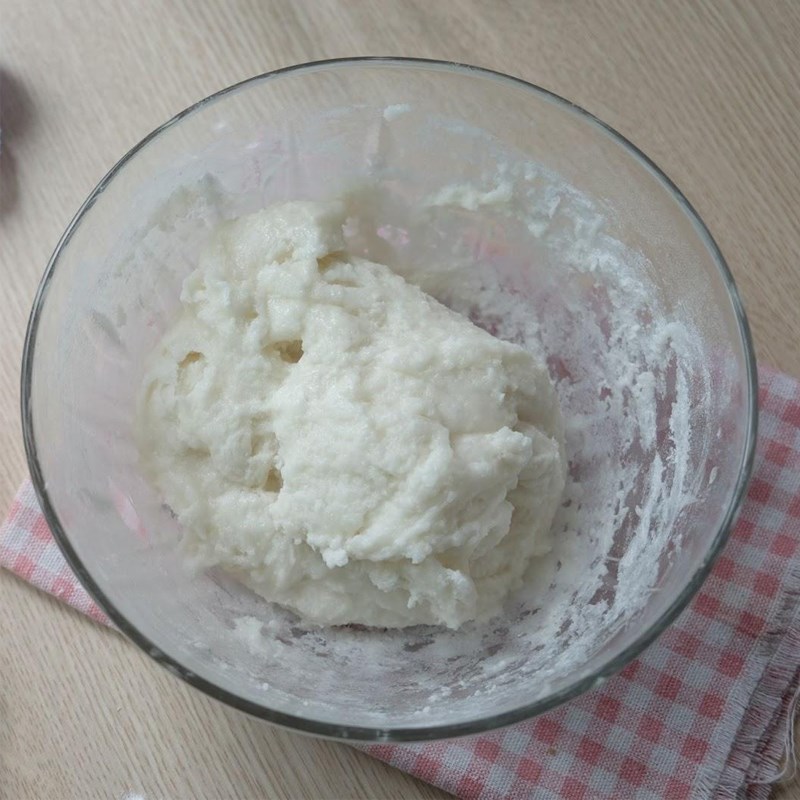
Next, gradually add 200gr of sticky cake flour into the syrup mixture, a little at a time. Use a whisk to dissolve the flour completely before adding the next portion.
Tip: Avoid adding too much flour at once as it can cause the flour to clump.Once all the sticky cake flour is added to the bowl, use your hands to quickly knead the mixture to form a sticky dough that does not stick to your hands.
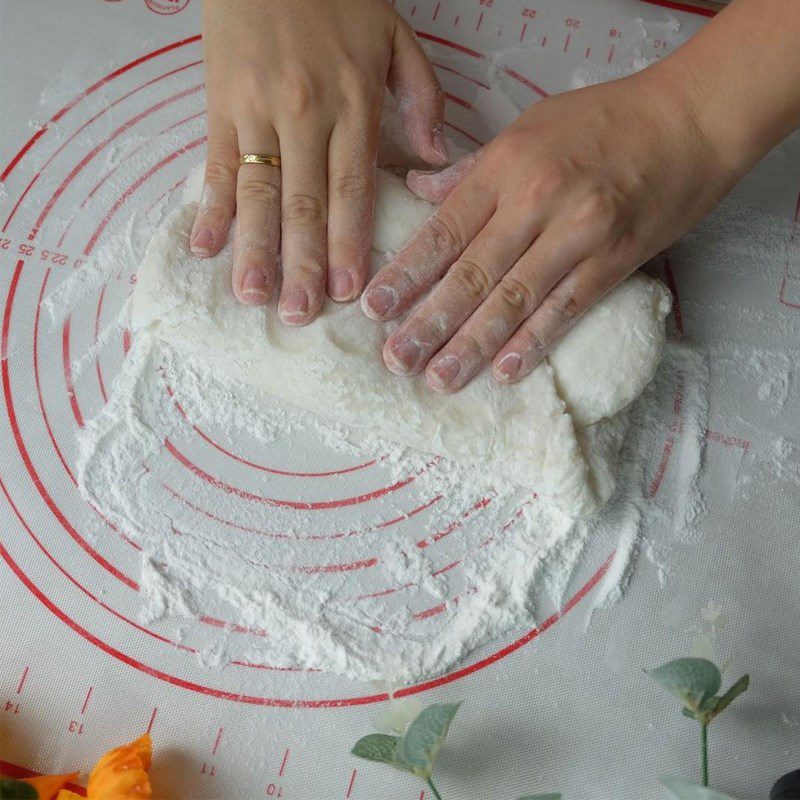
Note: Do not knead for too long as it will make the dough tough.Next, sprinkle some dry sticky cake flour onto a non-stick mat, then place the kneaded dough on it, folding the dough in both horizontal and vertical directions a few times to form a rectangle.
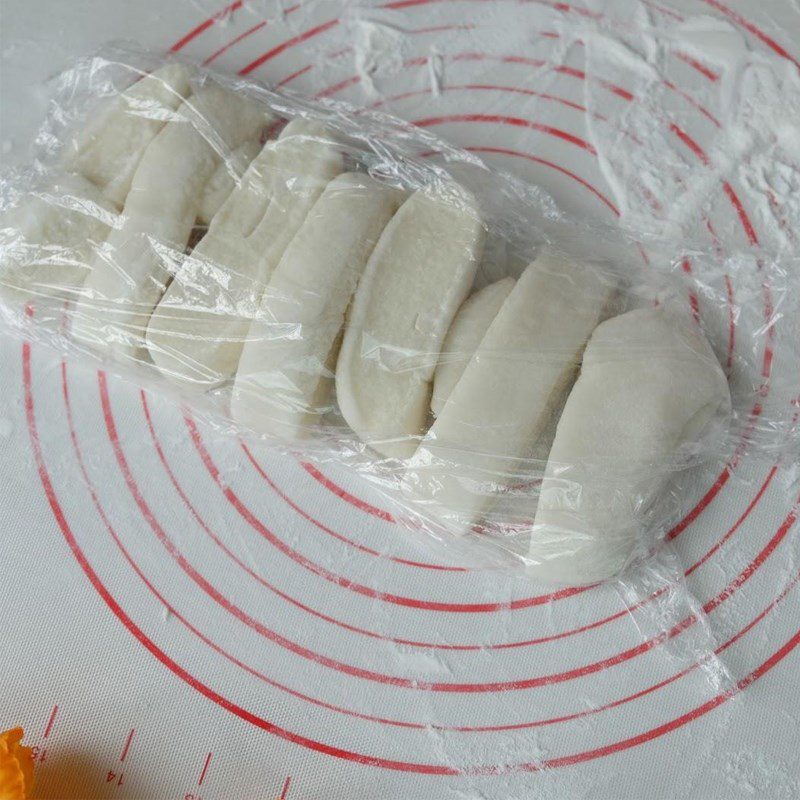
Then, divide the dough into equal parts of 70gr. After that, cover these portions of dough with cling film to prevent them from drying out.
-
Shaping the cake
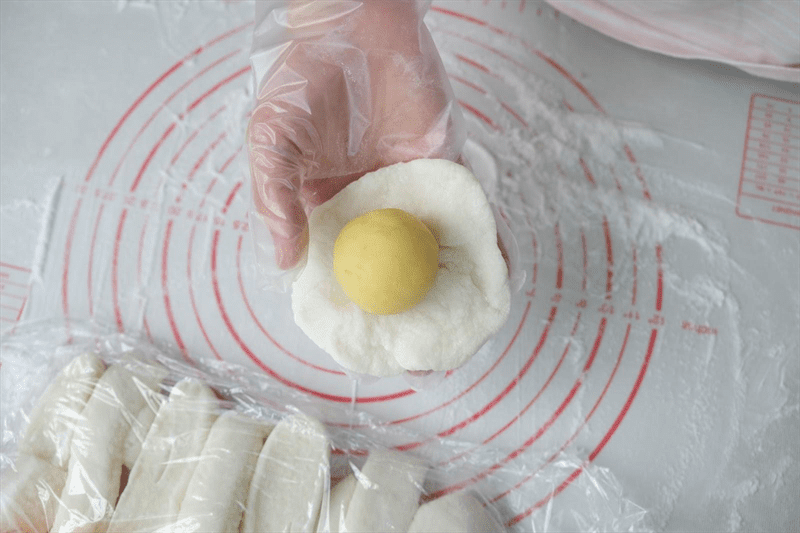
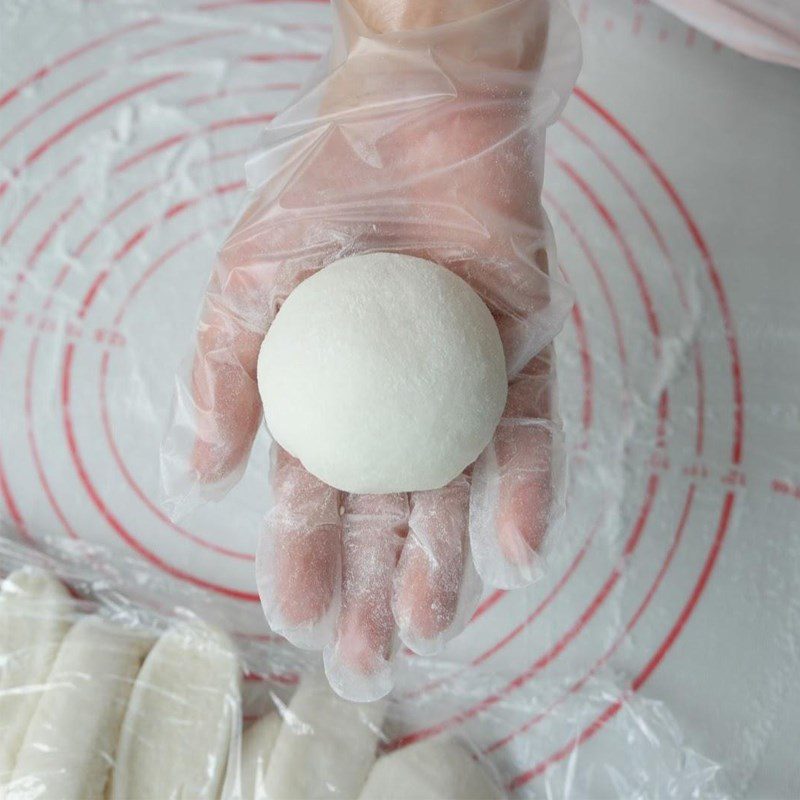
Take a portion of the dough you just divided, roll it into a ball, and then flatten it into a round shape with the edges thinner than the inside.
Next, place the mung bean filling in the center, pinch the edges of the dough tightly so that the dough covers the filling completely, rotate the cake 2 – 3 times, and then roll it into a ball.
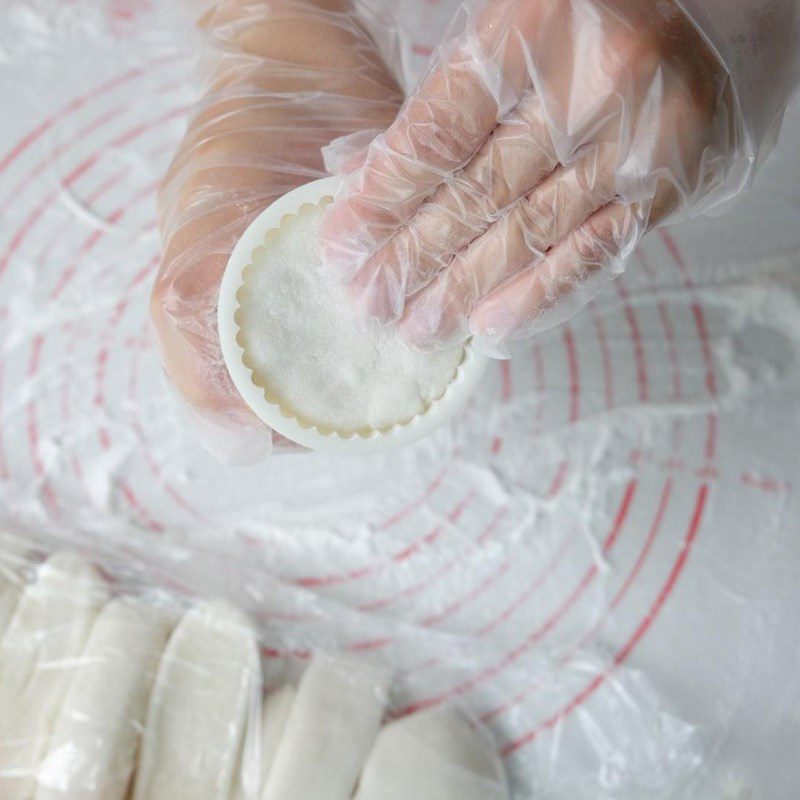
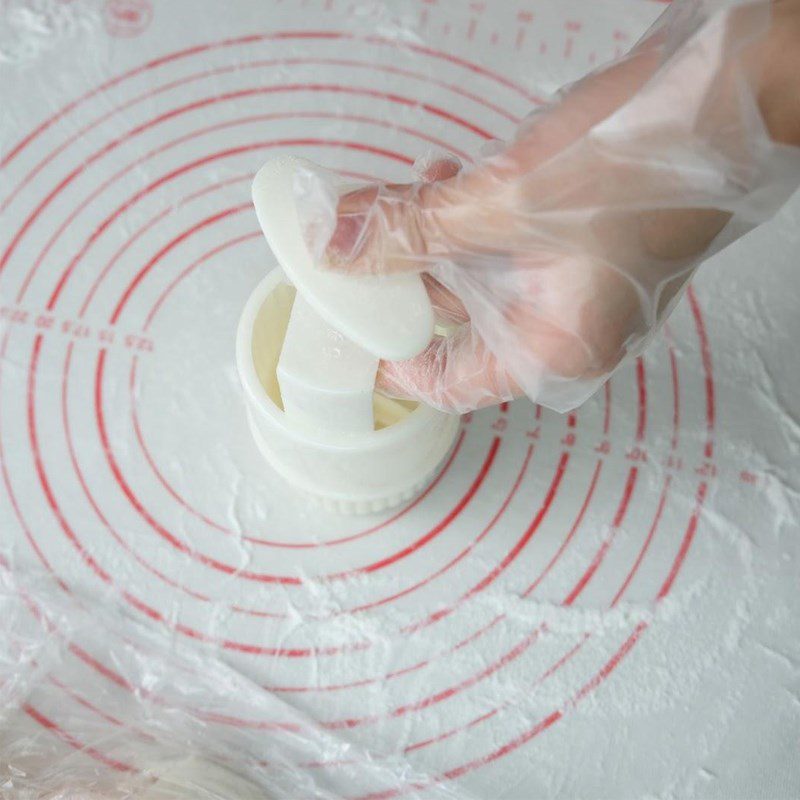
Finally, dust a little flour into the mold to prevent sticking, then place the cake inside, press gently to distribute it evenly in the mold. After that, press the mold down firmly, holding it for about 10 seconds to shape it.
Note:
- Since the chewy dough shrinks quickly, you must work very quickly. If you are slow, the dough will shrink, making it difficult to get a sharp-shaped cake.
- If you’re not used to it, mix each portion of the dough one at a time instead of mixing all the ingredients together and then dividing the dough. Follow the steps as instructed above. After completing the first cake, you can then mix the dough and shape the next cake.
-
Final Product
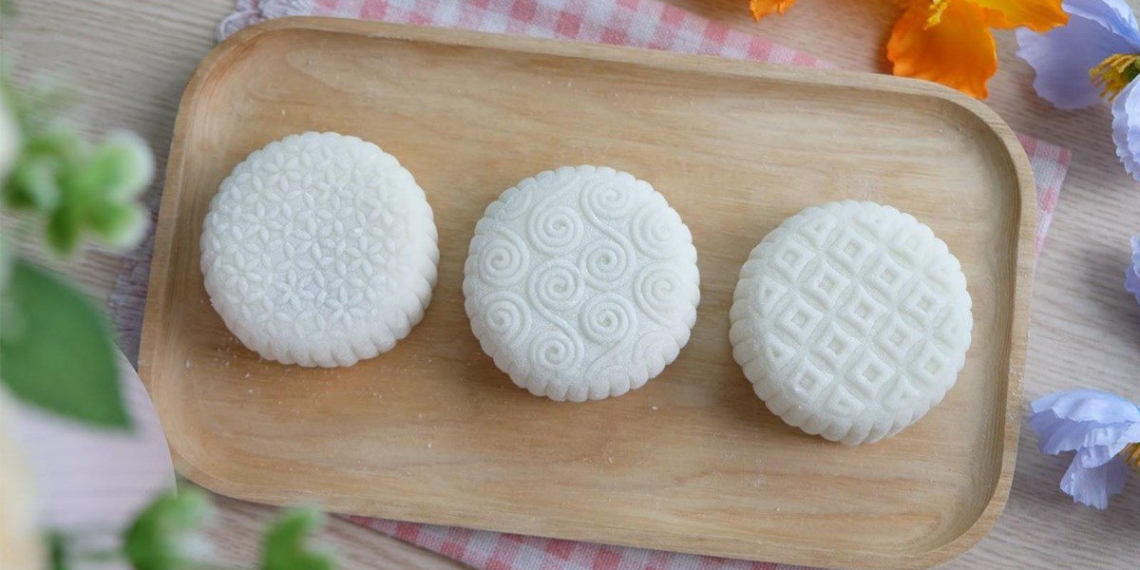
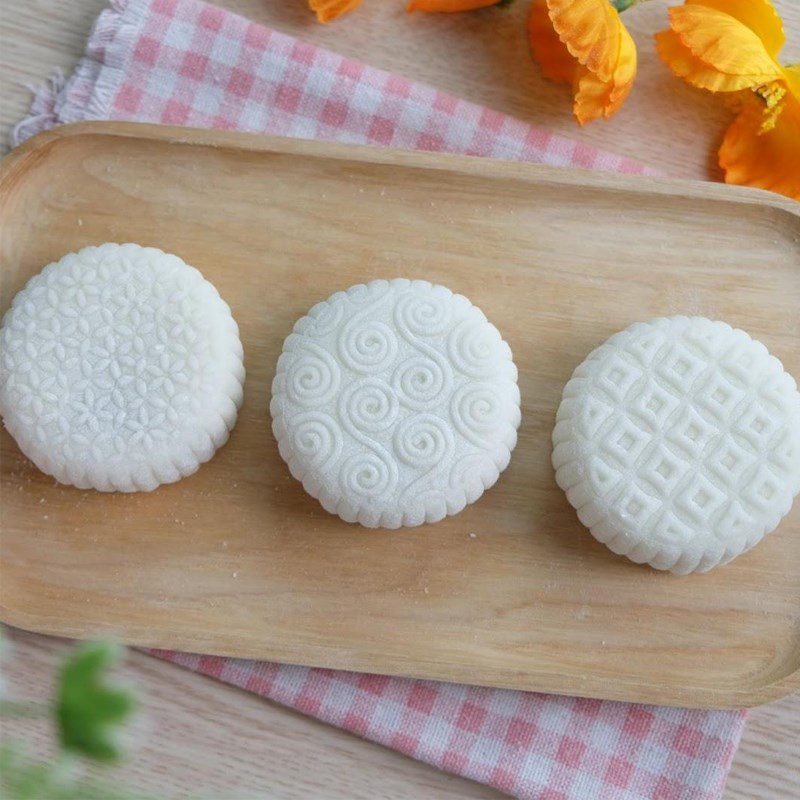
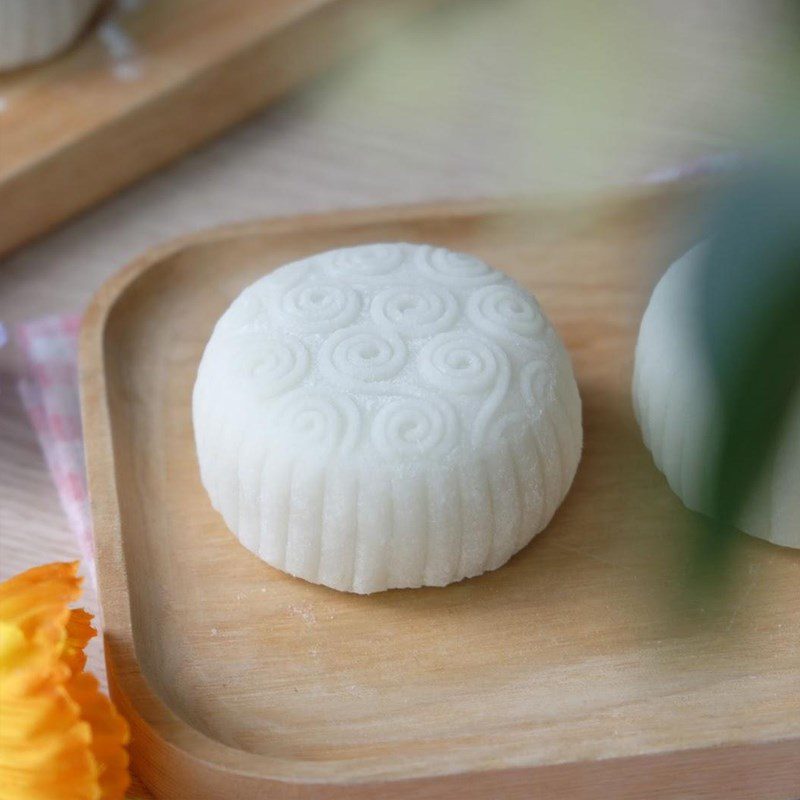
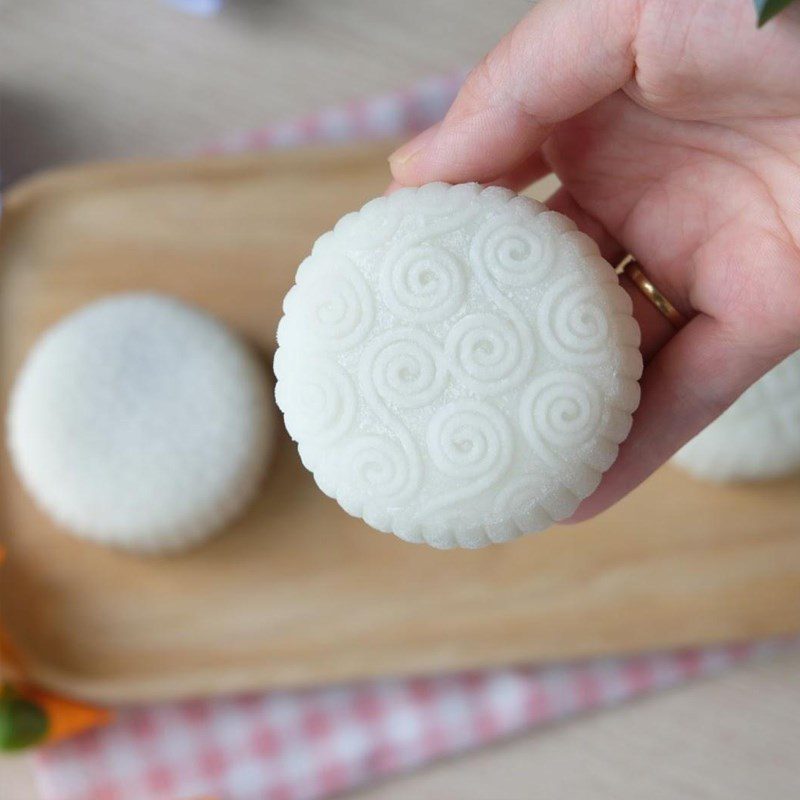
The completed mung bean mochi mooncake has a milky white crust, lightly fragrant with grapefruit blossom and quite sweet.
After being left for a day, the cake will become translucent, chewy, smooth, and the sweetness will also be milder. The cake crust combined with the rich mung bean filling is extremely harmonious.
Tip:- If you want the cake to taste better, you can leave it for the next day before using!
- For this traditional mochi cake, you should not store it in the refrigerator as it will lose its chewiness. With the given ingredient proportions, the cake can be kept at room temperature for 5 – 7 days.
How to store mooncake filling
Let the filling cool completely, then wrap it tightly and store it in the refrigerator’s cool compartment or freezer. When needed, you just need to take the filling out to thaw at room temperature.
How to store chewy mooncakes
After making the cakes, wrap them tightly with plastic wrap, then store them at room temperature. With this storage method, you can use the cakes for 5 days.
Wishing you success in making the traditional delicious mooncakes with mung bean filling for the upcoming Mid-Autumn Festival. If you have any questions, please leave a comment below for TasteVN to answer!
