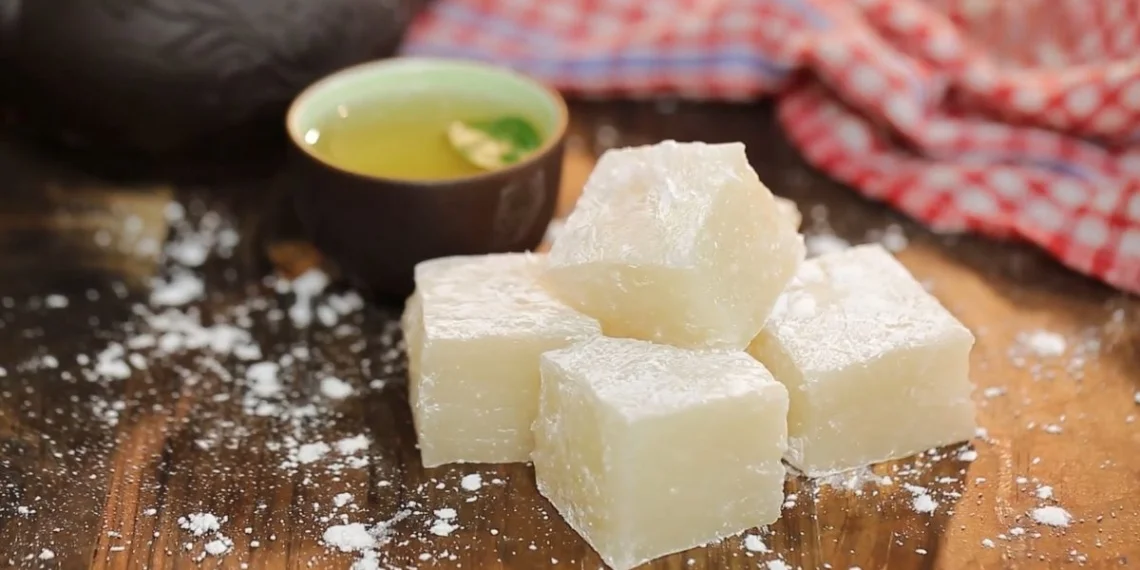
Bánh hồng Bình Định is one of the traditional cakes with the main ingredient being glutinous rice flour and a rather elaborate preparation method. If you do not know what bánh hồng is or how it tastes, please refer to the 2 recipes for bánh hồng below and get into the kitchen to try making it right away.
1. Traditional bánh hồng

-
Preparation
8 hours
-
Cooking
30 minutes
-
Difficulty
Hard
Ingredients for Traditional bánh hồng Serves 6 people
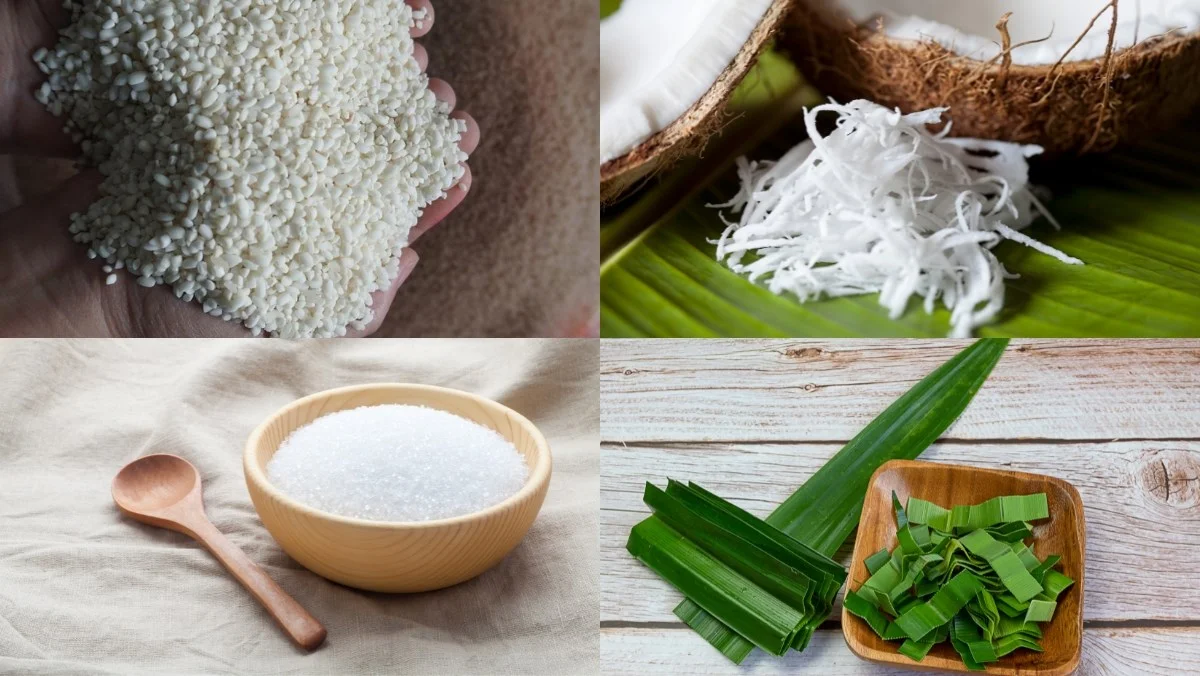
Glutinous rice 1 kg Granulated sugar 1 kg Grated coconut 400 gr Tapioca flour 200 gr Pandan leaves 3 leaves
How to Make Traditional Pink Cake
-
Grinding the Flour
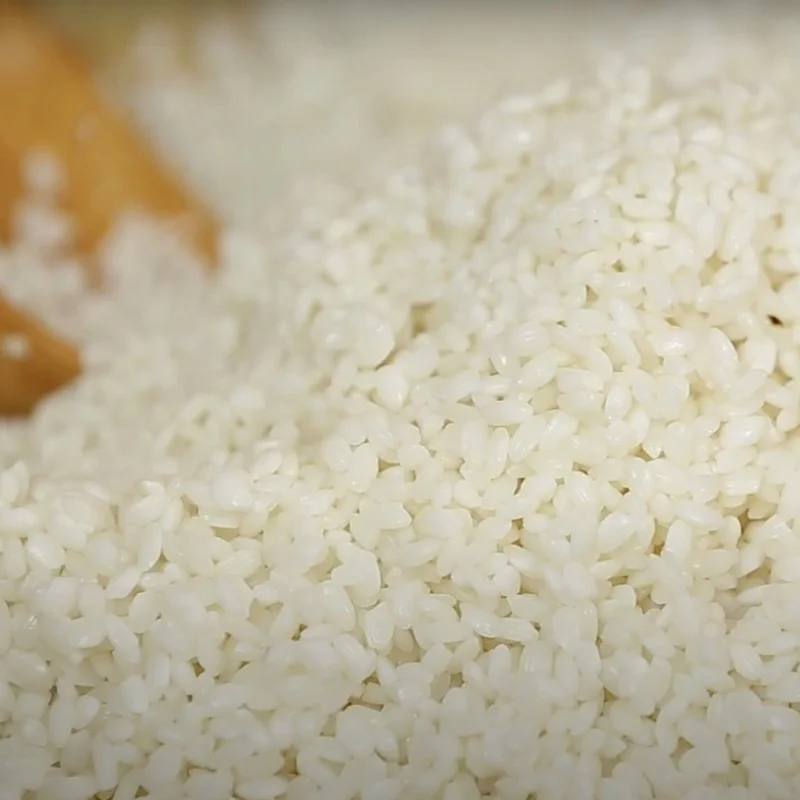
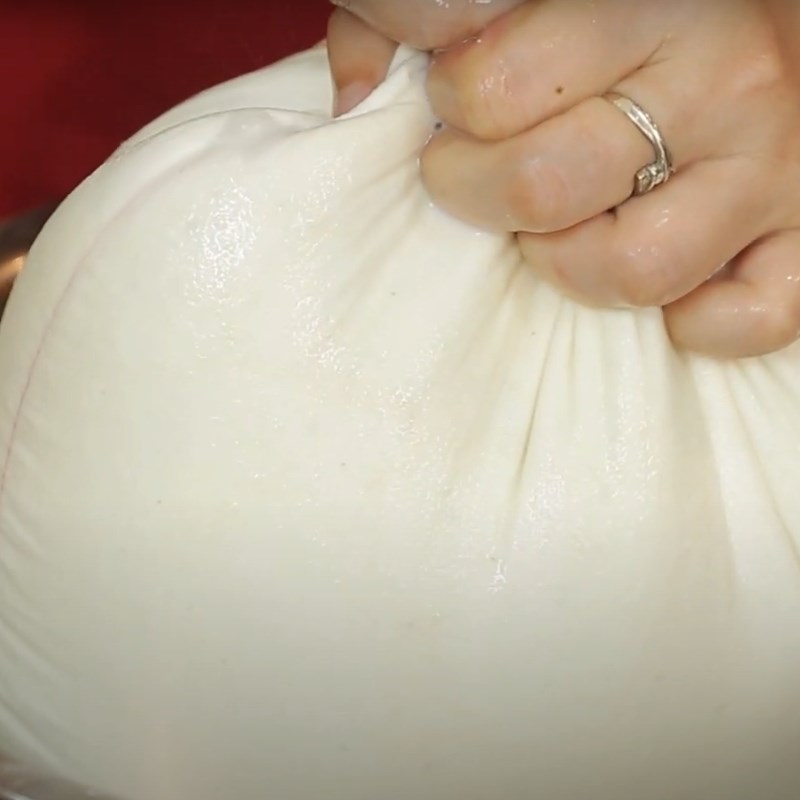
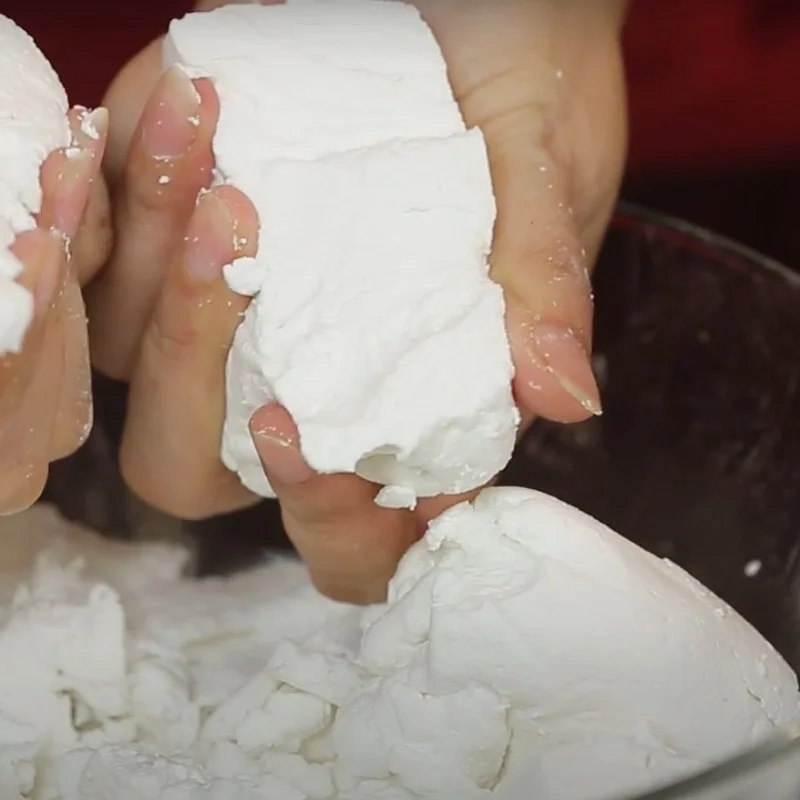
Before making the cake, you need to soak the sticky rice for at least 8 hours, preferably overnight. After soaking, you grind the sticky rice until it becomes fine and smooth, then put it into a cloth bag and use a heavy object to press down on it to extract the flour.
After a few hours, you will obtain a hard flour, to which you should add a little water, just enough so that when kneading, the flour can stick together and be shaped.
-
Roasting the Coating Flour
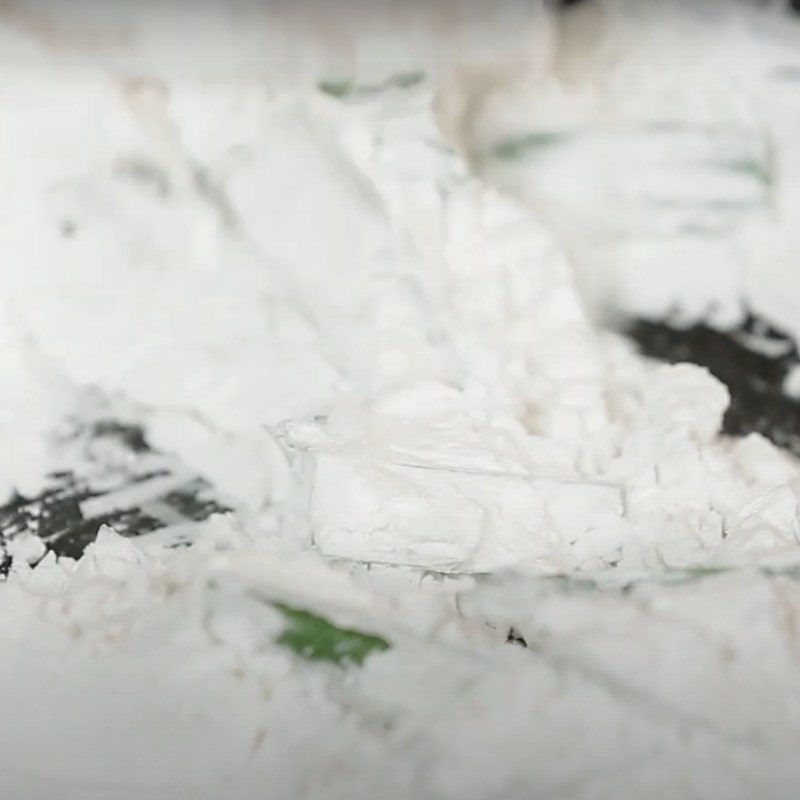
You place a pan on the stove, turn on the heat to dry the pan, then add 200g of tapioca flour. After washing, let the pandan leaves drain completely, then cut them into pieces about 7 – 8cm long and add them to the tapioca flour in the pan.
You proceed to roast the tapioca flour over low heat, stirring constantly until the flour is cooked. When you see the pandan leaves dry out and become crispy and brittle, and the tapioca flour is fluffy and fragrant, you turn off the heat and remove the pandan leaves.
Tip: You can also taste the tapioca flour to see if it is cooked. If you feel it dissolves immediately in your mouth, then it is done. On the contrary, if you find it sticking to the tip of your tongue, you need to roast it for a little longer.
-
Cooking Coconut
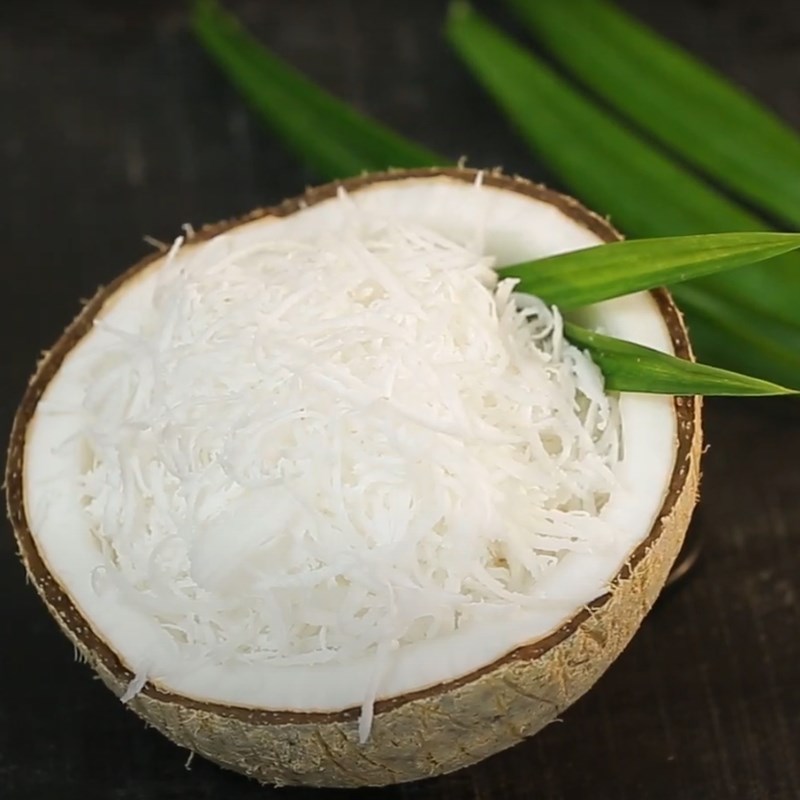
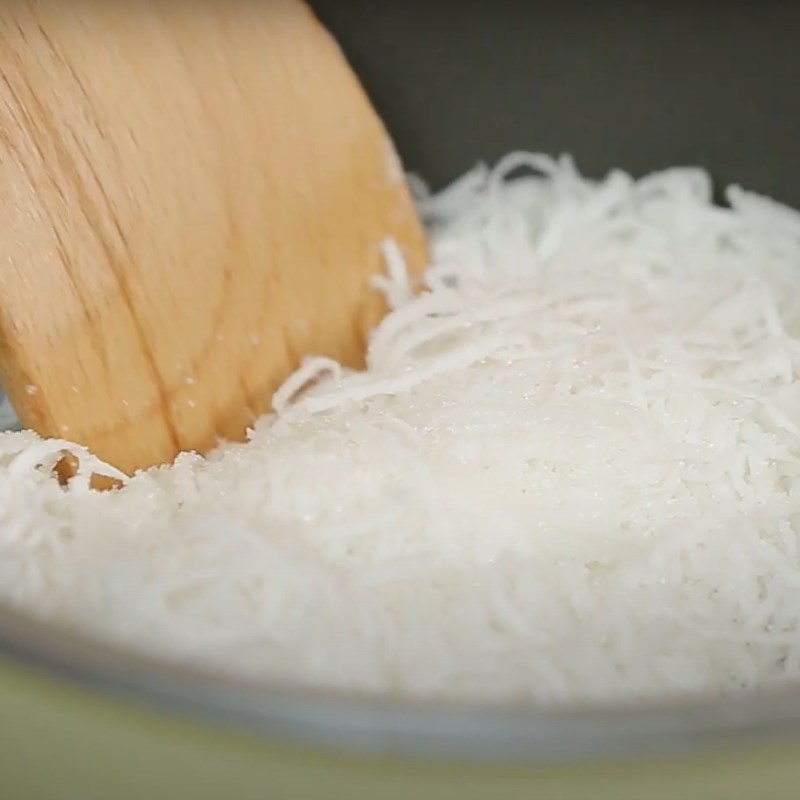
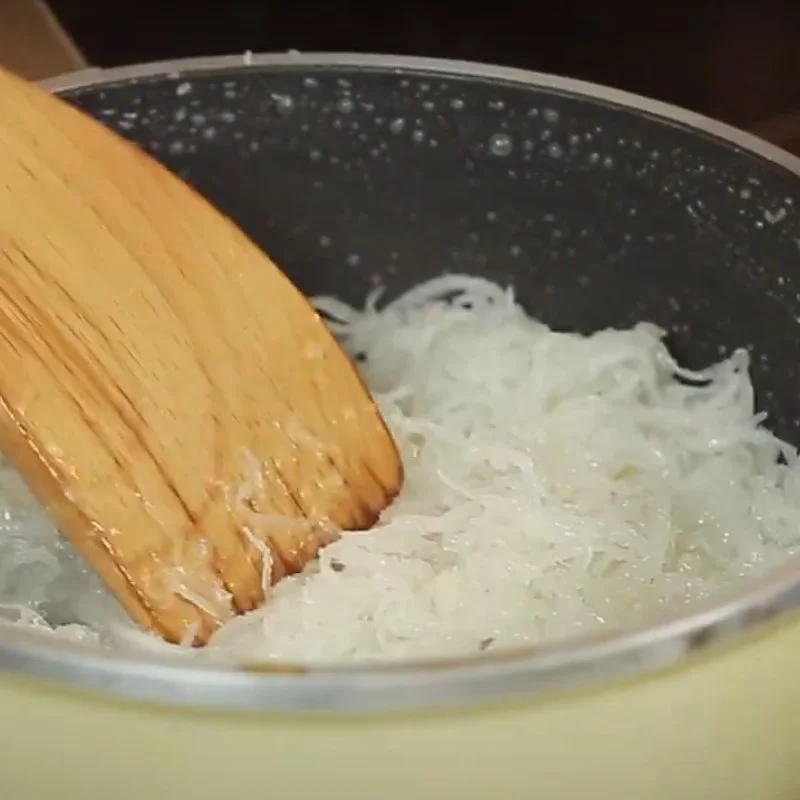
400g of grated coconut should be marinated with 300g of granulated sugar for 30 minutes. Once the sugar has completely dissolved, place it on the stove to cook until the coconut strands become transparent and there is no more water left.
-
Cooking the Dough
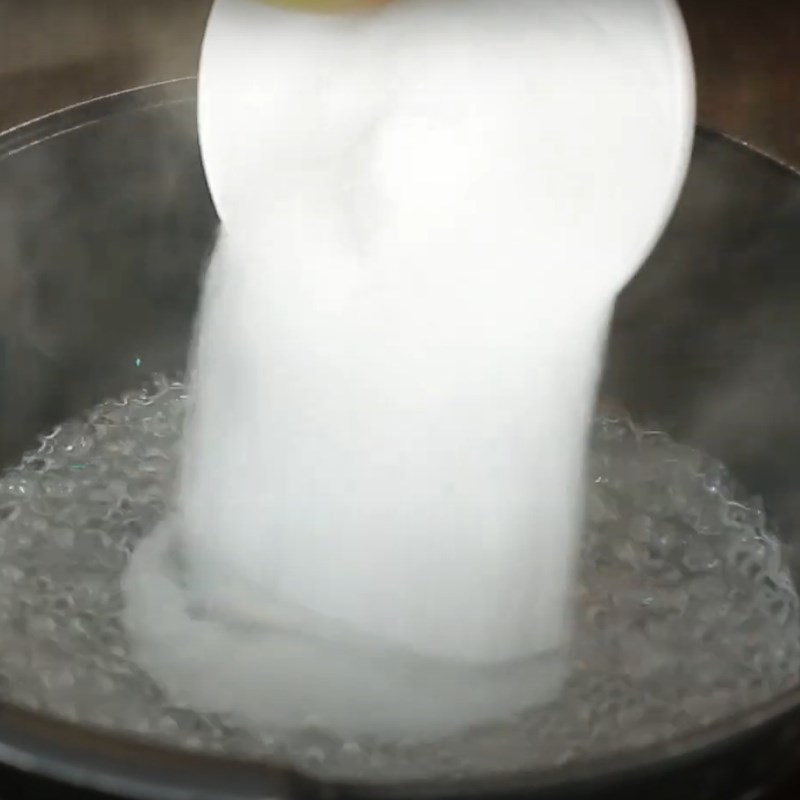
Place a pot or deep pan on the stove, adding 1.2 liters of water to bring to a boil. Once the water is boiling, add the remaining sugar and cook until it dissolves.
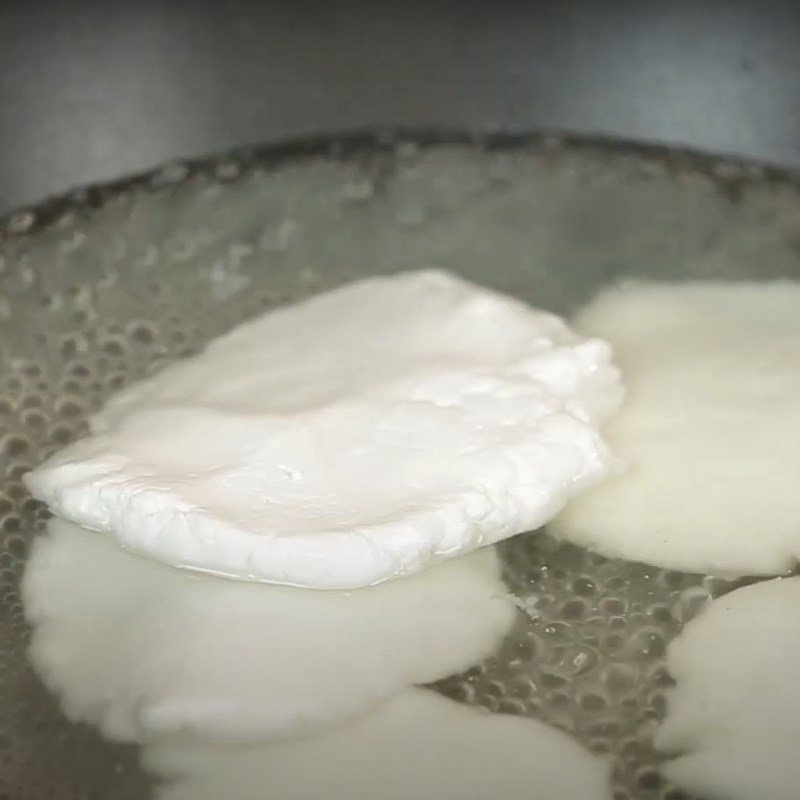
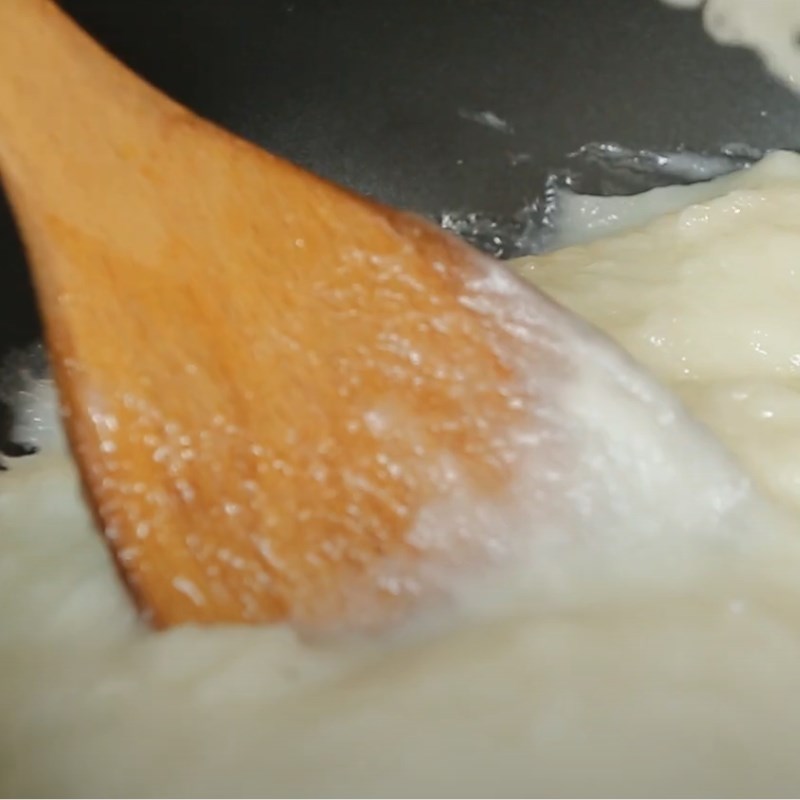
Next, when the sugar water is boiling, shape the glutinous rice flour into thin flat pieces and drop them into the sugar water. When the water boils and the dough is cooked, use a spatula to mash it and stir continuously until the dough forms a smooth and pliable mass.
Tip:- Shaping the dough into thin flat pieces will help it cook more evenly.
- Throughout the cooking process, maintain a moderate heat to prevent the dough from burning.
After that, add all the grated coconut and mix well so the dough and coconut blend together. At this point, use two spatulas to stir.
When the dough no longer sticks to the pan, roll the dough onto the two spatulas to start heating the dough over the fire. While gently heating the dough over low flame, skillfully roll the dough with the two spatulas for even heating.
-
Shaping the pink cake
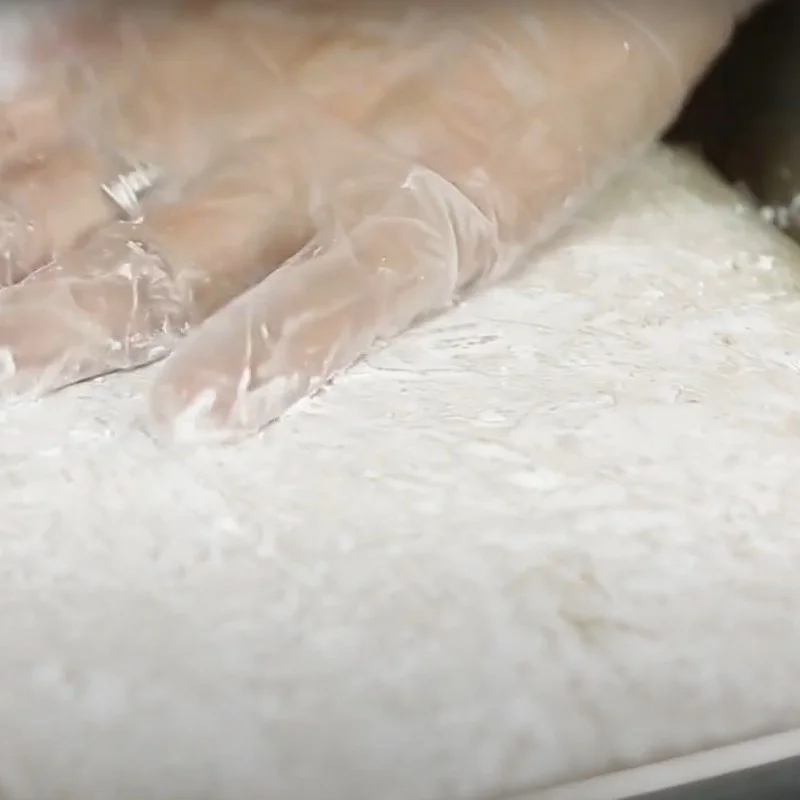
You need to knead the dough until it feels heavy, and the outer dough is dry, then place it in a mold that has been dusted with a layer of flour.
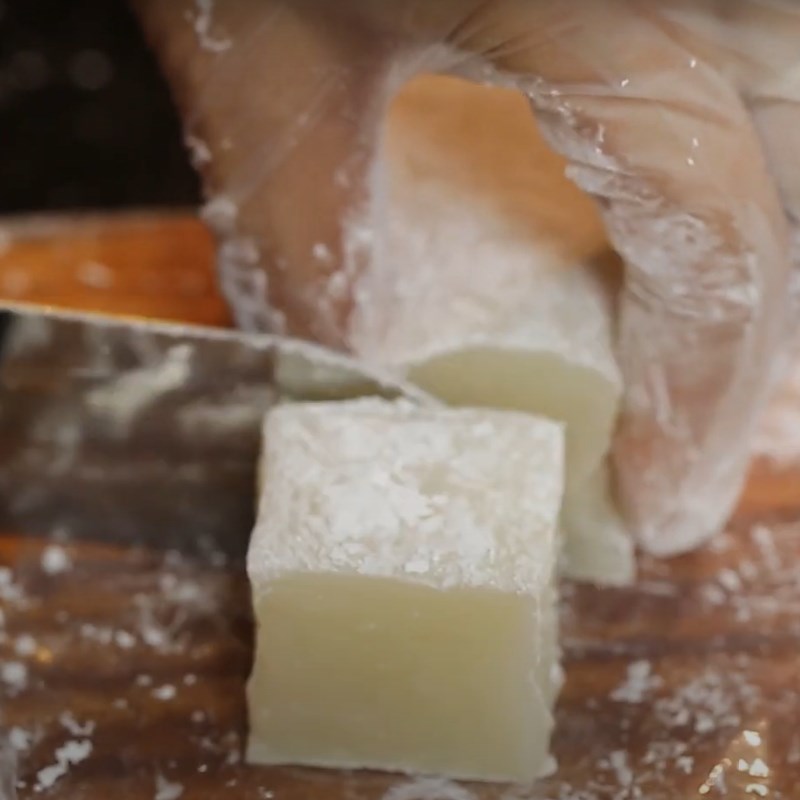
Evenly spread the dough in the mold and sprinkle another layer of flour on top. Wait until the cake cools down, then use scissors to cut the cake into small square pieces that are just right for eating.
-
Final product
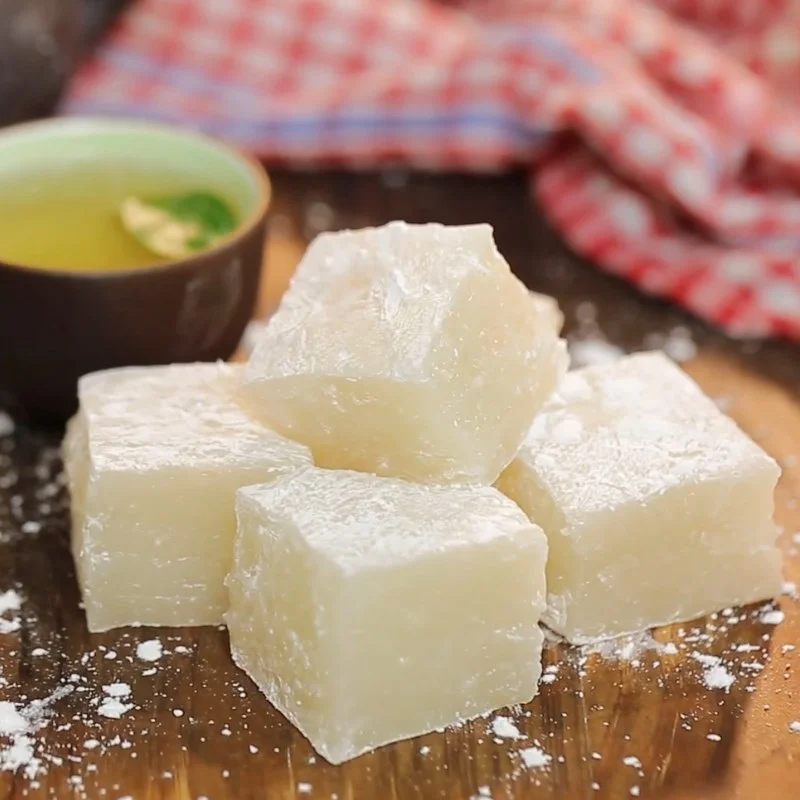
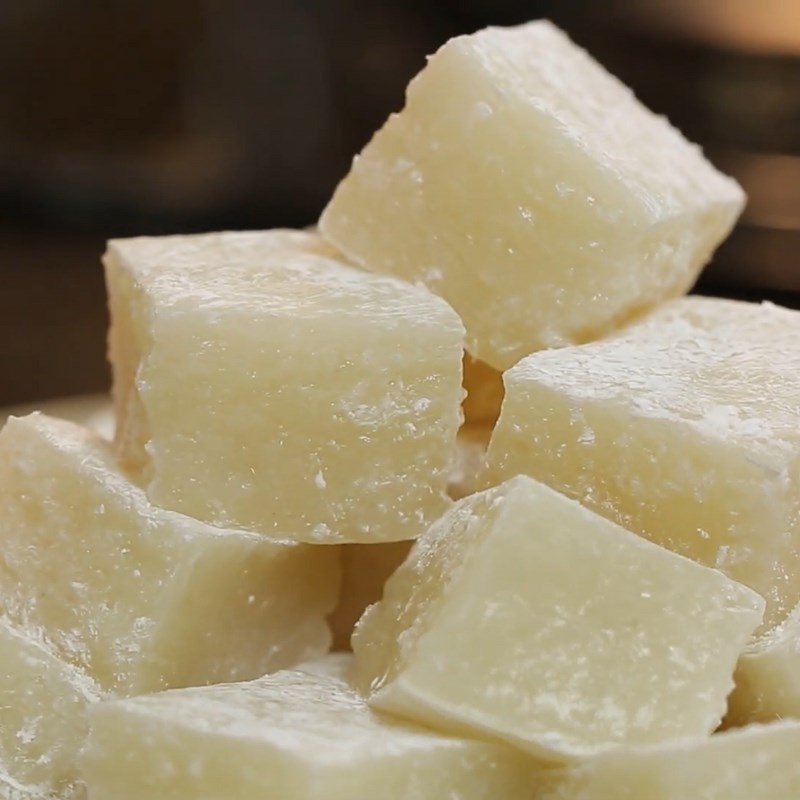
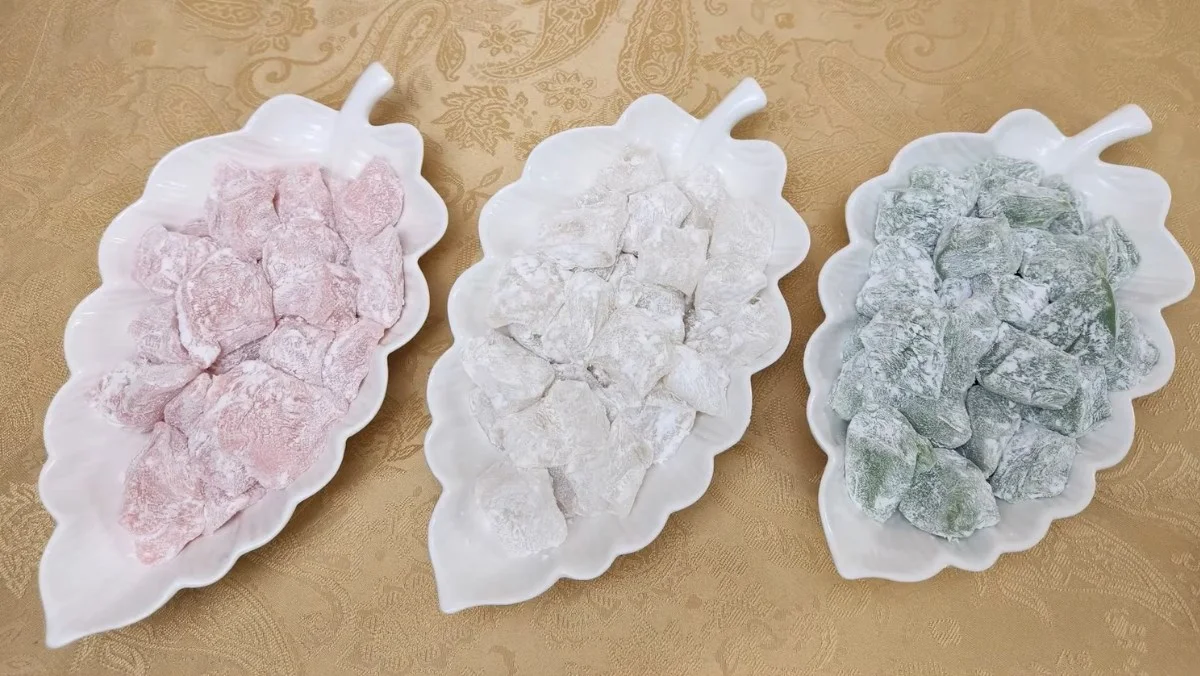
Although the preparation steps to make this traditional pink cake require many processes, in return, you will have a batch of very beautiful pink cakes. The cake pieces are soft, with a translucent white color like jelly.
When eating, you will feel the chewy and mildly sweet taste of the glutinous rice flour, and the crunchy coconut shreds are extremely appealing.
2. Microwave pink cake
-
Preparation
10 minutes
-
Processing
30 minutes
-
Difficulty
Easy
Ingredients for Microwave Pink Cake Serves 4 people
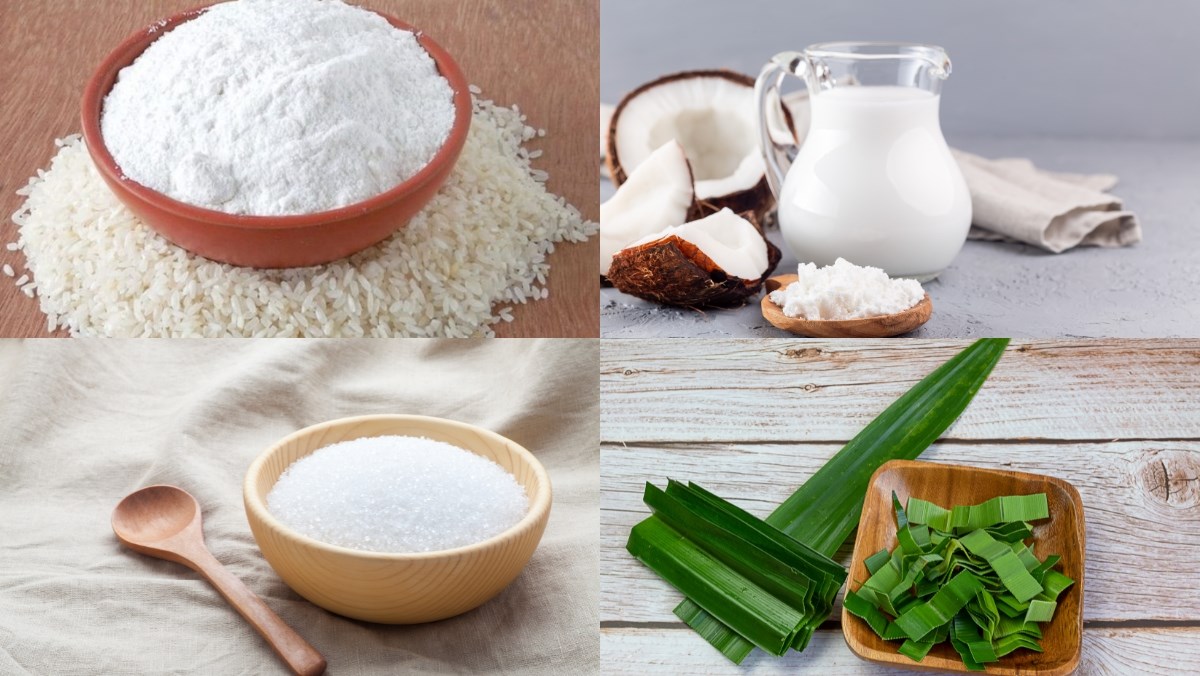
Glutinous rice flour 450 gr Tapioca flour 200 gr Pandan leaves 3 leaves Canned coconut milk 600 ml White sugar 450 gr
Tools needed
Microwave, non-stick pan, scissors, mixing whisk, spoon, measuring cup (microwave safe), tray,…
Ingredient images
How to make Microwave Pink Cake
-
Mixing the flour
450g of glutinous rice flour will be divided into 3 parts, each part 150g to make pink cakes of 3 different colors.
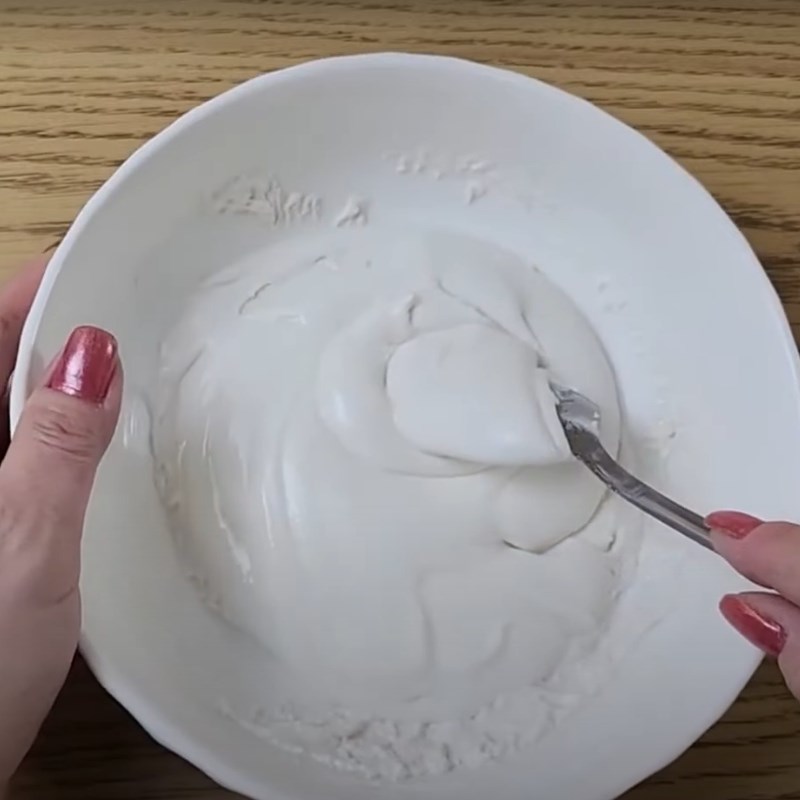
Accordingly, for each bowl of 150g of flour, you will add 150ml of clean water, stir well to combine, then let the dough rest while you proceed to the next steps.
Tip: This recipe allows for adding 2 – 3 drops of food coloring to create color for the cake. If you want to use natural colors like butterfly pea flower or pandan leaves,… you can squeeze to extract the juice and mix it with clean water to make up 150ml.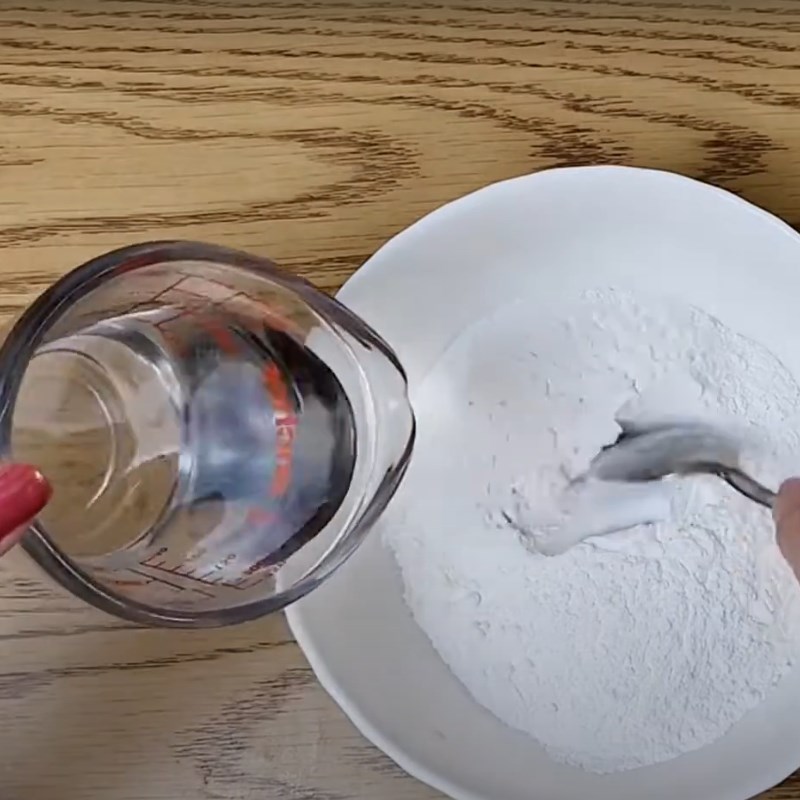
-
Roasting the coating flour
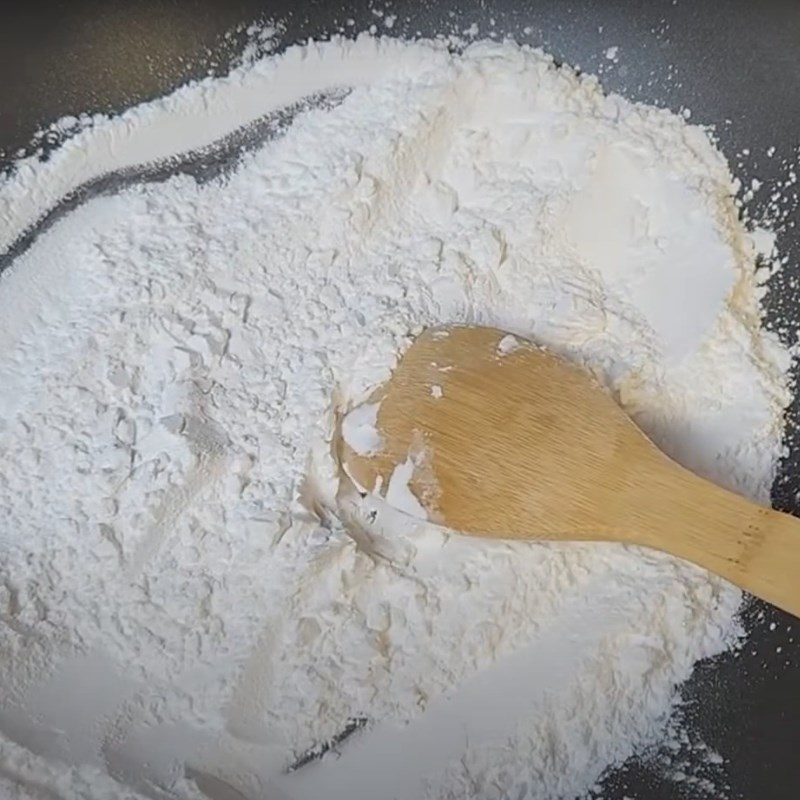
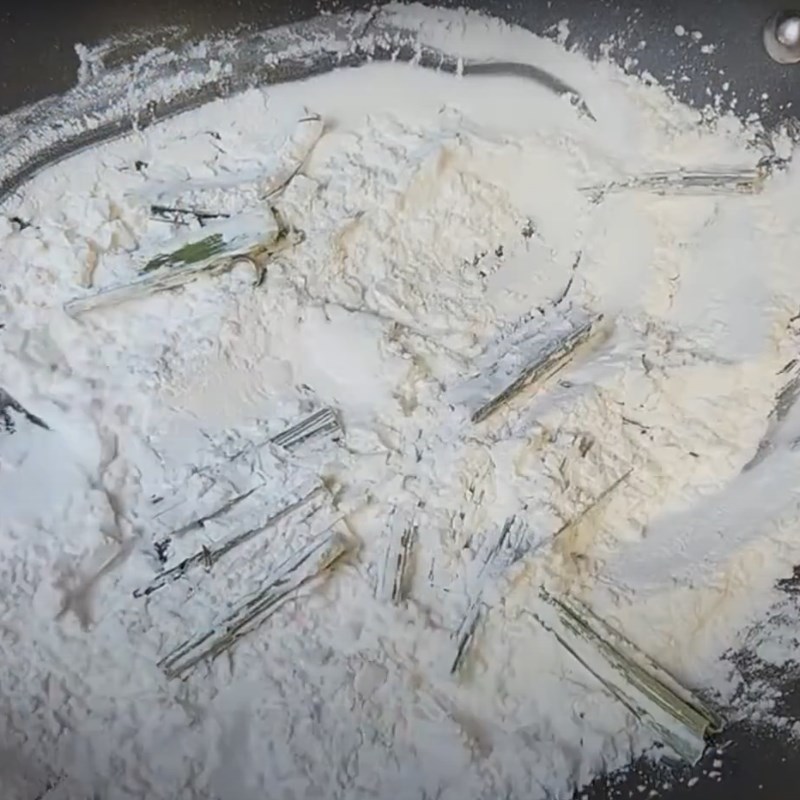
You place a pan on the stove, turn on the heat to dry the pan, then add 200gr of tapioca flour. The pandan leaves, after being washed and completely drained, should be cut into pieces about 7 – 8cm long and added to the tapioca flour in the pan.
You proceed to roast the tapioca flour over low heat, stirring continuously to ensure the flour cooks evenly and does not burn.
Tip:- Roast until you see the pandan leaves change color, dry out, and when squeezed, they become crispy and break easily, which indicates that the tapioca flour is roasted properly.
- This coating flour can be made in large quantities and stored in an airtight container for future baking.
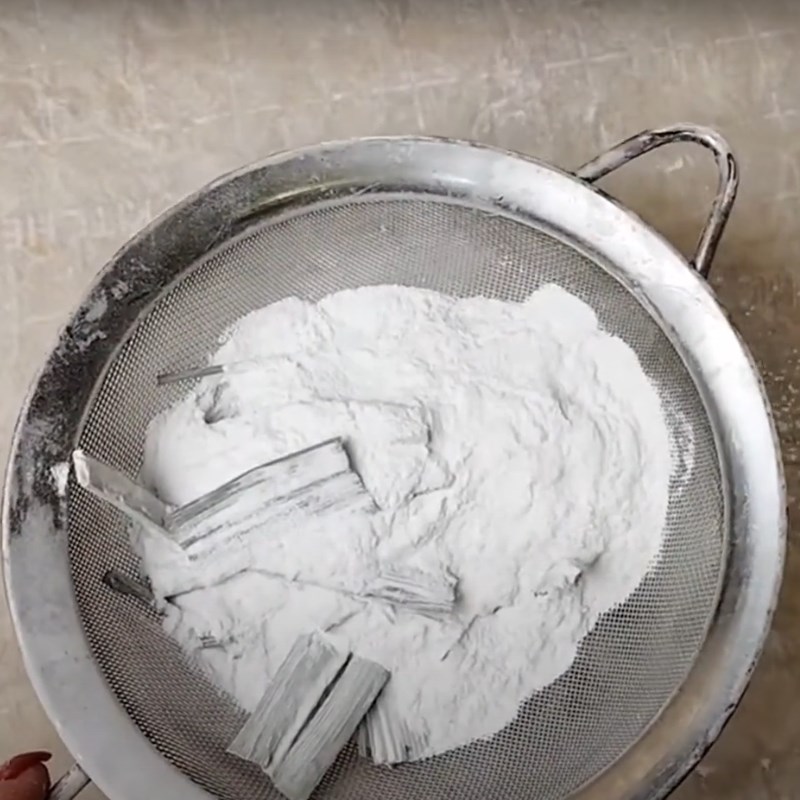
Next, you sift the tapioca flour to remove the pandan leaves, then set it aside.
-
Mixing the pink cake flour
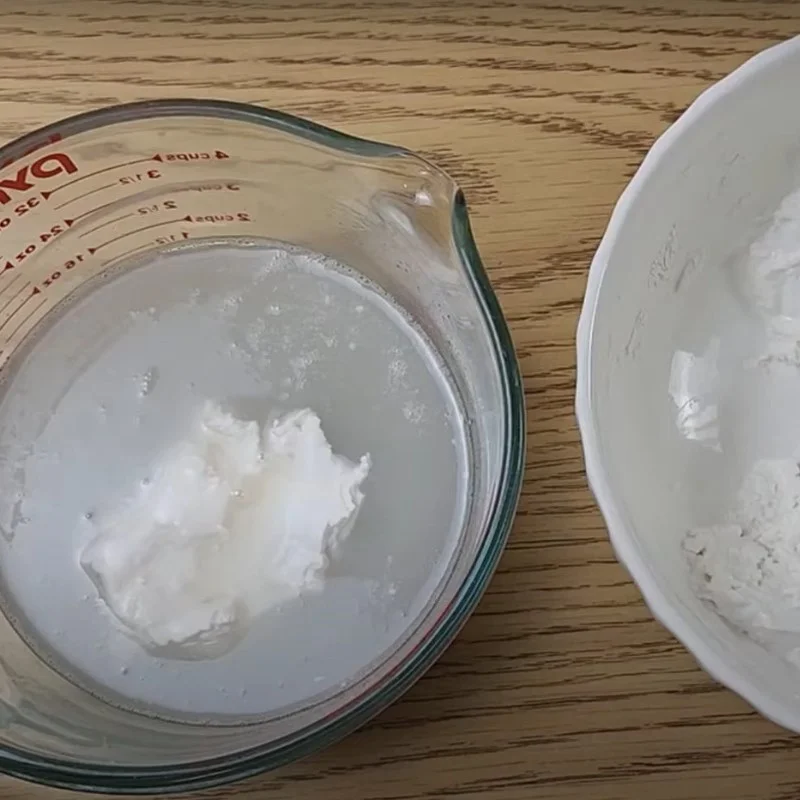
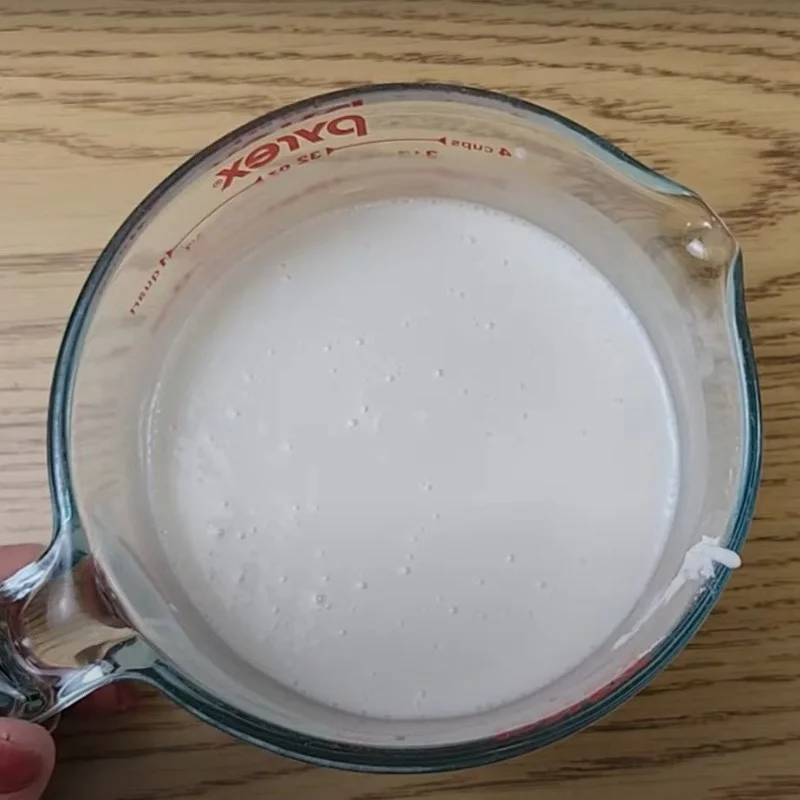
You add 150gr of sugar and 200ml of coconut milk into a measuring cup, then put it in the microwave to heat for 1 minute until the sugar is completely dissolved.
Next, you mix the fermented glutinous rice flour into the sugar water mixture. Be careful to add a little at a time so the flour can dissolve evenly. Do the same with the remaining two portions of flour.
Tip: To shorten the time, you can also use a dough mixer or a egg beater to mix the flour with the sugar water.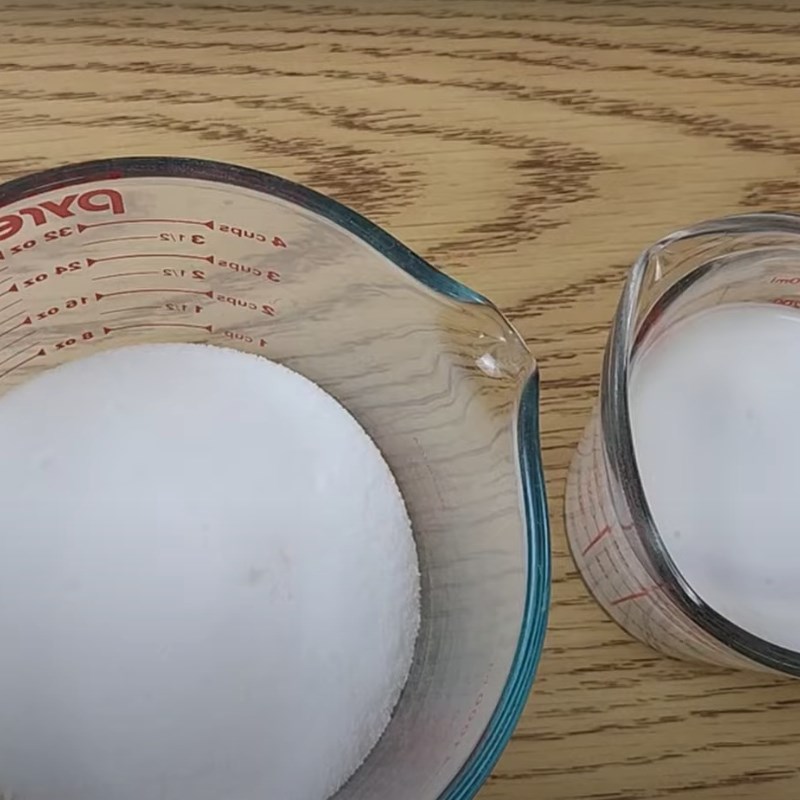

-
Making pink cake
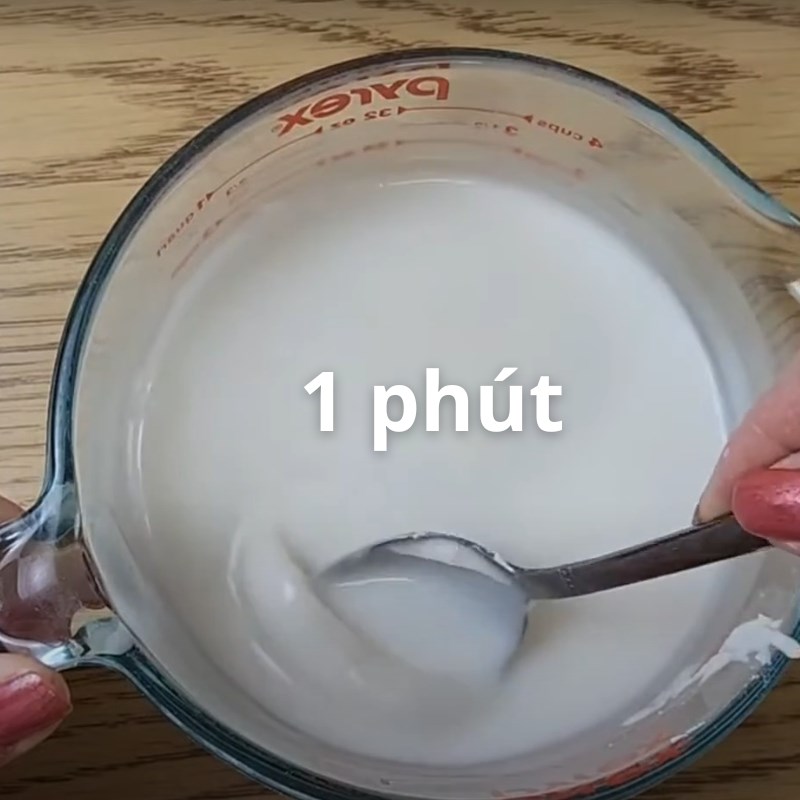
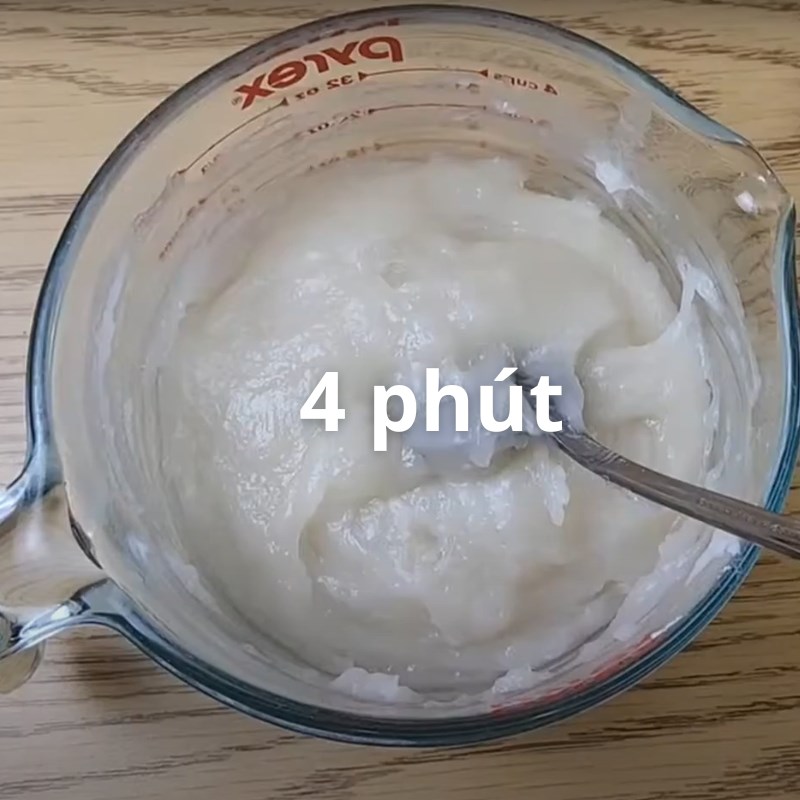
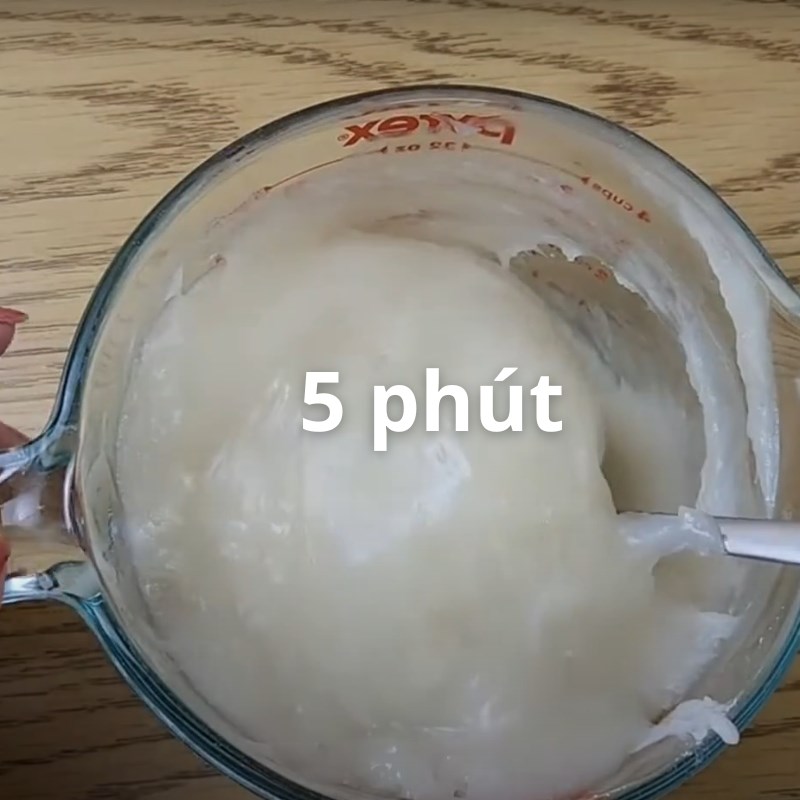
You put the mixed dough into the microwave and heat it for 5 minutes (divided into 5 intervals of 1 minute each). After each minute, take the dough out and stir it once to ensure even cooking.
Tip: Depending on the type of microwave you use and its heating capability, the cooking time for the dough may need an additional 1 – 2 minutes. Please check the dough regularly to adjust the time accordingly.After 5 minutes, the dough will be cooked and no longer sticky. At this point, spread the dough on a non-stick surface, flatten it to about 1 – 2cm thick, and wait for it to cool down to warm.
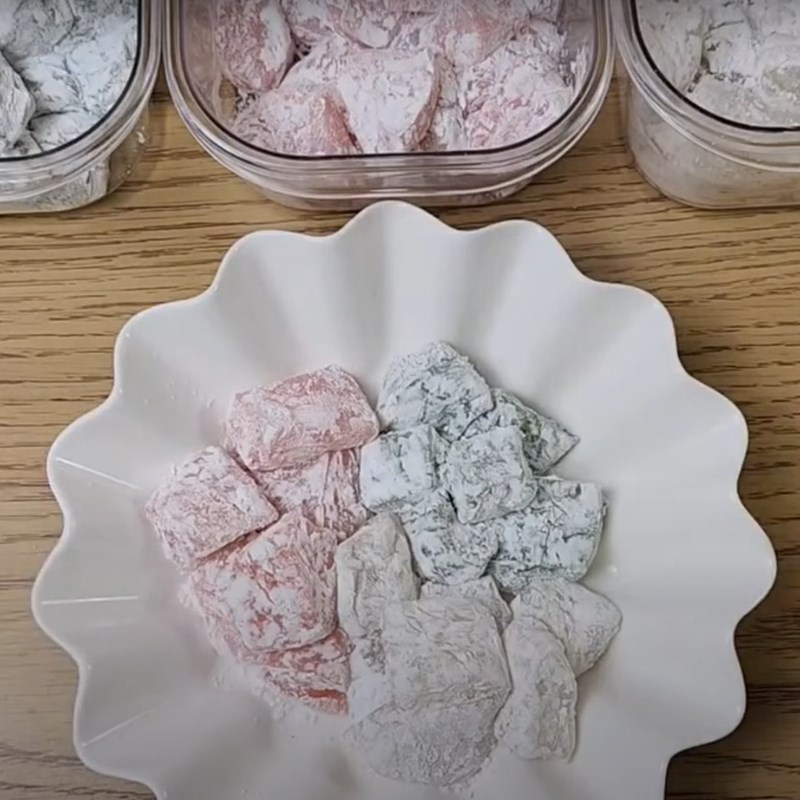
Next, sprinkle some dusting flour on top of the dough to coat it evenly, then use scissors to cut the cake into bite-sized pieces, and it’s done.

-
Final Product
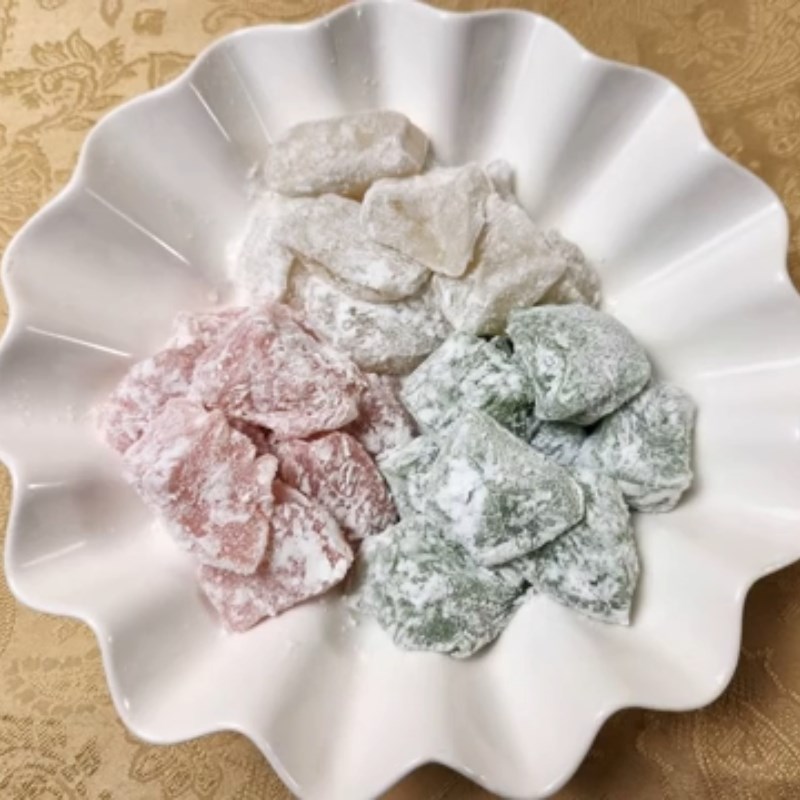
The pink cake made this way will be extremely quick and convenient; you won’t have to spend much time but will still get a traditional-flavored pink cake. Each cake piece is soft, sweet, and has a creamy taste of coconut milk that is very delicious.
The pink cake may seem like it would be overwhelming, but after taking a bite, you’ll surely want to have another piece. This cake can be eaten alone as a regular snack or enjoyed with a cup of bitter tea, which is also quite interesting.
What is Bình Định pink cake?
Pink cake is a traditional cake made primarily from glutinous rice flour and is a specialty of Bình Định province. Tam Quan town is considered the place that produces the best pink cake here. Therefore, people often refer to pink cake as Tam Quan pink cake.
Pink cake is usually displayed on the fruit tray on wedding days, symbolizing the weaving of destiny and love between couples. The people of Bình Định often wish couples “may you soon have relatives eat pink cake,” implying that they hope the young couple will soon become husband and wife. The meaning of the name pink cake may have originated from this.
In fact, traditional pink cake is only translucent white, but to make the cake more eye-catching, many artisans have added food colors such as pandan leaves, purple yam, and gac fruit,… to give the cake beautiful colors like green, pink, red,…
How to preserve Bình Định pink cake
- Since the pink cake contains grated coconut, the best storage time for the cake is only up to 5 days.
- After making the cake, wait for it to cool completely, then place it in a food container with a tight lid and store it in a dry, cool place or in the refrigerator’s cool compartment refrigerator.
- If the pink cake is stored for too long, the outer layer may harden and lose its soft, smooth texture like it did at the beginning. Therefore, you should use the cake up as quickly as possible.
Above are TasteVN’s shares about pink cake and a tip for you on 2 ways to make pink cake in Bình Định traditionally and in a quicker way using a microwave. Depending on the availability of ingredients and your skill level, choose the recipe that suits you best. Wishing you success.
