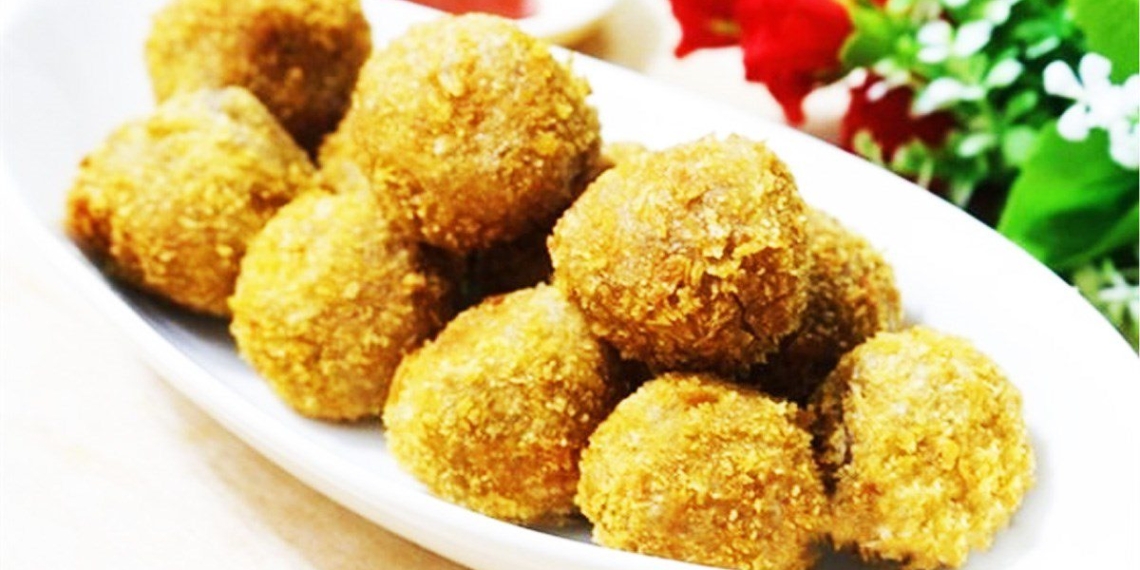
Deep-fried taro balls with a crispy golden exterior and a delicious, sweet filling will surely conquer your taste buds. Let’s get into the kitchen with TasteVN today to learn 5 ways to make this dish right away!
1. Deep-fried round taro balls

-
Preparation
15 minutes
-
Cooking
45 minutes
-
Difficulty
Easy
Ingredients for Deep-fried round taro balls For 3 people
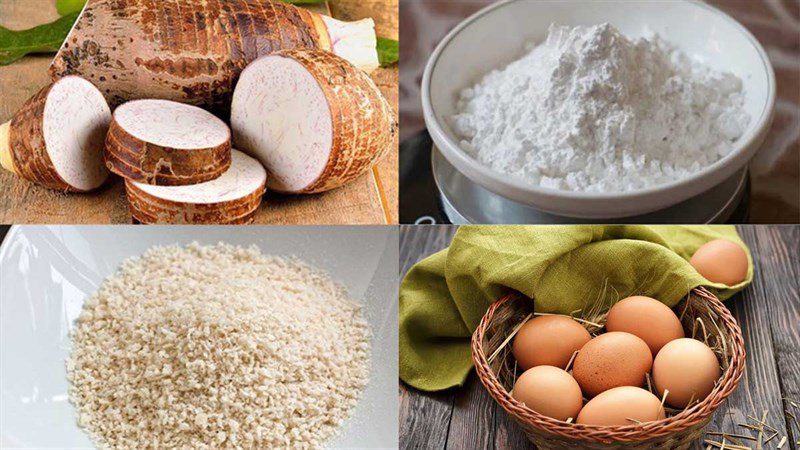
Taro 1 bulb (about 500gr) Tapioca flour 80 gr Rice flour 30 gr Breadcrumbs 70 gr Chicken egg 1 egg Cooking oil 300 ml White sugar 50 gr Salt a little
How to make Fried Taro Balls
-
Preparing the taro
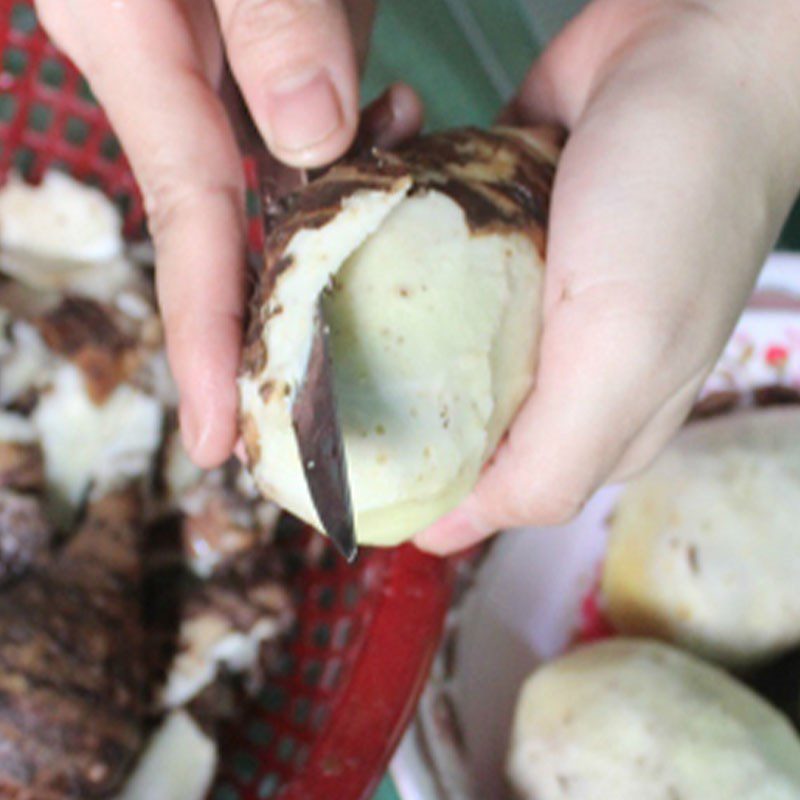
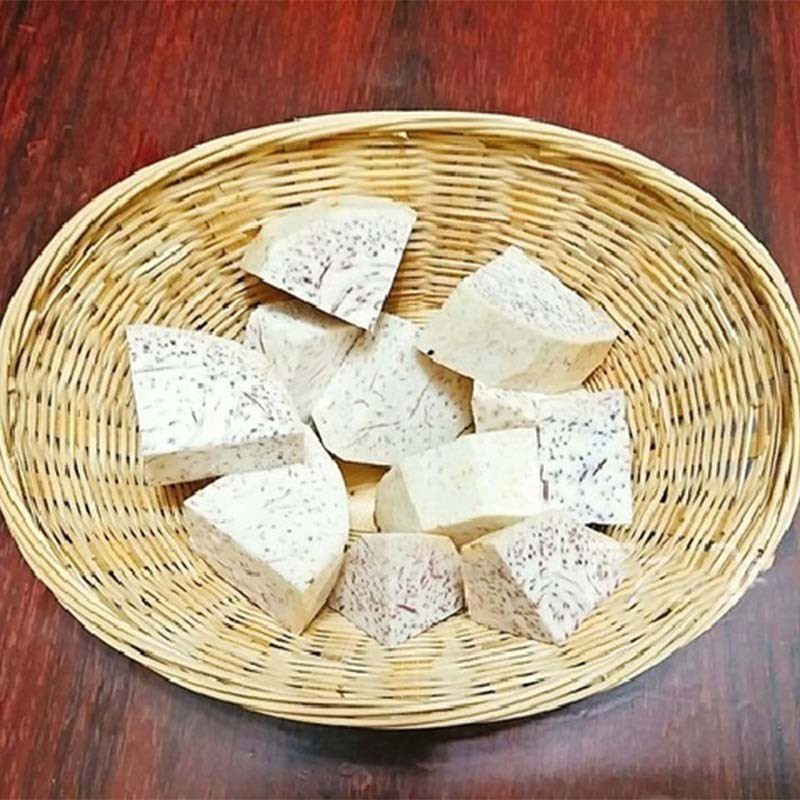
Wash the taro with clean water. Then, use a knife to peel the skin, cut the taro into large pieces, and wash it again with water once more.
Tip: To peel taro without itching, you should wear plastic or rubber gloves before peeling. Avoid direct contact with the taro.
-
Steaming the taro
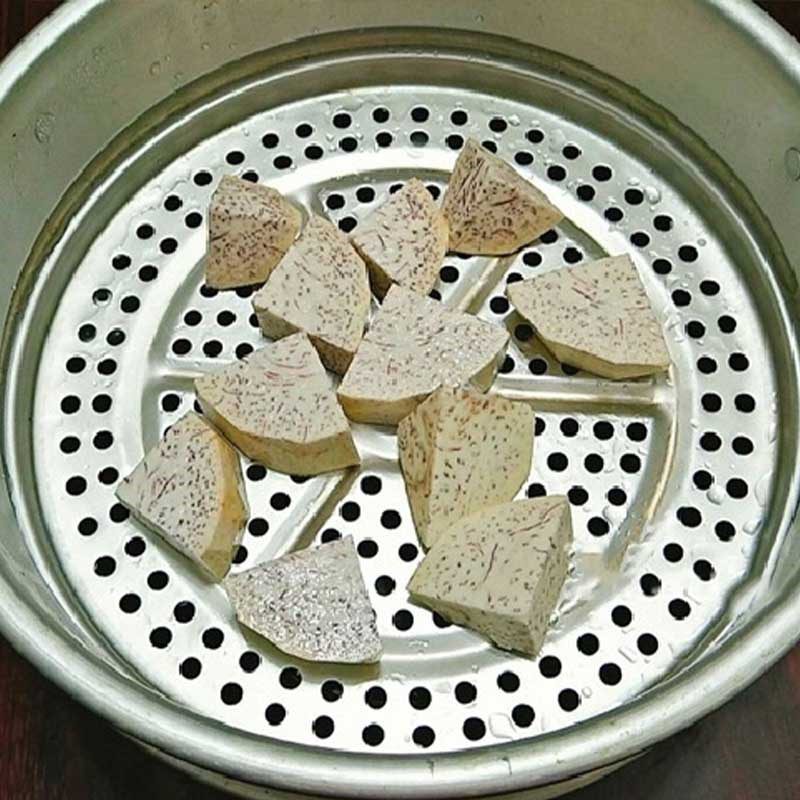
Boil water in a steamer and then place the prepared taro inside. Cover the lid and steam for about 20 – 25 minutes until the taro is soft, then turn off the heat, take the taro out, and let it cool.
-
Mixing the flour and taro mixture
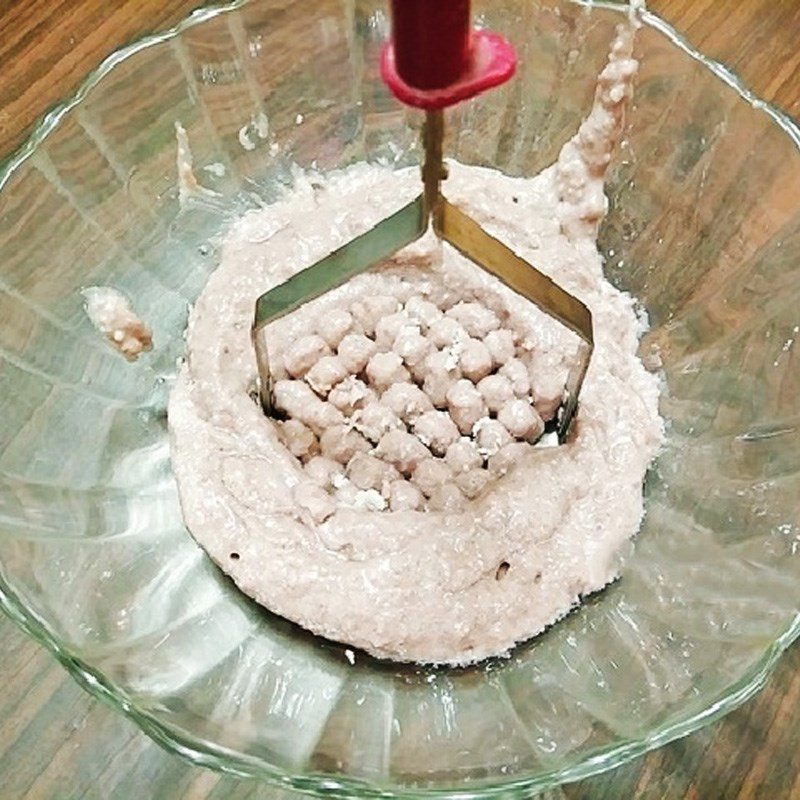
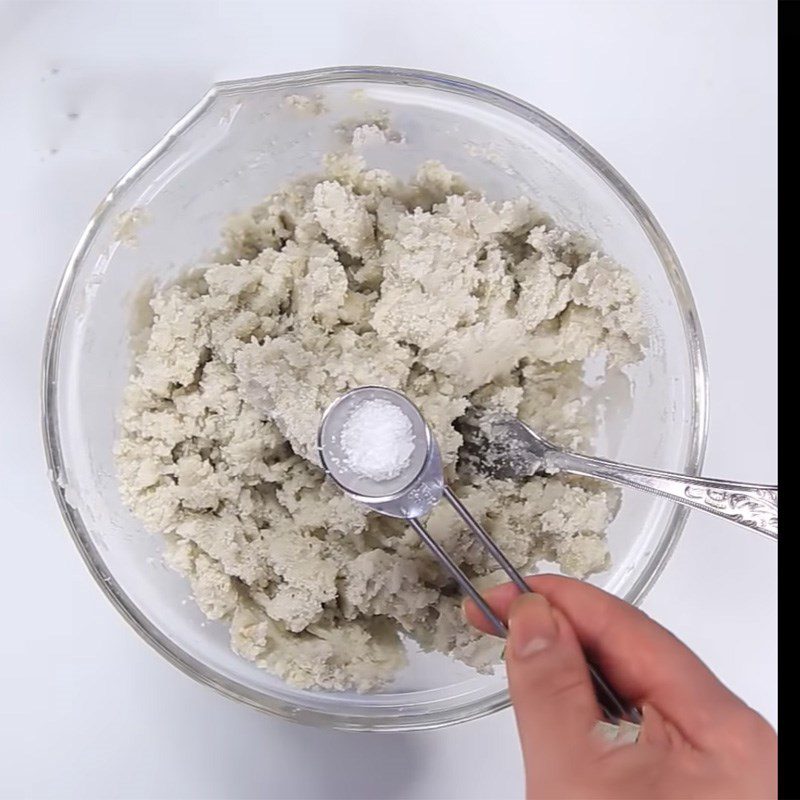
Place the steamed taro in a bowl. Then add 50g of white sugar and 1/4 teaspoon of salt, then use a spoon to mash the taro, mixing well so that the ingredients blend together.
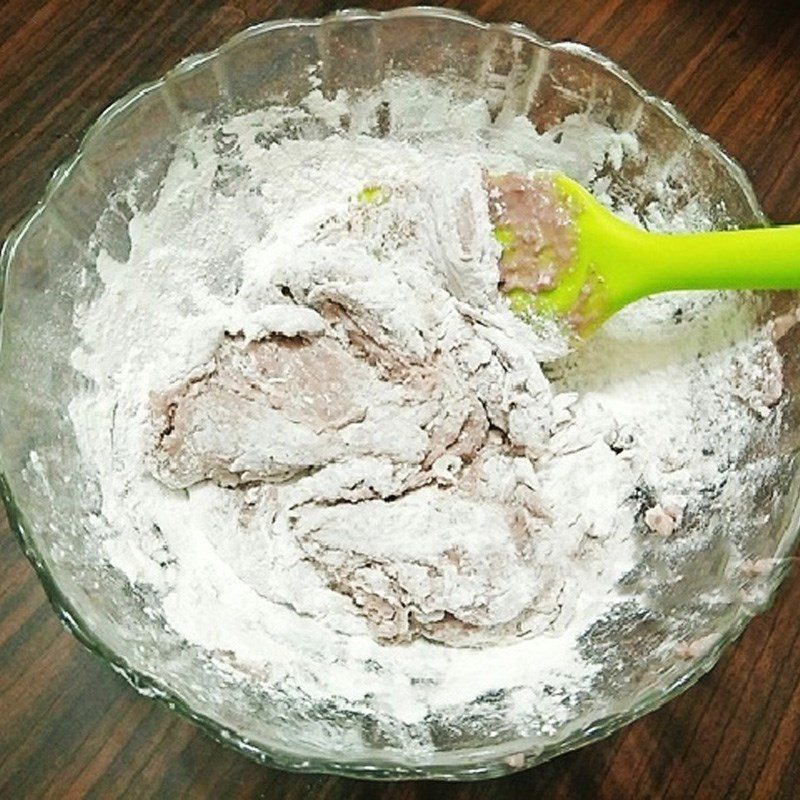
Next, add 80g of tapioca flour and 30g of rice flour, and mix thoroughly until the ingredients are homogeneous and form a dough.
-
Making the Cake
Prepare 2 new bowls, 1 bowl containing 70g of breadcrumbs, and in the other bowl, crack 1 egg and beat the egg yolk.
Next, take a sufficient amount of the flour and potato mixture and shape it into round balls.
Then, drop the balls into the egg bowl, and transfer them to the bowl of breadcrumbs. Roll them evenly to coat the entire surface of the cake. Continue doing this until the flour mixture is used up.


-
Frying the Cake
Place a pan on the stove and heat 300ml of cooking oil until boiling. When the oil is hot, add the cakes and fry over medium heat for about 10 – 15 minutes. Turn them regularly until they are golden brown on all sides, then remove them to a plate.
Tip: Place paper towels on the plate to absorb any excess oil on the cakes.


-
Finished product
The deep-fried taro balls look very appealing! The cakes have a beautiful yellow color, with a crispy outer layer wrapping around the rich and sweet taro filling that is hard to resist.
You should dip them in chili sauce or ketchup to enhance the flavor of the dish!

2. Deep-fried taro skewers

-
Preparation
15 minutes
-
Cooking
30 minutes
-
Difficulty
Easy
Ingredients for Deep-fried taro skewers Serves 3 people
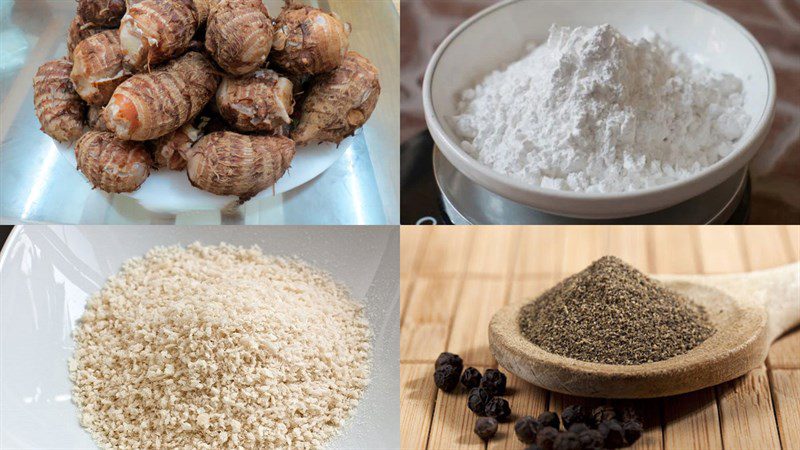
Small taro bulbs 500 gr Crispy flour 30 gr Breadcrumbs 30 gr Cooking oil 300 ml Salt 1 teaspoon Ground pepper 1/2 teaspoon
How to make Fried Taro Skewers
-
Boil the taro
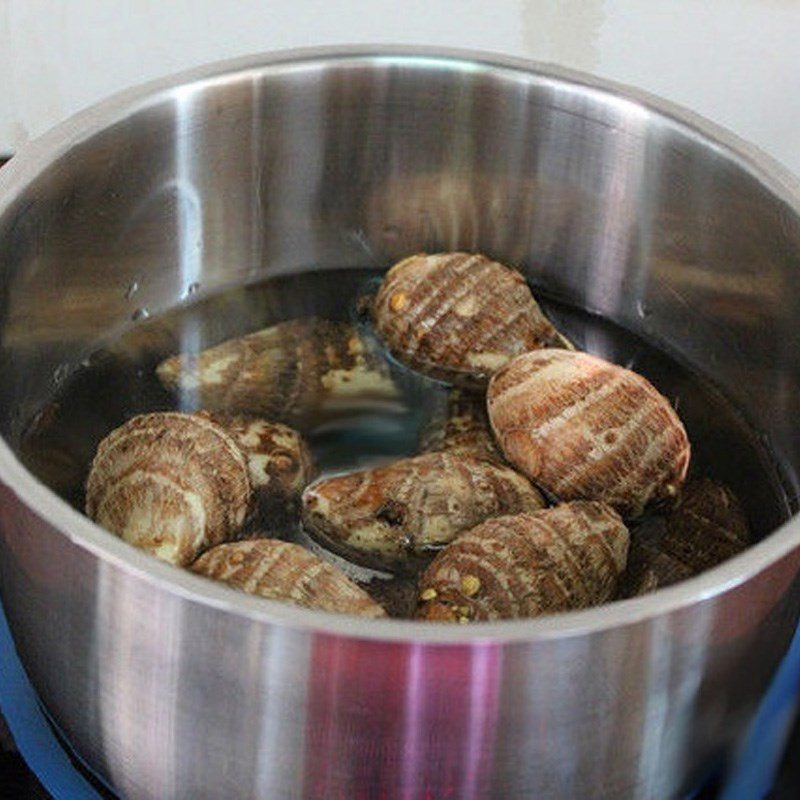
500g of small taro roots should be washed clean. Then, place a pot of boiling water on the stove and add the prepared taro to boil over medium heat for about 15 – 20 minutes.
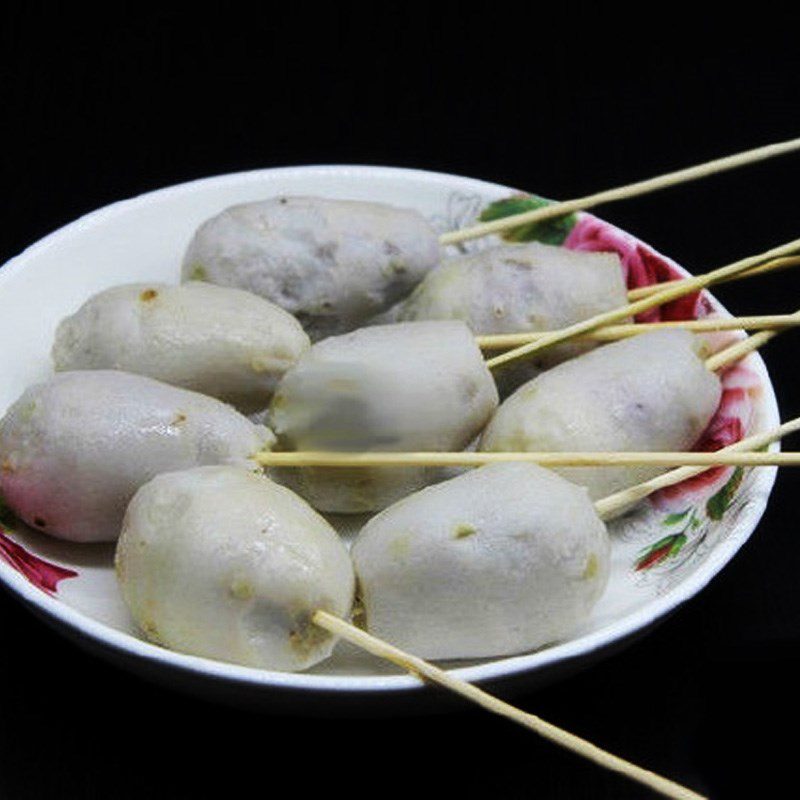
Boil until the taro is soft, then turn off the heat and remove it to a plate. Once the taro has cooled, peel it and skewer it from the bottom to the top.
-
Coat with flour
Evenly sprinkle 1 teaspoon of salt and 1/2 teaspoon of ground pepper over the boiled taro skewers.
Prepare 2 large bowls, one containing 30g of crispy flour and the other containing 30g of panko breadcrumbs. Next, roll the taro skewers in the crispy flour and then transfer them to the bowl with panko breadcrumbs.


-
Fry the taro
Place a pan on the stove and heat 300ml of cooking oil until it’s hot. Once the oil is hot, add the taro skewers coated in flour and fry over medium heat for about 5 – 10 minutes. Turn them regularly until the taro is golden brown on all sides, then remove them to a plate.
Tip: Line with paper towel to absorb excess oil from the skewers.

-
Finished Product
The fried taro skewers have a crispy outer layer, and when you eat them, you will experience the rich and buttery flavor of taro mixed with a hint of saltiness from the salt. Dip them in chili sauce or ketchup to enhance the dish’s flavor!

3. Fried Taro with Salted Egg Filling

-
Preparation
15 minutes
-
Cooking
30 minutes
-
Difficulty
Easy
Ingredients for Fried Taro with Salted Egg Filling Serves 3 people
Taro 1 piece (about 500g) Salted eggs 10 eggs Chicken egg 1 egg All-purpose flour 45 g Tapioca flour 45 g Fried flour 60 g Bread crumbs 70 g White wine 50 ml Unsweetened fresh milk 45 ml Cooking oil 300 ml White sugar 45 g
How to choose salted eggs
- To buy good salted eggs, you should choose those with a smooth outer shell, without cracks or mold. When shaken lightly, you can feel a little water inside the egg.
- Hold the salted eggs under sunlight or electric light; if you see the egg white is clear, has a light pink color, the yolk is small and close to the shell, it indicates that it is a good salted egg.
- If you crack the egg and see that the egg white is cloudy, and it emits a bad odor, you should discard it as it is spoiled.
See more: Simple way to make salted eggs at home
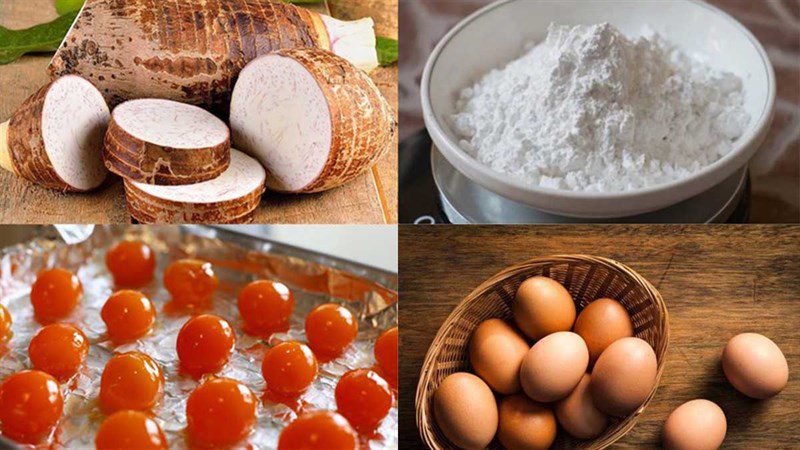
Tools needed
How to make Fried Taro with Salted Egg Filling
-
Steaming Salted Eggs
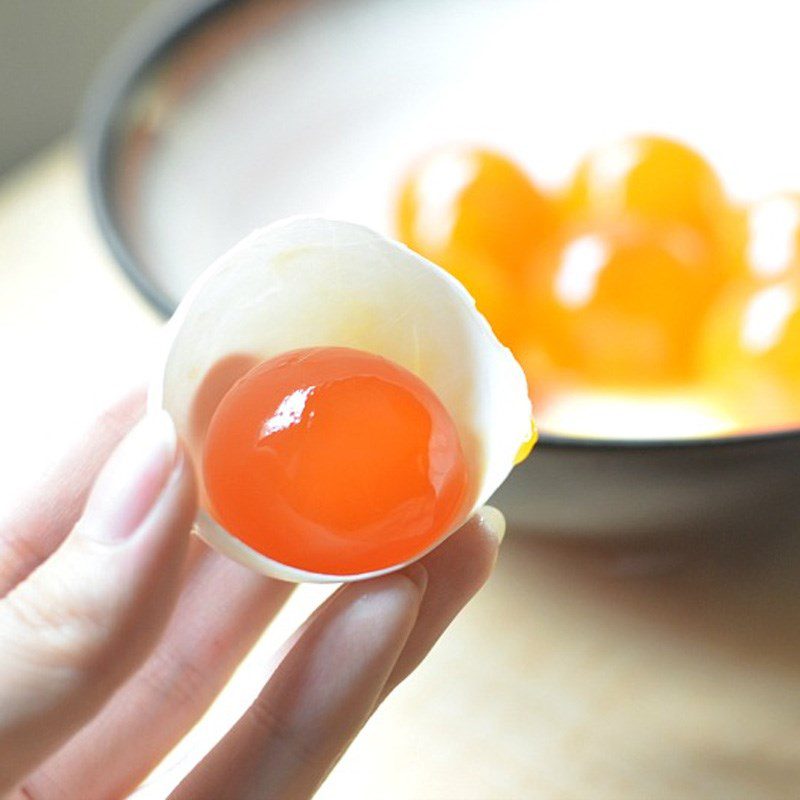
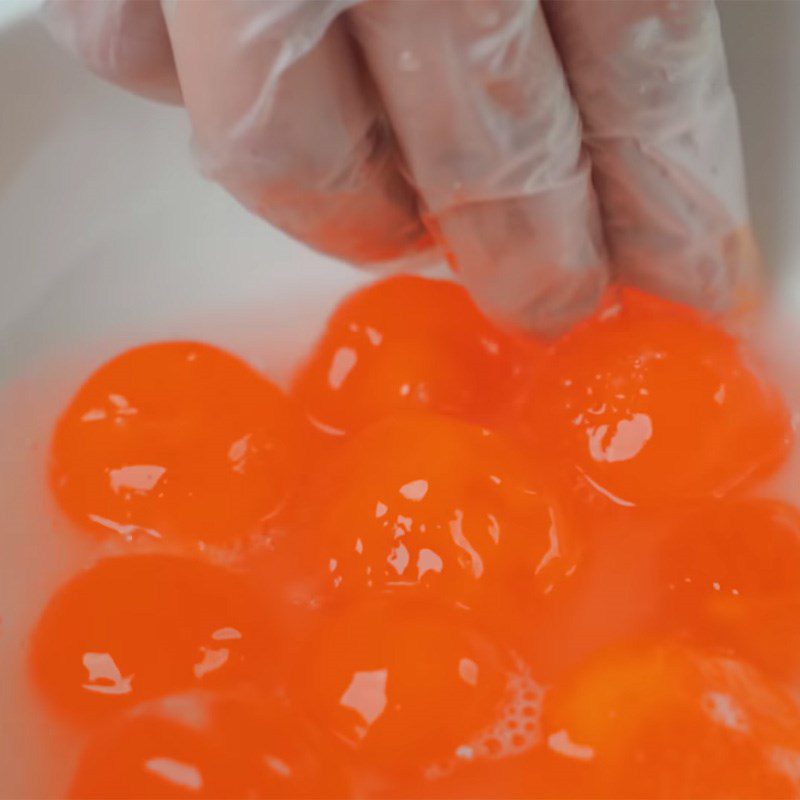
First, crack open 10 salted eggs and keep the yolks. Then, gently rinse the yolks with cold water.
Next, to reduce the fishy smell of the yolk, add 50ml of white wine into a bowl and soak the yolks in it for about 3 – 5 minutes.
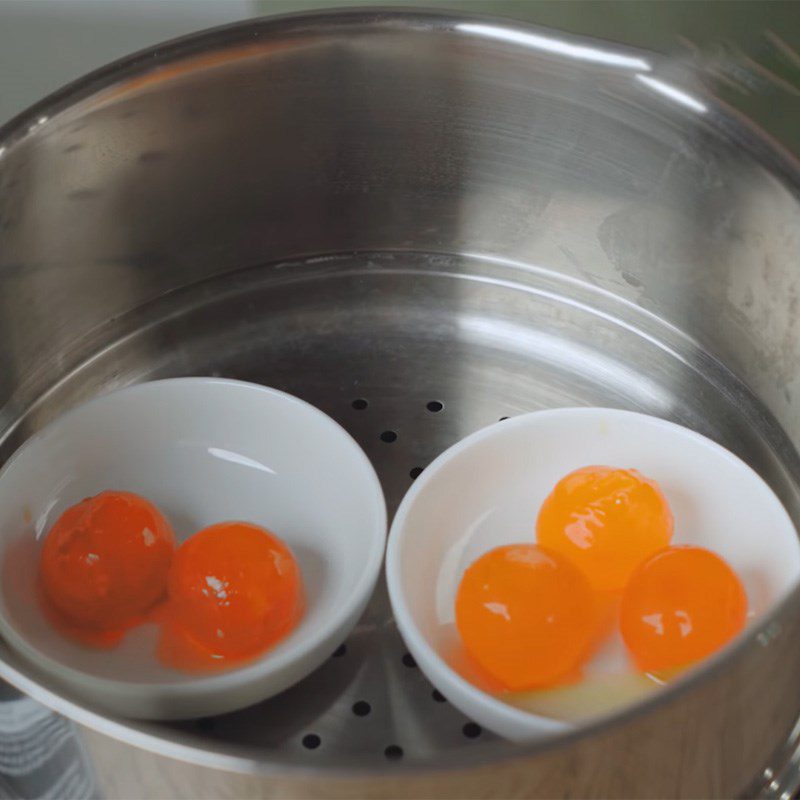
Finally, boil water in a steaming pot and place the 10 soaked salted egg yolks inside. Cover and steam for about 5 – 7 minutes until the eggs are cooked, then turn off the heat.
Once the eggs have cooled, use a knife to cut each yolk into 2 equal parts.
-
Steaming and Mashing Taro
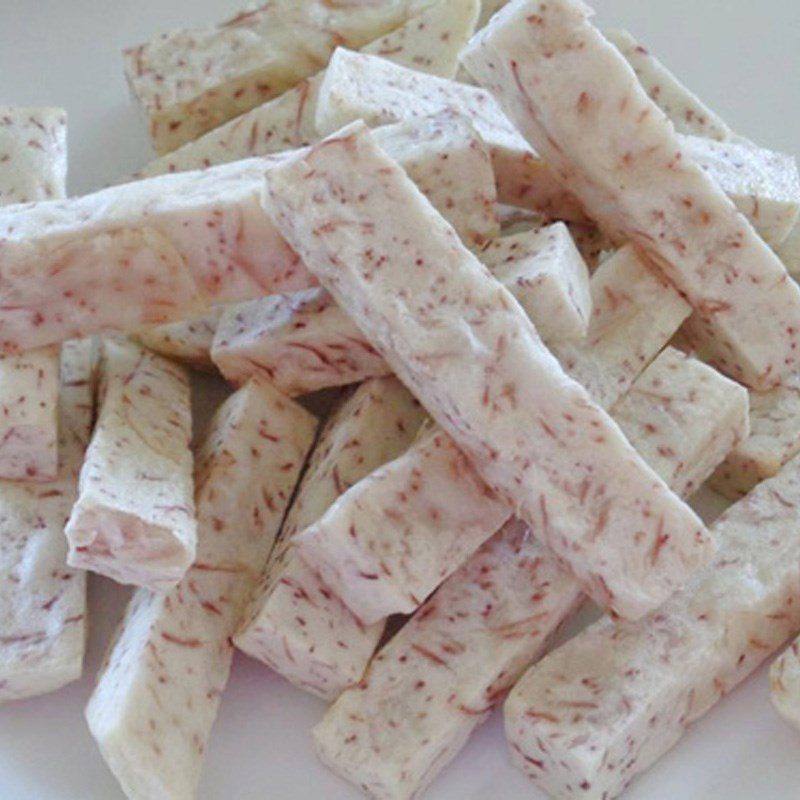
Wash 1 taro root, peel it with a knife, and cut it into bite-sized pieces. Continue to boil water in the steaming pot and then add the pre-prepared taro, steaming for about 15 – 20 minutes over medium heat until the taro is soft.
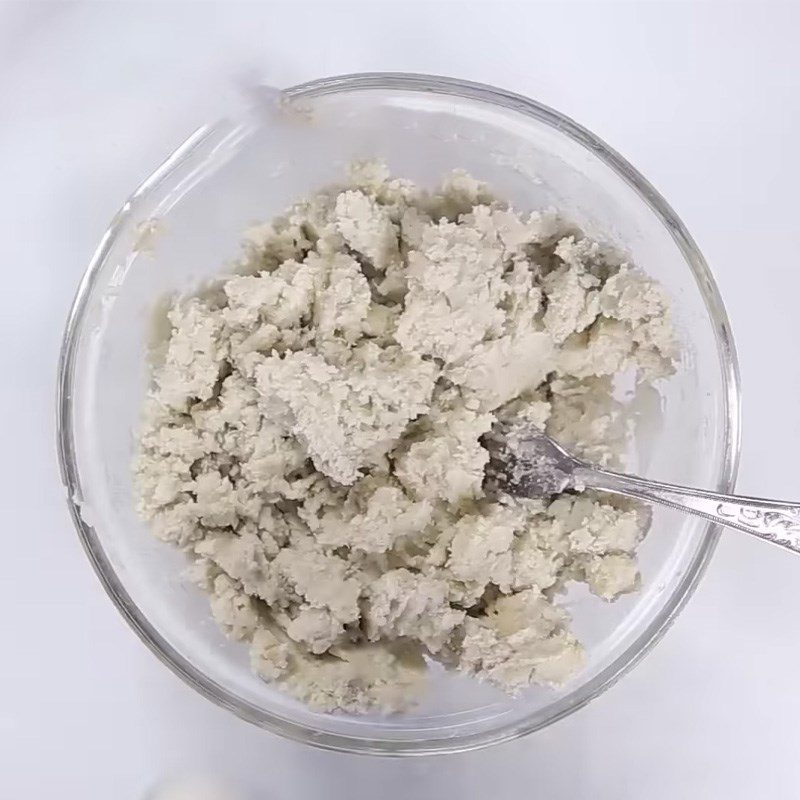
After steaming, wait for the taro to cool, then place it in a bowl and use a spoon to mash it until smooth.
-
Mixing the taro flour mixture
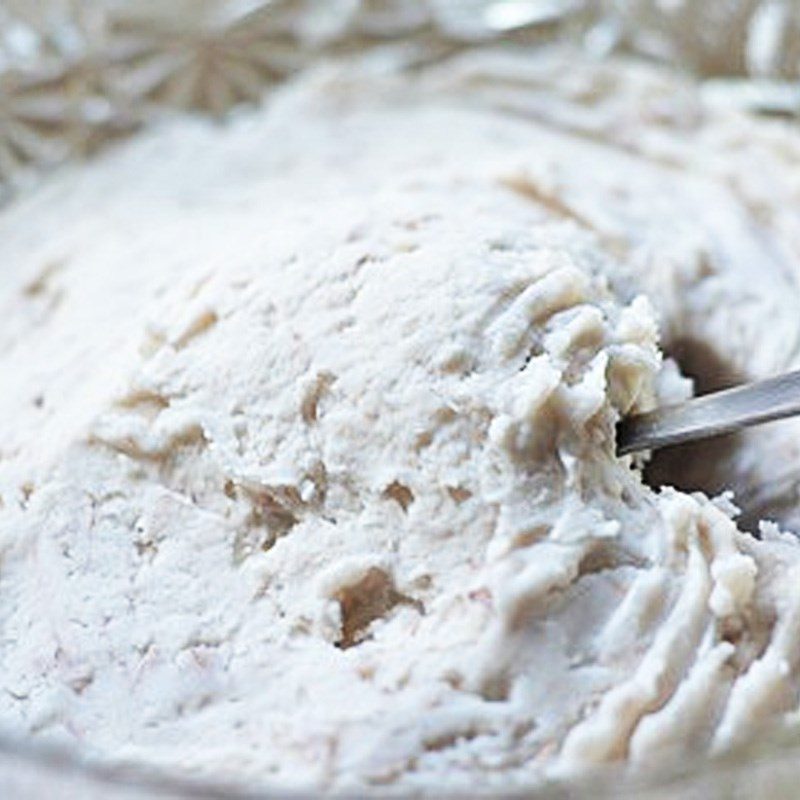
First, add 45g of white sugar, 45g of all-purpose flour, and 40g of tapioca flour into the bowl of mashed taro, then use a spoon to mix well so that the ingredients blend together.
Next, add 45ml of unsweetened fresh milk and mix thoroughly until the flour mixture sticks together to form a mass.
-
Shaping the cakes
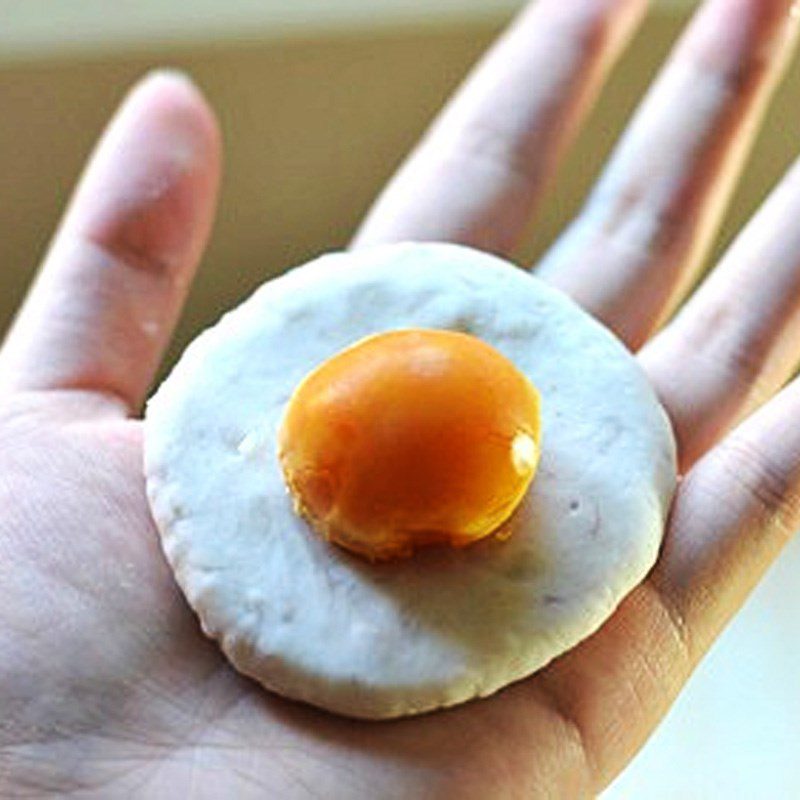
Take a sufficient amount of taro dough and roll it into a ball, then flatten it down. Place 1/2 of a salted egg yolk in the center as the filling, then wrap the dough to form a round shape. Repeat this process until all the flour mixture is used up.
Prepare 2 bowls, one containing 60g of crispy frying flour and the other containing 70g of breadcrumbs. Next, crack 1 chicken egg into a bowl and use a spoon to mix well so that the yolk and white blend together.
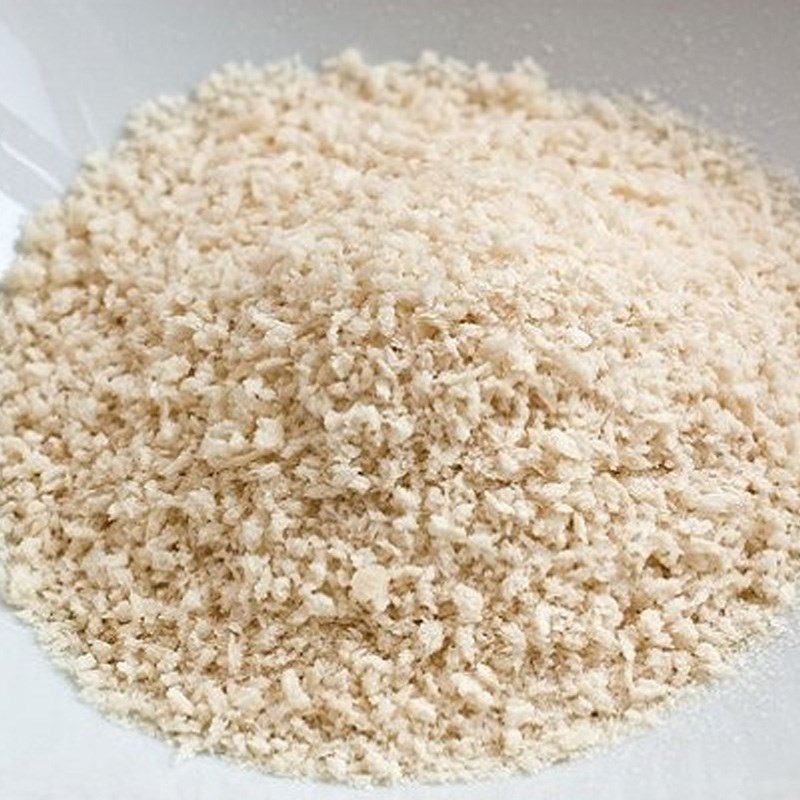
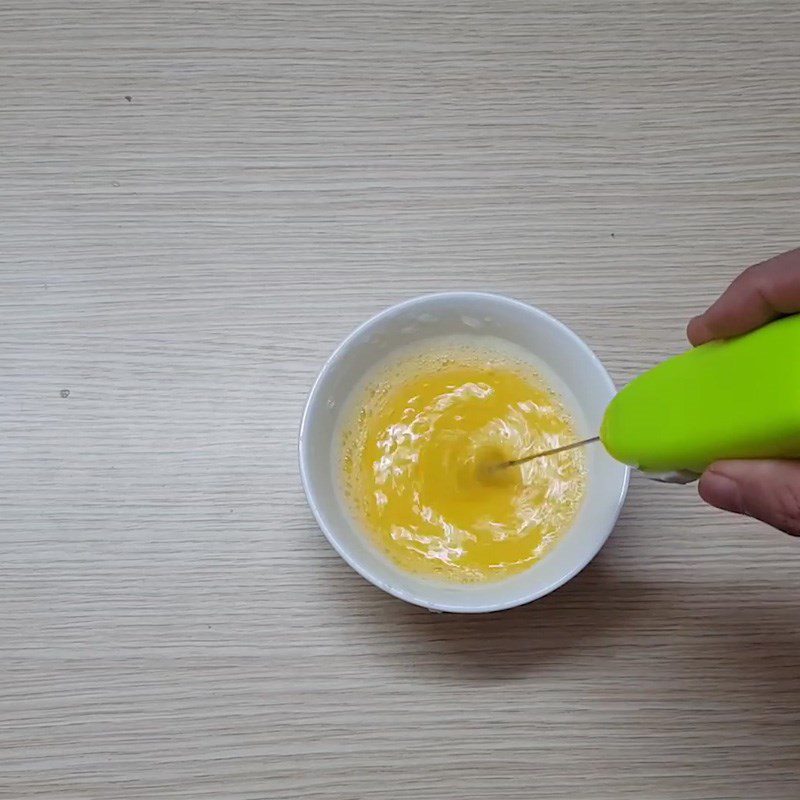
-
Coating the dough and frying the cake
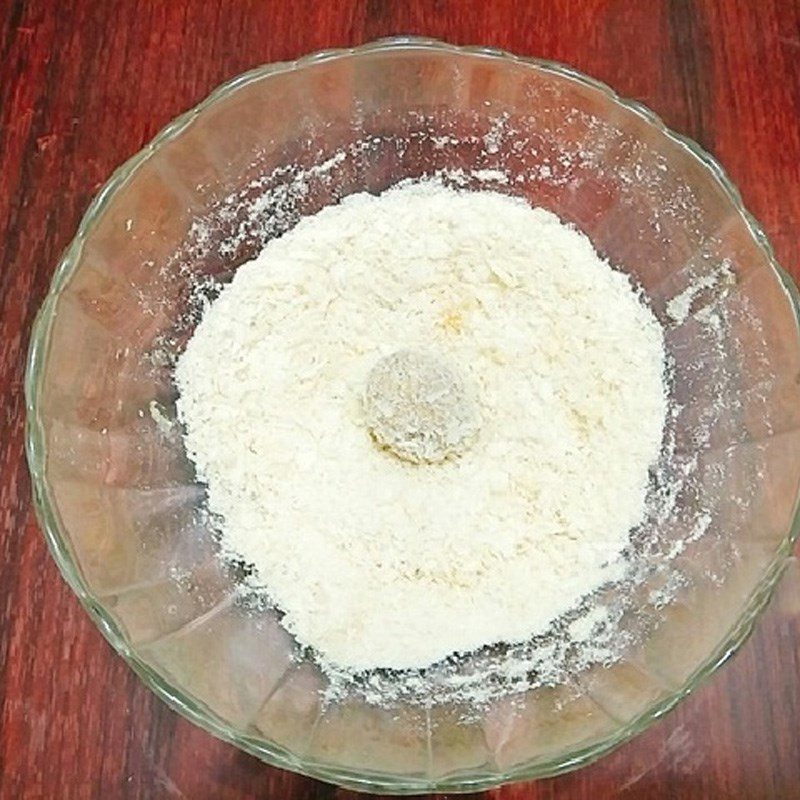
Coat the cake through each layer of flour in the order: a layer of crispy flour, a layer of egg, and then a layer of breadcrumbs.
Place a pan on the stove and heat 300ml of cooking oil until boiling, then add the coated cakes and fry over medium heat for about 10 – 15 minutes. Turn regularly until the cake’s crust is golden on all sides, then remove to a plate.
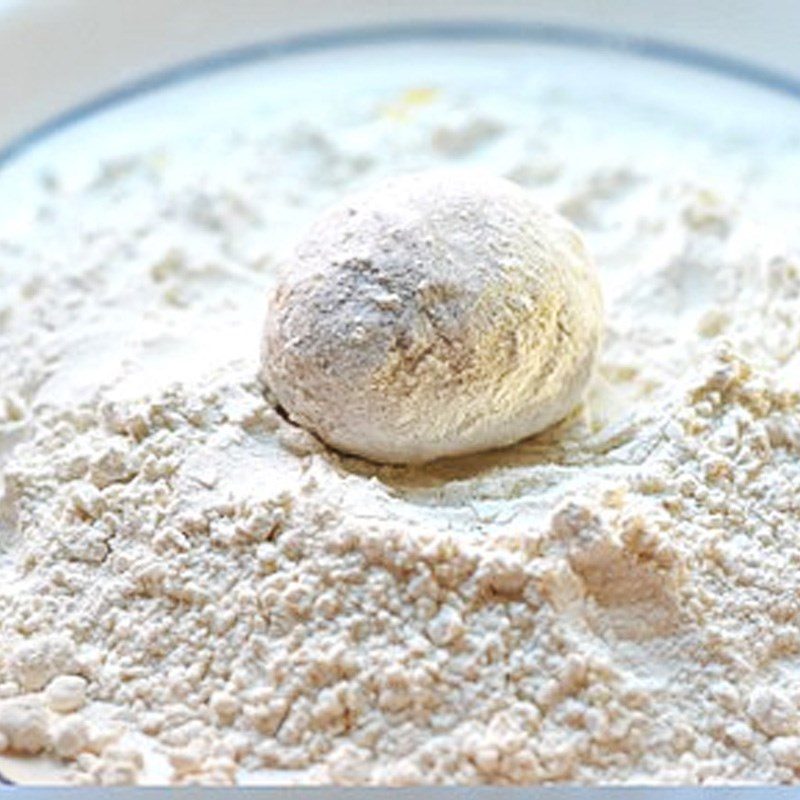
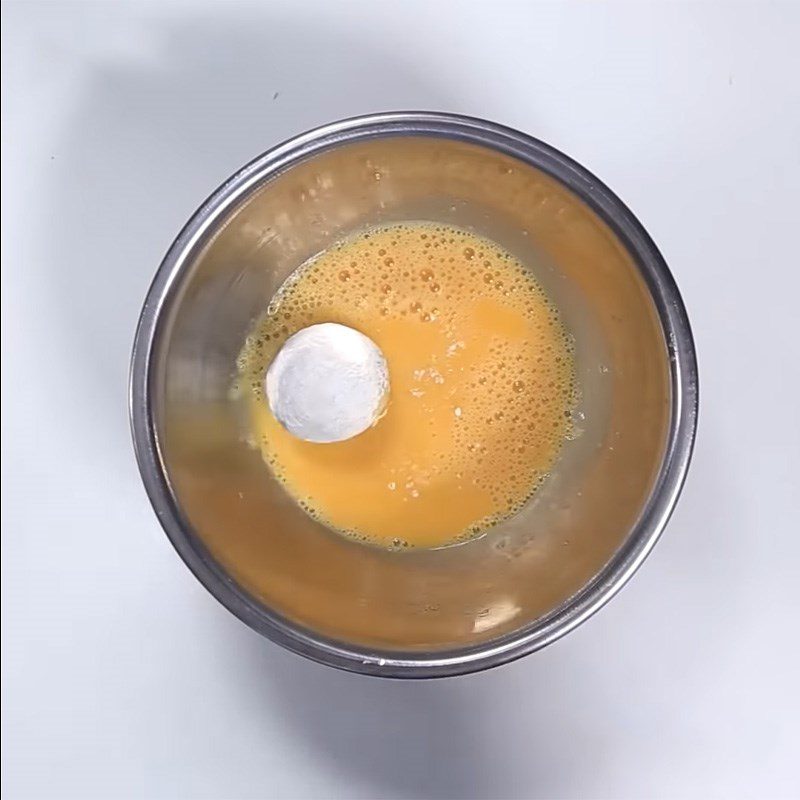

-
Final product
The fried taro with salted egg filling has a rich, fragrant, sweet and fatty taste of taro mixed with the salty flavor that stimulates the taste buds of salted egg. With just a few simple steps, you have a delicious cake to treat your friends on the weekend!

4. Fried taro with salted egg floss
-
Preparation
15 minutes
-
Cooking
30 minutes
-
Difficulty
Easy
Ingredients for Fried Taro with Salted Egg Floss Serves 4 people
Taro 800 gr Purple sweet potato 200 gr Cream powder 20 gr Wheat flour 100 gr Tapioca flour 130 gr Breadcrumbs 500 gr Salted egg yolks 5 eggs Taiwanese pork floss 50 gr Mozzarella cheese 50 gr Cooking oil 150 ml Sugar 50 gr Salt a little
How to choose good purple sweet potatoes
- Buy purple sweet potatoes with a natural light purple skin, not unusually dark, with an intact exterior, not cracked or chipped. Pick up the sweet potato, it should feel heavy, firm, and not bruised.
- Be careful if you see sweet potatoes with black spots or blemishes, that is a sign that the sweet potato is spoiled.
- Choose sweet potatoes that are round or elongated, without waists or dents; if you squeeze lightly, they should not be too hard. These usually have less fiber, more starch, and taste very sweet.
- Avoid choosing very small, long, or dented sweet potatoes as they tend to have more fiber.
Information about cream powder
What is cream powder? What is it used for?
- Cream powder, also known as fat powder, is a type of powder with a high smoothness, cream color, and easily dissolves in water.
- The powder is often used to replace milk and cream in mixing or baking because besides creating a rich flavor, the powder also enhances the appealing aroma of the dish.
Where to buy fatty powder?
You can find fatty powder at supermarkets, specialty baking stores, or order online from e-commerce sites.
Chà bông and salted eggs can be purchased directly at TasteVN supermarkets or ordered online through bachhoaxanh.com! Additionally, you can make salted eggs and Taiwanese chà bông at home using TasteVN’s recipe to ensure safety and hygiene.
See details:
-800x450-3.jpg)
Required tools
How to make Fried Taro with Salted Egg Floss
-
Prepare and steam the potatoes
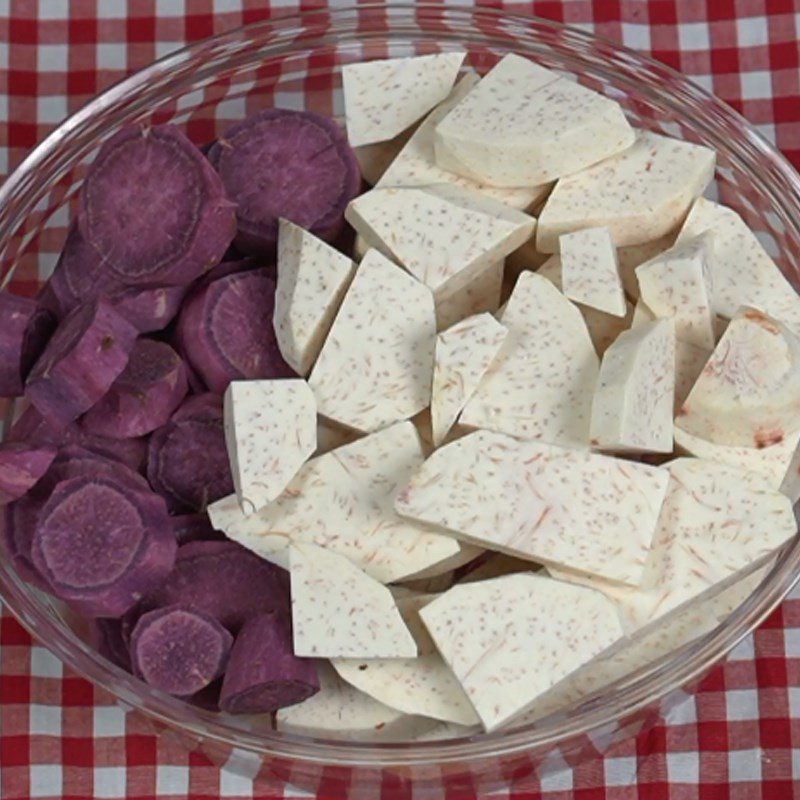
After buying the taro, peel it and wash it clean, then soak it in diluted salt water for about 10 minutes, then take it out and rinse it with clean water. Next, cut the taro and sweet potato into small pieces.
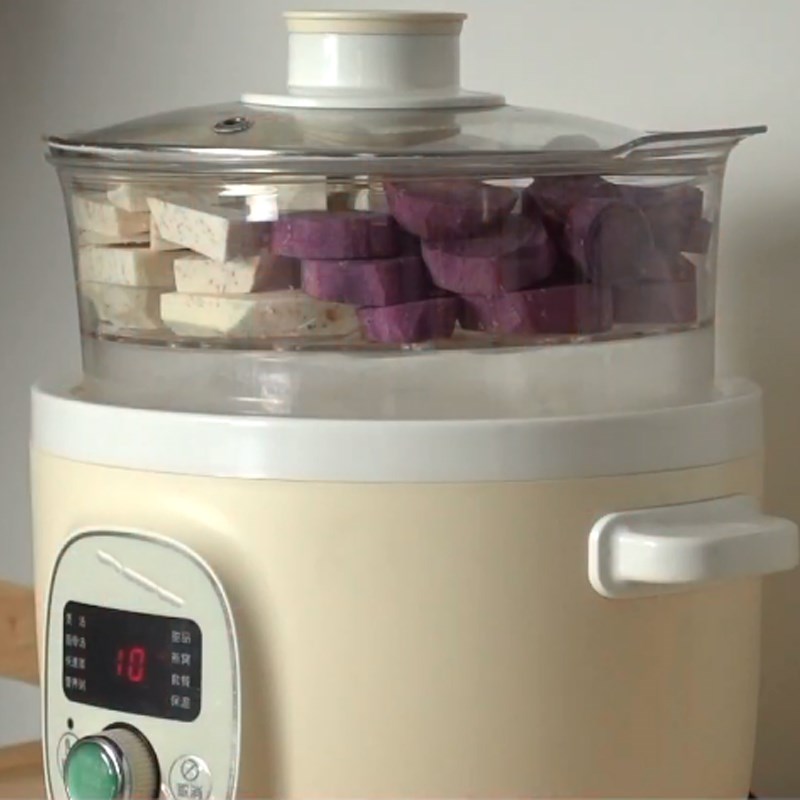
Prepare a steaming pot and place it on the stove. Then add the taro and purple sweet potato and steam for about 15 – 20 minutes until cooked.
-
Mash the potatoes and mix the flour
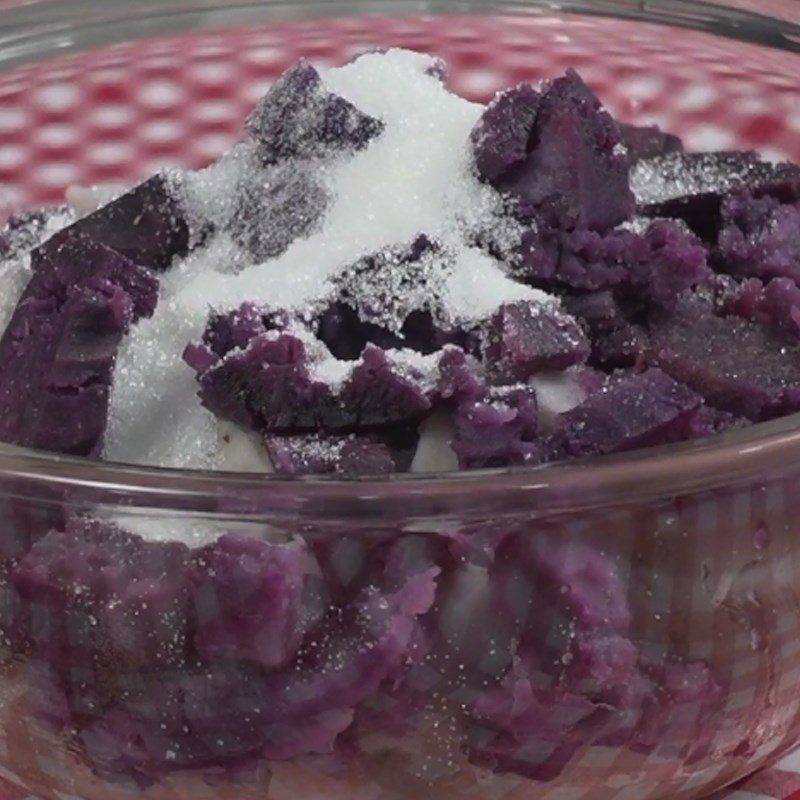
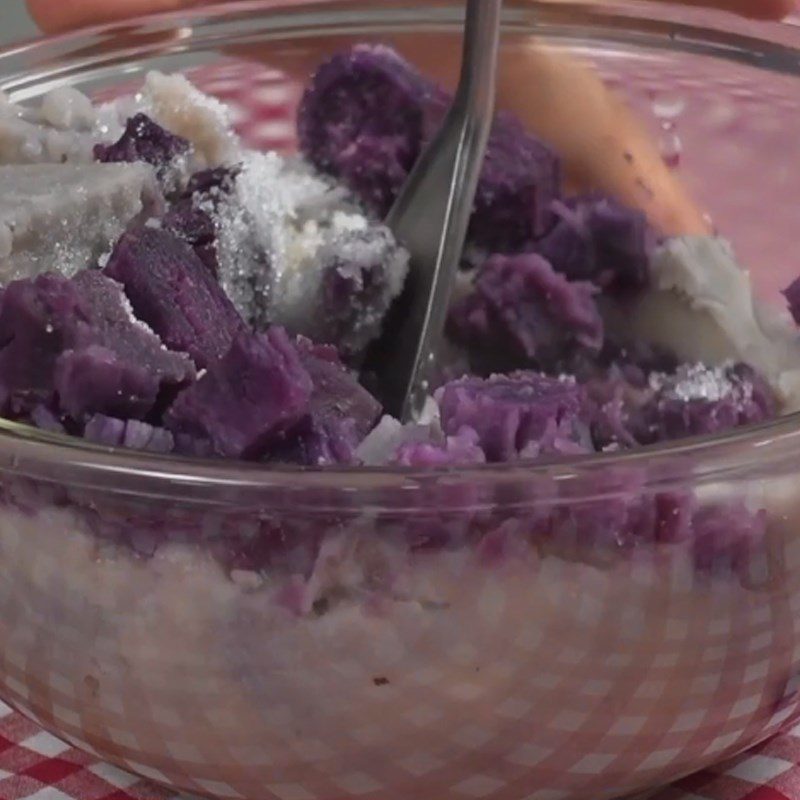
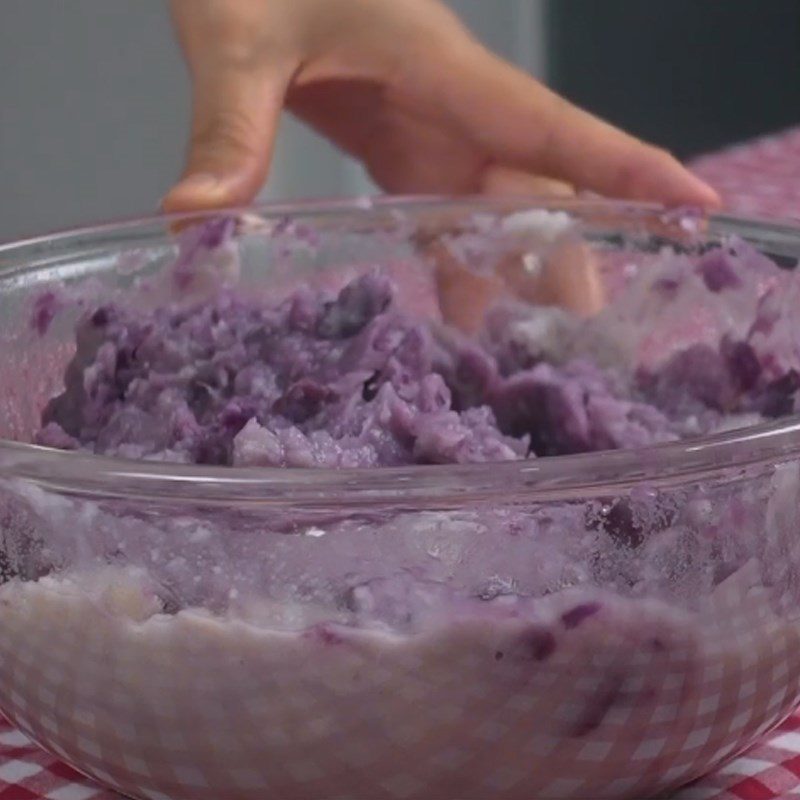
After steaming the potatoes, add 50g of sugar into the bowl with the potatoes, then use a spoon or mashing tool to mash the potatoes until smooth.
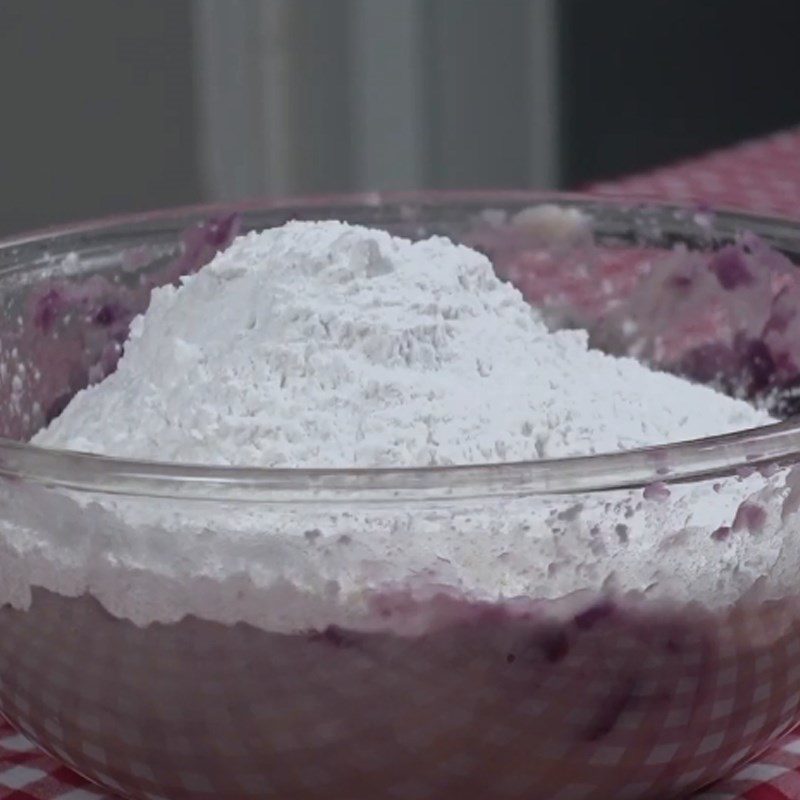
Next, add 20g of fatty flour, 100g of wheat flour, and 130g of tapioca flour into the bowl of potatoes, and mix well until the flour and potatoes are combined.
-
Kneading and dividing the dough
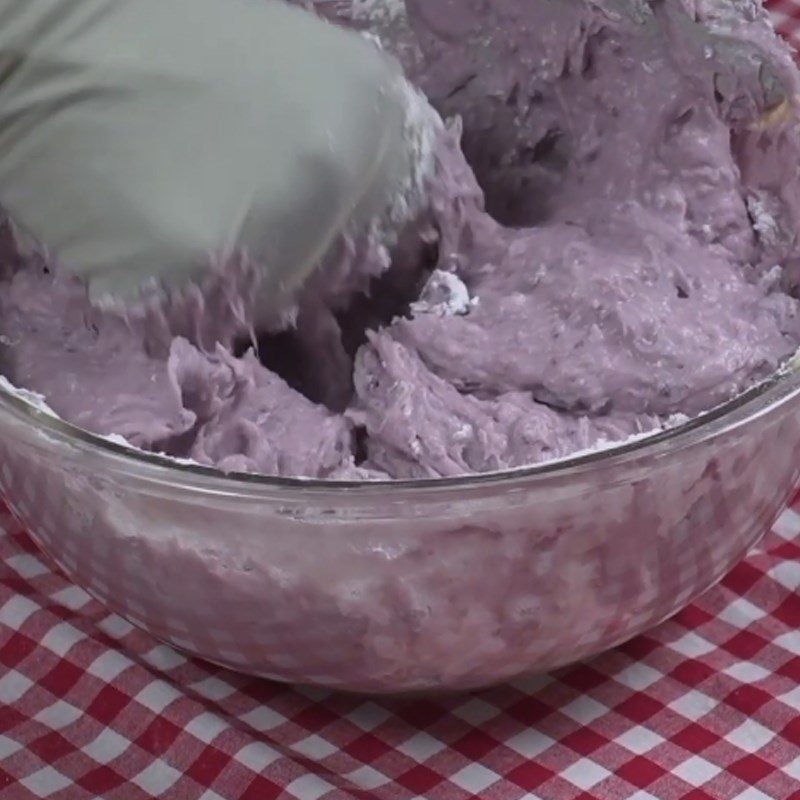
In this step, you use your hands to knead the dough and sweet potato until a uniform, soft, and sticky dough forms that does not fall apart.
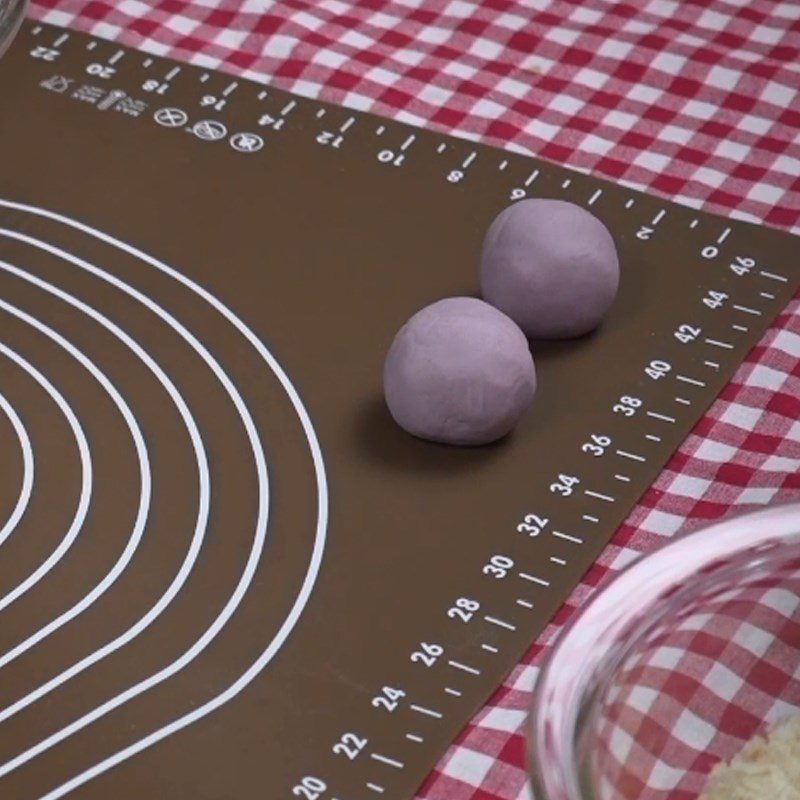
After the dough is well-kneaded, take a small amount of dough, about 20g (approximately 1 tablespoon), and roll it into a ball. Repeat this process until all the dough is used up.
Tip: If the dough is too dry, add a little milk to the mixture, or if the dough is too wet, add some cornstarch. As long as the dough has a moderate moisture level, smooth, and elastic.
-
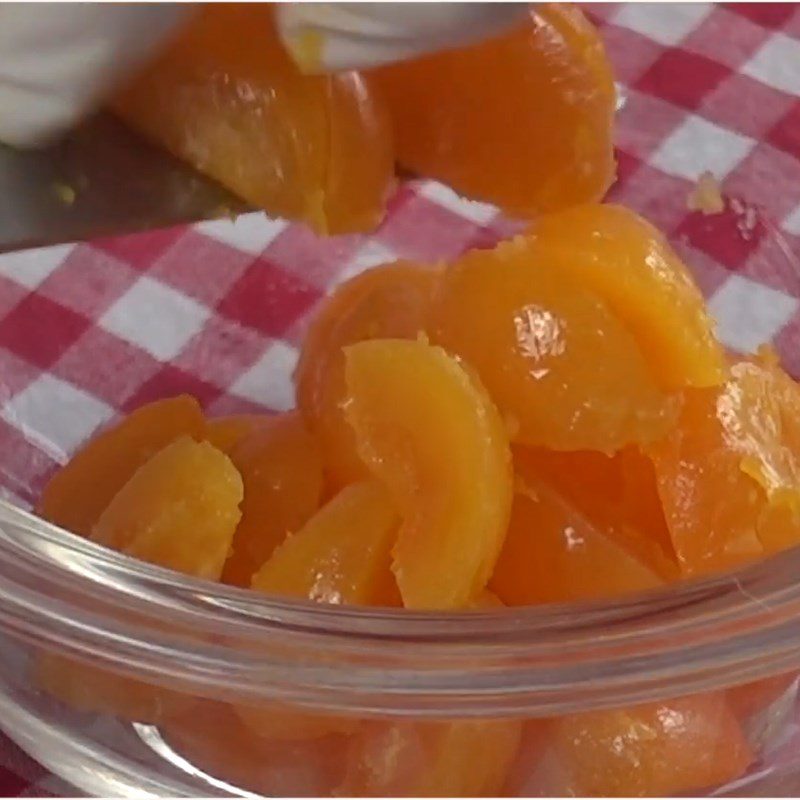
First, clean the salted egg yolks and steam them for 10 minutes, then chop the salted eggs and mozzarella cheese into small pieces for easier wrapping of the filling.
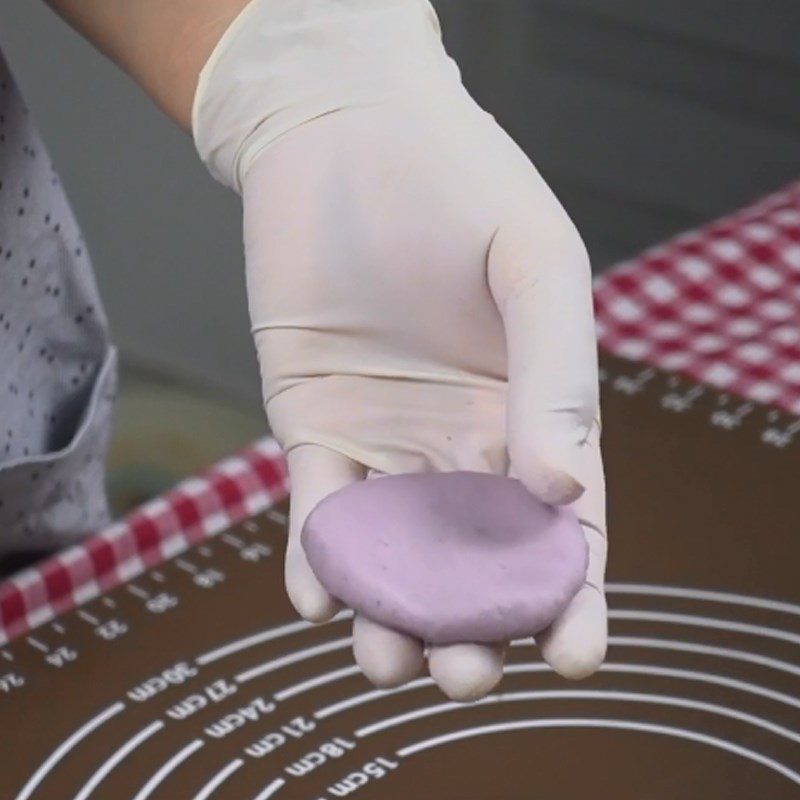
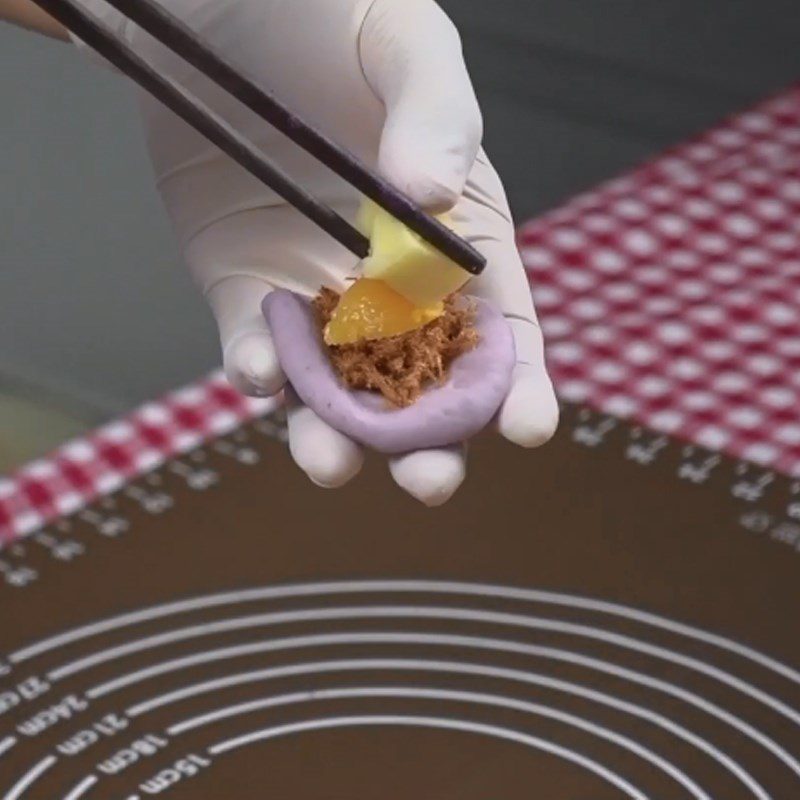
To wrap the cake, flatten a ball of dough, then gradually add some floss, salted egg, and mozzarella cheese into the center of the dough wrapper, then pinch the edges of the dough together and roll it into a ball.
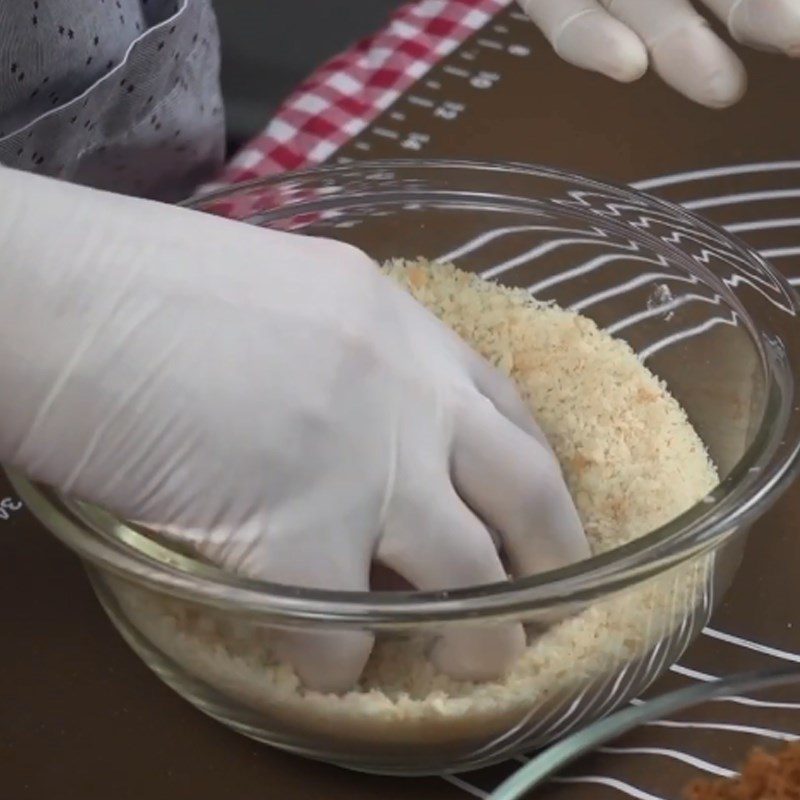
Next, roll each cake ball in a bowl of breadcrumbs, gently pressing to ensure the breadcrumbs stick to the dough wrapper.
-
Fry the cake
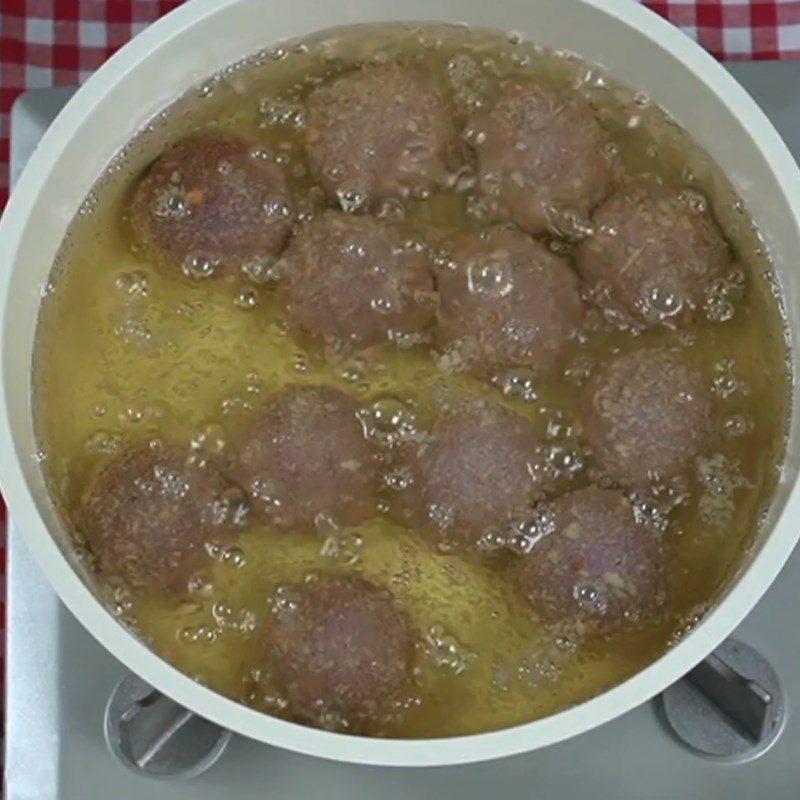
Put a pan on the stove, add 150ml of cooking oil to the pan, and heat the oil over medium heat.
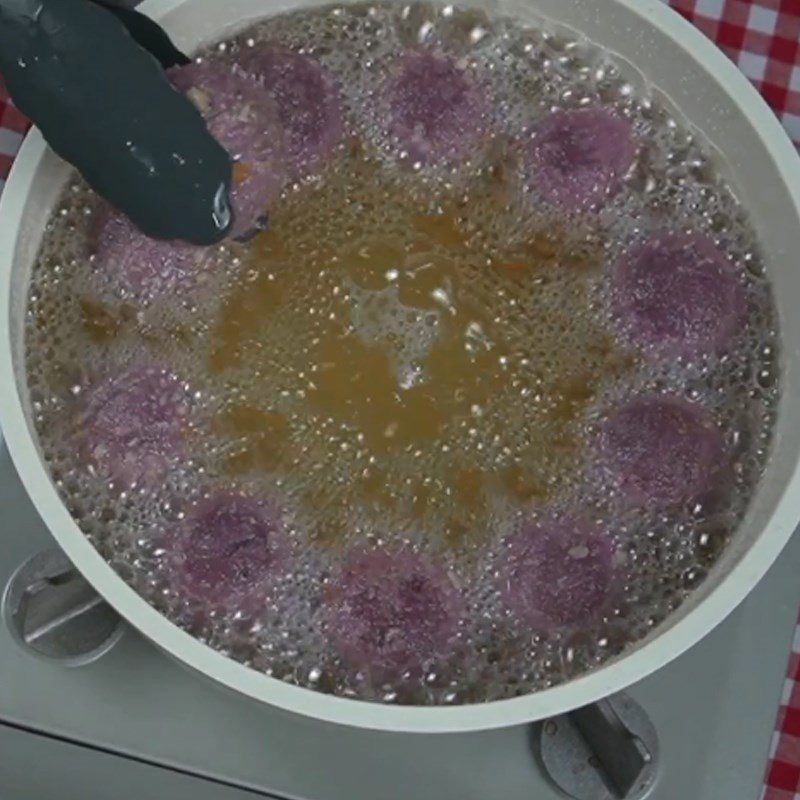
When the oil starts to heat up, place the taro balls into the pan, stirring continuously and frying the cakes on low heat. While frying, keep stirring the cakes so they cook evenly and become crispy.
Once the cakes are fully cooked and golden brown, remove them to a plate (lined with paper to absorb oil) to let them drain.
Tip: To make the cakes tastier and crispier, you can fry them twice.
-
Final Product
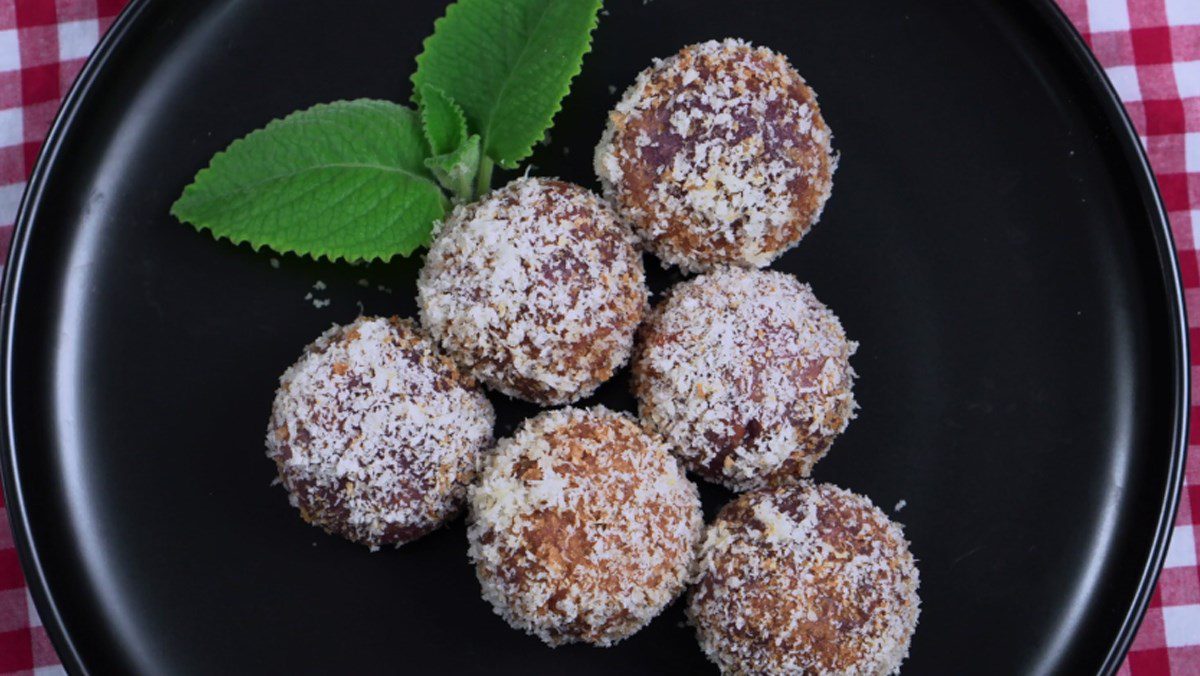
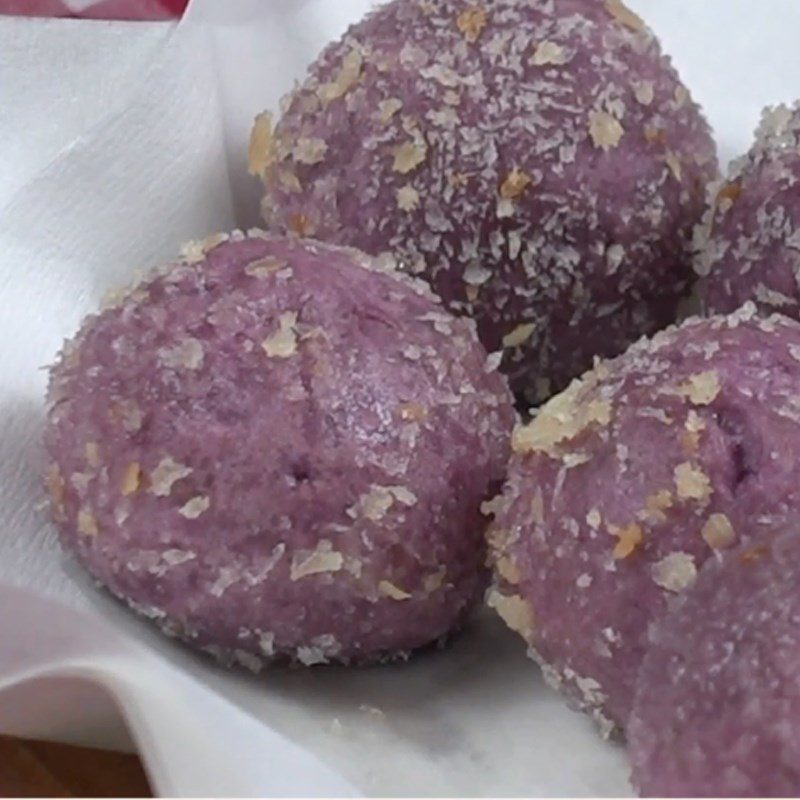
Deep-fried purple yam with salted egg and pork floss has a beautiful purple color interspersed with golden spots and emits a fragrant aroma.
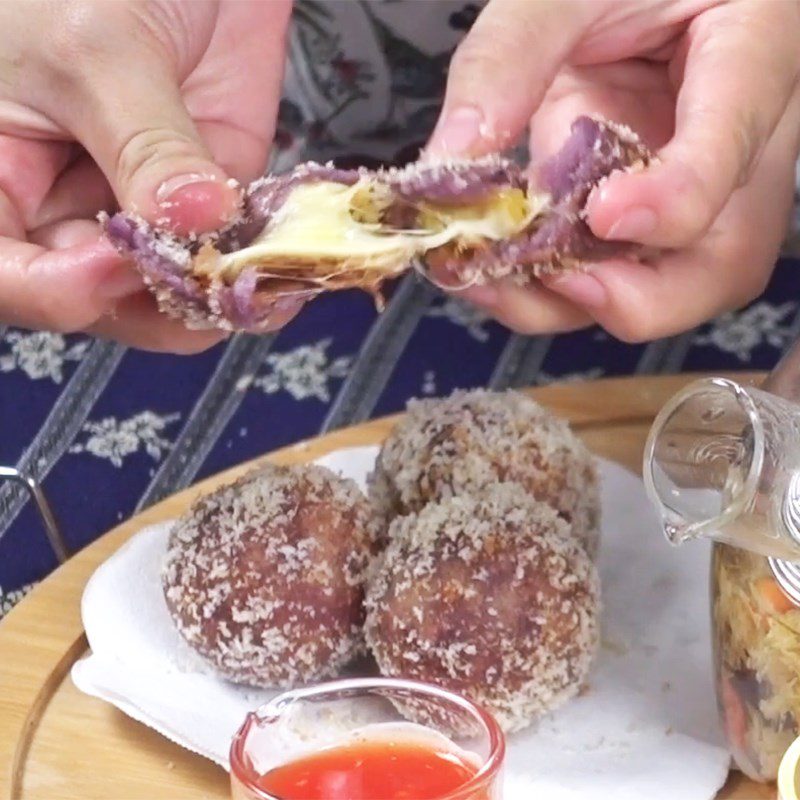
The soft, crispy yam skin creates a very appealing “crunch” sound when eaten. Biting into it, you will find the cheese inside the filling melting and stretching. The rich flavor of cheese combined with the salty pork floss and salted egg creates an incredibly delicious cake.
You can dip the cake in chili sauce to enhance the flavor of the dish!

5. Deep-fried purple yam with cheese filling (Recipe from the TikTok channel Cooking with Dien May XANH)
-
Preparation
15 minutes
-
Cooking
20 minutes
-
Difficulty Level
Easy
Ingredients for Deep-fried purple yam with cheese filling (Recipe from the TikTok channel Cooking with Dien May XANH) Serves 2 people
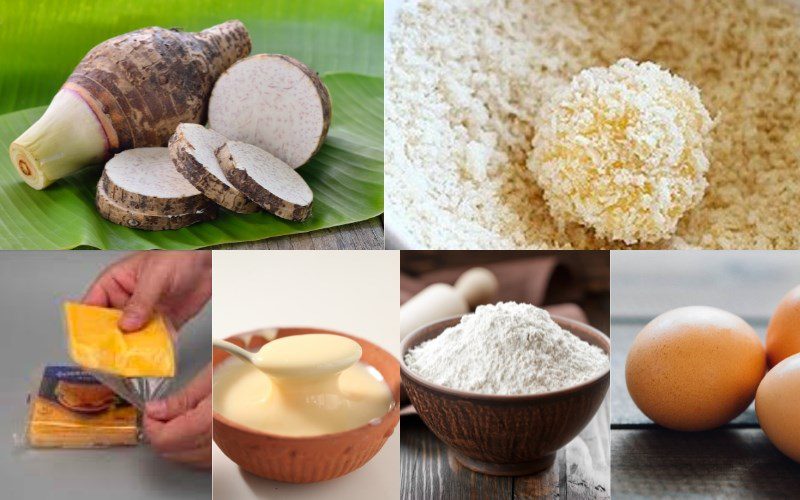
Purple yam 500 gr Cheese slices 5 slices Tapioca flour 2 tablespoons All-purpose flour 2 tablespoons Sugar 3 tablespoons Condensed milk 1 tablespoon Breadcrumbs 5 tablespoons Chicken eggs 2 eggs
Raw Material Image
How to Make Fried Taro with Cheese Filling (Recipe from the TikTok channel Cooking with Dien May XANH)
-
Prepare the Ingredients
Wash the taro thoroughly with water, drain, then peel off the skin. Cut the taro into small pieces and wash them again with water to clean.
Next, place a pot on the stove, bring water in the steamer to a boil, then add the taro. Steam the taro for about 20 minutes until it is soft, then take it out and mash it to mix with the flour later.
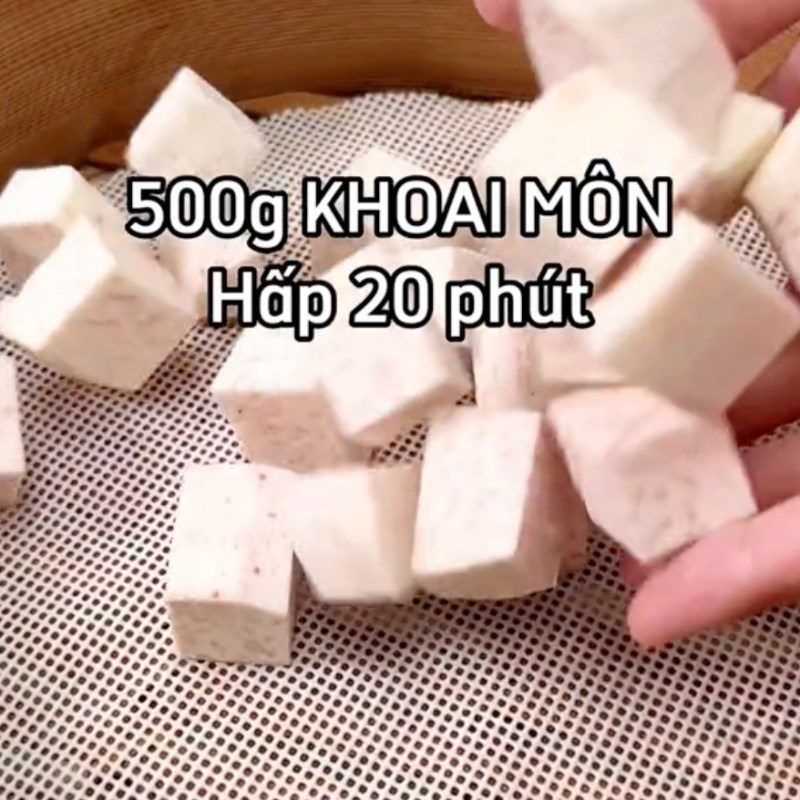
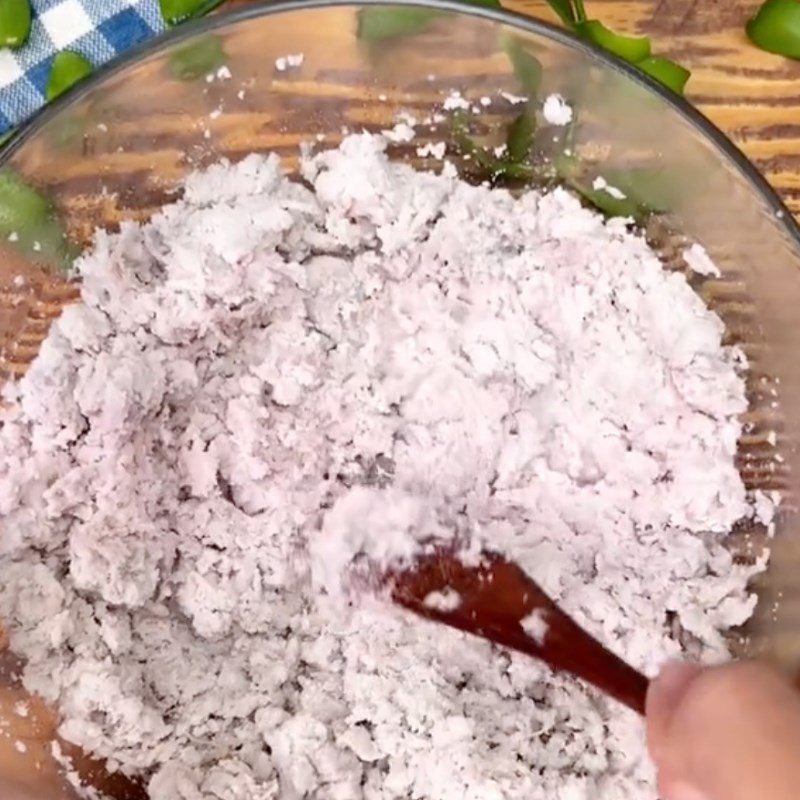
-
Mix the Flour
Add 2 tablespoons of tapioca flour, 1 tablespoon of wheat flour, 1 tablespoon of sugar, 1 teaspoon of condensed milk, and 1 tablespoon of cooking oil to the mashed taro, then mix everything together to complete.
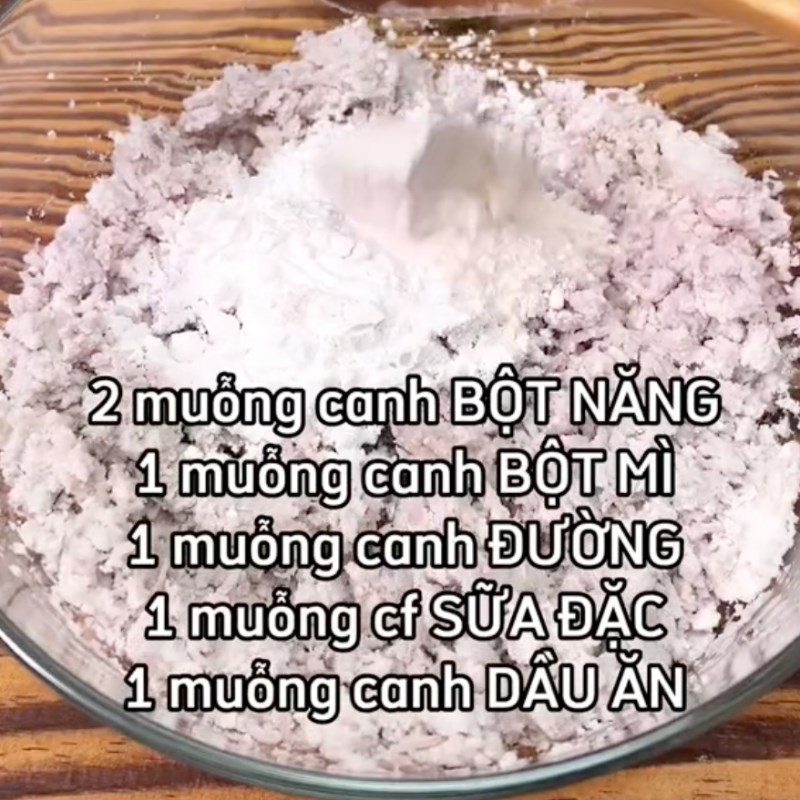
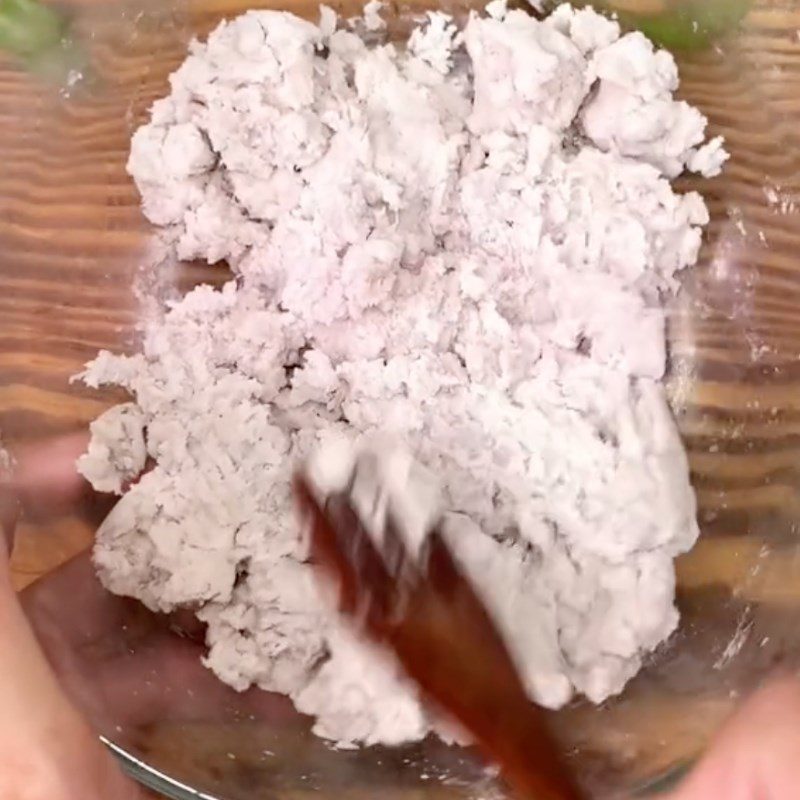
-
Taro Cake with Cheese Filling
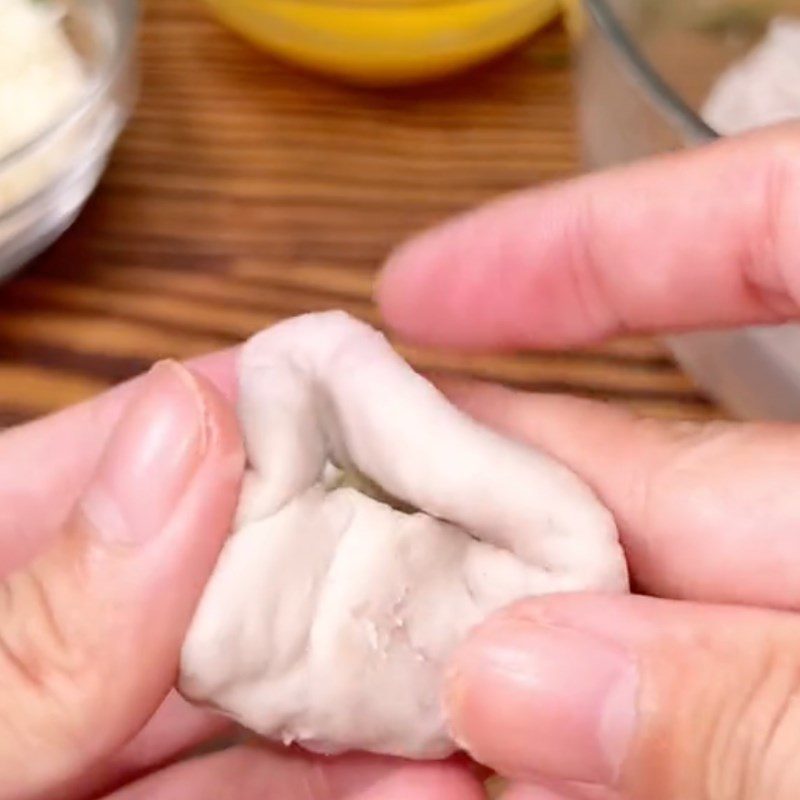
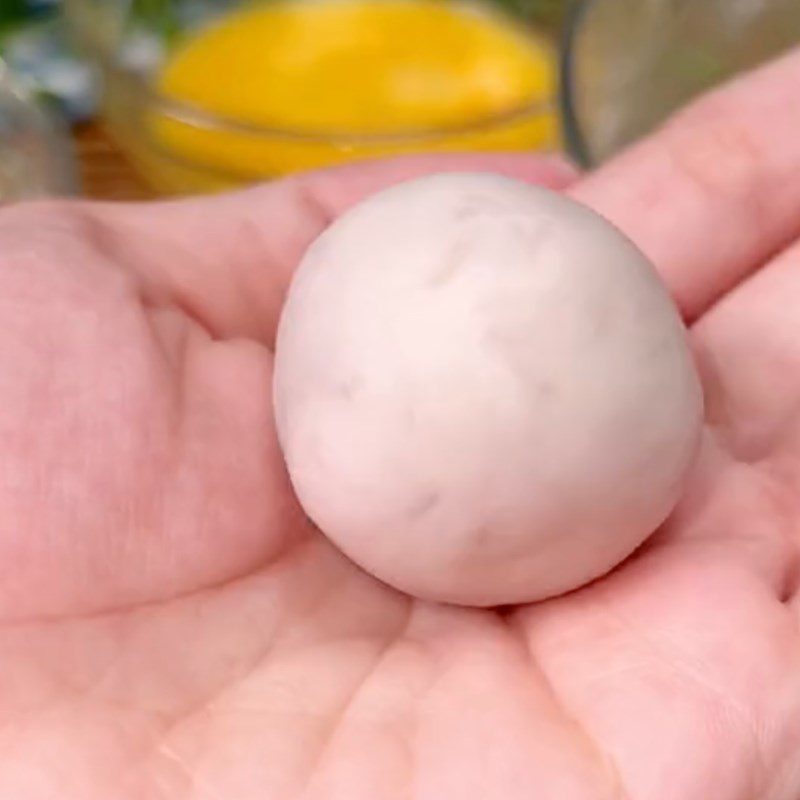
After mixing the dough, take a small portion of it and flatten it into a round shape, then place the cheese in the center, wrap the cheese carefully, and roll the cake into a round ball like water glutinous rice cake.
Tip: For the cheese in the middle, you can choose Laughing Cow cheese, sliced cheese, or melted cheese.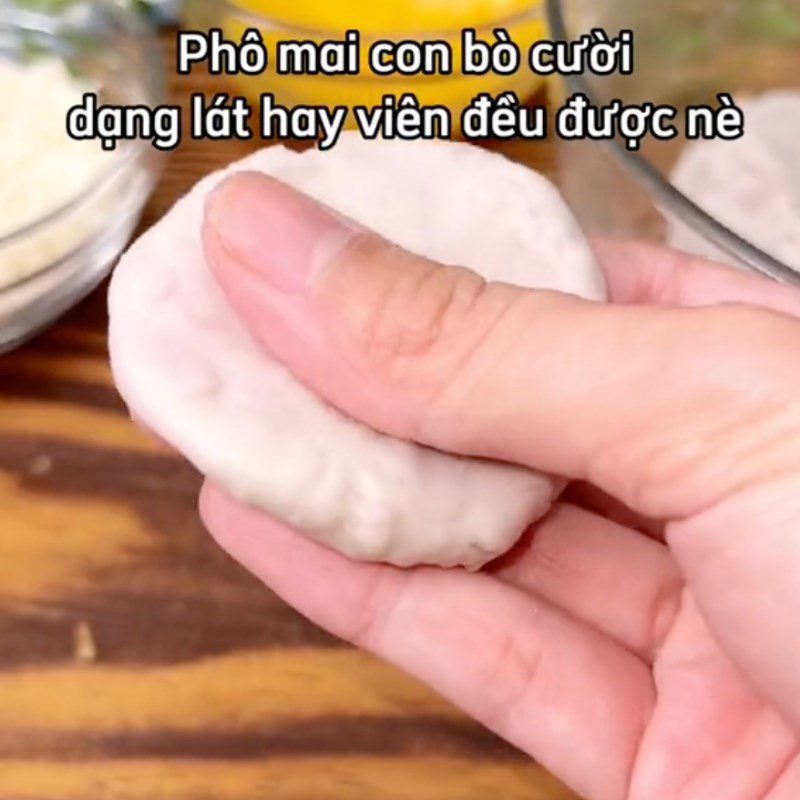
-
Frying the Cake
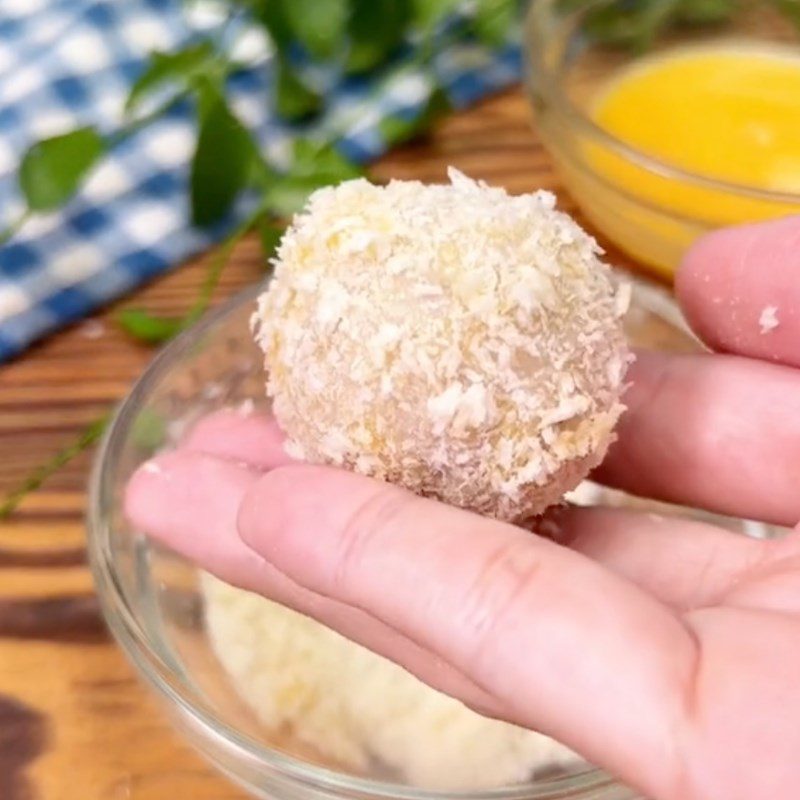
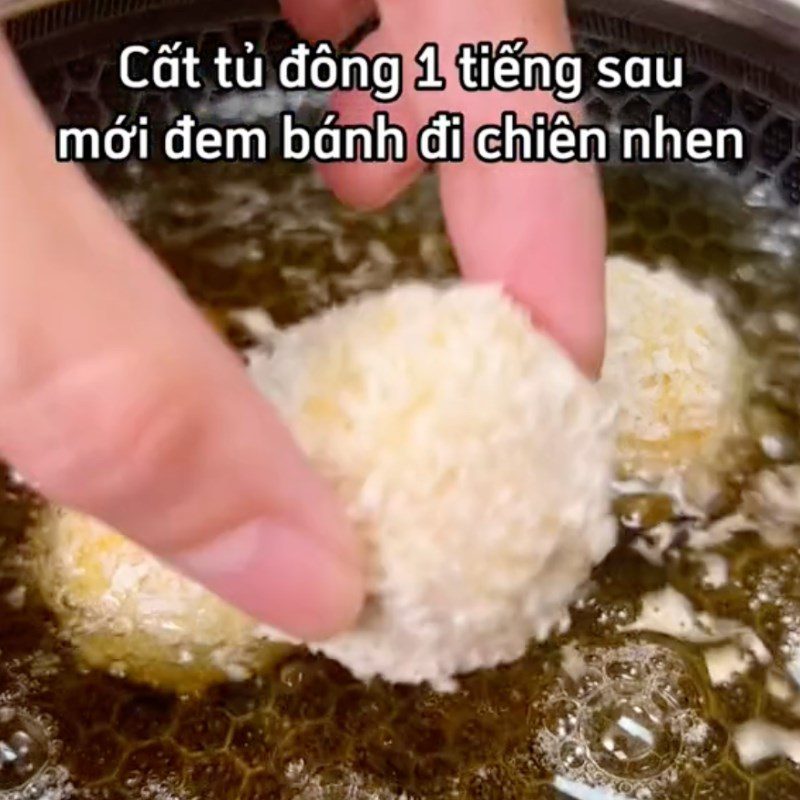
Prepare 2 bowls, one for cracking 2 eggs and beating them well, and the other for adding 5 tablespoons of breadcrumbs. Next, roll the taro ball in the beaten egg, then roll it in the breadcrumbs and put it in the freezer for about 1 hour.
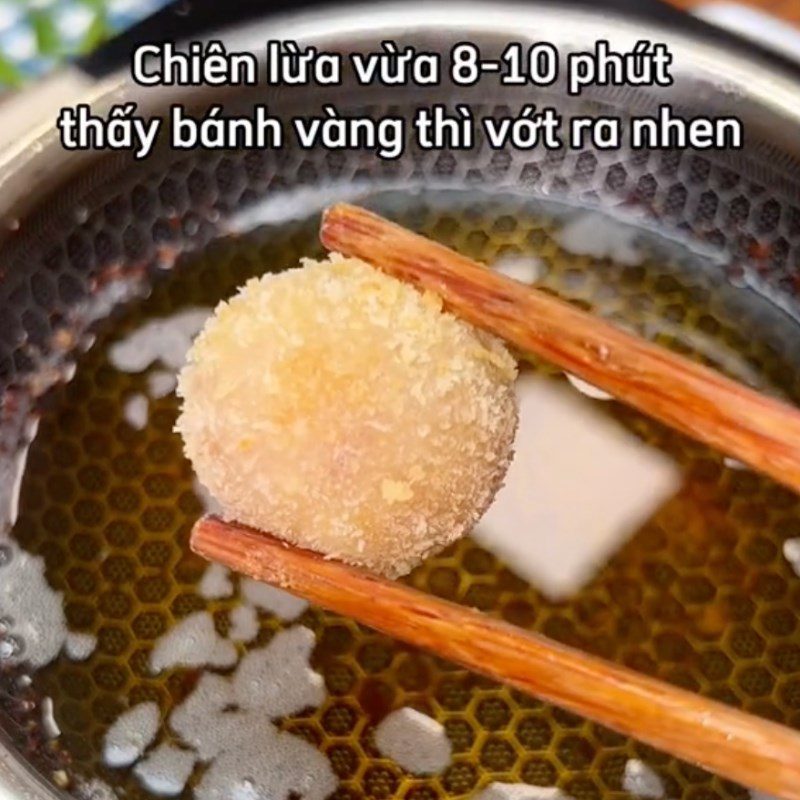
Heat a pan on the stove, add enough oil, and wait for it to boil before gently dropping the taro balls into fry. Fry over medium heat for about 8 – 10 minutes until the cakes are golden brown, then remove them to drain the oil and they are ready to enjoy.
Tip: You should freeze the cakes for 1 hour so that the cheese sets and does not leak out while frying. The cakes can be stored in the freezer for about 2 weeks; you can make a lot and freeze them, making it very convenient to fry again when you want to eat.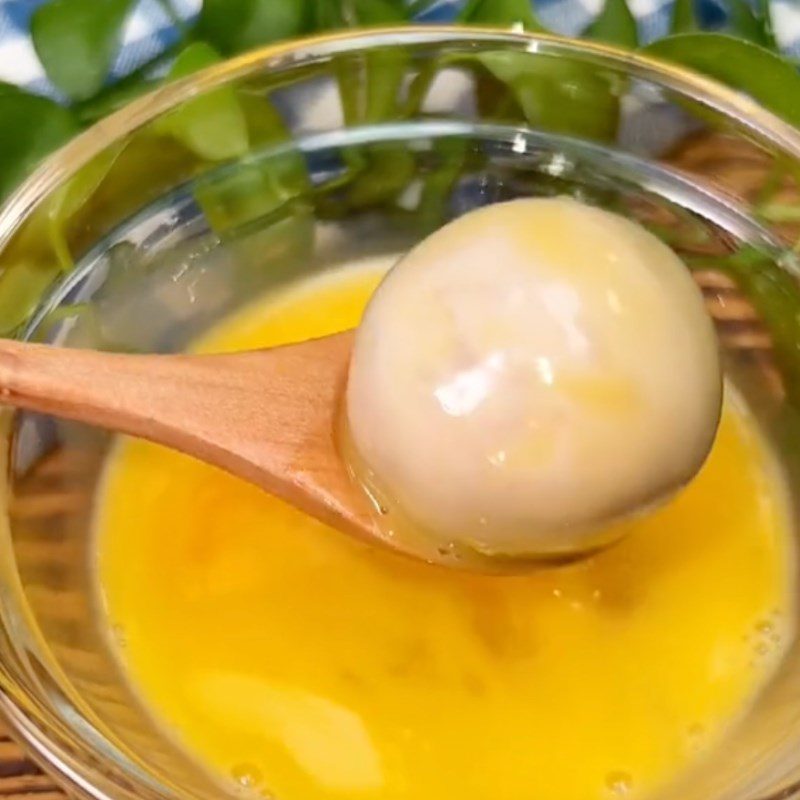
-
Final product
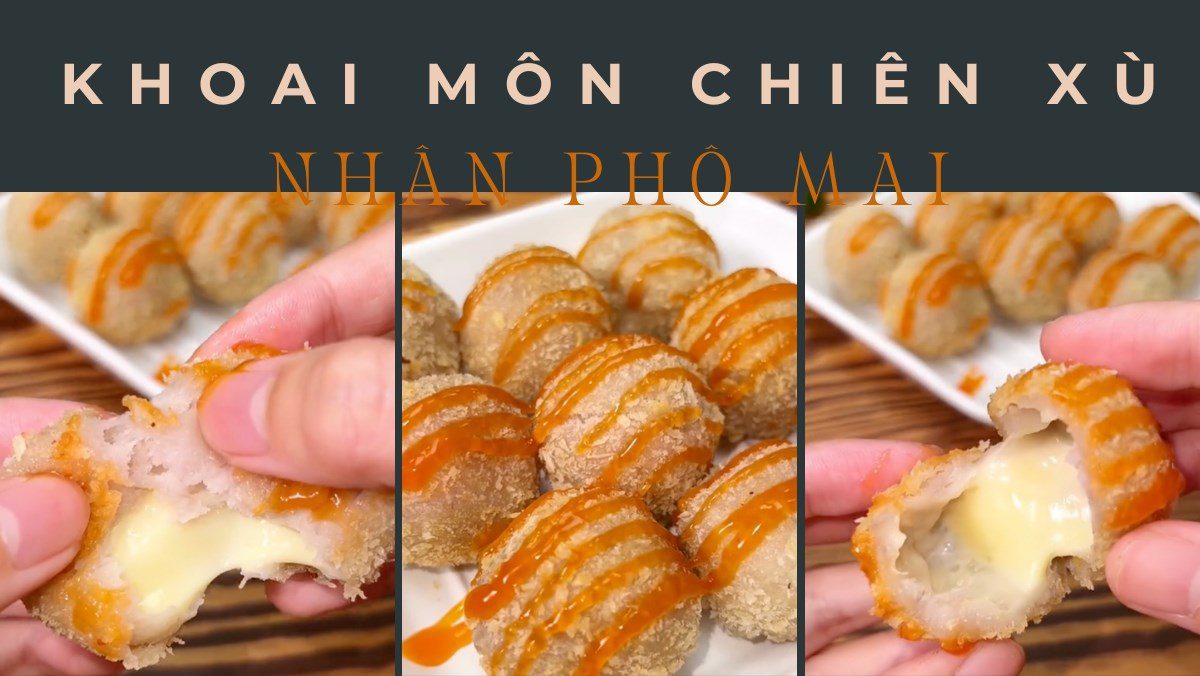
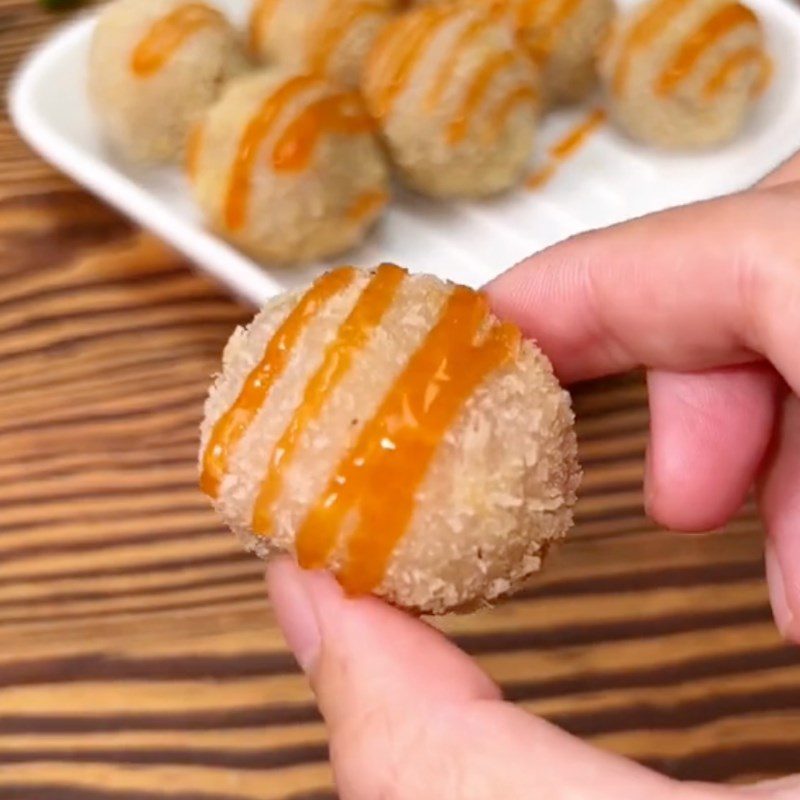
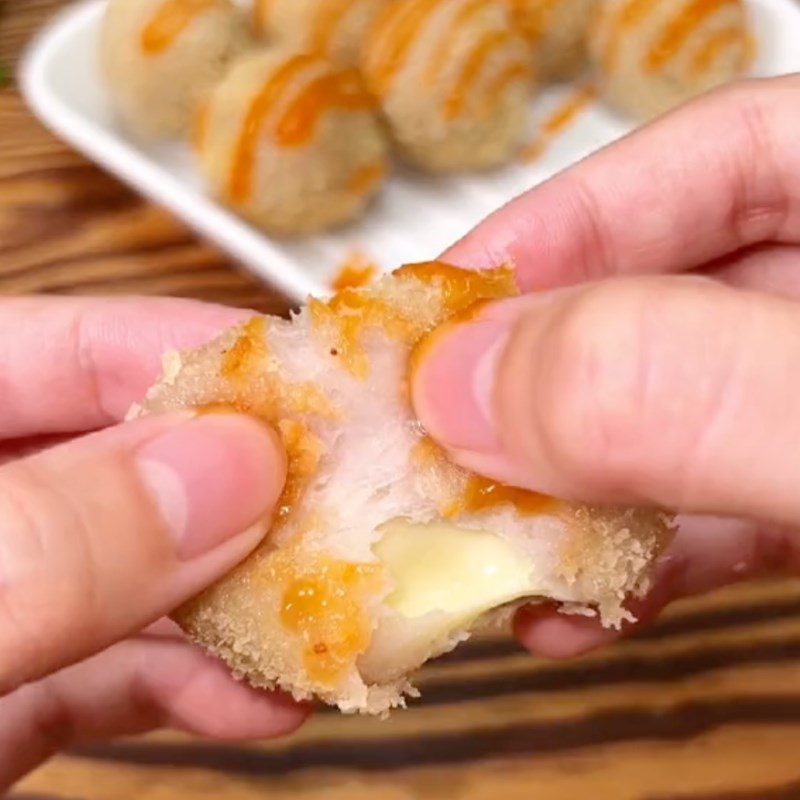
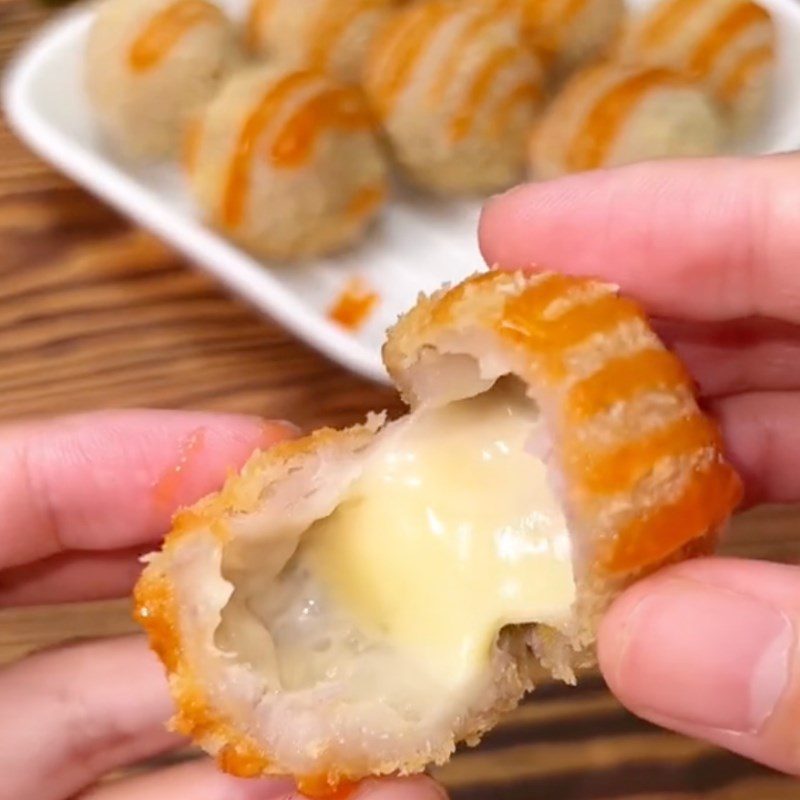
The cake is crispy on the outside, chewy and fragrant with the smell of taro on the inside, rich in cheese flavor that is very appealing. Especially, you can enjoy it with chili sauce to enhance the flavor!

How to choose delicious soft taro
- To buy delicious soft taro, you should choose those that are medium-sized, with a round shape like a chicken egg. The skin should be rough and have many roots, with dirt sticking to it.
- Delicious taro feels very solid when held, with many indentations on the skin. When cut open, the flesh should be dark red with many purple veins.
- You should not buy taro that has smooth skin and few indentations, with pale flesh. When held, it feels very heavy because these are taro that are hard, with a very bland taste and not delicious.
See details: How to choose delicious soft taro without being hard
See more
So TasteVN has just guided you through 5 ways to make crispy taro cake that are rich and deliciously irresistible. Let’s get into the kitchen and make it right away to enjoy with your family. Wishing you success in making this cake!
*Refer to the recipe and images from the channels: Cooky, MIKIMIHA, and Yo Home along with the TikTok channel Cooking with TasteVN!
