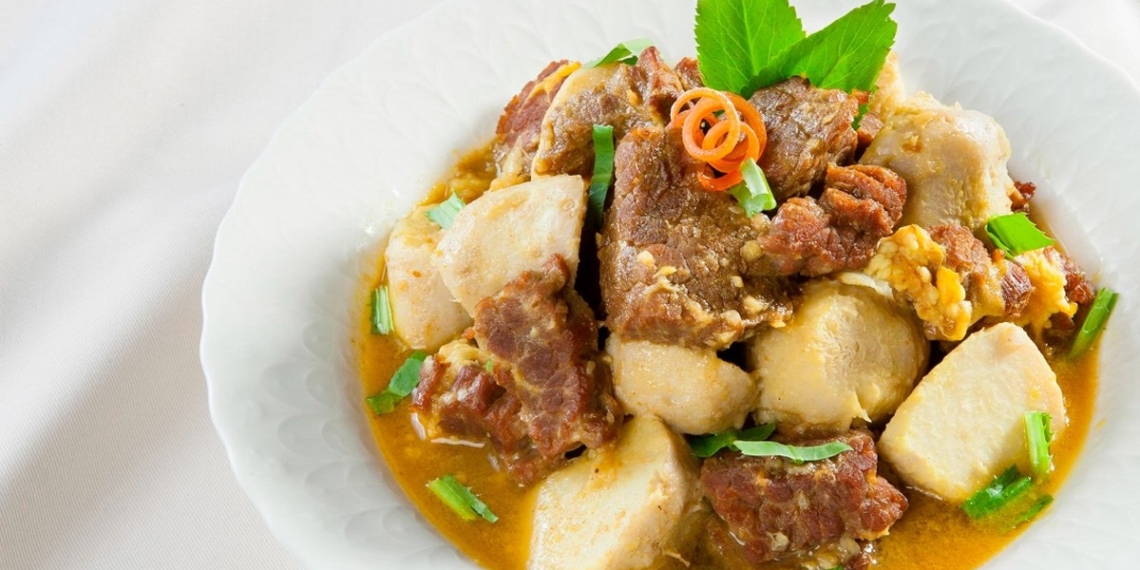
Taro is a type of tuber commonly used to cook soups along with pork, chicken,… What do you think about using taro and those ingredients combined in a braised dish? Today, let’s join TasteVN in the kitchen and make 3 ways to prepare braised taro with meat.
1. Braised Taro with Beef
-
Preparation
1 hour
-
Cooking
1 hour
-
Difficulty
Easy
Ingredients for Braised Taro with Beef For 4 people
Beef 300 gr Taro 400 gr Red wine 1 tablespoon Cilantro 3 sprigs Minced garlic 2 teaspoons Turmeric powder 1 tablespoon Tomato ketchup 2 tablespoons Fresh coconut water 300 ml Cooking oil 2 tablespoons Leek 1 sprig Common seasoning a little (MSG/ seasoning powder/ pepper)
How to choose fresh and delicious beef
- You should choose meat that is bright red, with fat that is yellow and white veins; when pressed, it feels firm, and has the characteristic smell of beef.
- Choose meat with small and fine fibers; when you press it with your hand, it should have elasticity. Avoid meat with large fibers, dark red color, and deep yellow fat.
- Absolutely do not choose meat that is pale green, with round white spots on the fibers, strange smells, slimy texture, and when pressed, it dents or feels soft.
- Choosing beef that has both fat and connective tissue will make the stewed dish tastier.

How to prepare Stewed taro with beef
-
Preparing the ingredients
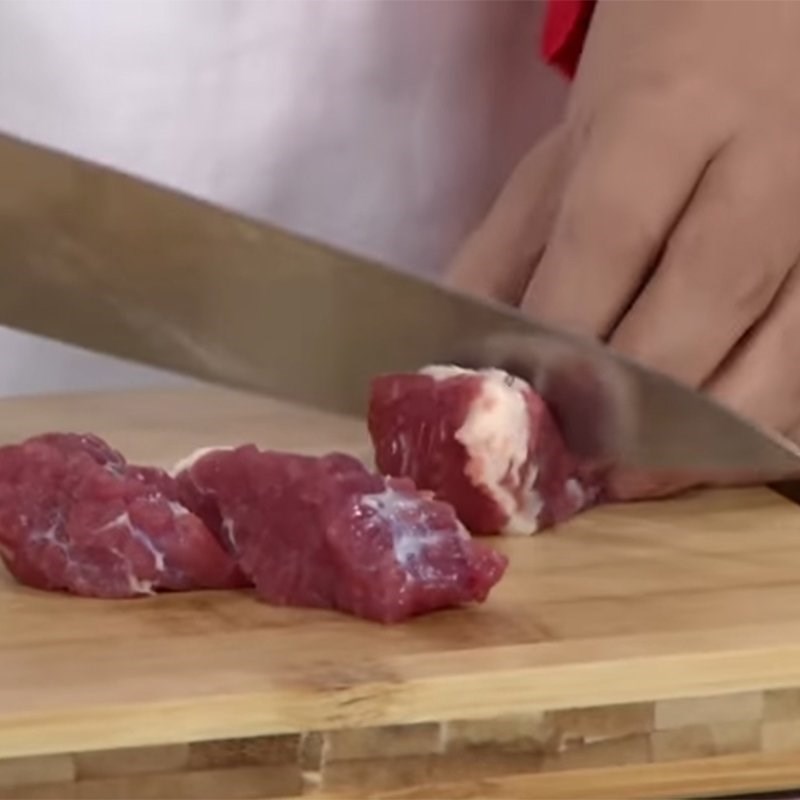
Wash the beef thoroughly, drain, then cut into pieces measuring 3cm.
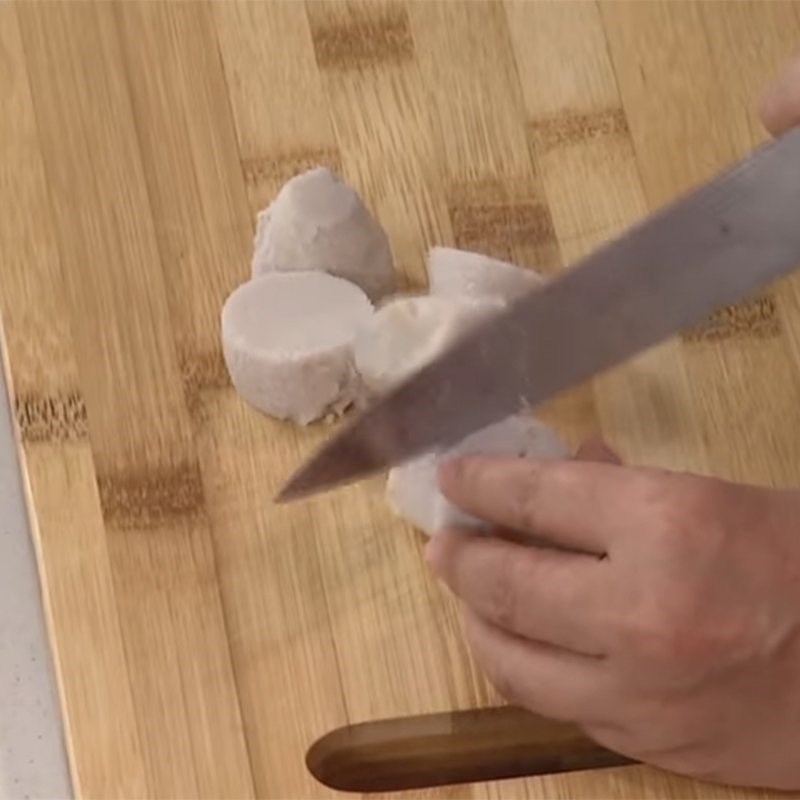
Wash the taro and boil until cooked, then peel and cut into bite-sized pieces.
Cut the green onion into pieces about 3cm long, and chop the cilantro.
How to prepare beef to avoid unpleasant odor:
- For thinly sliced beef: You should not prepare or wash the beef too thoroughly, as this will cause some nutrients in the beef to dissolve in the water and be lost during cooking.
- For whole cuts of beef: You can use white wine, ginger, salt, lemon, or vinegar, then rub it on the meat and let it sit for about 5 – 10 minutes before rinsing with water.
- Additionally, while marinating the meat, you can roast a shallot, peel it, mash it, and marinate it with the beef; this will help eliminate the unpleasant odor very effectively.
See more: Simple tips to eliminate unpleasant odors for all types of meat
-
Marinate the beef
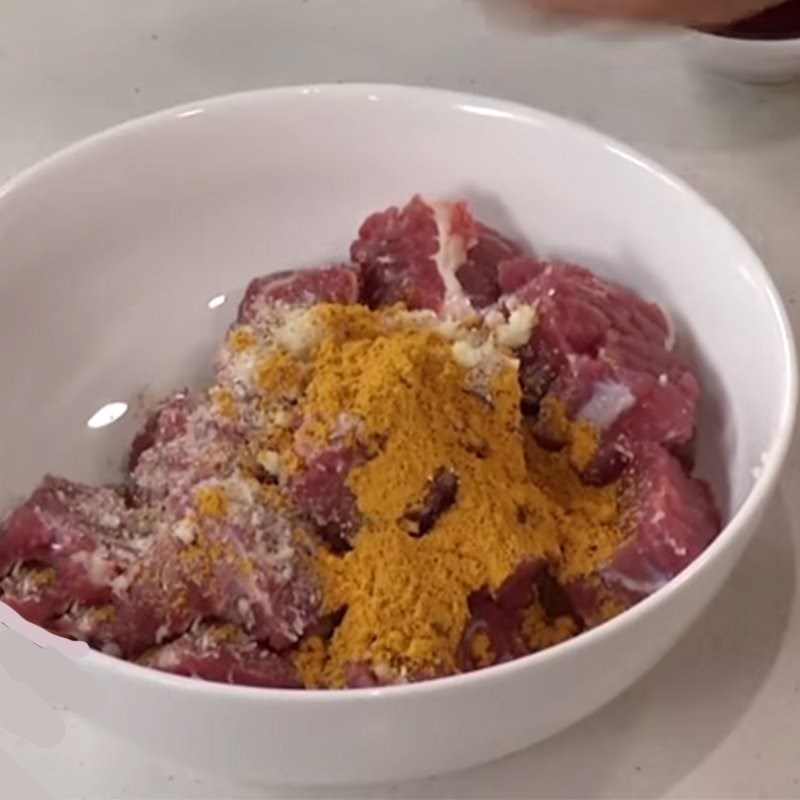
Put the beef in a bowl, add 1 teaspoon of minced garlic, 1/2 teaspoon of MSG, 1/2 teaspoon of pepper, 1 tablespoon of turmeric powder, 1 tablespoon of red wine, and 1 teaspoon of seasoning granules, mix well and let it sit for about 15 minutes to absorb the spices.

-
Sear the taro
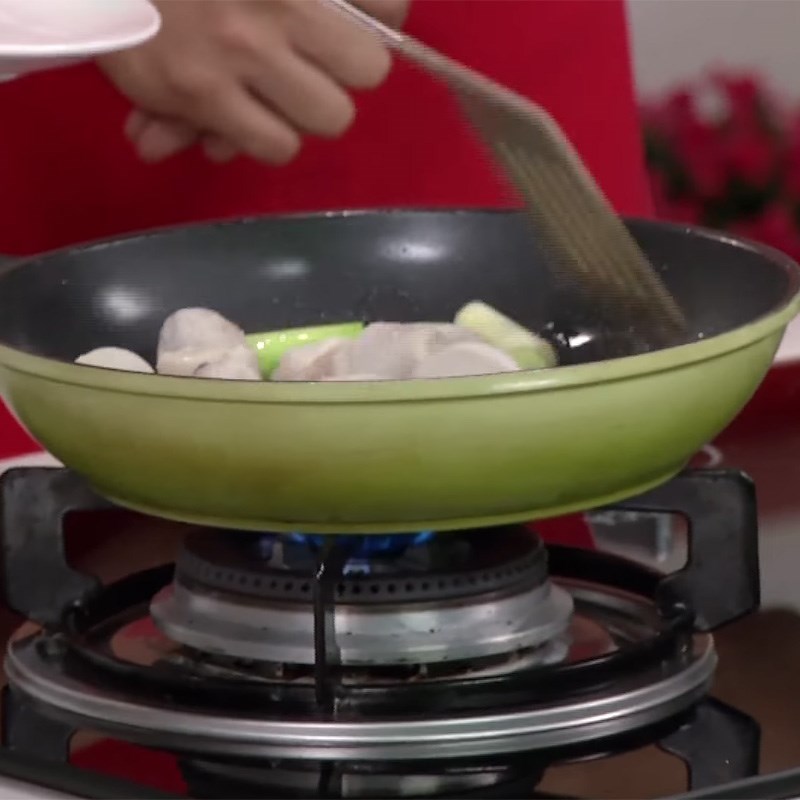
Heat a pan on the stove, add 1 tablespoon of cooking oil and sear the leeks along with the taro so that these ingredients are firm and won’t fall apart when braised.

-
Stewed taro
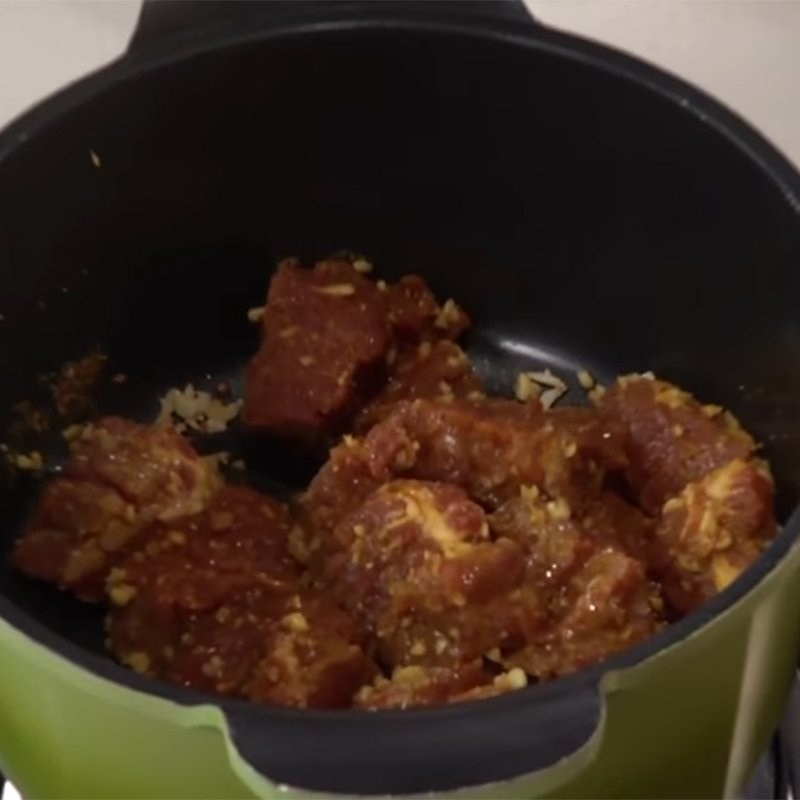
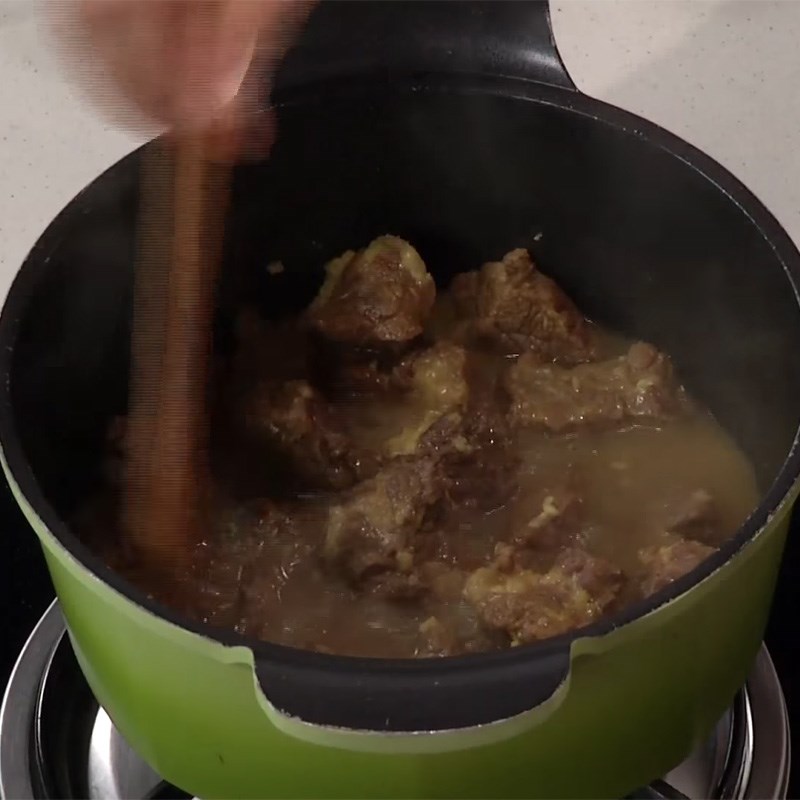
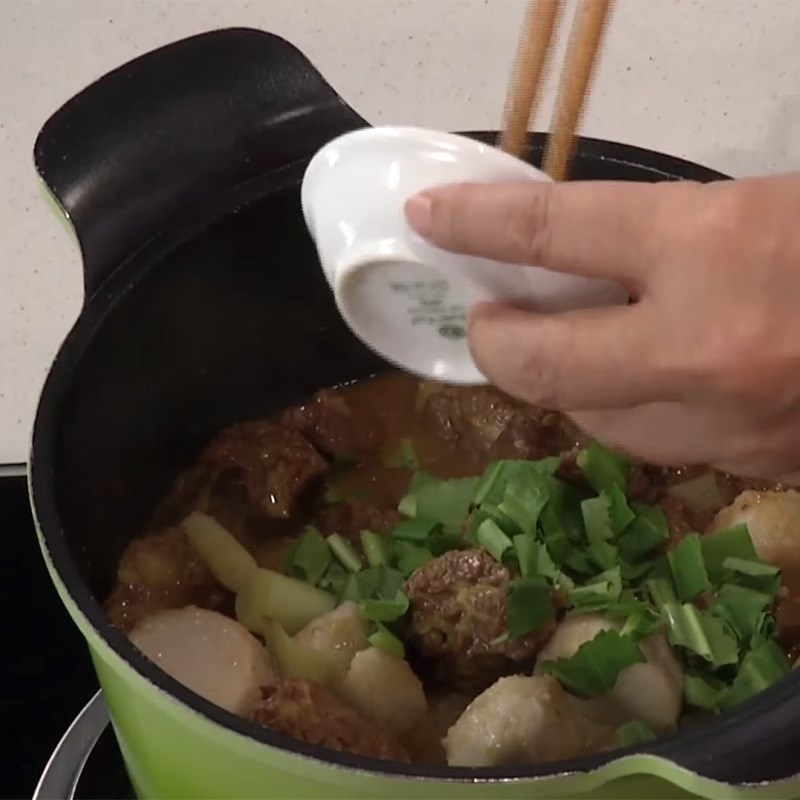
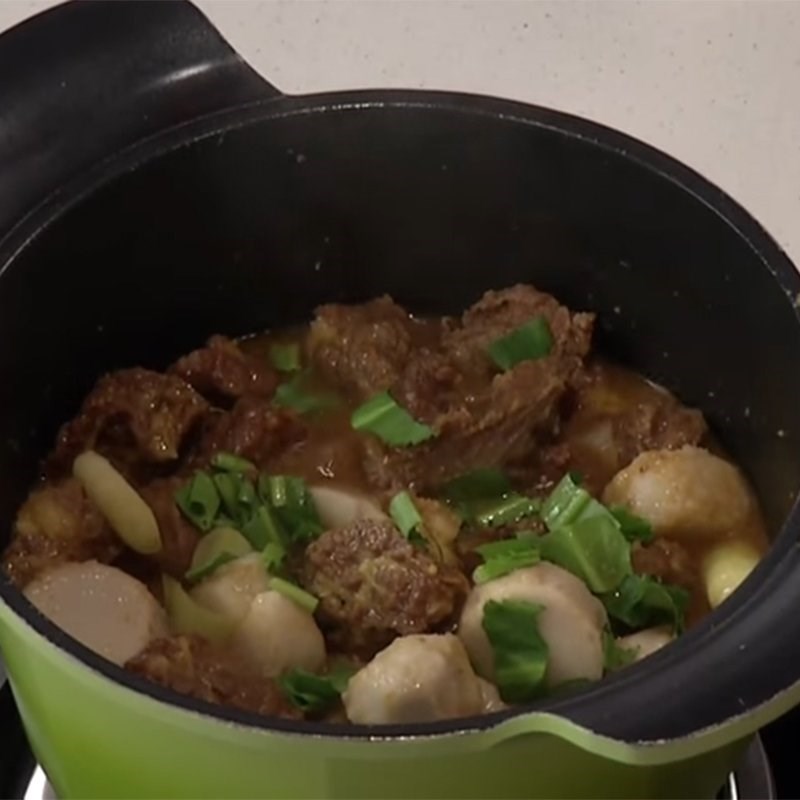
Put a pot on the stove, add 1 tablespoon of cooking oil and 1 teaspoon of minced garlic and fry until golden. Then, add the beef and stir-fry until it is browned, then add 300ml of fresh coconut water and stew for about 30 minutes. Add the taro and green onion and stir well.
Continue by adding 1 tablespoon of tomato sauce and 1 tablespoon of red wine and stir well.
Finally, add a little cilantro on top and turn off the heat.
-
Final product
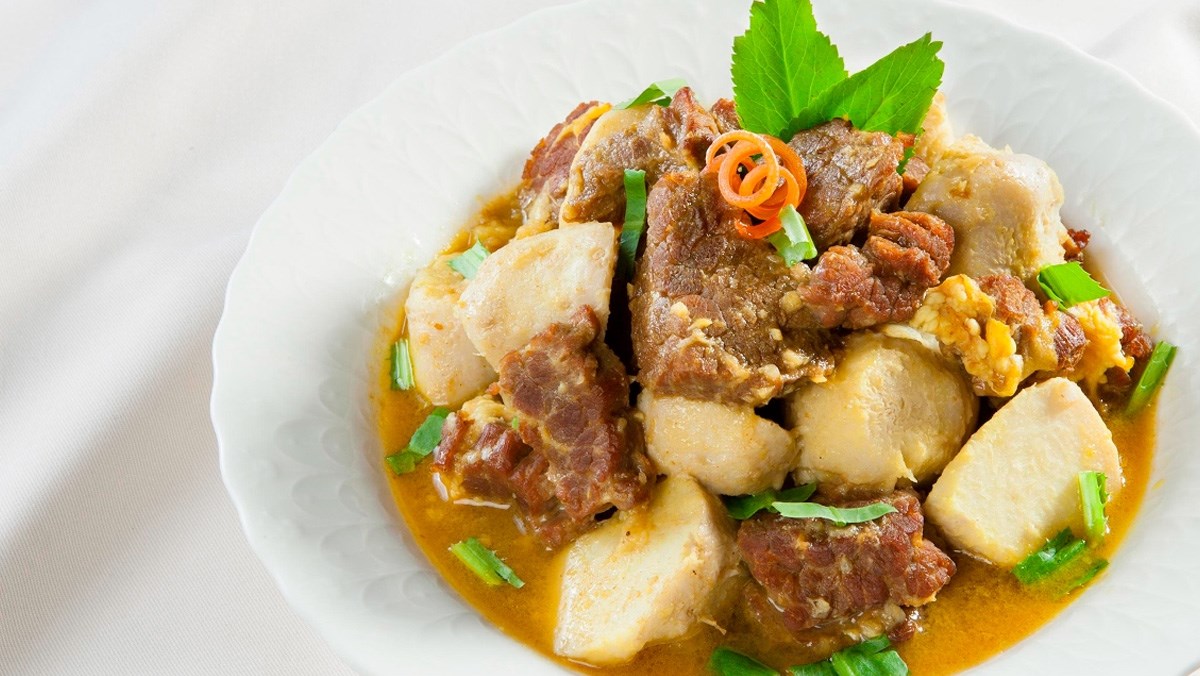
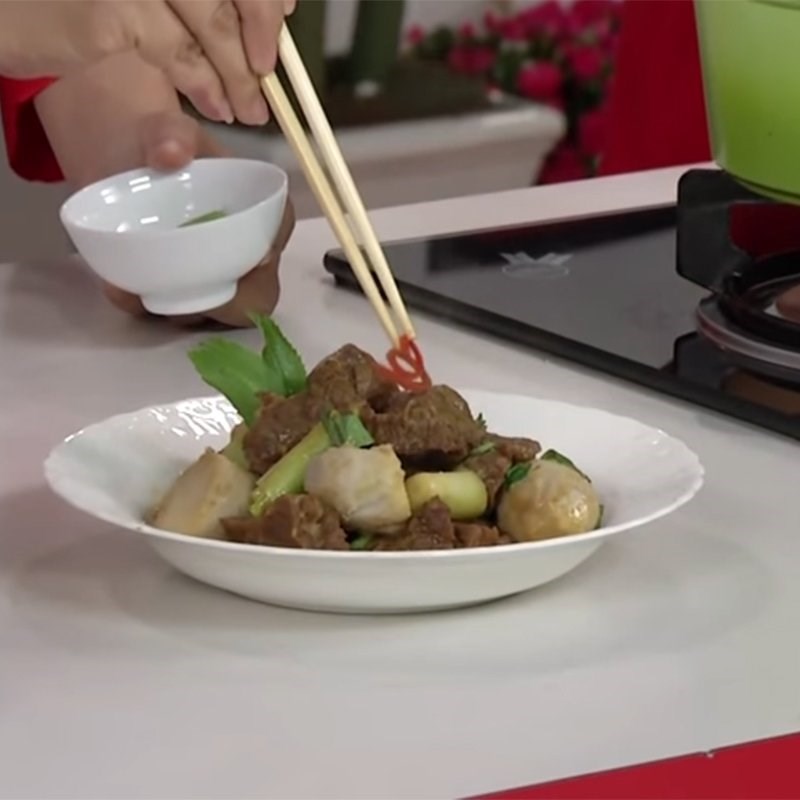
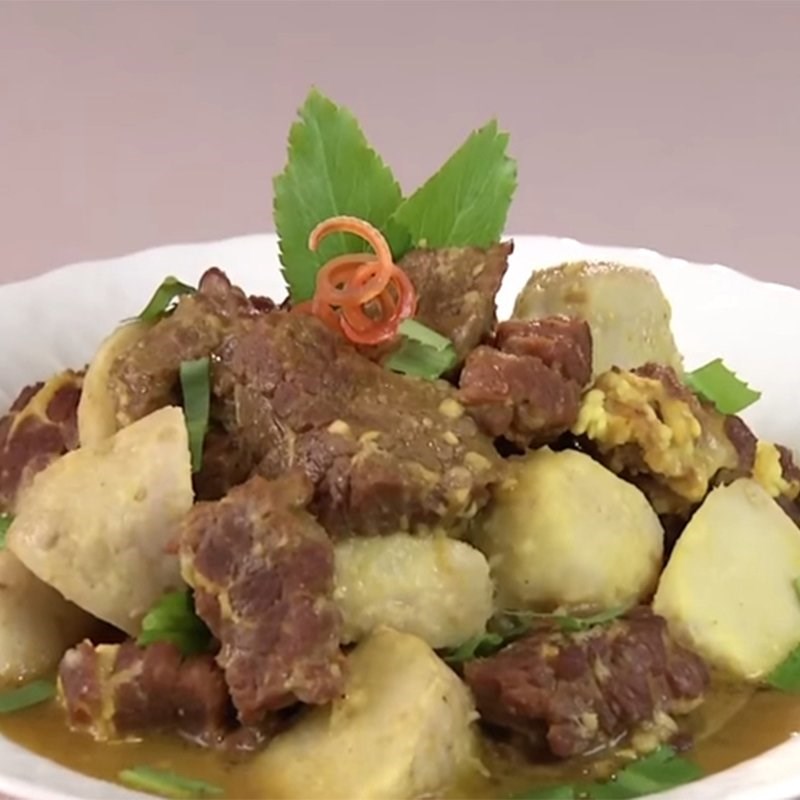
Serve the stewed beef with taro on a plate and garnish with a few slices of chili on top. The beef is flavorful, tender, and chewy, combined with the soft and delicious taro that is hard to resist.
2. Stewed taro with belly pork
-
Preparation
1 hour
-
Difficulty
Easy
Ingredients for Braised Taro with Pork Belly Serves 4 people
Pork belly 300 gr Taro 200 gr Spicy chili 2 pieces Green onion 3 stalks Cilantro 1 stalk Minced red onion 2 teaspoons Black pepper a little Chili powder 2 teaspoons Turmeric powder 1 teaspoon Cooking oil 2 tablespoons Common seasoning a little (sugar/salt/seasoning powder/MSG)
How to Choose Good Pork Belly
- First, you need to choose fresh meat. The color of good meat is bright pink, not too red and not too pale. If the pork has a light color, a greenish tint, and a foul smell, it has spoiled, and you should not choose this type of meat.
- Firm and elastic pork is good quality. You can test by pressing your finger into the meat; if it springs back immediately, is not slimy, and does not release liquid or juices, it is good.
- You should choose pork shoulder or belly that has both lean meat and fat so that your dish is not dry and does not become overly greasy with too much fat.
See details: Tips for choosing good meat, ensuring quality

How to cook Pork belly with taro
-
Prepare the ingredients
After purchasing, wash the pork belly with water, then rinse again with diluted salt water and let it drain. Cut the pork belly into bite-sized pieces about 2cm.
Peel the taro and cut it into pieces about 3cm long.
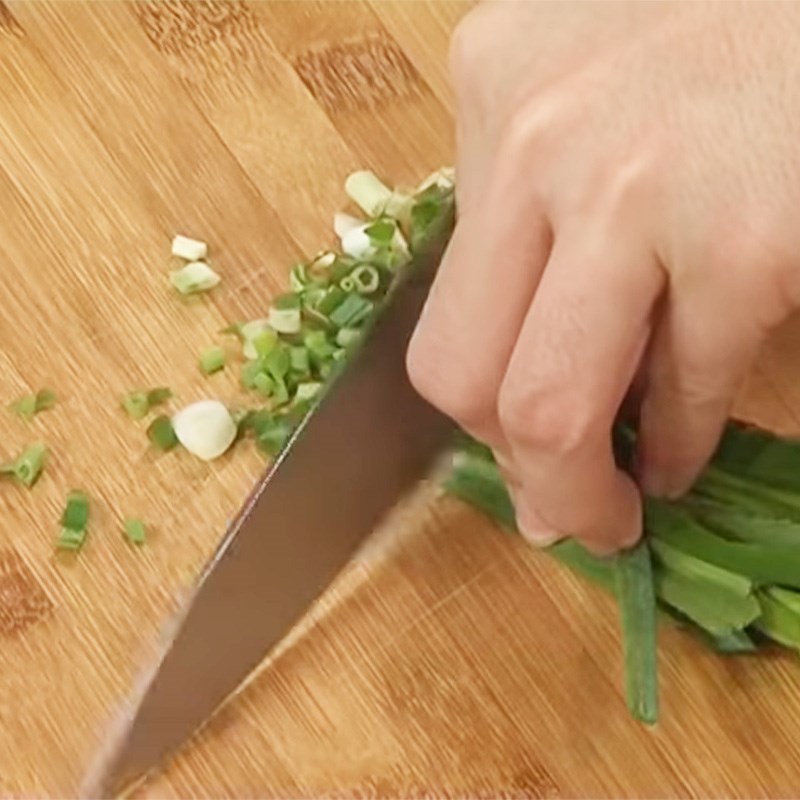
Wash the green onions and coriander and chop them finely. Crush the chili.
Tip to prepare pork clean and odor-free
- To completely eliminate the odor of pork, before cooking, briefly dip the meat in boiling water for about 2 minutes, then remove and rinse with cold water.
- Another handy tip is to add a little white wine to the water used for blanching the pork. The wine can effectively eliminate the smell.

-
Marinate the pork belly
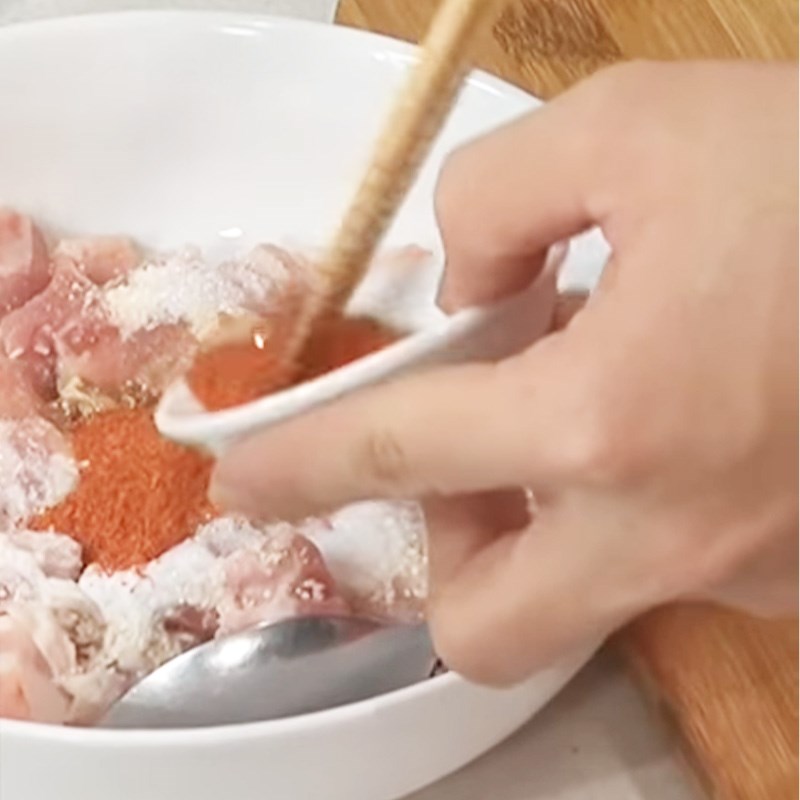
Put the pork in a bowl and marinate with 1 teaspoon of minced shallots, 1 teaspoon of seasoning, 1/2 teaspoon of monosodium glutamate, 1 teaspoon of sugar, a bit of pepper, 1/2 teaspoon of salt, 1.5 tablespoons of fish sauce, 2 teaspoons of chili powder, and 1 teaspoon of turmeric powder, then mix well and let it sit for about 15 minutes to absorb the spices.

-
Sautéed taro with pork belly
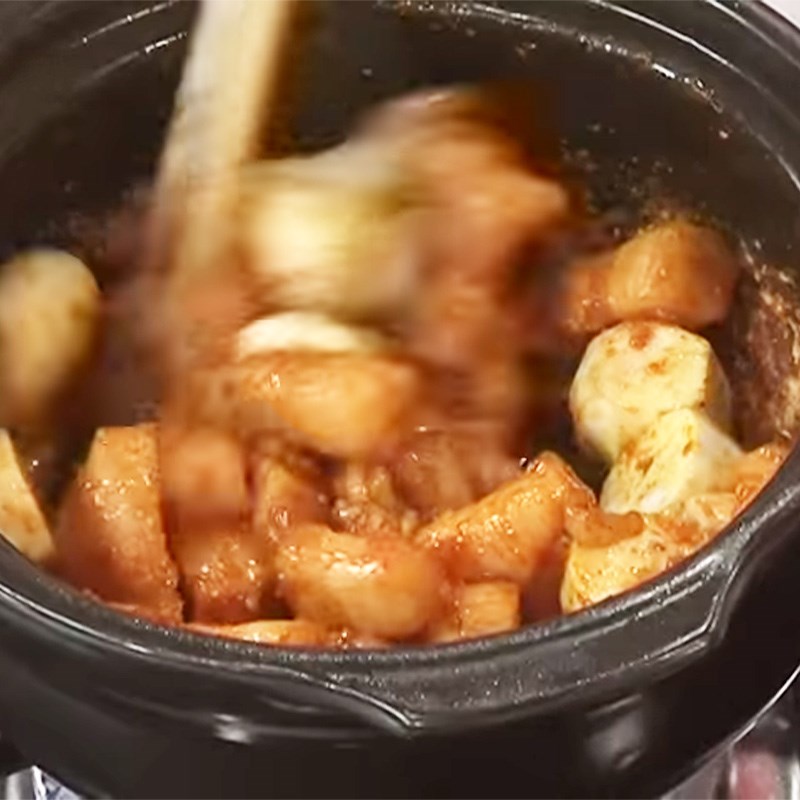
Place a pot on the stove, add 2 tablespoons of cooking oil, then add 1 teaspoon of minced shallots to sauté until fragrant, then add the pork belly to stir-fry. When the meat has browned, add the taro and stir-fry together until the taro is firm.
Tip:
- Sautéing the pork belly will make the meat juicy, firm, and absorb more flavor.
- To prevent the taro from becoming mushy while cooking, you should sauté the taro until it is firm.

-
Stewed taro
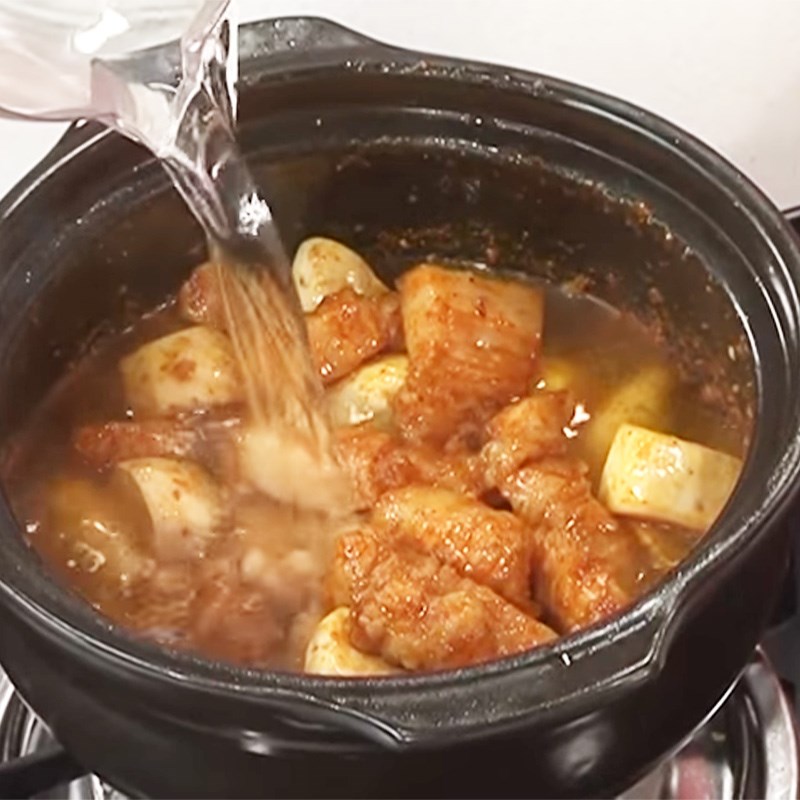
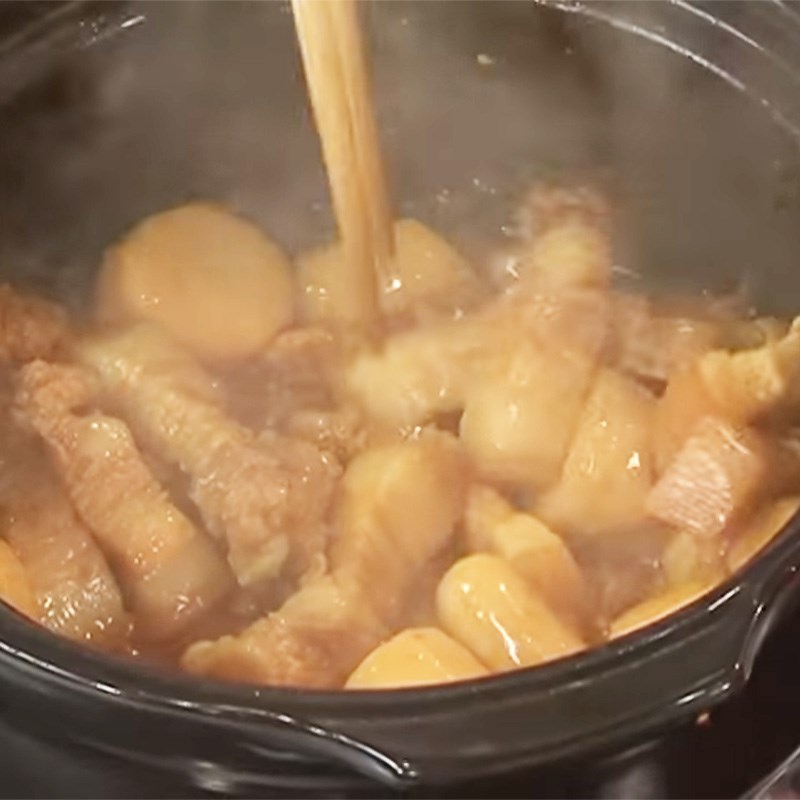
After sautéing the taro and pork until firm, add warm water to the pot until it just covers the meat. When the water boils, add crushed chili and continue to stew until the water in the pot thickens.
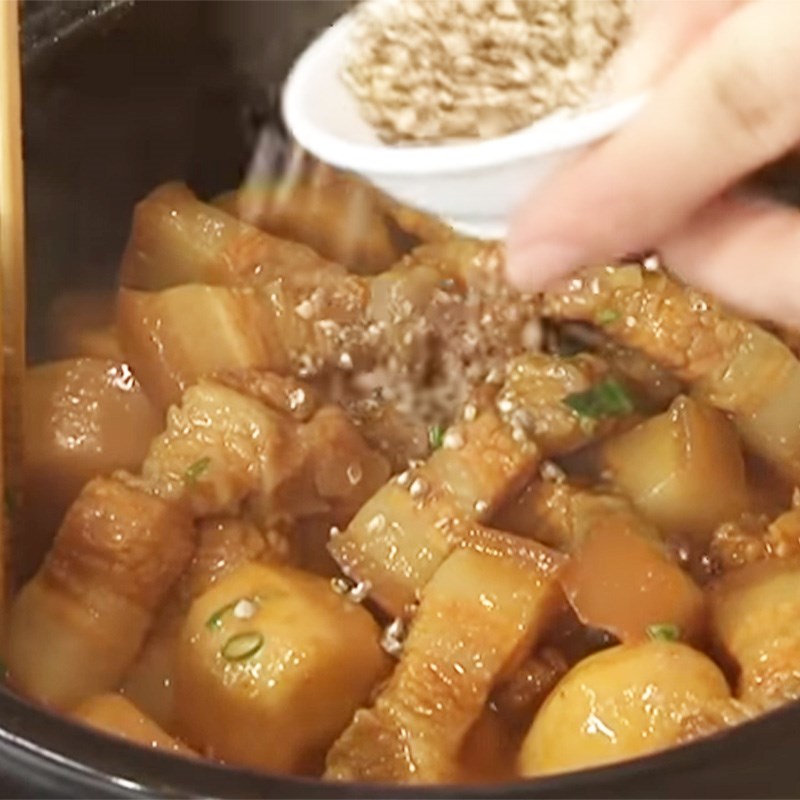
Finally, add a bit of chopped green onion and pepper, mix well, and turn off the heat.
Tip: When stewing the meat, keep the heat low and do not cover the pot to ensure the meat remains crispy, absorbs seasoning well, and the taro does not become mushy.
-
Final Product
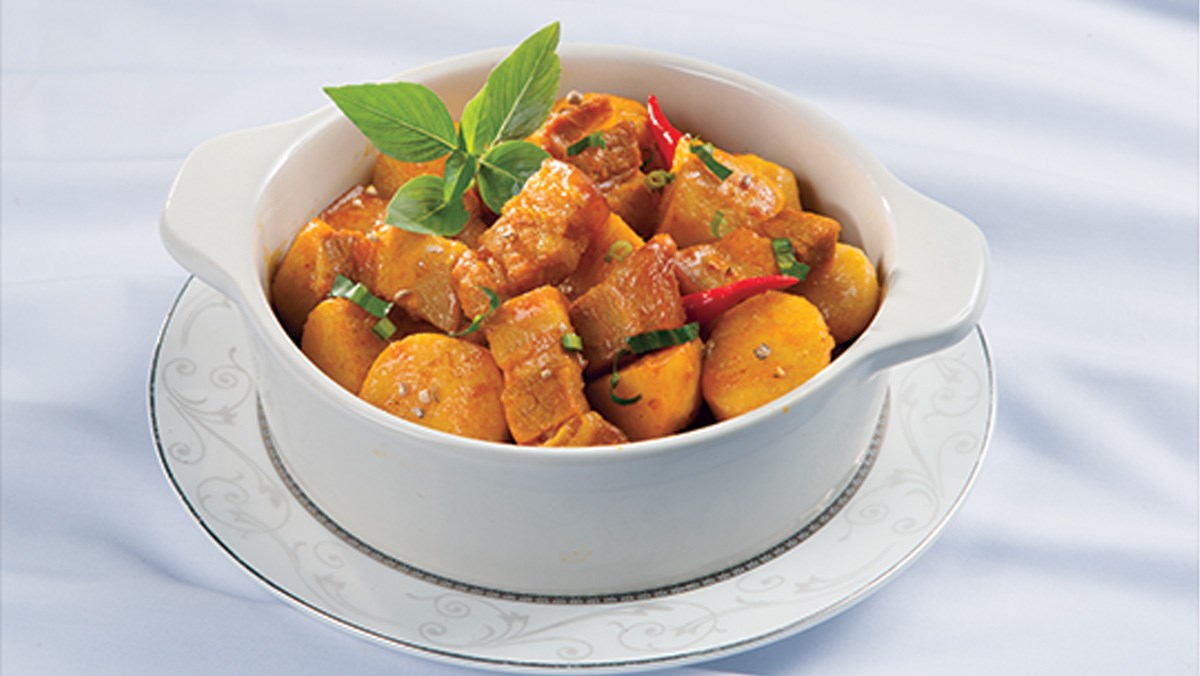
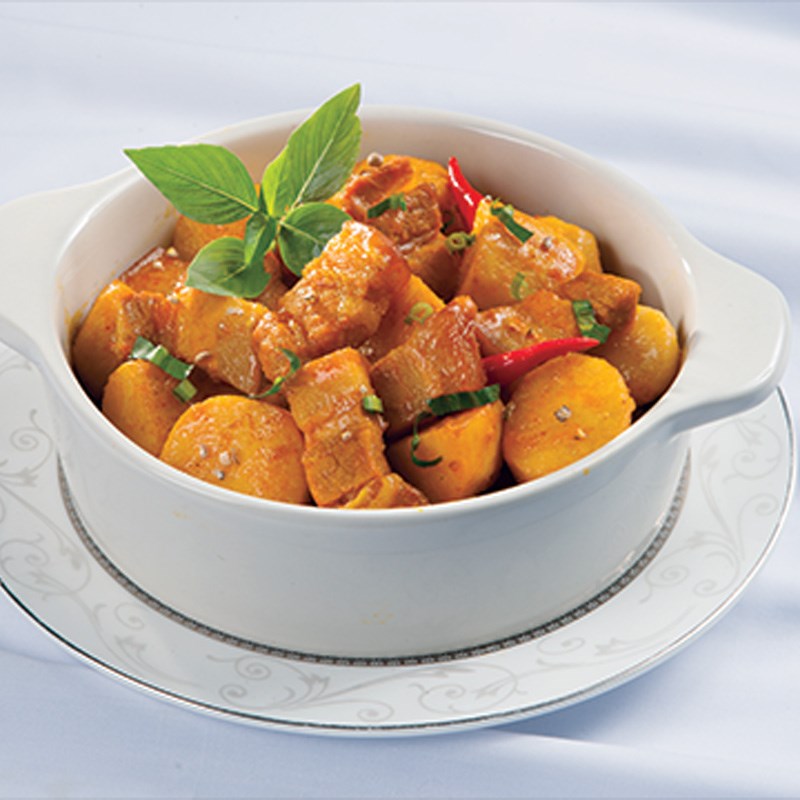
Put the braised pork belly with taro in a bowl and garnish with basil leaves and a few slices of chili, and the dish is complete.
The color of the meat and the golden taro combined with the green of the herbs and the red of the chili looks very eye-catching and delicious. The meat is tender, firm, infused with flavor, combined with the creamy taro, served with hot rice is extremely appealing.
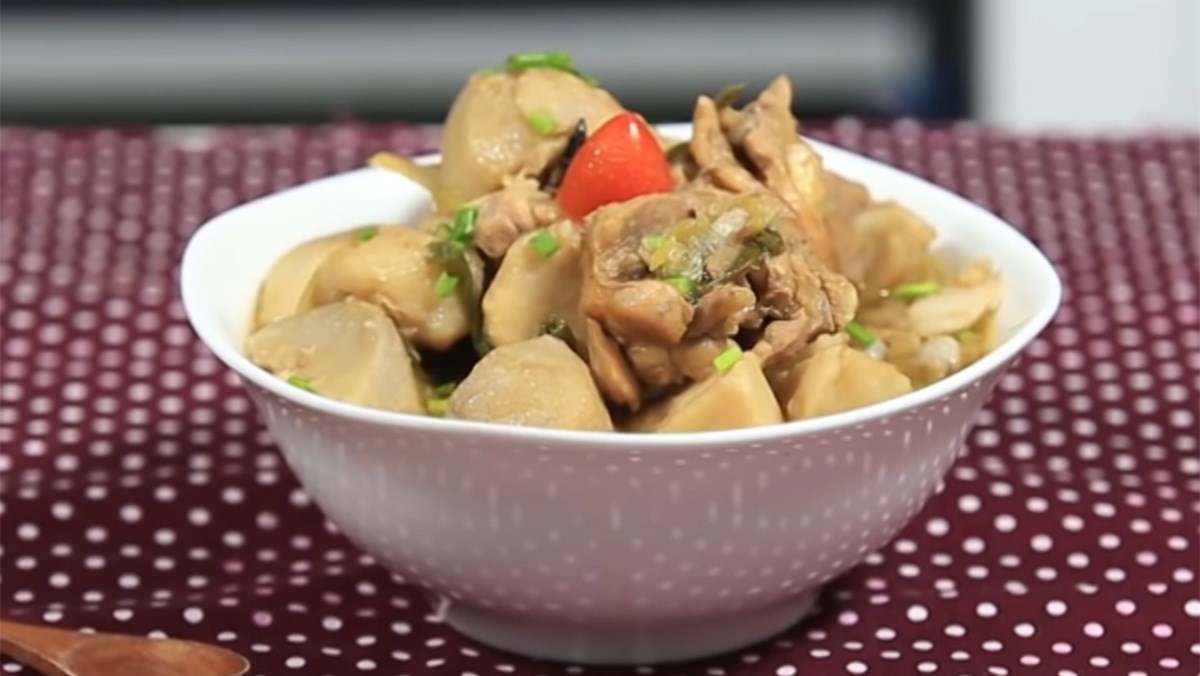
3. Braised Taro with Chicken
-
Preparation Time
1 hour
-
Difficulty Level
Easy
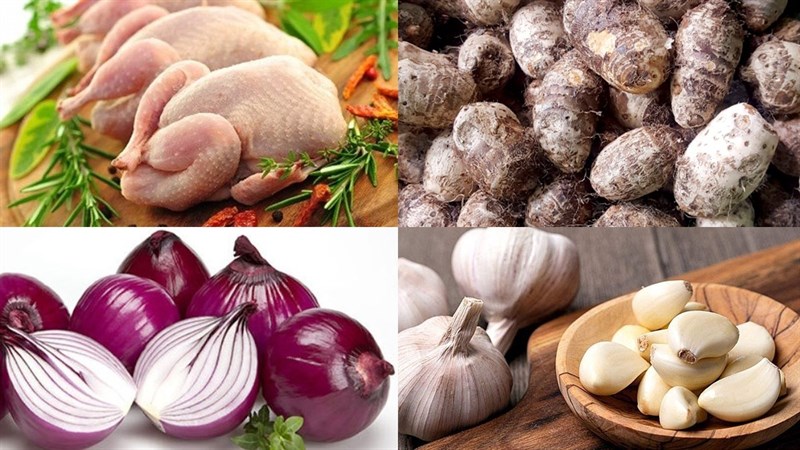
Ingredients for Braised Taro with Chicken Serves 4 people
Chicken 400 gr Taro 700 gr Shallots 2 bulbs Garlic 2 cloves Ginger 1 piece Spring onions A little Star anise 2 pieces Soy sauce 2 tablespoons White wine 1.5 tablespoons Cooking oil 2 tablespoons Sugar 1 teaspoon
How to choose fresh and delicious chicken
- Select chicken meat that has a natural pink-red color, not too light or too dark. In particular, the chicken meat should not have any bruises or blood clots.
- If purchasing processed and packaged meat, carefully observe the expiration date and packaging date. Check if the seal on the bag is intact.
How to prepare khoai sọ kho thịt gà
-
Prepare the ingredients
After buying the chicken, wash it thoroughly with diluted salt water to remove any remaining blood, then rinse with cold water and cut into bite-sized pieces.
Wash the khoai sọ thoroughly to remove dirt, then wear gloves to peel and soak it in salt water for 15 minutes. After soaking, cut into bite-sized pieces.


-
Stir-fry the chicken
Chop the shallots and garlic finely. Peel and slice the ginger. Wash the green onions and cut them into bite-sized pieces.
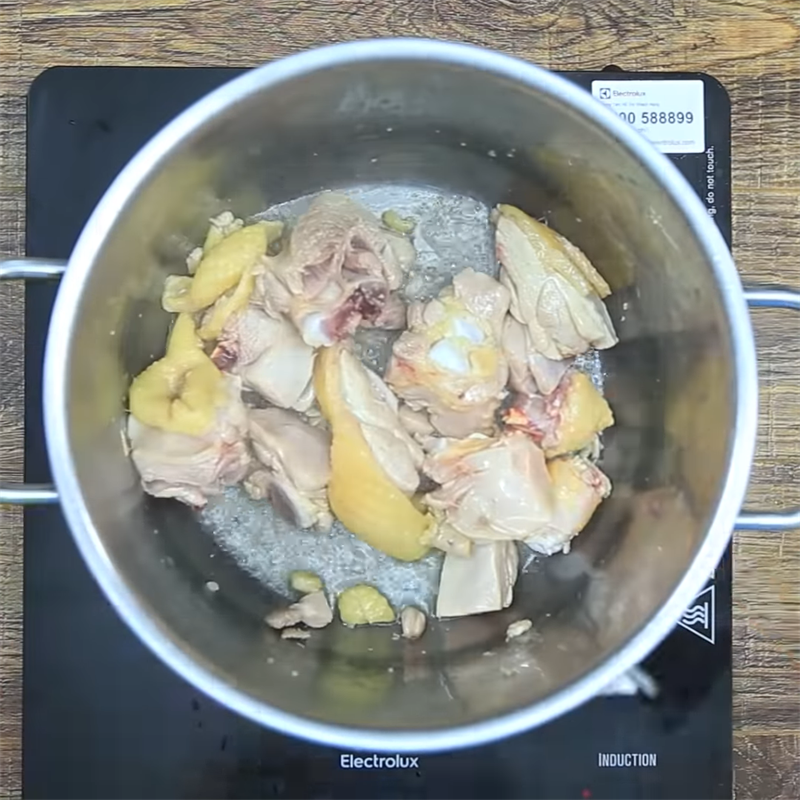
Place a pot on the stove, add 2 tablespoons of cooking oil, then add the chopped shallots and garlic to sauté until fragrant.
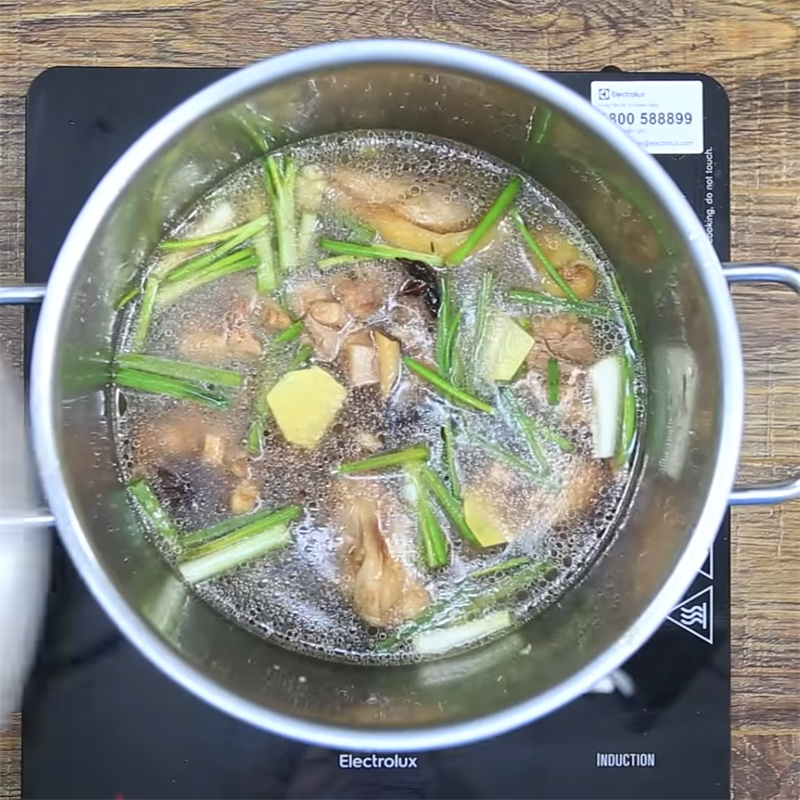
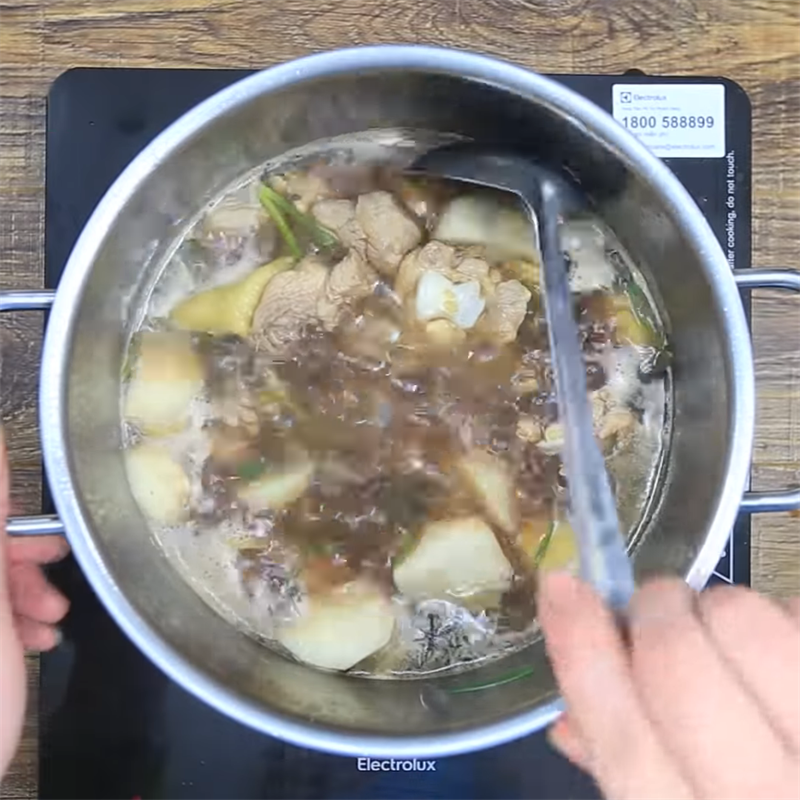
Next, add the chicken and stir-fry until it firms up. Then add 3 tablespoons of soy sauce and stir well. Finally, add 250ml of water, 2 star anise, the green onion tops, and sliced ginger, mix well, and simmer for 15 minutes for the chicken to become tender and absorb the flavors.
Tip: Stir-frying the chicken until firm while cooking will prevent it from having an odor and help it absorb the seasoning.

-
Stewing cocoyam
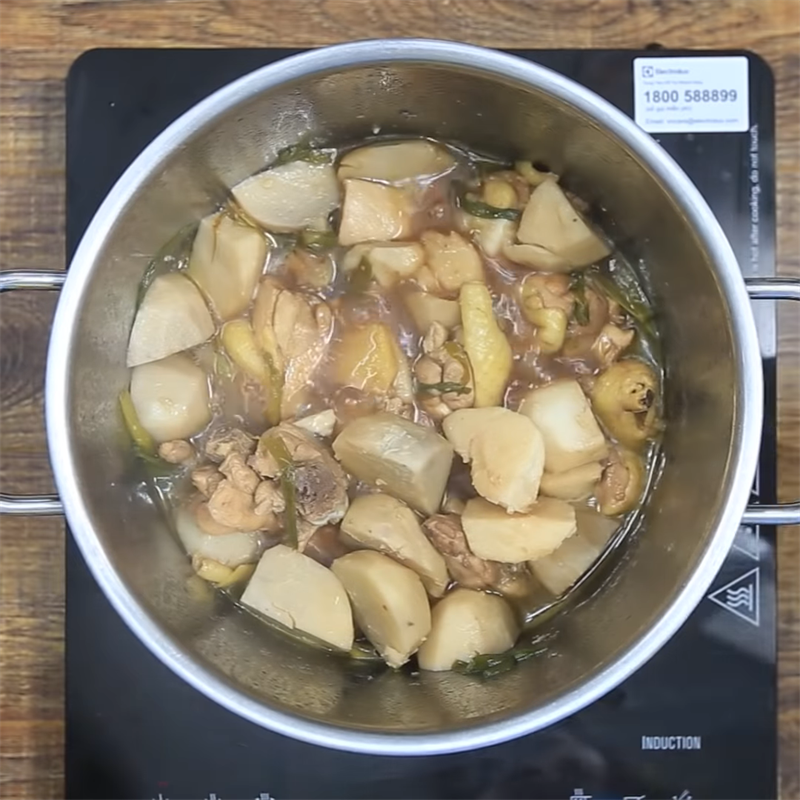
After simmering the chicken for a while, add the prepped cocoyam. When the water boils again, season the pot with 1.5 tablespoons of white wine, 1 tablespoon of soy sauce, and 1 teaspoon of sugar, then cook until it boils again, simmer for an additional 30 minutes.
Adjust the seasoning to taste once more and then turn off the heat, ladle into a bowl.
Tip: Stew until the cocoyam is just soft; if overcooked, it will become mushy and fall apart.
-
Final product
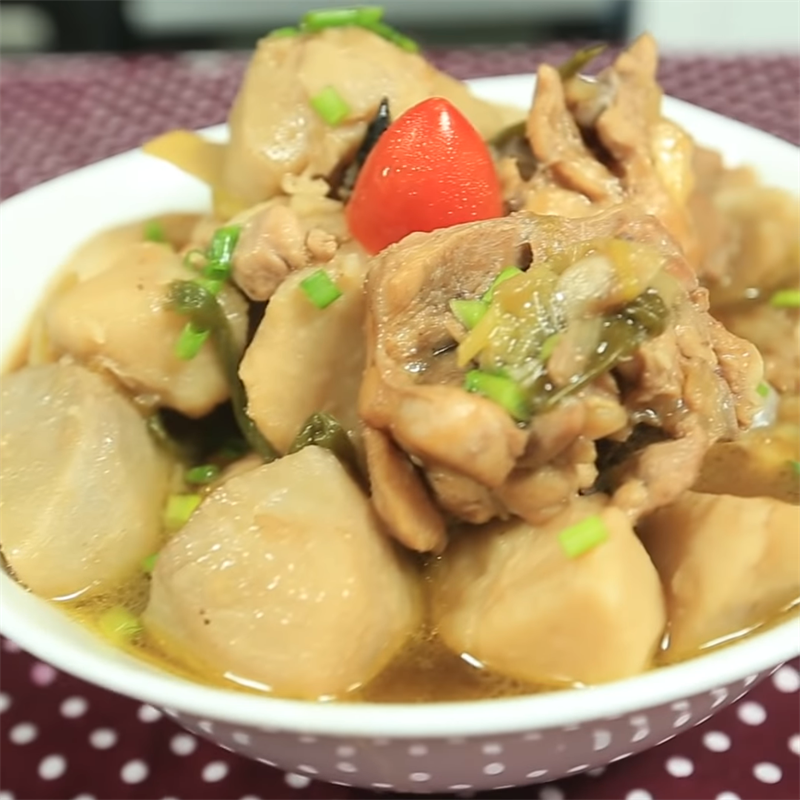
The cocoyam stewed with chicken has a natural sweetness from the chicken and a rich texture from the cocoyam. The flavors blend together to create an irresistible dish, especially when served with a bowl of salt and lemon pepper, making it even more wonderful.

How to choose delicious taro:
- Shape: Delicious taro has a round shape like a chicken egg, with a rough skin and many roots. Fresh tubers often have a lot of soil stuck to the skin.
- Avoid choosing tubers with many dark spots or rotting, as these are often signs of spoiled taro.
- Avoid buying large, long-shaped tubers, as they may be taro and are mixed by sellers with taro to deceive buyers.
- Size: It is advisable to choose small tubers as they will be sweeter and more tender than larger ones.
- Type of tuber: It is better to choose clusters of taro rather than selecting a single tuber. If it is old taro, only choose the small tubers, and do not choose the largest one (the biggest tuber in the cluster), as this tuber is often fibrous and not tasty.
- If it is fresh taro, you should choose the largest tuber as fresh taro is usually firmer, fluffier, and sweeter than the younger ones.
How to peel taro without itching:
- The first and most effective method is to use gloves to peel taro, as this will limit the contact of taro sap with your hands.
- After purchasing taro, do not wash it immediately; instead, leave the outer layer of dirt and peel it with dry hands. Then soak the taro in diluted salt water for about 10 minutes and rinse it clean with water.
- You can also roast the taro briefly on the stove to slightly dry the skin, which also limits the sap from flowing out.
- In addition, keeping the tuber dry also helps reduce the sap flow and lessens the itching sensation.
See more
Above is the recipe for 3 ways to cook taro with meat that are simple and appealing for the whole family to enjoy. Wishing you success with the recipe from TasteVN.
* Refer to images and recipes from the YouTube channel Mon Ngon Moi Ngay and Feedy VN
