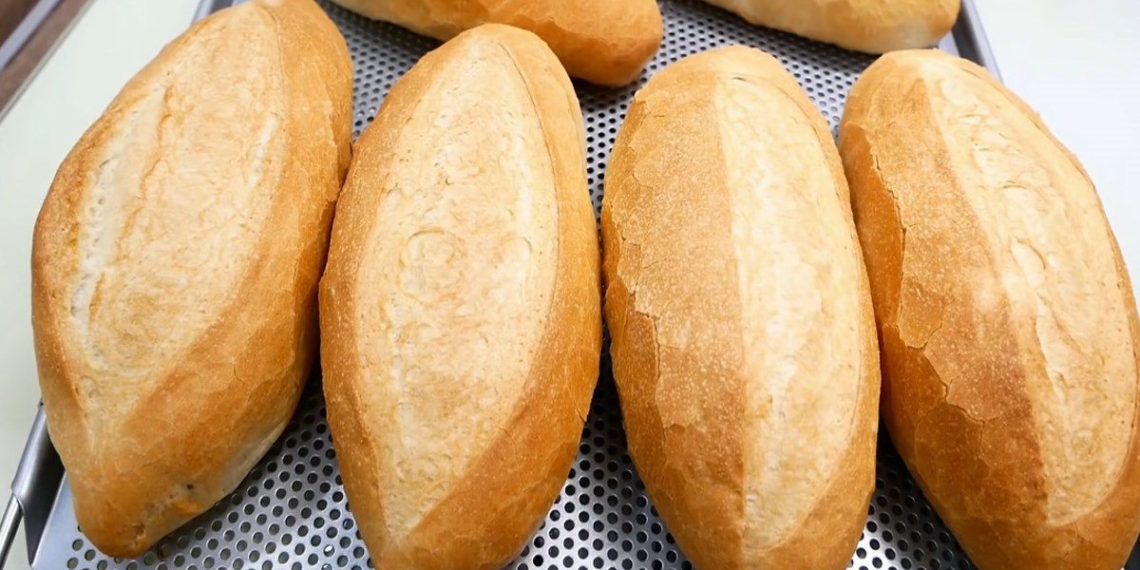
Bread has long been a quick choice for breakfast for many families. However, breakfast with bread is mostly purchased from outside. So today, TasteVN will help you get into the kitchen to learn 2 delicious and super easy ways to make bread using an oven. Let’s show off our skills to make this dish!
1. Oven-baked Bread
-
Preparation
30 minutes
-
Cooking
1 hour 30 minutes
-
Difficulty
Medium
Ingredients for Oven-baked Bread For 3 people
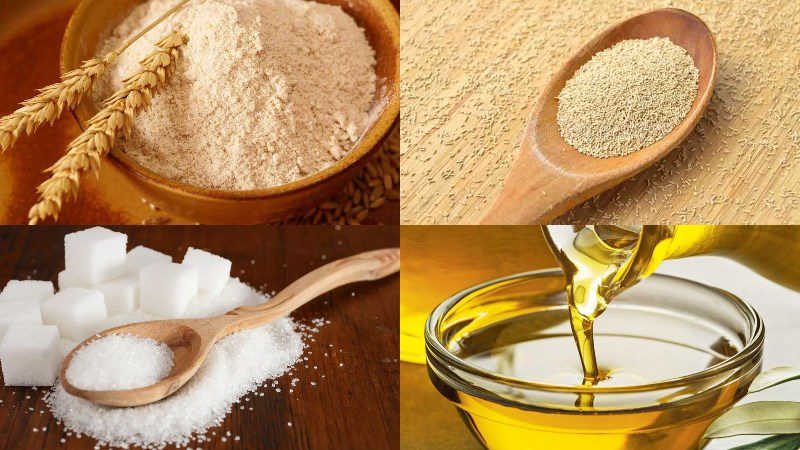
Bread flour 500 gr (Type 13 flour) Instant yeast 6 gr Vitamin C powder 0.15 gr Vinegar 10 gr Salt 5 gr Sugar 8 gr Cold water 300 ml Cooking oil 25 ml
Tools needed
Ingredient images
How to Make Bread Using an Oven
-
Prepare the Dough
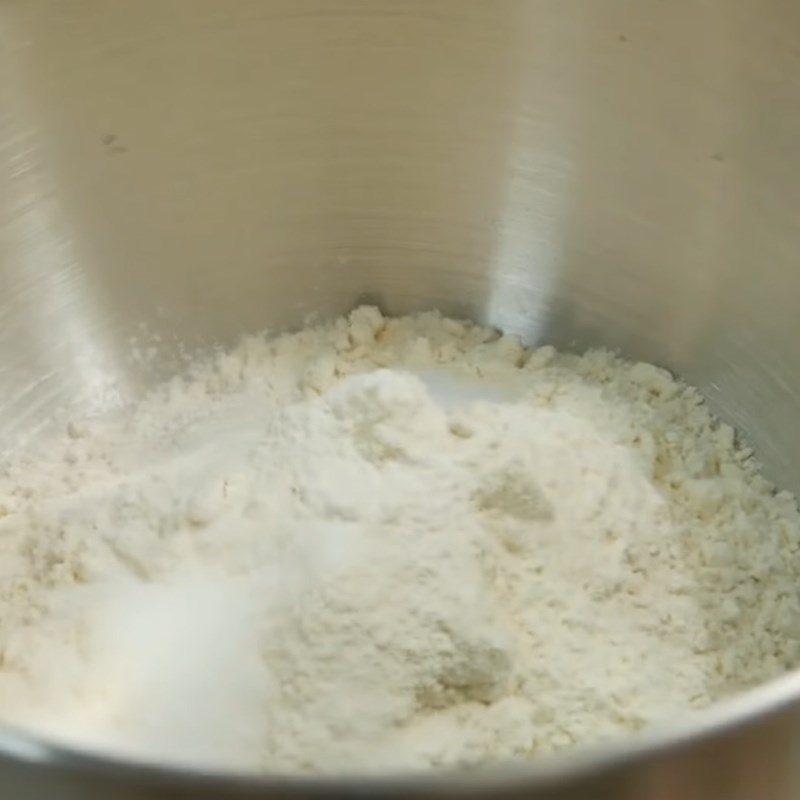
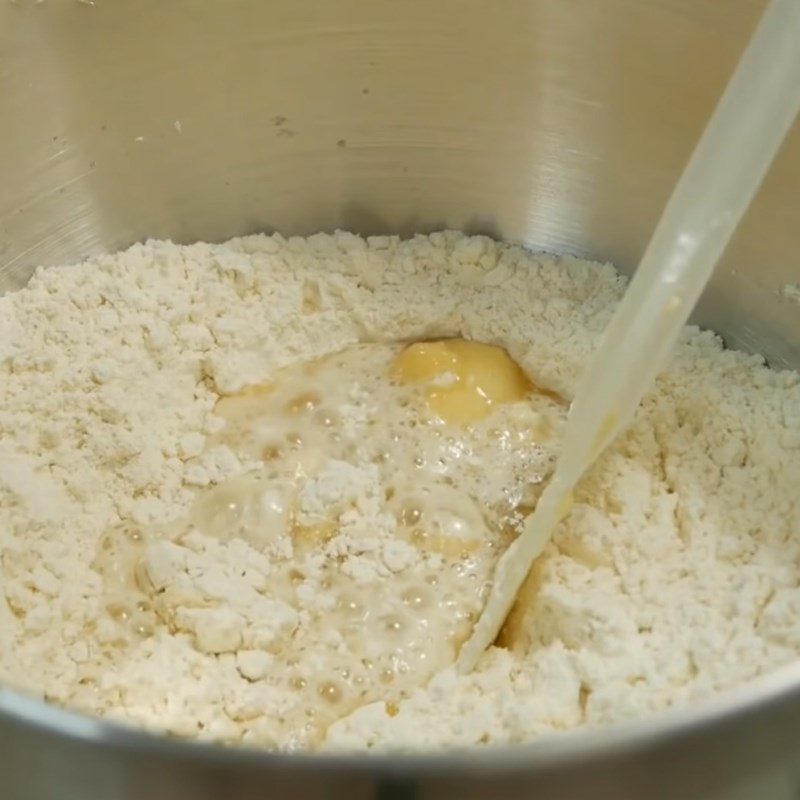
You put 500gr of bread flour, 6gr of instant yeast, 8gr of sugar, 5gr of salt, and 0.15gr of vitamin C into a mixing bowl. Use a flat whisk to mix the dry ingredients well.
Note: If you use instant yeast or fresh yeast (the type of yeast sold in blocks), you can add it directly to the flour mixture. If you are using dry yeast, you need to soak it in warm water to activate it before mixing it with the dough.
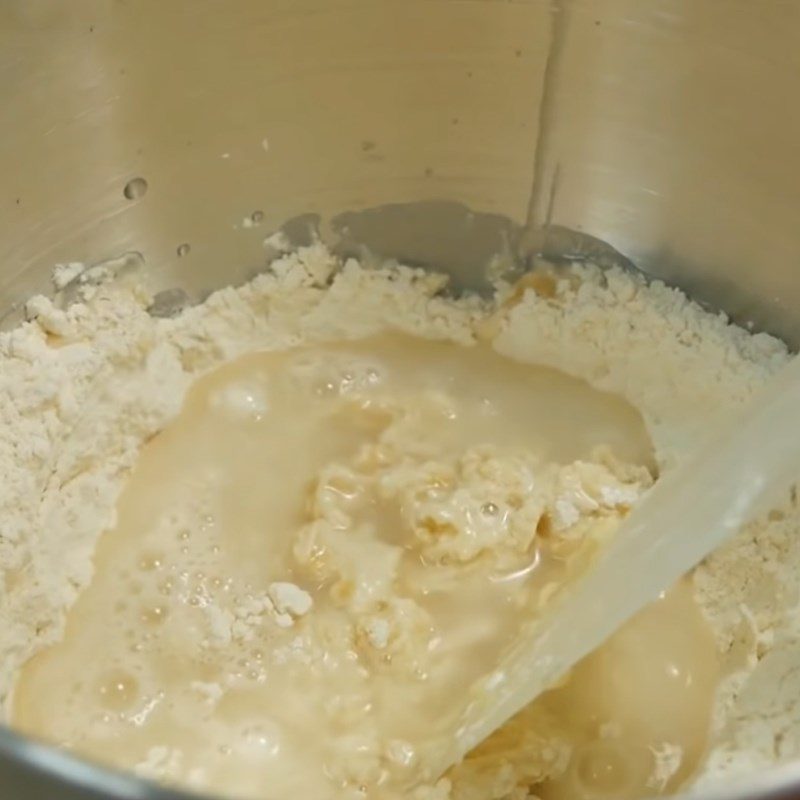
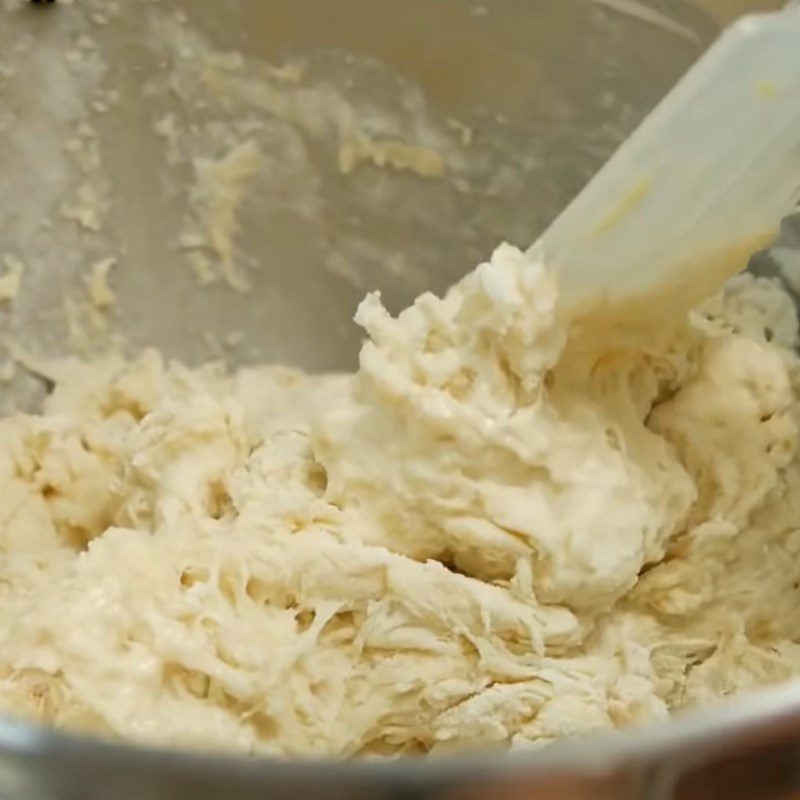
Next, add 25ml of cooking oil, 10gr of vinegar, and 300ml of cold water into the dry flour mixture, mixing until the flour absorbs all the water and forms a cohesive mass.
Tip: You should divide the cold water into 3 portions. Add each portion gradually to the flour mixture, waiting for the flour to absorb all the water before adding more. Avoid pouring all at once as it can ruin the dough.
-
Kneading dough
If you knead the dough by hand, first sift a little flour onto the table, evenly apply a small amount of cooking oil to both palms so that the dough doesn’t stick to your hands while kneading.
Then use your palms to knead by pressing and stretching the dough away, then fold the dough back and continue to press and stretch (the folding and stretching technique). Keep kneading evenly for about 15 minutes until the dough becomes elastic and no longer sticks to your hands.
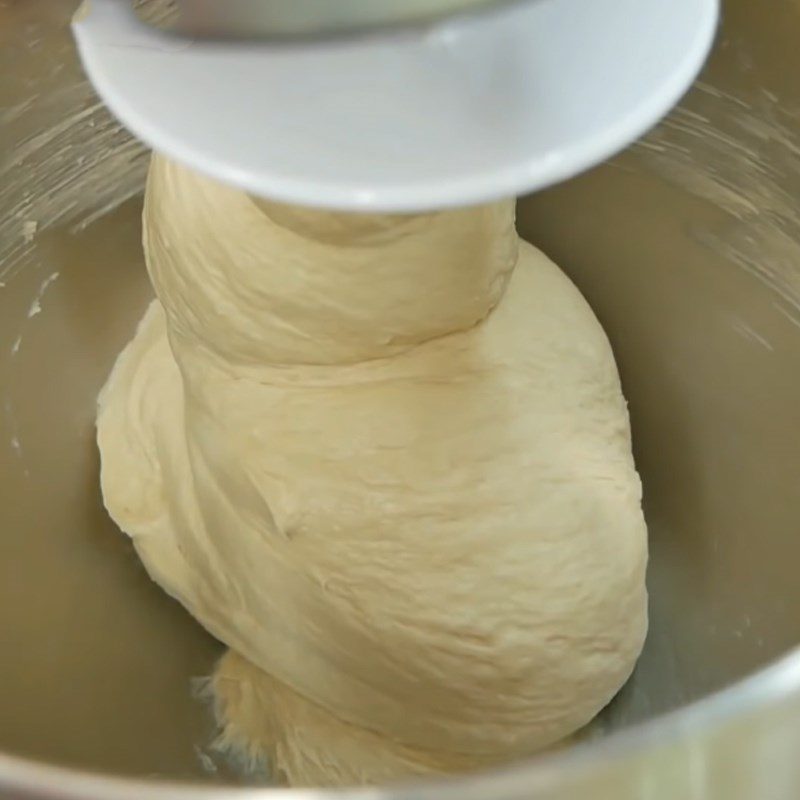
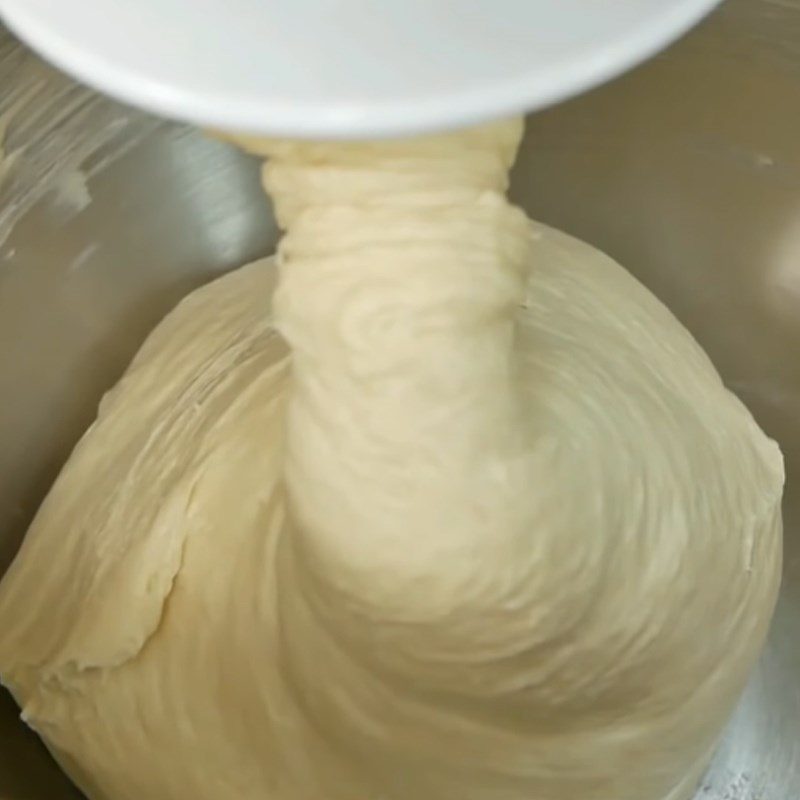
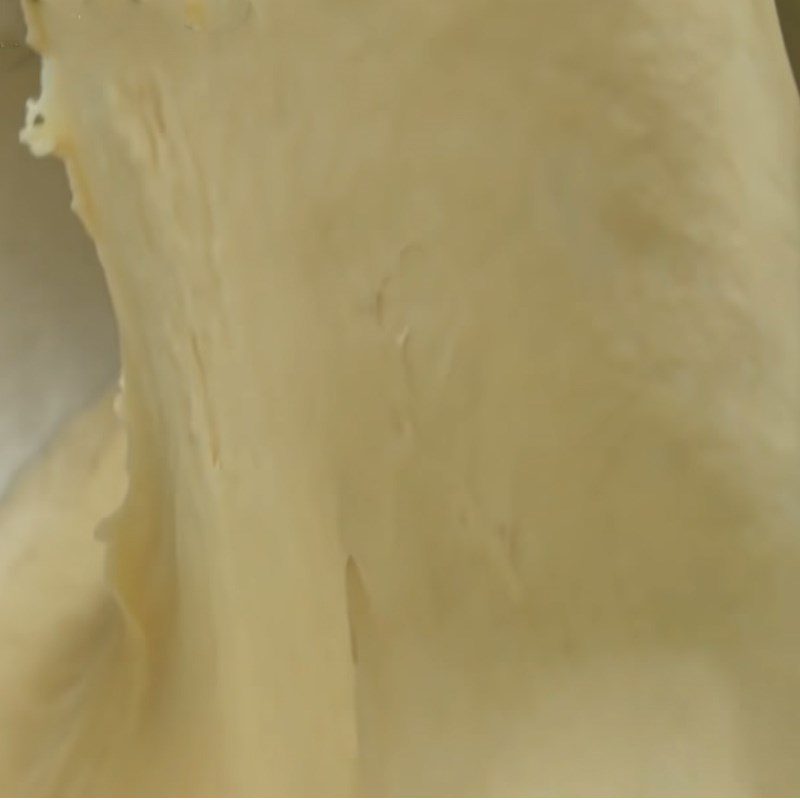
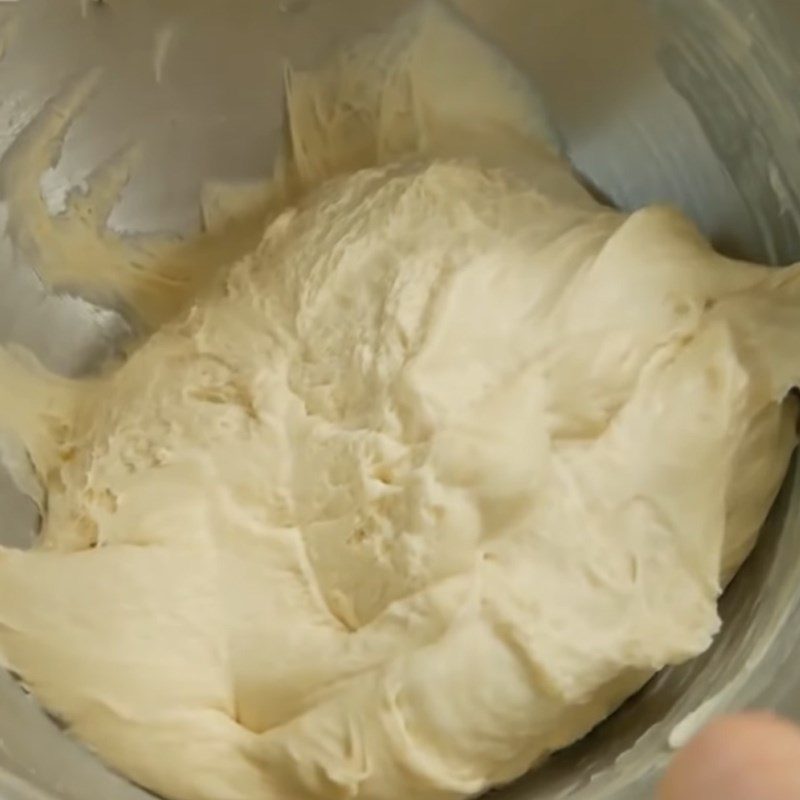
If you are using a dough mixer, first turn on the machine at low speed (number 2) for 2 minutes, then increase to level 4 and mix for 10 minutes. After that, let the dough rest for about 1 minute.
Note: When using a mixer, you should start at low speed first; this way, the bread will have a more elastic and chewy texture once completed.
After letting the dough rest, continue to turn the machine to level 4 and mix for about 5 minutes. Finally, increase to level 6 and mix for about 2 more minutes to finish.
-
Bread Shaping
Take the dough out of the mixing bowl, knead it briefly until smooth, and let it rest for 10 minutes before starting to shape the bread.
After the dough has rested, take a portion of the dough and divide it into small pieces (about 10 – 12g for one piece) and evenly apply a little cooking oil on the countertop and in the palms of your hands.
First, take a piece of dough, press it down with your hands, and gently tap the surface of the dough to break the air bubbles. Then, fold each outer edge of the dough inward, pinch the edges together lightly, and roll it into a ball. Repeat this process until all the dough pieces are used up.
Note: After rolling the dough into balls, check that the surface is smooth and shiny, which indicates it is ready; the final result will also be more beautiful.
Use a clean, dry cloth to cover the dough and let it rest for another 10 minutes. After this 10 minutes, turn the smooth side of the dough down and continue to press lightly and fold the edges again, rolling it into a ball similarly as before. And let it rest for another 5 minutes.
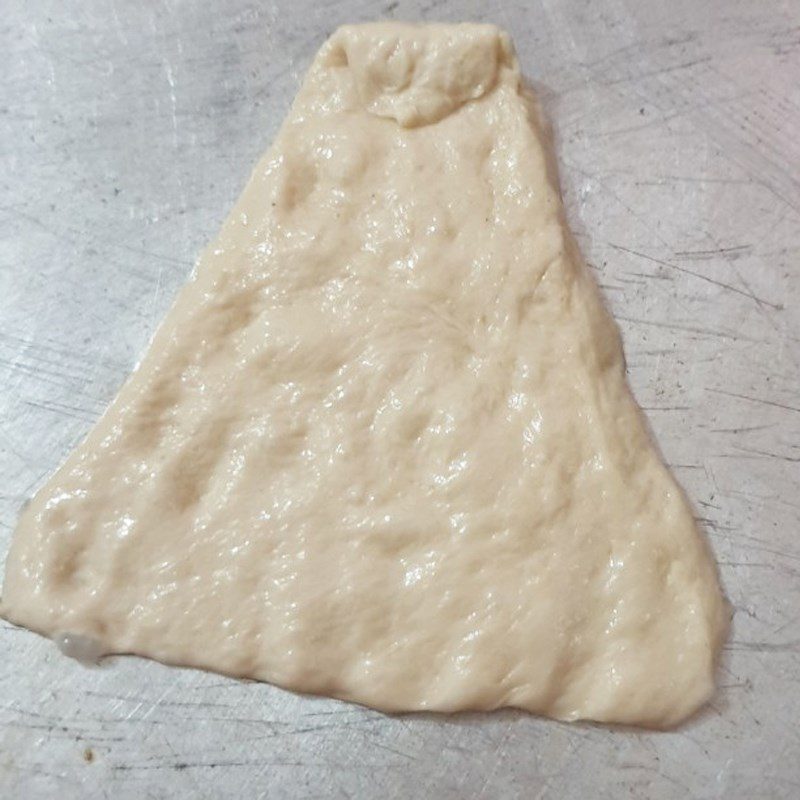
Next, take a rolling pin, place it in the center of the dough ball, and slowly roll it out from top to bottom to flatten the dough. The bottom part should be thinner and wider than the top part. The flattened dough should take on a triangular shape, about the length of your hand.
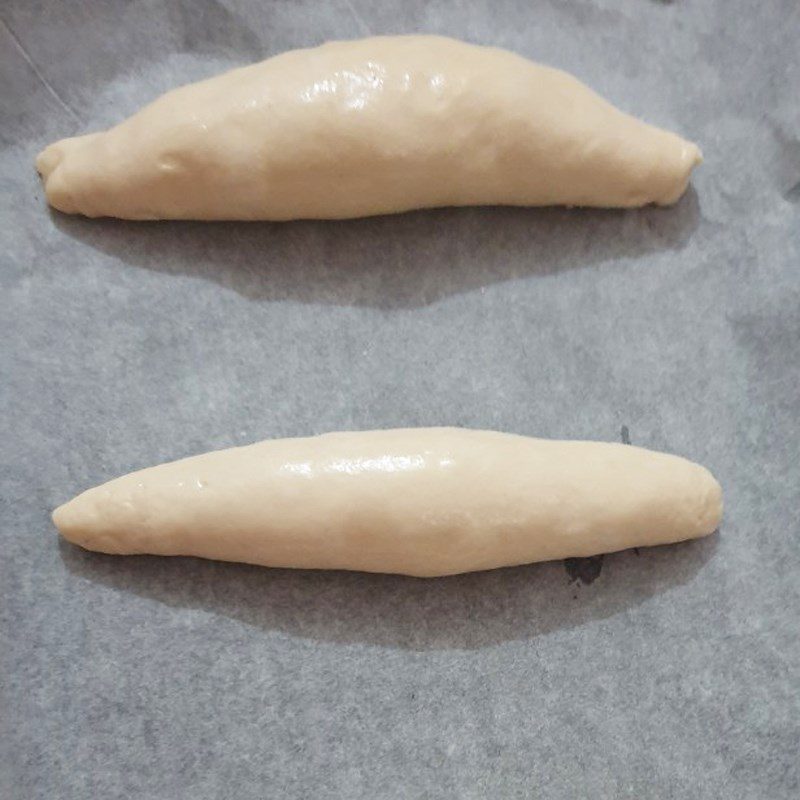
Start rolling from the top down to the edge to form an elongated shape, and gently roll the two ends of the dough to create a pointed tip.
Note: During the shaping process, remember to work quickly, as the surface of the dough dries out very fast.
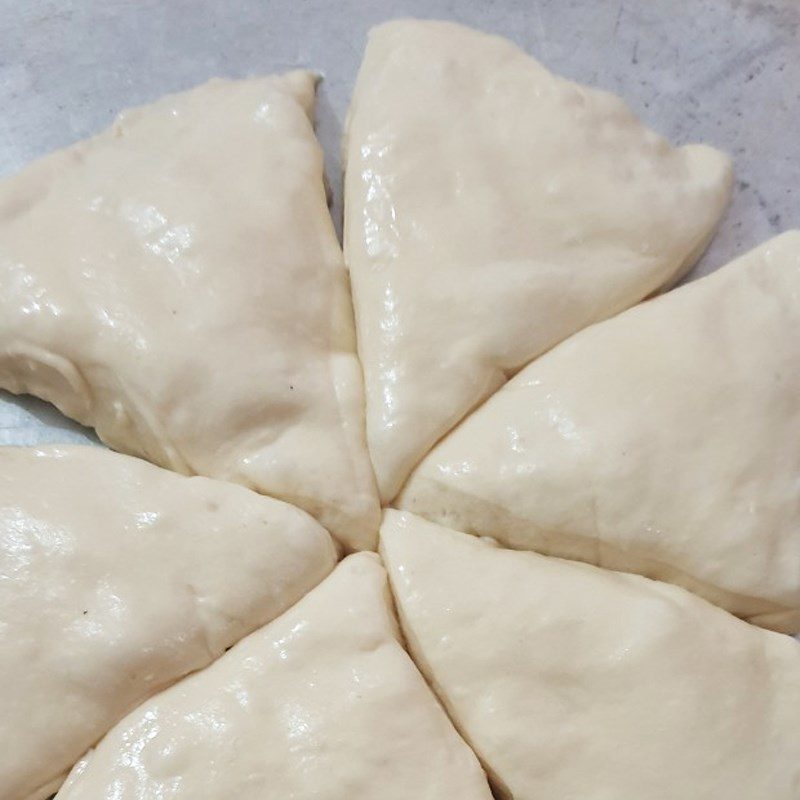
After shaping the bread, place it on a tray with small holes for ventilation and let it rest for about 15 minutes in the oven, keeping the oven closed.
After 15 minutes, open the oven to allow air in and continue to rest for another 5 minutes. Just let the bread rest in the oven, so be careful not to turn on the oven or let it get hot beforehand.
-
Baking the bread
Preheat the oven to 240 degrees Celsius for 15 minutes to stabilize the oven temperature before baking the bread; remember to place an empty tray inside the oven.
Once the oven is hot, open the oven door and pour about 300ml of boiling water into the tray. Pour slowly to avoid burning your hands.
Tip: Preparing a tray of hot water in the oven helps create heat from below and adds moisture.
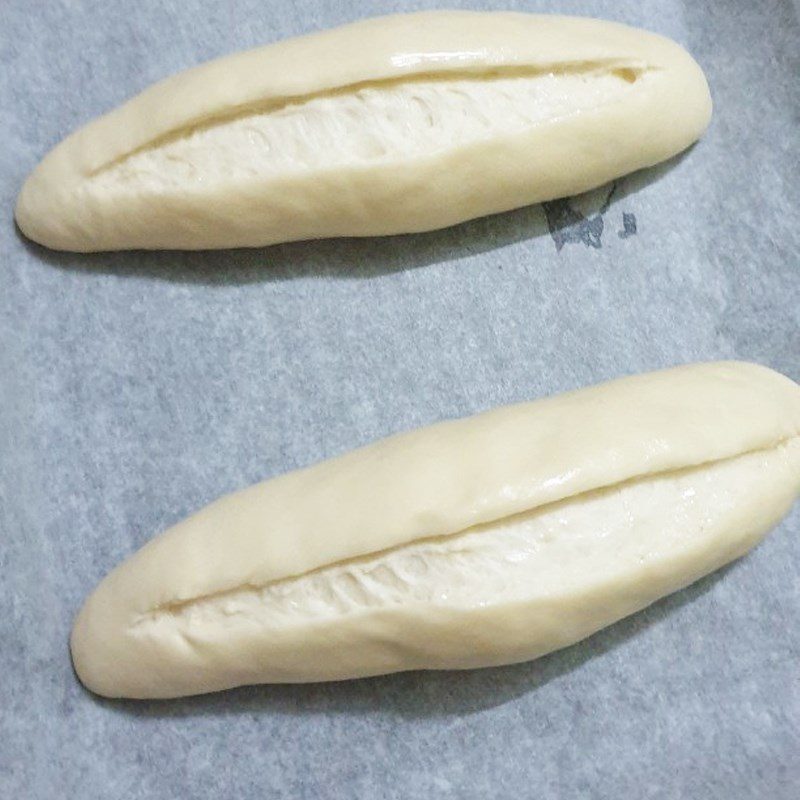
After preparing the oven, quickly use a knife or a razor blade to make a slightly curved cut similar to a C shape along the length of the bread, about 2cm from each end, and spray water to moisten the surface of the bread, paying special attention to spraying more on the cut.
Place the bread in the oven, positioned in the middle above the tray of hot water. Bake the bread at 240 degrees Celsius for 8 minutes, keeping the oven door closed. After about 8 minutes, when the bread has puffed up and turned golden evenly, slowly open the oven door and rotate the bread tray so that the loaves on the outside cook evenly as well.
Bake the bread a second time by lowering the temperature to 200 degrees Celsius and baking for 10 minutes to achieve an even golden color. Then open the oven for about 1 minute before closing it again and bake a third time at 180 degrees Celsius for another 2 – 3 minutes to finish.
Small tip: You should prepare a little toasted sesame with butter to brush on the surface of the bread when it is fully baked. The aroma of sesame and butter will enhance the flavor of the bread.
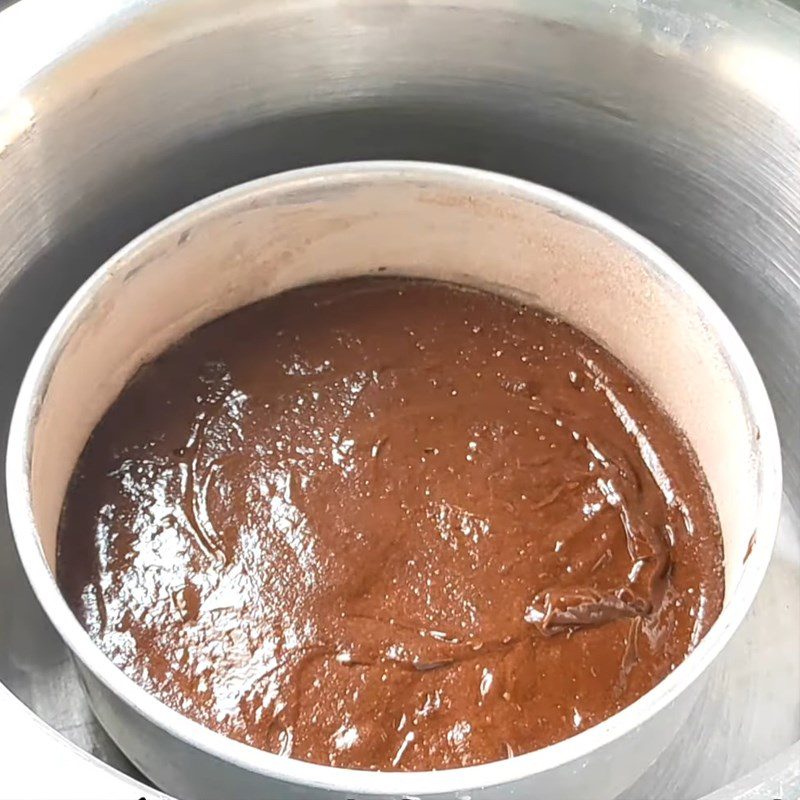
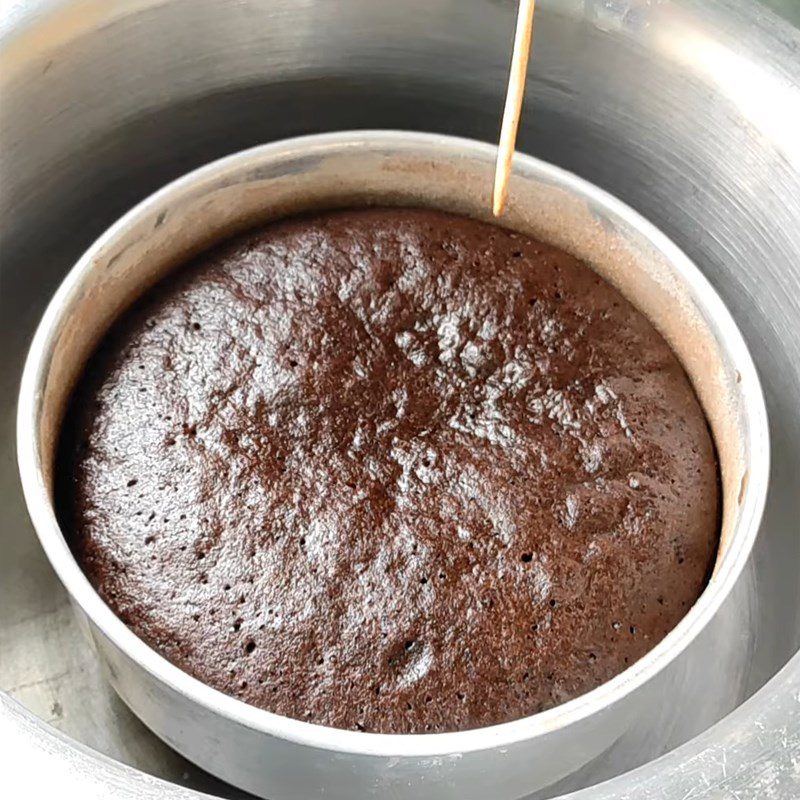

-
Final Product
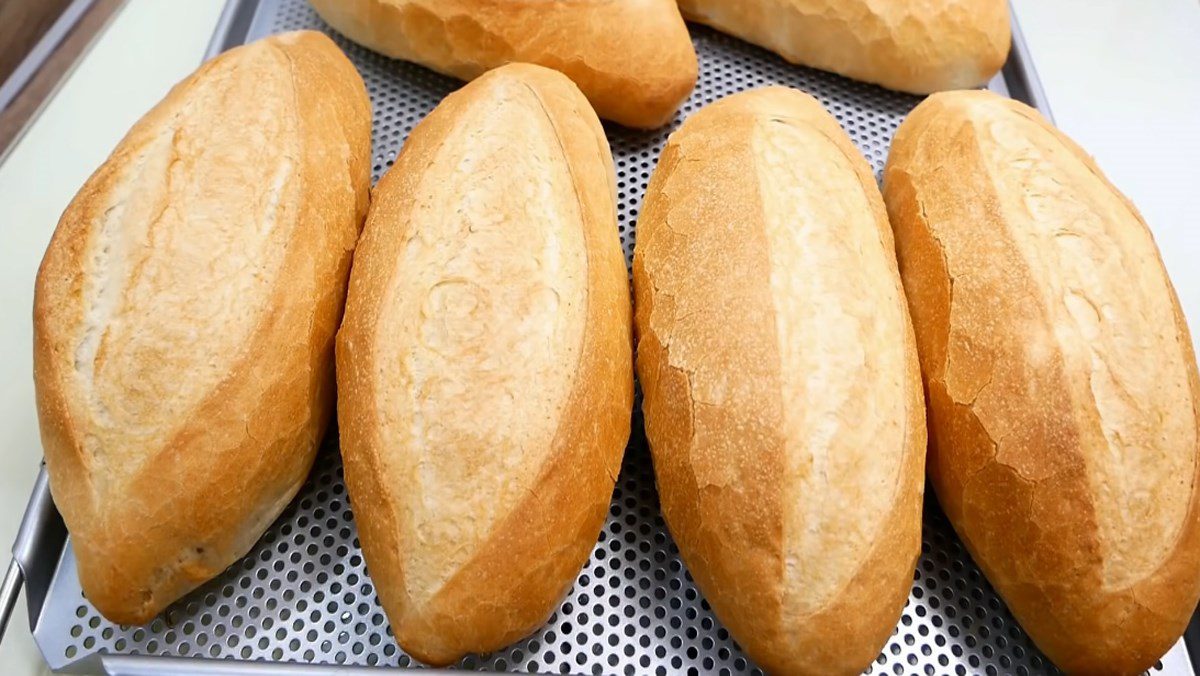
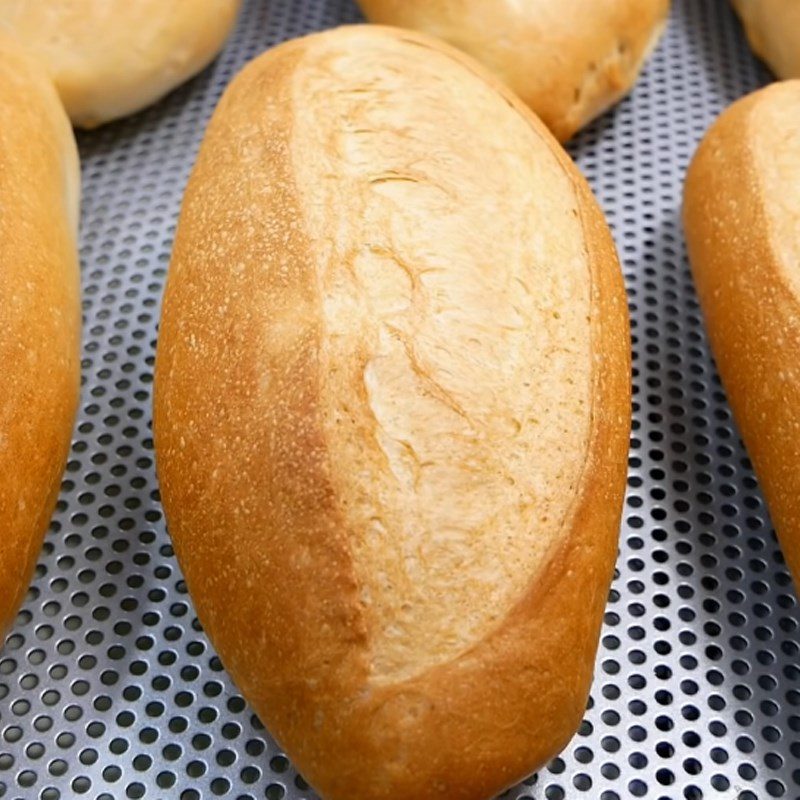
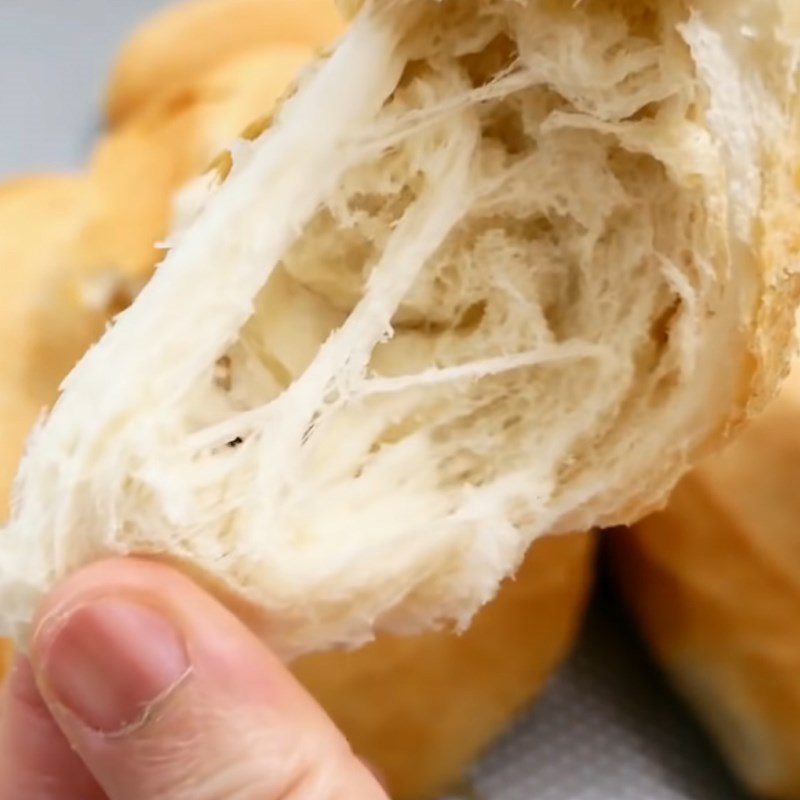
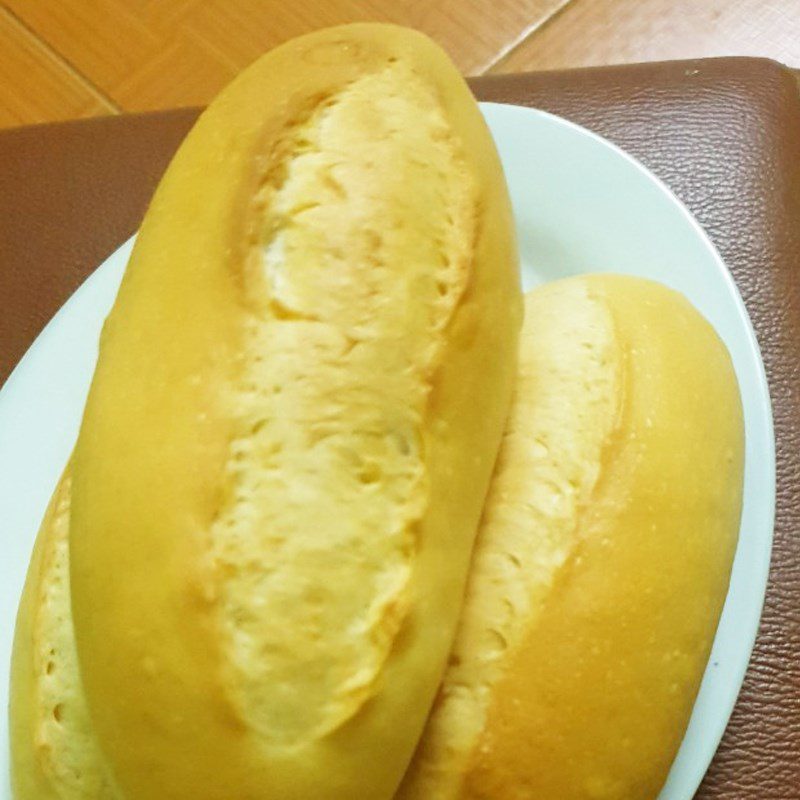
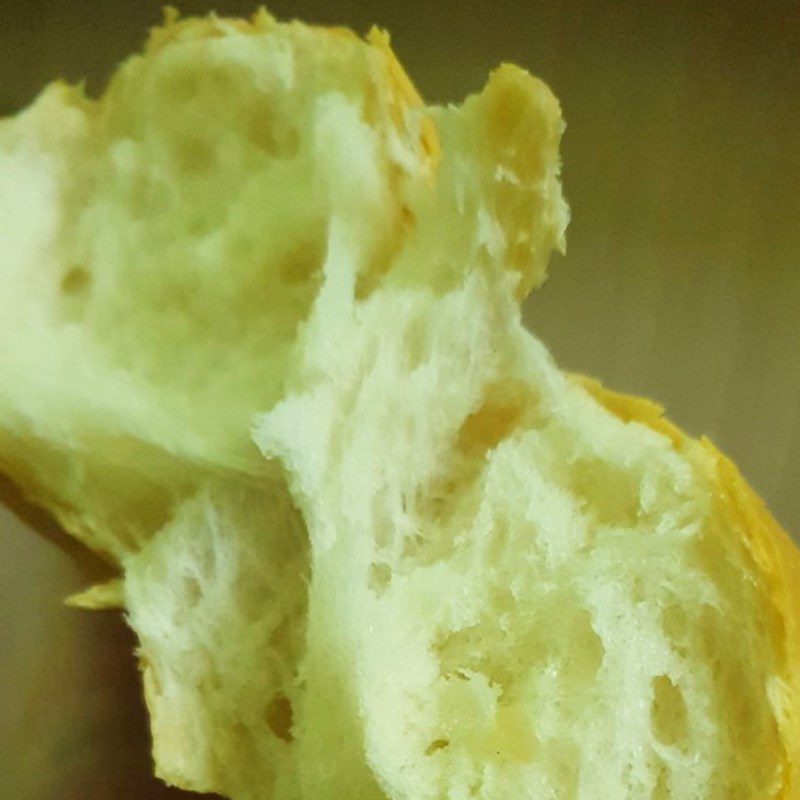
The loaves of bread are puffed up, soft with a characteristic aroma of bread spreading throughout the kitchen. When tearing a loaf, you’ll hear the crispy sound of the crust which is extremely satisfying.
The crust is thin, golden and crispy, while the inside of the bread is chewy, showing each appealing strand of bread. You can eat the bread plain or dip it in hot milk or condensed milk, which will make you love it even more!
2. Baking bread with an oven (recipe shared by a user)
-
Preparation
30 minutes
-
Cooking Time
16 hours 30 minutes
-
Difficulty Level
Medium
Ingredients for Baking Bread in the Oven (recipe shared by a user) Serves 4 people
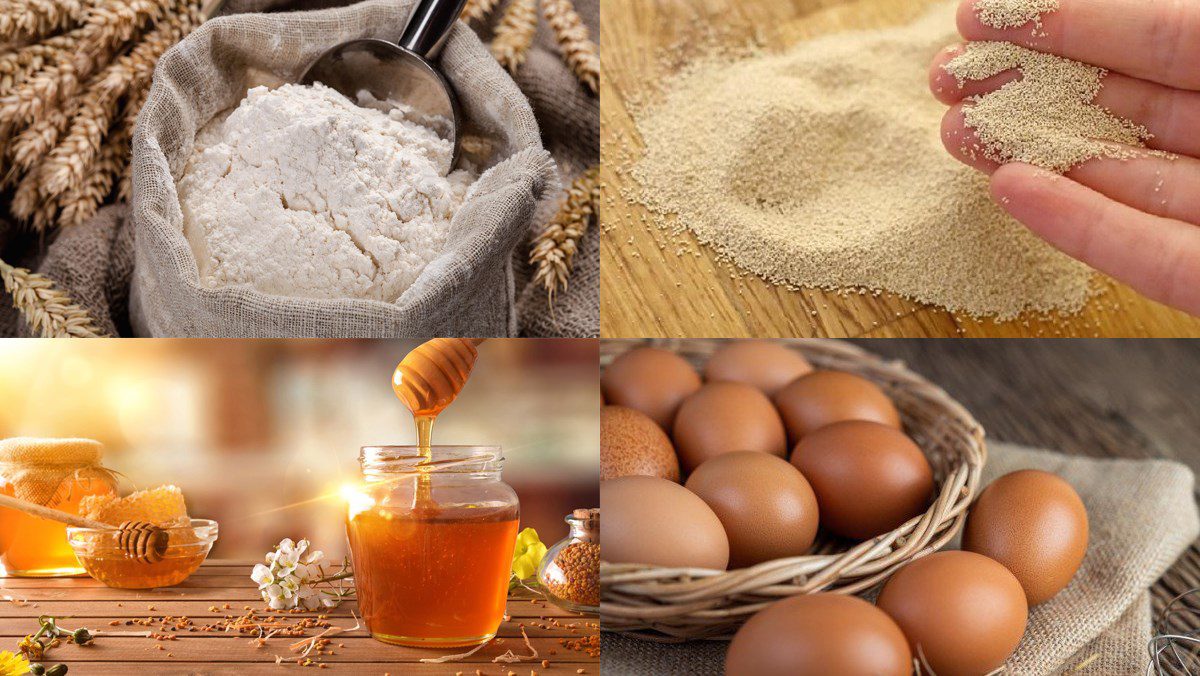
Flour type 13 300 gr Instant yeast 6 gr Honey 2 teaspoons (10ml) Chicken egg 1 piece (50gr) Cooking oil 1 teaspoon Salt 1 teaspoon
Tools Needed
Image of Ingredients
How to Prepare Baking Bread in the Oven (recipe shared by a user)
-
Prepare the dough starter
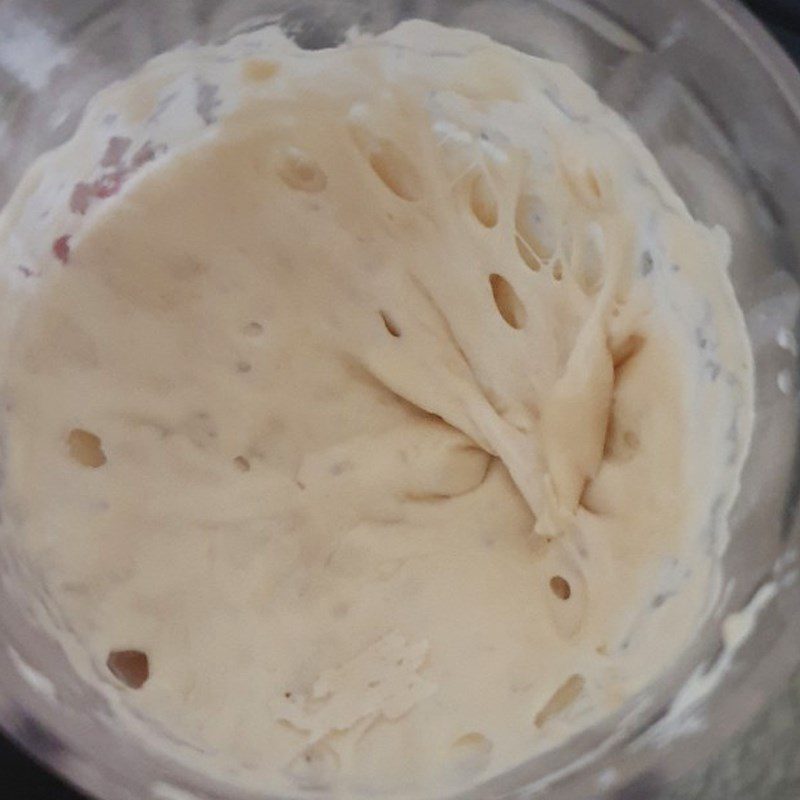
First, put 50gr flour, 50ml water, and 3gr instant yeast into a bowl and mix well, cover tightly and let it sit overnight.
-
Preparing the bread dough
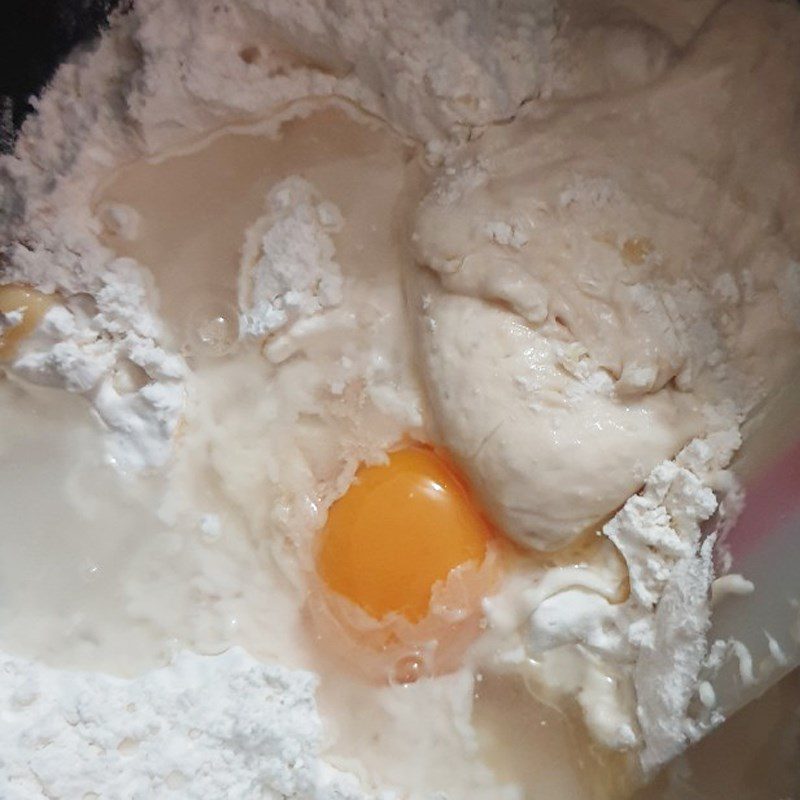
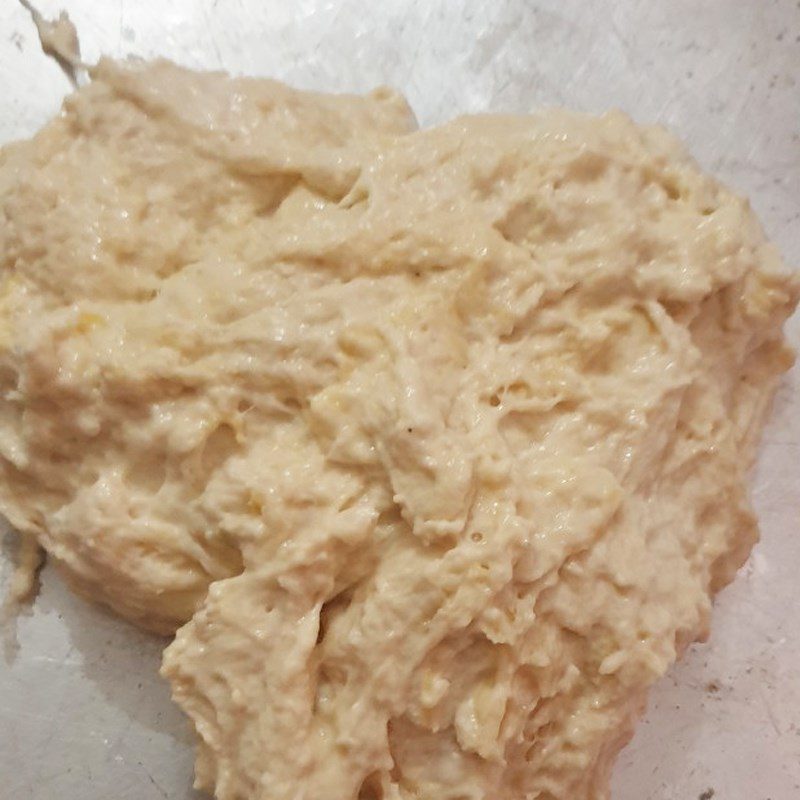
Next, add 250g of flour, 90ml of water, the prepared starter mixture, 1 chicken egg, 2 teaspoons of honey, 1 teaspoon of salt, 1 teaspoon of cooking oil, and 3g of instant yeast into a new bowl and mix well until the ingredients stick together.
Then, use your hands to knead the dough using the Folding and Stretching technique.
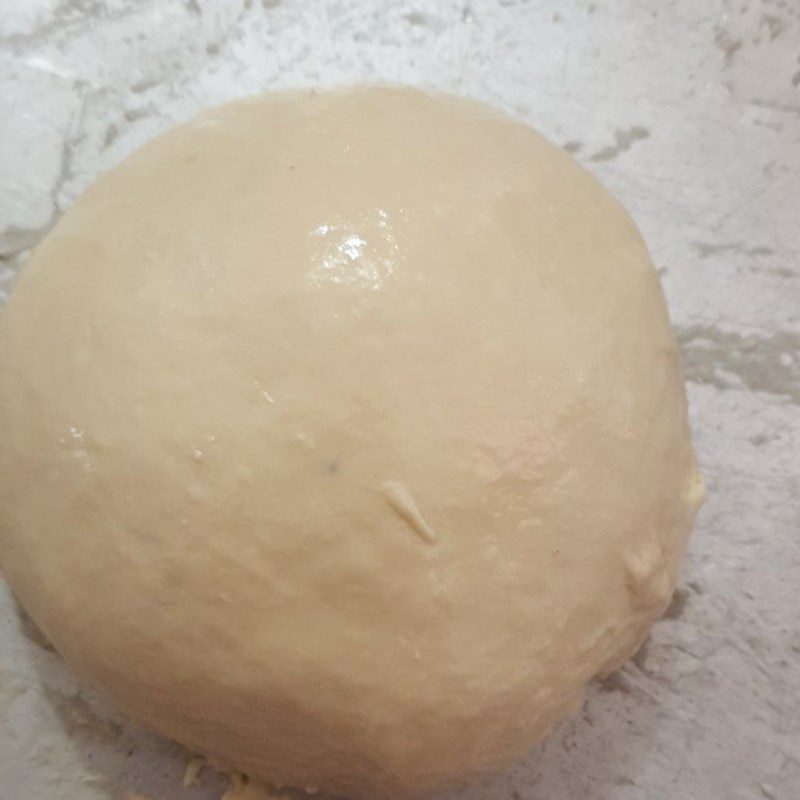
First, fold the dough, then use the palm of your hand to press and stretch the dough away. Note that you should press and stretch the dough away, not press down. Next, turn the dough 90 degrees and repeat the two steps above for 15 minutes.
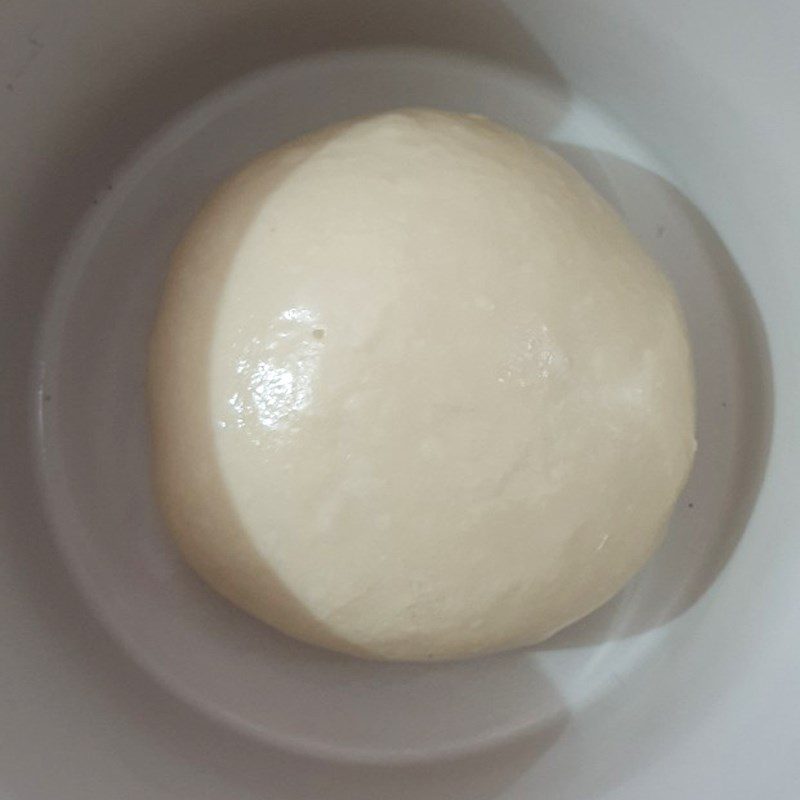
Finally, cover the dough tightly with food wrap and let it rise for 30 minutes until the dough doubles in size.
-
Shaping the Bread
Once the dough has risen, knead the dough again to expel all the air bubbles inside. Then, divide the dough into equal parts with the desired bread size.
Next, roll the dough into a ball and pinch the edges tightly. After that, cover it and let the bread rise for the second time for another 30 minutes. When the bread has risen, use a razor blade to make a light cut in the middle of the bread.


-
Baking the Bread
Preheat the oven to 230 degrees Celsius for 15 minutes.
Then, place the bread in the oven, spray water around the oven walls to create steam and bake for 10 minutes at 230 degrees Celsius.
After 10 minutes, open the oven and spray water inside, then lower the temperature to 190 degrees Celsius. Continue baking for another 5 minutes until the top of the bread is golden brown.

-
Final Product
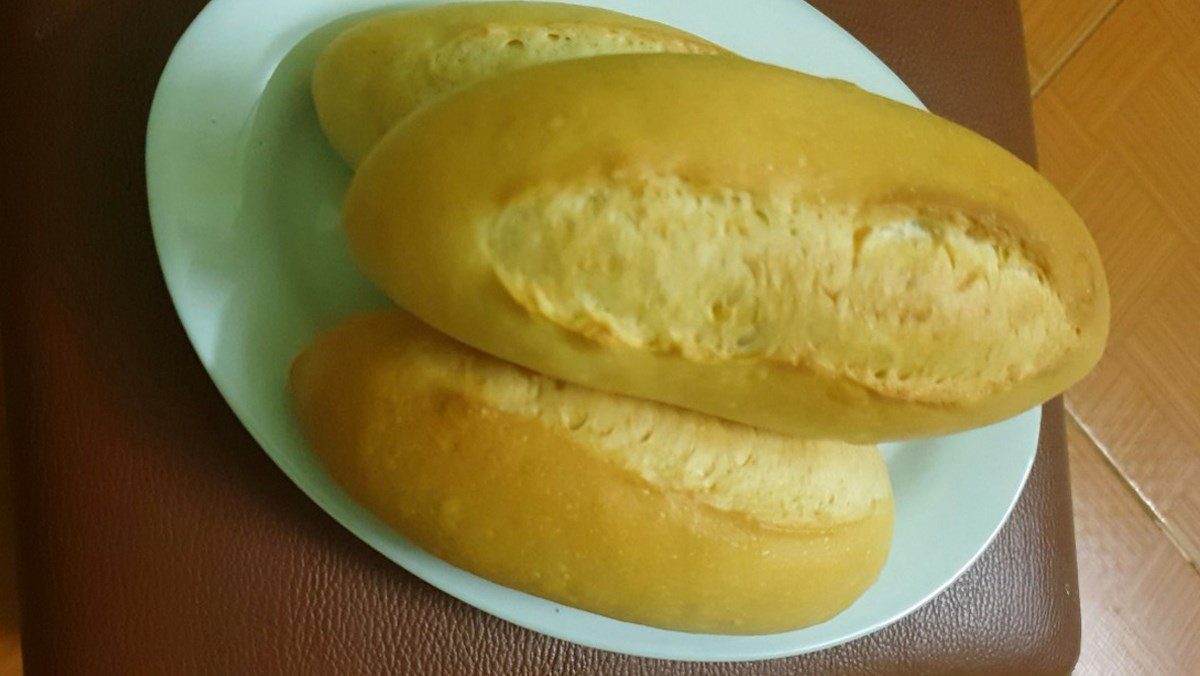
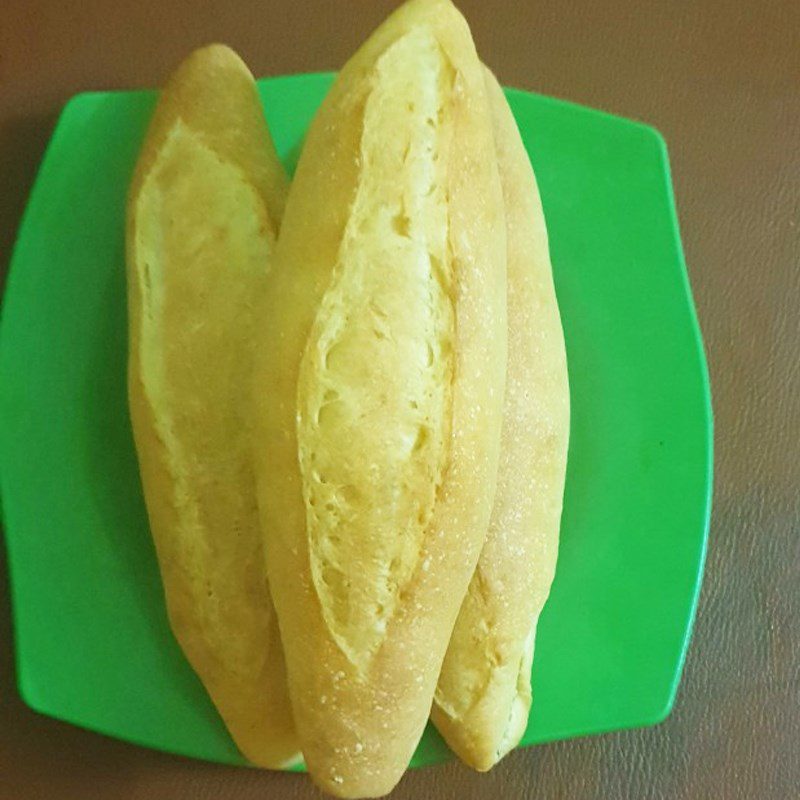
The bread baked in the oven has a golden-brown, crispy crust, while the inside is soft and fluffy. It is extremely delicious and nutritious when served with pâté or sweetened condensed milk.
What is yeast?
- Yeast is an important ingredient in the bread-making process, as it contains living microorganisms that can produce substances that speed up the fermentation of the dough, allowing the bread to rise.
- There are 3 types of yeast: fresh yeast, dry yeast, and instant yeast. You can easily find these types of yeast at baking supply stores or purchase them on e-commerce websites.
- When buying, you should pay attention to the expiration date and packaging quality to ensure the yeast is still fresh and active when used.
How to identify quality flour
- The flour is soft and fine, with good elasticity.
- The flour does not stick to the hands: When pressed, it feels slightly sticky, but when you lift your finger away, the flour does not stick to your hands.
- The flour can be stretched into a thin film without tearing.
- Check the flour using the Windowpane method: Tear off a piece of the dough, stretch it out. If the dough forms a thin film that is not easily torn and light can pass through, it is acceptable.
Tips for successful execution
- Yeast after use should be placed in a sealed glass or plastic container and stored in the refrigerator refrigerator and avoid opening the lid frequently. Yeast is best used within 6 months and do not use expired yeast for baking.
- Bread after baking can be placed in a tightly sealed bag or zip bag to keep the bread from becoming soggy and maintain its crispness. It is recommended to use the bread within 2 – 3 days to keep it soft and crispy; if left too long, the bread will become hard.
See more:
So you have your own recipe as well as some notes on how to make bread using an oven at home. It’s not difficult at all, right? Just take a little time and be careful and meticulous, and you’ll achieve a very satisfactory result. Wishing you success!
