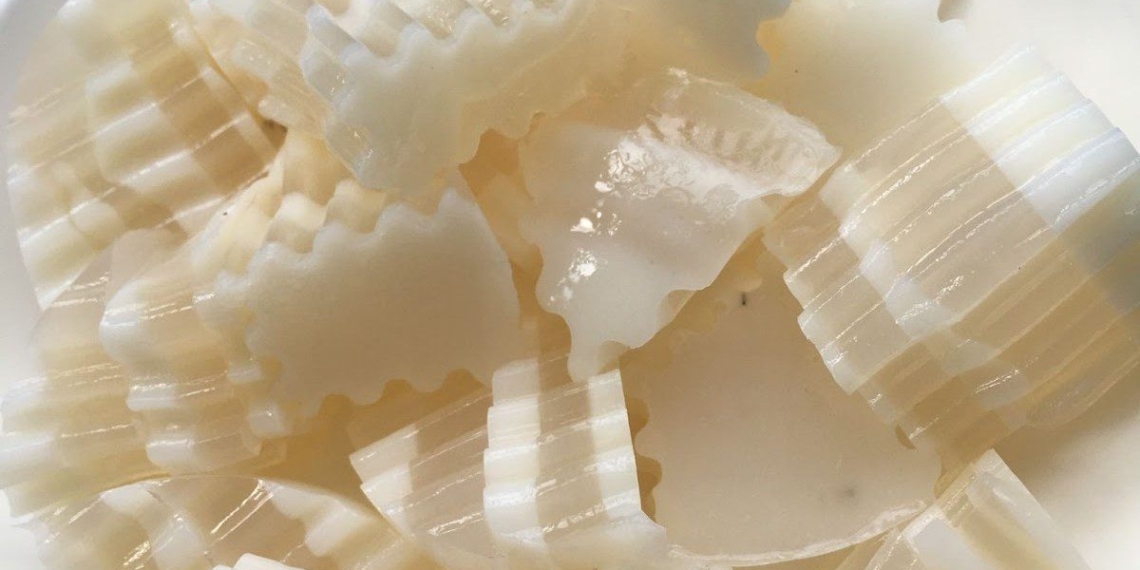
What could be better than those hot days, holding in your hands the crispy, sweet, creamy, and cool pieces of cheese jelly, right? Take this opportunity to join the kitchen section of TasteVN and show off your skills by learning 2 ways to make cheese jelly to prepare the next dessert for the whole family!
1. Cheese Jelly
-
Preparation
5 minutes
-
Cooking
10 minutes
-
Difficulty
Easy
Ingredients for Cheese Jelly For 6 people
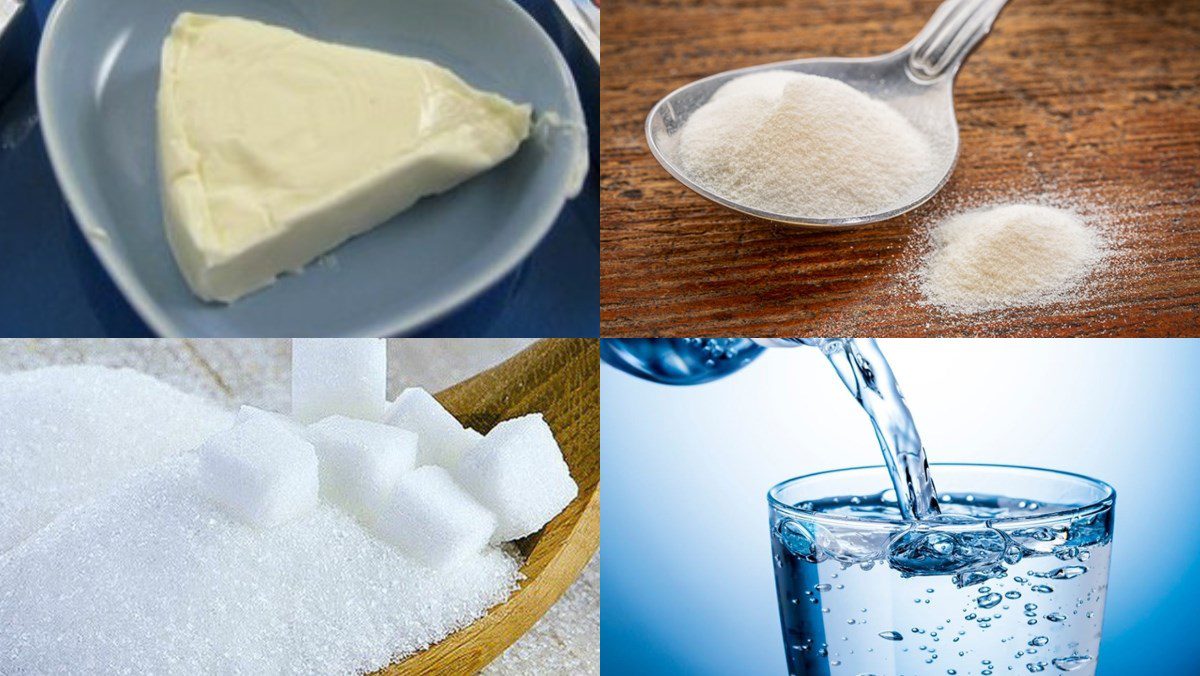
Gelatin powder 8 gr Laughing Cow cheese 2 pieces Sugar 100 gr Filtered water 800 ml
Ingredient Image
How to Make Cheese Jelly
-
Cook the white jelly
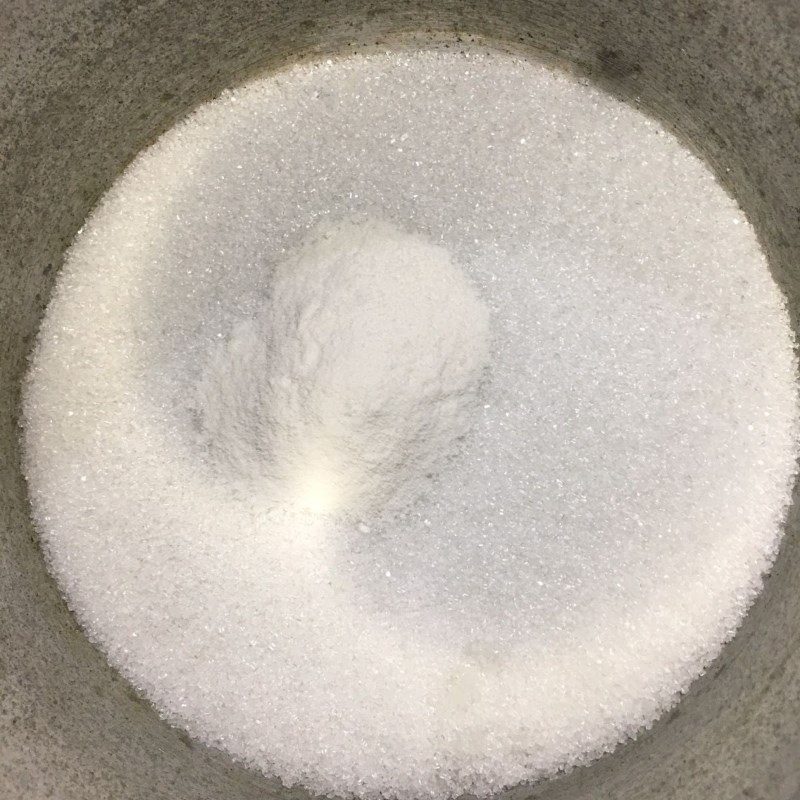
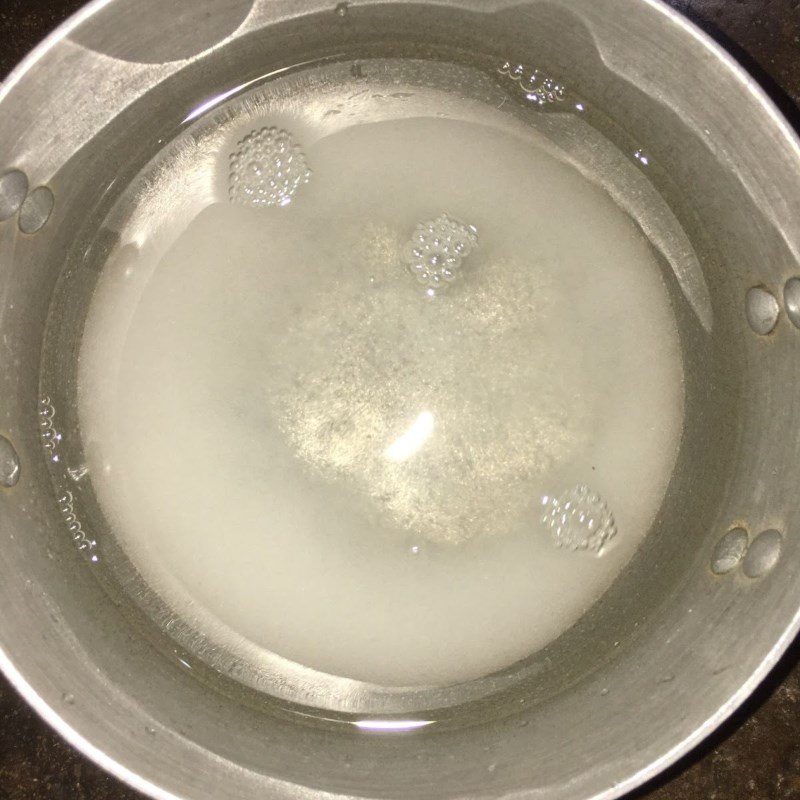
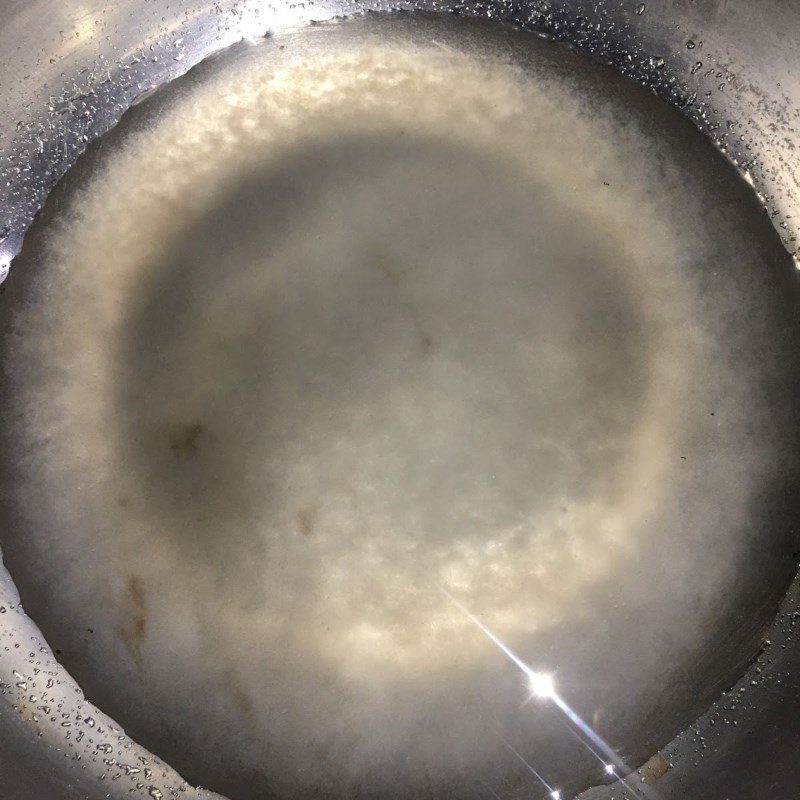
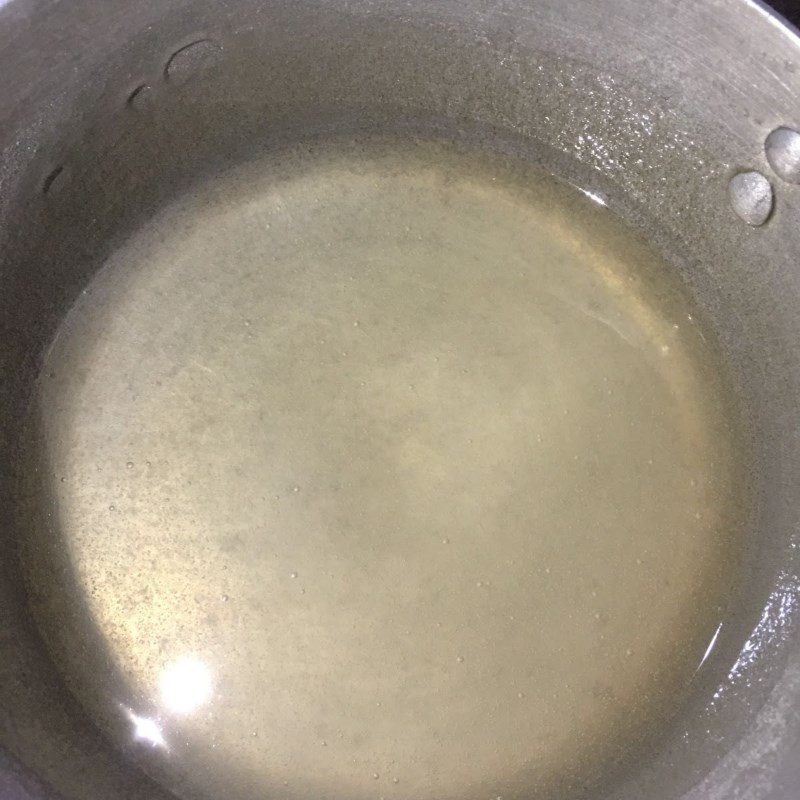
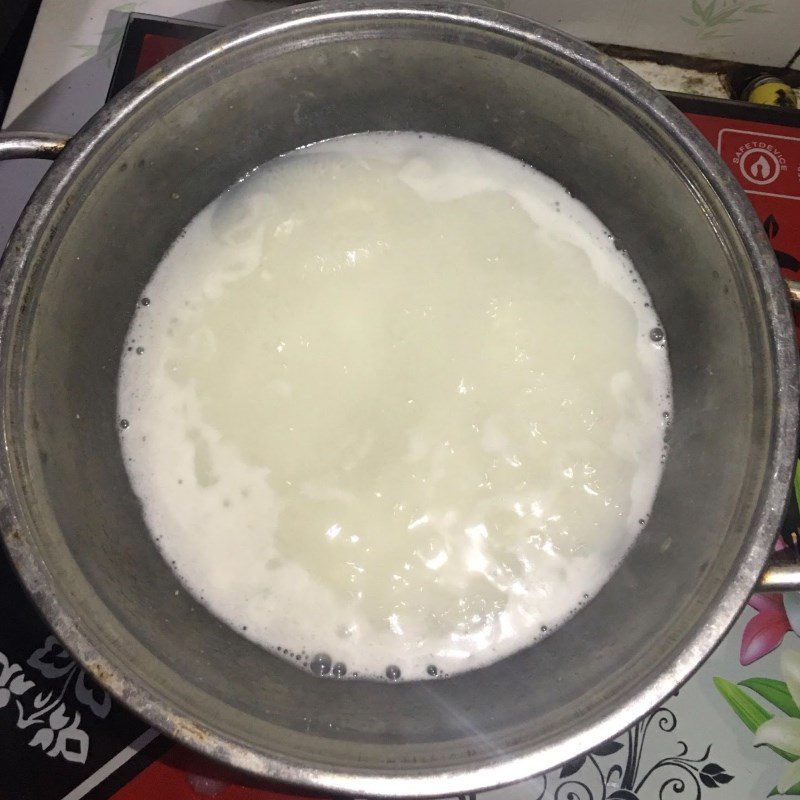
First, take a pot and add the ingredients including 5gr of gelatin powder, 50gr of sugar, and 500ml of filtered water. Stir well to dissolve the ingredients together.
-
Cook cheese jelly
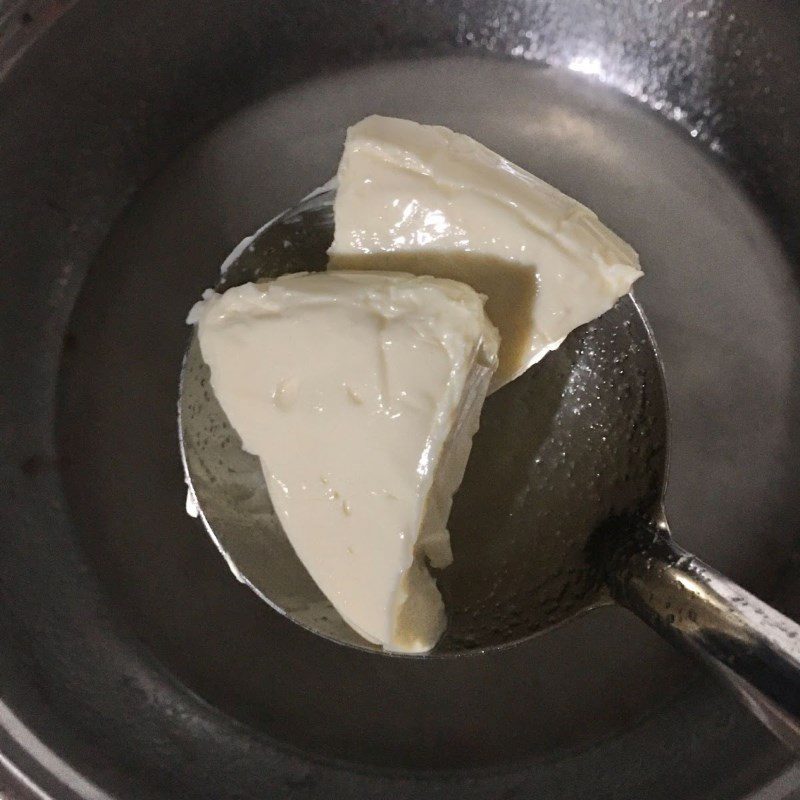
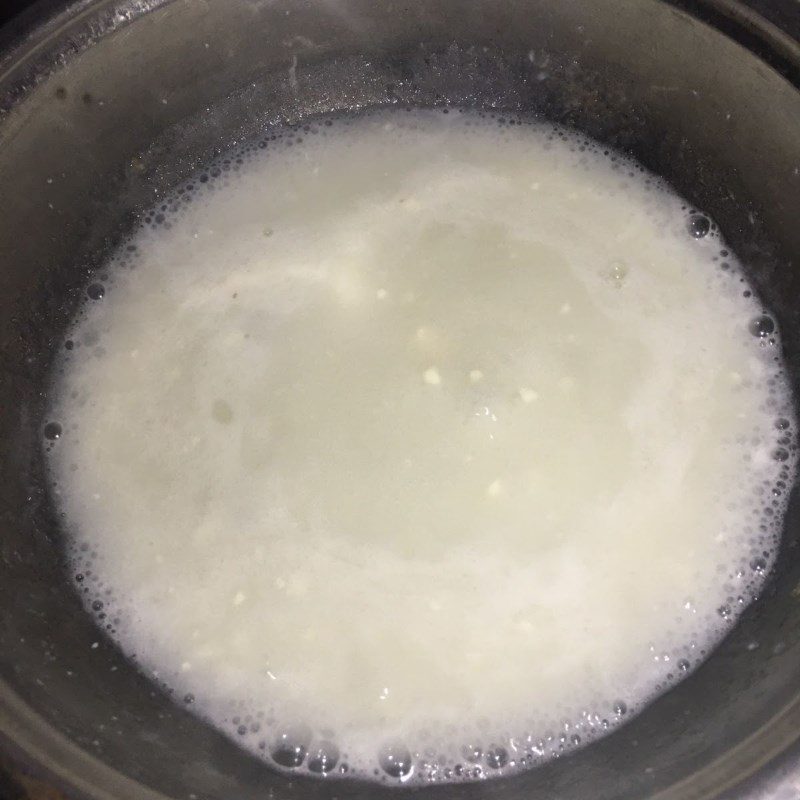
Next, take another pot and add 3g of jelly powder, 50g of sugar, 300ml of filtered water, and 2 pieces of Laughing Cow cheese.
Place the two pots, one containing the white jelly mixture and the other containing the cheese jelly mixture, on the gas stove and turn the heat to medium. Combine cooking and stirring constantly for about 10 minutes until the mixture boils and thickens slightly, then turn off the heat.
Note:- When cooking the cheese part, you should blend the cheese first, so that it melts easier and becomes smoother when cooking the jelly.
- To prevent the jelly from being uneven and looking better, you should remove the foam that rises to the top during cooking!
-
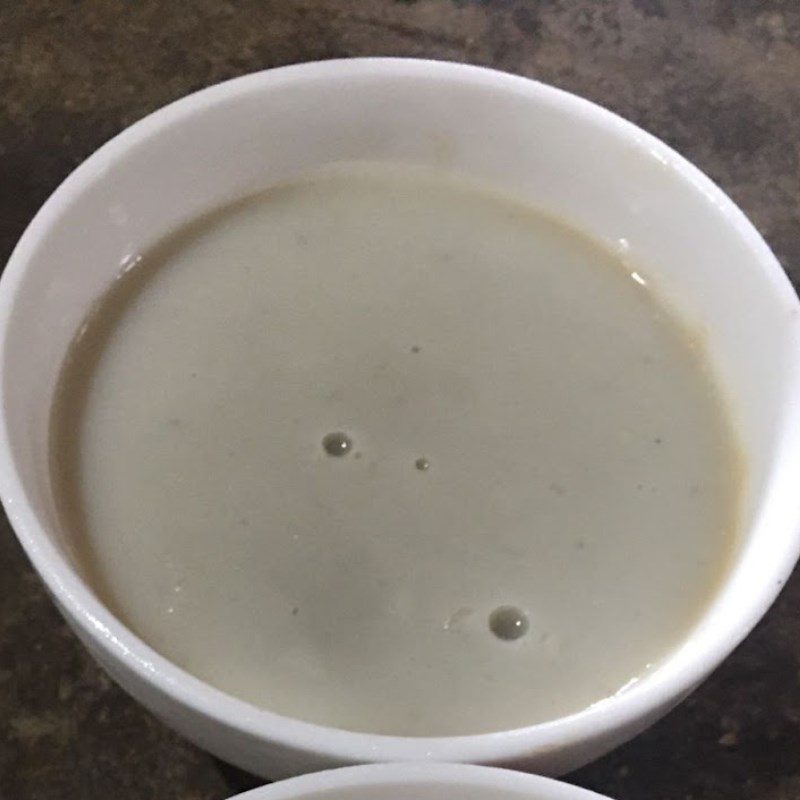
Pour the jelly into molds
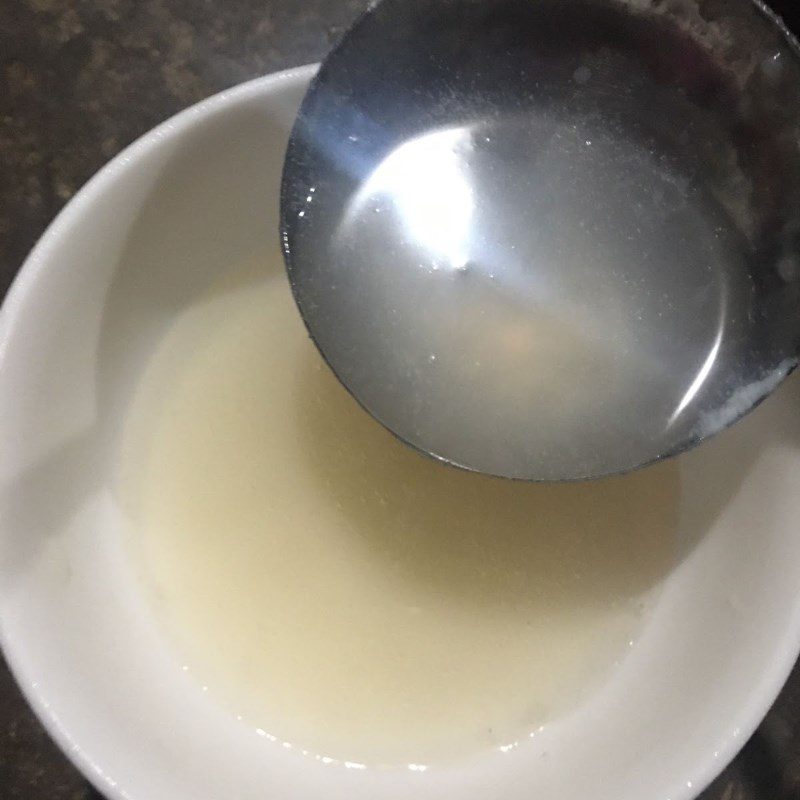
First, you need to prepare the molds in advance. After turning off the stove, use a spoon to scoop the jelly into the prepared molds. Depending on your preference, you can pour a layer of jelly at the top made of white jelly or cheese jelly.
Then wait for the first layer of jelly to set slightly, becoming firm on the surface for about 10 – 15 minutes before starting to pour the next alternating layer. Continue this process until all two mixtures of jelly are used up.
Finally, wait for the jelly to cool down and then place it in the refrigerator to store for about 1 – 2 hours before serving.
Tip: If the jelly has started to set before you could pour it into the molds, you can cook it on low heat to melt the mixture.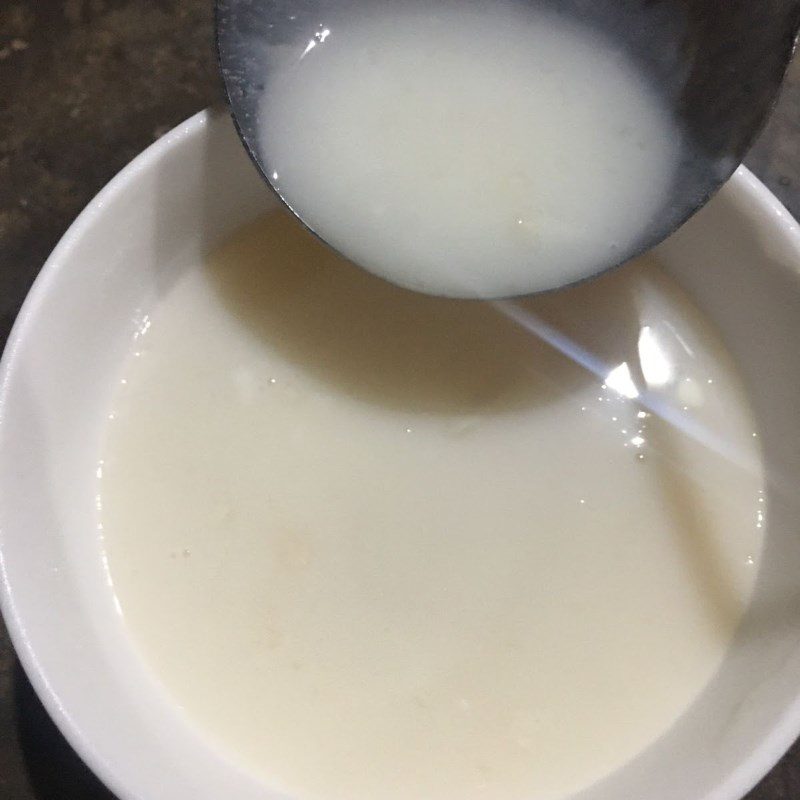

-
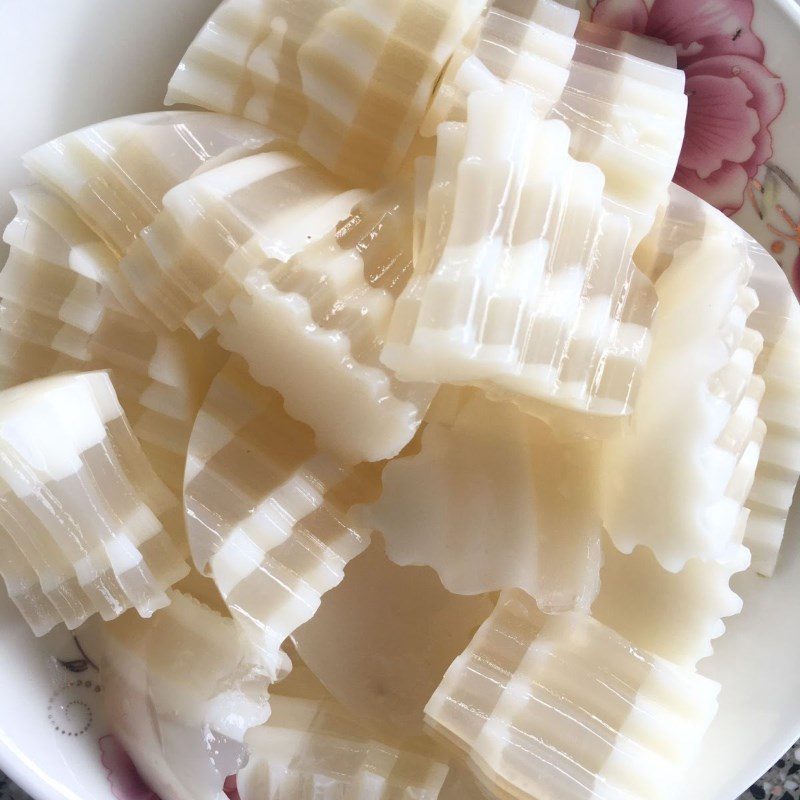
Final product
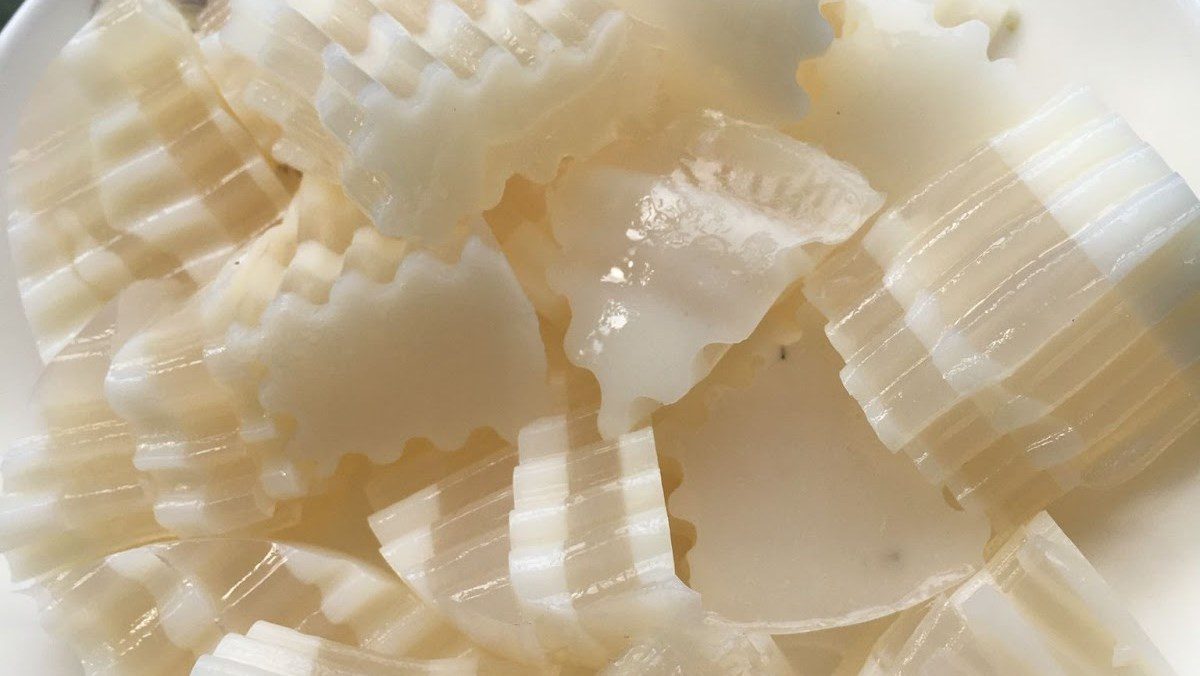
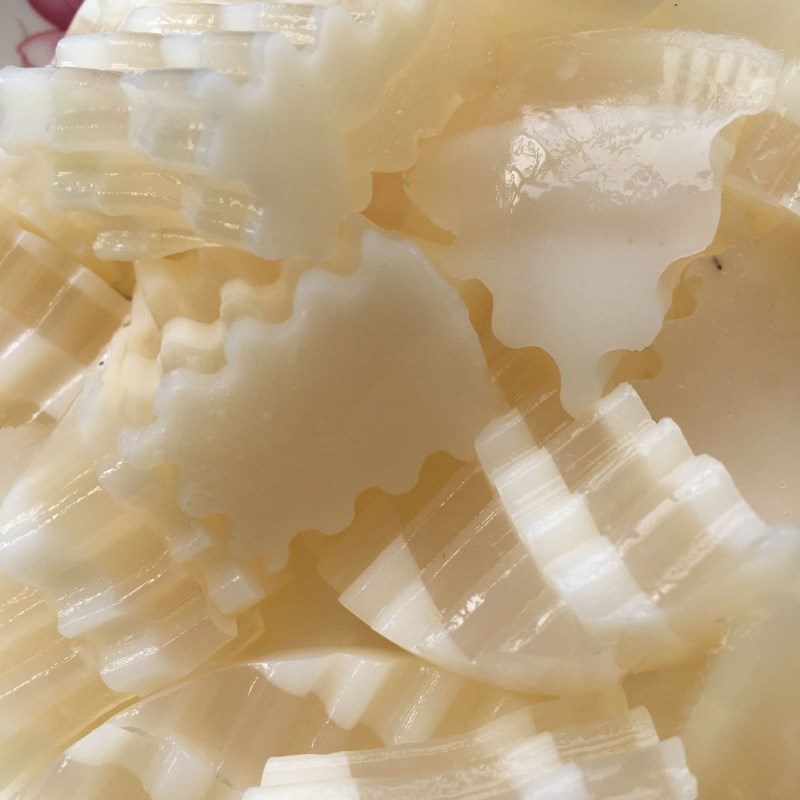
We have completed the delicious and attractive cheese jelly dish. This jelly has two alternating colors that are very eye-catching, and when eaten, you can feel the sweet and creamy taste of cheese and sugar that’s very enjoyable.
It makes anyone who tries it addicted from the very first bites. Get into the kitchen and make it right away!
2. Butterfly Pea Cheese Jelly
-
Preparation
15 minutes
-
Cooking
50 minutes
-
Difficulty
Easy
Ingredients for Butterfly Pea Cheese Jelly For 4 people
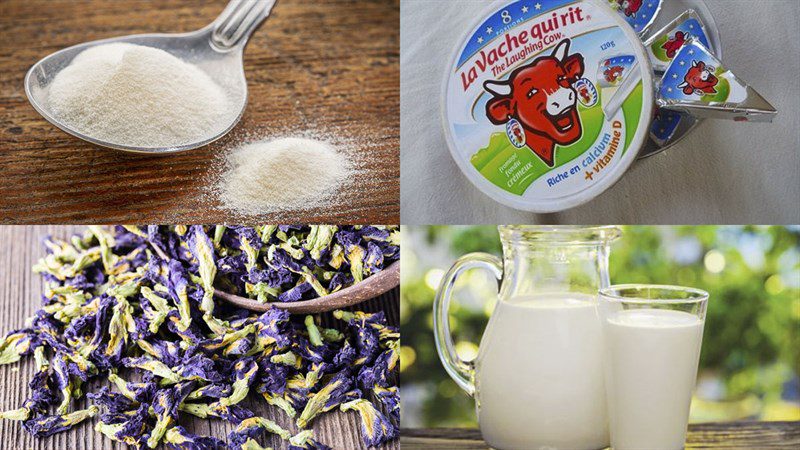
Agar powder 3 teaspoons Egg yolks 3 pieces Unsweetened fresh milk 200 ml Laughing Cow cheese 4 pieces Sweetened condensed milk 4 tablespoons Butterfly pea tea 900 ml Sugar 150 gr
How to choose quality butterfly pea flowers
- When buying butterfly pea flowers, you should choose those with clear origins, sold in supermarkets, ingredient stores, or on reputable e-commerce sites.
- Additionally, when purchasing, you should select products that are well-packaged and have all the basic information printed, such as: production date, expiration date, ingredient list, manufacturer name and address,…
- Avoid buying butterfly pea flower bags that have a foul smell or are damp inside. Because those products will not be safe and tasty when used.
- Currently, the price of 500g of dried butterfly pea flowers is 350,000 – 450,000 VND/bag (price updated in December 2021).
How to make butterfly pea cheese jelly
-
Mix the cheese filling
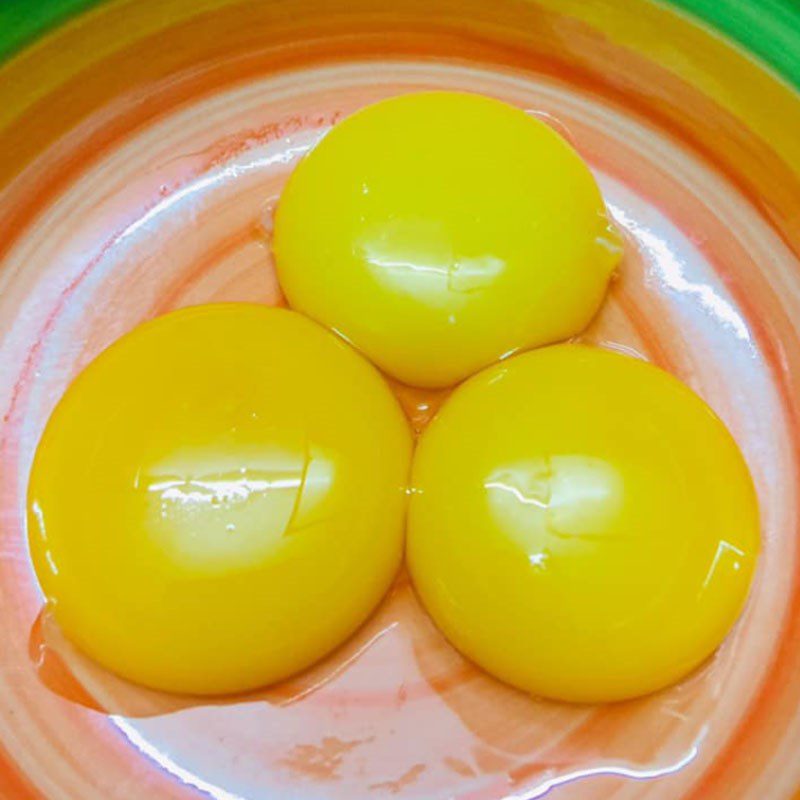
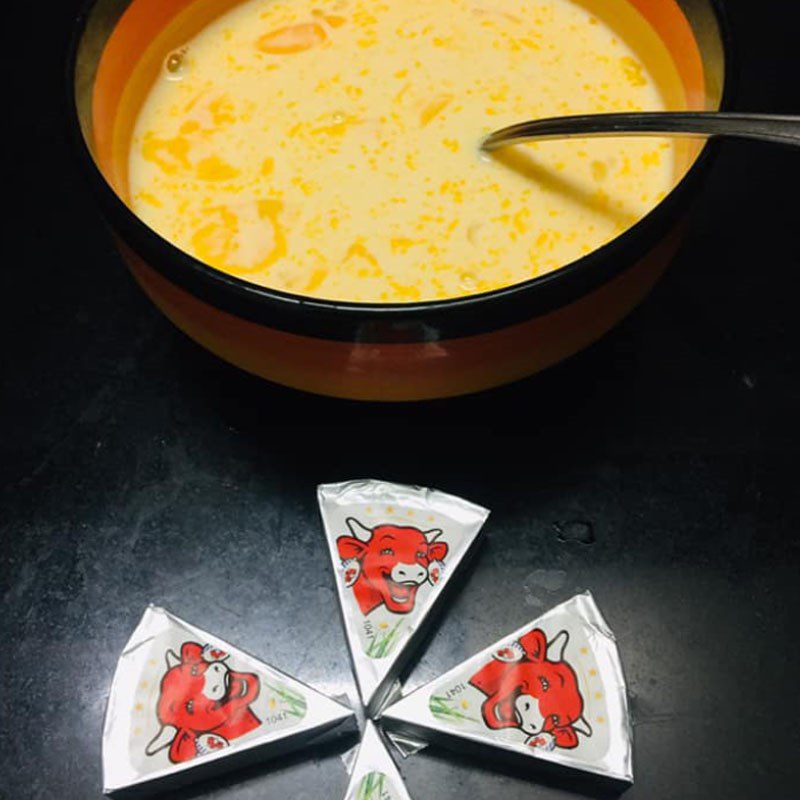
Put 3 egg yolks into a bowl, then gradually add 4 tablespoons of condensed milk, 200ml of unsweetened fresh milk, and 4 pieces of Laughing Cow cheese, then use a spoon or a whisk to mash and stir well until the mixture is completely dissolved.
Prepare another bowl, add 1 teaspoon of jelly powder, 50ml of filtered water, and 50gr of sugar, then stir well until the sugar and jelly powder are fully dissolved.
Tip: You should mix the jelly with sugar before adding it to the egg and milk mixture to prevent the powder from clumping.To make the mixture smoother, after pouring the jelly and sugar mixture into the bowl of milk, eggs, and cheese, you should filter the mixture through a sieve.

-
Cooking and pouring the cheese mold
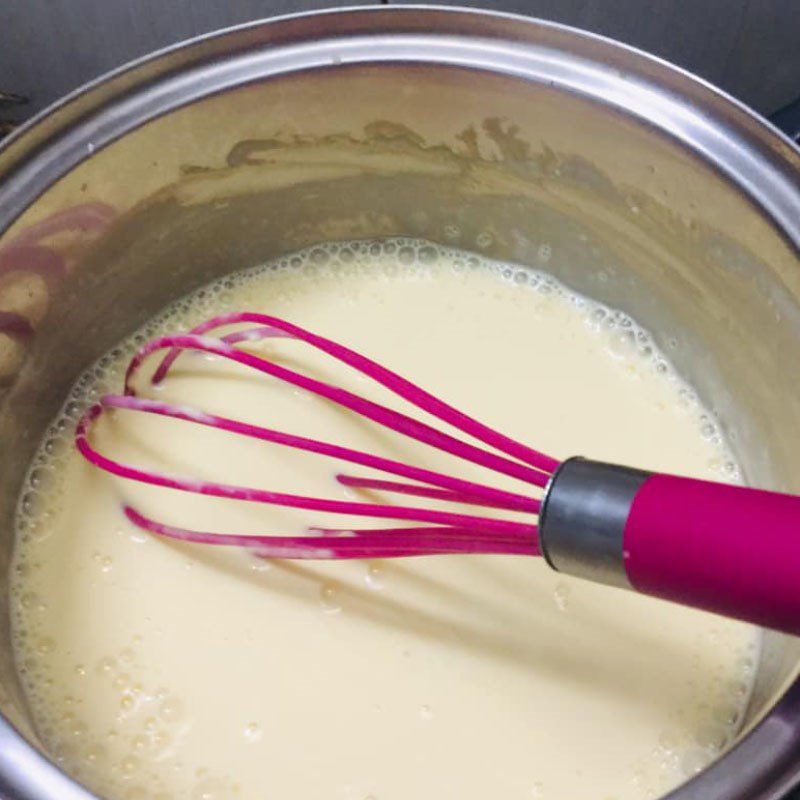
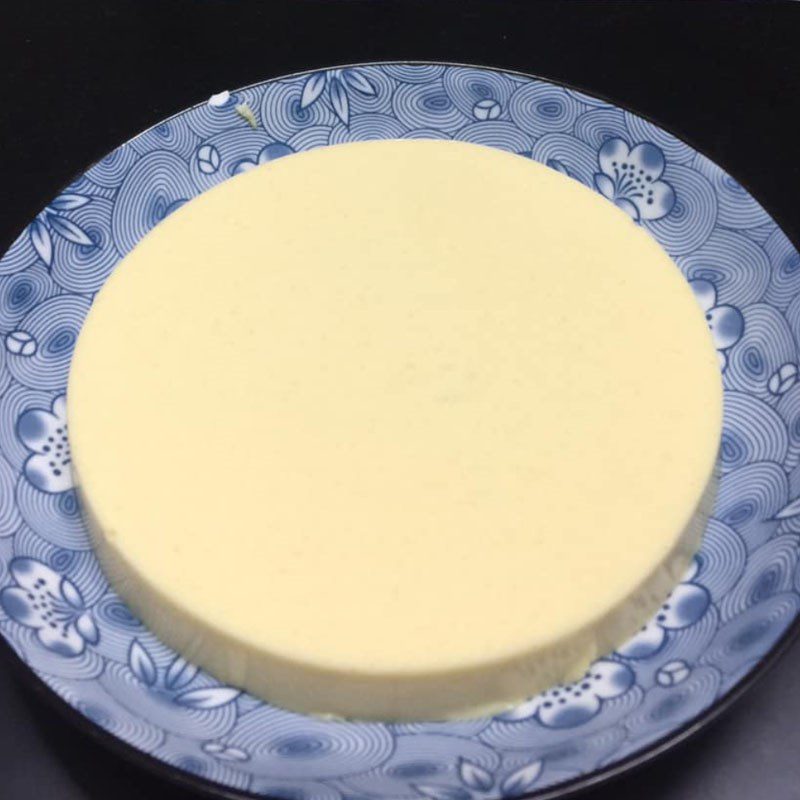
Place a pot on the gas stove, then add the cheese jelly mixture, gently stir evenly over low heat until the mixture starts to boil, then turn off the heat and pour the mixture into a round mold and let it cool for the jelly to set completely.
Tip
- Since the jelly boils very quickly, you should cook the mixture over medium to low heat.
- During cooking, you should stir continuously to prevent the mixture from burning at the bottom of the pot.
- You should pour the cooked cheese jelly mixture into the mold immediately, avoid letting the jelly cool before pouring as it will cause the jelly to set and be difficult to shape.
-
Making the butterfly pea jelly
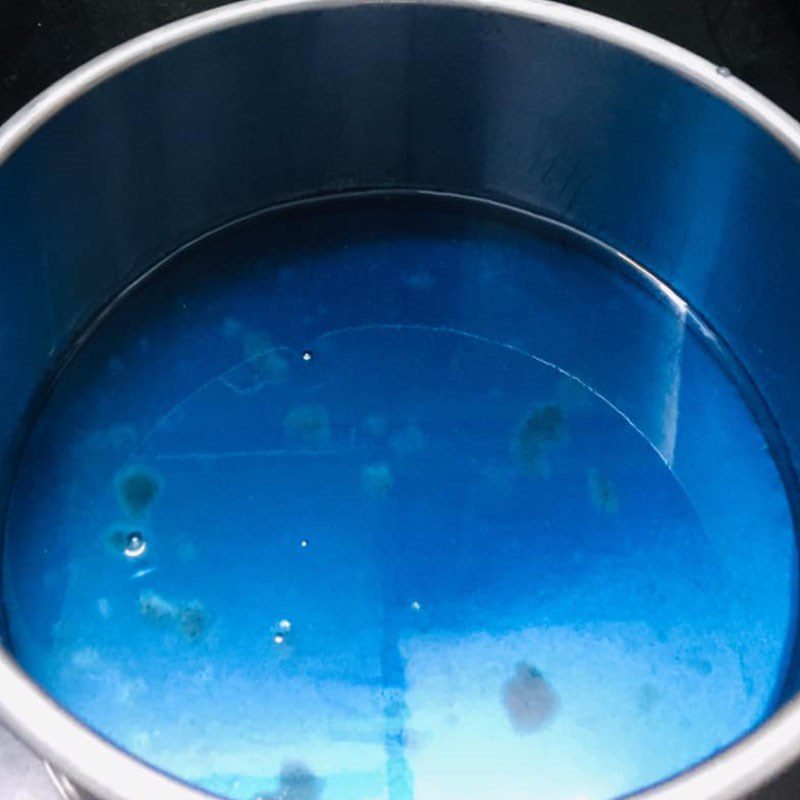
Add 900ml butterfly pea tea, 100gr sugar, 2 teaspoons of jelly powder into the pot, then stir well to dissolve the powder completely, avoiding lumps.
Place it on the stove and cook over medium to low heat until the mixture starts to boil, then turn off the heat.
Tip: If you do not have time to pour the butterfly pea jelly immediately, you should keep the jelly mixture warm on the stove at the lowest heat to prevent it from cooling and setting, which will make it very difficult to shape in the next steps.
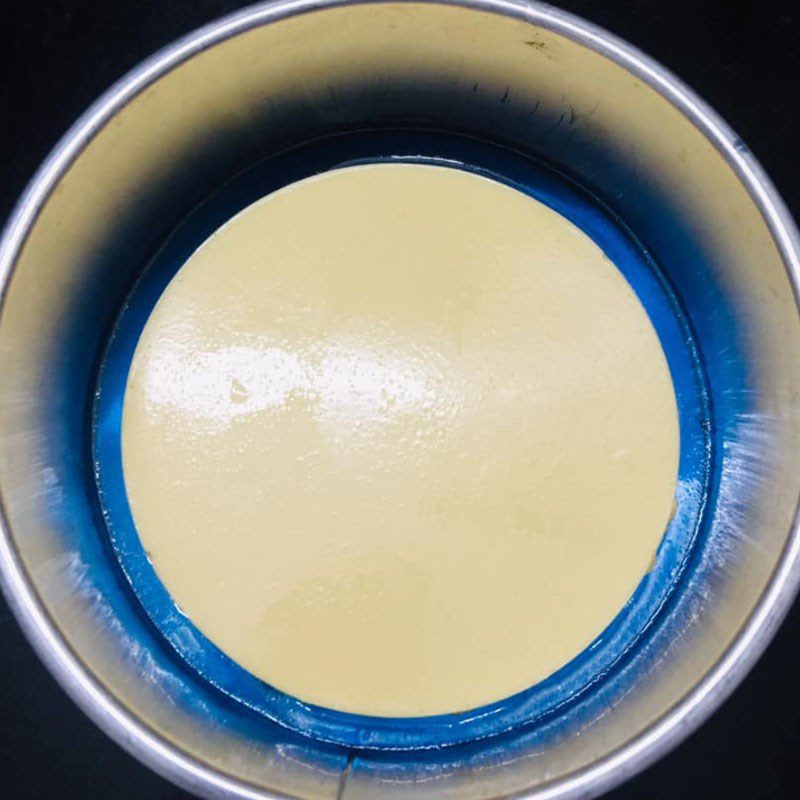
The butterfly pea jelly part, once cooked, take about 1/2 of the mixture and pour it into the mold, wait for the jelly to set for about 2 minutes.
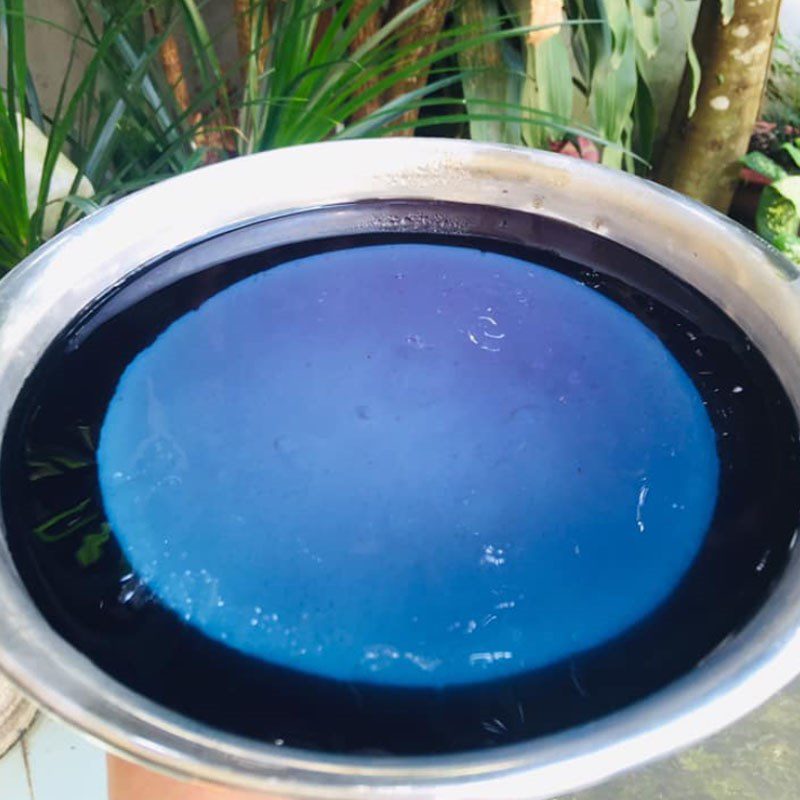
Continue to add the cheese jelly part in the middle and then pour the remaining butterfly pea jelly mixture on top.
-
Completion
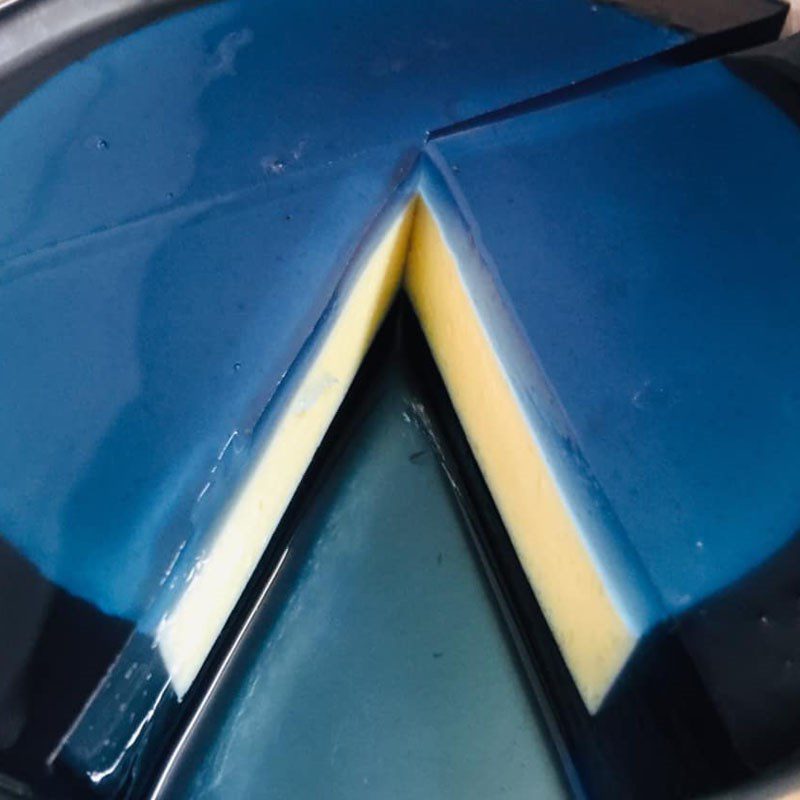
Place the jelly in the refrigerator for at least 2 hours, when using, take it out, use a knife to cut it into bite-sized pieces and arrange them on a plate.
-
Final Product
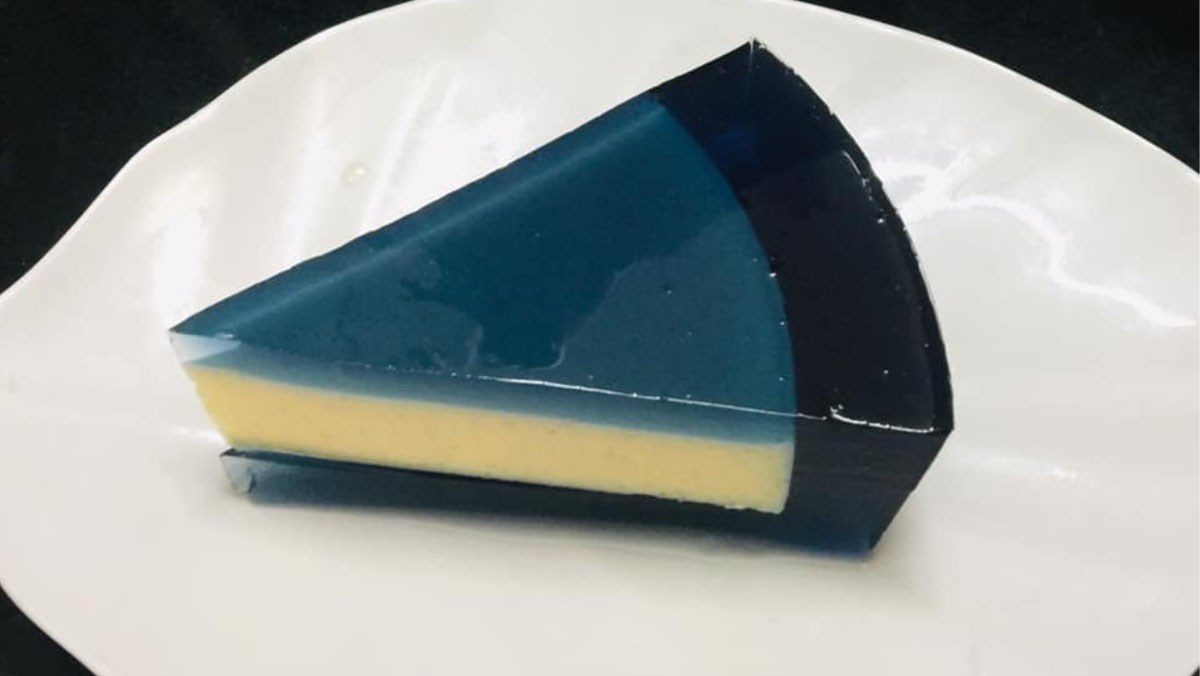
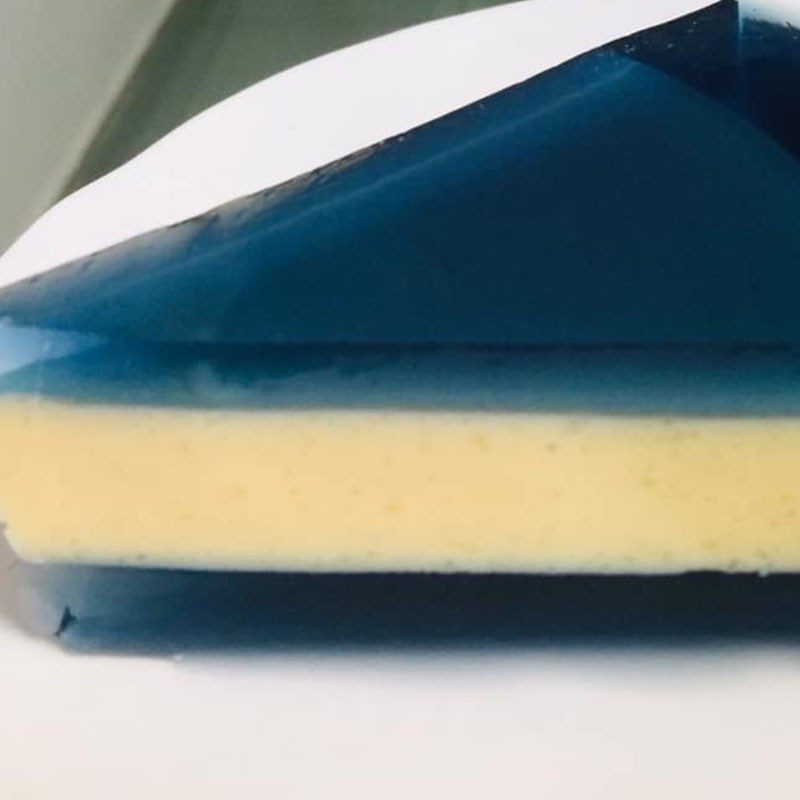
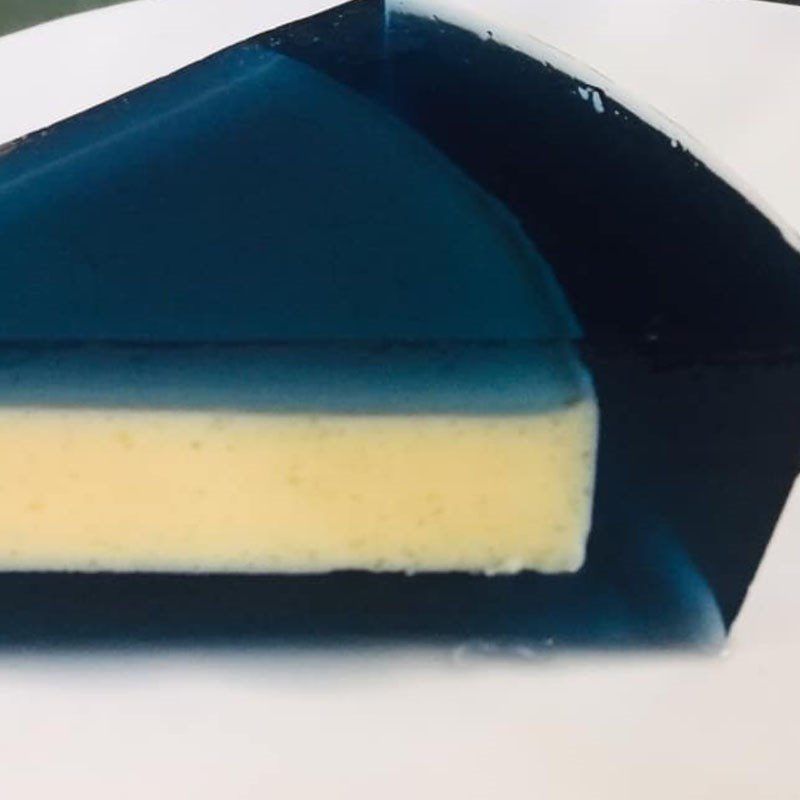
The cheese jelly butterfly pea after completion has a beautiful green color. When eaten, the jelly will provide a refreshing taste, the creamy richness of cheese, and the fragrant smell of milk, with a moderate sweetness that is not overwhelming. This is truly a wonderful dessert that you should try to make to treat your family.
Where to buy the ingredients?
- Currently, you can buy cheese and jelly at supermarkets, grocery stores, or on reputable e-commerce sites such as: bachhoaxanh.com.
- The price for a box of cheese (Laughing Cow or Vinamilk) ranges from: 28,000 – 31,500 VND.
- Jelly powder is priced around 9,000 VND for a 10g package.
Tips for making delicious jelly that doesn’t separate
- One small tip to help the jelly turn out crispier and tastier is to mix the jelly powder with sugar first, then cook this mixture with water, which helps prevent the powder from clumping.
- When adding the powder mixture to the pot, it’s best to stir continuously to help the powder dissolve quickly and evenly.
- When pouring into molds, do so gently to avoid creating bubbles on the surface; you can use a spoon to remove them, ensuring the jelly doesn’t become pitted.
- For multi-layered jelly, you should wait for the first layer to form a skin and become slightly firm on the surface before adding the second layer. Avoid adding the second layer while the first is still liquid, as they will quickly mix together.
- Especially, if you haven’t prepared the mold and the jelly mixture has already set, you can place it back on the stove to reheat; the mixture will melt back down.
Tips for storing jelly
- Jelly made with butterfly pea flower cheese can be used for 7 – 10 days if stored properly.
- Avoid placing it near raw foods that have a strong odor like fish or meat, as the jelly can easily absorb these smells and spoil quickly.
- It’s best to store the jelly in a covered container and keep it in the refrigerator. Avoid very low temperatures, which can cause the jelly to dry out and harden.
- Do not store the jelly at room temperature, as it is very prone to spoilage.
See more:
Above is a detailed article guiding you on how to make cheesy jelly that is rich, sweet, and refreshing, without separating layers, for you to refer to and make for your family to enjoy. Hopefully, with the steps outlined above, you can successfully make it. Good luck!
