-
Preparation
20 minutes
-
Cooking
40 minutes
-
Difficulty
Easy
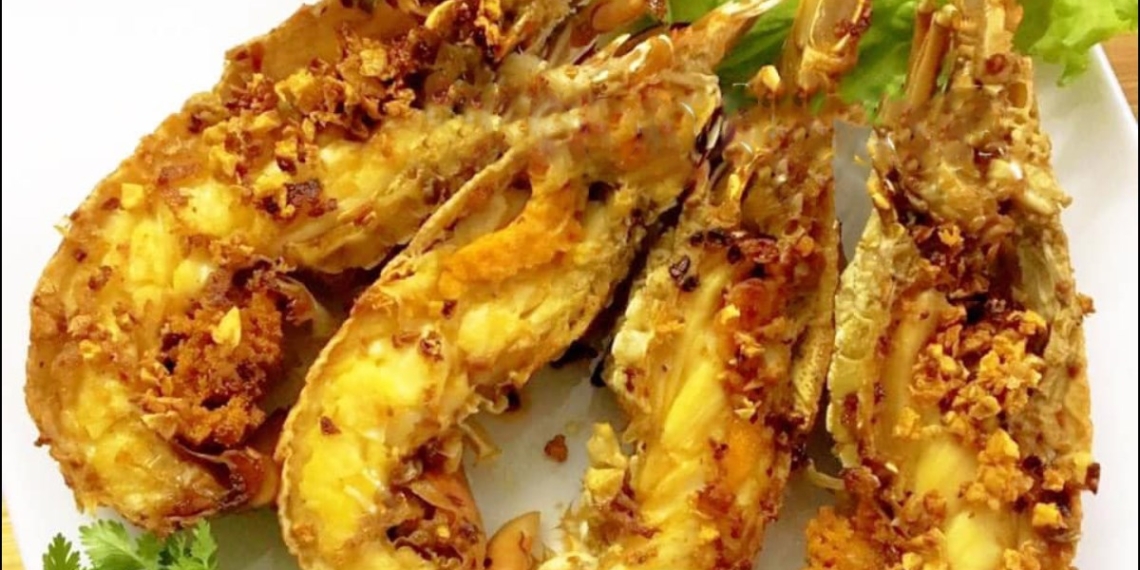
For seafood lovers, the garlic fried mantis shrimp is definitely a familiar dish. Today, TasteVN will guide you to make this fried dish in an extremely simple and quick way. Let’s get cooking right away!
Ingredients for Garlic Fried Mantis Shrimp For 2 people
Mantis shrimp 1 kg Minced garlic 2 tablespoons Chilli salt 1 tablespoon Unsalted butter 1 tablespoon Lemon juice 1 tablespoon Pepper 1 teaspoon
How to choose fresh mantis shrimp
- You should choose live shrimp to ensure freshness when cooking.
- The shrimp head should be firm, the abdominal membrane tight, pinkish white, and when pressed with your hand, it feels solid and not easy to tear.
- Choose large ones that feel heavy and firm in hand.
- If buying frozen shrimp, you should carefully check the light-colored abdomen; if there is no foul smell, the shrimp is still fresh.
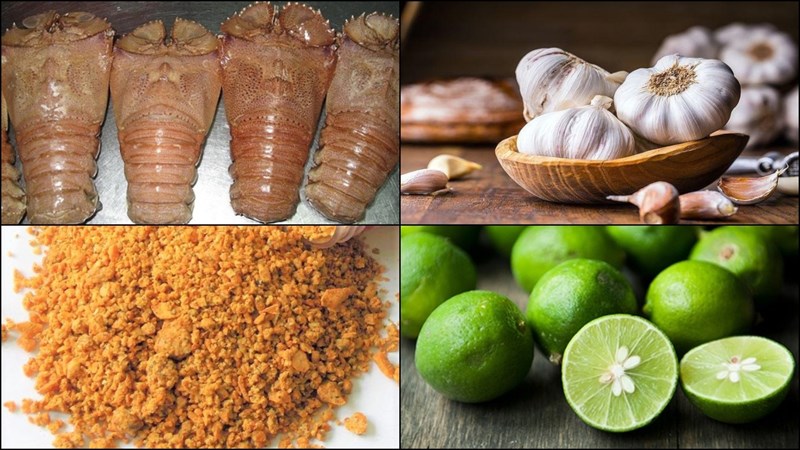
Required tools
How to make Garlic Fried Pencil Shrimp
-
Prepare and steam the shrimp
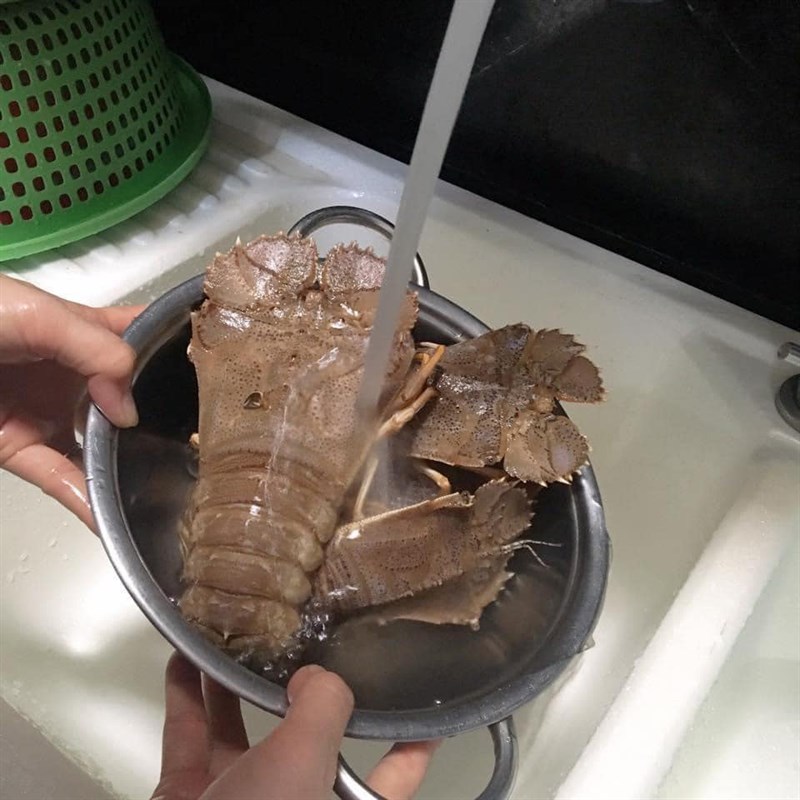
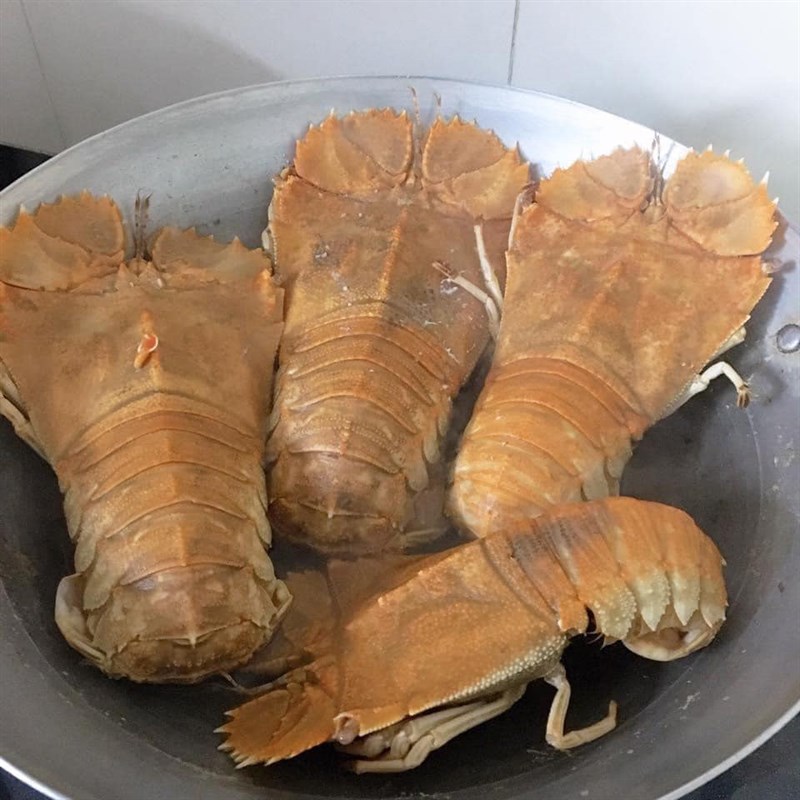
Wash the pencil shrimp thoroughly with water, then place them in a steamer with a little water for 30 minutes.
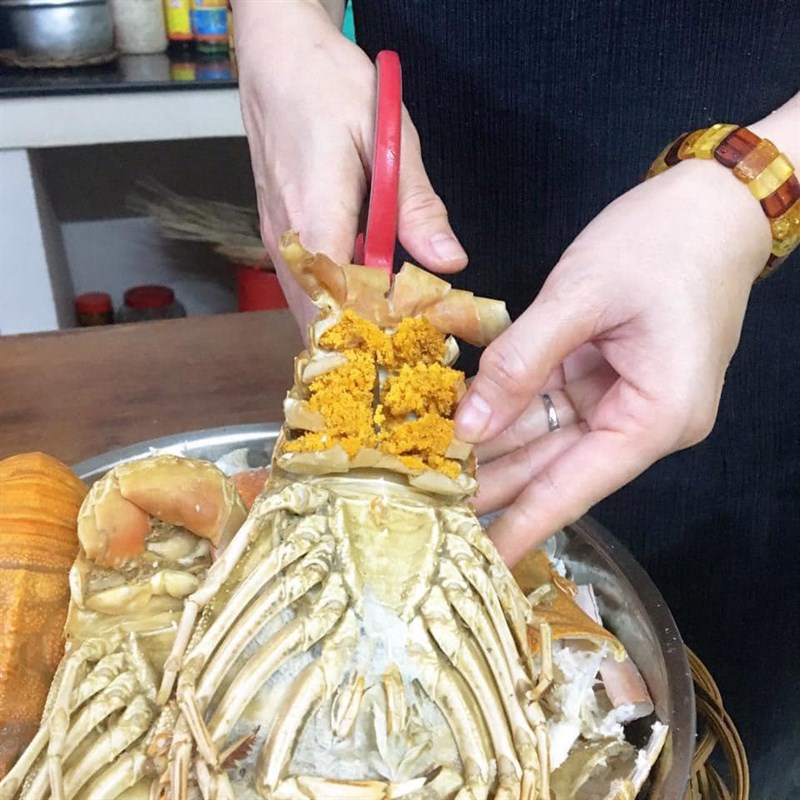
When the shrimp are cooked, remove them and let them cool slightly, then use scissors to cut the shrimp in half lengthwise.
-
Sauté the spices
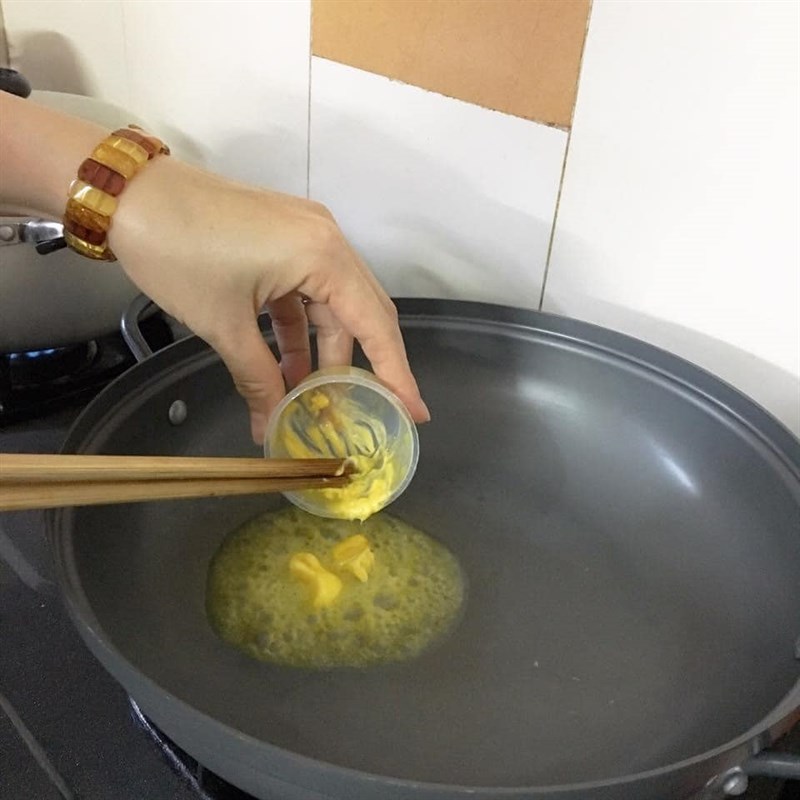
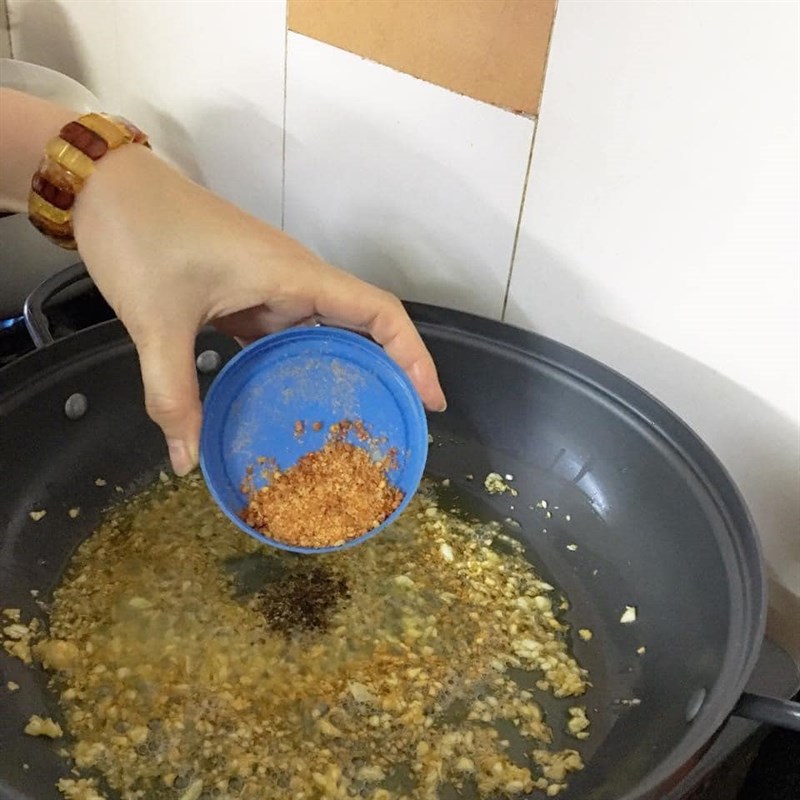
Heat a pan with 1 tablespoon of unsalted butter.
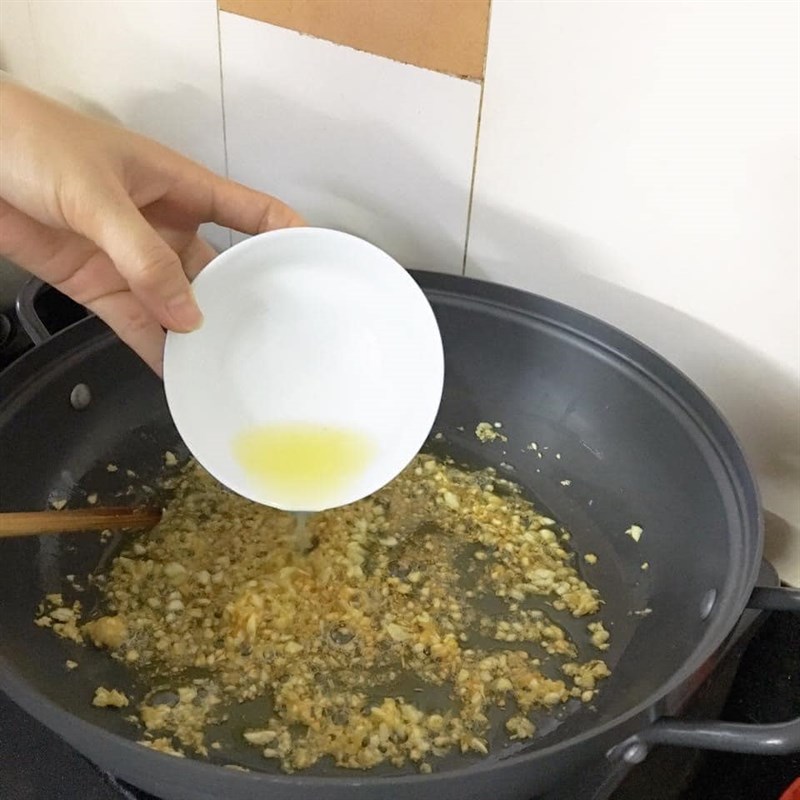
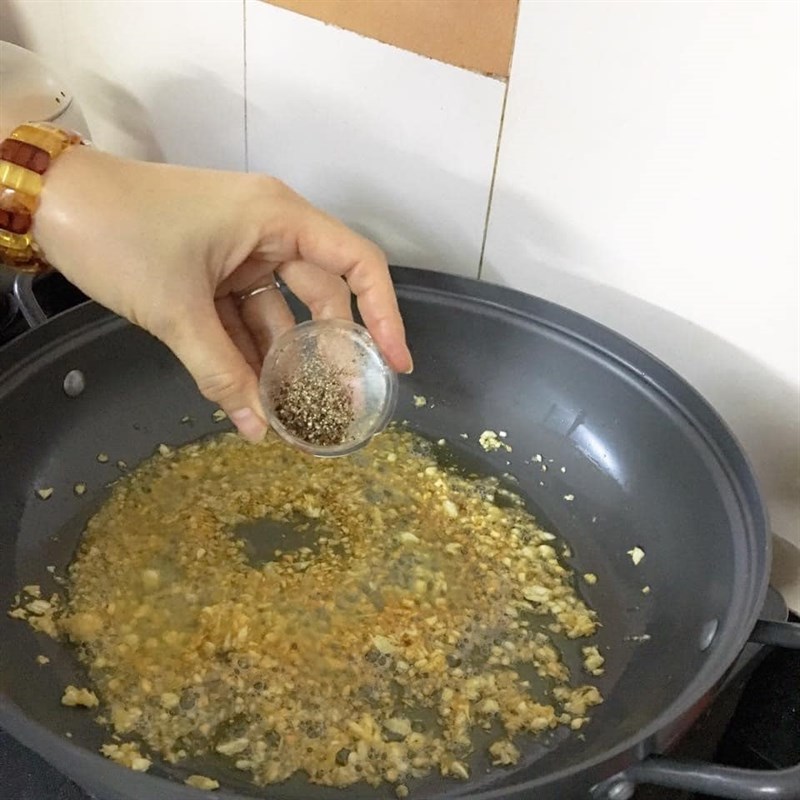
When the butter has melted completely, add 2 tablespoons of minced garlic, 1 tablespoon of lemon juice, 1 teaspoon of pepper, and 1 tablespoon of chili salt, and stir well.
-
Garlic Fried Cockle Shrimp
Then add the shrimp and stir-fry over medium heat until the shrimp are evenly coated with the seasoning.
Tip: You can adjust the amount of seasoning to suit your family’s taste!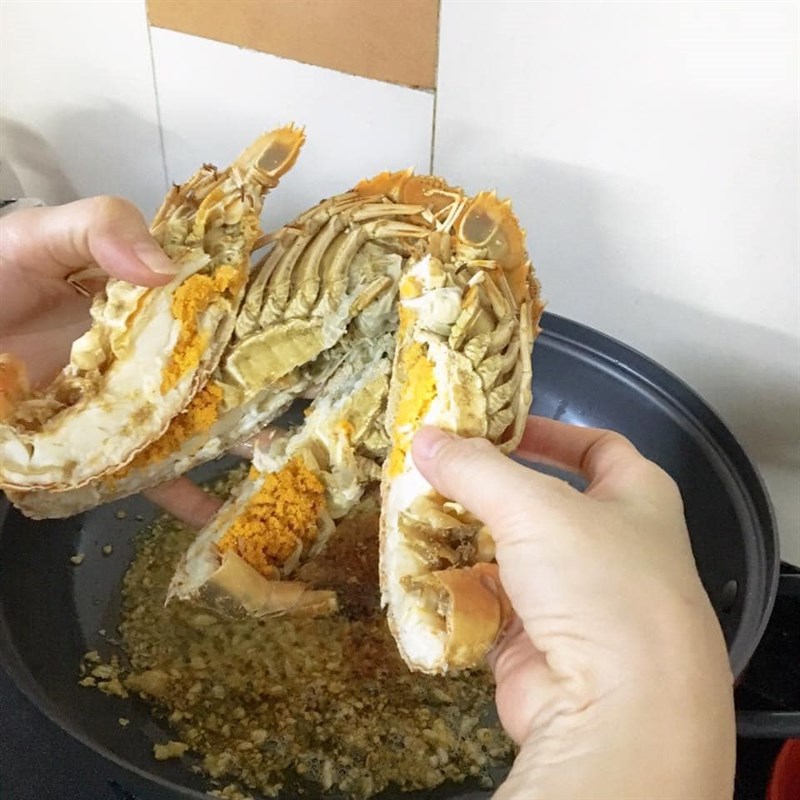
-
Finished Product
The garlic fried cockle shrimp has a distinctive aromatic smell. The natural sweetness of the shrimp meat blends perfectly with the spicy and sour sauce, making it incredibly appealing.
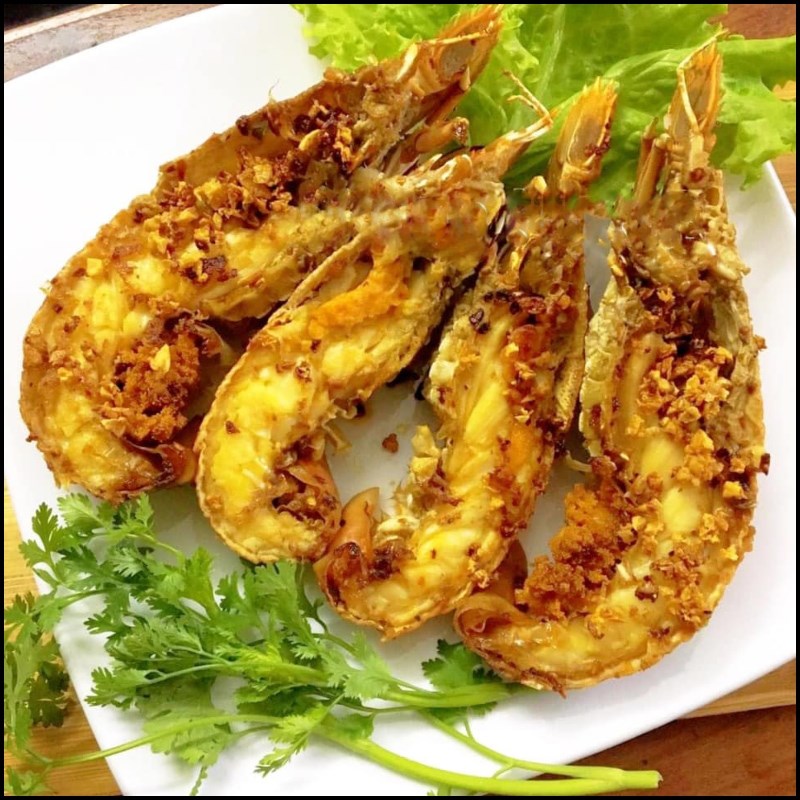
The garlic fried cockle shrimp is delicious and flavorful with a super quick and simple recipe. So what are you waiting for? Let’s get into the kitchen and make it right away!
*Image and recipe source shared from Facebook: Thien Nhien.
