-
Preparation
3 hours
-
Processing
1 hour
-
Difficulty
Easy
Ingredients for Sticky Rice Cake with Mung Bean Filling For 10 people
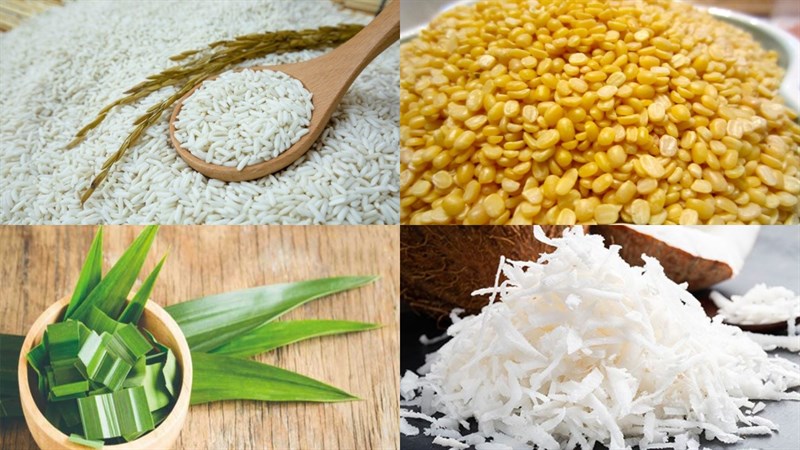
Glutinous rice 1 kg Mung beans, peeled 300 gr Coconut milk 400 ml Chopped onion 1 bulb Shredded coconut 200 gr Pandan leaves 13 leaves Vanilla sugar 1 packet Vegetarian seasoning 1.5 teaspoons Sugar 30 gr Cooking oil 2 tablespoons Banana leaves A little (used to wrap the cake) Common spices A little (sugar/ salt/ pepper)
Ingredient Image
How to Make Sticky Rice Cake with Mung Bean Filling
-
Blend Pandan Leaves
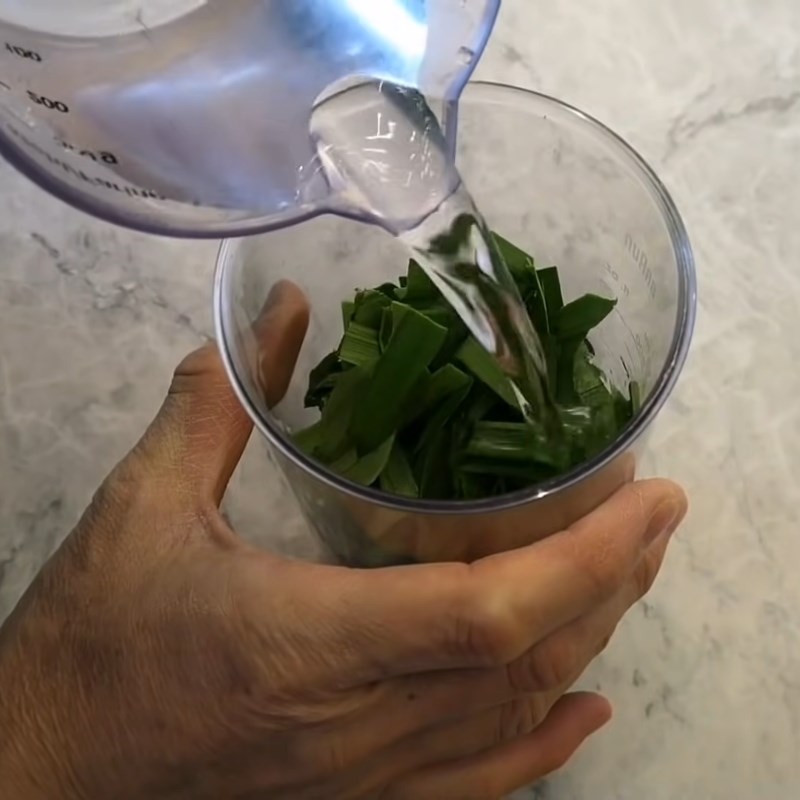
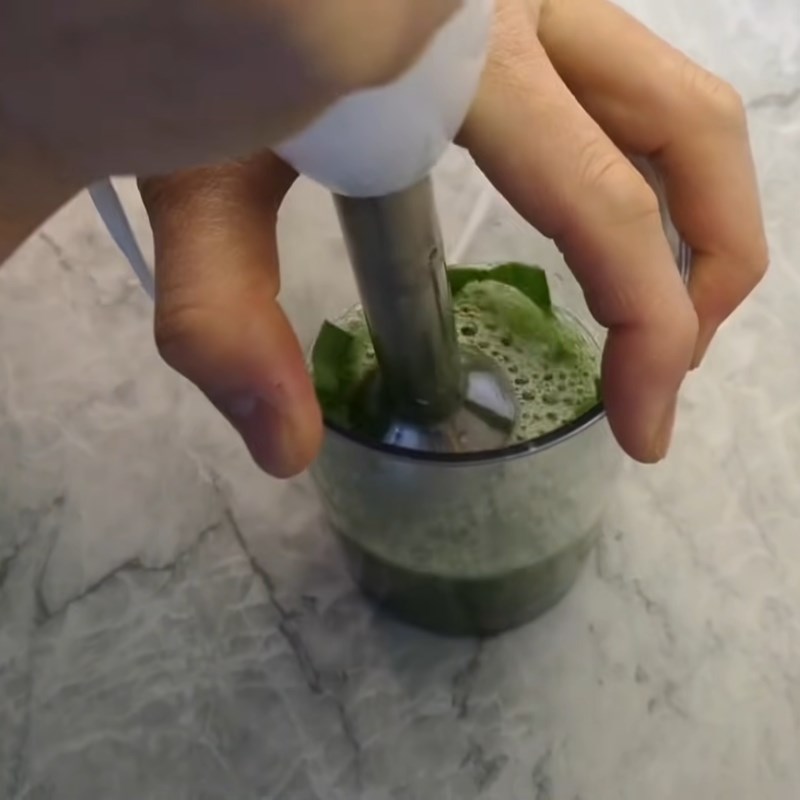
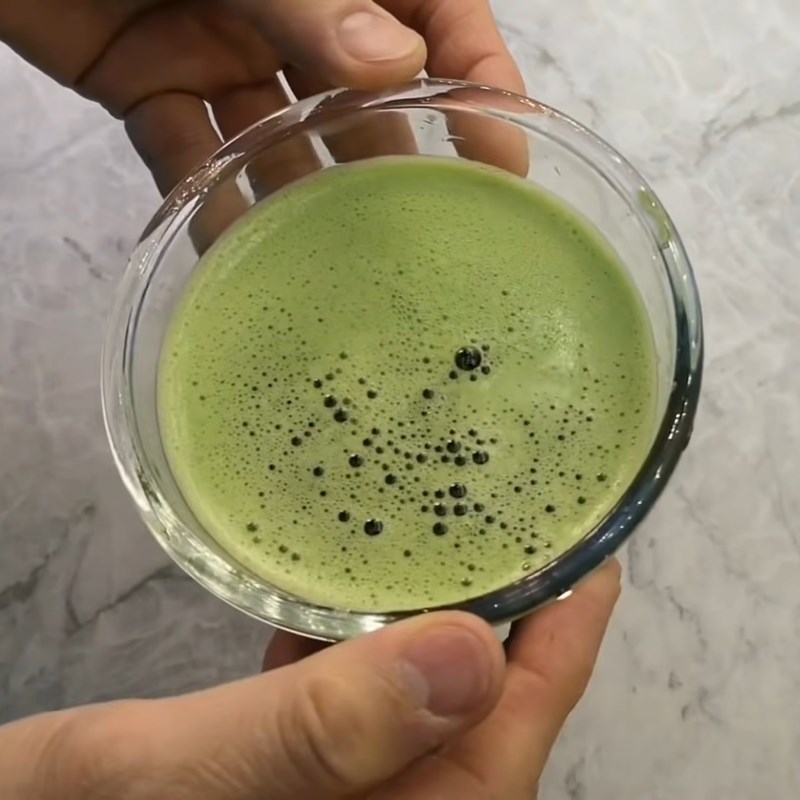
Wash 13 pandan leaves, chop them, and put them in a mortar with 200ml of filtered water.
Strain the mixture through a sieve, collect the pandan leaf juice, and discard the residue.
-
Cook the mung beans
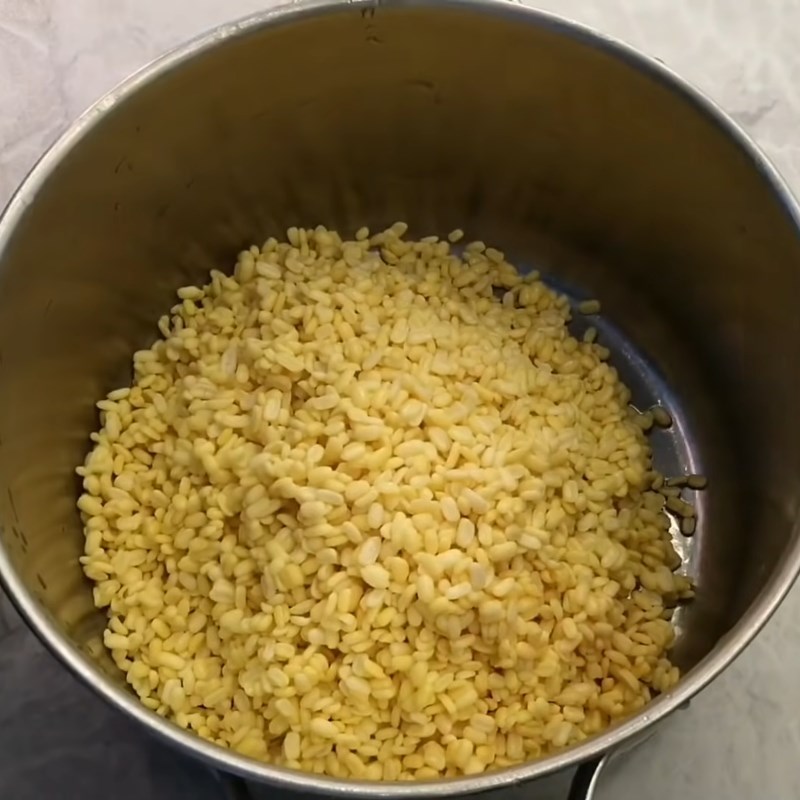
Rinse the glutinous rice and mung beans thoroughly with water and soak the glutinous rice for at least 2 hours, while the mung beans only need to soak for 1 hour.
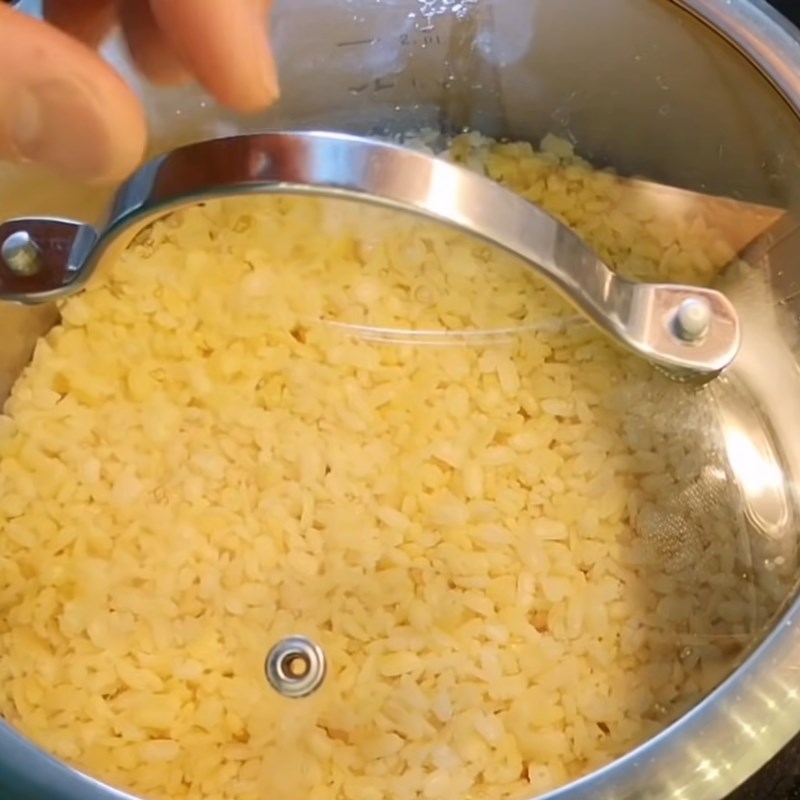
Add the soaked mung beans to a pot with 600ml of filtered water, ensuring the water level is about half a fingertip above the beans, and add 1.5 teaspoons of salt to the pot.
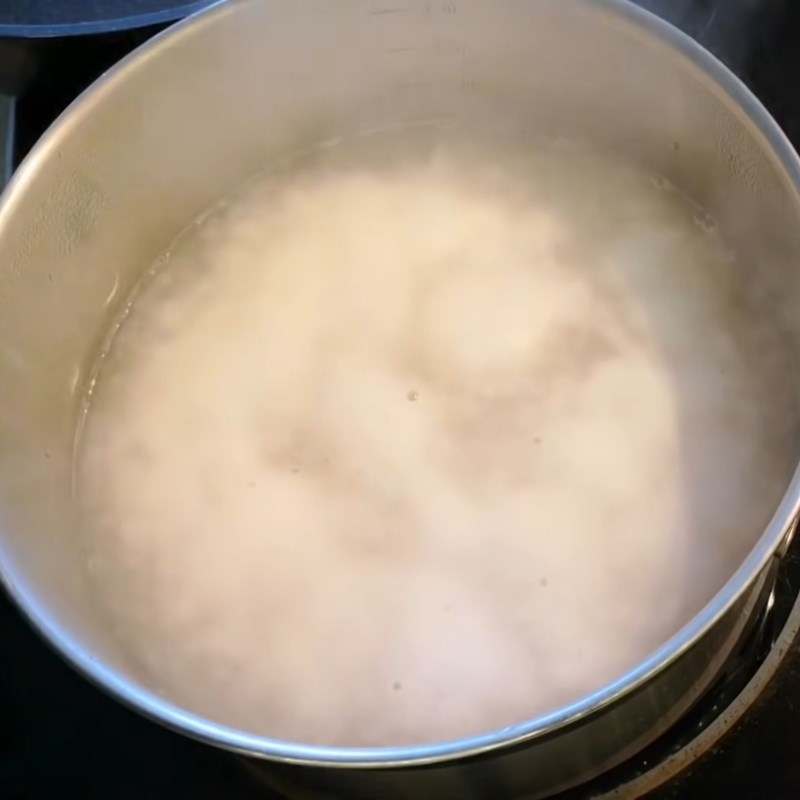
Stir well to dissolve the salt, then place the pot on the stove, cover it, and cook over medium heat until the water boils and white foam appears. At that point, drain off the foamy water and add fresh water to cover the beans.
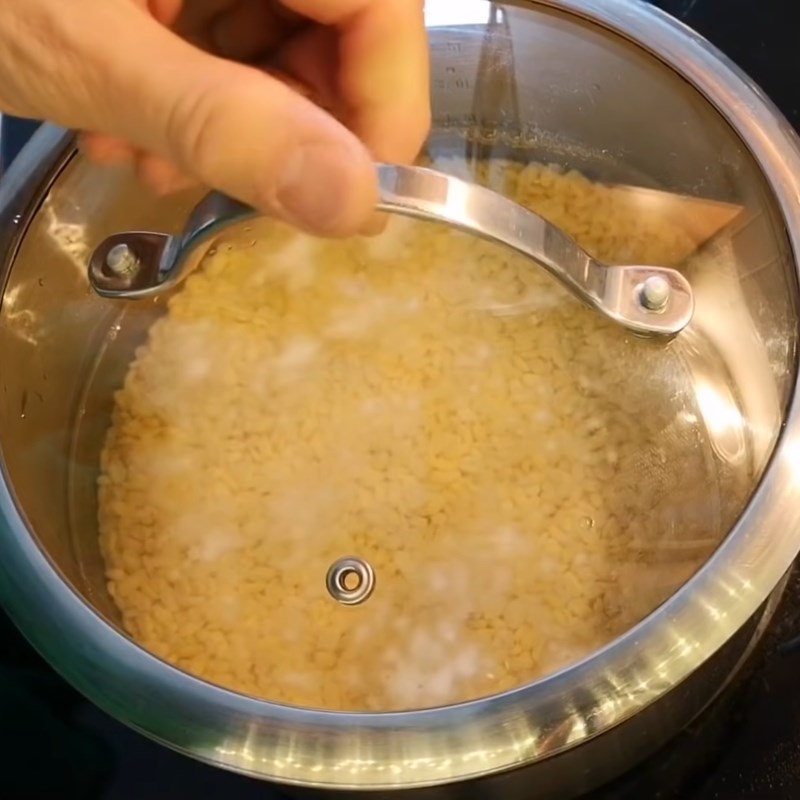
Cover the pot and continue to cook until the beans boil vigorously, then reduce the heat and cook the beans for 15 minutes. After cooking, the beans should be soft; use chopsticks to fluff them up, and you will notice they are soft, sticky, and fragrant. Divide the beans into 3 portions.
-
Stir-frying filling and shaping balls
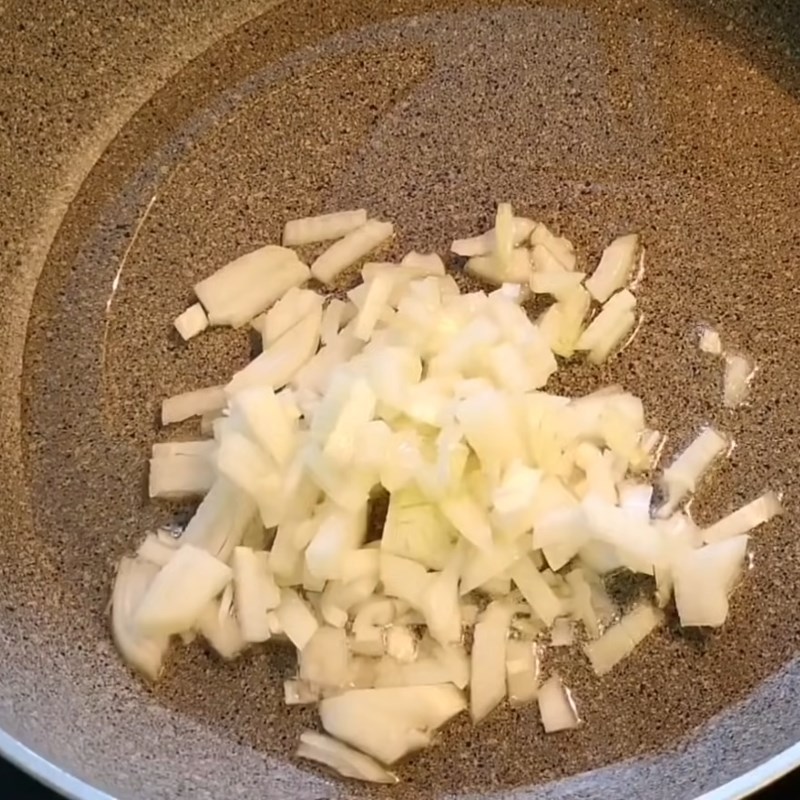
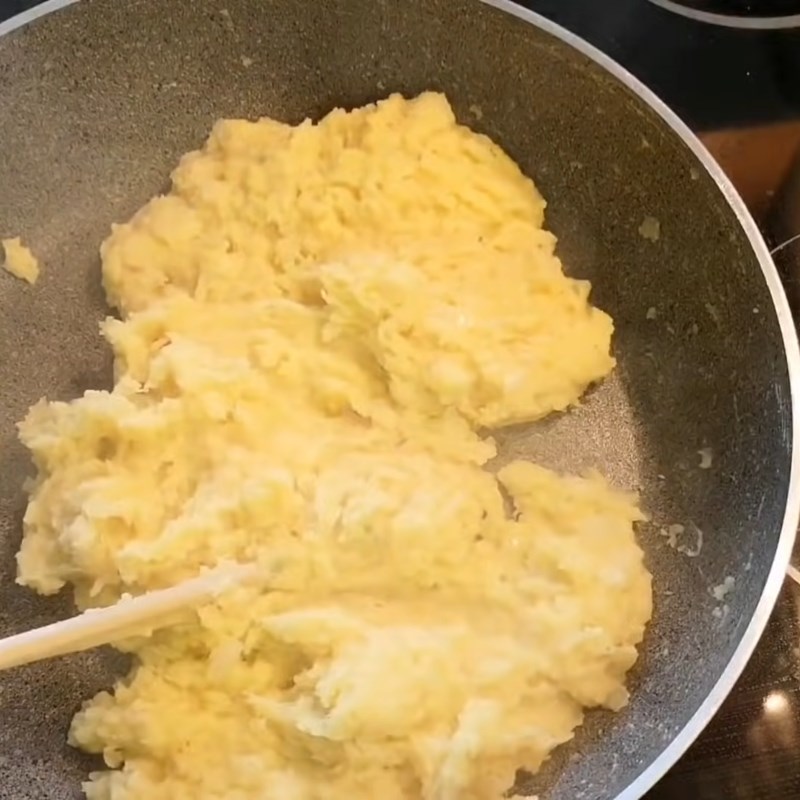
To make the savory filling, heat a pan on the stove with 2 tablespoons of cooking oil; when the oil is hot, add the chopped onion and stir-fry. When the onion becomes fragrant, add 2/3 of the cooked mung beans along with 1.5 teaspoons of vegetarian seasoning and 1.5 teaspoons of sugar, and stir well.
Mix well to ensure the mung beans absorb the seasoning, and it should be slightly moist and smooth. Adjust seasoning to taste, then turn off the heat. Transfer the mung beans to a bowl and mix well with 1/2 tablespoon of ground pepper.
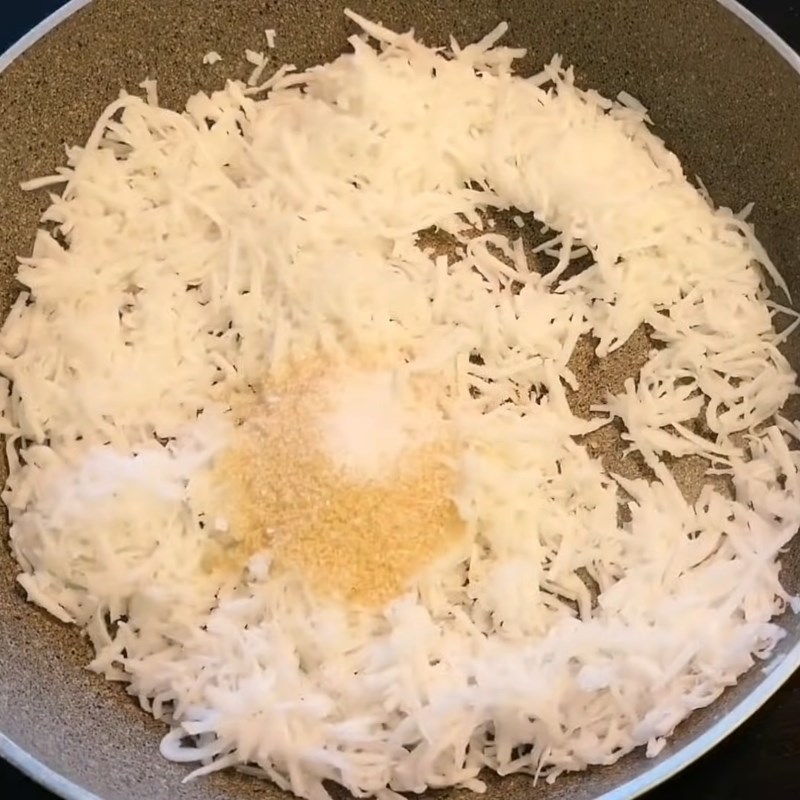
For the sweet filling, continue by heating a pan and roasting 200g of shredded coconut with 10 teaspoons of sugar and 1/2 teaspoon of salt, stirring until the sugar dissolves completely. Taste to check if the sweet and salty balance is right; when the coconut is palatable and slightly translucent, add 1/3 of the remaining mung beans along with a packet of vanilla sugar and mix well.
When the mung beans and coconut are well combined and fragrant, turn off the heat and transfer the filling to a bowl.
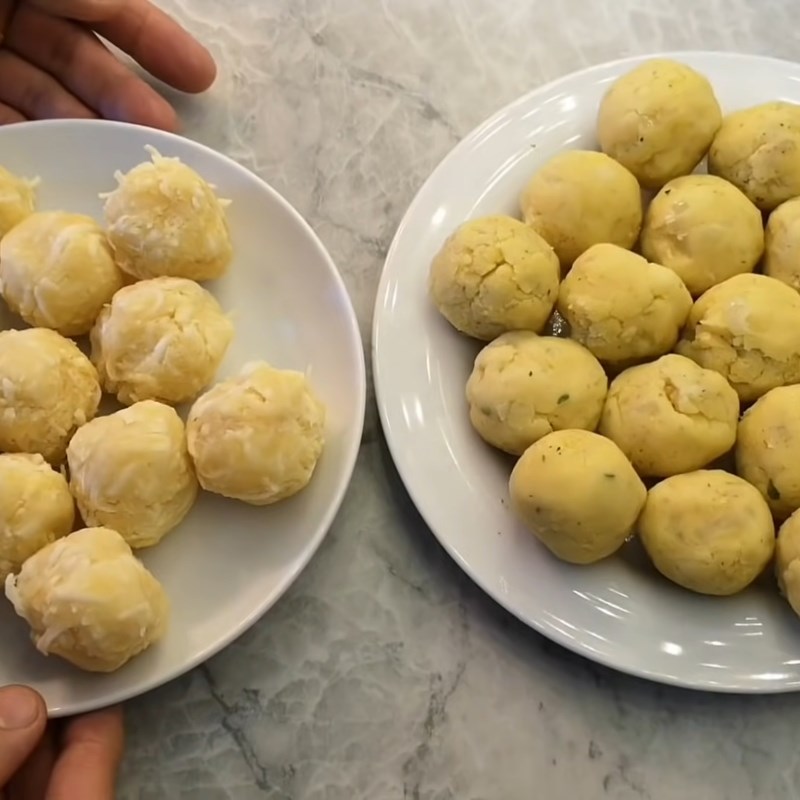
Divide the savory and sweet fillings and shape them into round balls weighing about 30 grams each.
-
Mixing sticky rice
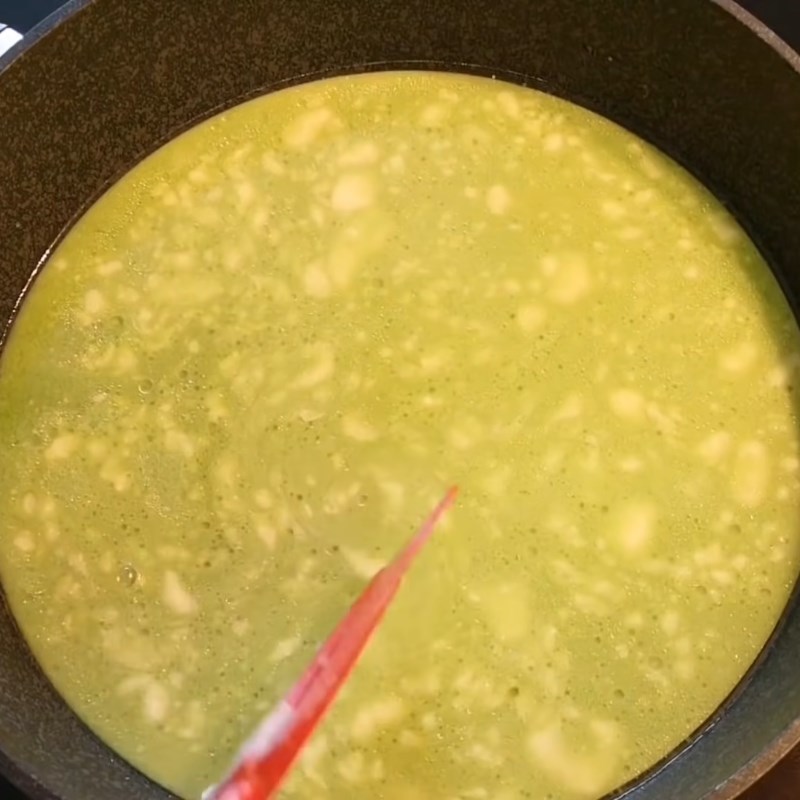
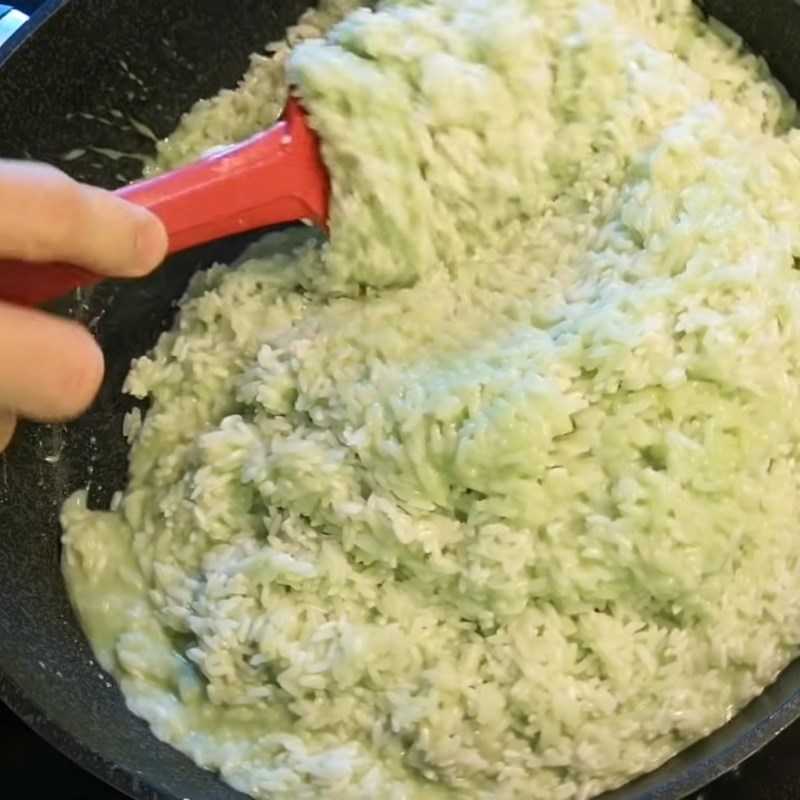
Put 400ml of coconut milk, 200ml of pandan leaf water, and 10g of salt into a pan, place the pan on the stove over medium heat, and stir well.
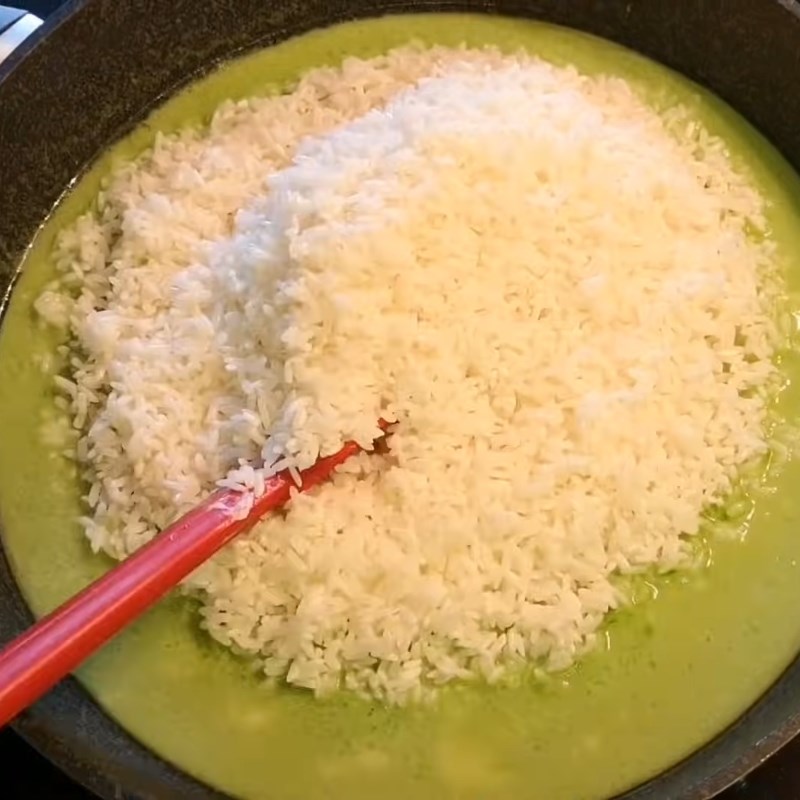
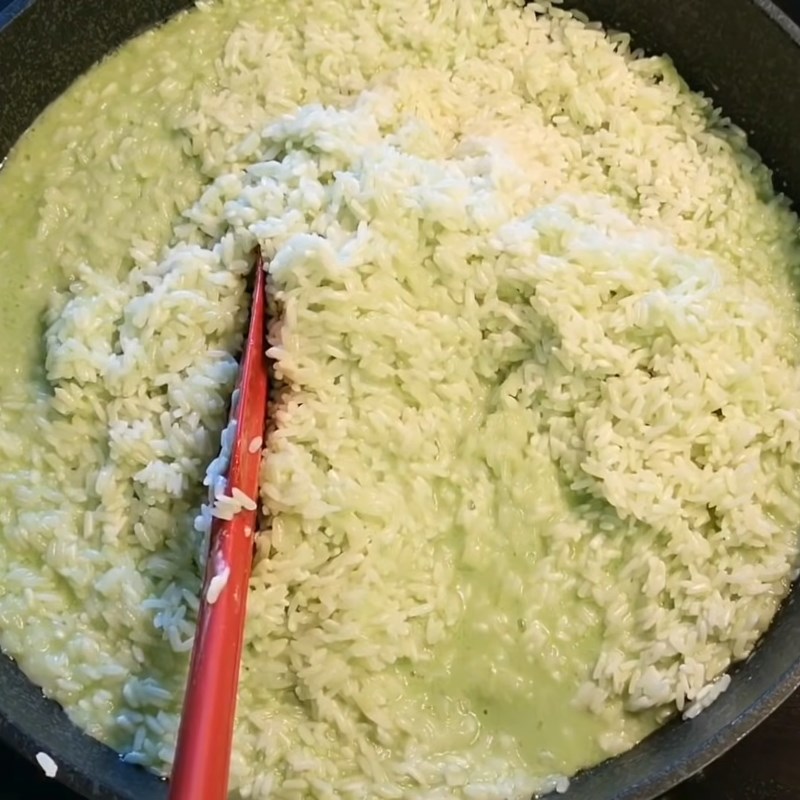
When the mixture starts to boil, add 1kg of soaked sticky rice and stir for about 3 minutes until the rice absorbs all the water, then add 30g of sugar and stir for another minute before turning off the heat, and transfer the rice to a bowl.
Divide the sticky rice into small portions, each portion of rice used to wrap one cake will be about 90g.
-
Wrapping the sticky rice cake
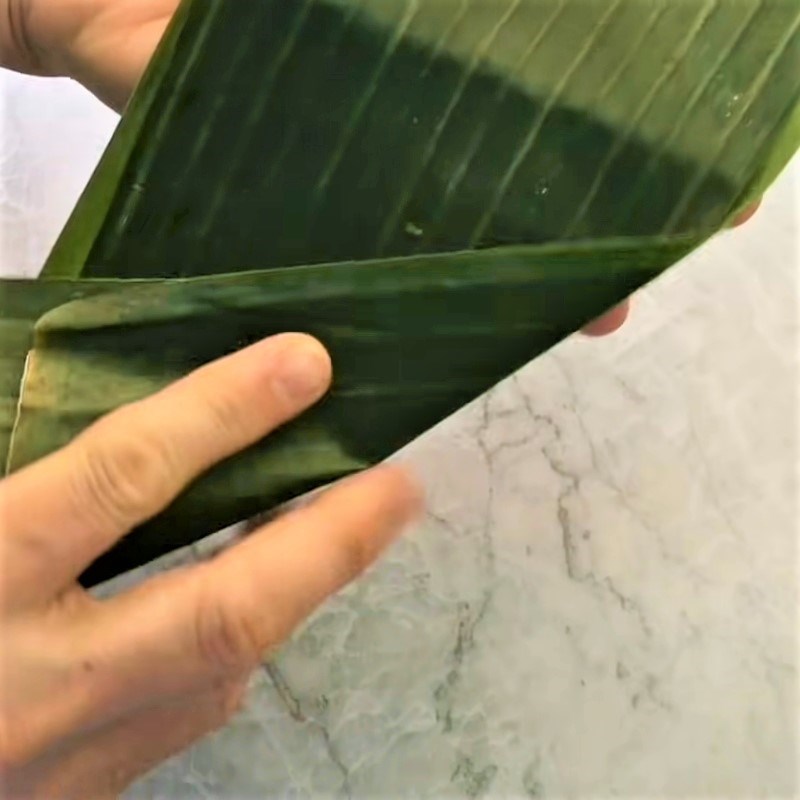
The banana leaves used to wrap the sticky rice cake should be washed, dried, and the leaf ribs trimmed off. Divide the leaves into 2 types: the large ones measuring about 30 cm in length and about 14 cm in width; the small ones measuring slightly smaller than the large banana leaves, approximately 28 cm x 12 cm.
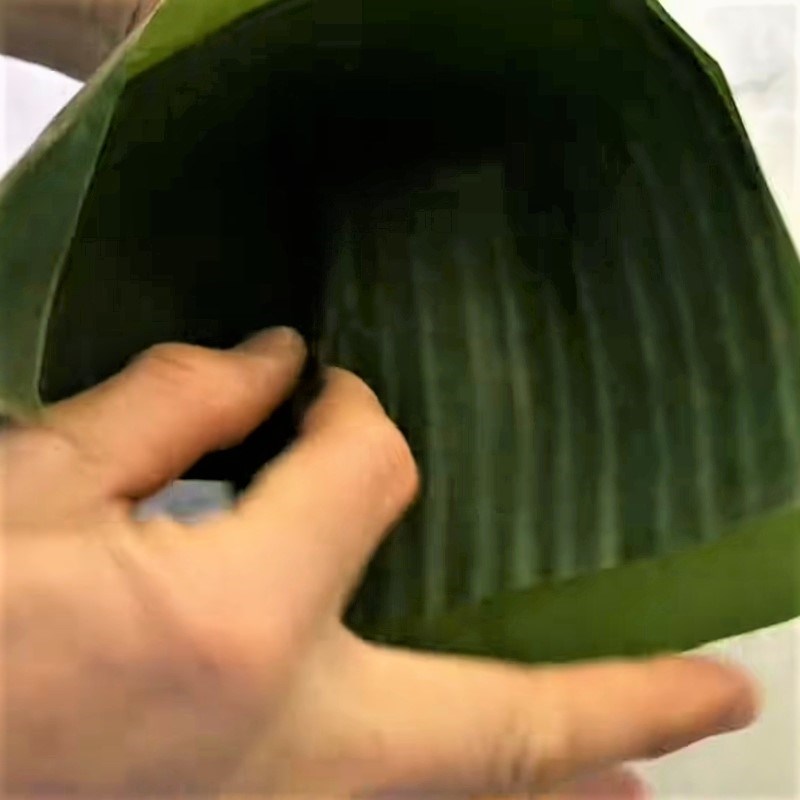
Take the large leaf with the smooth side facing down, and stack the small leaf with the smooth side facing up, so that the rough sides of the two leaves are touching each other and the smooth sides face outward. At the midpoint of the leaf’s length, fold diagonally down to form a triangle, then hold your hand at the tip of the triangle, and shape the leaves into a funnel.
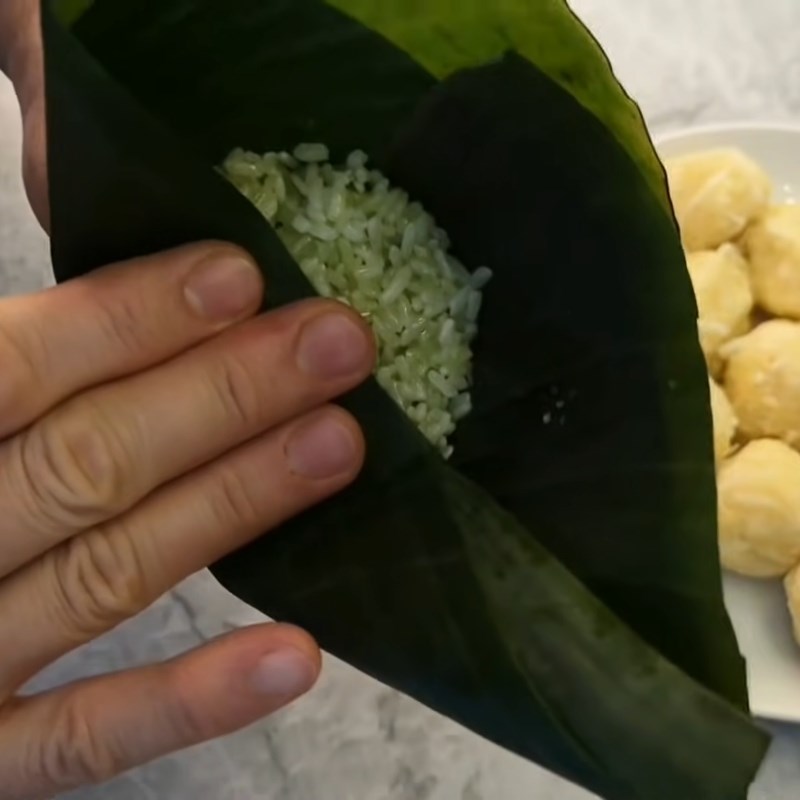
For each cake, you will wrap 90 grams of sticky rice and 1 filling ball. Place the sticky rice inside the leaf funnel, spread the rice evenly along the sides of the funnel to create a hollow space in the center, where you will place the mung bean filling, then cover it with the remaining sticky rice to seal the filling.
Use a spoon to press gently to compact the rice, fold the edges of the leaves tightly, and cut off any excess leaves during the folding process with scissors.
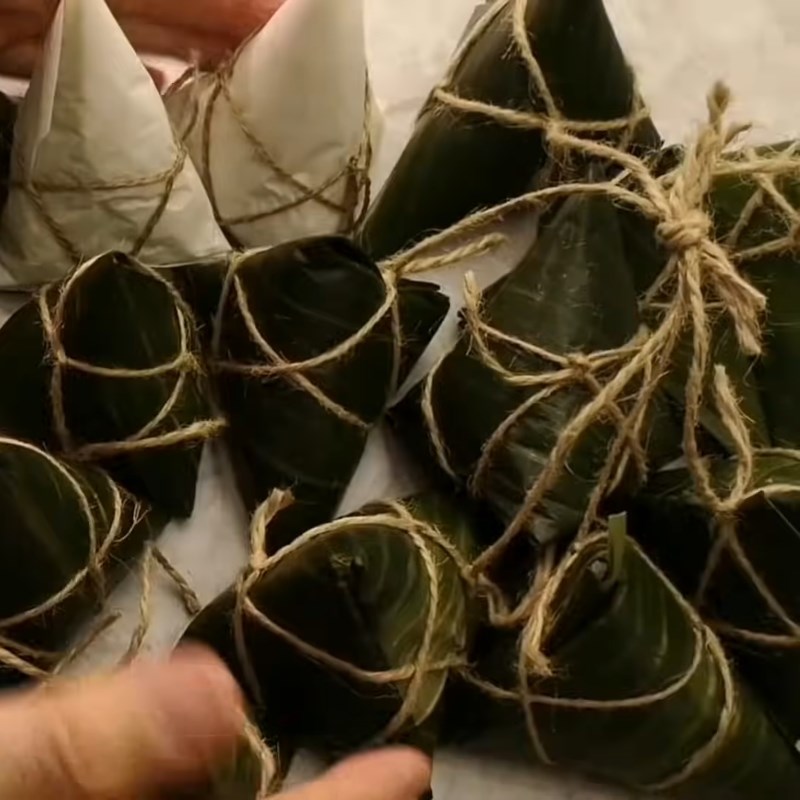
Finally, use a string or thread to tie the edges of the leaves securely, making sure to tie it tightly so the cake doesn’t come apart!

-
Boiling the cake
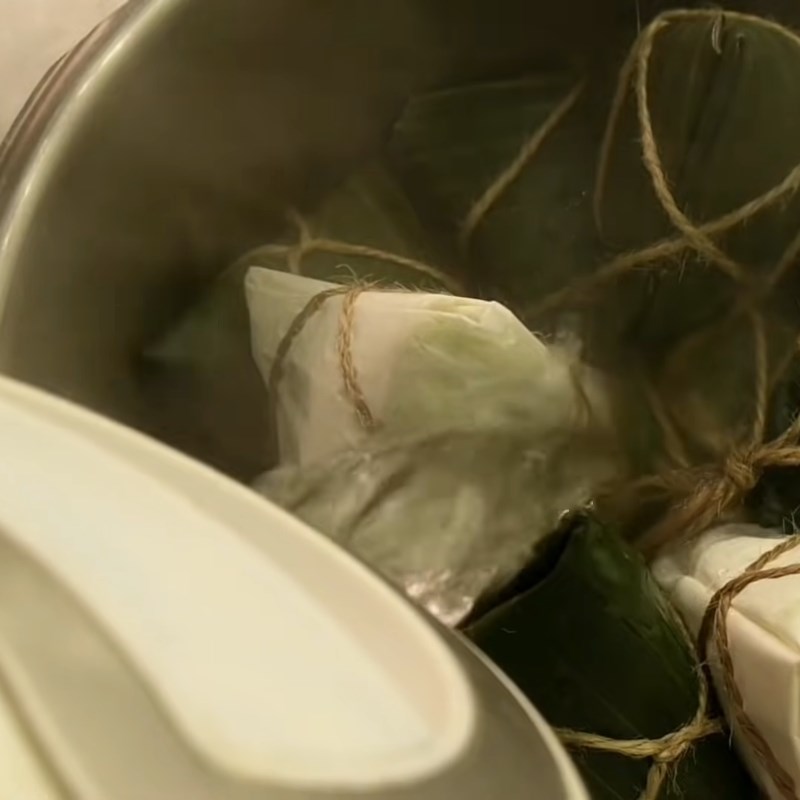
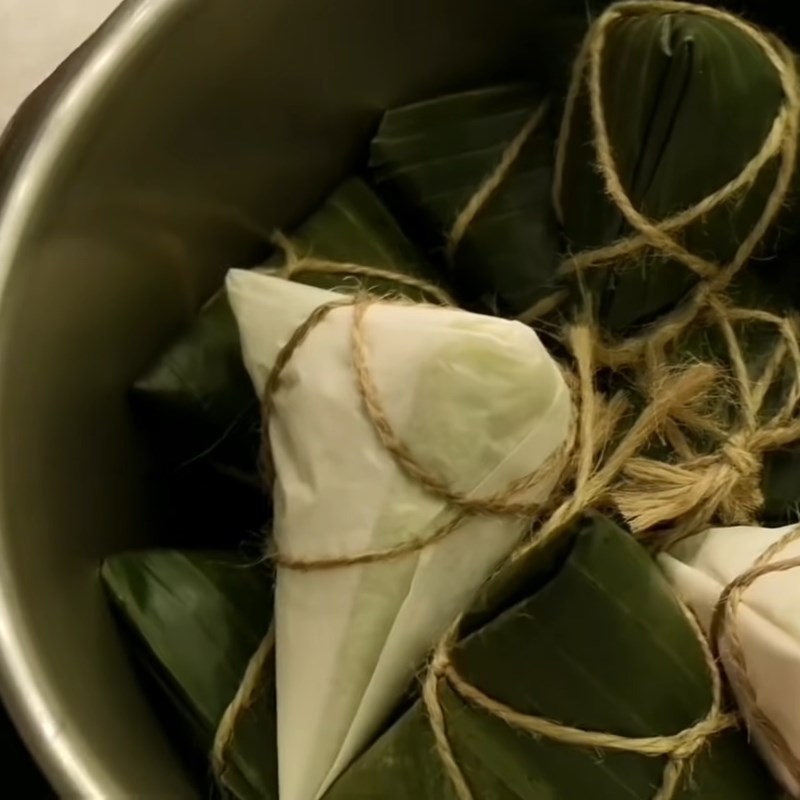
Place the pieces of banana leaves at the bottom of the pressure cooker, then arrange the cakes in the pot.
Pour boiling water into 2/3 of the pressure cooker, cook on high heat until the pot’s valve is fully raised, then turn off the heat. Do not open the lid; wait until the valve releases all the steam from the pot and stops making noise, then turn the heat back on to cook the cakes for the second time.
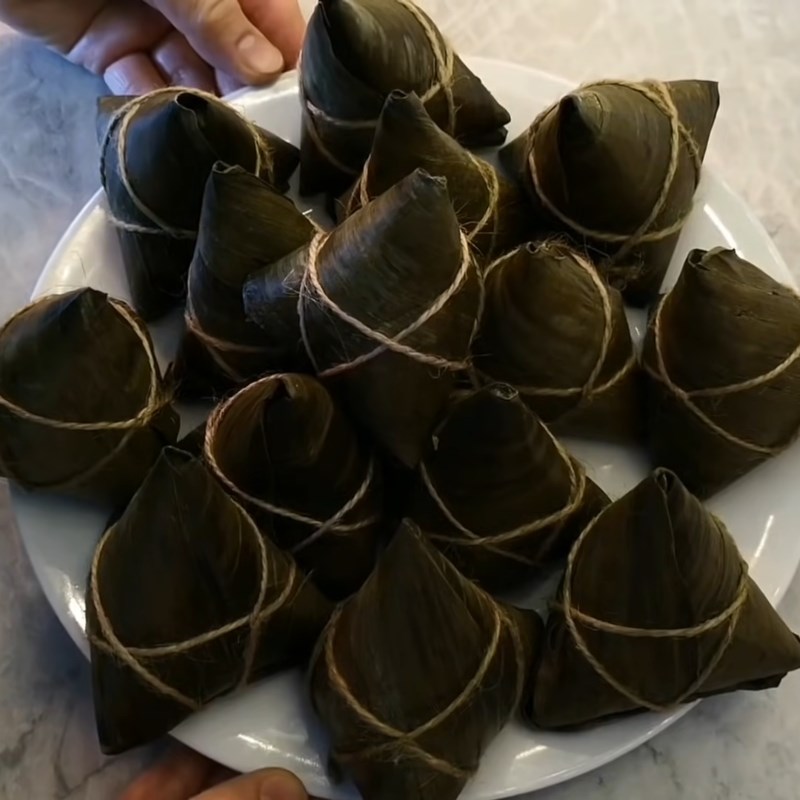
In the second round, cook the cakes until the pot’s valve is fully raised again, then turn off the heat, wait for the pot to release all the steam, and open the lid to take the cakes out.
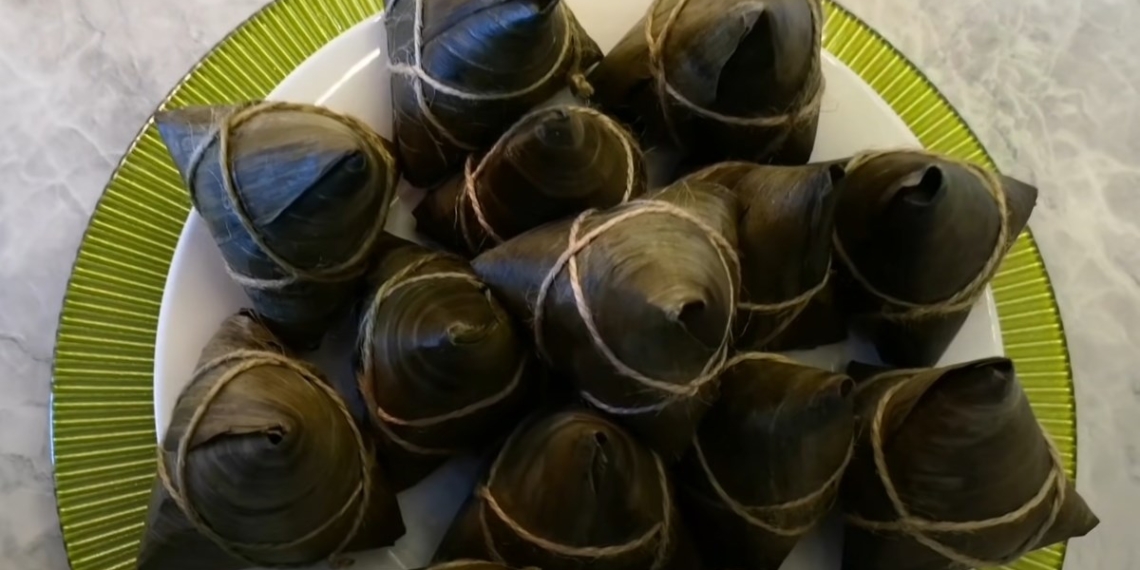
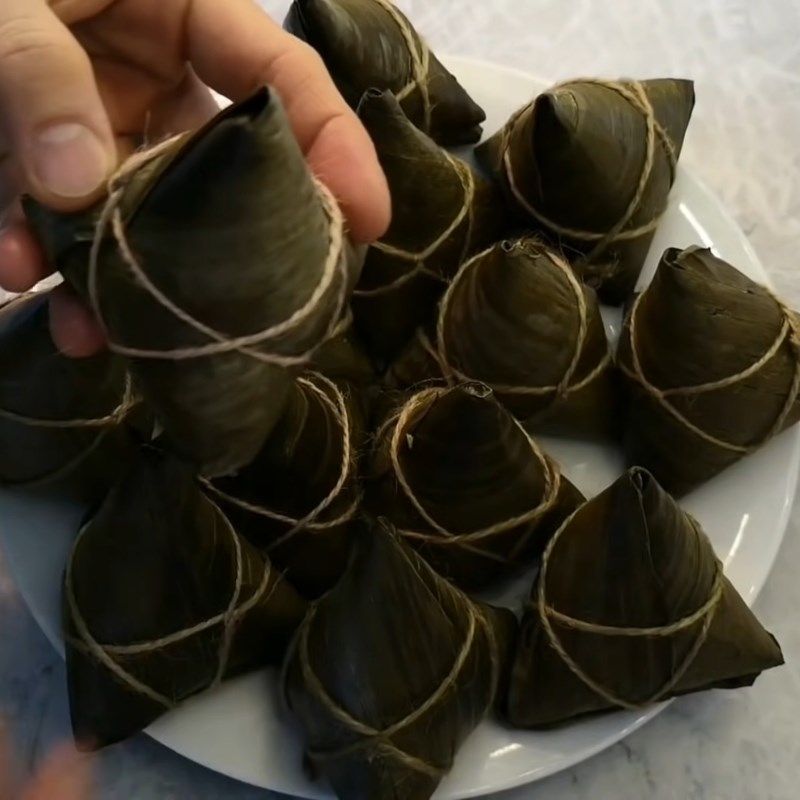
The pandan leaf cakes filled with mung beans are now complete!
-
Finished product
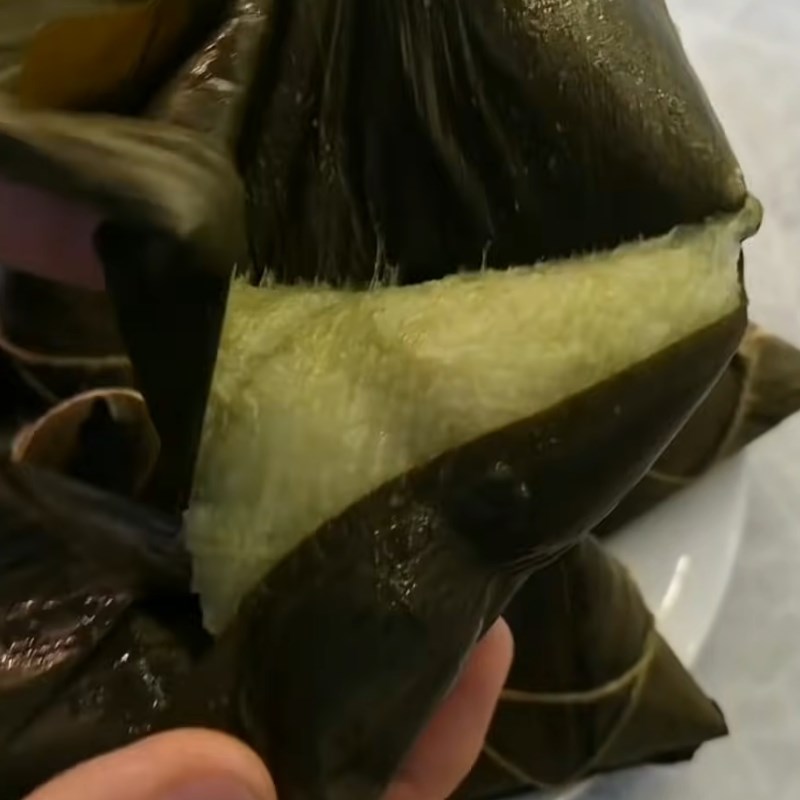
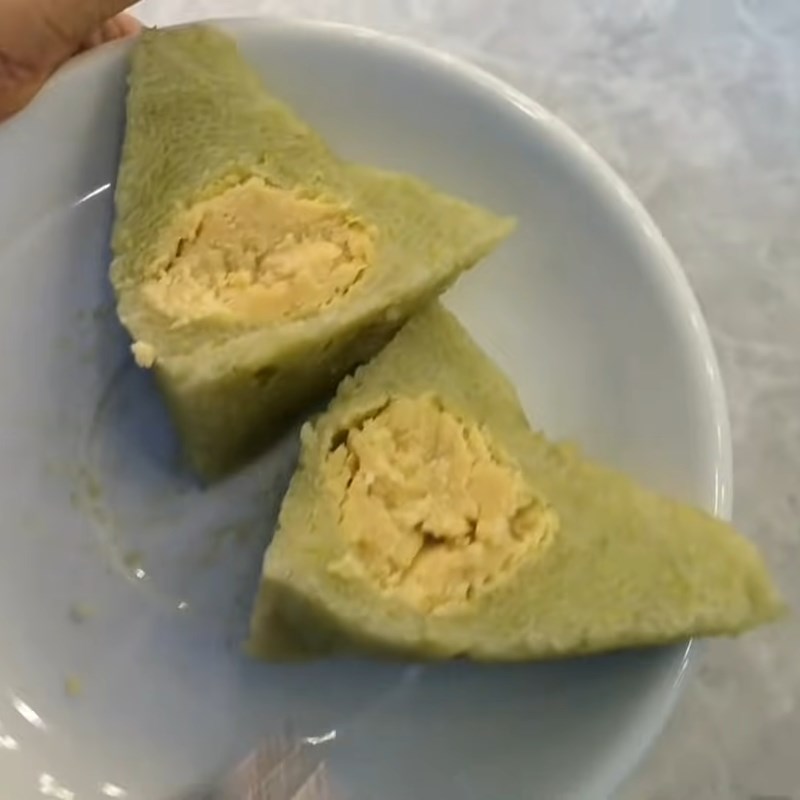
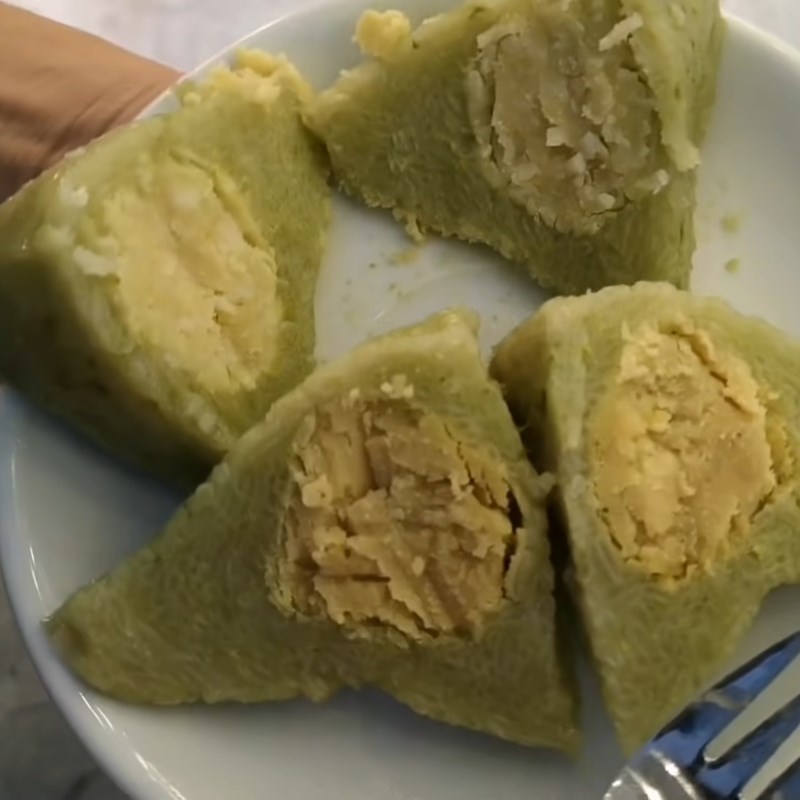
The boiled pandan leaf cakes are still tied tightly; untie the string and peel off the banana leaf layer to reveal the soft, chewy cake skin, evenly colored in beautiful natural pandan green.
The fragrant smell of pandan and banana leaves is mild and pleasant, the chewy and soft cake skin encases a filling that is just right, featuring both savory and sweet options. The mung beans are cooked just right, soft and aromatic, blending with the sweet coconut flavor in the sweet filling, or the rich taste with crispy onions in the savory filling.
Pandan leaf cakes filled with mung beans are a delicious and unique dish that you have now brought from your familiar family kitchen.
Above is the article guiding how to make green bean sticky rice cake that is delicious, extremely simple, and easy to make at home. Wishing you success with this recipe from TasteVN!
*Images and recipe referenced from the YouTube channel Văn Phi Thông.
