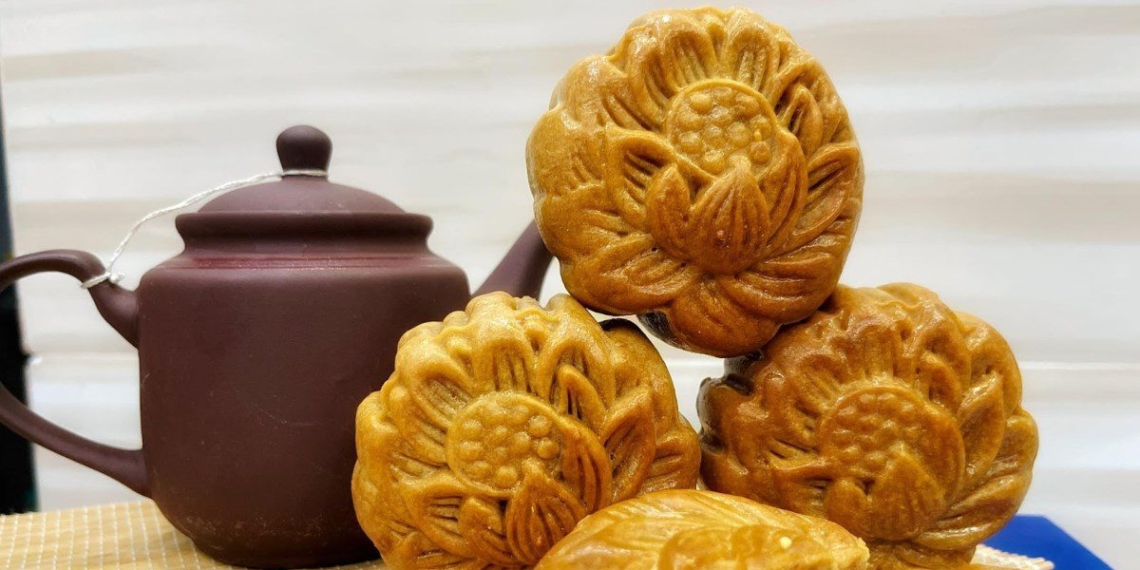
Mooncakes with mung bean filling are loved by many for their delicious flavor. Nowadays, housewives can easily make this cake right at home. Let’s get into the kitchen with TasteVN to learn 2 ways to make delicious mooncakes with mung bean filling for the family!
1. Mooncake with mung bean filling
-
Preparation
1 hour
-
Cooking
1 hour 30 minutes
-
Difficulty
Medium
Ingredients for Mooncake with mung bean filling For 6 cakes
All-purpose flour 320 gr Glutinous rice flour 20 gr Lion flour 15 gr Malt 40 gr Granulated sugar 200 gr Cake syrup 250 gr Chicken eggs 2 eggs Shelled mung beans 250 gr Peanut butter 30 gr Mai Que Lo liquor 5 ml Sesame oil 1 teaspoon Cooking oil 150 gr Fresh milk 1 teaspoon
Tools needed
Ingredients image

How to make Mooncake with mung bean filling
-
Soak and cook mung beans
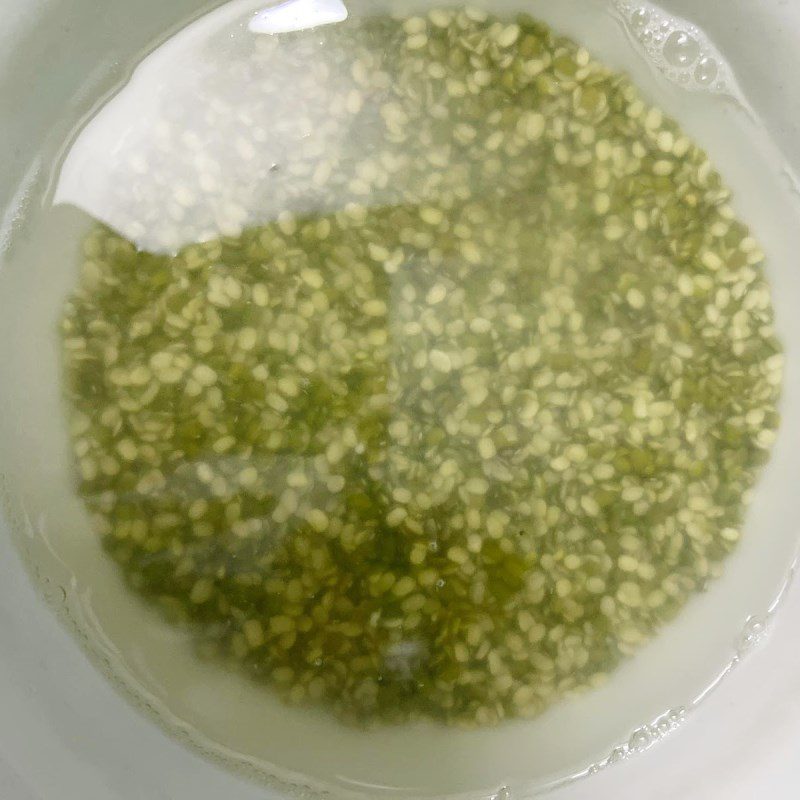
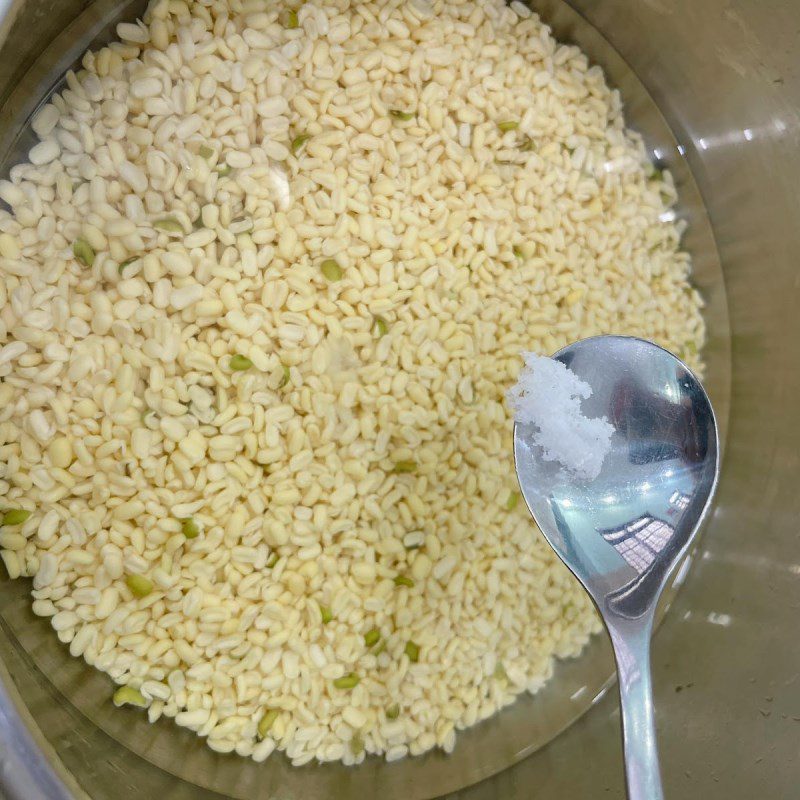
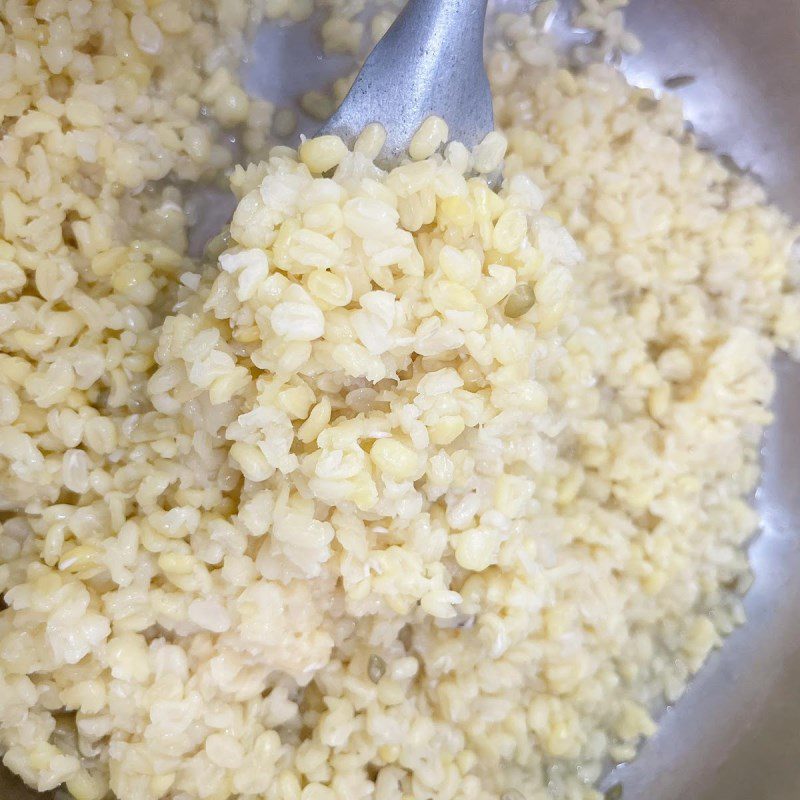
You wash 250gr of mung beans thoroughly and soak them in hot water for about 2 – 3 hours. If using cold water, soak the beans overnight.
After soaking, you proceed to remove the remaining skins and then cook them in a pot.
-
Cook mung bean filling
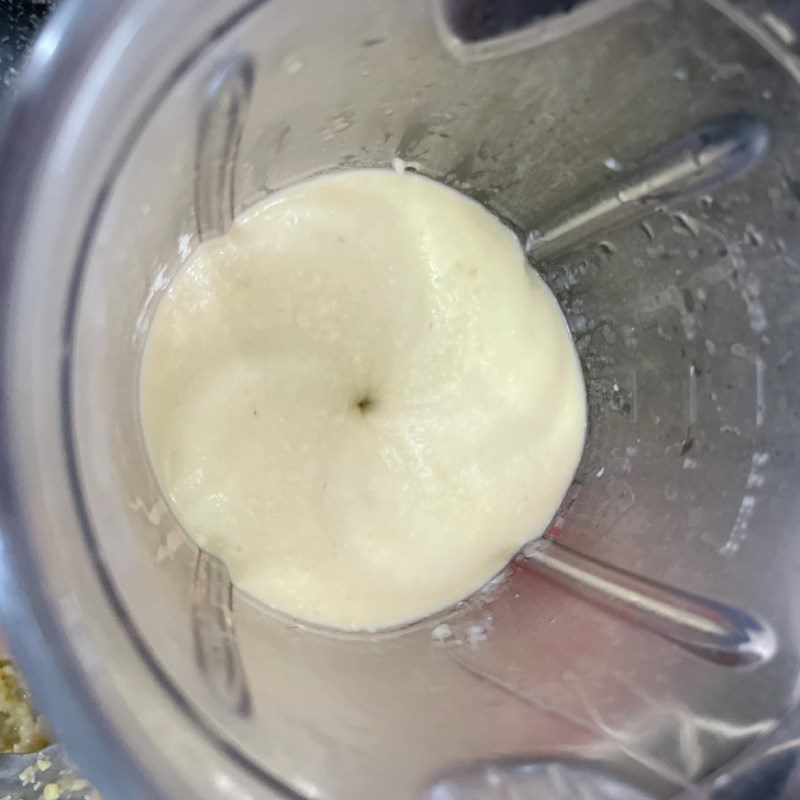
You put the cooked mung beans along with 200gr of granulated sugar into a blender and blend the mixture until smooth, then sieve it for a fine texture.
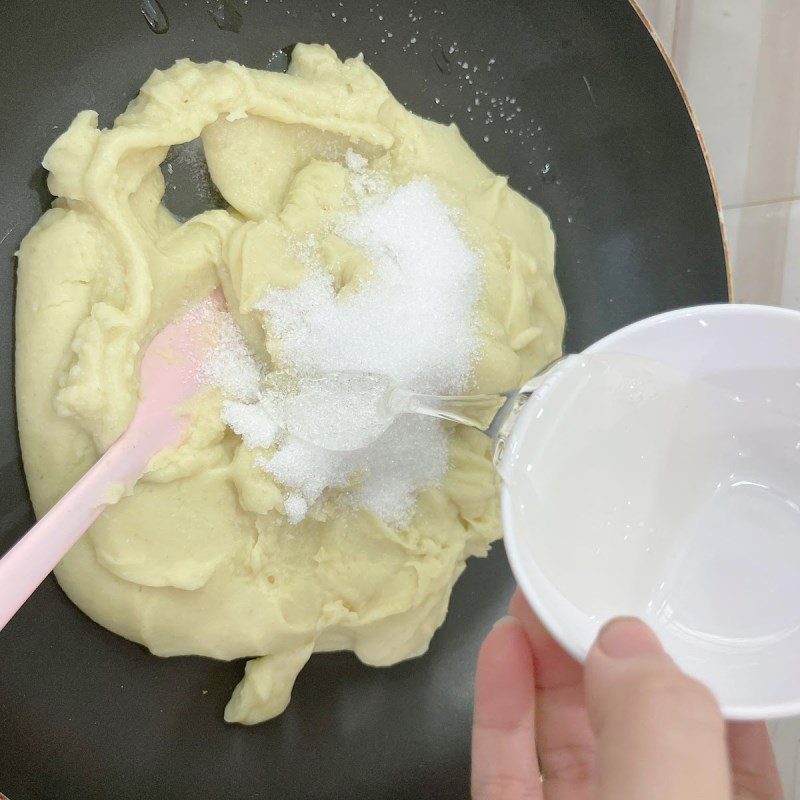
Next, you pour the mixture into a non-stick pan and cook until you see the mixture thickening.
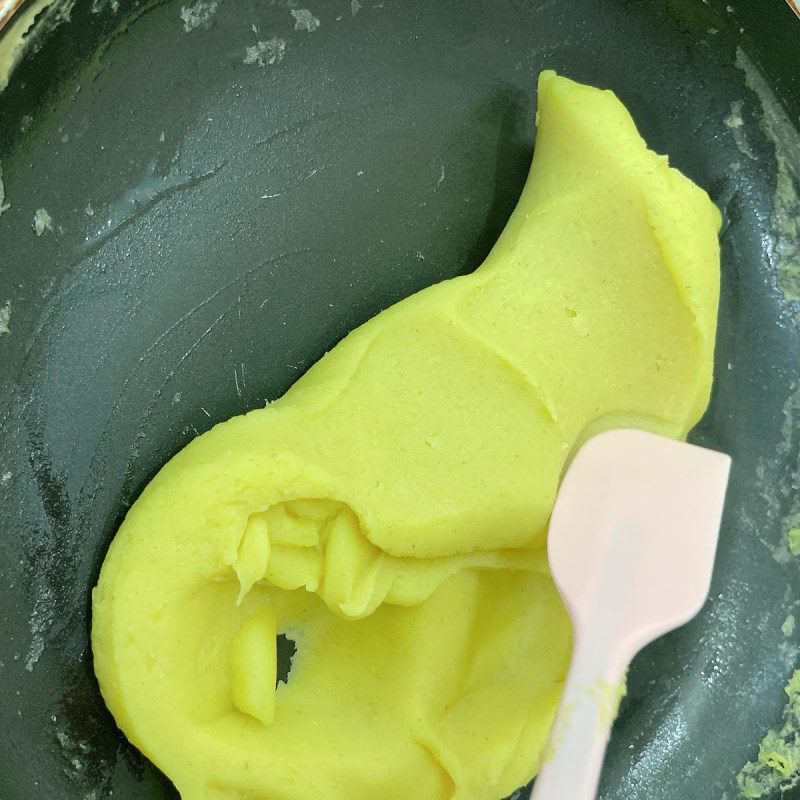
When you notice the mung bean mixture starting to thicken, you gradually add 100gr of cooking oil and stir continuously until the mixture no longer sticks to your hands.
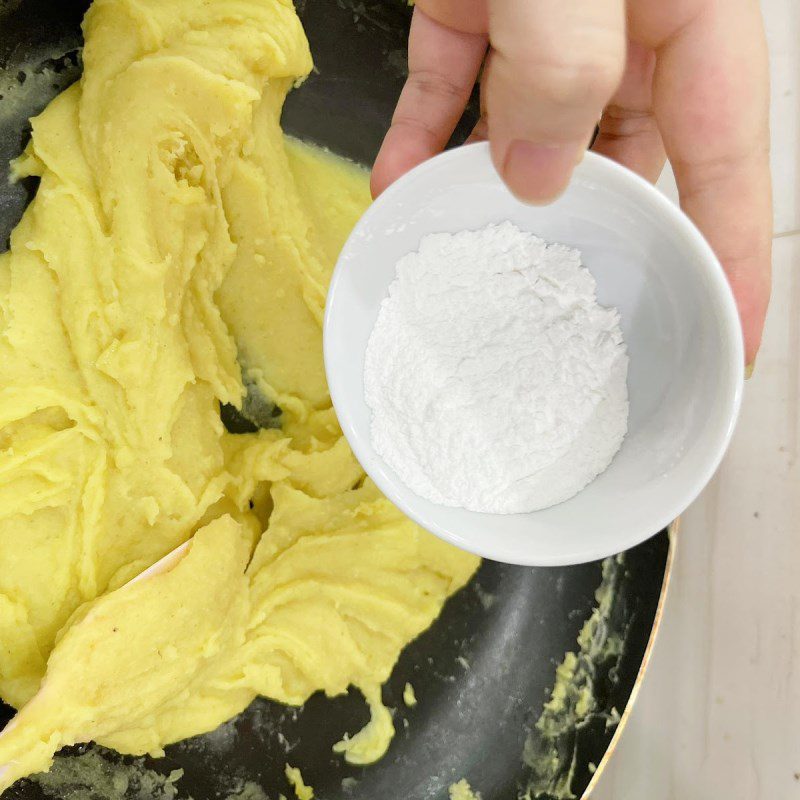
Continue by adding 20gr of glutinous rice flour into the pan and mix well. Wait until the mung bean mixture cools down, then place it on a tray and roll into balls based on the weight of the cake.
-
Mix the cake dough
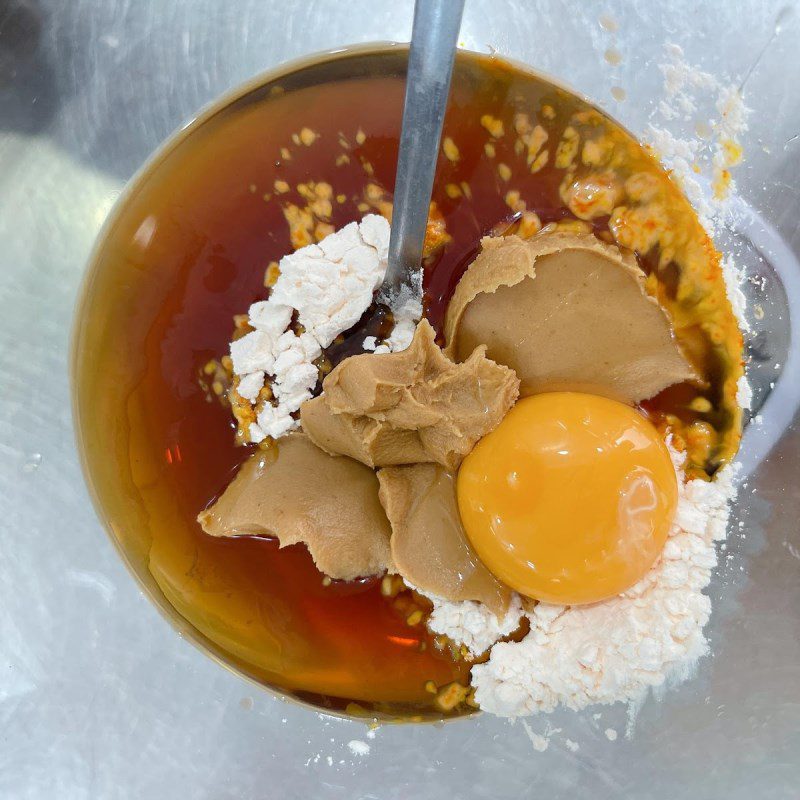
You add all the ingredients including 250g of syrup for baked cakes, 30g of peanuts, 15g of lion’s powder, 40g of maltose, 1 egg yolk, and 50g of cooking oil into a bowl, mix well, and let it rest for 30 minutes.
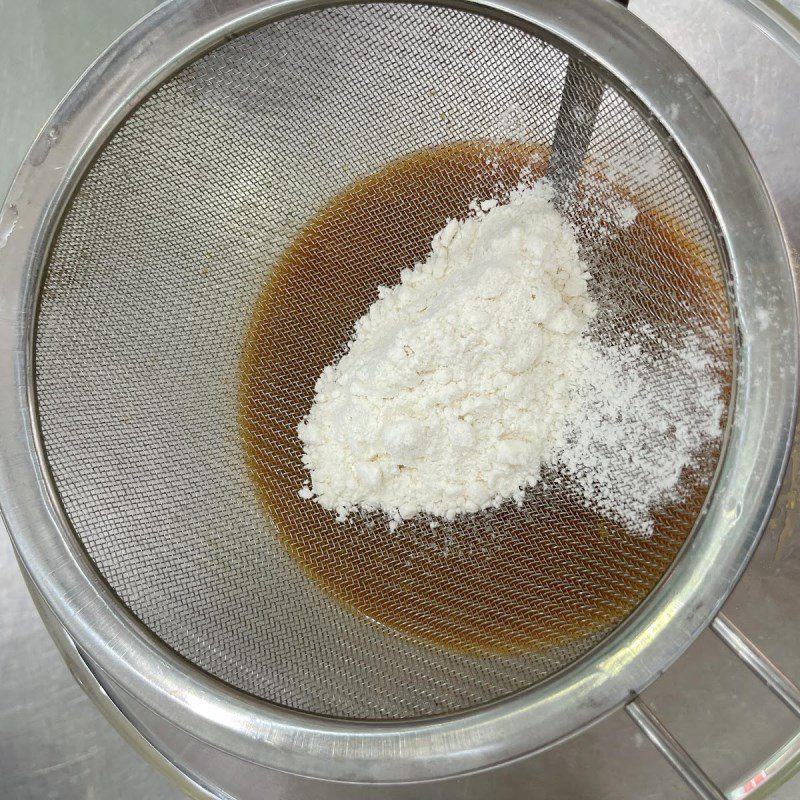
Then, you add 320g of flour into the bowl through a sieve, and mix quickly and evenly until the mixture forms a smooth dough. If it feels wet, add more flour.
Tip: It is recommended to keep the dough slightly wet because after resting, the flour will become dry.When the dough is smooth, you let it rest for another 30 minutes to 1 hour before proceeding to shape the cakes.
Remember to preheat the oven to 220 degrees Celsius for 15 minutes before baking the cakes to warm up the oven.
-
Wrap the filling
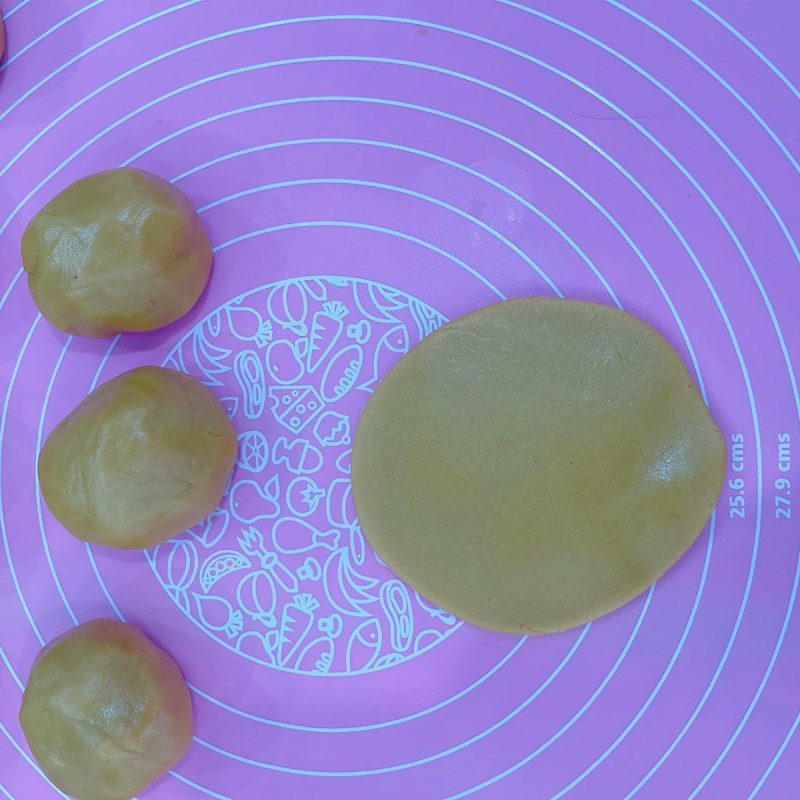
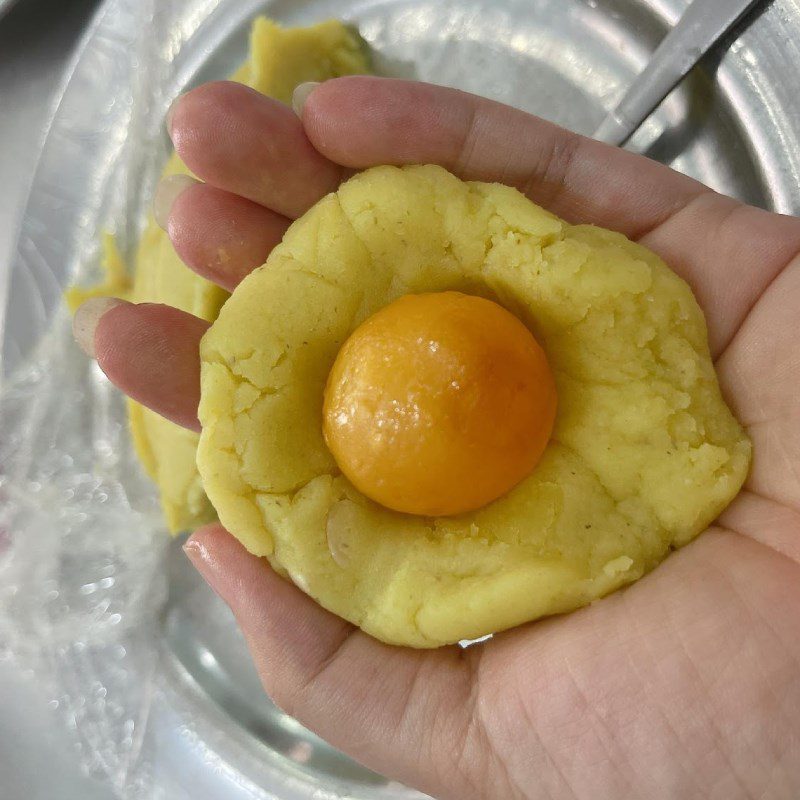
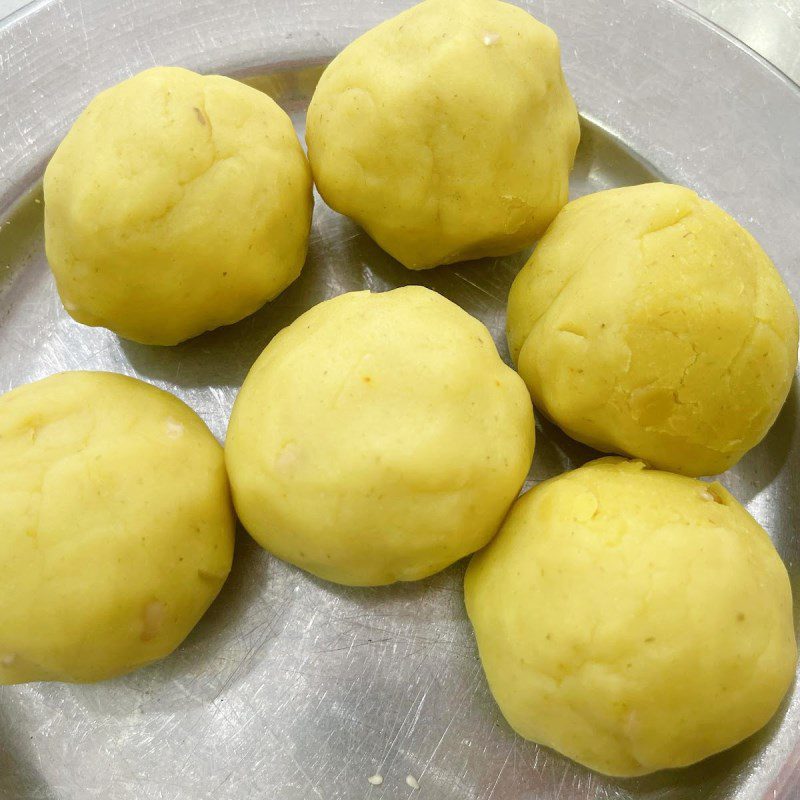
When wrapping the filling, you should keep the ratio of dough to filling as 65g dough : 85g filling or 75g dough : 75g filling. You must wrap the dough evenly around the filling.
Tip: To make the filling and dough stick together, use a toothpick to poke any air bubbles, and after wrapping the filling, coat it with another layer of flour on the outside.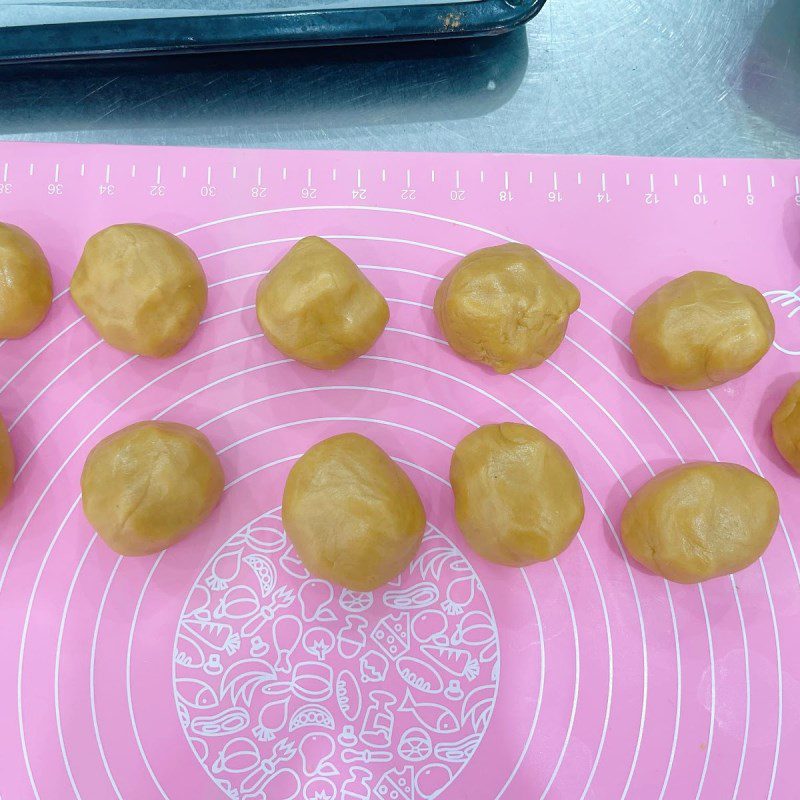
-
Shaping the cake
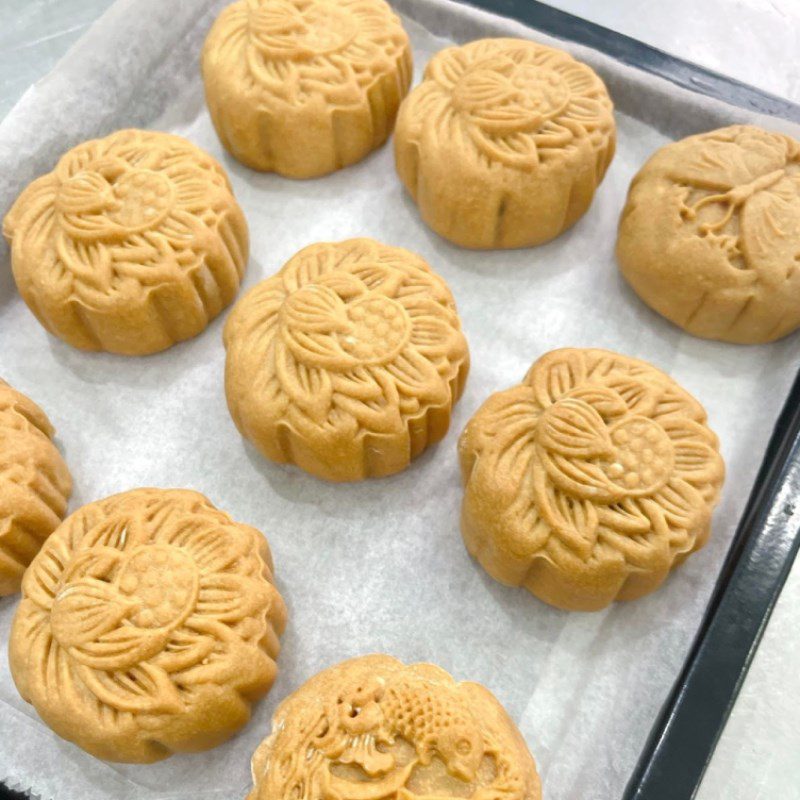
You place the formed cake into the mold. You will shape the cake twice; the first time press down firmly, and the second time press again and then gently release the cake into a tray lined with 2 layers of foil and 3 layers of baking paper.
Tip: To achieve clear details on the mooncake, you should use a mold with one side.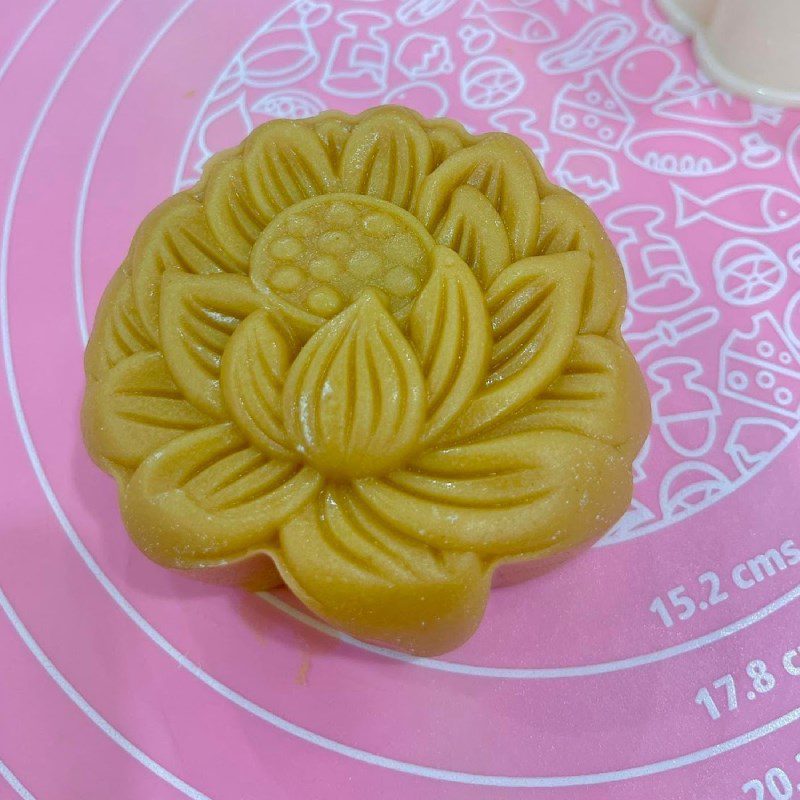
-
Baking the Cake
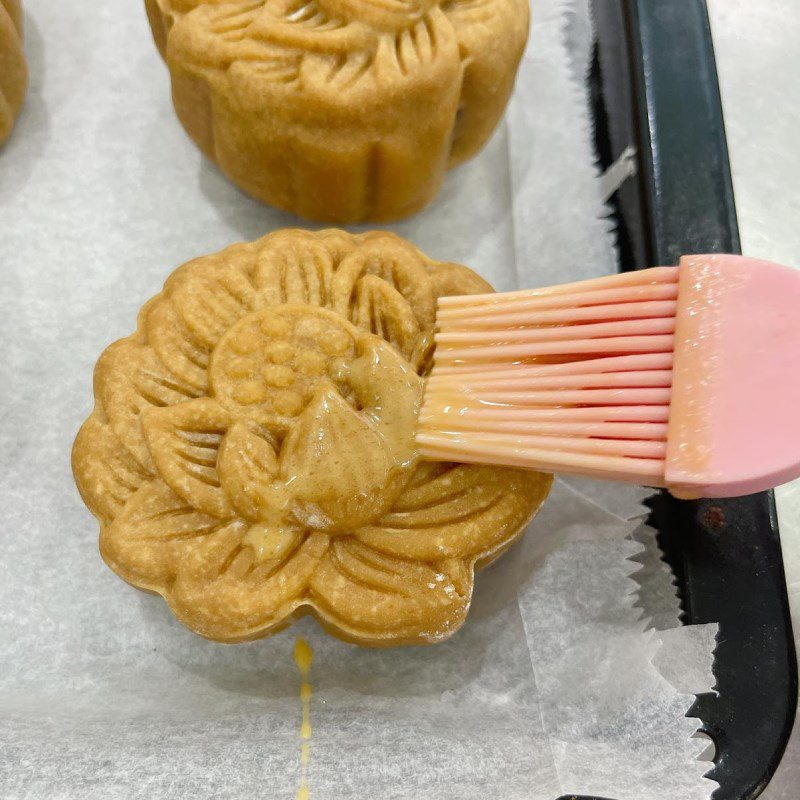
You mix together 1/4 egg white, 1 egg yolk, 1 teaspoon of fresh milk, 1 teaspoon of sesame oil, and 3 drops of Mai Que Lo wine (about 5ml), then strain the mixture through a sieve 3 times. After that, you spread the mixture on the surface of the cake.
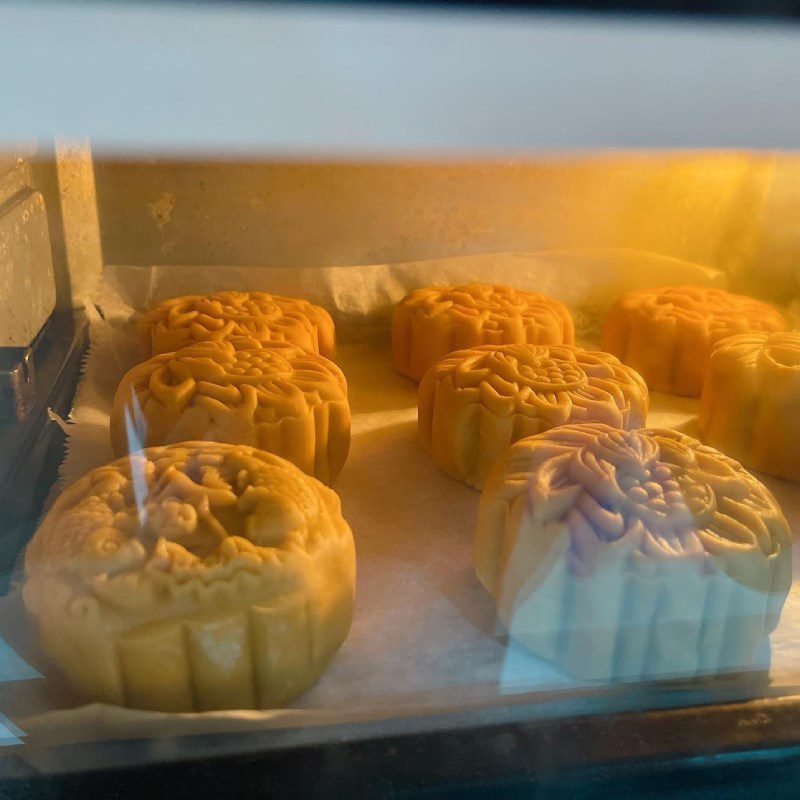
Next, you proceed to bake the cake in the middle of the oven:
- First Bake: You bake at 210 degrees Celsius for about 15 minutes. When the cake is opaque, take it out and spray it with mist to cool it down quickly. Allow the cake to cool for 2 hours.
- Second Bake: You continue to preheat the oven for 15 minutes before baking, then bake the cake for 10 minutes at 180 degrees Celsius. After that, take the cake out, continue to spray mist, and let it cool for about 1 hour, then brush another layer of the mixture as you did the first time.
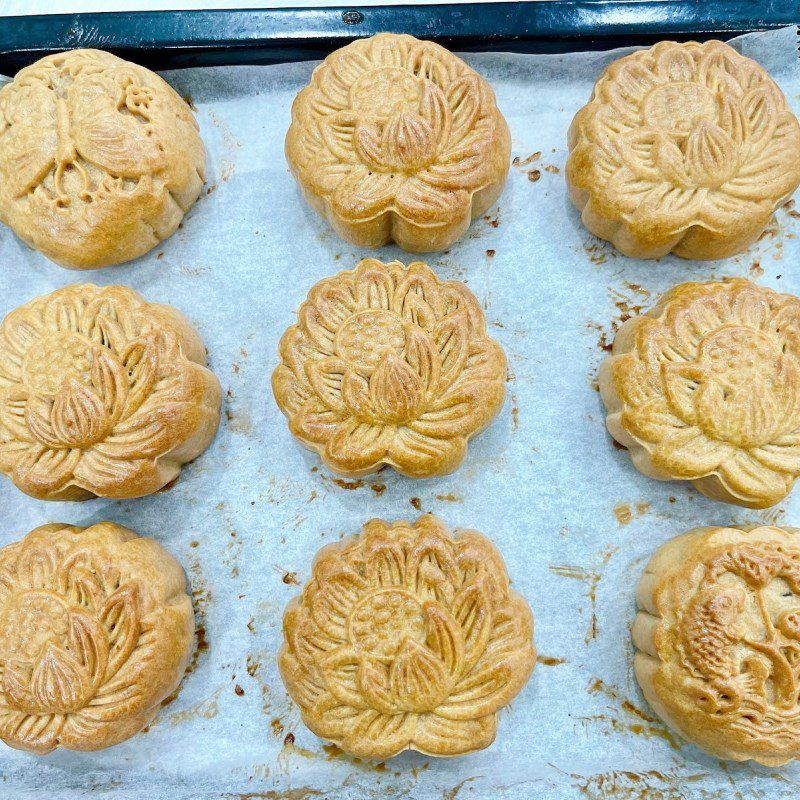
- Final Bake: You heat the oven again and bake the cake at 170 degrees for 8 – 10 minutes to finish.
The mooncake, once baked, can be left for about 2 days for the oil to seep in, making it taste better.
-
Final Product
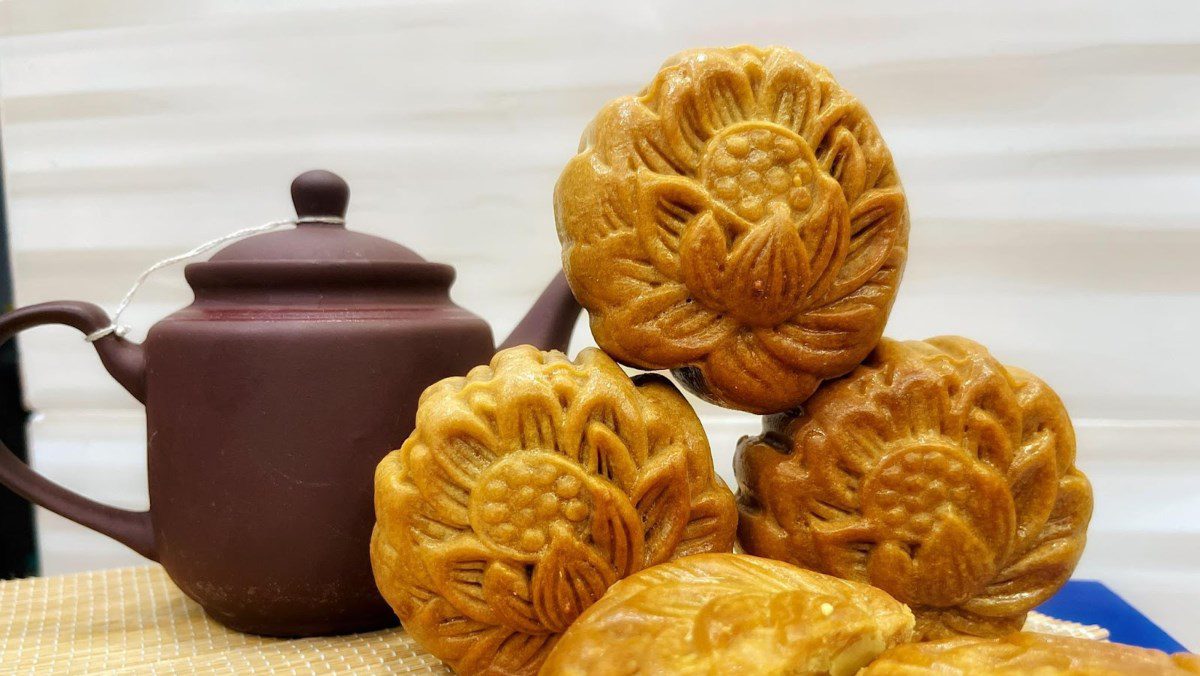
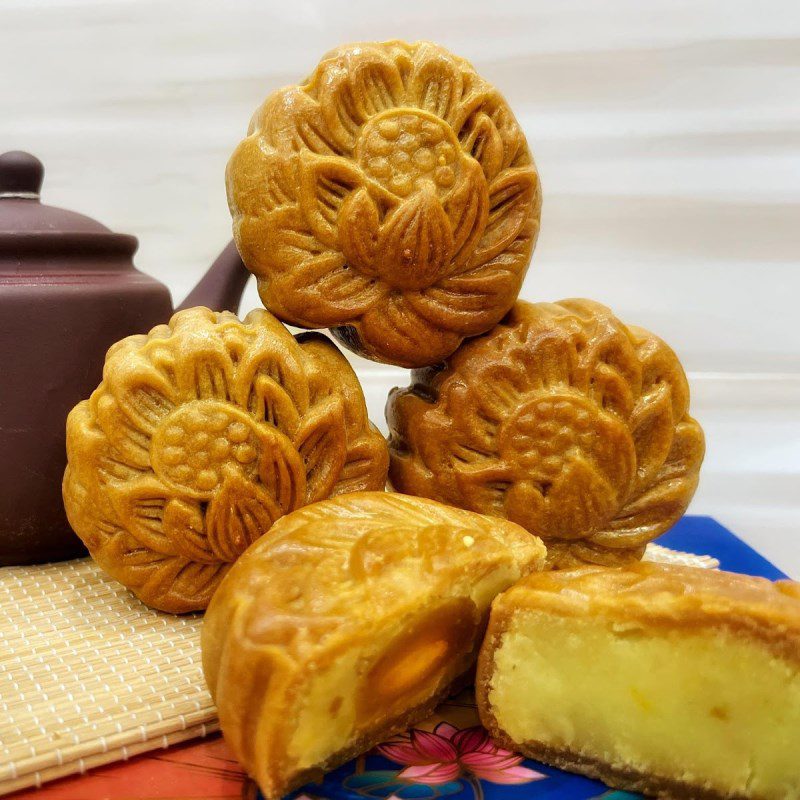
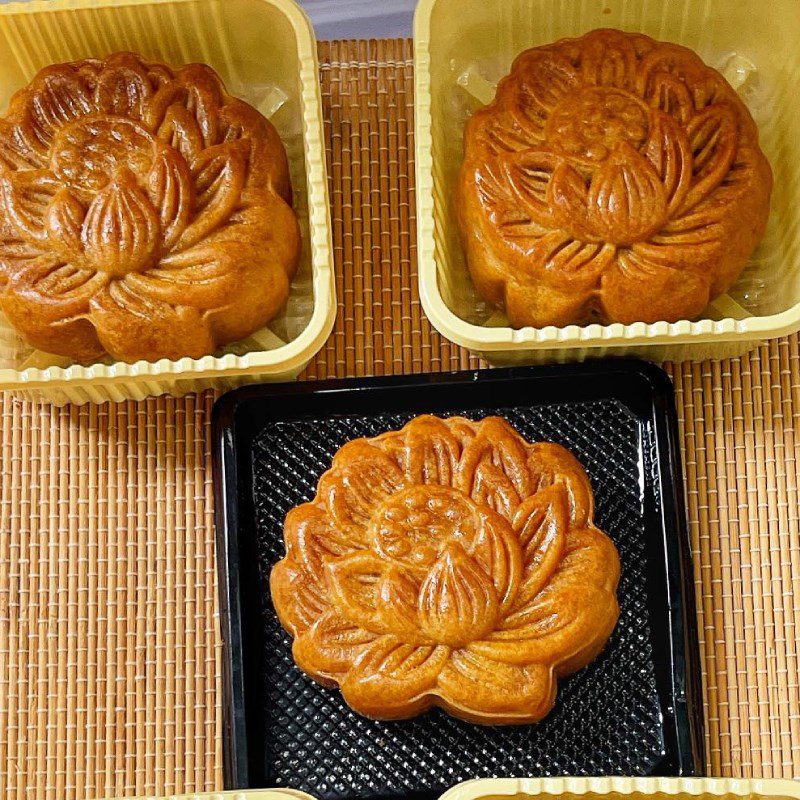
The baked mung bean mooncake has a beautiful golden-orange exterior with the greenish-yellow filling. The crust is soft and fragrant, blending perfectly with the rich, sweet mung bean filling, making it enjoyable to eat without getting tired of it.
2. Mooncake with salted egg and mung bean filling
-
Preparation
20 minutes
-
Cooking
1 hour
-
Difficulty
Medium
Ingredients for Mooncake with salted egg and mung bean filling For 7 cakes
All-purpose flour 255 gr Mung beans 240 gr Baking syrup 160 gr Lye water 8 ml Granulated sugar 240 gr Salted eggs 7 eggs Egg yolk 1 piece Unsweetened fresh milk 1 tablespoon Cooking oil 116 ml Sesame oil A little White wine A little (for washing salted eggs) Filtered water 845 ml
Tools for implementation
Image of ingredients

How to prepare Mooncake with mung bean and salted egg yolk filling
-
Soak and cook the mung beans
Rinse 240g of mung beans clean, then soak for 4 – 6 hours until soft.
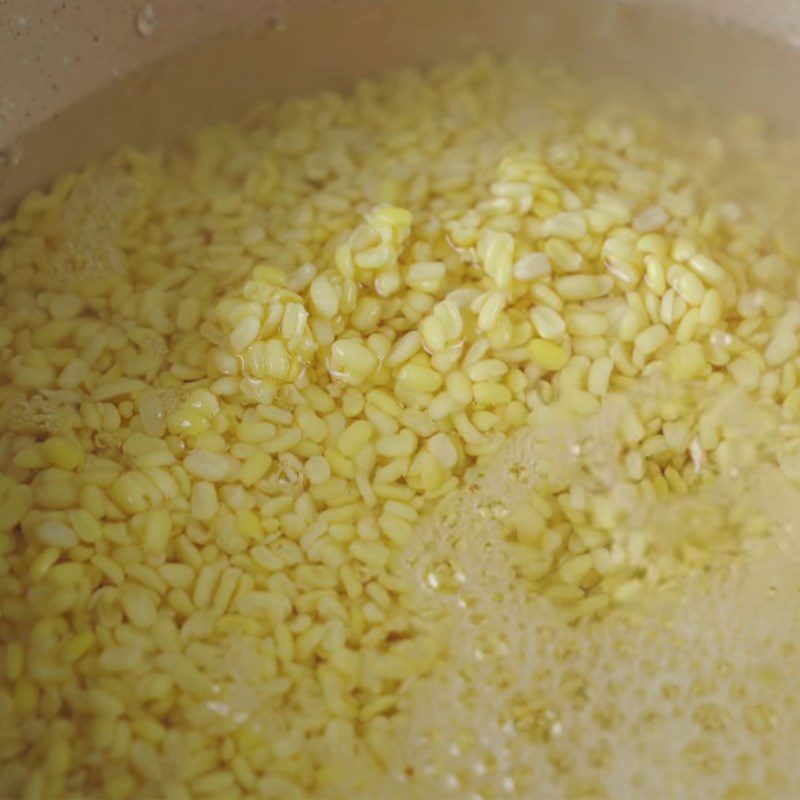
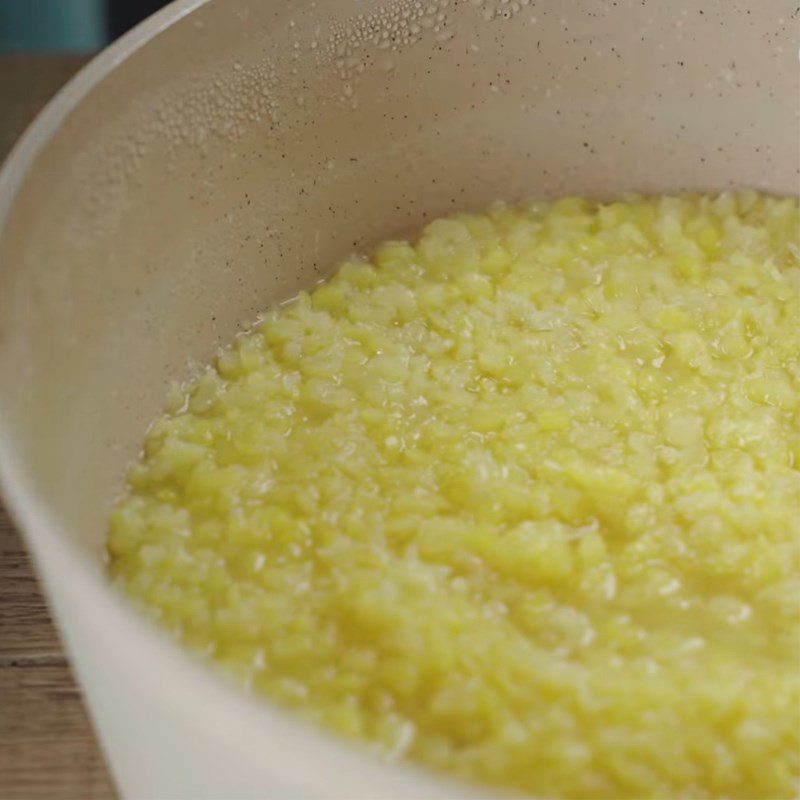
Drain the soaking water, place the mung beans in a pot with 1/2 teaspoon of salt and 800ml of water. Cook the mung beans over medium heat for 15 minutes.
Then, add 240g of sugar, stir well, and cover the pot to cook the beans for another 5 minutes until the water is almost absorbed.
-
Cook the mung bean filling
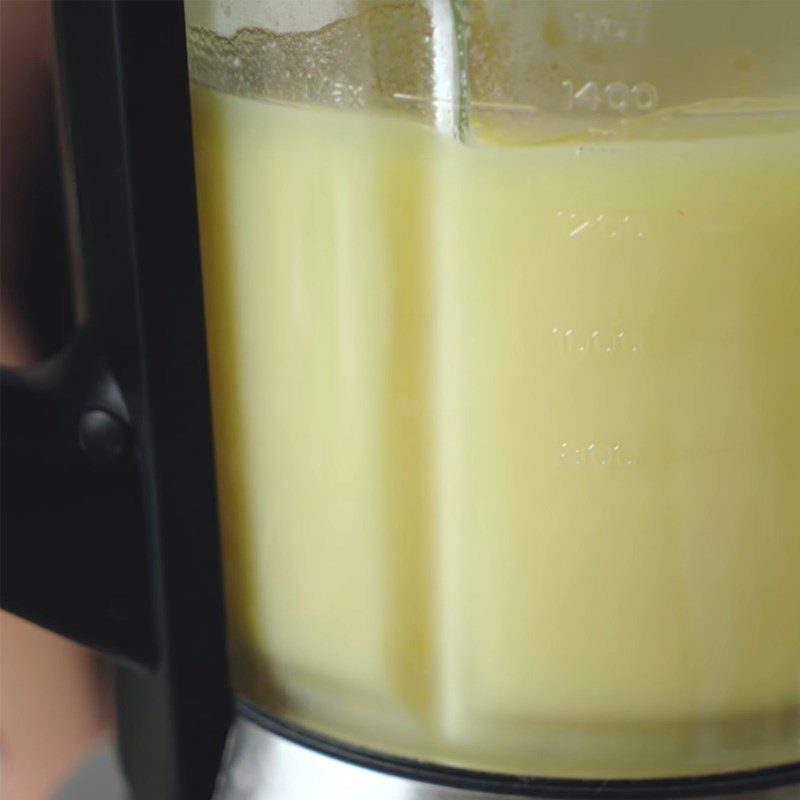
Put the cooked mung beans in a blender and blend until smooth.
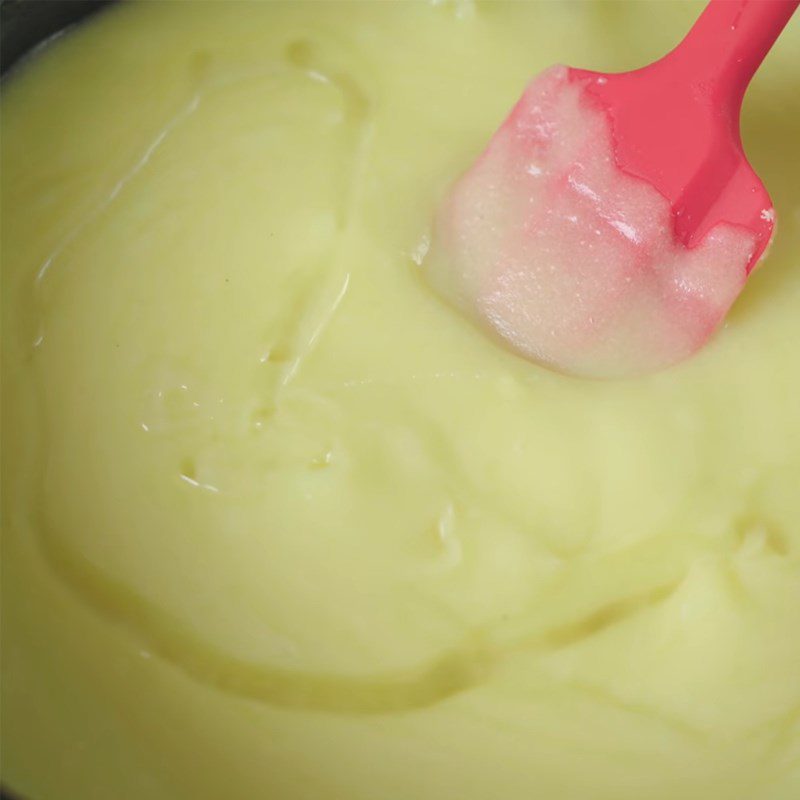
Heat a pan on the stove, add the blended mung beans, and stir constantly over low heat. Next, gradually add 4 tablespoons of cooking oil to the pan (adding 2 tablespoons at a time), stirring well to combine the mixture.
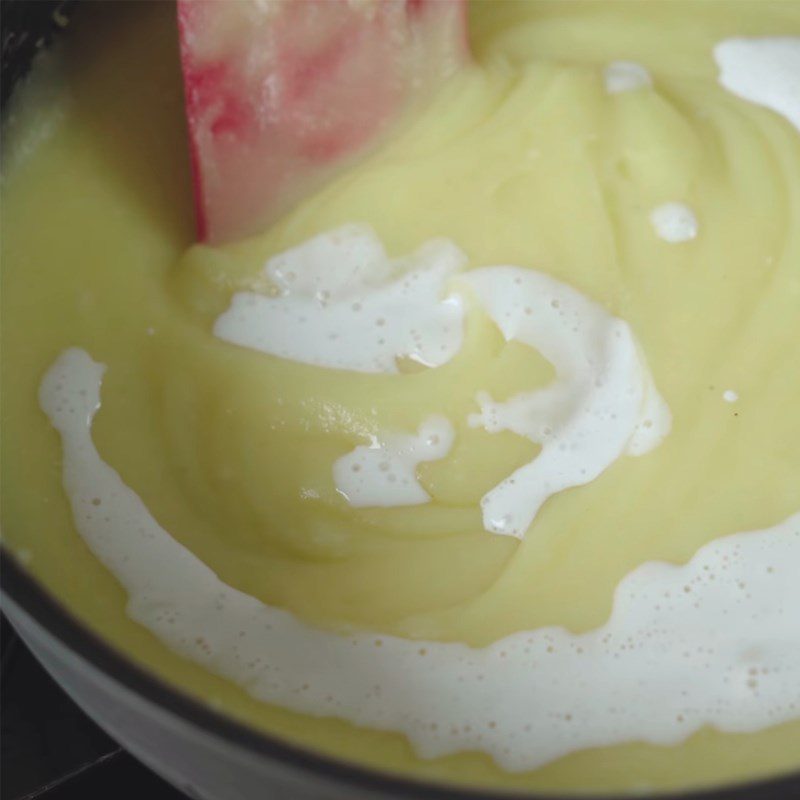
Dissolve 1.5 tablespoons of flour with 3 tablespoons of water. Gradually add the flour mixture to the pan and continue cooking until the filling forms a smooth, non-sticky, and firm mass.
Finally, transfer the filling to a bowl and let it cool.
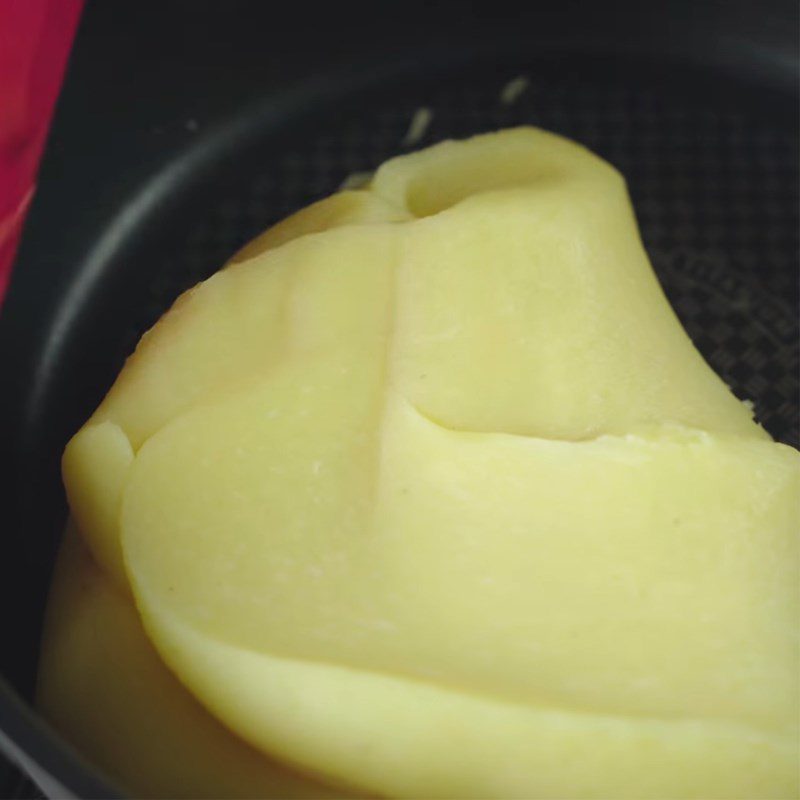
-
Mix the cake dough
In a new bowl, add 160g of baked mooncake syrup, 56ml of cooking oil, and 8ml of alkaline water, then stir well.
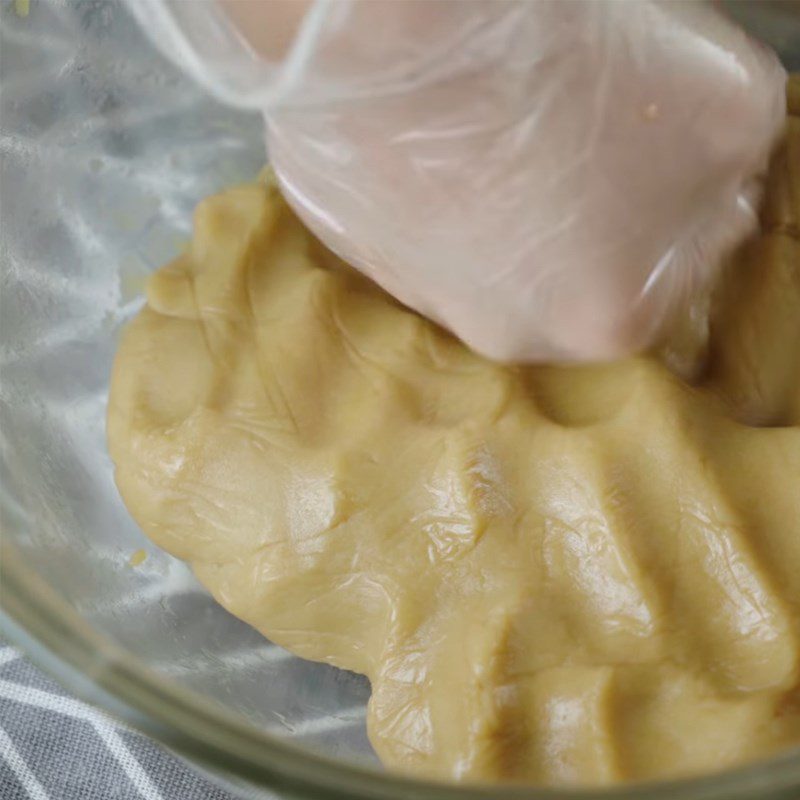
Next, sift 240g of flour into the syrup mixture and continue to mix until the ingredients stick together.
Then, use your hands to knead the dough until it forms a homogeneous, smooth, and non-sticky mass. Finally, cover the bowl tightly and let it rest for 1 hour.
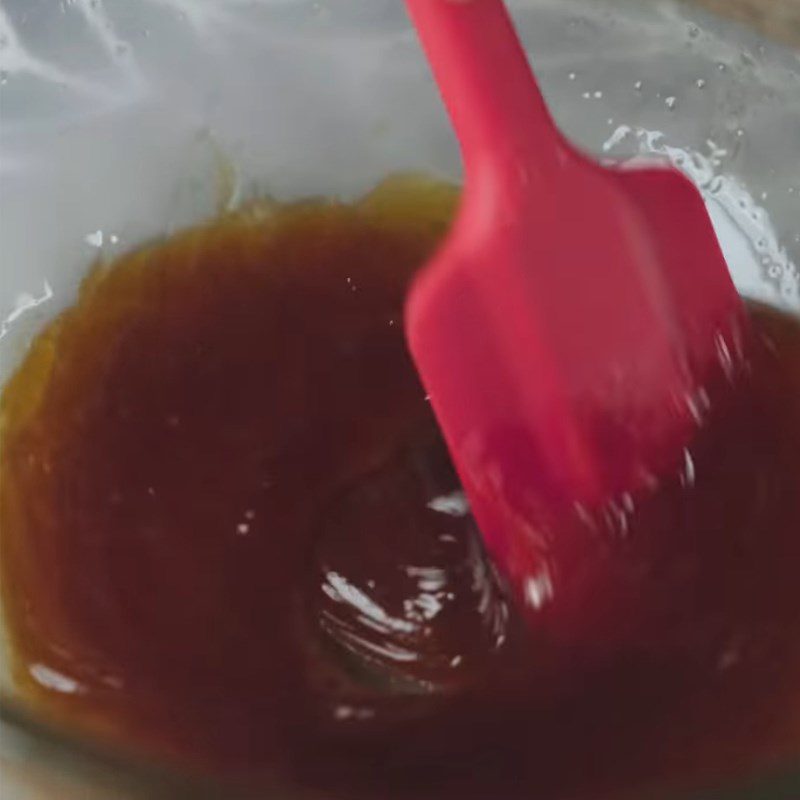
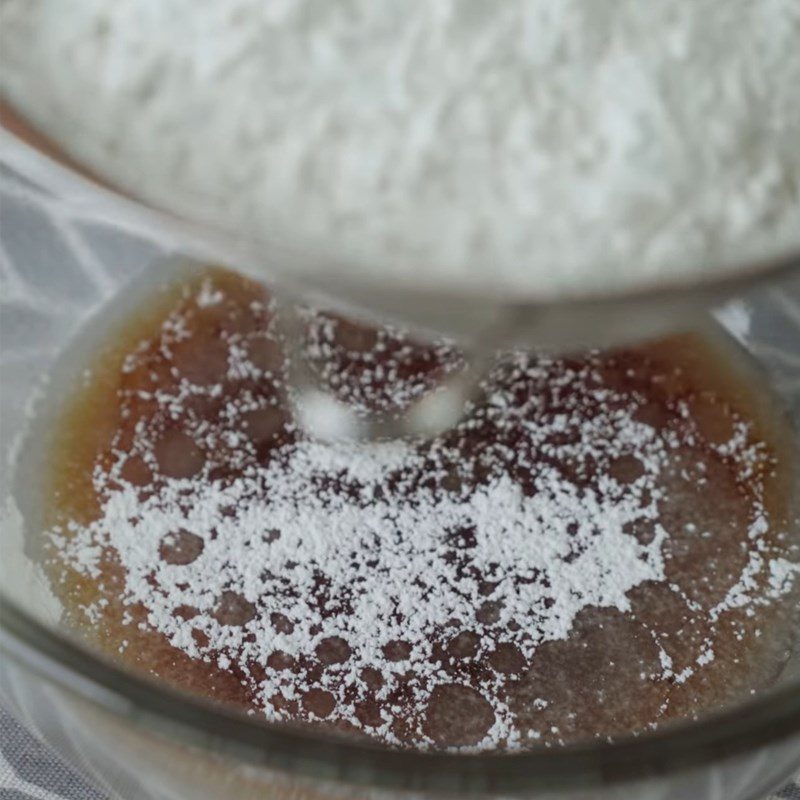
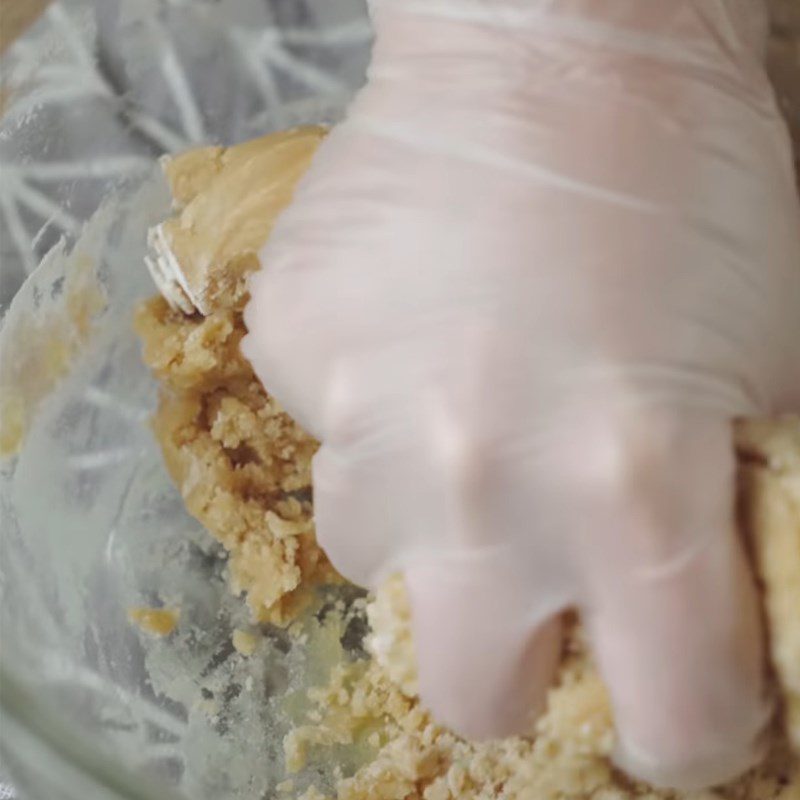
-
Prepare and bake the salted eggs
In a bowl, add 7 salted eggs and a little white wine, then mix well.
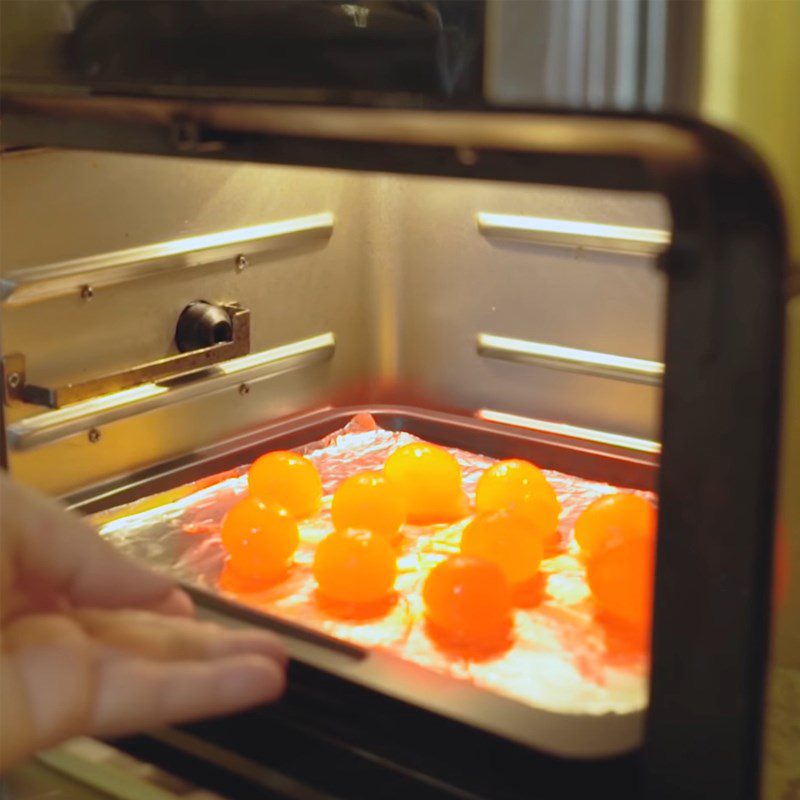
Next, arrange the eggs on a tray lined with parchment paper, brush a layer of sesame oil on the eggs, and bake for 5 minutes at 170 degrees Celsius.
After baking, let the eggs sit in the air fryer for another 5 minutes before taking them out.
Tip: To prevent the eggs from drying out and breaking easily when cutting the cake, do not steam or bake the eggs for too long!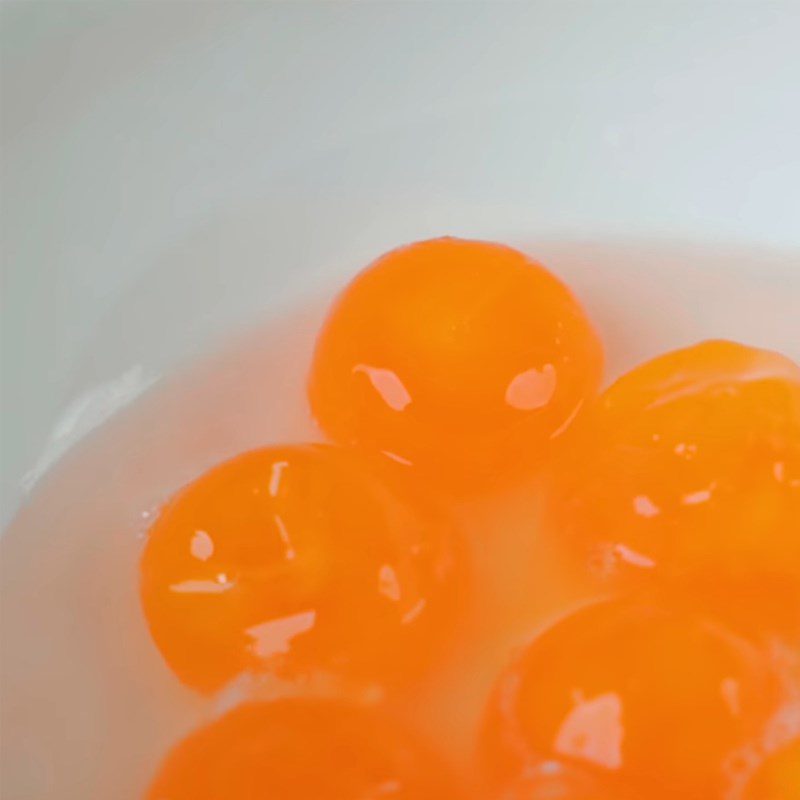
-
Assembling the cake
Divide the cake skin and filling in the ratio of 66g cake skin : 135g filling (including salted egg) and roll into a ball.
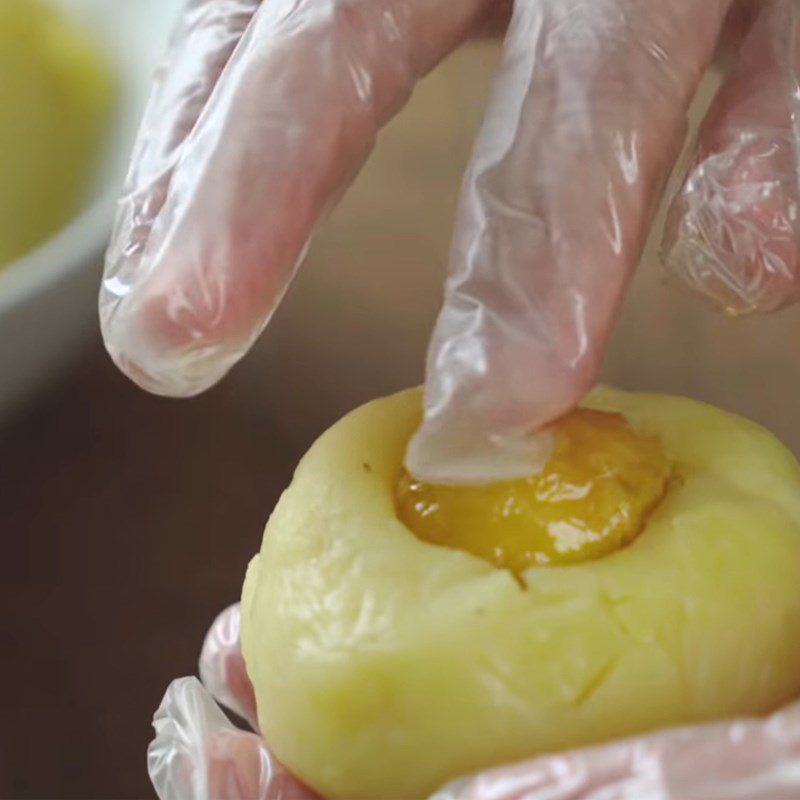
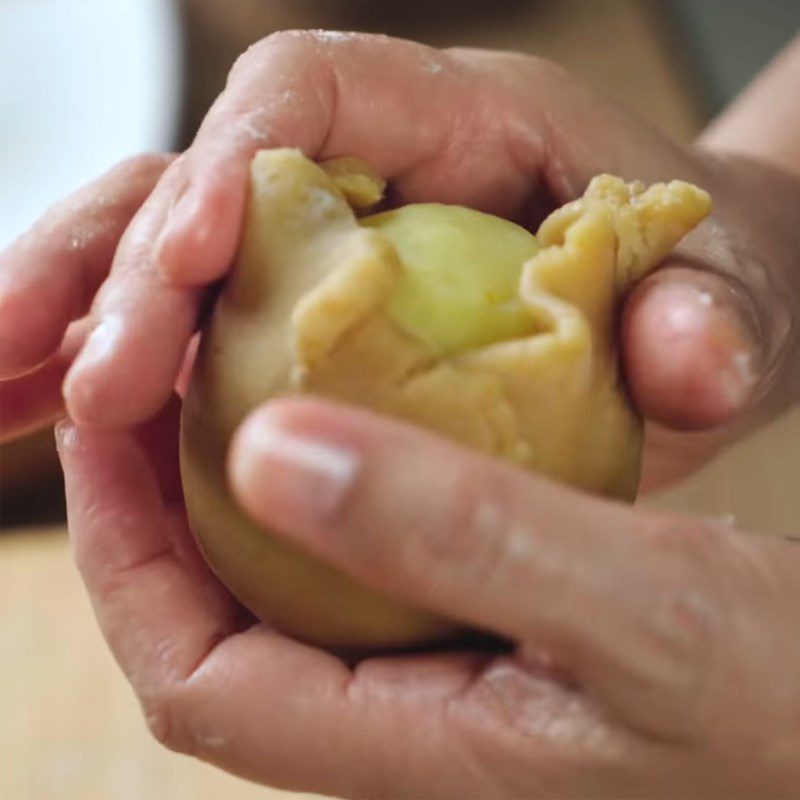
Use your thumb to press in the middle of the mung bean ball, then place 1 salted egg in and seal the filling tightly.
Next, use a rolling pin to flatten the cake skin, place the filling in the center and seal it tightly, then roll it into a ball.
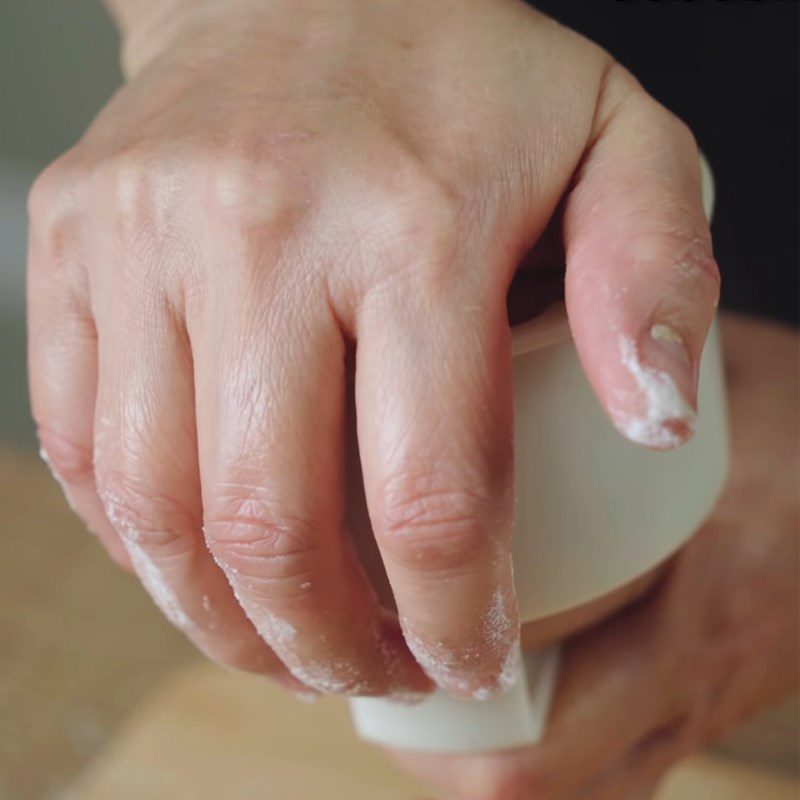
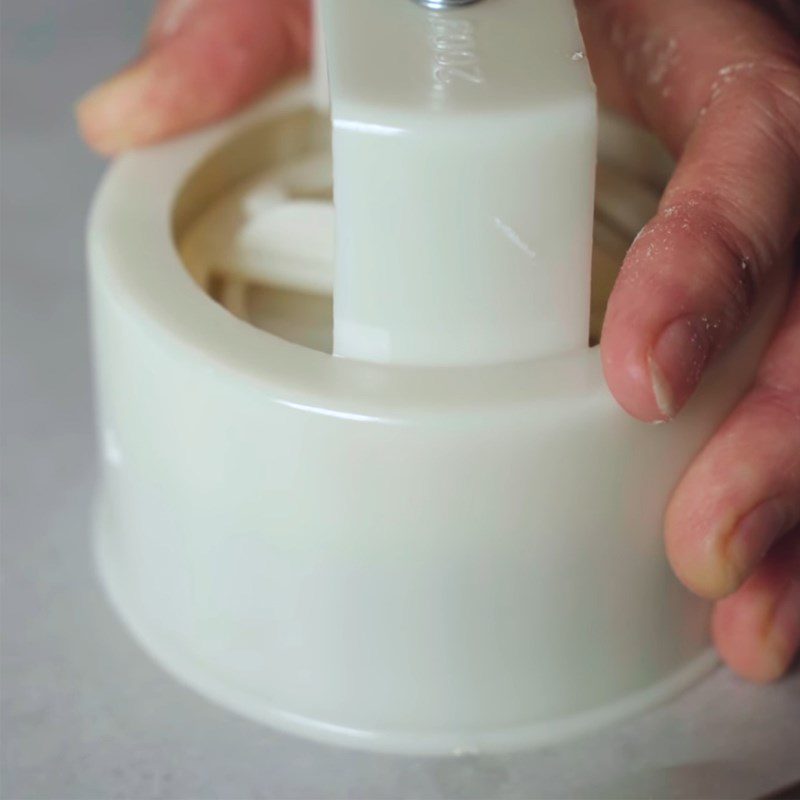
Coat the mold with a layer of cooking oil, place the cake inside and press firmly with your hand to spread the cake evenly in the mold. Then, press firmly on the spring part, holding it steady for 10 seconds to shape the cake.
-
Baking the Cake
Preheat the air fryer to 200 degrees Celsius for 15 minutes.
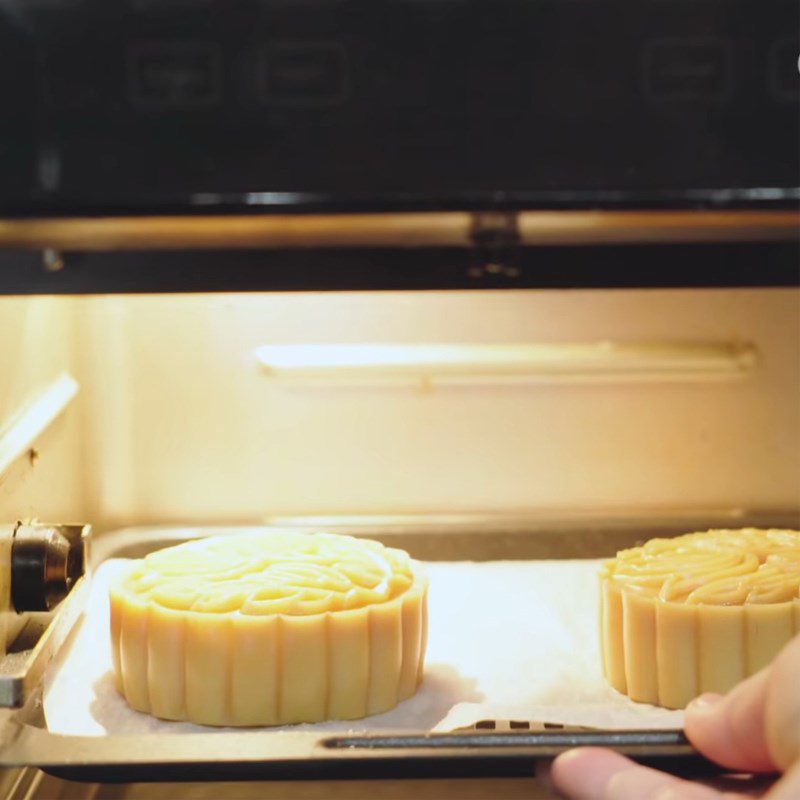
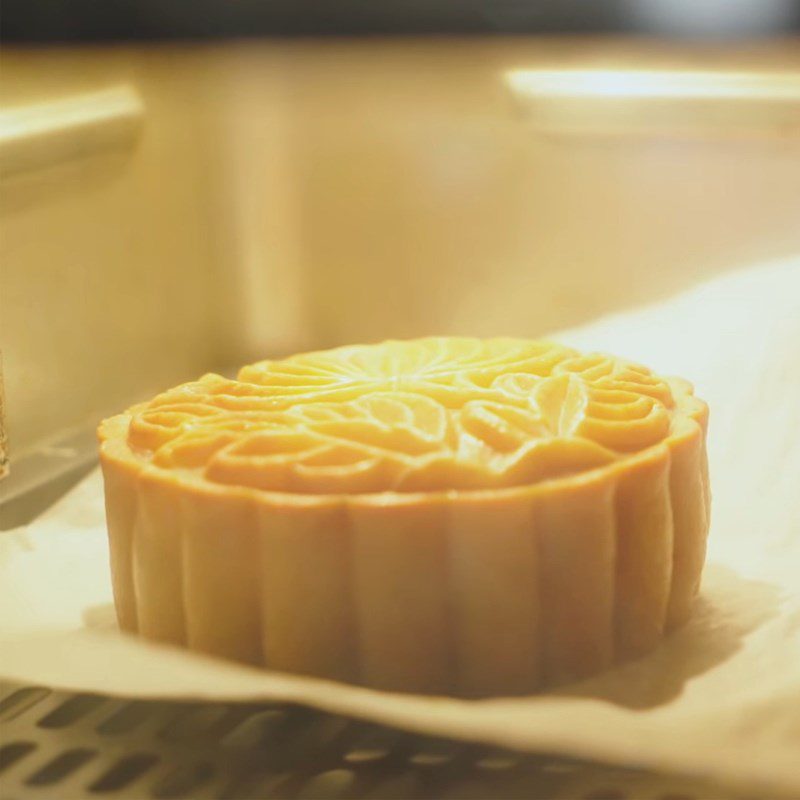
Place the cakes on a tray lined with parchment paper, then spray a fine mist of water on the surface of the cakes. Bake the first time at 145 degrees Celsius for 5 minutes. After 5 minutes, take the cakes out to cool completely.
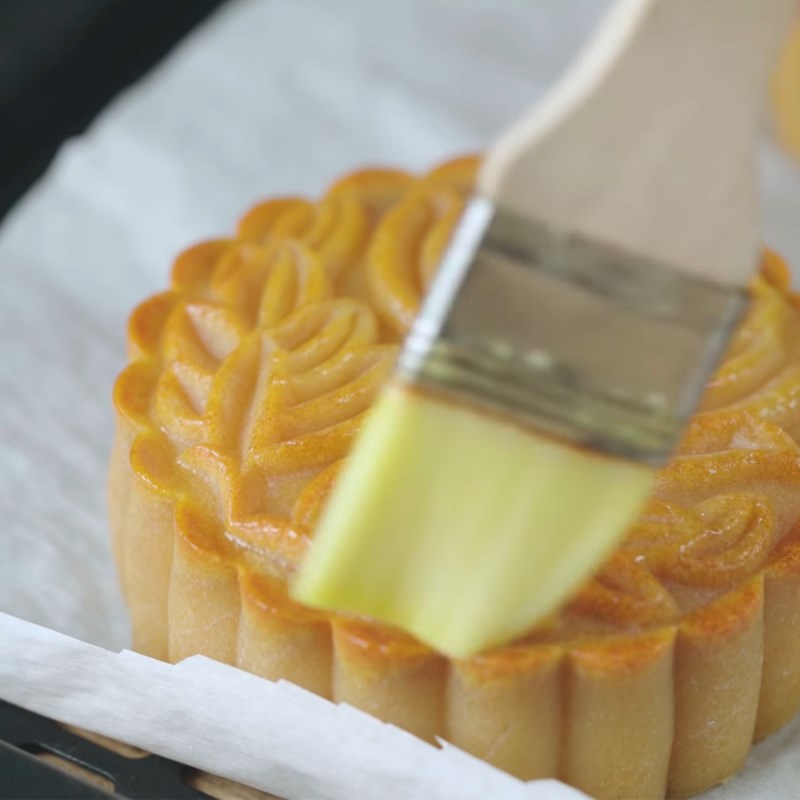
Dissolve 1 egg yolk with 1 tablespoon of unsweetened fresh milk. Brush a thin layer of the egg mixture over the cooled cakes and bake a second time at 145 degrees Celsius for 5 to 7 minutes.
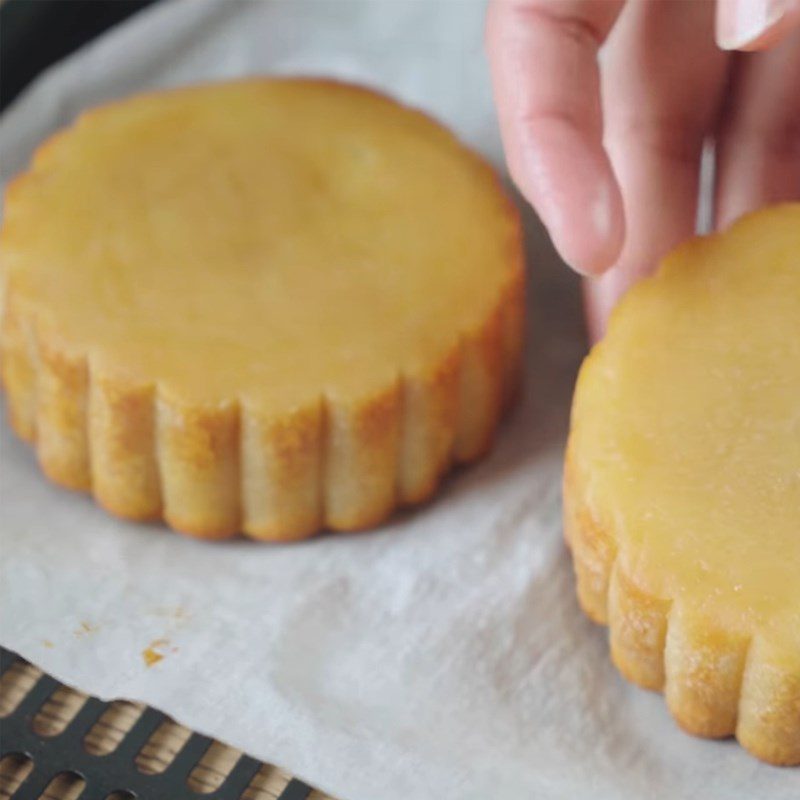
After the second baking, flip the cakes over and bake a third time for another 5 minutes at 145 degrees Celsius to finish.
-
Final Product
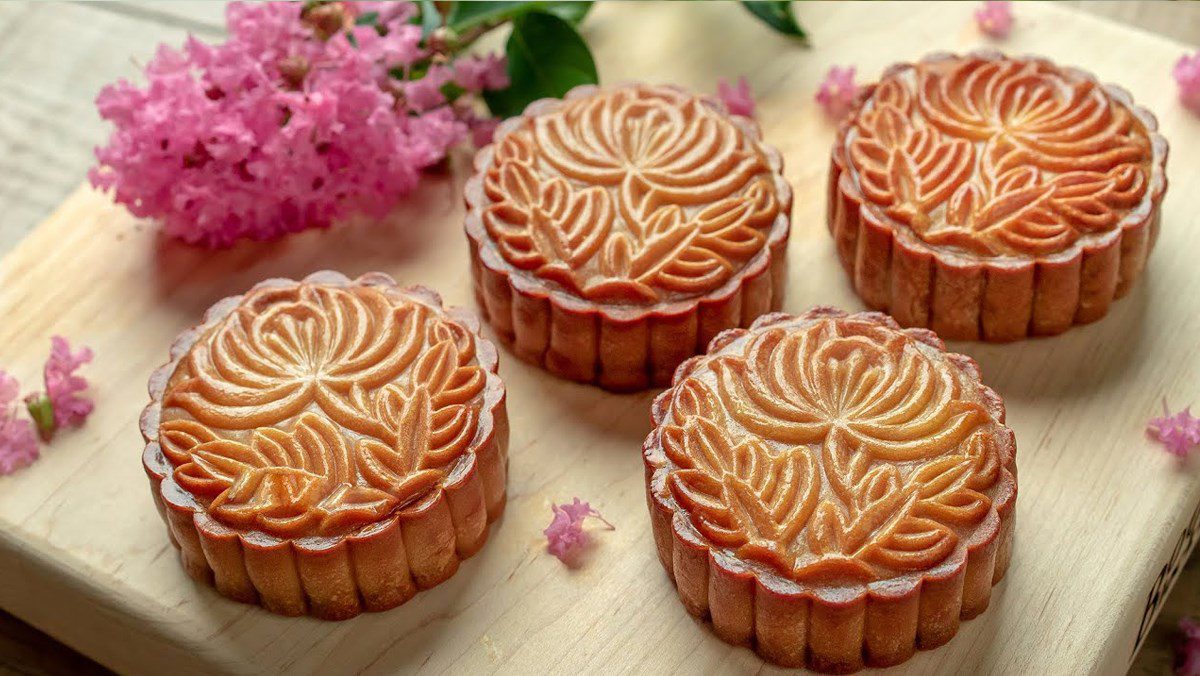
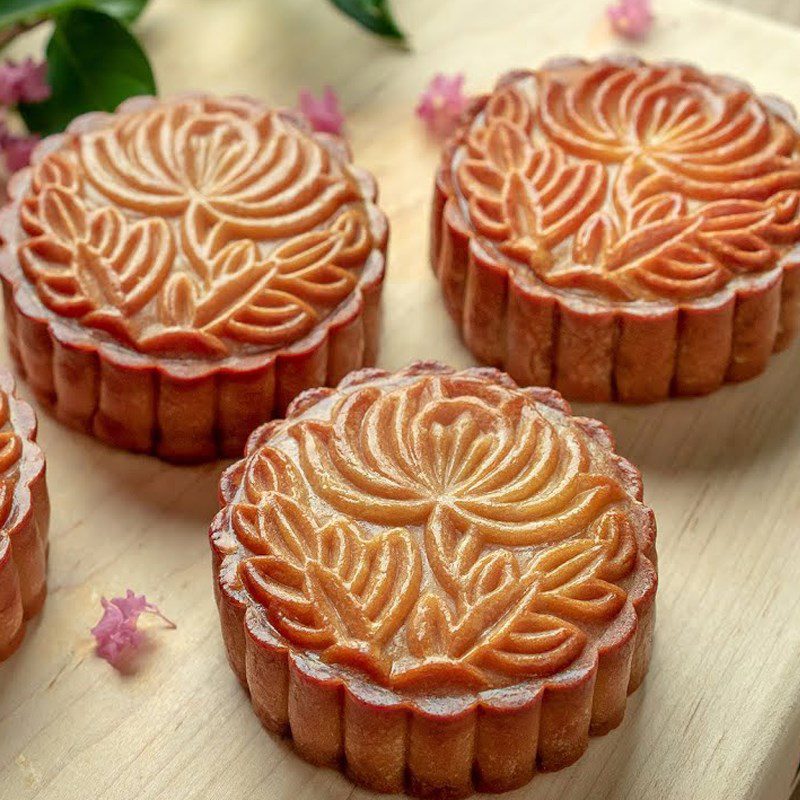
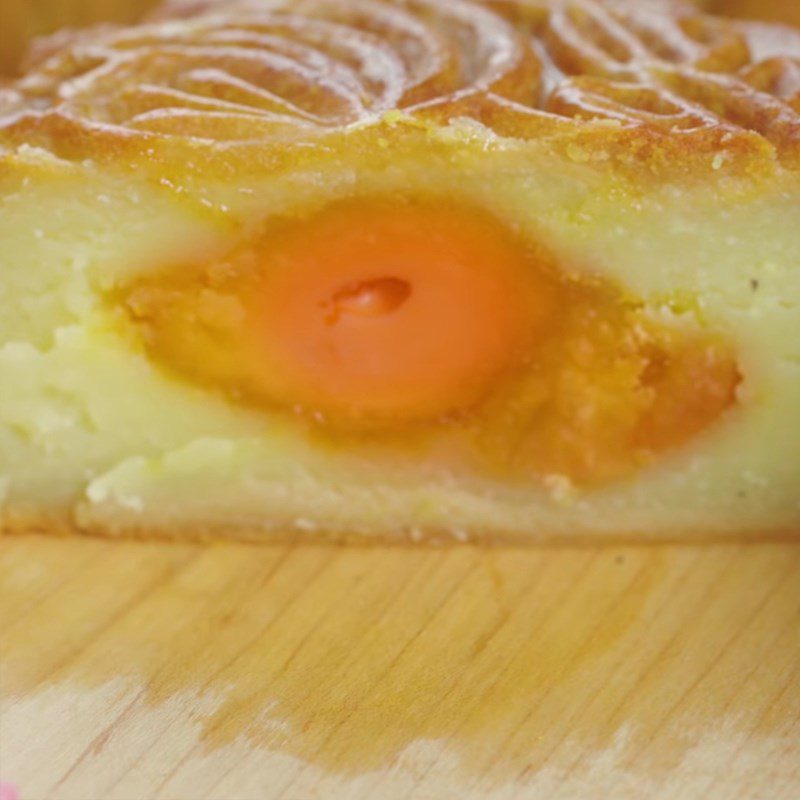
The moon cake with mung bean and salted egg yolk filling has a fragrant, soft crust that melts in your mouth, combined with a sweet, nutty filling, and the salted egg yolk adds a savory touch. Enjoying it with hot tea makes it even more delicious.
How to choose good mung beans
- You should choose fresh mung beans, with bright green color, plump and shiny, and when smelled, there is a natural aroma of mung beans.
- When held, they feel firm and leave no powdery residue.
- Avoid choosing beans with unusual colors, signs of mold or pests, and when smelled, there is an odd scent.
- You can use whole mung beans or peeled mung beans as you like!
Where to buy syrup for mooncake?
- You can buy mooncake syrup at stores selling baking ingredients or on reputable e-commerce sites.
- Additionally, you can also make syrup at home following TasteVN’s instructions.
Product Information
- The article uses the Kangaroo KG5201 52 liters oven to bake cakes. With a capacity of 52 liters, the oven can bake 9 mooncakes weighing 150gr each.
- The oven has a power of 2000W along with heating technology using a heating element combined with a convection fan, helping food to be baked evenly and faster.
- The oven chamber is made of high-strength stainless steel, resistant to oxidation, and allows users to easily clean after using the oven.
With just simple steps and familiar ingredients, you can make 2 delicious mooncakes with mung bean filling. Let’s get cooking with TasteVN right now! Wishing you success in your cooking!
Check out delicious dishes for mothers and children on AVAKids:
