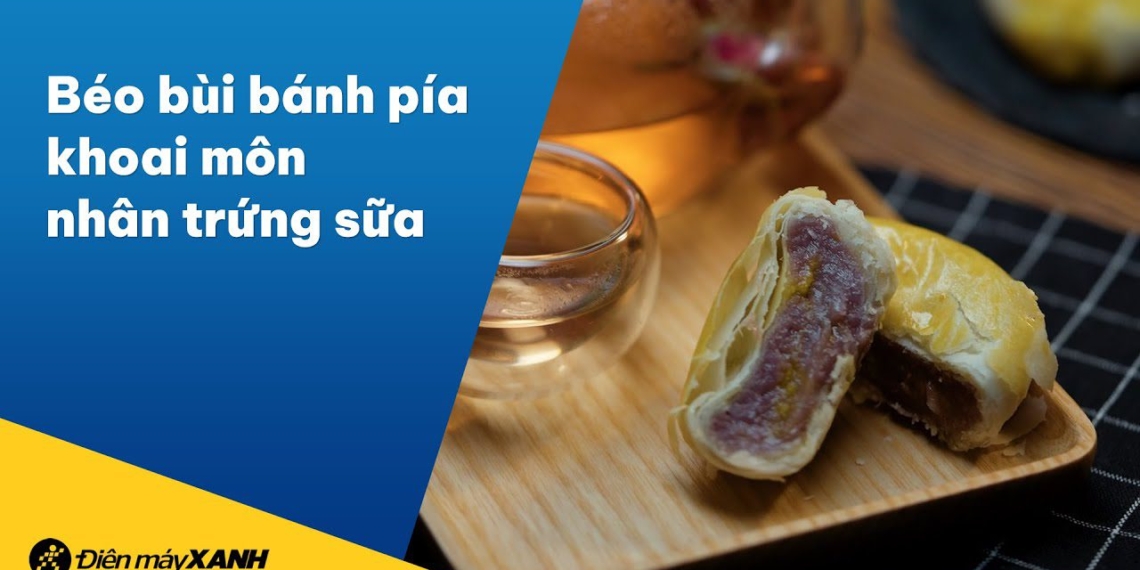
Pia cake is a very familiar dish during the Mid-Autumn Festival for Vietnamese people. Today, Cooking tips will introduce you to how to make pia cake with taro and milk egg filling, with a soft and fluffy outer layer combined with a rich filling.
1. How to fry taro filling
-
Preparation
25 minutes
-
Cooking
1 hour
-
Difficulty
Medium
Ingredients for How to fry taro filling For 250g of filling
Taro 100 g Purple sweet potato 100 g Dried lotus seeds 20 g Wheat flour 6 g Water 30 ml Glutinous rice flour 6 g Sugar 25 g Cooking oil 15 ml
How to choose good taro:
- Size: Choose medium-sized tubers, not too large or too small.
- Shape: Choose those that are round, egg-shaped, with rough skin, many roots, and dirt sticking to the skin.
- Color: Choose taro with cloudy white flesh inside and many purple veins.
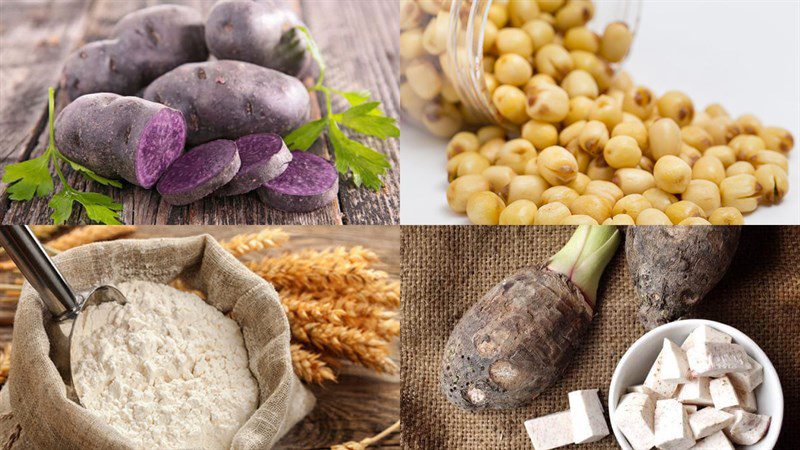
Tools needed
How to prepare Taro Paste
-
Prepare the taro
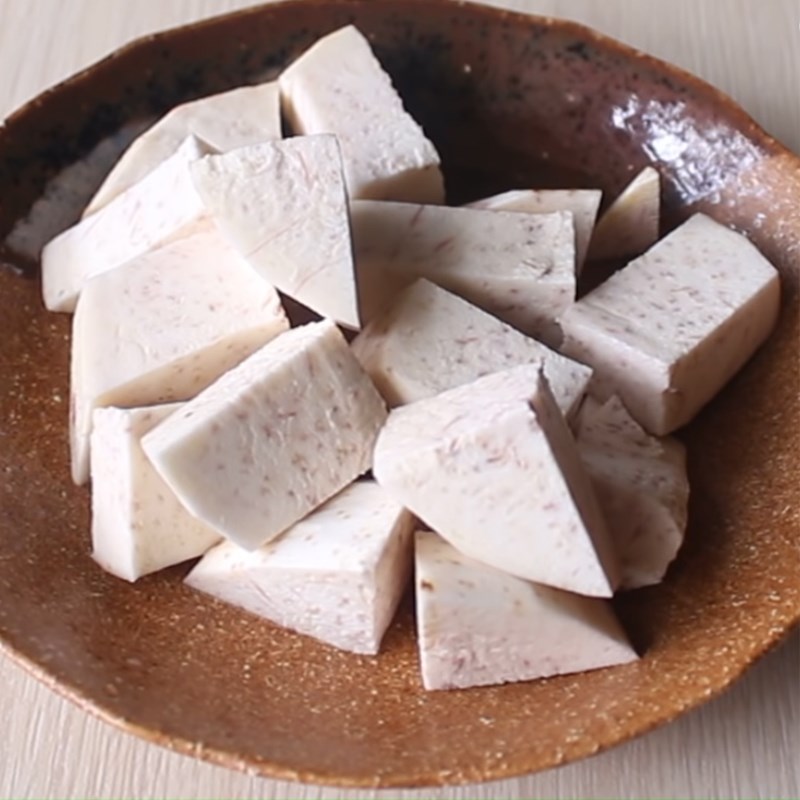
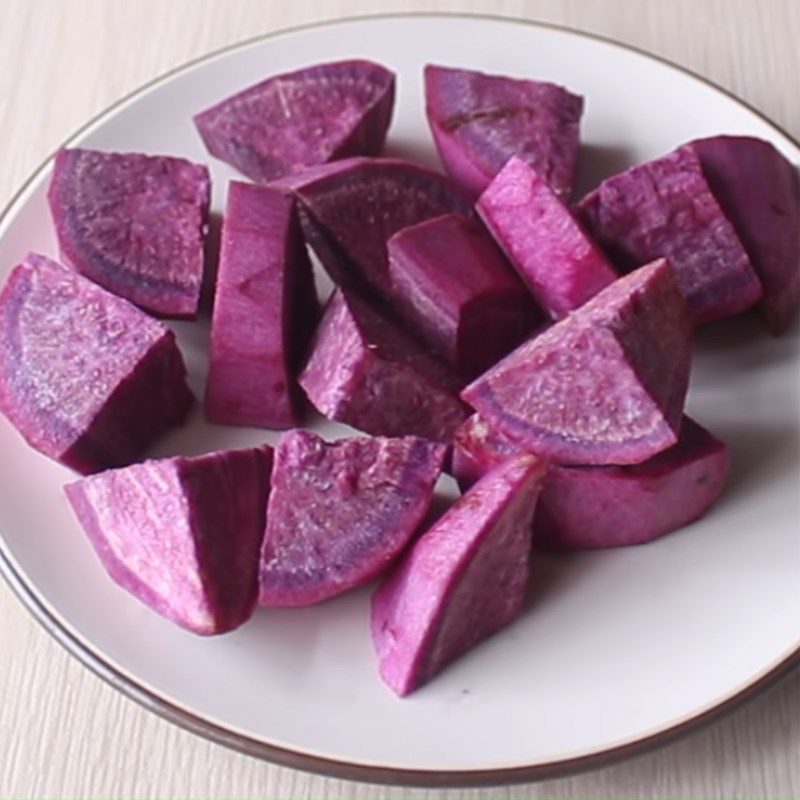
Peel the taro and purple sweet potato, wash them clean, and cut into small pieces.
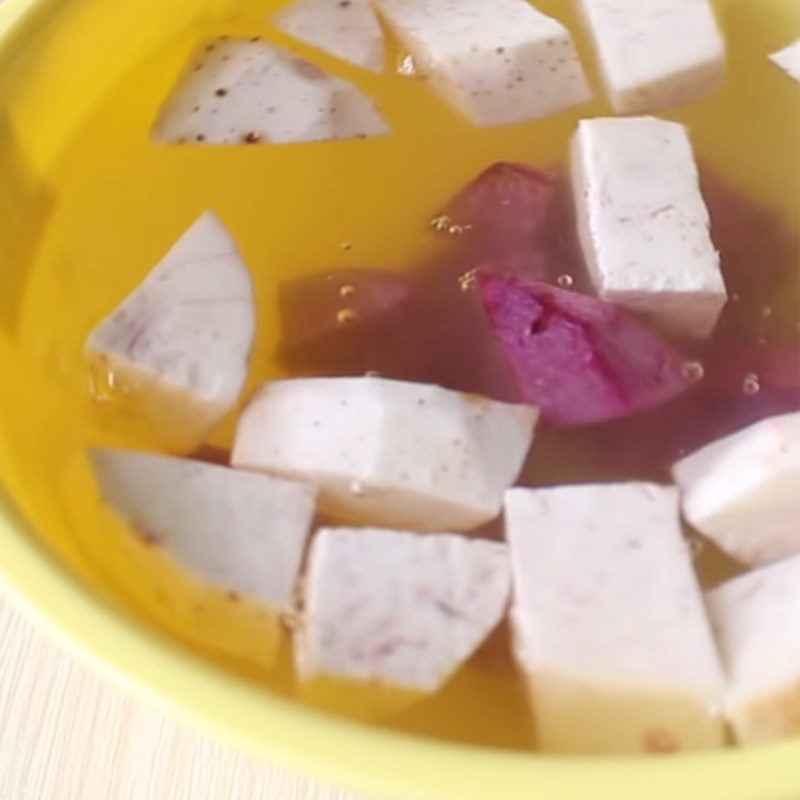
Dilute 1 tablespoon of salt in a basin of water, then soak the taro and sweet potato for 15 – 20 minutes to remove the sap.
-
Stew the taro
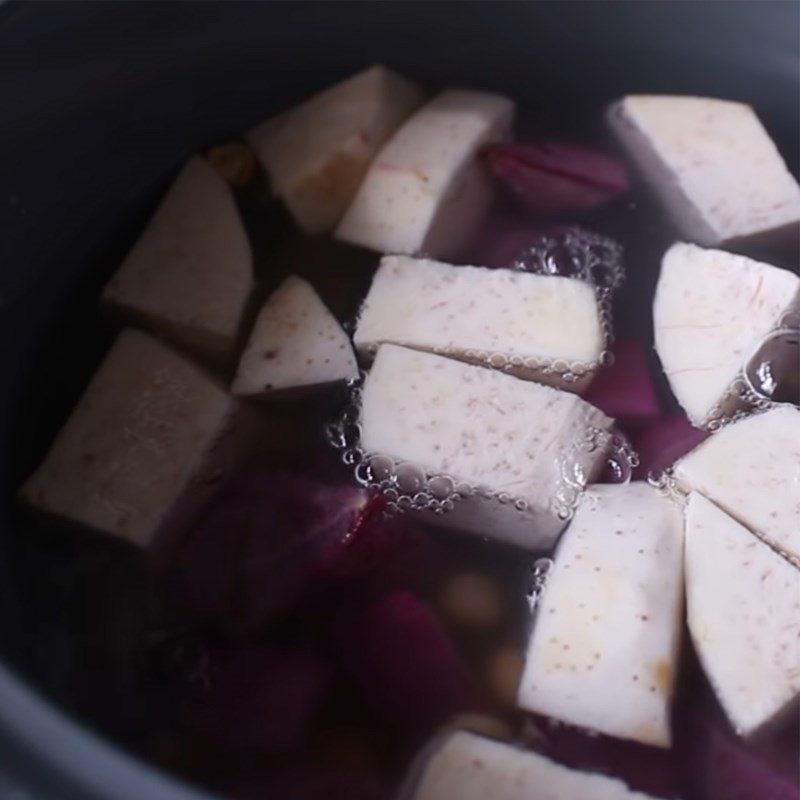
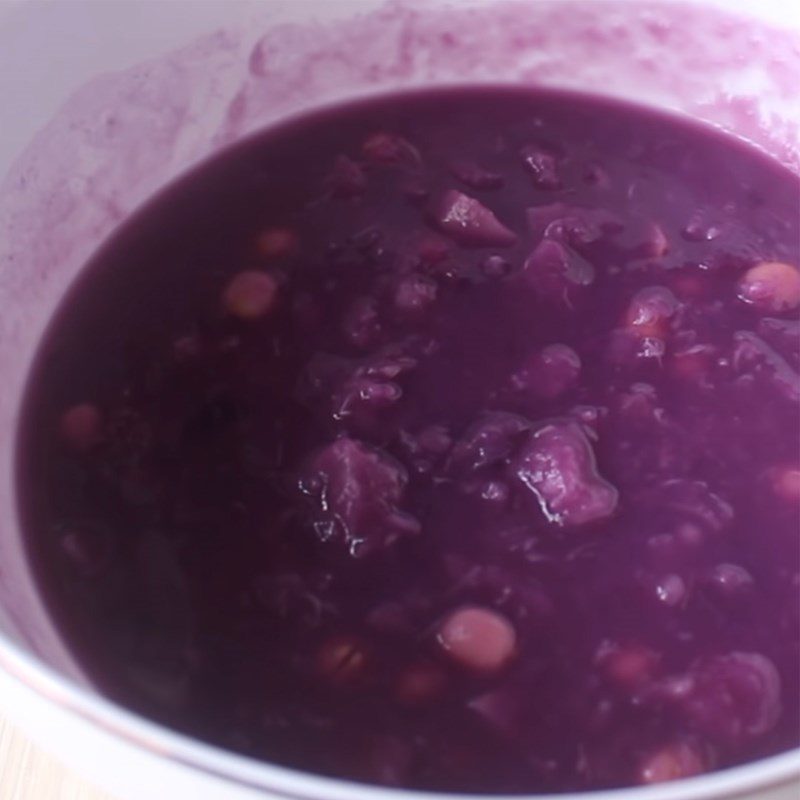
Add the taro to a pot, along with 20g of dried lotus seeds, pour in water to cover the taro, then cover and bring to a boil.
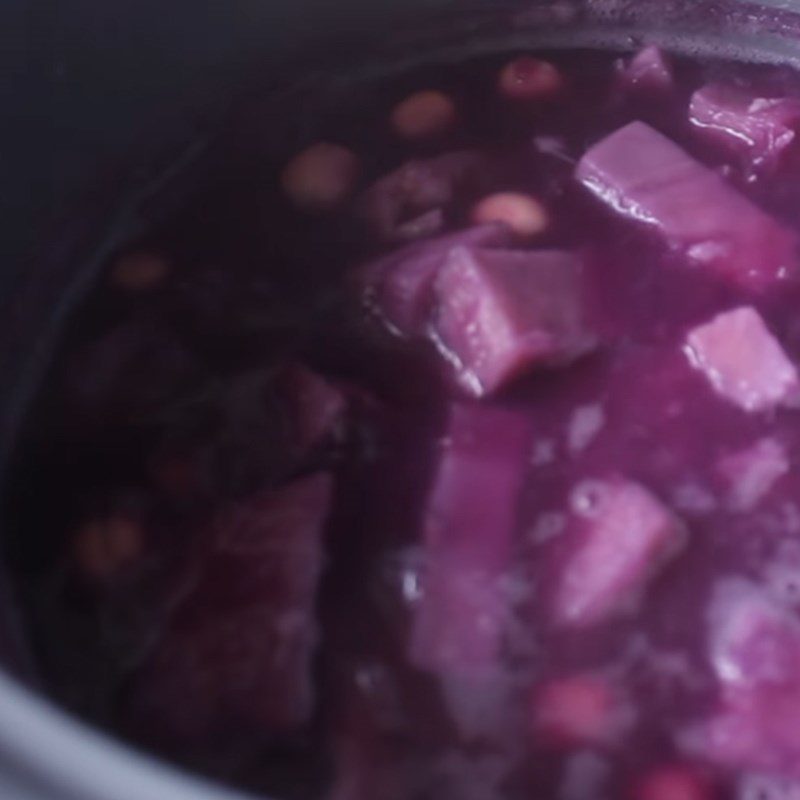
When the water boils, reduce the heat and cook until the taro and lotus seeds are soft.
-
Blend the taro
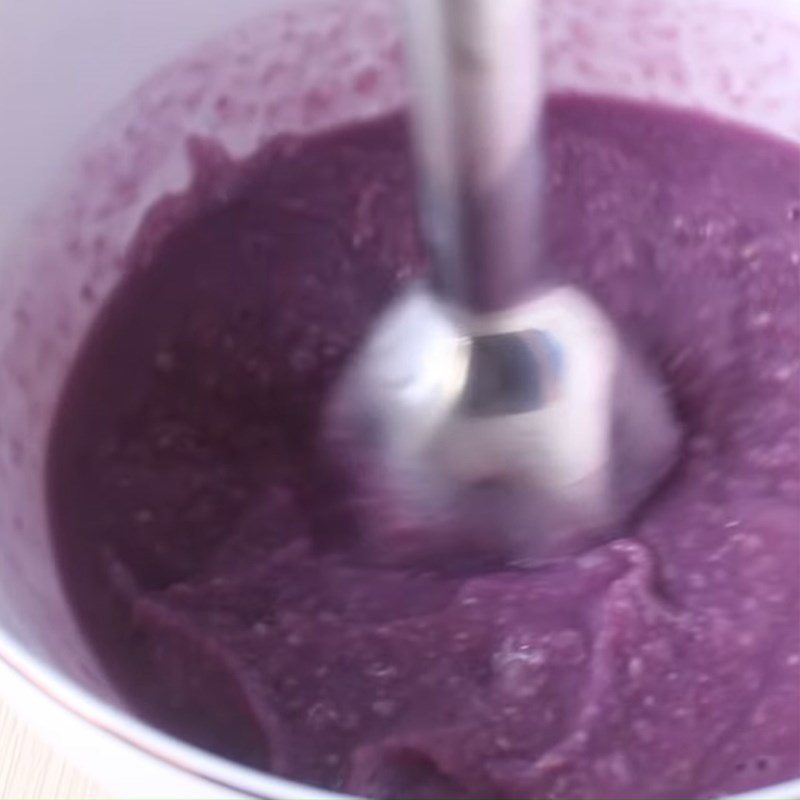
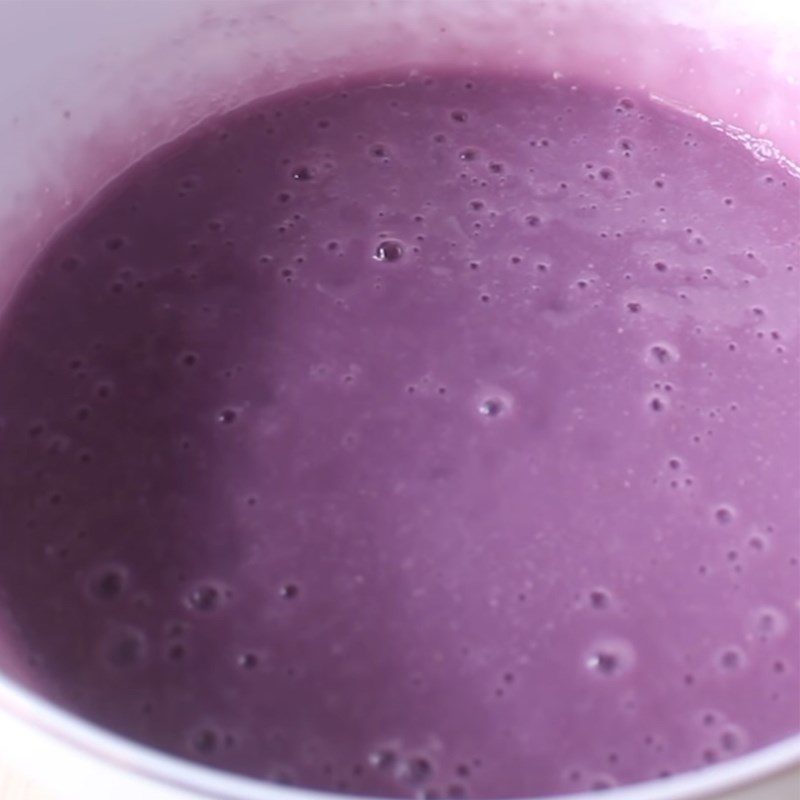
Put the taro mixture into a blender and blend until smooth.
Tip:
- If the taro mixture is a bit thick, you can add a little water.
- Adding more water will make the filling smoother.
-
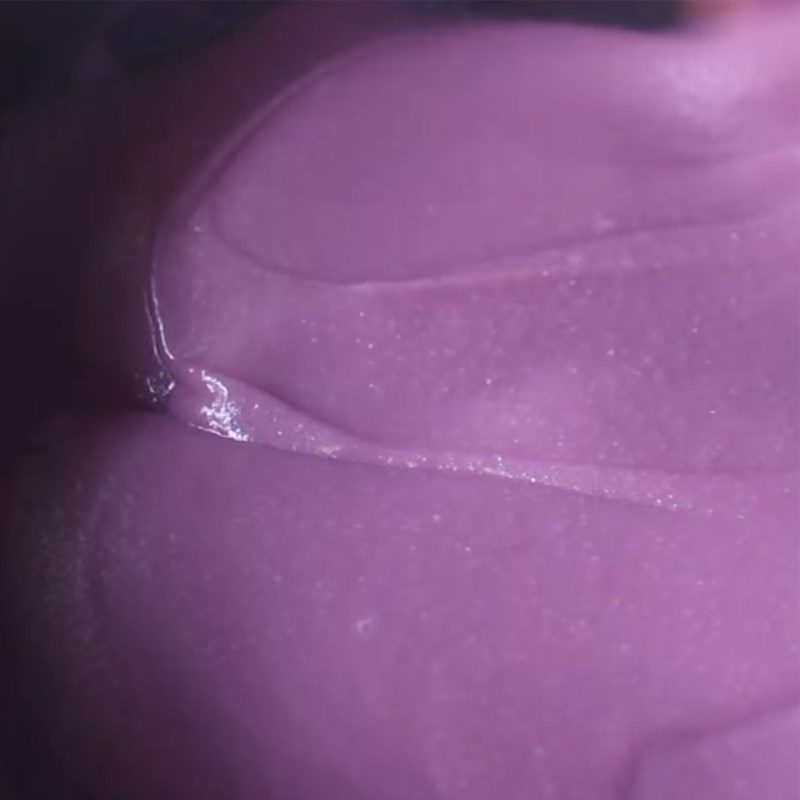
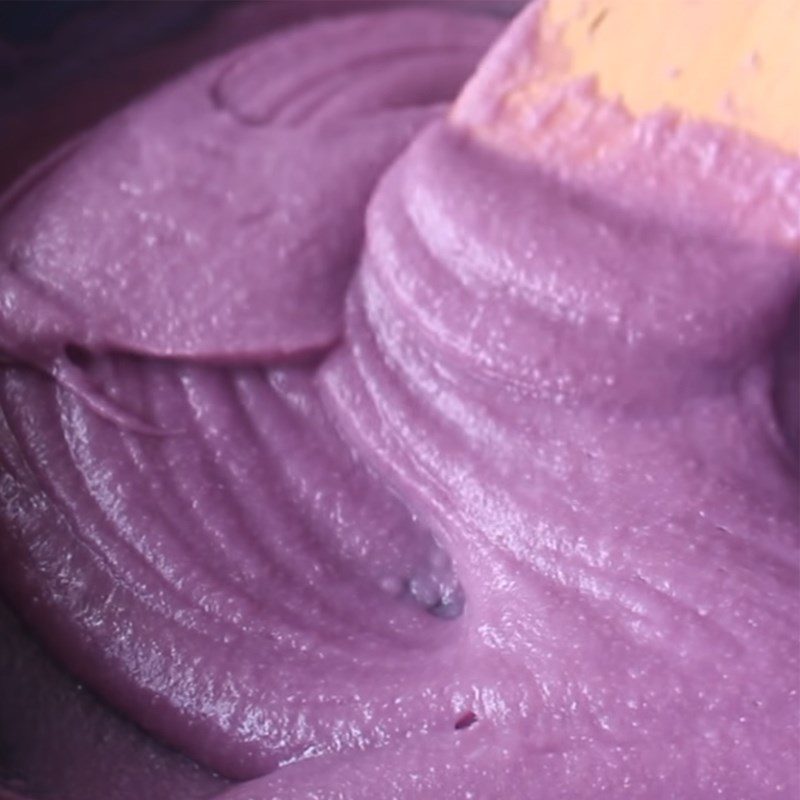
Cooking taro filling
Add 6g of flour and 30ml of water into a bowl and stir well with a spoon.
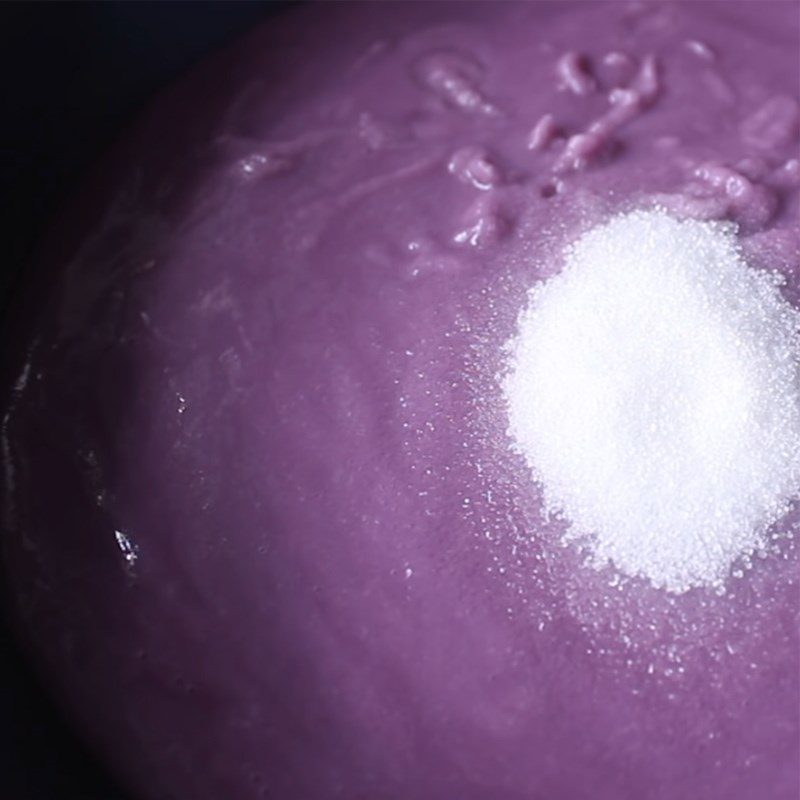
Sift the blended mixture into a pan, add 25g of sugar and 15ml of cooking oil. Stir the filling over low heat.
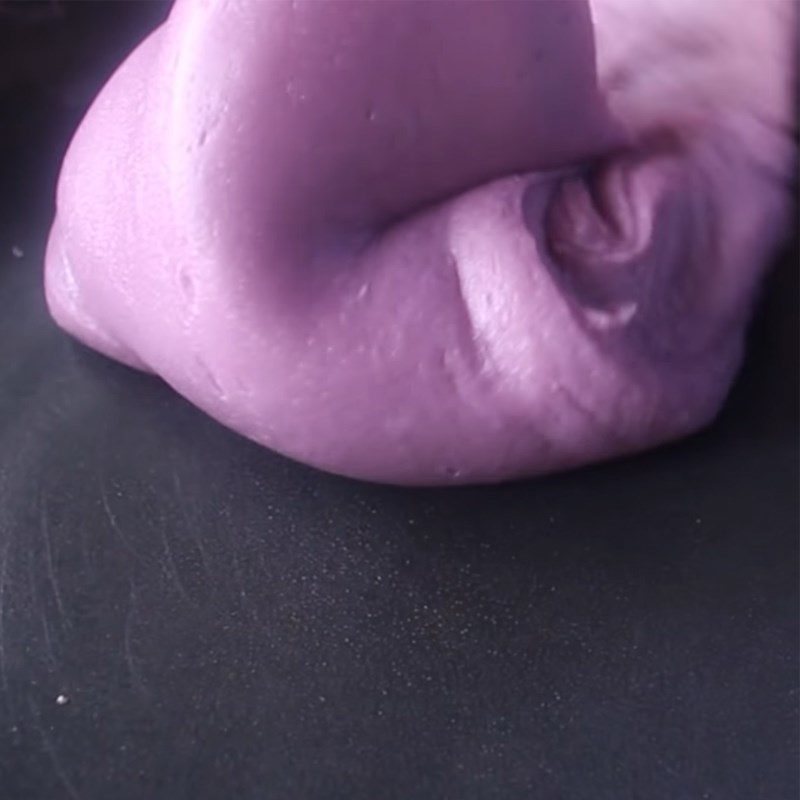
When the filling starts to thicken, add the flour water and continue stirring over low heat until the filling is thick and firm.
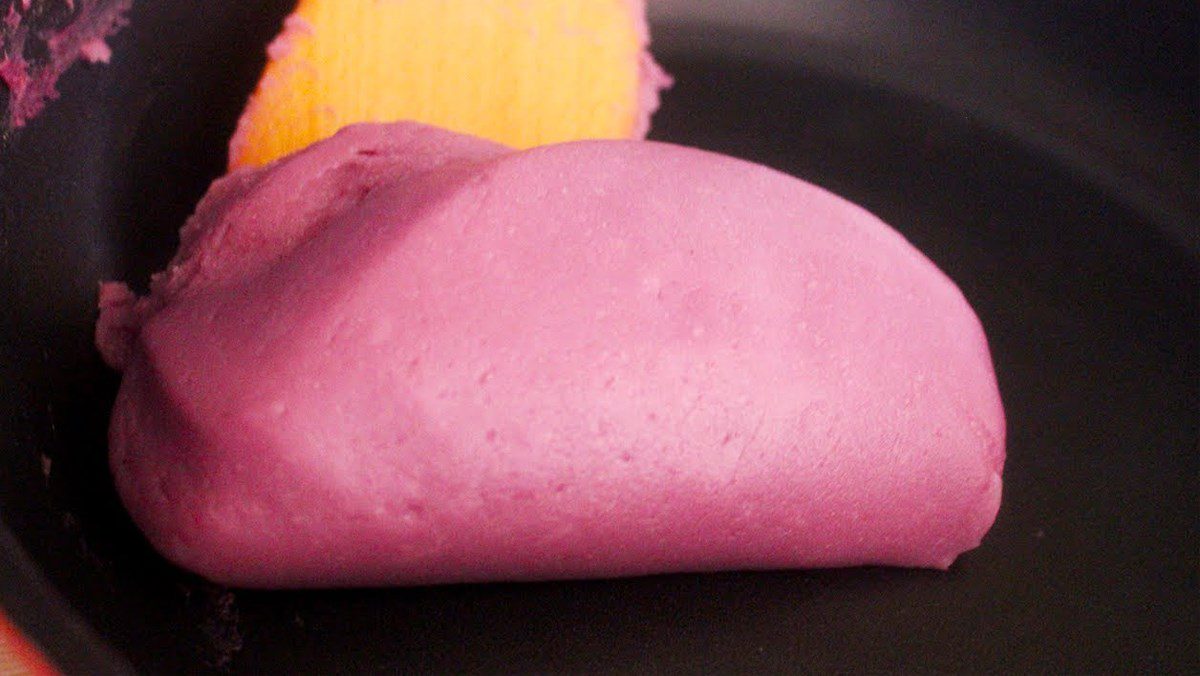
Sift 6g of glutinous rice flour into the pan, stir for about 5 minutes until the filling forms a mass and does not stick to your hands when touched.
-
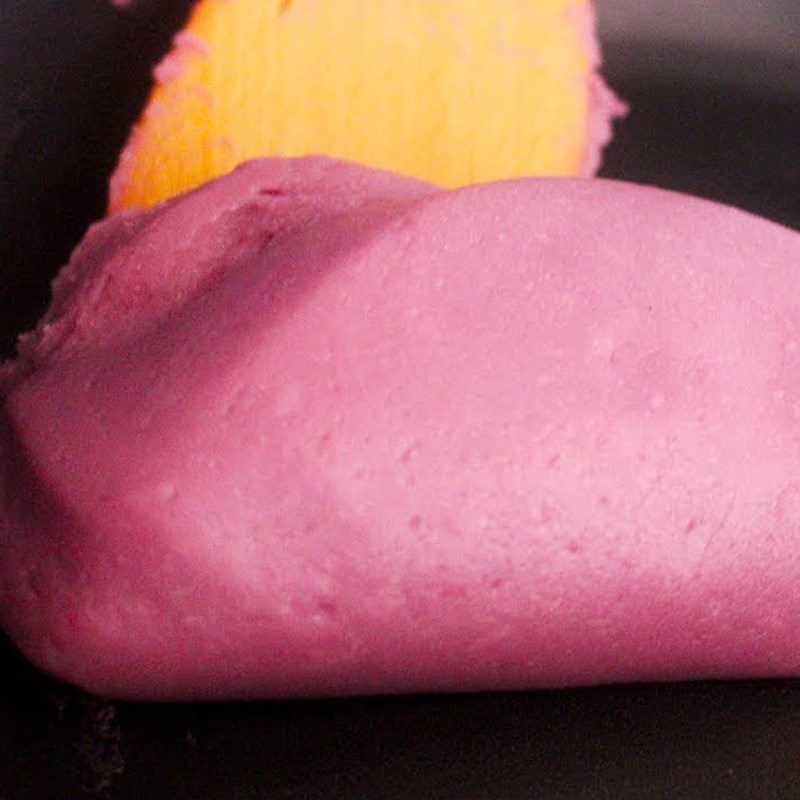
Final product
The taro filling when completed is dry, smooth, and does not leak water, both fragrant and delicious. With this filling method, you will surely have a delicious batch of cakes.
2. Taro cake with salted egg and milk filling

-
Preparation
1 hour 30 minutes
-
Cooking
45 minutes
-
Difficulty
Medium
Ingredients for Taro cake with salted egg and milk filling Serves 4 – 5 people
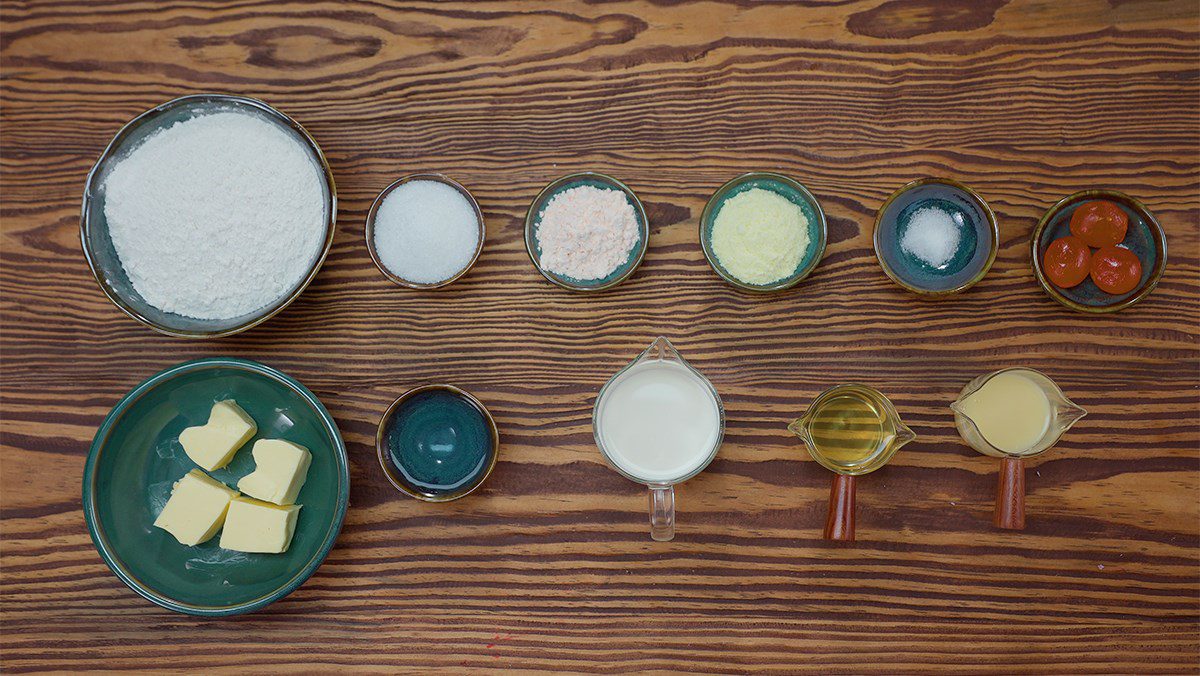
Cooked and mashed salted egg yolks 7 pieces (for filling) Unsweetened fresh milk 130 ml Condensed milk 40 gr Sugar 80 gr (10gr for filling – 70gr for water dough) Lion flour 15 gr Milk powder 20 gr Unsalted butter 140 gr Rose flour 690 gr (400gr for water dough – 290gr for oil dough) Salt 1 teaspoon Filtered water 70 ml Lard 190 gr (70gr for water dough – 120gr for oil dough)
Tools Required
Oven, blender, pot, non-stick pan, rolling pin,…
How to Choose Flour for Making Pia Cake
To make the crust of the pia cake, you should choose low-protein flour such as cake flour or flour type 8 to make the crust more fluffy and soft.
If you choose high-protein flour such as flour type 11, the outer crust of the pia cake will become hard and will not achieve the fluffiness, making it very dry when eaten.
How to Prepare Taro Pia Cake with Egg Milk Filling
-
Make the Egg Milk Filling
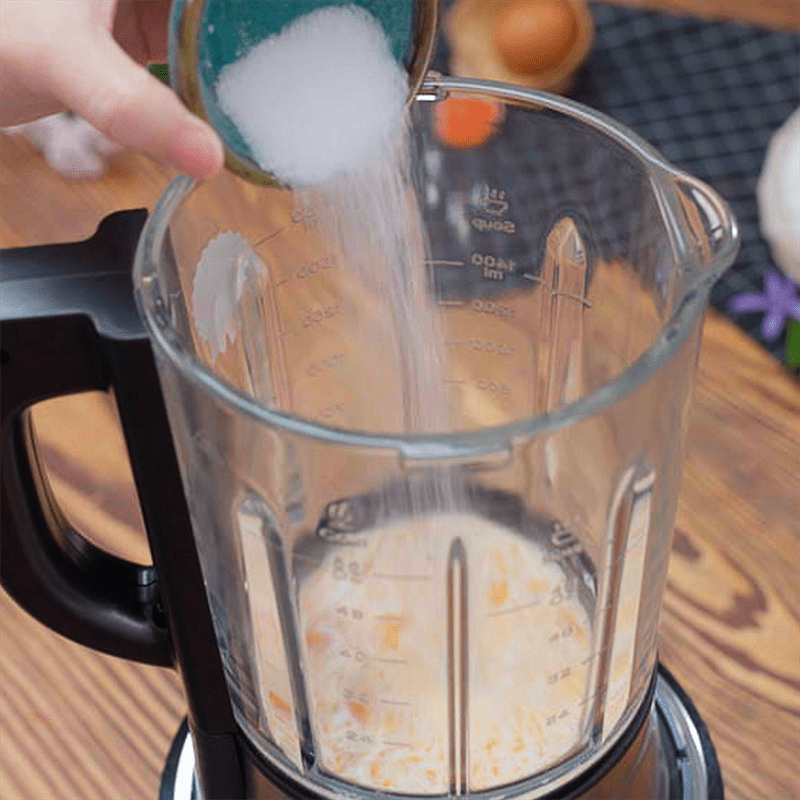
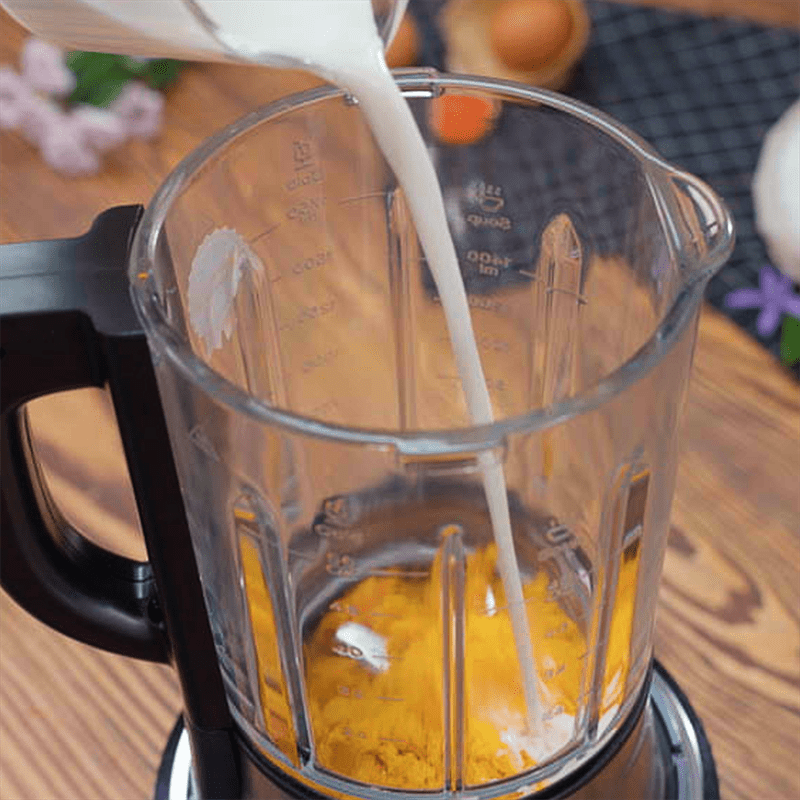
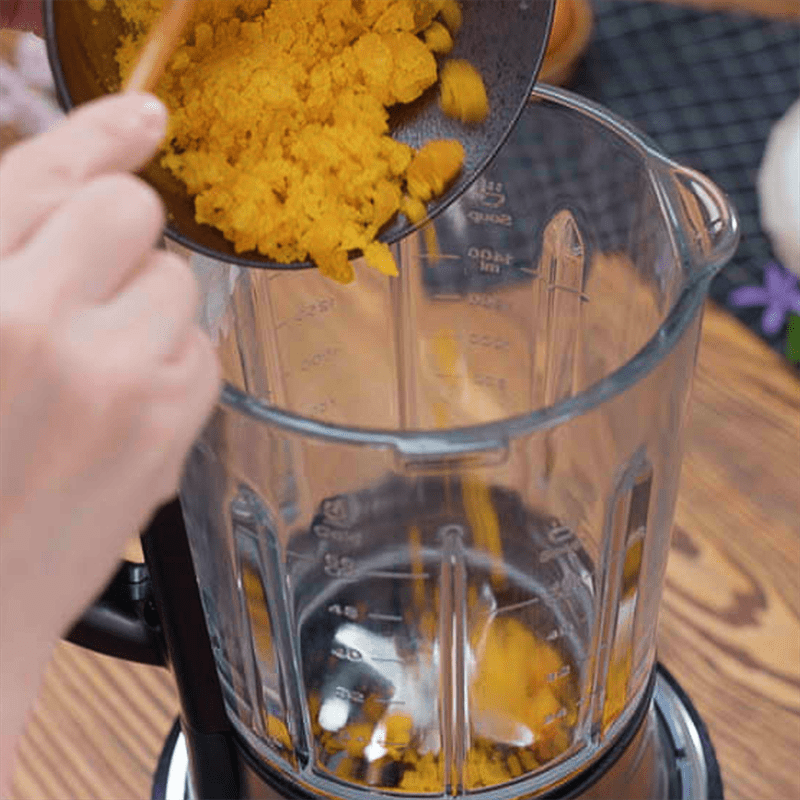
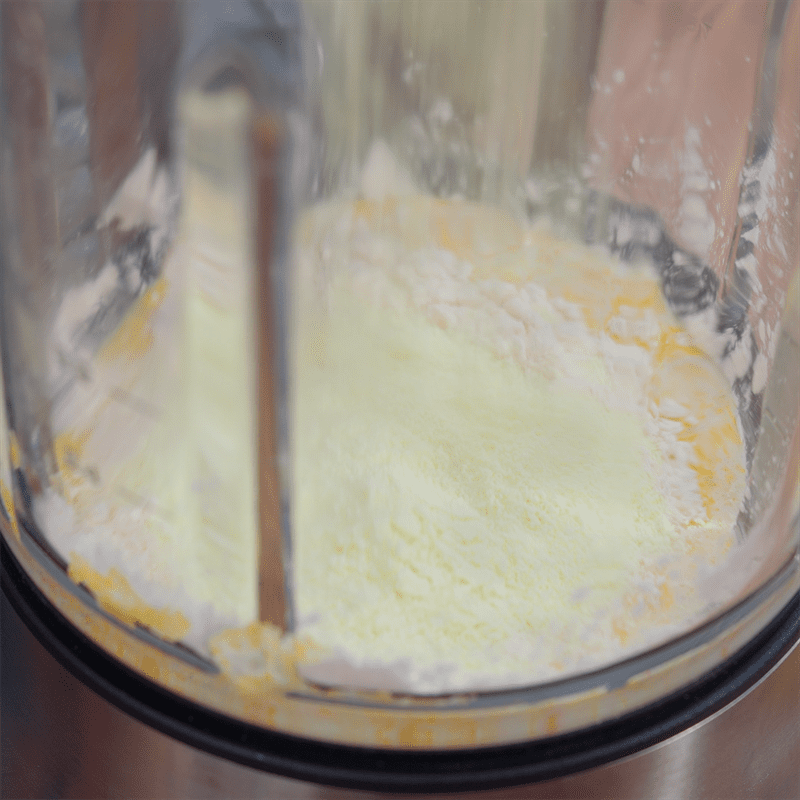
Add 7 cooked salted egg yolks that have been steamed and mashed together with 130 ml of unsweetened fresh milk, 40 grams of condensed milk, 10 grams of sugar, 15 grams of malt powder, and 140 grams of peanut butter into the blender.
Next, you turn on the blender from the lowest to the highest level to ensure the egg milk filling is completely blended.
-
Freeze the filling
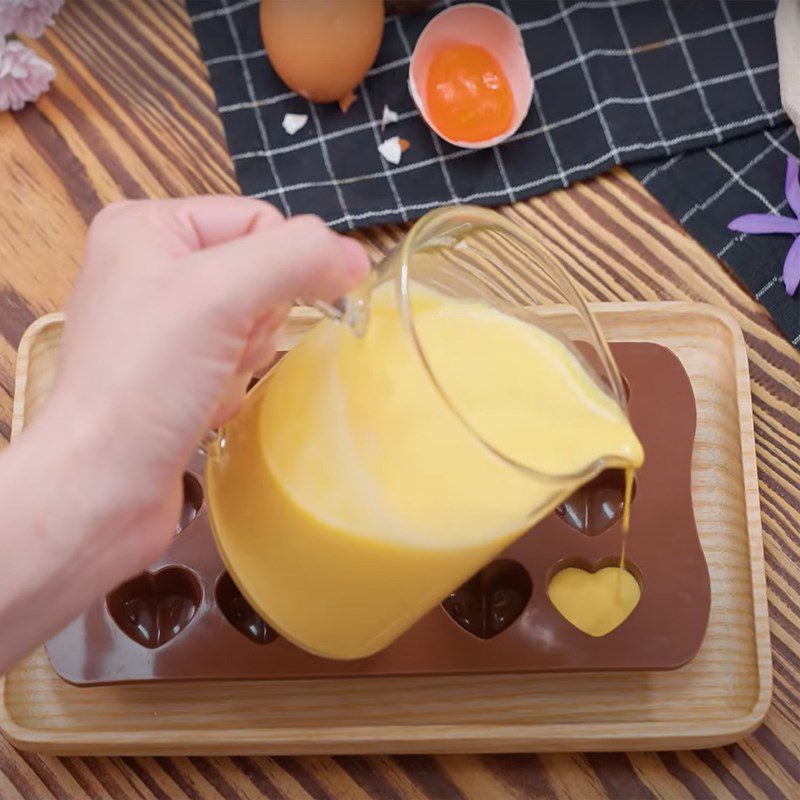
After the milk and egg mixture has been blended until smooth, pour it into a mold and place it in the refrigerator freezer overnight. If you do not have a silicone mold as shown in the picture, you can completely substitute it with a small ice tray.
Avoid choosing a large-sized mold, so that when wrapping the taro filling around the milk and egg mixture, it does not overflow!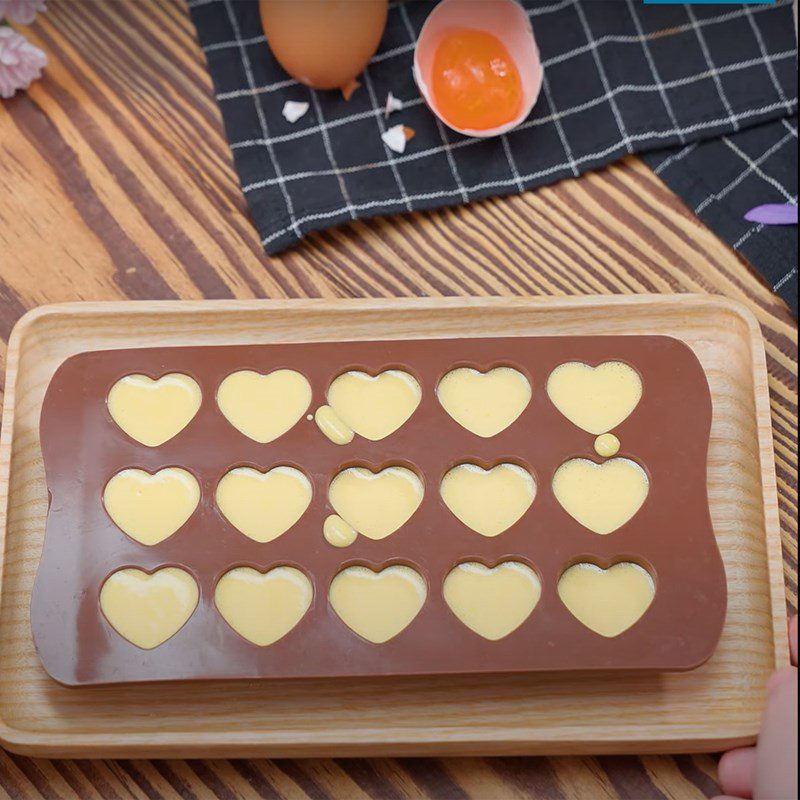
-
Wrap the taro filling
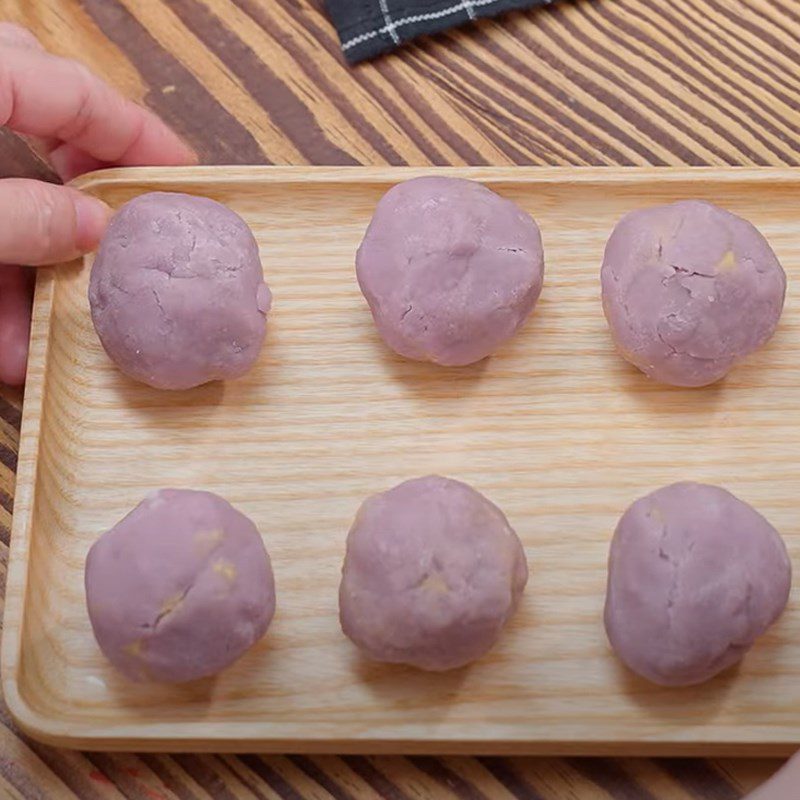
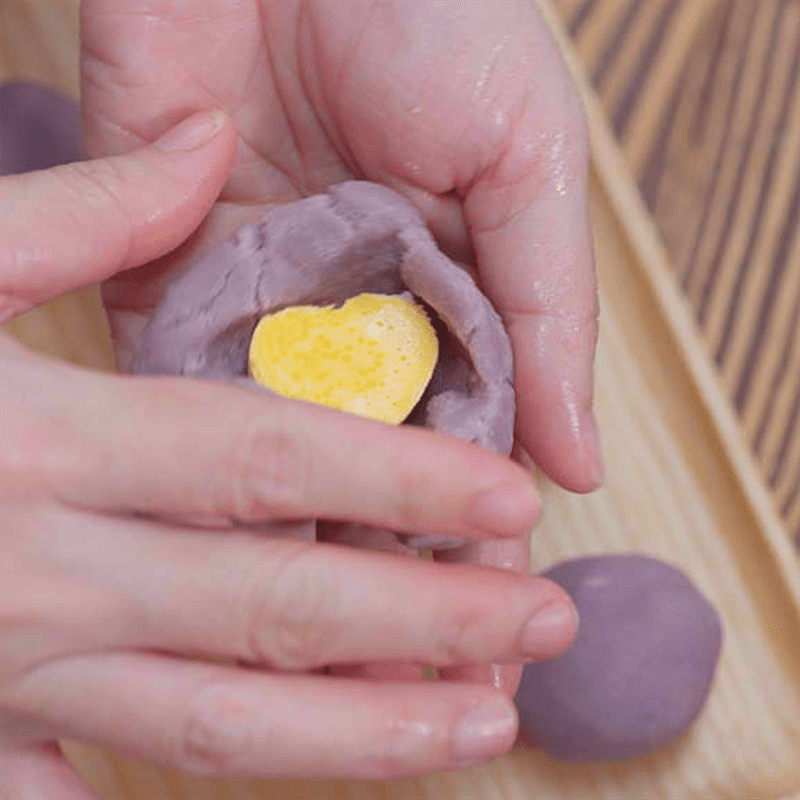
Divide the previously cooked taro filling into round balls of about 25 grams, and gently press the center of the taro filling with your hand.
Then place the egg and milk ball that has been frozen overnight into it and mold it slowly and firmly so that the taro wraps evenly around the egg and milk mixture. Remember to store it in the refrigerator after wrapping before moving on to the next step of making the cake skin!
-
Making the water dough
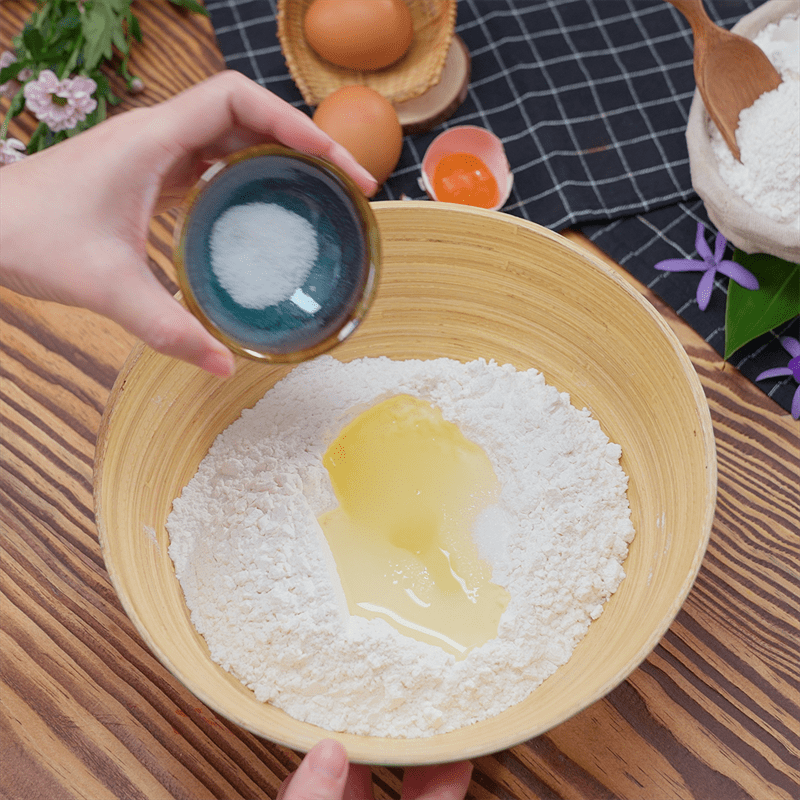
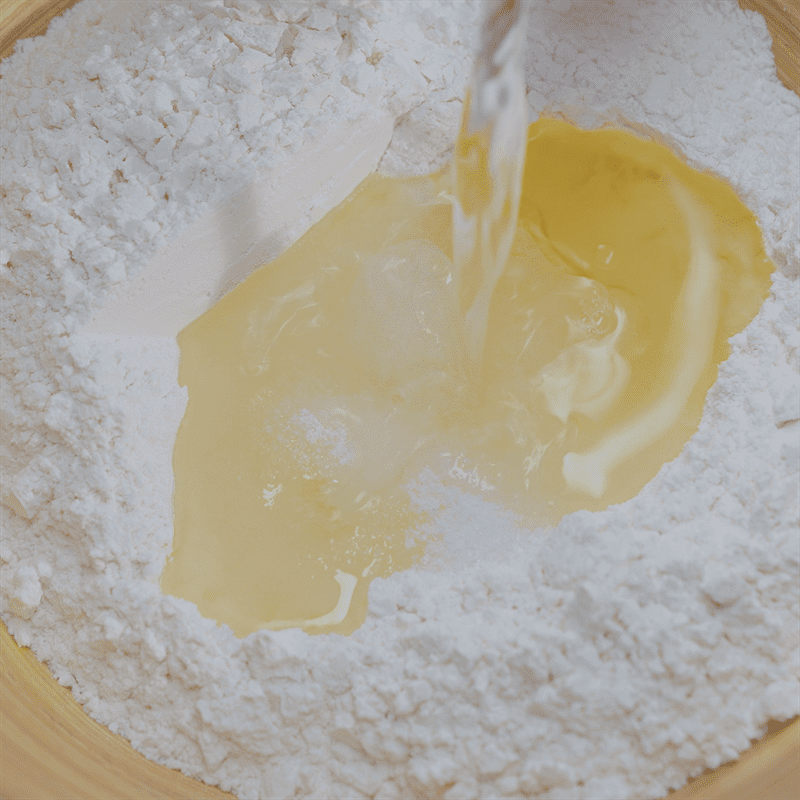
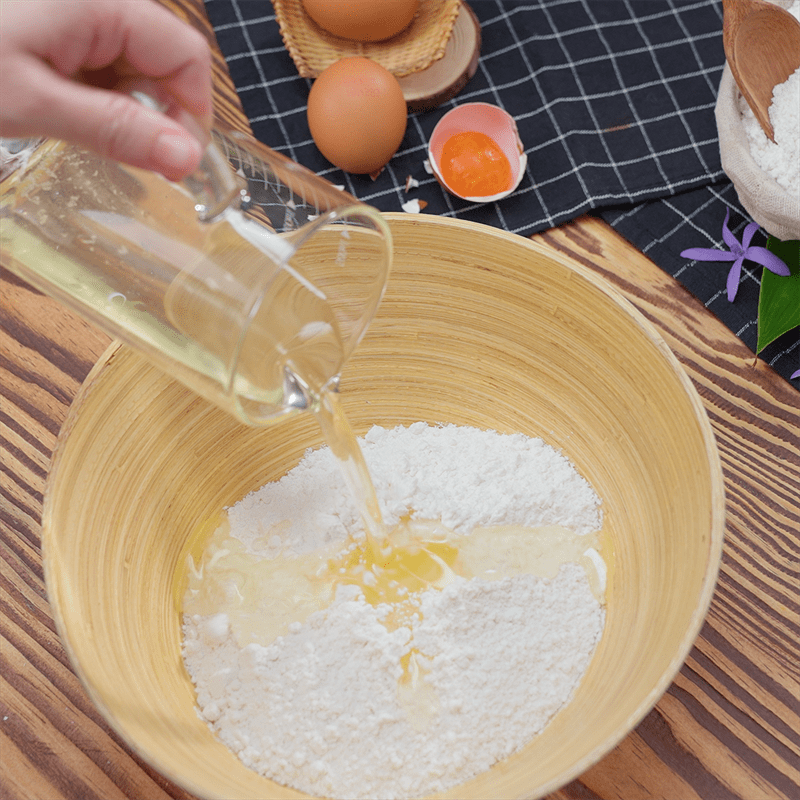
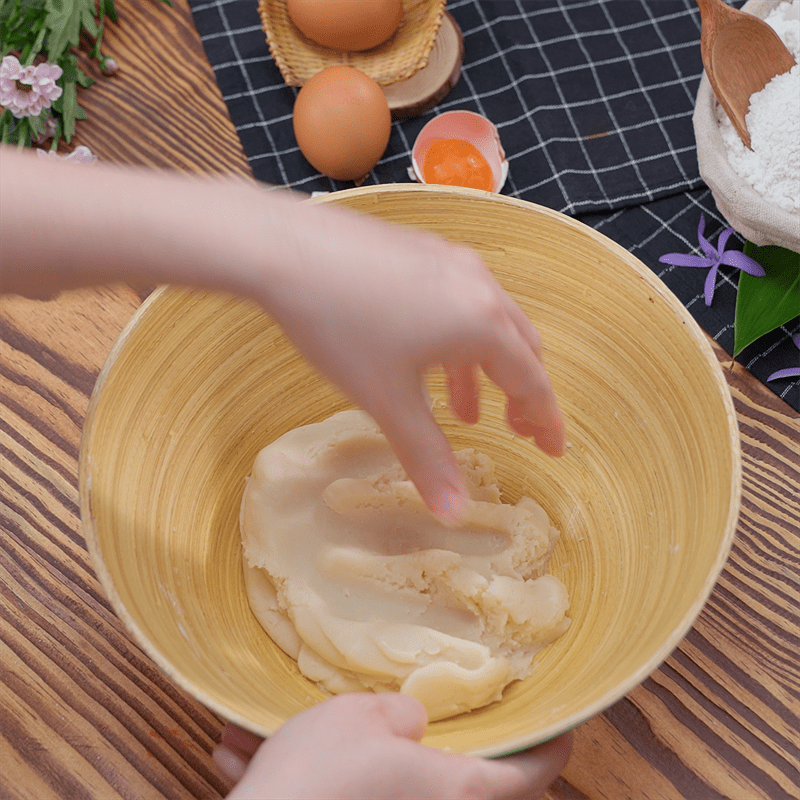
Put all the ingredients: 400 grams of rose flour, 70 grams of sugar, 70 grams of lard, 1 teaspoon of salt, and 70 ml of clean water into a bowl and mix well.
When stirring the dough feels heavy, switch to using your hands to knead the dough until it becomes smooth, and let the dough rest for 30 minutes!
-
Making the oil dough
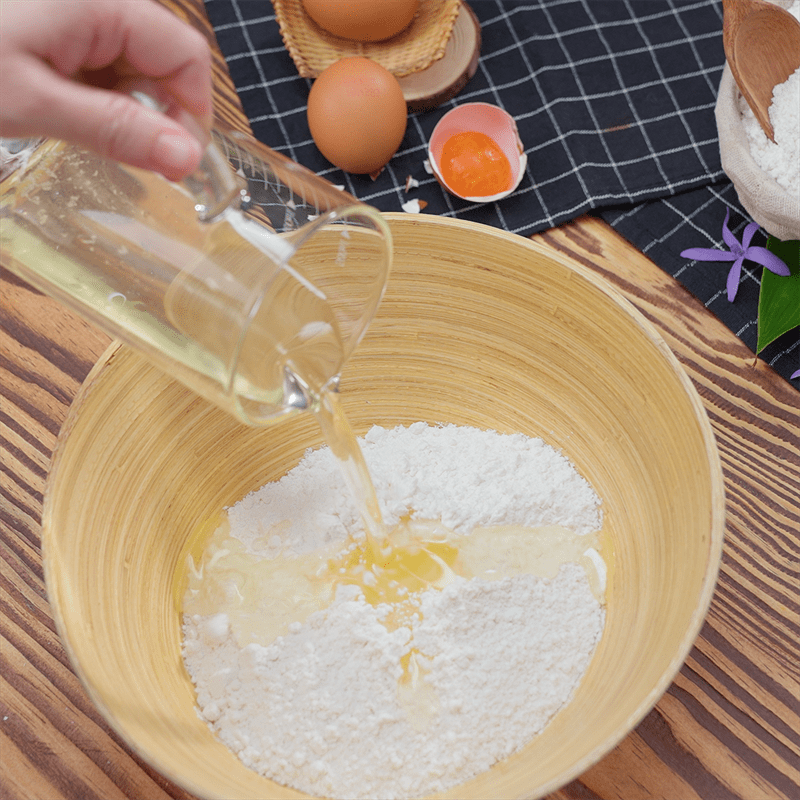
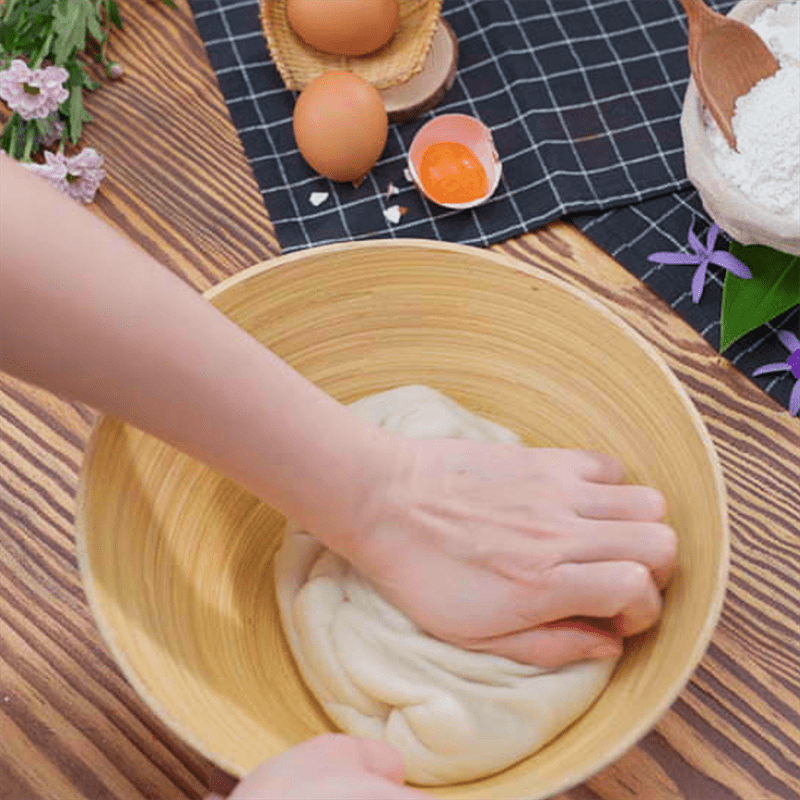
Making the oil dough is much simpler than making the water dough. Just mix the two types of ingredients: 290 grams of rose flour and 120 grams of lard, knead well, and let it rest for 30 minutes.
-
Making the pastry for bánh pía
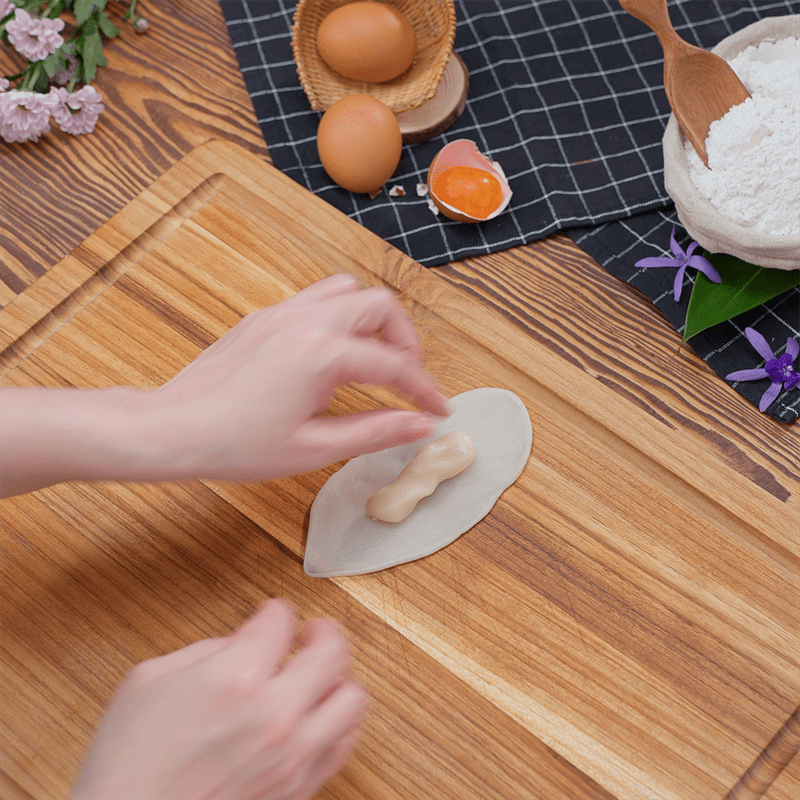
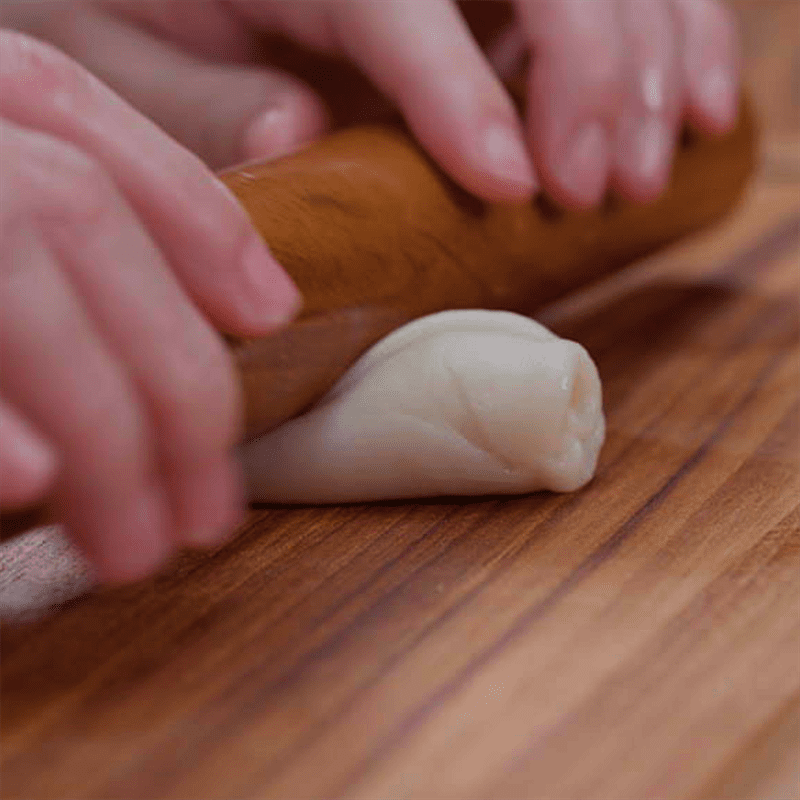
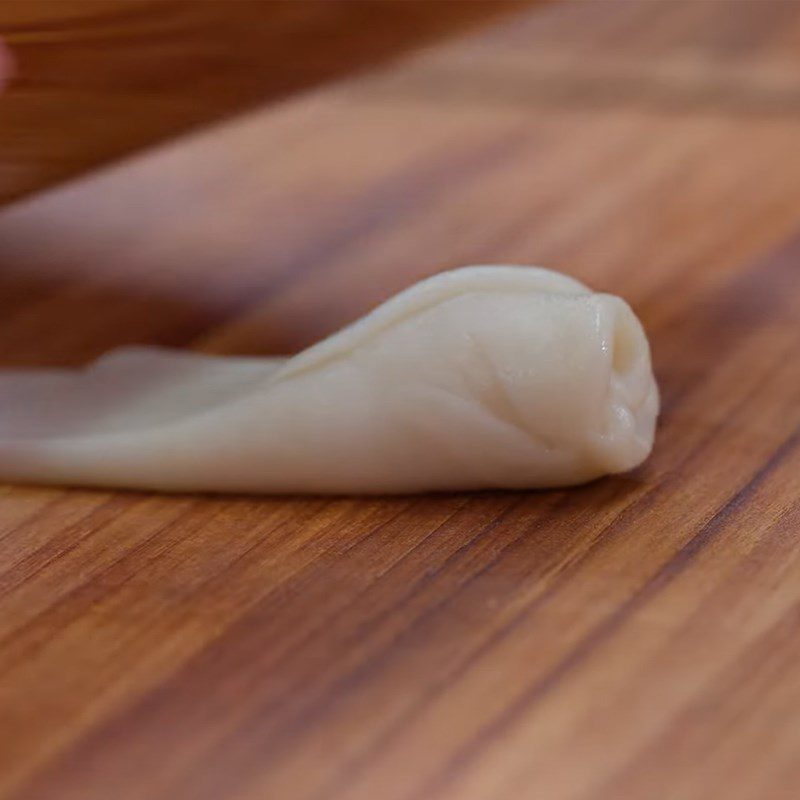
Divide the water dough into pieces of 25 grams each, and the oil dough into pieces of 13 grams each. Use a rolling pin to flatten the water dough first (note that you roll the dough vertically, you do not need to flatten it evenly on all four sides to make it round).
Next, place the oil dough piece on top of the flattened water dough and spread it evenly, then roll it up and flatten it again. You can then use this to wrap the taro and egg milk filling inside.

-
Shaping the bánh
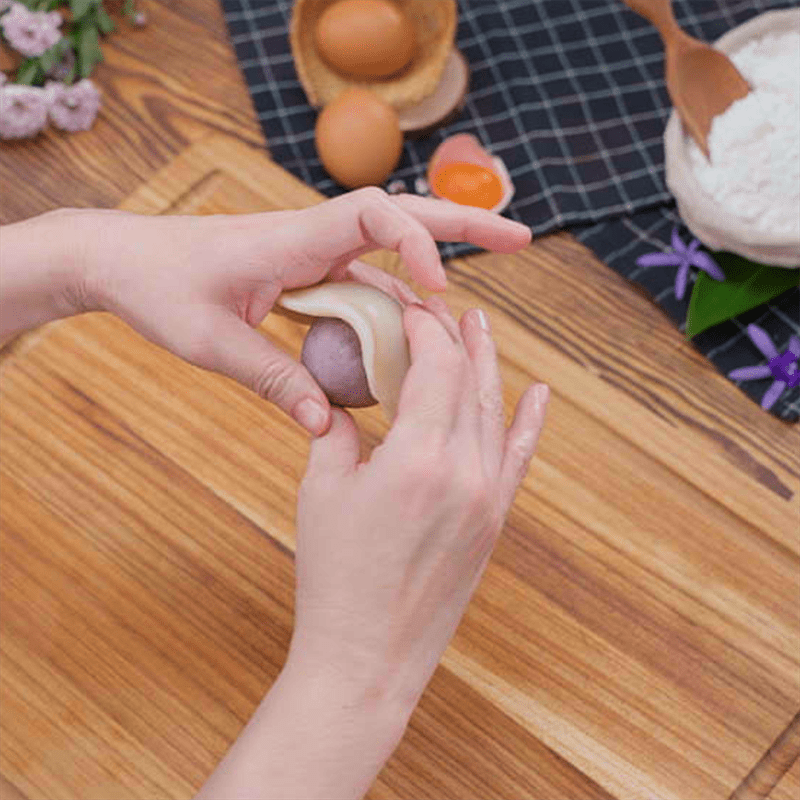
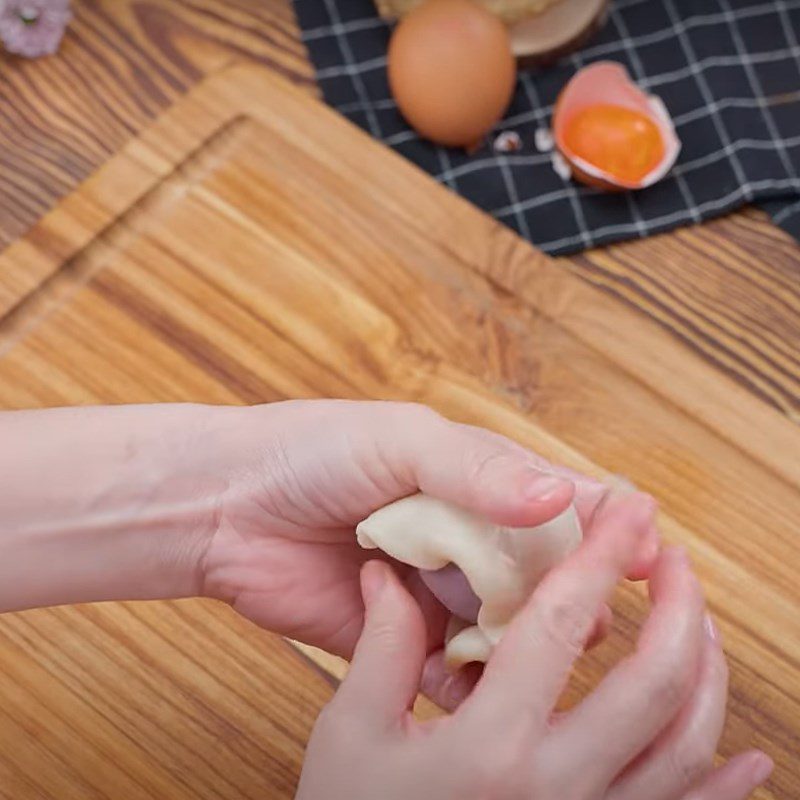
In this step, use the rolling pin to flatten the pastry shell you just made and add the taro and egg milk filling in the center. Use your hands to press tightly so that the filling does not separate from the shell after baking!
-
Baking the cake
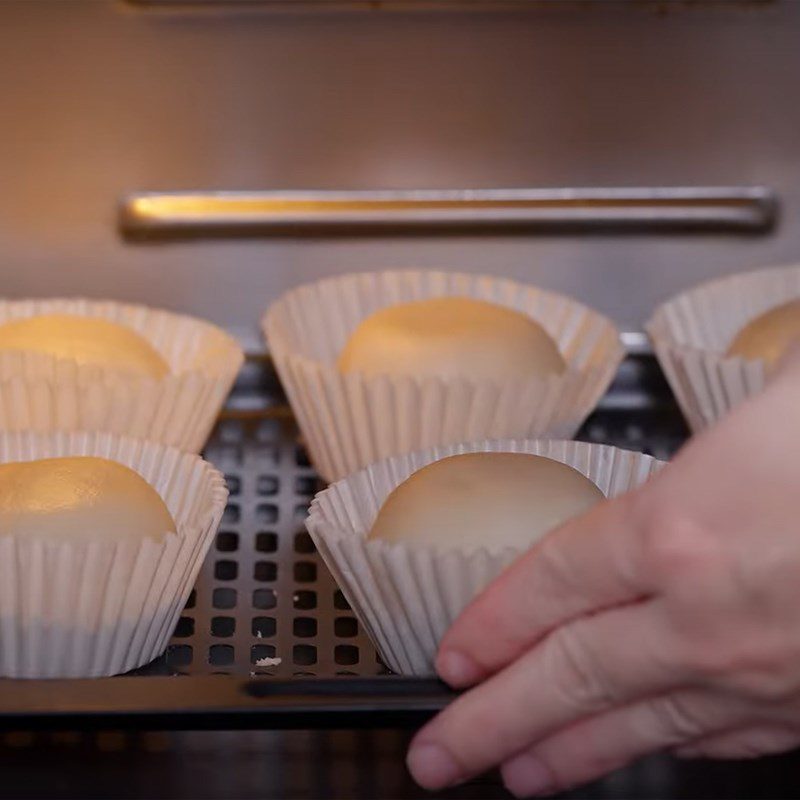
You line the baking paper on top of the baking tray and arrange the freshly shaped pía cakes on it, then place them in the oven for the first time at a temperature of 155 degrees Celsius for 15 minutes.
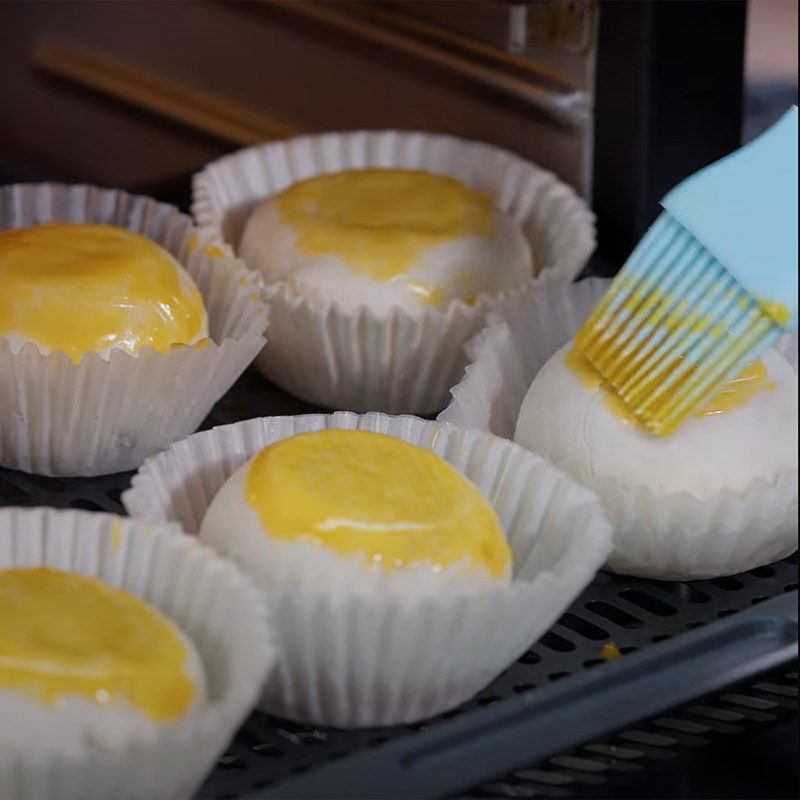
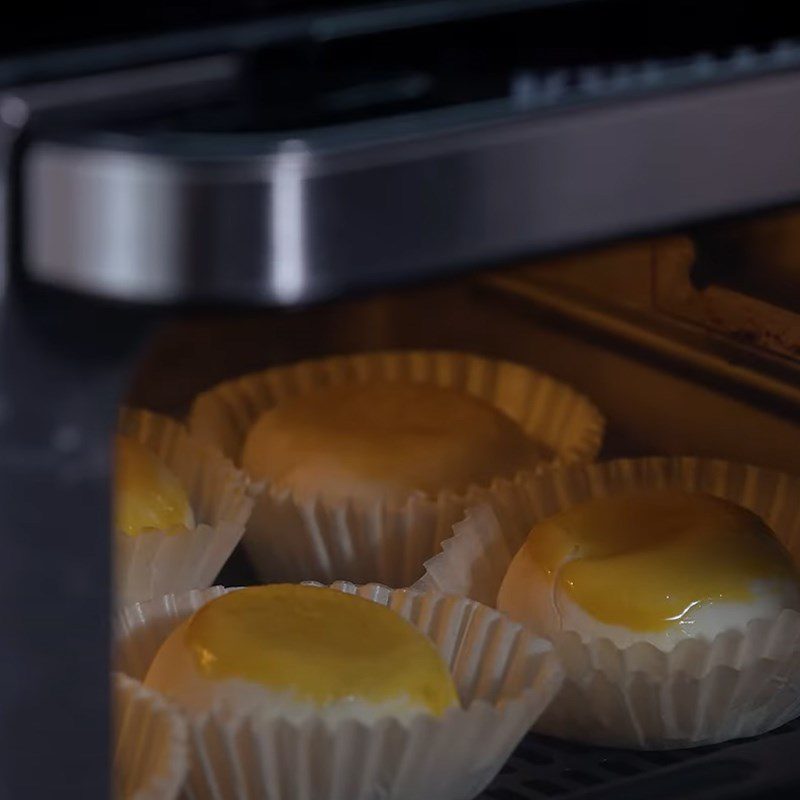
After the time is up, you open the oven door, brush the egg yolk onto the cakes and continue baking for another 5 minutes at a temperature of 140 degrees Celsius to finish.
When arranging the cakes, you need to pay attention to the distance between them; do not place them too close together, as it may cause the crust to stick to each other, resulting in an unappealing final product when baked.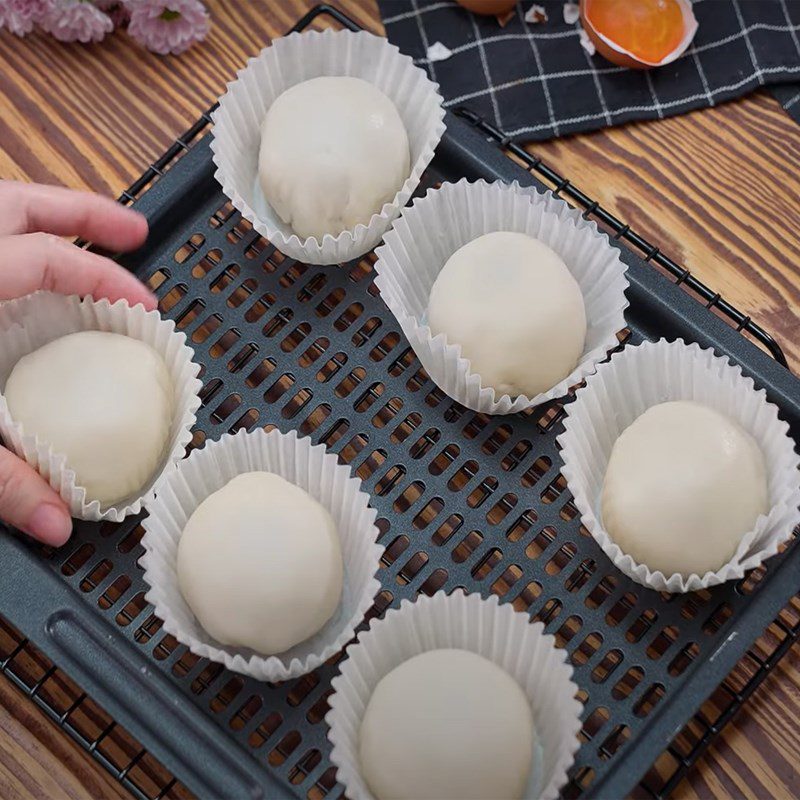
-
Completion
The taro egg milk filling pía cake after baking has a bright yellow color thanks to the brushed egg yolk layer, and when cut in half, the inside reveals the purple of the taro surrounding the appealing yellow egg milk filling.
The aroma of the baked cake, combined with the rich flavor of taro and the sweetness of egg milk, will surely captivate any “dessert lover”.
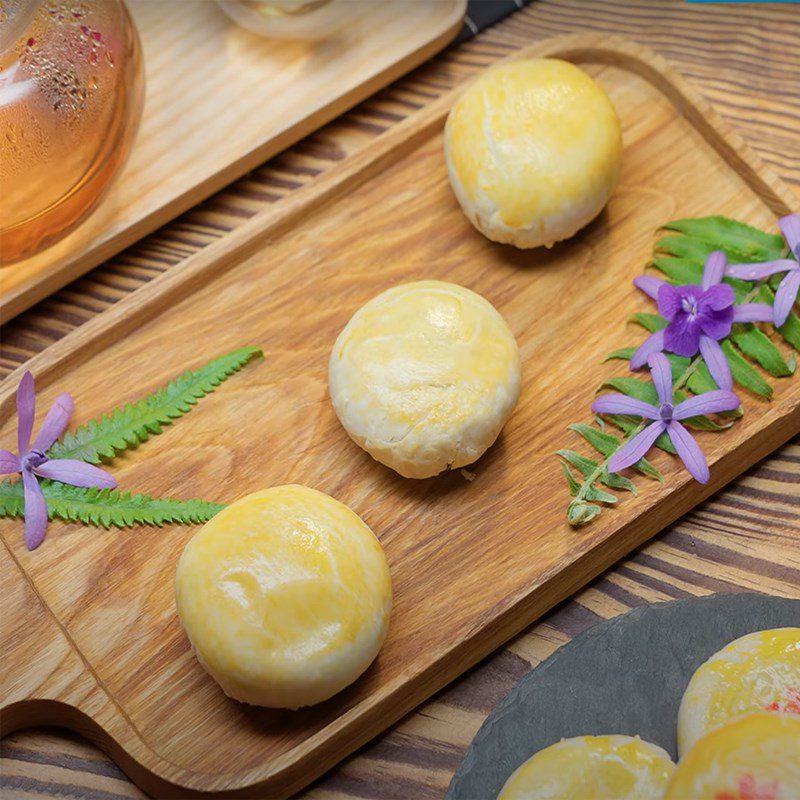
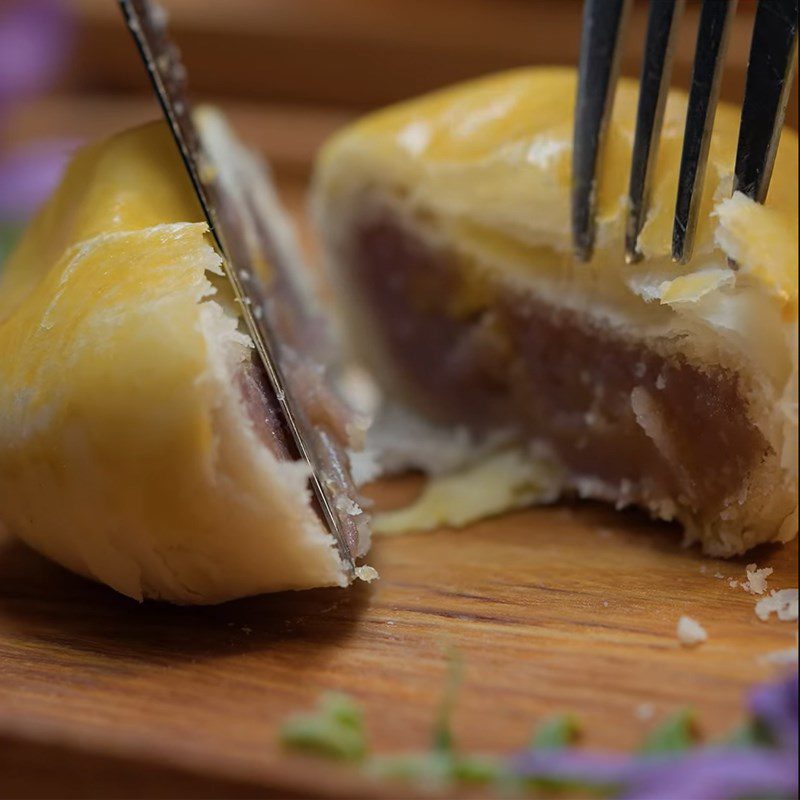
Taro milk filling mooncake is golden, rich, and delicious, suitable as a gift during festive occasions. This Mid-Autumn Festival, let’s get into the kitchen with TasteVN to make this mooncake to treat your family and friends!
