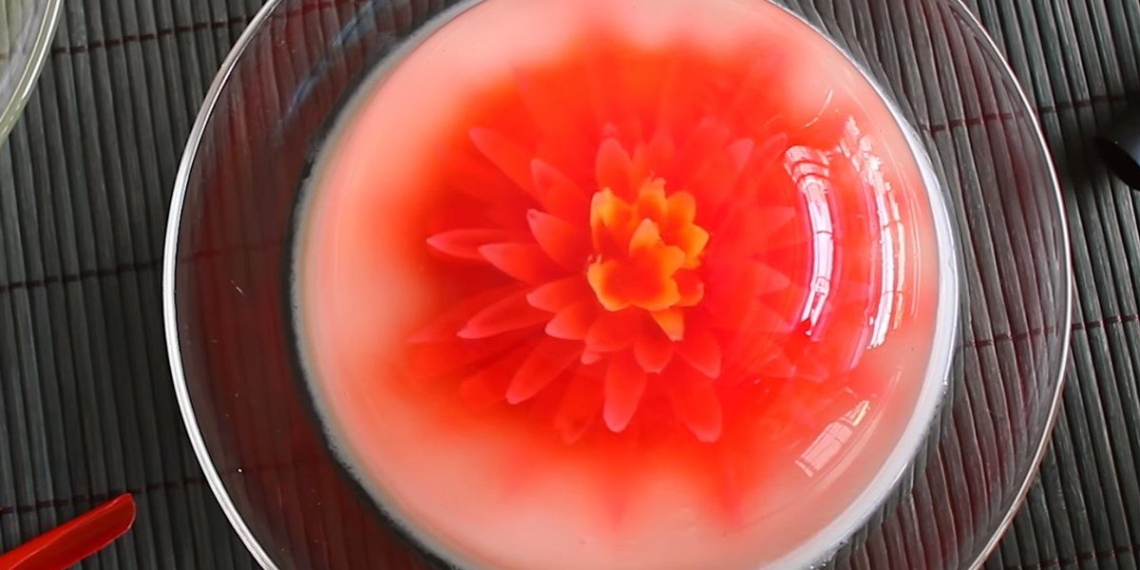
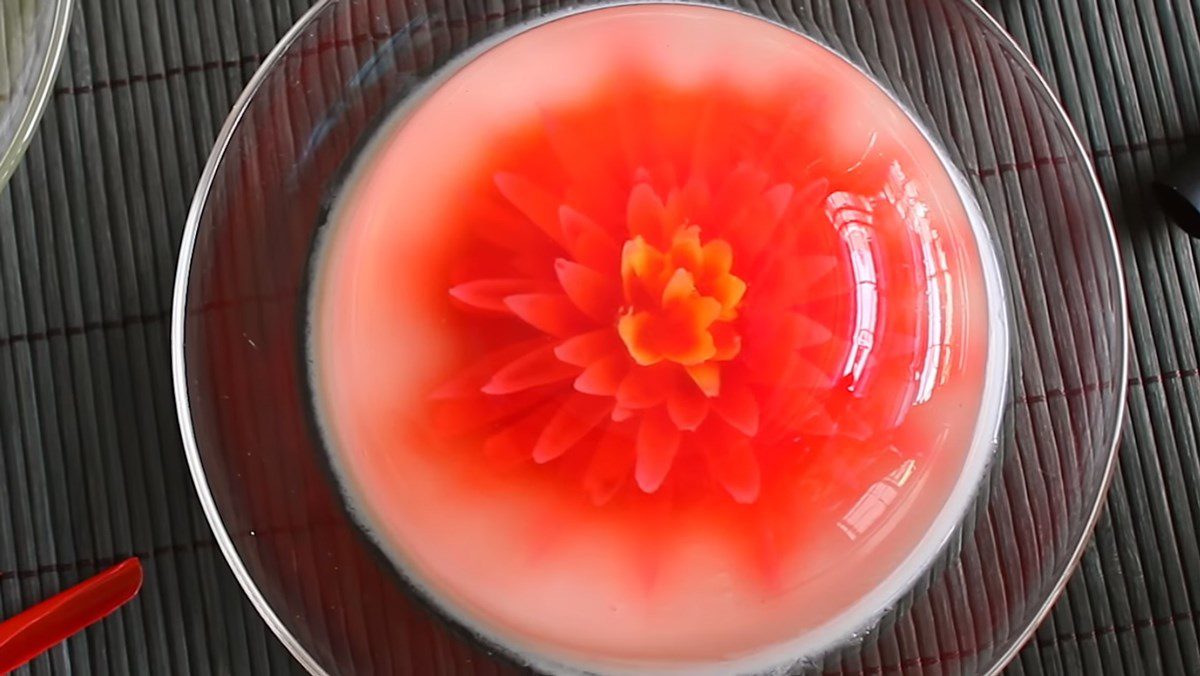
Convince even the fussiest people with vibrant images, eye-catching colors, and sweet flavors! 3D jelly has become a popular dessert. Do you want to cook with TasteVN right now using the 3 simple methods below!
1. 3D jelly made with straws
-
Preparation
30 minutes
-
Cooking
7 hours 20 minutes
-
Difficulty
Medium
Ingredients for 3D jelly made with straws For 4 people
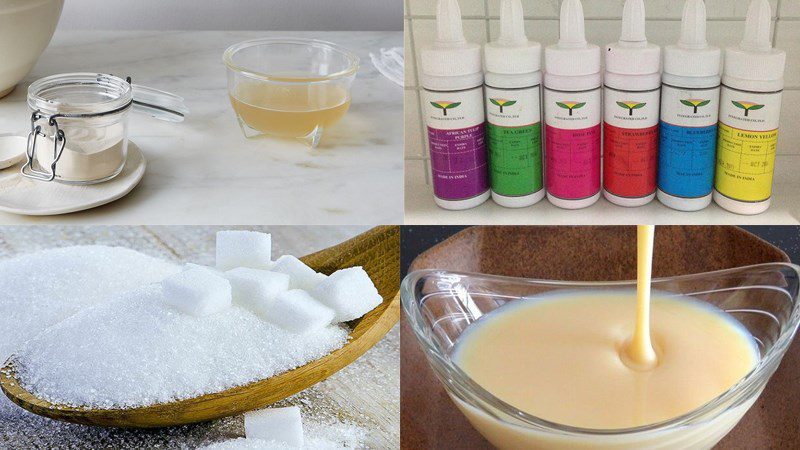
Jelly powder 12.5 gr Fresh milk 200 ml Condensed milk 3 tablespoons Water 1.75 liters Sugar 300 gr Food coloring A little
How to make 3D jelly using a straw
-
Make the jelly base layer
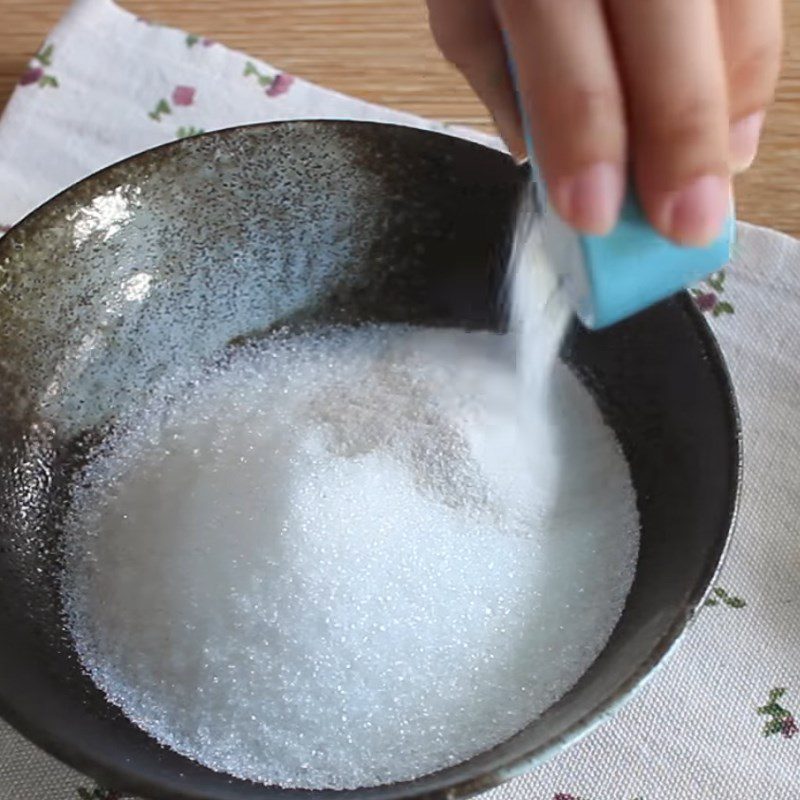
Pour 5g of jelly powder into 120g of sugar, and mix this mixture thoroughly. Next, add 700ml of water into a pot, slowly add the jelly powder and sugar mixture while stirring continuously to dissolve the jelly and sugar without clumping.
Then, place the pot on the stove, simmer on low heat until the mixture boils, then turn off the heat. Let it cool for about 2 – 3 minutes.
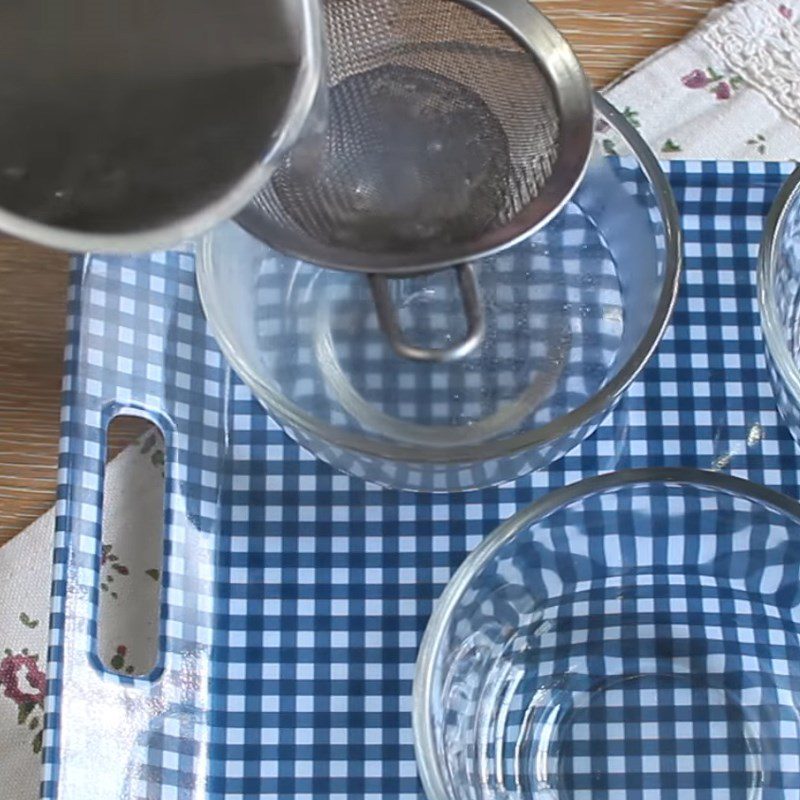
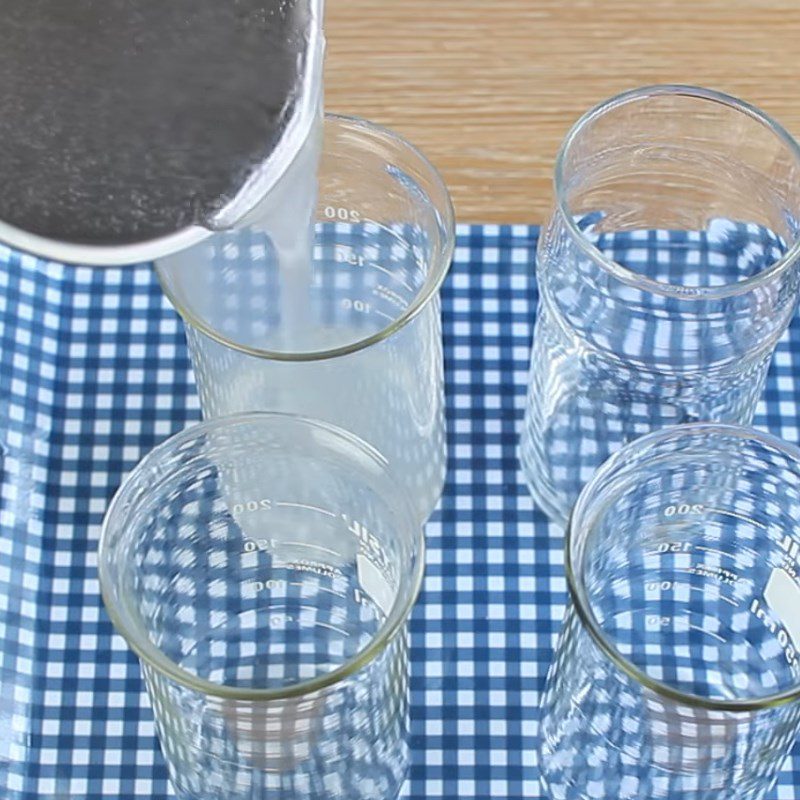
Using a strainer, carefully pour this jelly mixture into the mold to avoid creating air bubbles. Place this jelly in the refrigerator or leave it outside for about 2 – 3 hours to set.

-
Make colored jelly
Continue to pour 5g of jelly powder into 120g of sugar, mix this mixture thoroughly, and then slowly add it into 700ml of water, stirring continuously to dissolve the jelly and sugar without clumping.
Then, place the pot on the stove, simmer on low heat until the mixture boils, then turn off the heat. Divide this mixture into 4 equal parts.
For each part, add 50ml of fresh milk and 1 tablespoon of condensed milk, stir well, and drop a few drops of food coloring to create color.
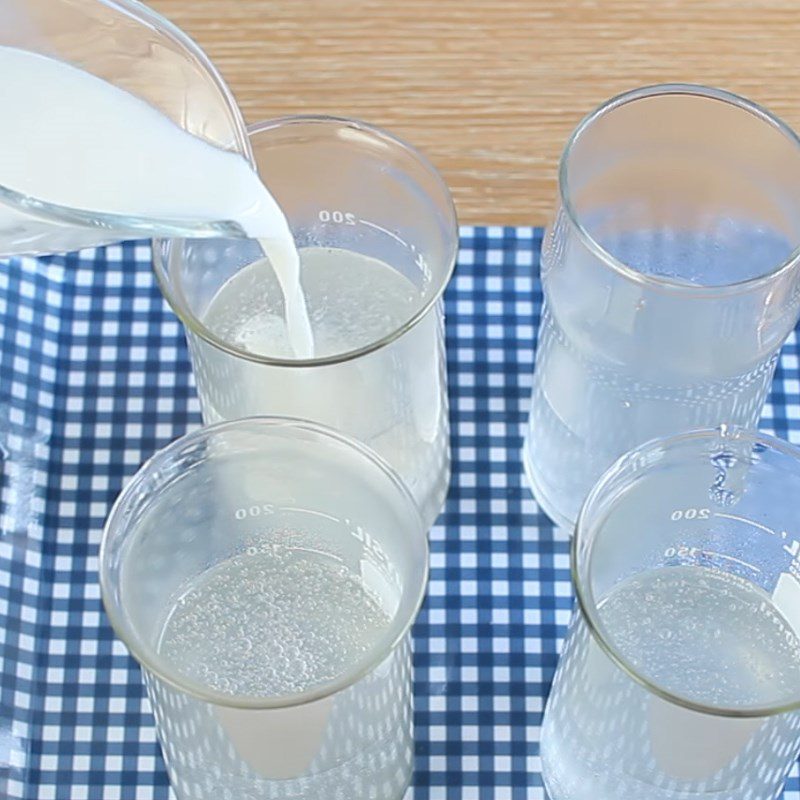
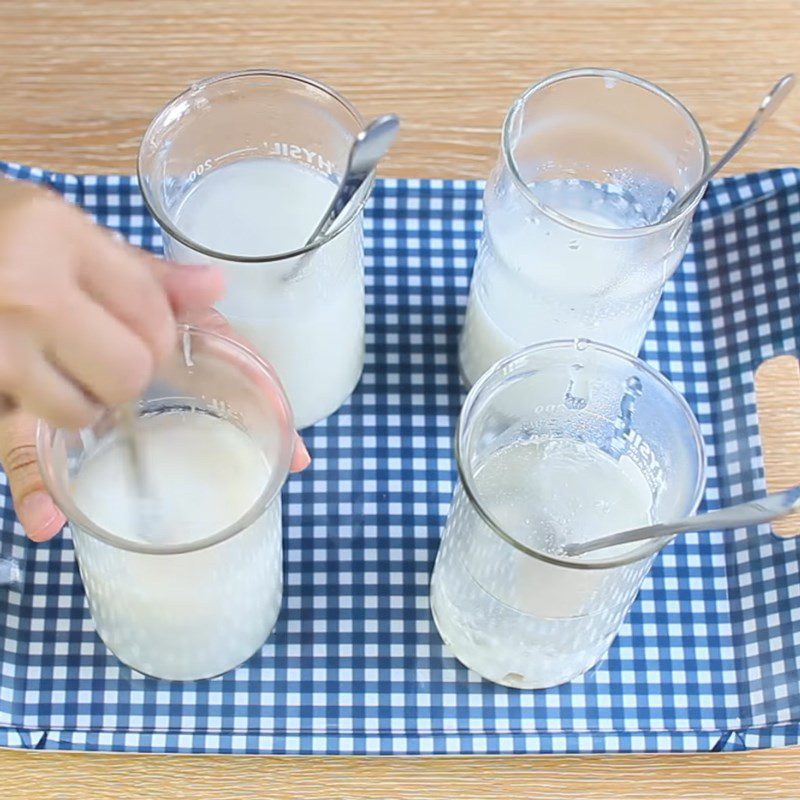
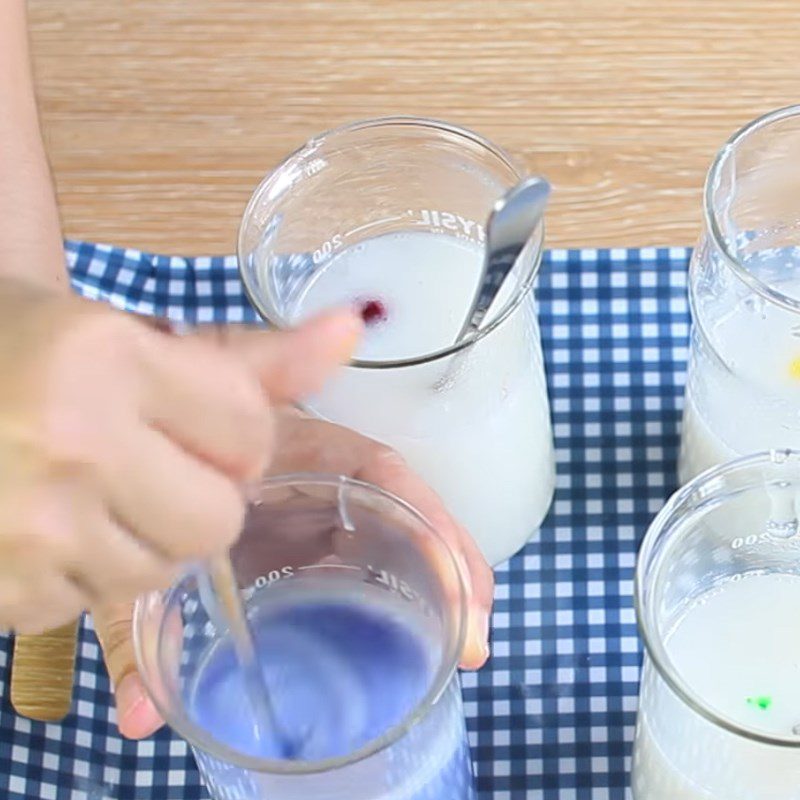
-
Shaping the straw
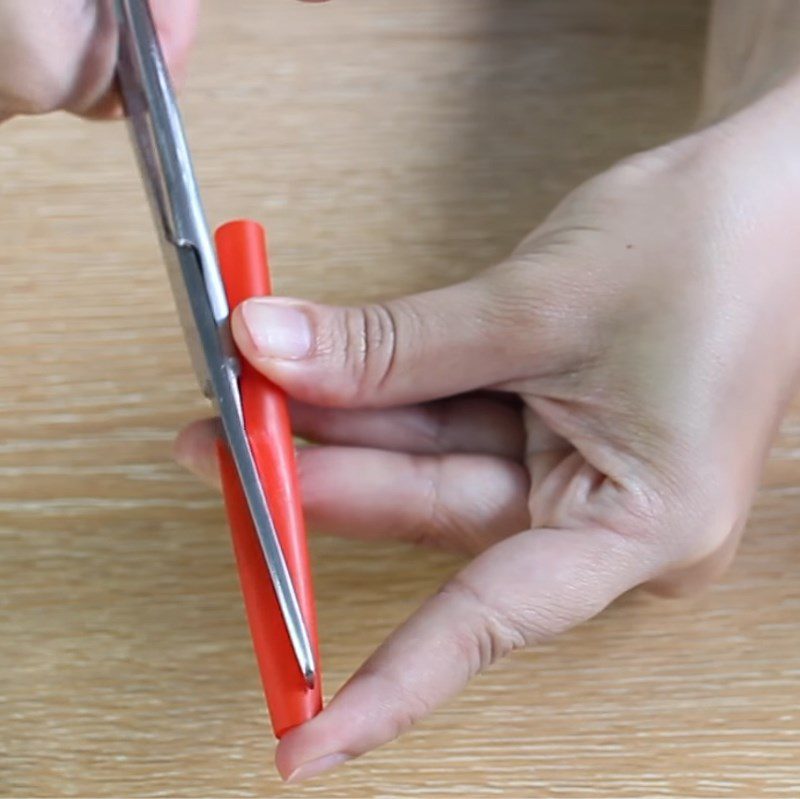
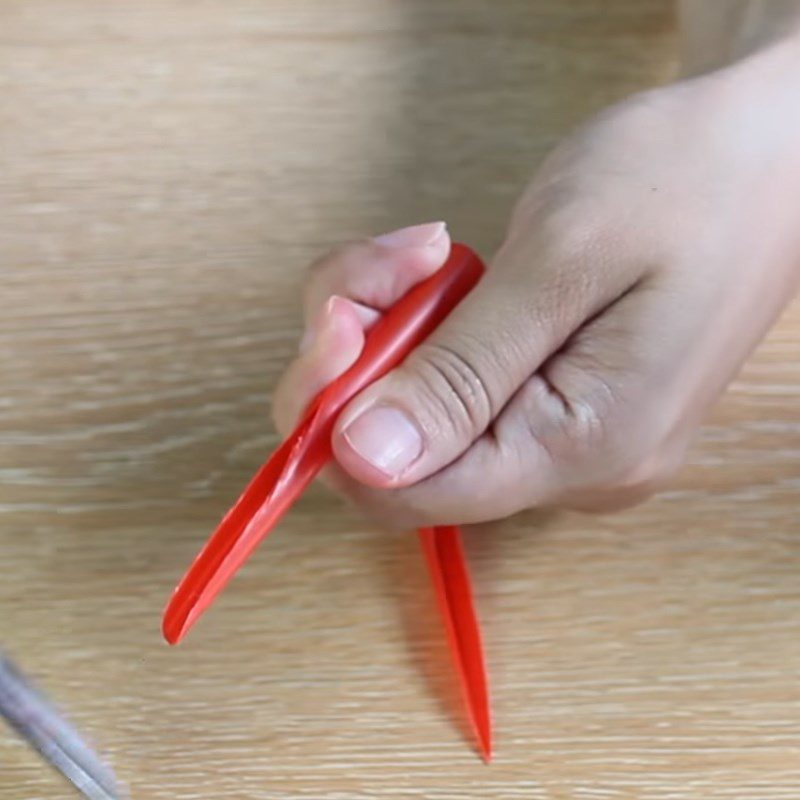
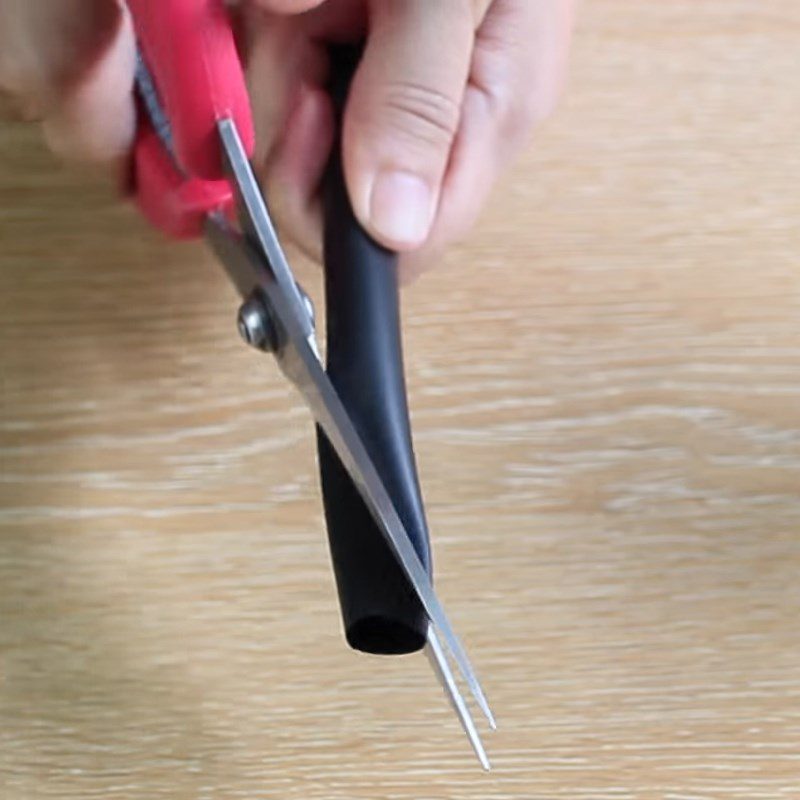
You will use scissors to cut the straw into petal shapes. Cut the first small straw diagonally to create a pointed end. Continue cutting the second small straw diagonally and then bend the tip to create a round end.
Do the same cutting method for the larger straw.
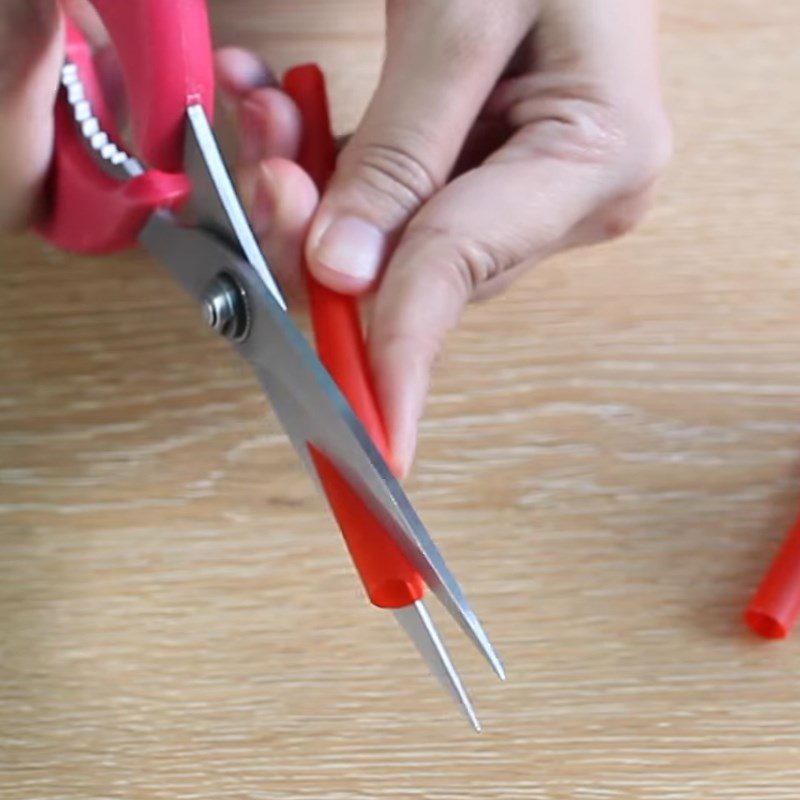
-
Shaping the jelly
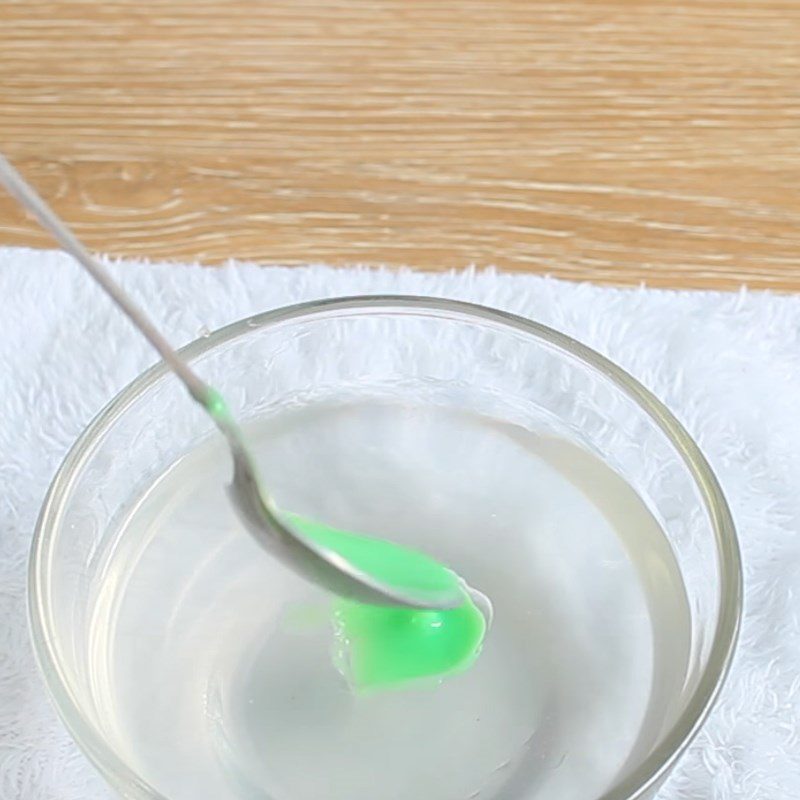
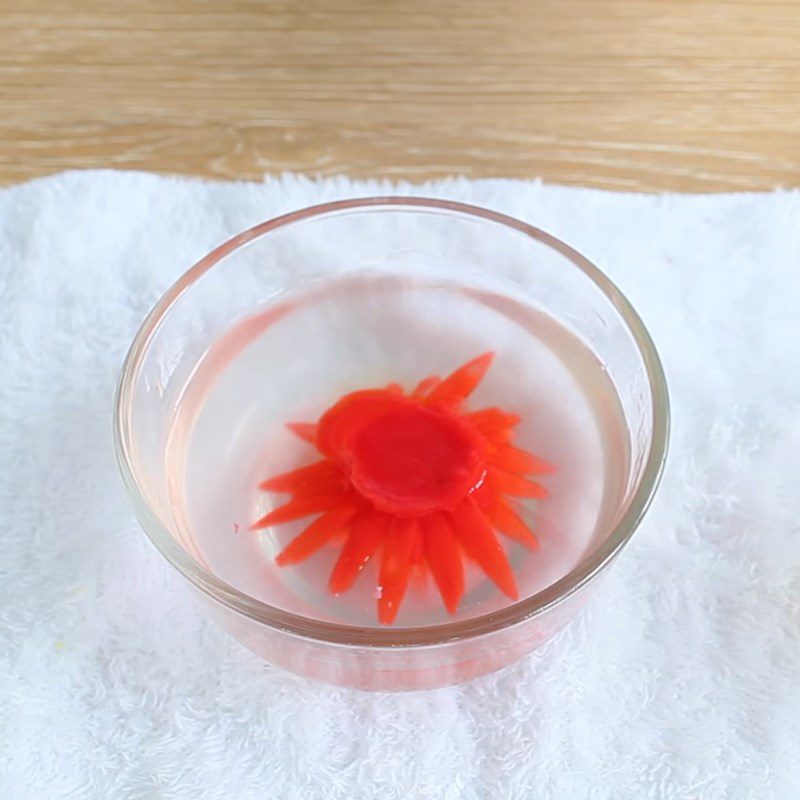
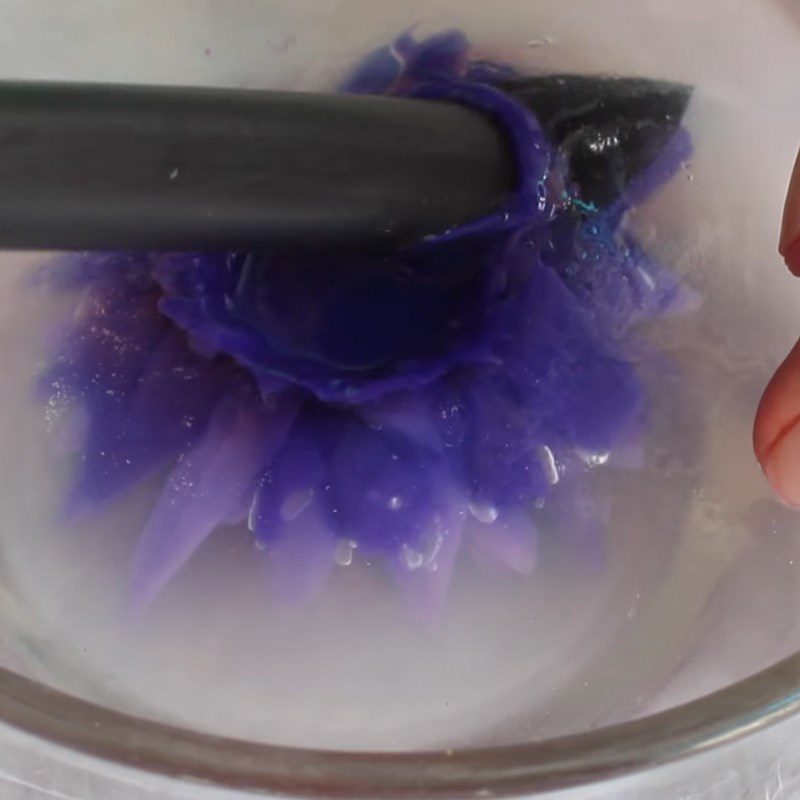
Take the set jelly out, use a spoon to carve a small piece in the center of the jelly. Next, add a spoonful of colored jelly into the carved spot, and use a small straw to poke down 3 – 4 times to create the flower stamen.
Wait a few minutes for the jelly to start setting, then use a spoon to scoop out the excess jelly on top and clean the straw to continue shaping the 3D flower petals.
Pour a different colored jelly into the carved hole, and use the straw to poke around the flower stamen clockwise for 2 – 3 rounds to create the next layers of 3D flower petals. Do the same with the remaining 3 jelly portions.

-
Pouring the jelly base
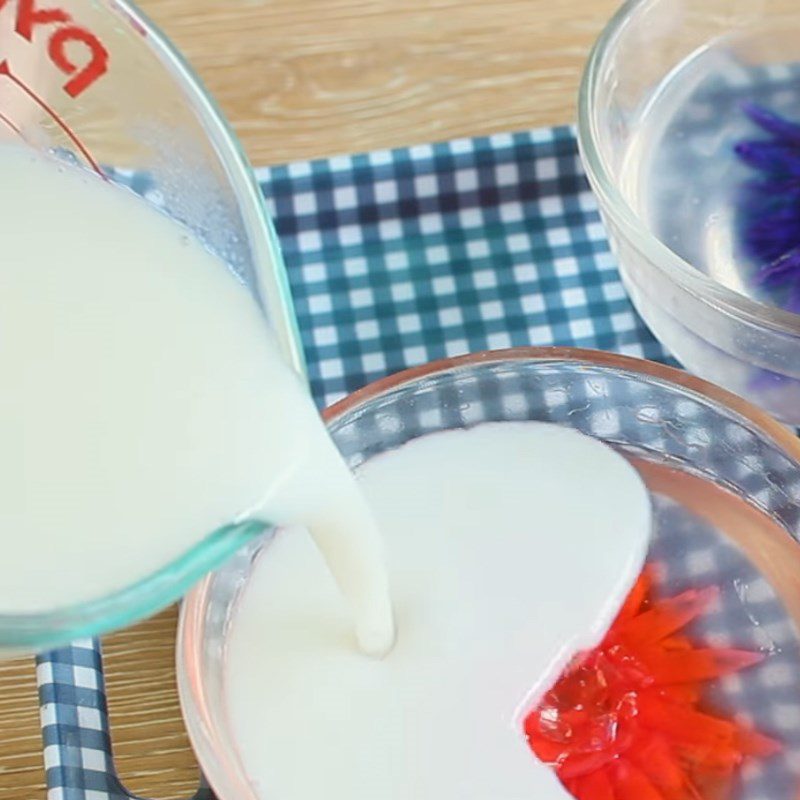
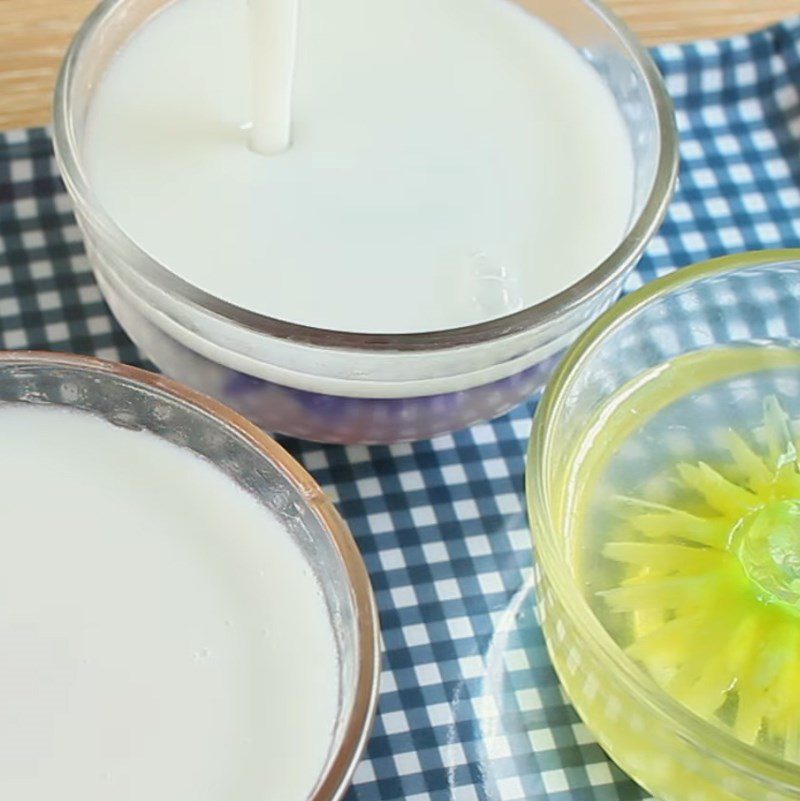
To make the jelly base, mix 2.5g of jelly powder with 60g of sugar, then gradually add this mixture into 350ml of water while stirring until fully combined.
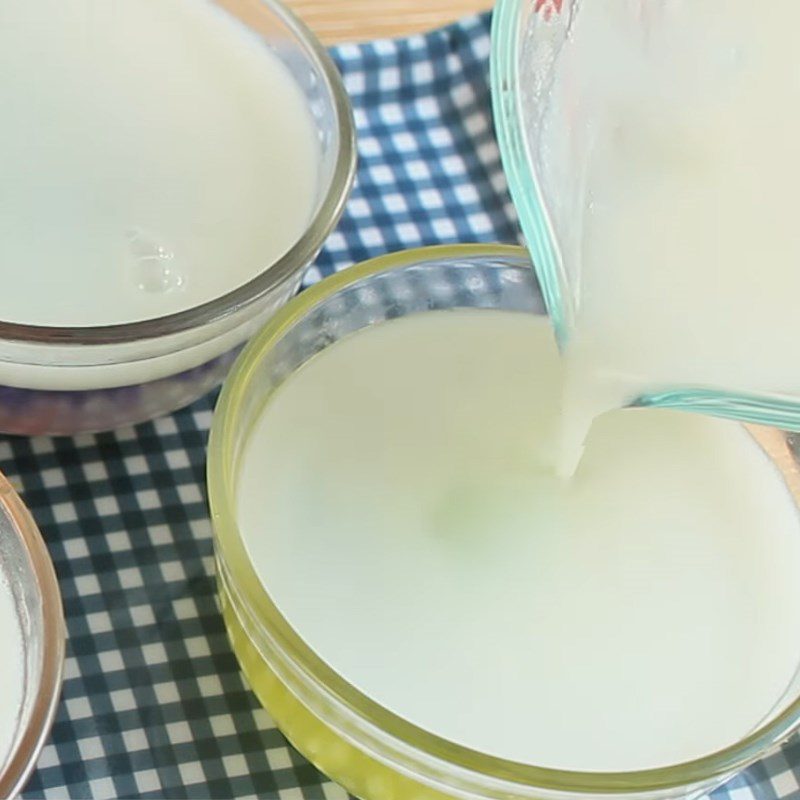
Next, place a pot on the stove, heat over medium until the mixture boils, then turn off the heat, add 2 tablespoons of condensed milk, stir well, and pour this mixture into molds.
Let the jelly cool, then place it in the refrigerator for 30 minutes. After 30 minutes, carefully take it out and slowly separate the jelly from the molds, cut into small pieces, and enjoy!

-
Final product
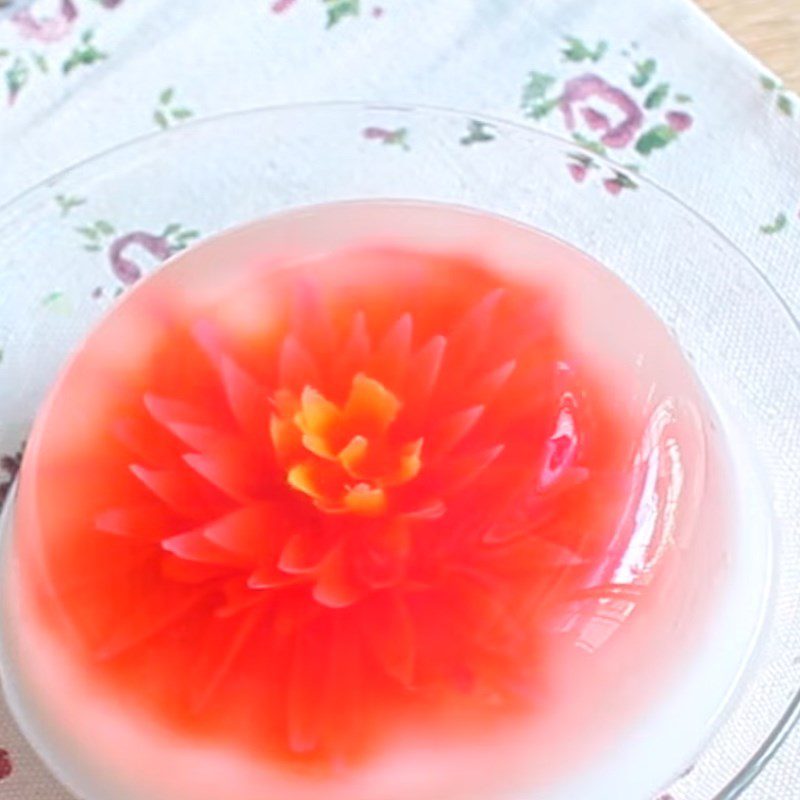
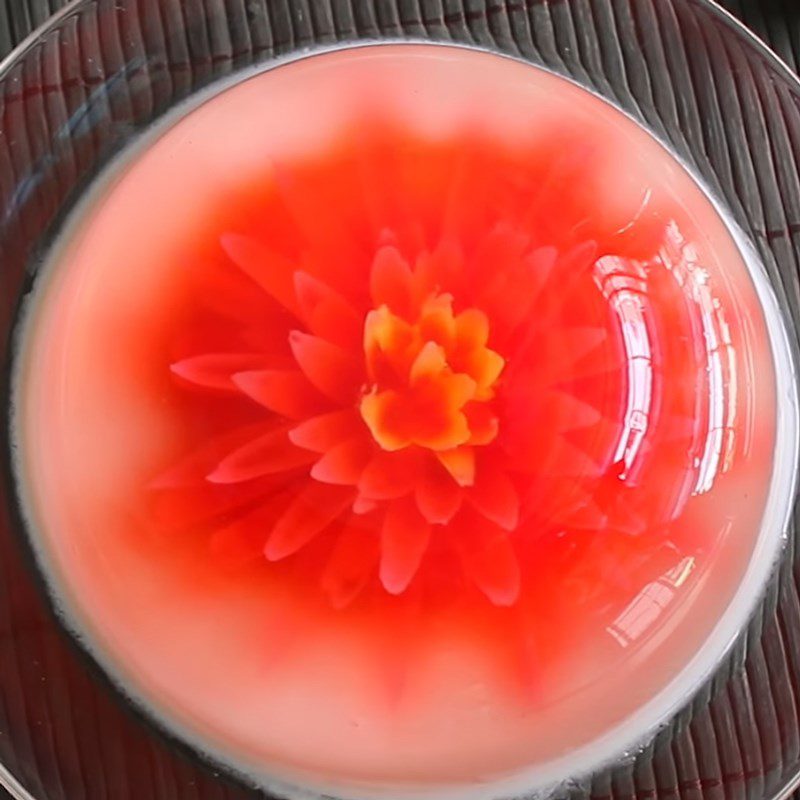
The 3D jelly made with straws can be easily created with a little skill and patience. This incredibly beautiful and appealing jelly will surely impress everyone, delighting them with both its appearance and its irresistible delicious flavor!
2. 3D jelly using a syringe
-
Preparation
30 minutes
-
Processing
2 hours 30 minutes
-
Difficulty
Medium
Ingredients for 3D jelly using a syringe Serves 4 people
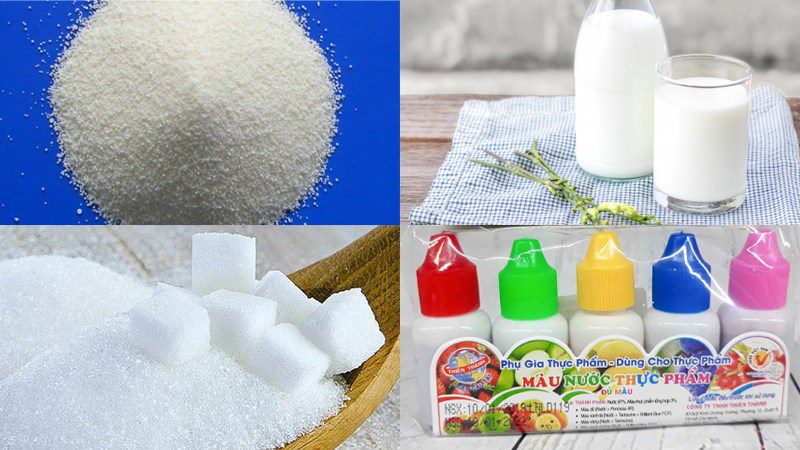
Soft jelly powder 10 gr Fresh milk 300 ml Whipping cream 100 ml Sugar 250 gr Water 1 liter Food coloring a little
How to make 3D jelly using a syringe
-
Make the base layer of jelly
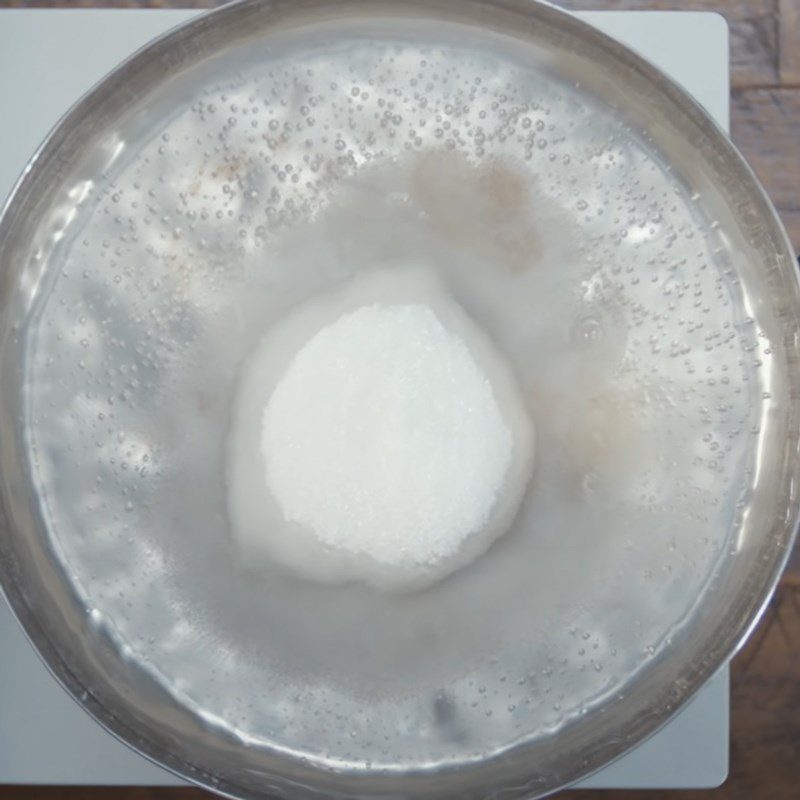
Gradually pour 10gr of soft jelly powder into a pot containing 1 liter of water, stirring well while pouring to ensure the jelly powder completely dissolves in the water. Then, add 250gr of sugar, continue to stir well until this mixture lightly boils, then turn off the heat.
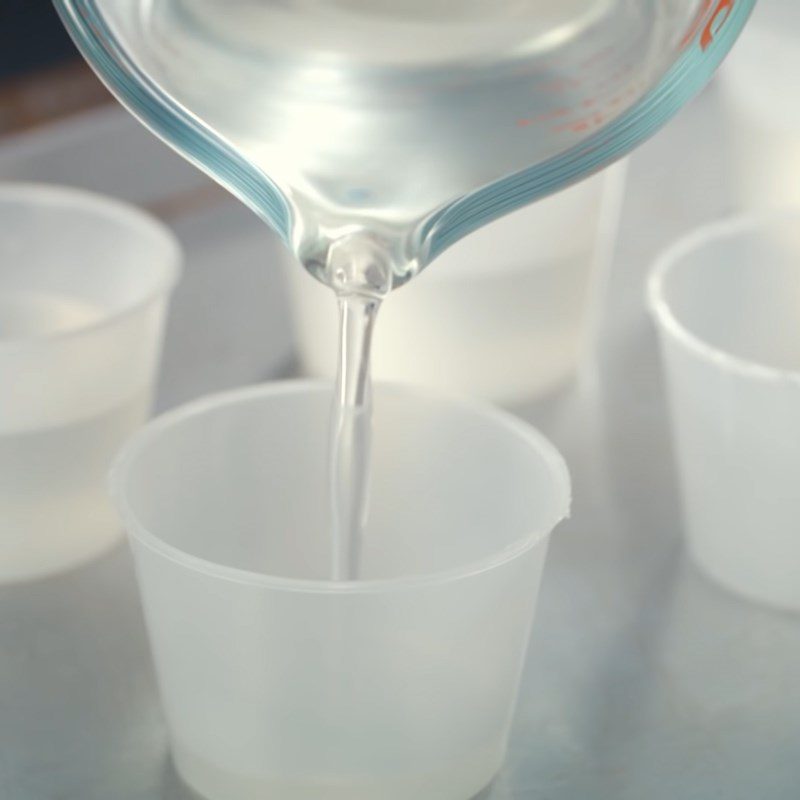
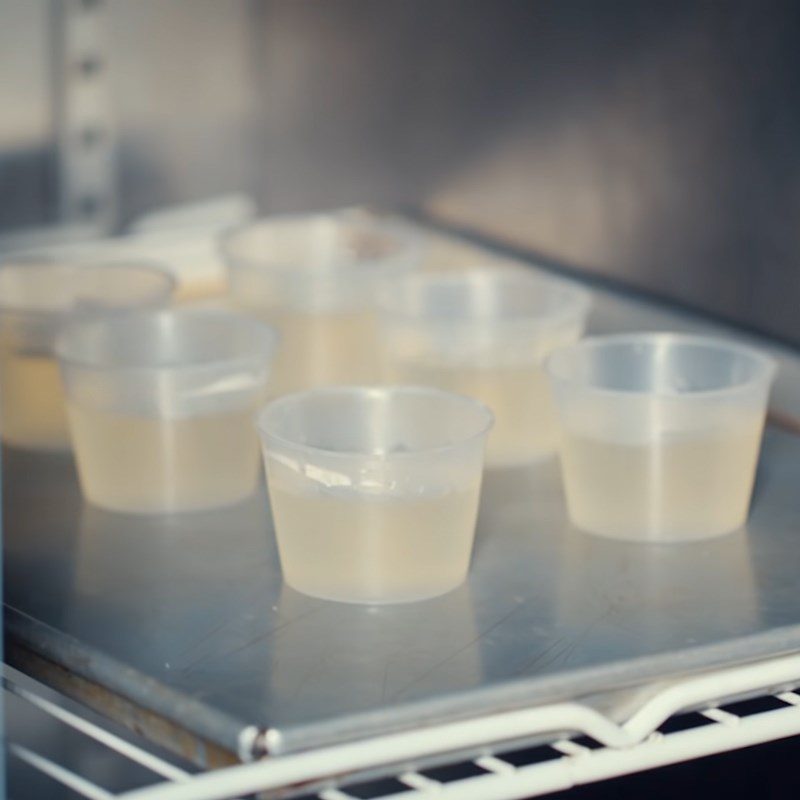
Carefully pour into the mold and refrigerate for about 30 minutes.

-
Make colored jelly
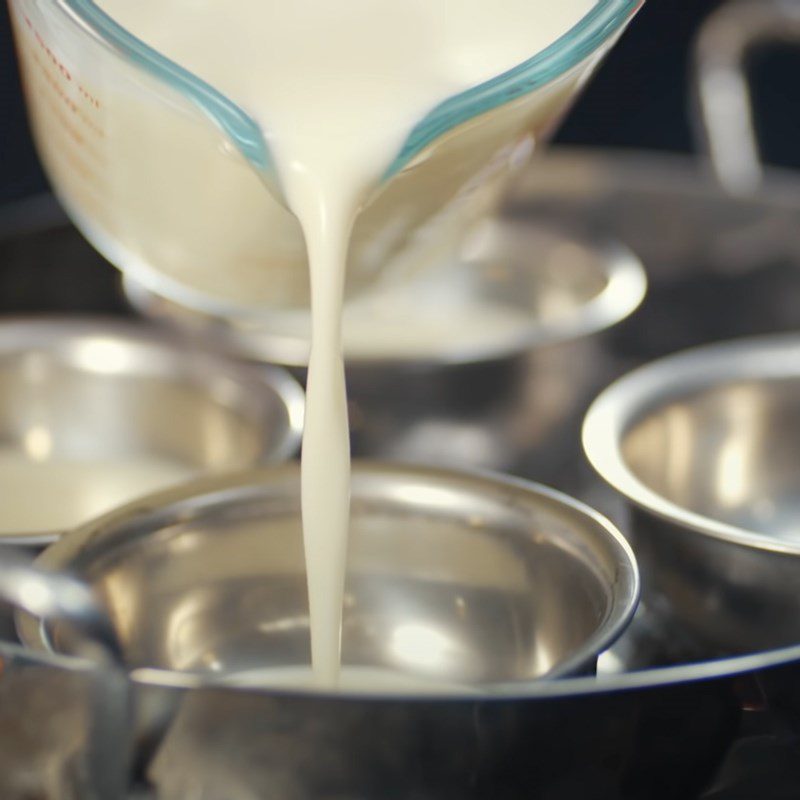
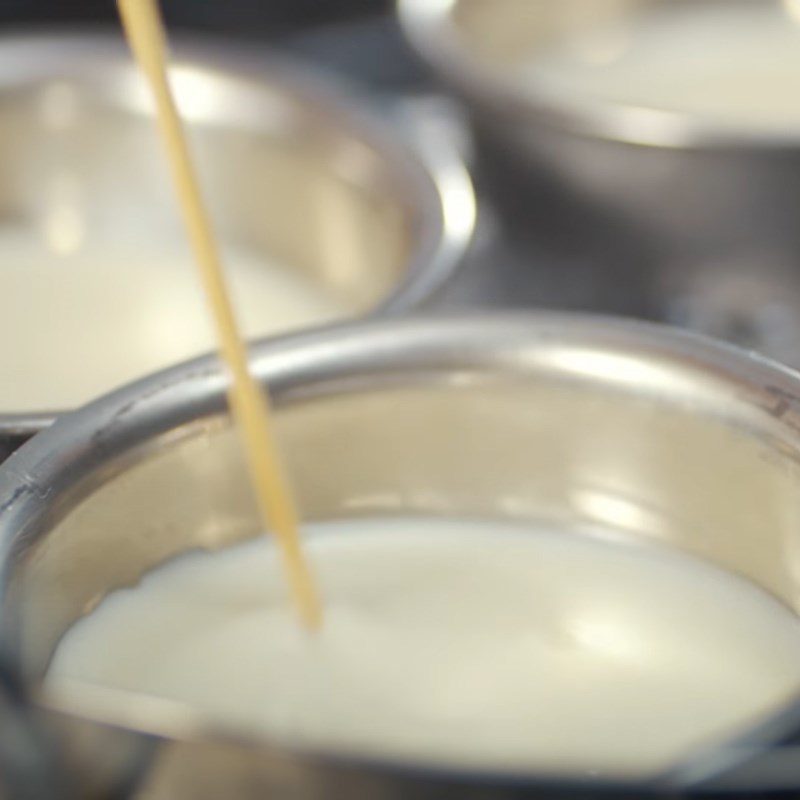
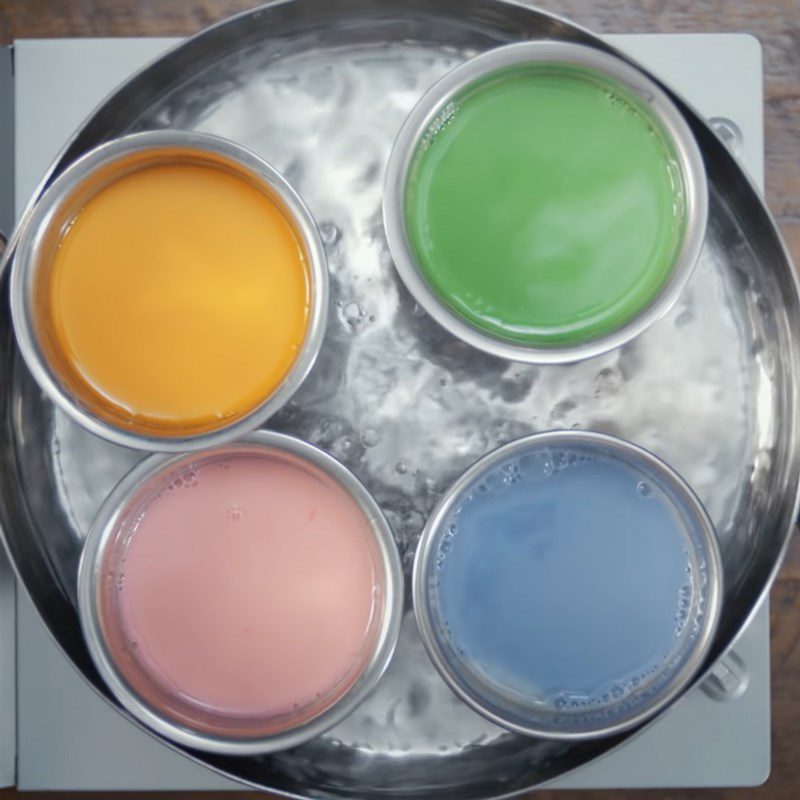
Put a pot on the stove, add 300ml of fresh milk and 100ml of whipping cream, bring to a boil and then turn off the heat. Divide it into 4 parts and pour into bowls. Place the bowls in a pot, pour water to cover half of the bowls and steam them.
While cooking, add a few drops of food coloring and stir well to create color.

-
Shaping the jelly
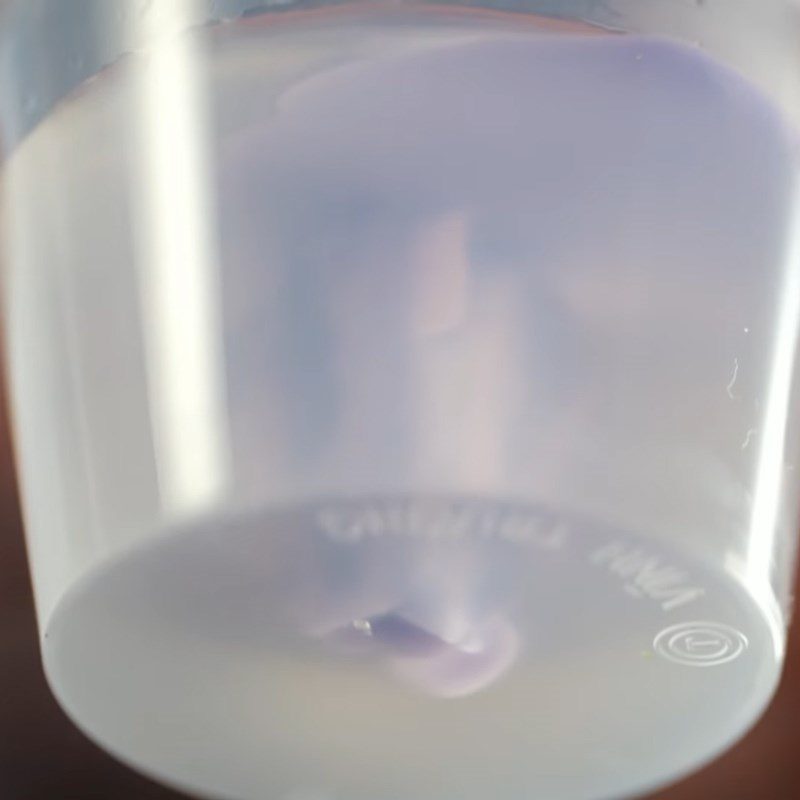
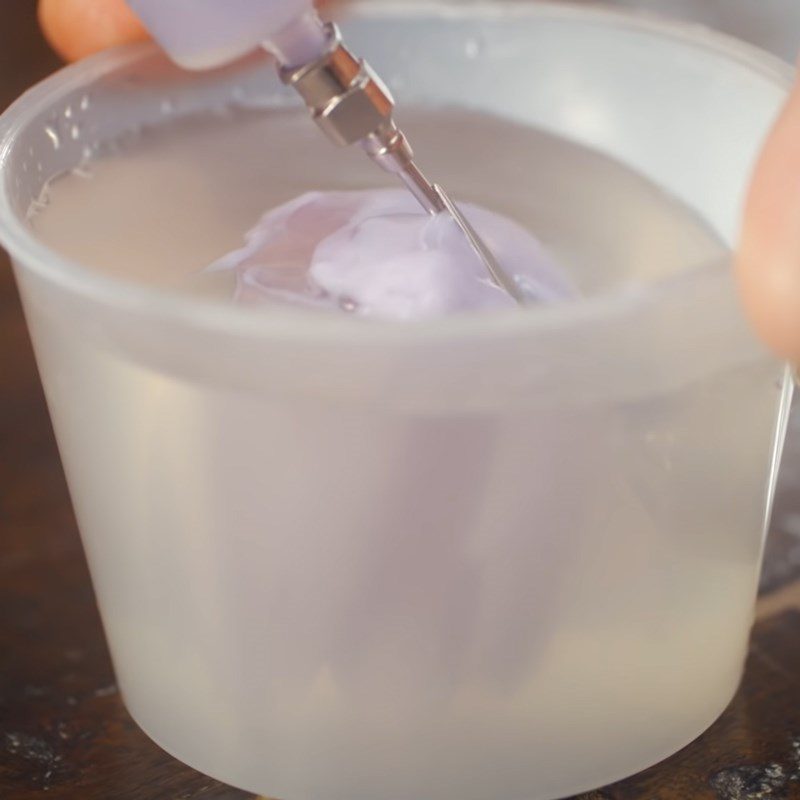
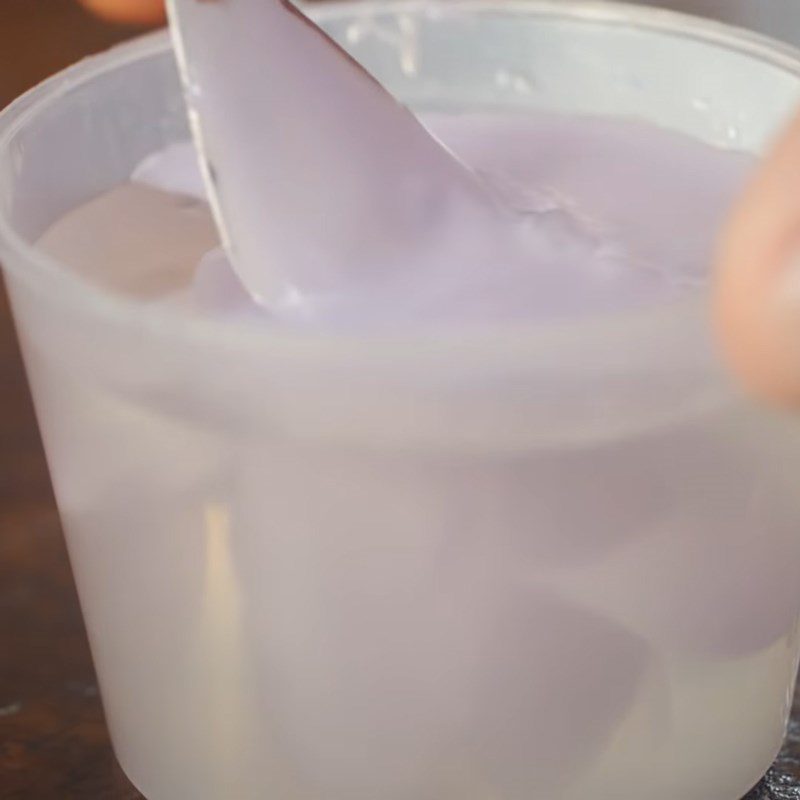
After 30 minutes, take the set jelly out. Use a spoon to carve a small spoonful in the center of the jelly. Use a syringe with a needle to draw the decorative jelly into the syringe to make 3D flower stamens.
Place the tip of the syringe at the center of the jelly and poke several times into the inside, combining poking and injecting jelly at the same time. Pull out and repeat 4 – 5 times to create the 3D flower stamen.
The excess jelly flows out, use a spoon to remove it.
Continue to use the syringe with a needle to poke around the base of the flower stamen to create 3D flower petals, making sure to stagger the layers for a natural look. The excess jelly flows out, use a spoon to remove it.
Do the same until all prepared jelly is used up.

-
Pouring the jelly base
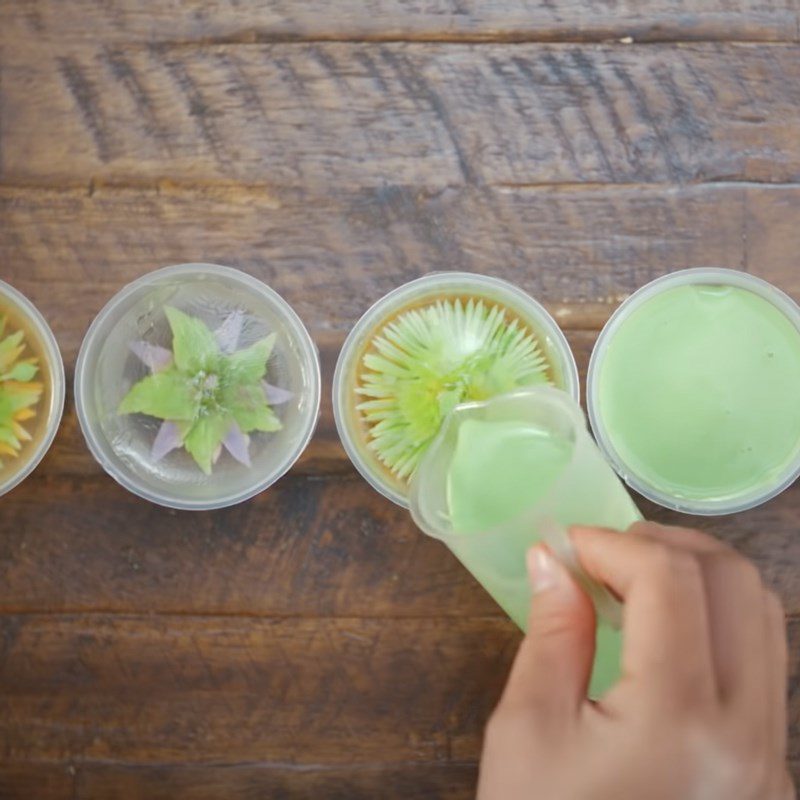
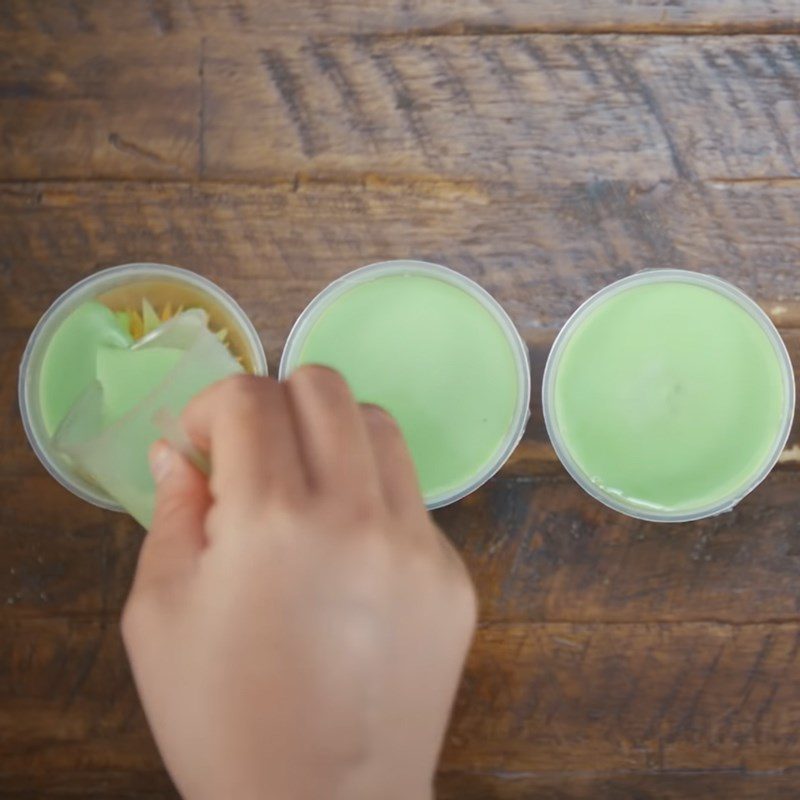
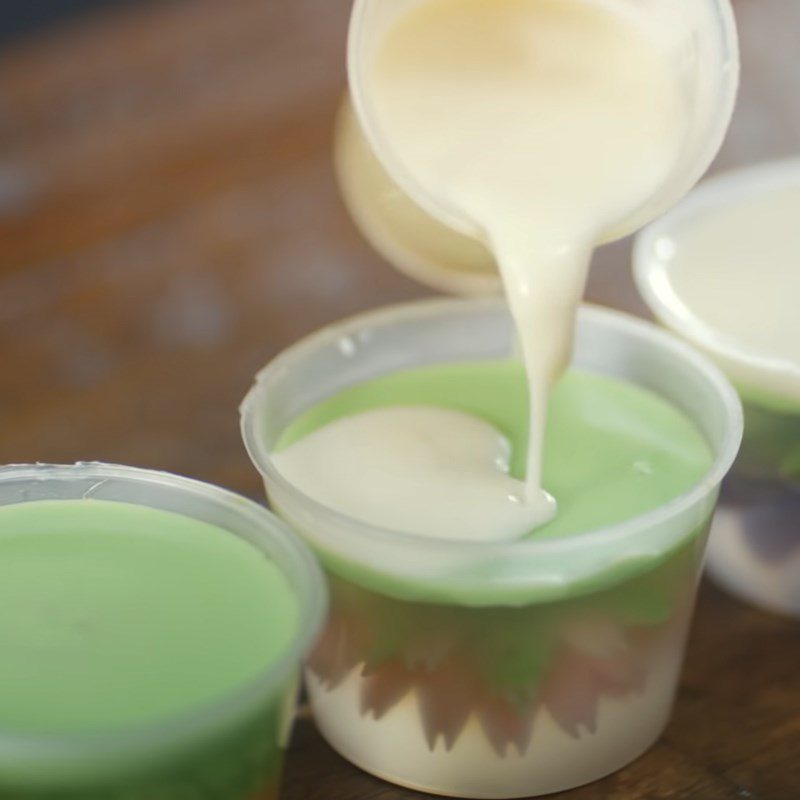
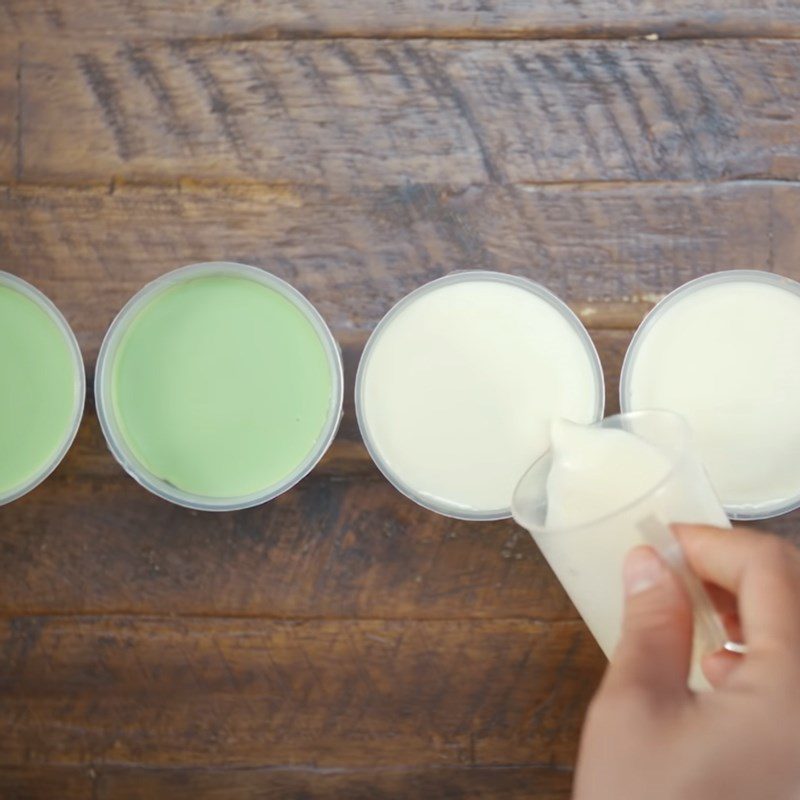
Finally, use 2 types of jelly colors to make the base. Pour into the mold one at a time, waiting about 5 – 10 minutes for the previous layer to set before pouring the remaining layer.
-
Final Product
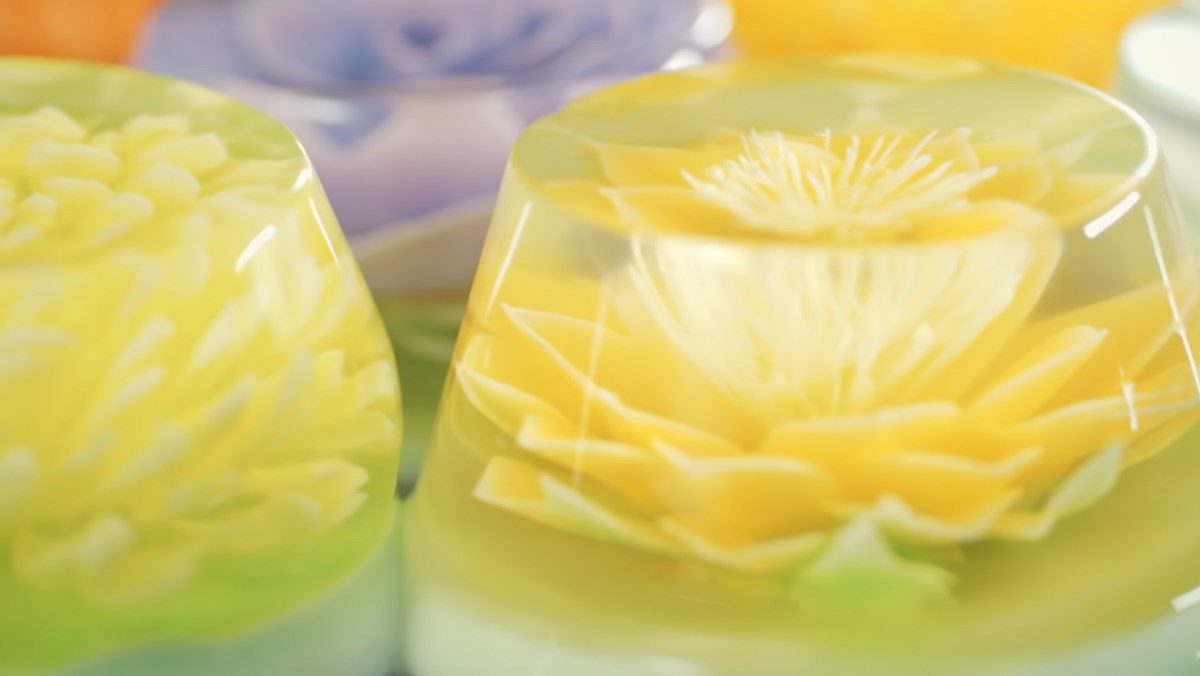
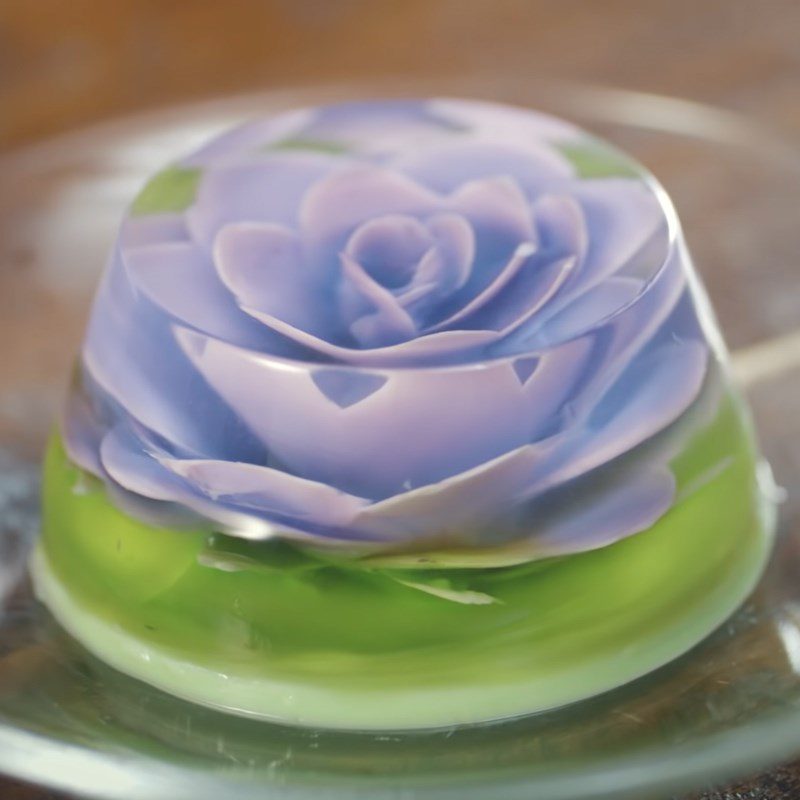
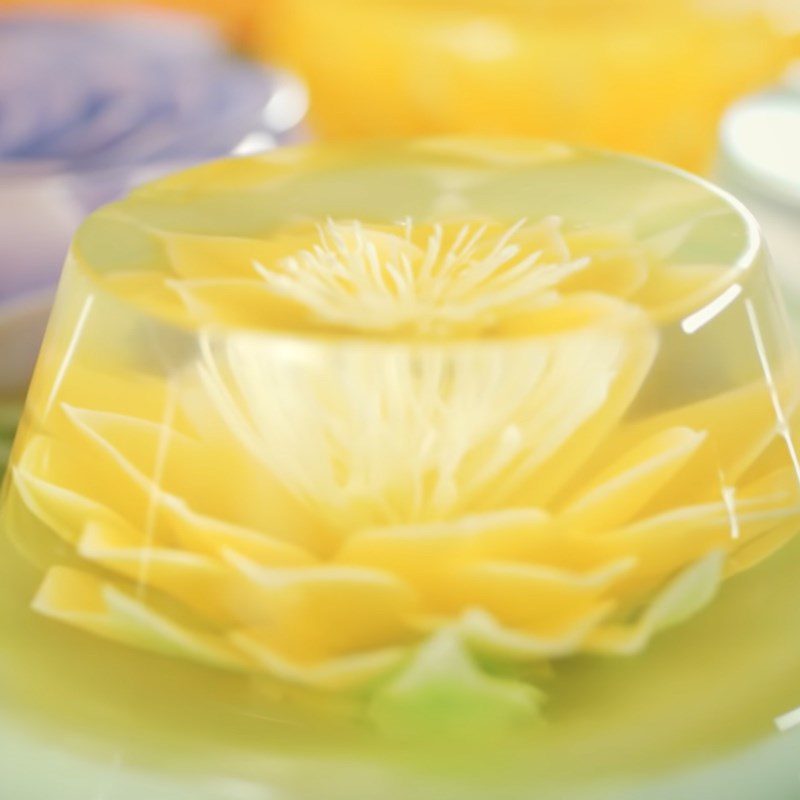
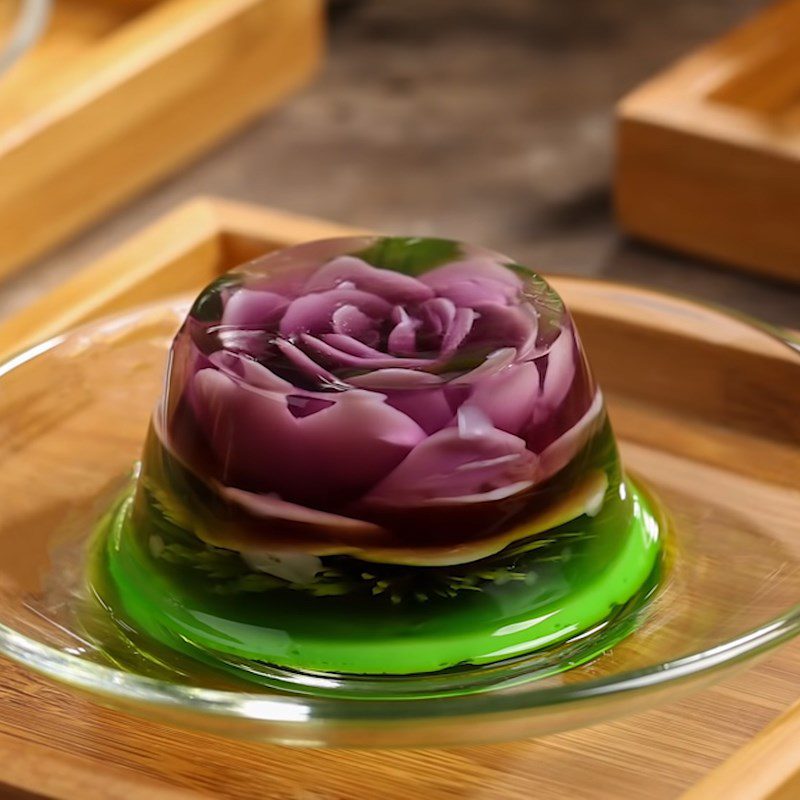
3D jelly with a syringe made with a simple method, harmoniously combining many colors brings you an eye-catching, attractive, and incredibly delicious dish. This dish is suitable for you to treat your family on special occasions!
3. 3D Jelly with Molds
-
Preparation
30 minutes
-
Processing
2 hours 30 minutes
-
Difficulty Level
Medium
Ingredients for 3D Jelly using molds Serves 4 people
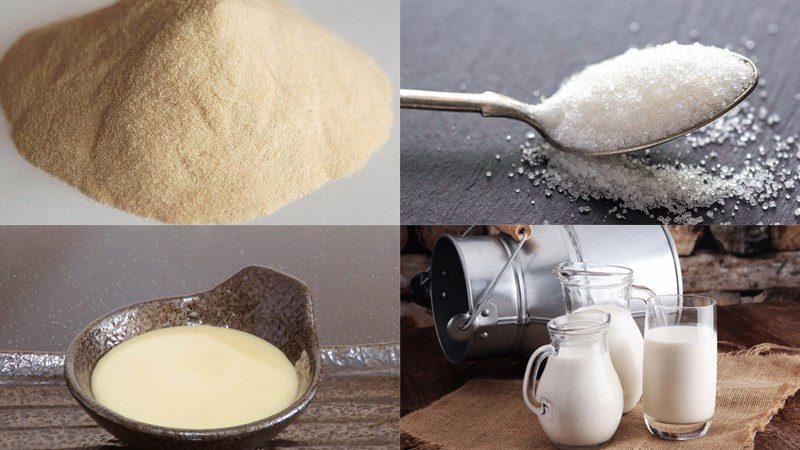
Gelatin powder 8 gr Unsweetened milk 400 ml Sweetened condensed milk 80 ml Filtered water 800 ml Food coloring a little Sugar 100 gr
How to make 3D Jelly using molds
-
Making the base layer of jelly
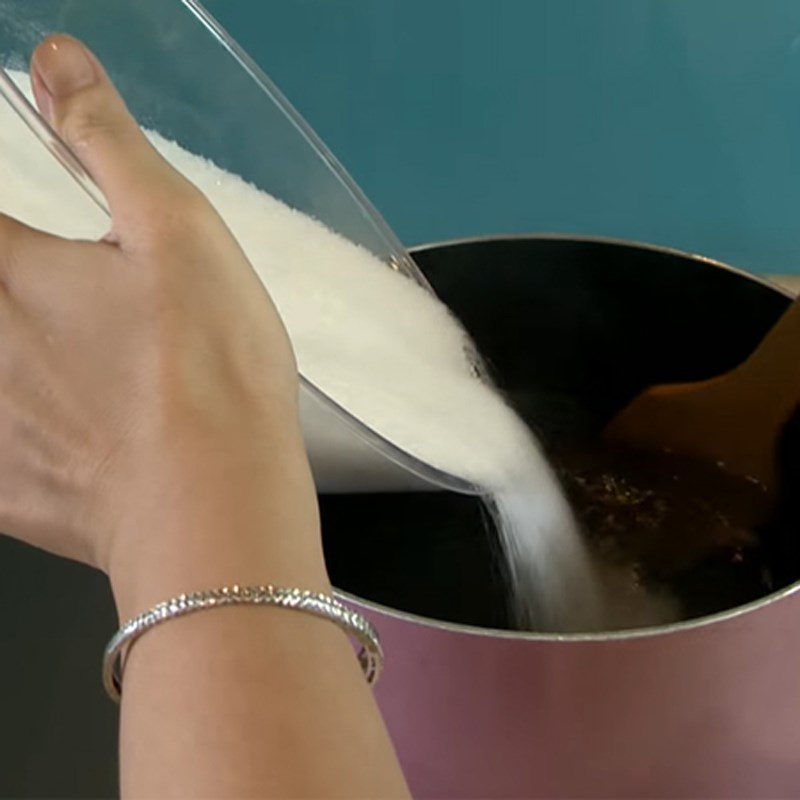
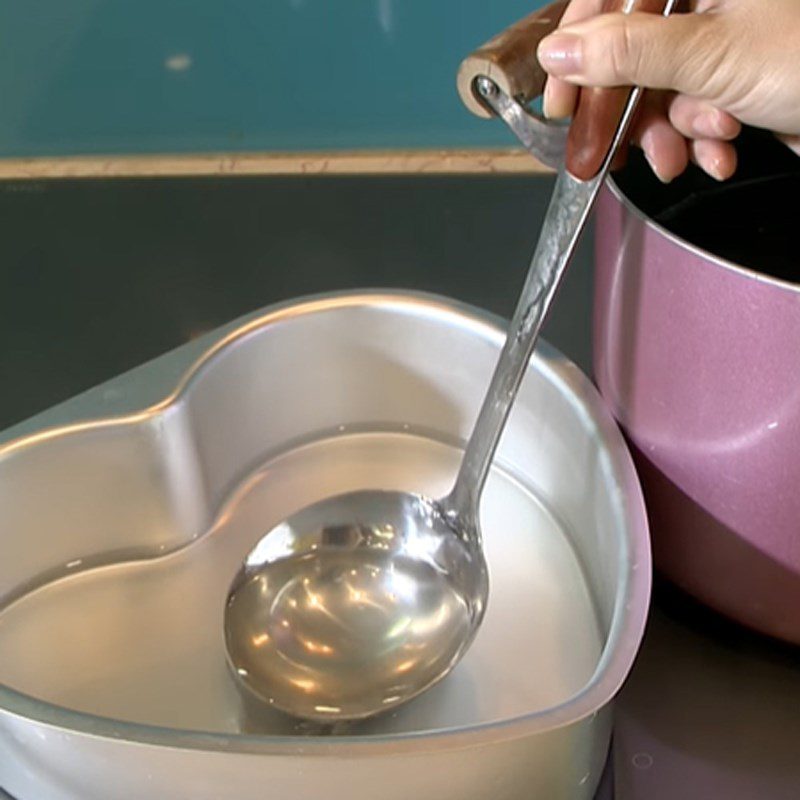
Add 5gr of gelatin powder and 100gr of sugar gradually into 800ml of water, stir until dissolved and place on the stove. Boil this mixture until it thickens, then turn off the heat. Carefully remove all the foam that rises to the surface of the jelly.
-
Making colored jelly
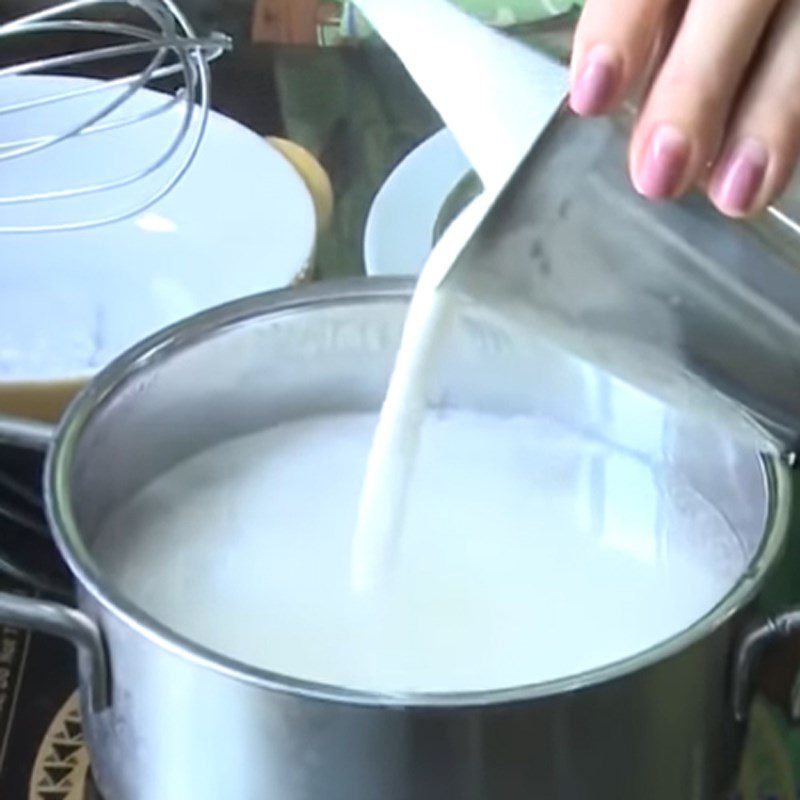
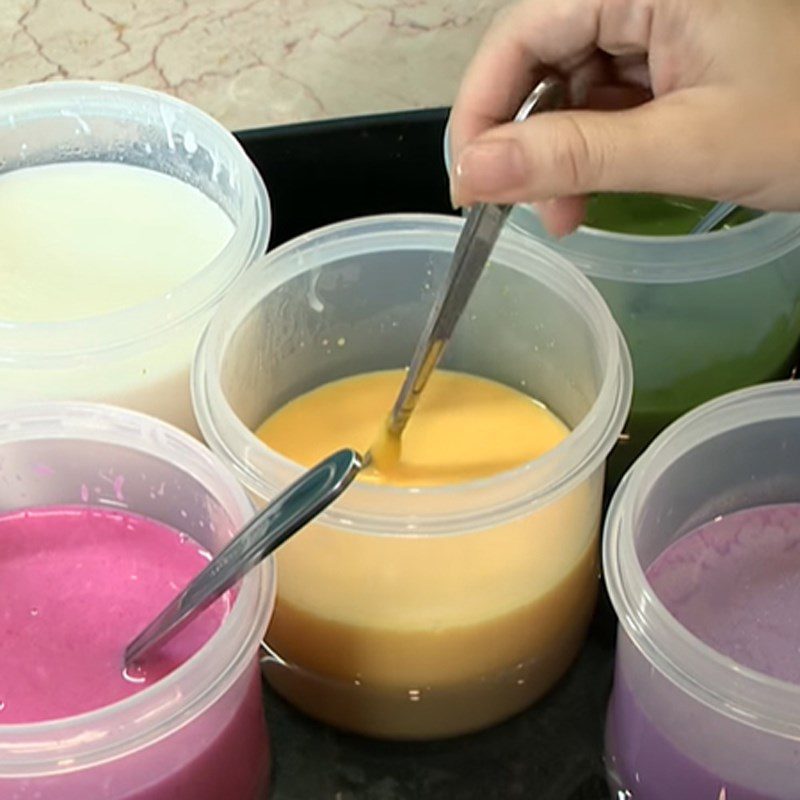
Gradually add 3g of jelly powder to 100ml of water, then place the pot on the stove and cook until the jelly becomes transparent. When this mixture is clearer, add 80ml of unsweetened condensed milk and 400ml of unsweetened fresh milk, then stir for about 30 seconds before turning off the heat.
Pour the cooked jelly into molds, adding 1 – 2 drops of food coloring.
-
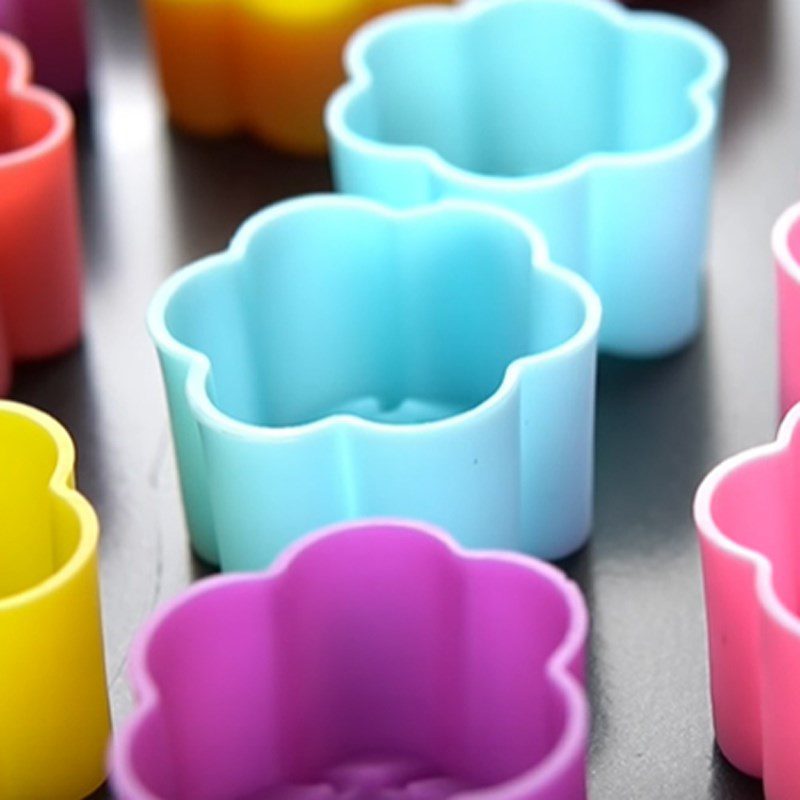
Pouring mini jelly molds
Next, use a paper towel to clean the mini molds. Then, slowly pour the colored jelly into the shaped molds. Wait for the jelly to cool for 30 minutes.
-
Pouring 3D jelly molds
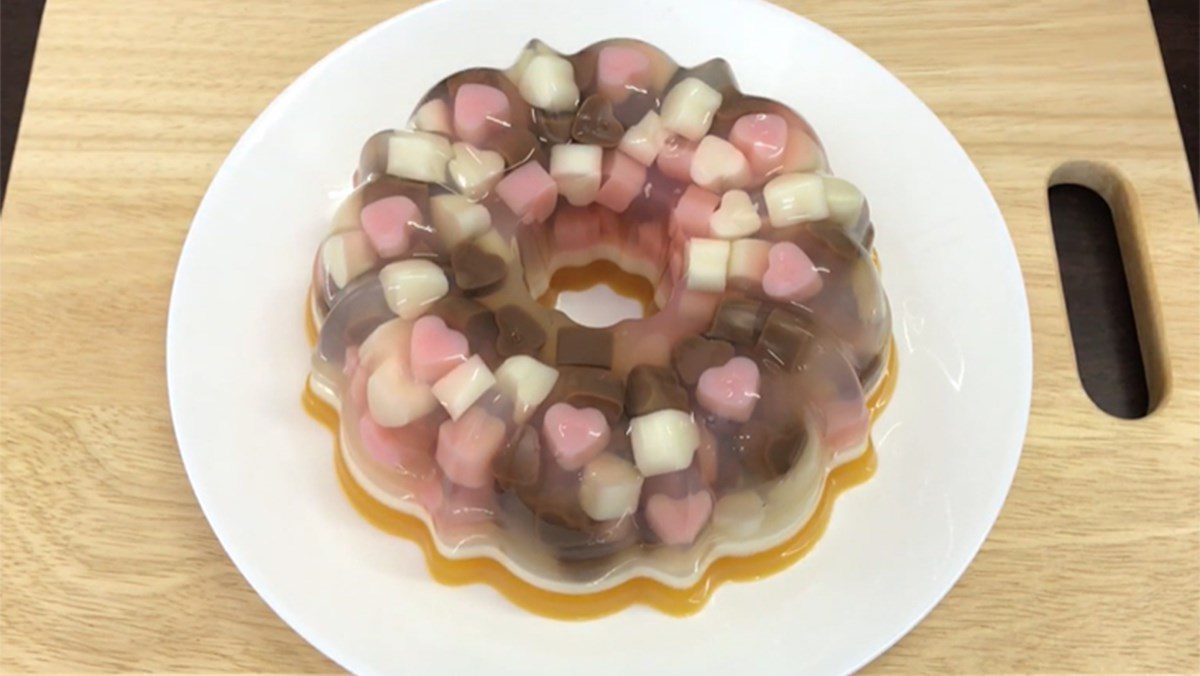
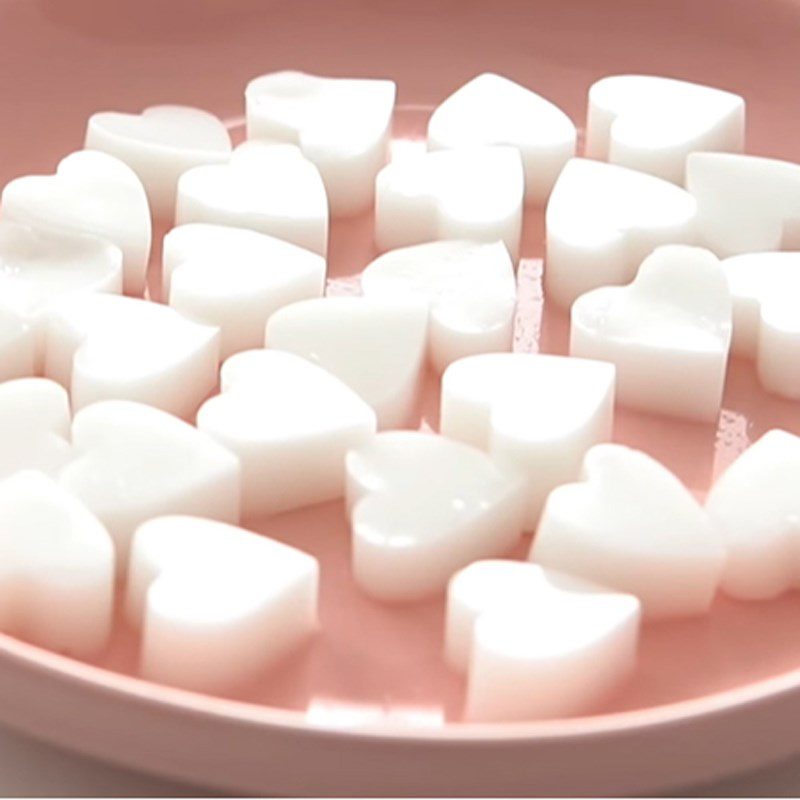
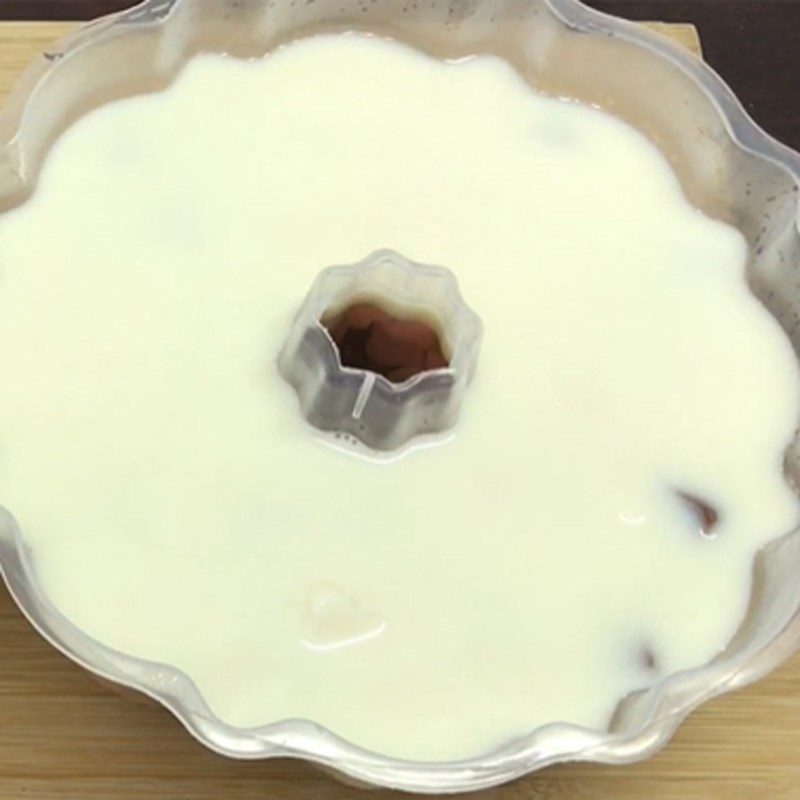
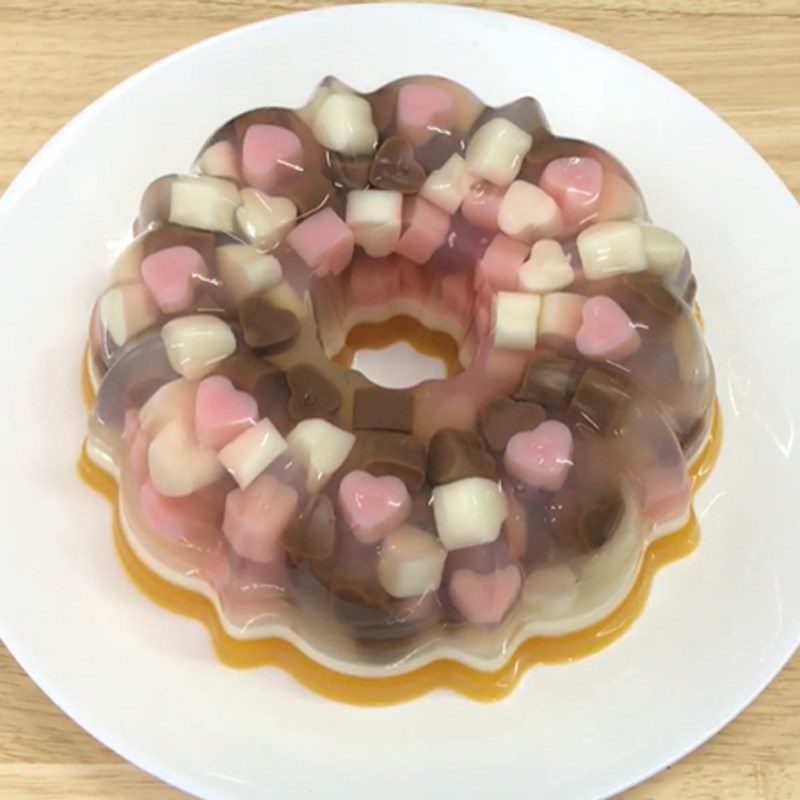
Next, carefully separate the mini jelly from the molds. Place a small amount of the mini jelly just removed into the large mold. Arrange the mini jelly attractively. Pour the clear jelly over the surface of the mini jelly.
When the clear jelly thickens, add a little more mini jelly on top. Continue pouring the clear jelly on top, repeating until all prepared mini jelly is used up.
Note: You should place the mini jelly pieces alternately and spaced apart before pouring the clear jelly in; avoid placing them too close together or adding too many mini jellies, as this will make the final product look cluttered and less appealing!When the jelly has set, pour 1-2 layers of white jelly on the surface. Place it in the refrigerator for about 1 hour. Once the jelly is firm, take it out and cut it into small pieces to enjoy.


-
Final Product
3D jelly made with a mold is a dessert that is both delicious and unique, combining multiple layers of jelly that creates a stunning and captivating appearance.
In addition, the jelly is soft and chewy, with a moderate sweetness, allowing you to experience various layers of flavors, which will surely delight you.
Tips for successfully making 3D jelly
- Before cooking the jelly powder, you should mix the jelly with sugar thoroughly; when pouring into water, pour and stir simultaneously to ensure the mixture dissolves and does not clump.
- During the cooking and cooling process, you should remove all air bubbles from the surface to avoid having holes in the jelly.
- When injecting the jelly, do not push too hard to avoid crushing the jelly; wait for the surface jelly to dry before removing it and continue injecting other colors.
- You can add small cut fruits in the middle to create fillings and decorate the jelly to make it more visually appealing.
See more:
With the detailed instructions above, you will definitely succeed in making 3 ways to make 3D jelly that are delicious and incredibly simple and easy to make at home. Quickly save the recipe and share it so that many people can know it!
