-
Preparation
2 hours
-
Cooking
25 minutes
-
Difficulty
Medium
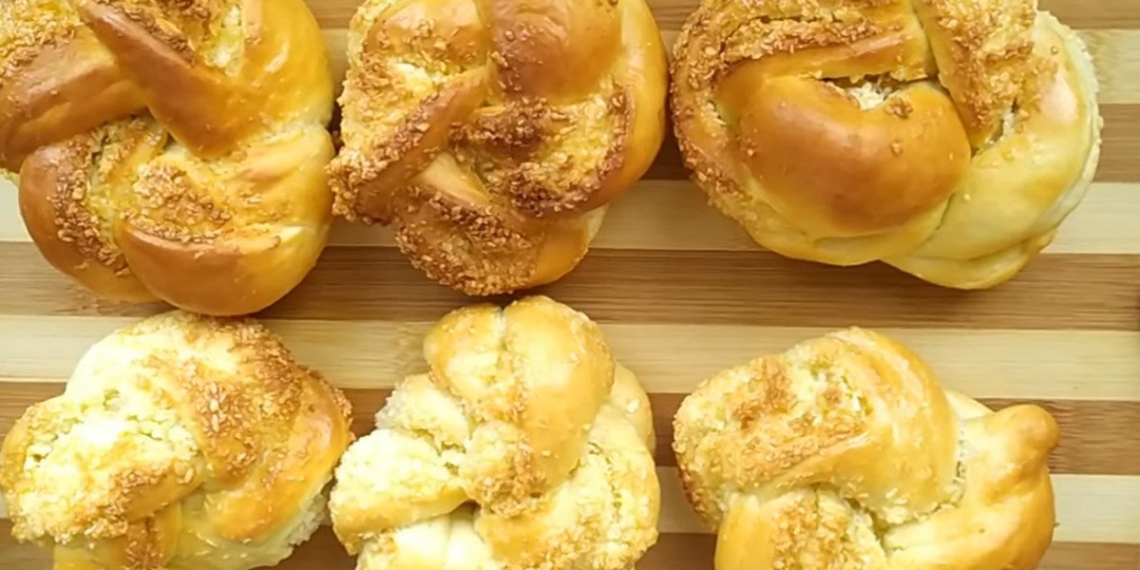
Coconut bread has a fragrant smell, the coconut filling is sweet, fatty, and deliciously chewy. You can make this cake for your family to have for breakfast or as a snack using an air fryer. Go to the kitchen now with TasteVN to make it!
Ingredients for Coconut Bread using an air fryer For 6 pieces of bread
All-purpose flour 200 g Instant yeast 3 g Fresh milk 80 ml Sugar 80 g Salt 2 g Butter 20 g Chicken egg 1 piece Egg white 1 piece Cooking oil 20 ml Grated dry coconut 50 g Vanilla 1 g
How to make Coconut Bread using an air fryer
-
Mix the bread dough
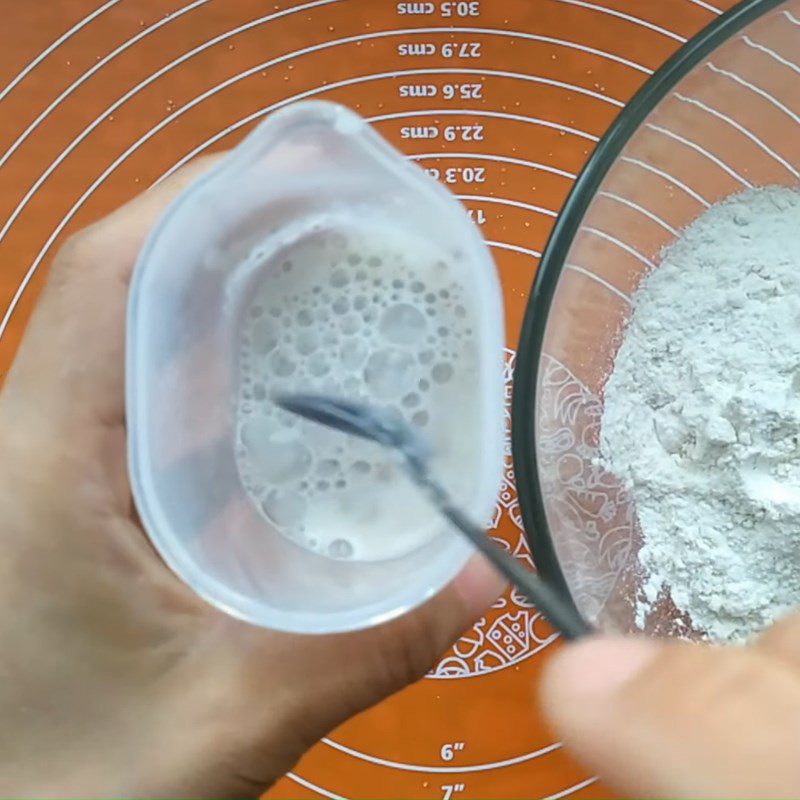
Put 80ml of fresh milk, 40g of sugar, and 3g of instant yeast into a bowl and stir well.
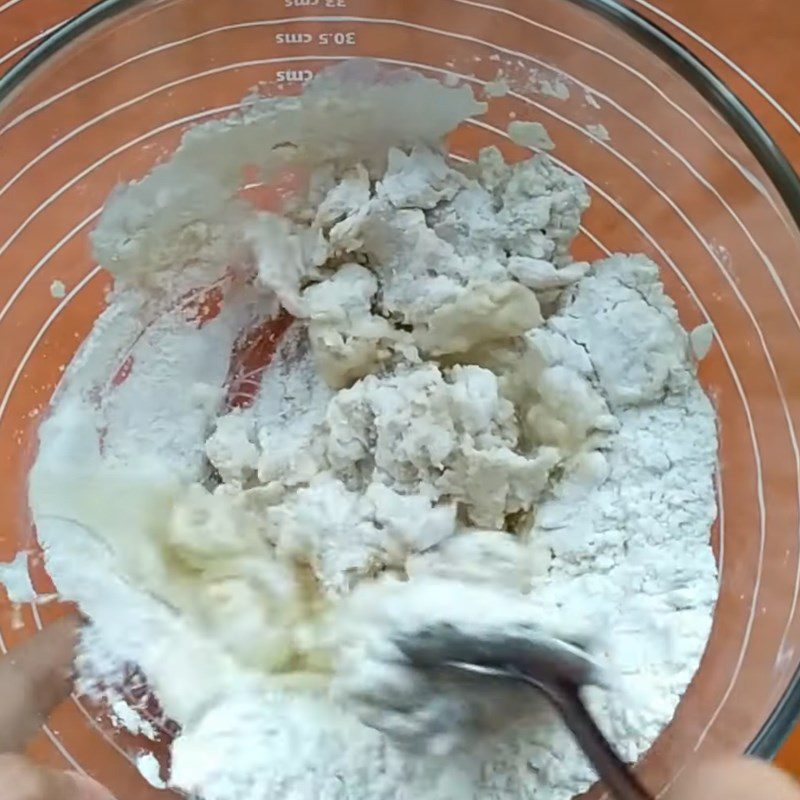
Add 200g of all-purpose flour, 2g of salt, 1 egg white, and the mixed milk into a bowl, then mix well until the ingredients are combined.
-
Kneading dough
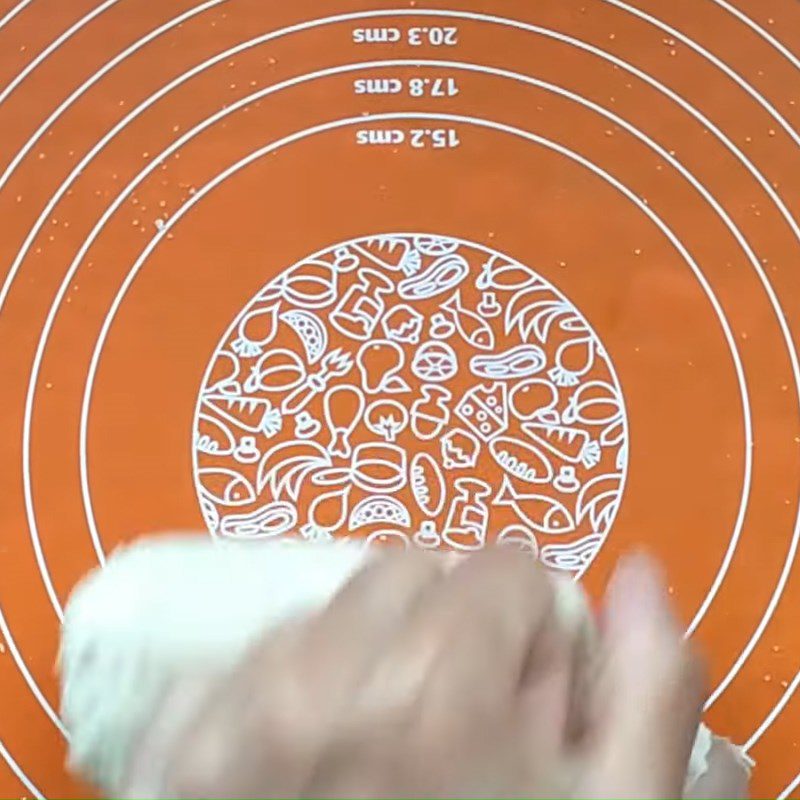
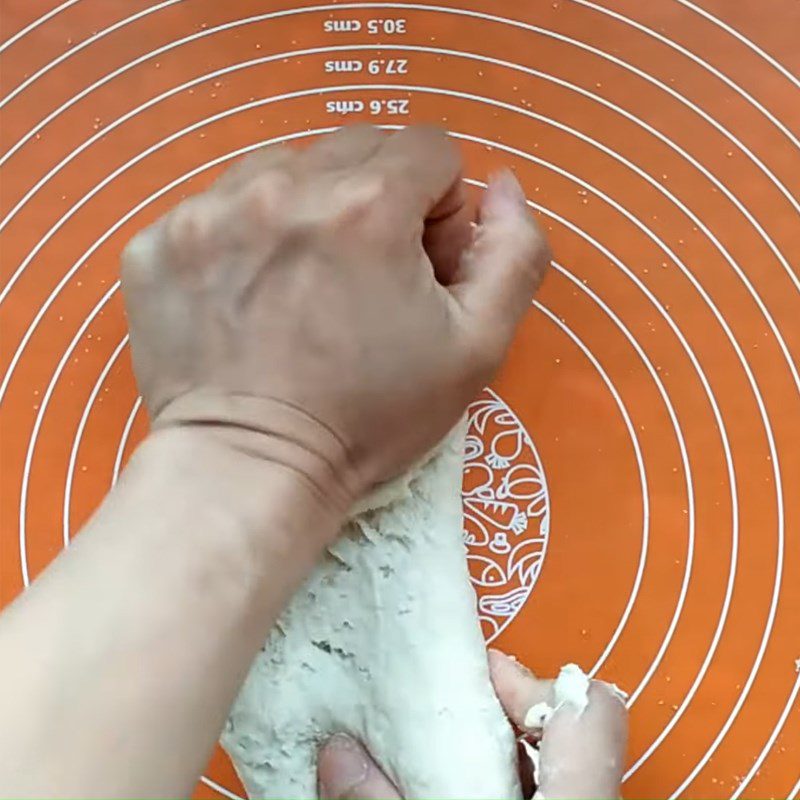
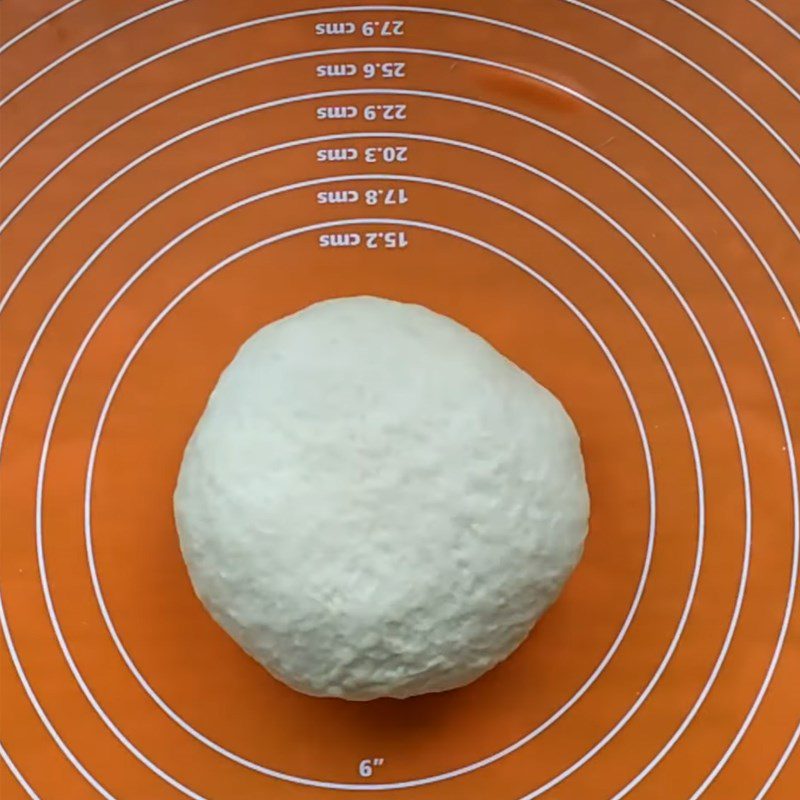
Use your hands to lightly knead the dough into a ball, then perform the kneading technique called Folding and Stretching.
First, fold the dough over, then use the palm of your hand to press and stretch the dough away. Note to press and stretch the dough away, not down. Next, rotate the dough ball 90 degrees and repeat the above two steps for 10 minutes.
When the dough starts to smooth out, add 20g of butter, then repeat the kneading action for another 5 minutes until the dough forms a uniform, smooth, and elastic mass.
How to recognize that the dough is satisfactory:
- The dough is soft and smooth, with good elasticity.
- The dough does not stick to your hands: When pressed, it feels slightly sticky, but when you lift your finger, the dough does not stick to your hand.
- The dough can be stretched into a thin film without tearing.
- Check the dough using the Windowpane test. Tear off a piece of dough, stretch it out. If the dough forms a thin film that does not easily tear and light can pass through, it is satisfactory.

-
Proofing the dough
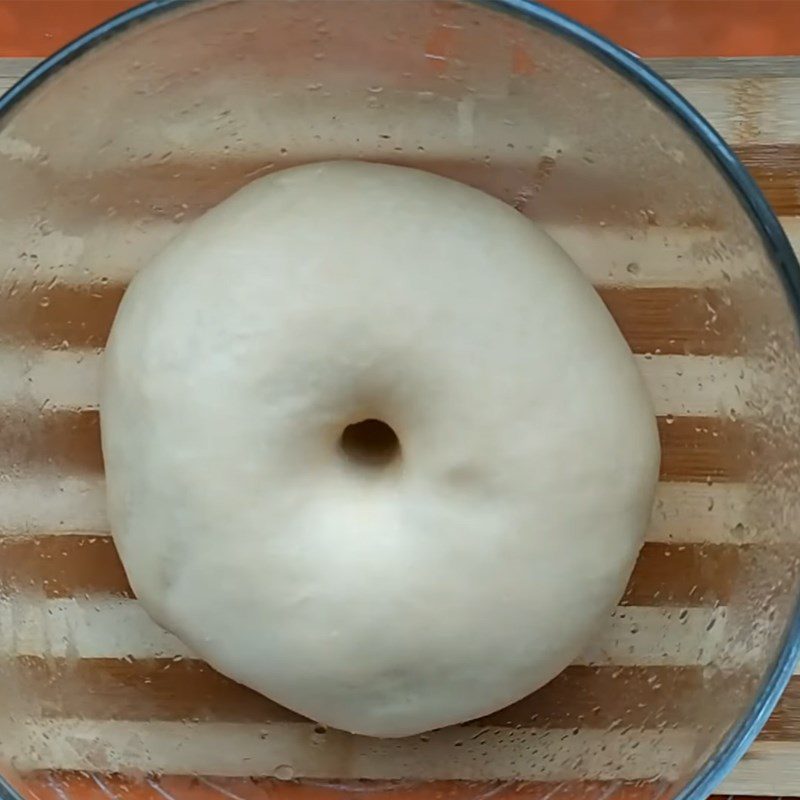
Cover the bowl of dough tightly with plastic wrap, then let it proof for 45 minutes to 1 hour until the dough doubles in size.
Tip: To check if the dough has proofed properly, press your finger deep into the dough; if the indentation remains, the dough is ready.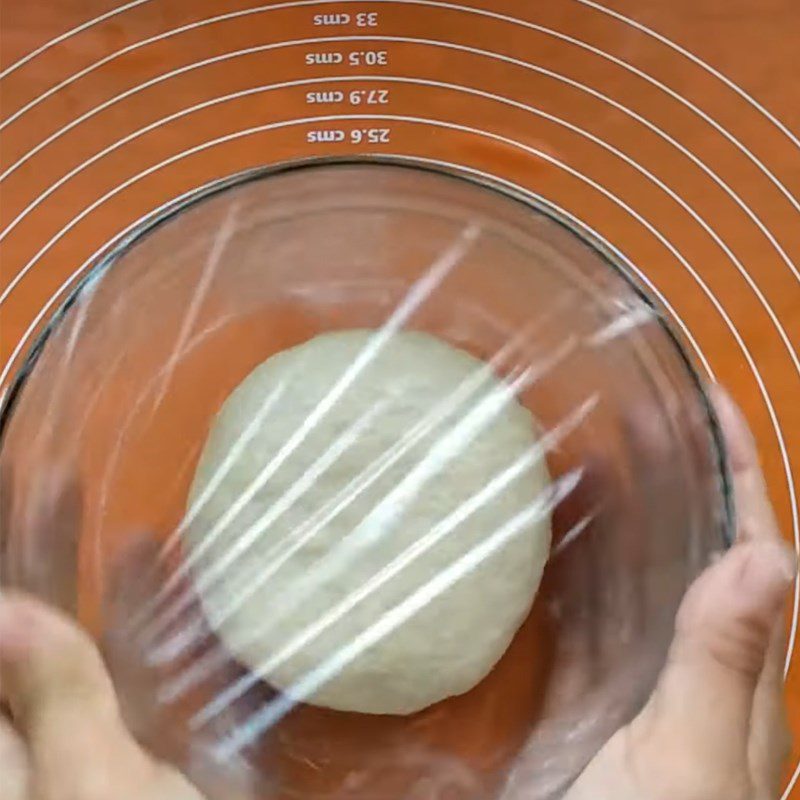
-
Making the coconut filling
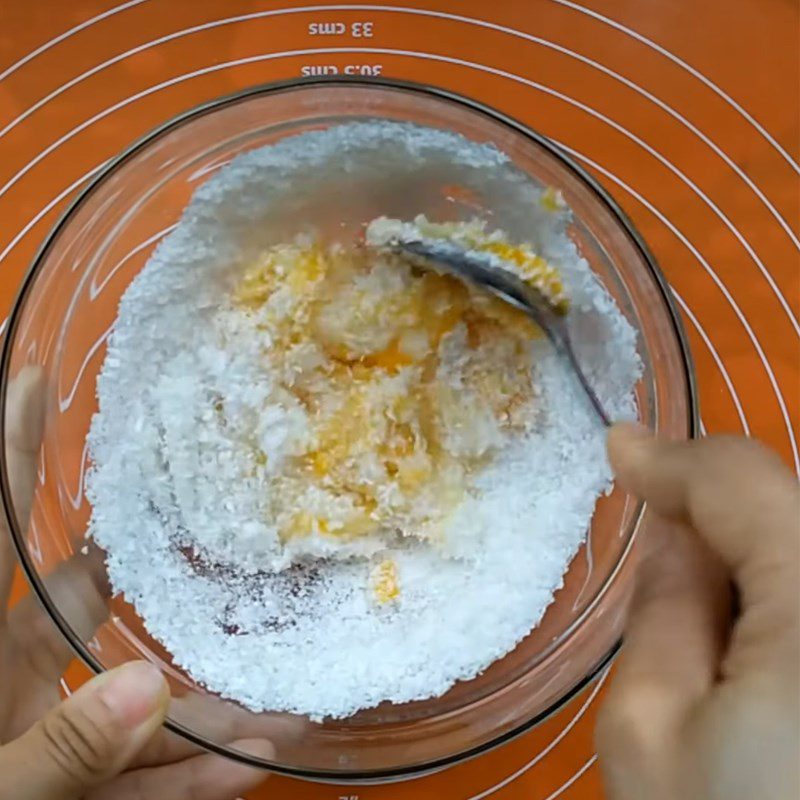
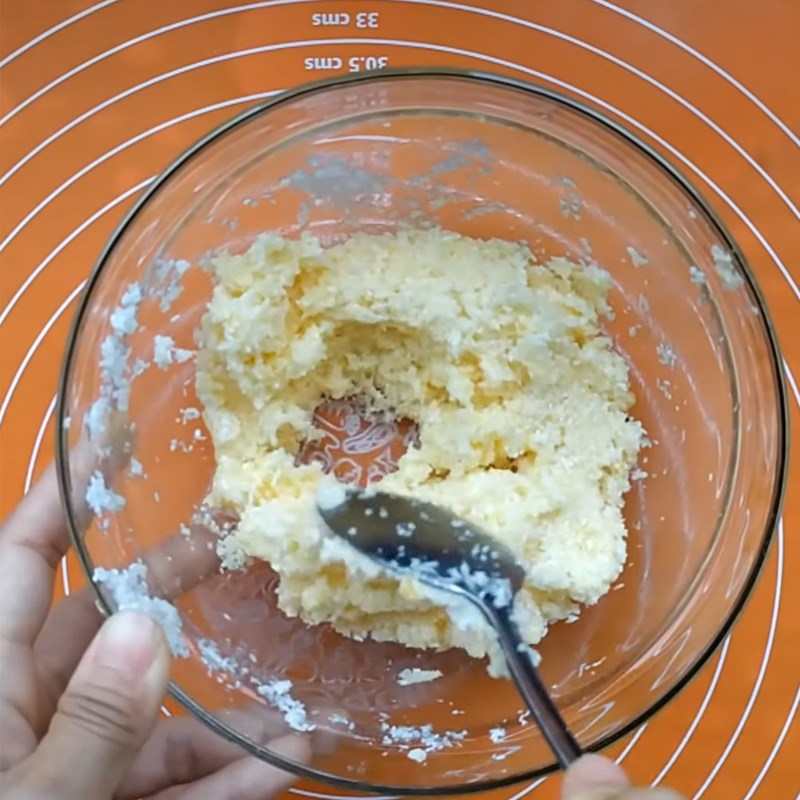
Add 1 egg, 20ml of cooking oil, 40g of sugar, 50g of finely grated dry coconut, and 1g of vanilla into a bowl and mix well.
-
Shaping the bread
Lightly oil the cutting board and rolling pin.
Divide the dough into 6 equal parts, roll them into balls, and flatten them into rectangles.
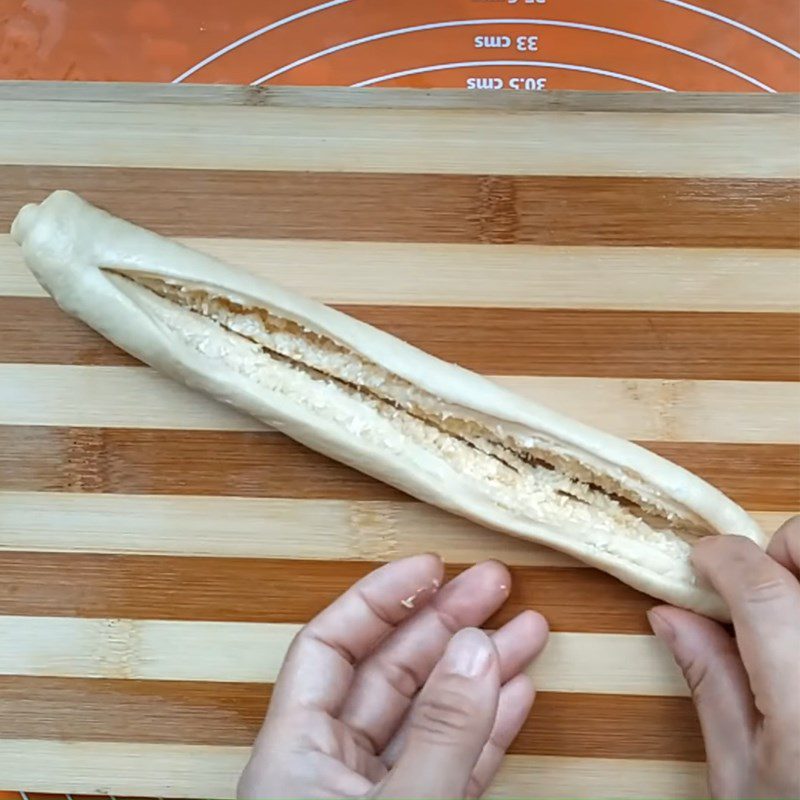
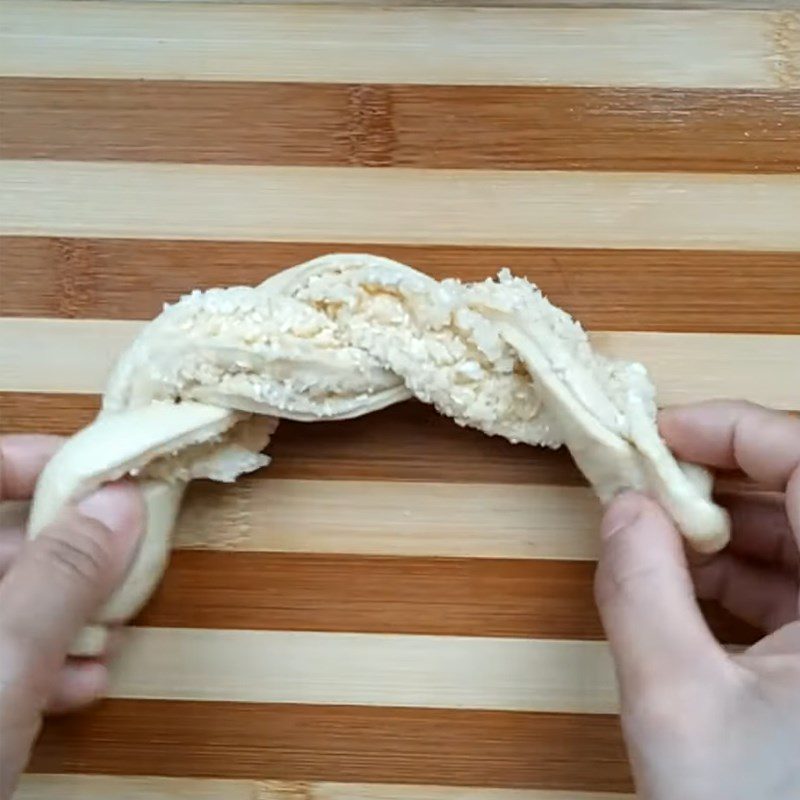
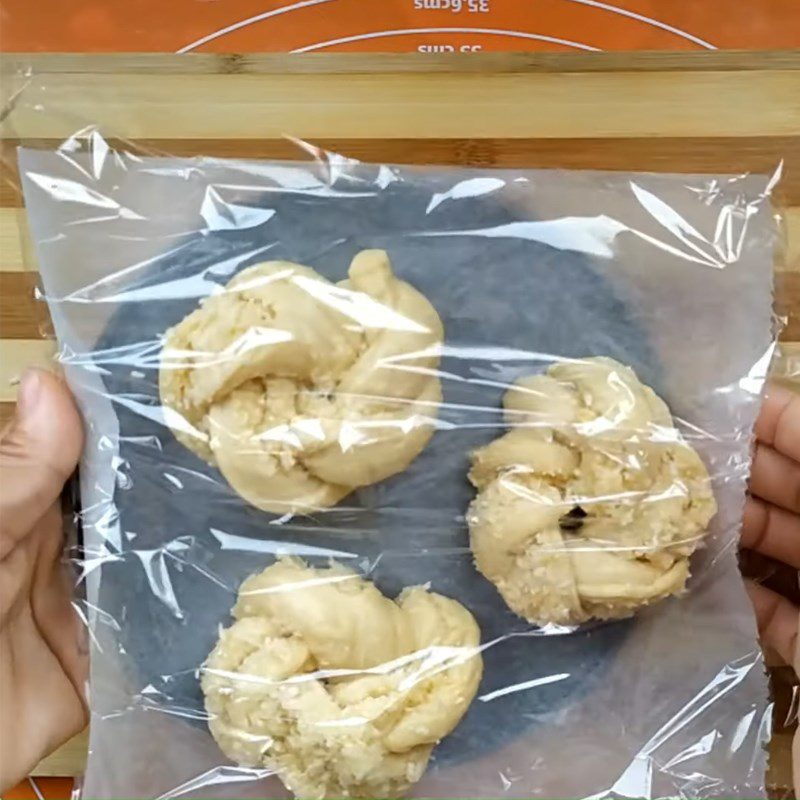
Spread the filling evenly over the piece of dough, roll it up, and use a knife to cut down the center to separate it into 2 strands. Then, cross and intertwine the 2 strands, rolling the ends back to finish.
Cover the shaped dough tightly and let it proof again for 30 to 45 minutes.
Tip: Don’t cut all the way through the dough; leave a bit at the end to keep it secure and easier to shape.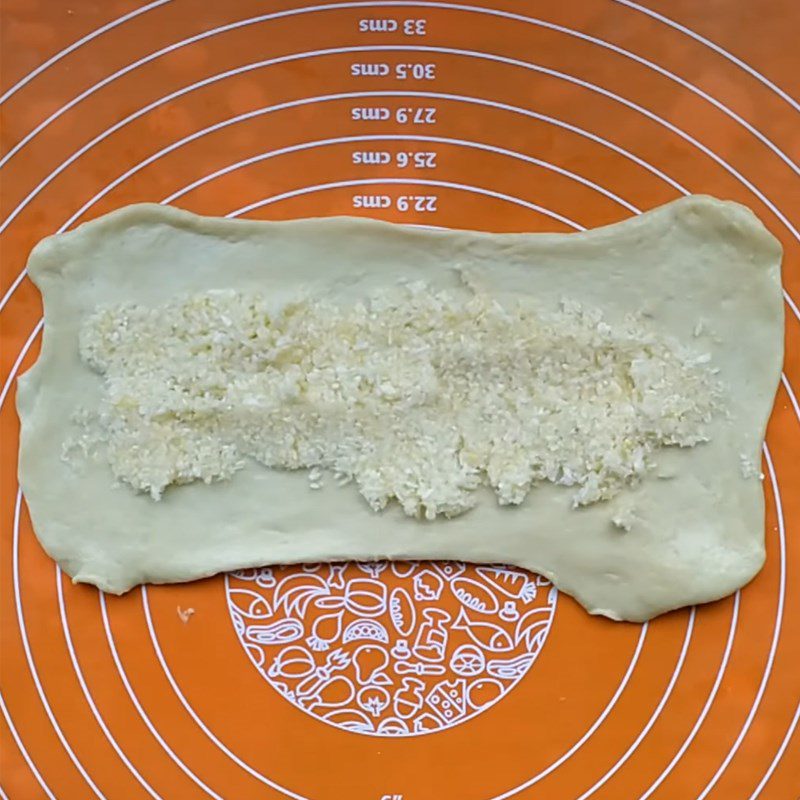
-
Baking the bread
Preheat the air fryer to 150 degrees Celsius for 5 minutes, then place the bread in to bake for 15 minutes.
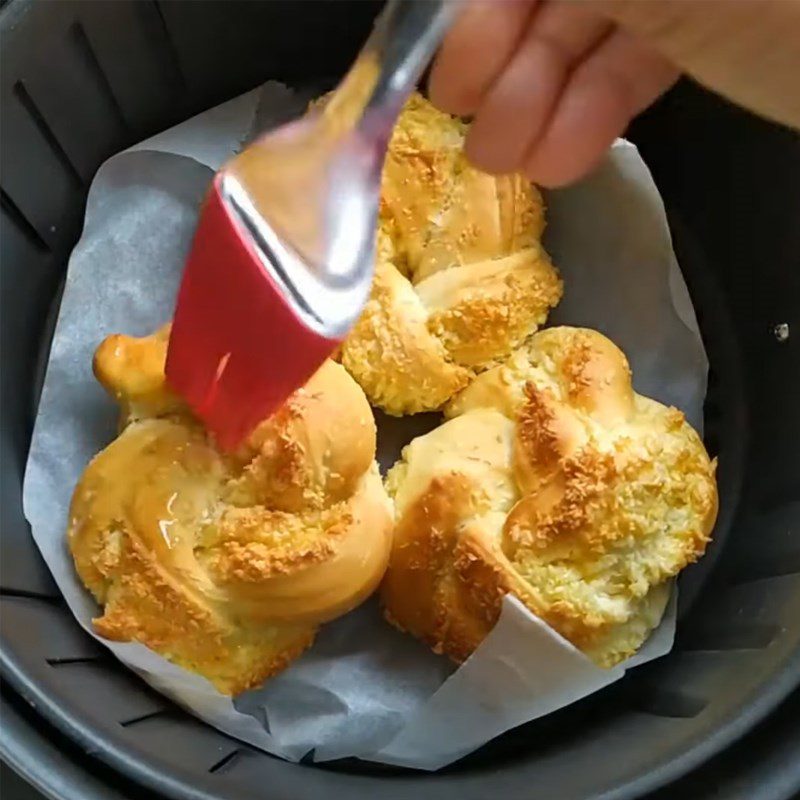
When baking is done, brush a layer of butter on top of the bread and cover it with a cloth for 10 minutes.
Tip: Brushing butter will help the bread be soft, fragrant, and have a beautiful golden color.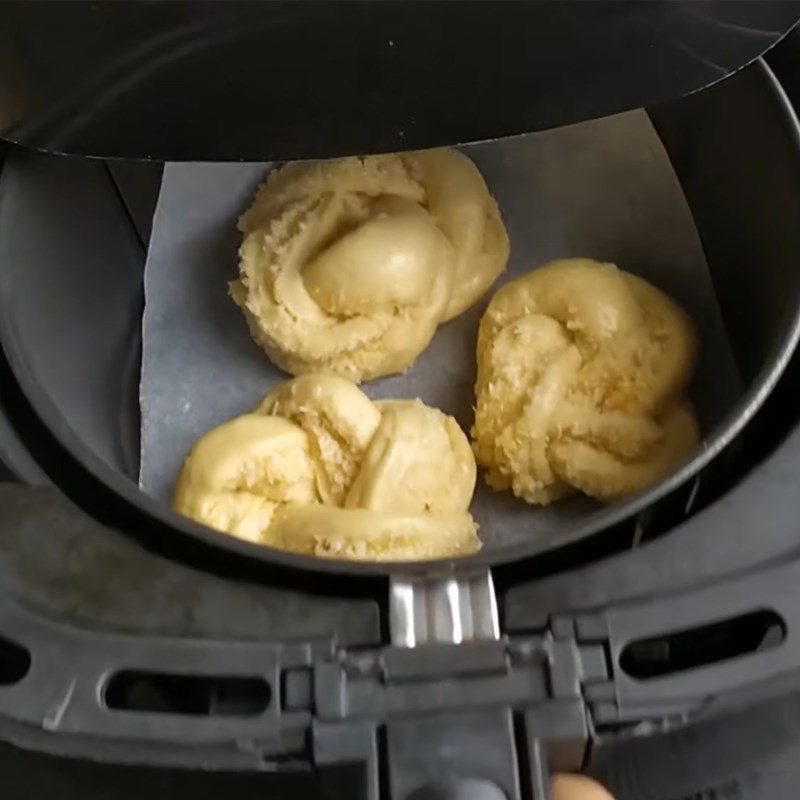
-
Final Product
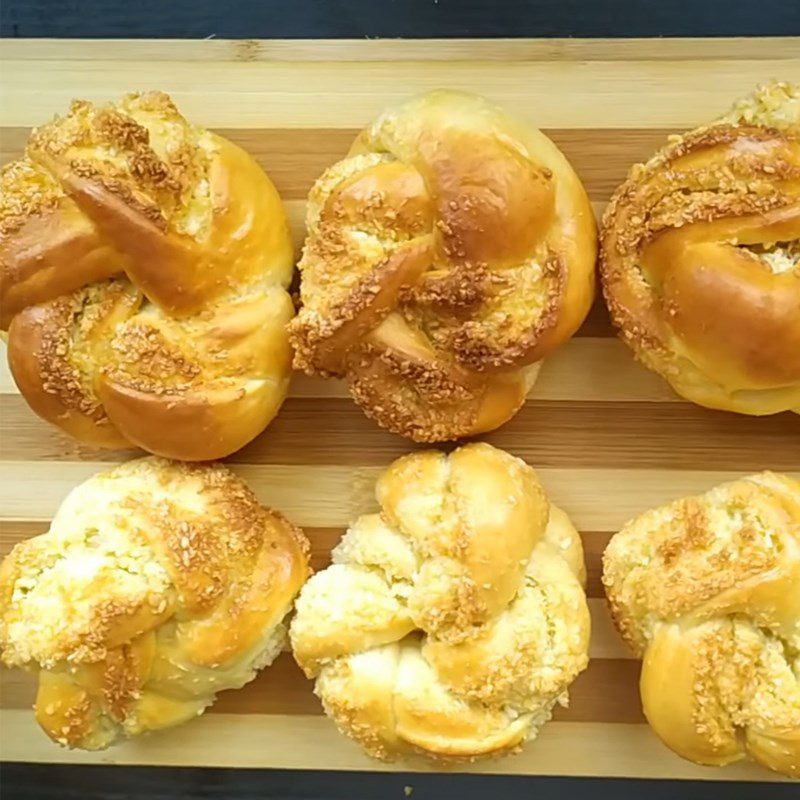
The coconut bread has a beautiful brownish-yellow color, fragrant with butter, with each slice being chewy and soft, filled with sweet and rich coconut, enticingly nutty.
Tips for Successful Execution
- When mixing the dough, if you find the dough too dry, you can add a little fresh milk. Or if the dough is too wet, sprinkle a little dry flour.
- For sweet bread, it is advisable to use golden dry yeast to help the bread have a better taste after baking.
- You need to knead correctly so that the dough can quickly form gluten bonds, making the bread chewy and soft after baking.
- If the dough smells like alcohol or sour, it is due to adding too much yeast, the yeast has not fully activated, or the dough has been left to rise for too long.
Wishing you success in making coconut bread using an air fryer that is delicious and simple!
*Source of the recipe and images from the Youtube channel Bep HueLe
