TasteVN
  • Home
  • Main Dishes
    • Beef Dishes
    • Braised Food
    • Fried Food
    • Steamed Food
    • Stir-fried Dishes
    • Soup
    • Grilled Food
    • Hot Pot
    • Liquid Dishes
    • Chicken Dishes
    • Dried and Fermented Dishes
    • Vegetarian Dishes
    • Porridge
  • Desserts
    • Cake
    • Ice Cream
    • Sweet Soup
    • Desserts
  • Beverages
    • Beverages
    • Juices
    • Milk Tea
    • Smoothies
  • Snacks
    • Rolls and Salads
    • Salad
    • Snacks
  • Tips & Holidays
    • Festivals & Holidays
    • Kitchen Tips
No Result
View All Result
TasteVN
No Result
View All Result
Home Desserts

How to make chewy and crispy honeycomb jelly that looks beautiful

by TasteT
2 months ago
in Desserts
478 15
0
how to make jelly in tube shape beautiful and delicious 07672
740
SHARES
3.5k
VIEWS
Share on FacebookShare on Twitter
  • Preparation

    15 minutes

  • Processing

    30 minutes

  • Difficulty

    Medium

Today, the Vào bếp page of Điện máy XANH wants to introduce you to the recipe for making jelly in the shape of a honeycomb with a unique flavor and distinctive shape, promising to satisfy your senses. Let’s get started on this dessert right away.

Quick view hide
1 Filter the pineapple juice
2 Cook and pour pineapple jelly
3 Cook and pour layer 2 jelly
4 Cook and pour brown sugar jelly
5 Completion and Decoration
6 Final Product
7 Tips for Success
8 Tips for Storing Jelly

Ingredients for Honeycomb Jelly Serves 6 people

Agar powder 7 teaspoons Jelly powder a little Canned pineapple 290 gr Coconut milk 400 ml Powdered sugar 50 gr Brown sugar 120 gr

Information about ingredients

  • You can find fresh pineapples at the market or use canned pineapples available at supermarkets, stores, online platforms,… to prepare the dish as well. Depending on your taste, you can choose to buy fresh pineapple (more sour) or canned pineapple (sweeter).
  • Agar powder, coconut milk, brown sugar can be purchased at supermarkets, stores, Bách Hóa XANH, online shopping sites,….
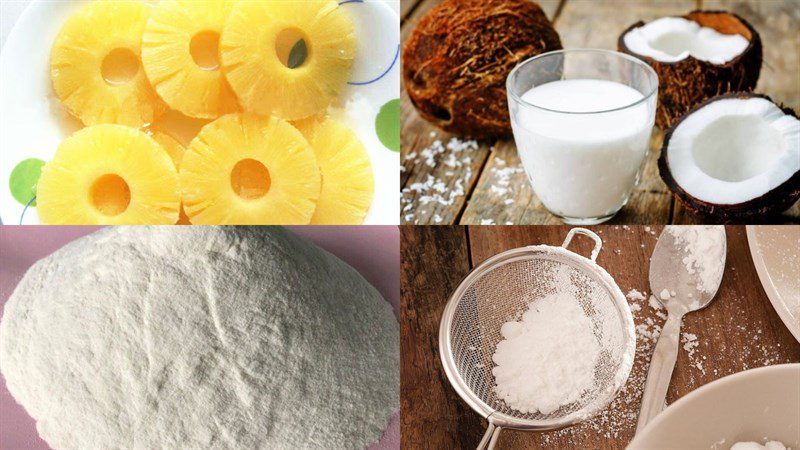
Ingredients for honeycomb-shaped jelly dish

Tools needed

Pot, induction stove, whisk, blender, bubble wrap (1-sided),…..

How to make honeycomb-shaped jelly

  • Filter the pineapple juice

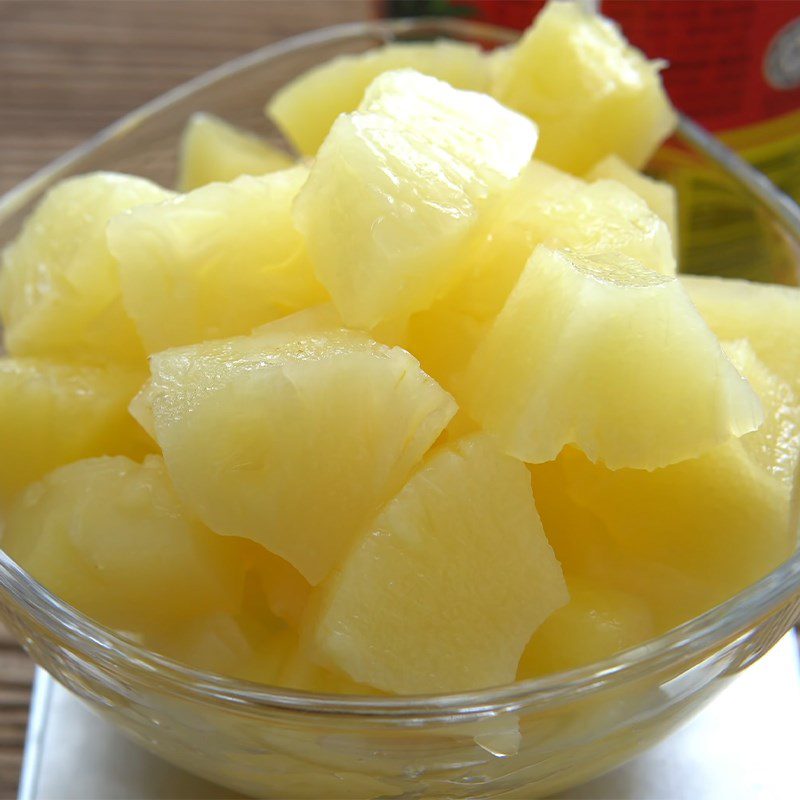
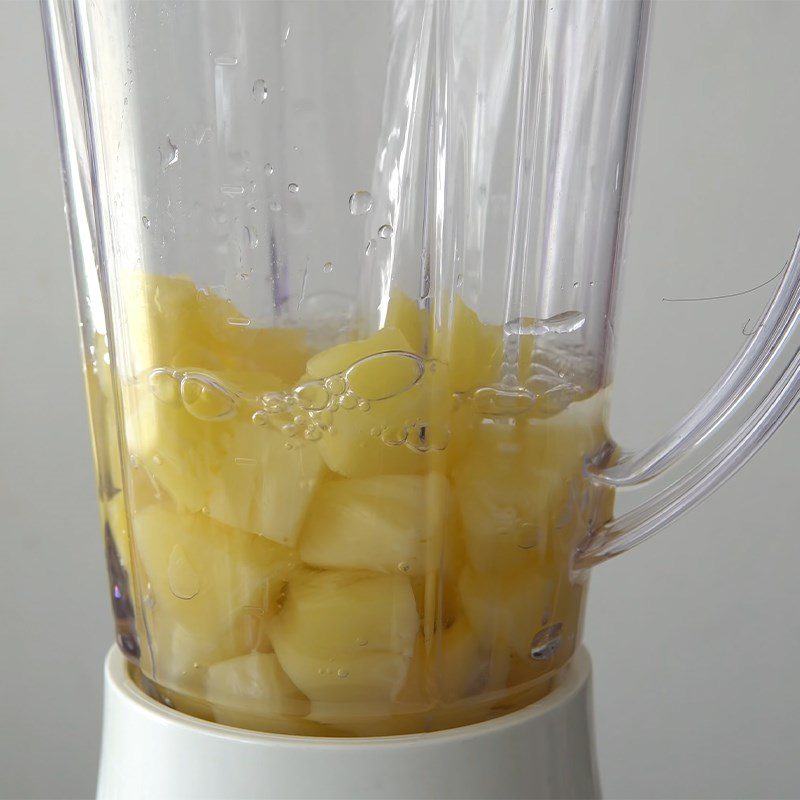
    Open the can of pineapple and take about 290g of pineapple, discarding the juice and placing it in the blender.

    Add 300ml of filtered water and blend the mixture until smooth.

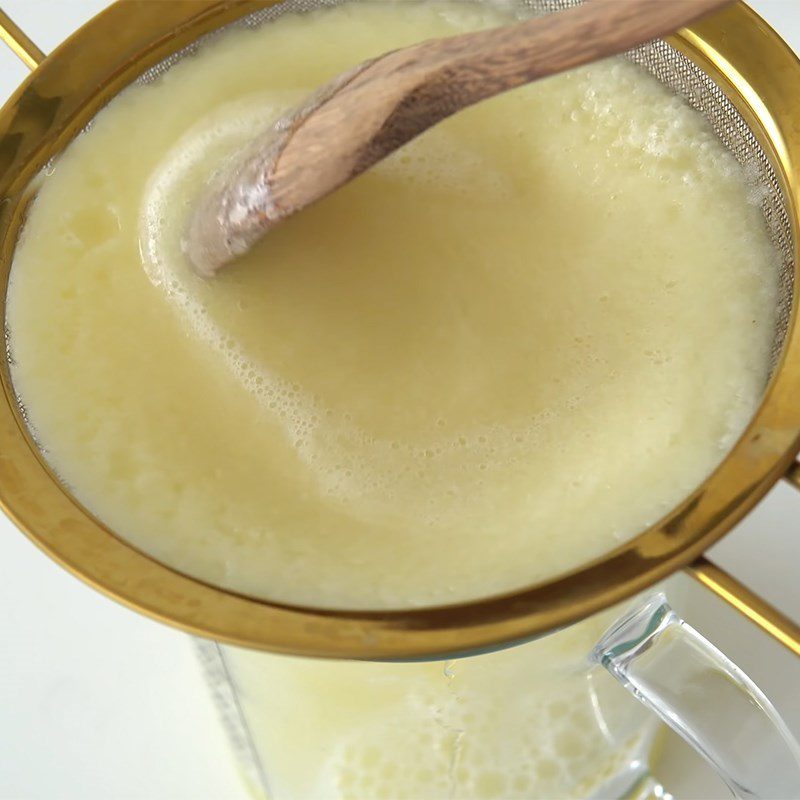
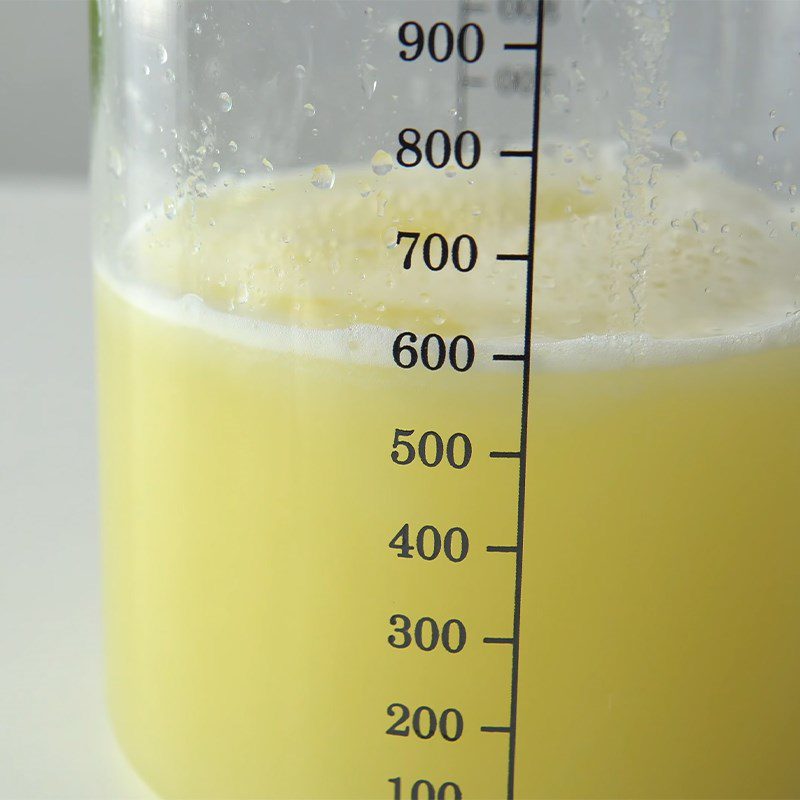
    Next, transfer the pineapple juice through a sieve and filter to keep the juice, discarding the pulp. Add more water until the pineapple juice reaches 600ml.
    Step 1 Filter the pineapple juice for honeycomb-shaped jelly
    Step 1 Filter pineapple juice - jelly in honeycomb shape
    Step 1 Filter pineapple juice - jelly in honeycomb shape
    Step 1 Filter pineapple juice - jelly in honeycomb shape
  • Cook and pour pineapple jelly

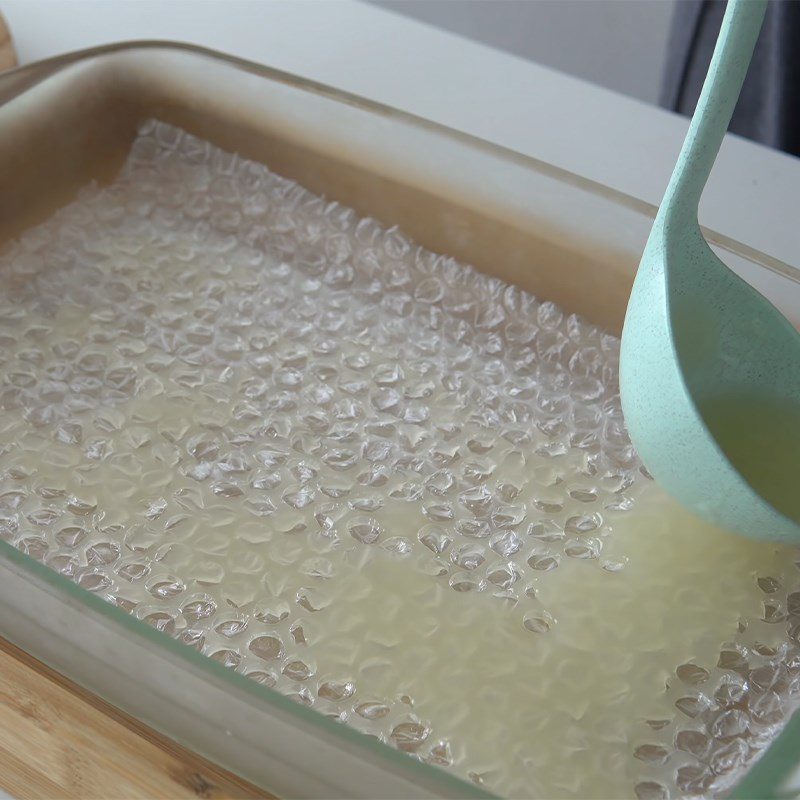
    First, prepare a glass tray, cover it with a layer of shock-absorbing wrap (bubble wrap) that has been cleaned and dried, and place it in the freezer to set the mold.

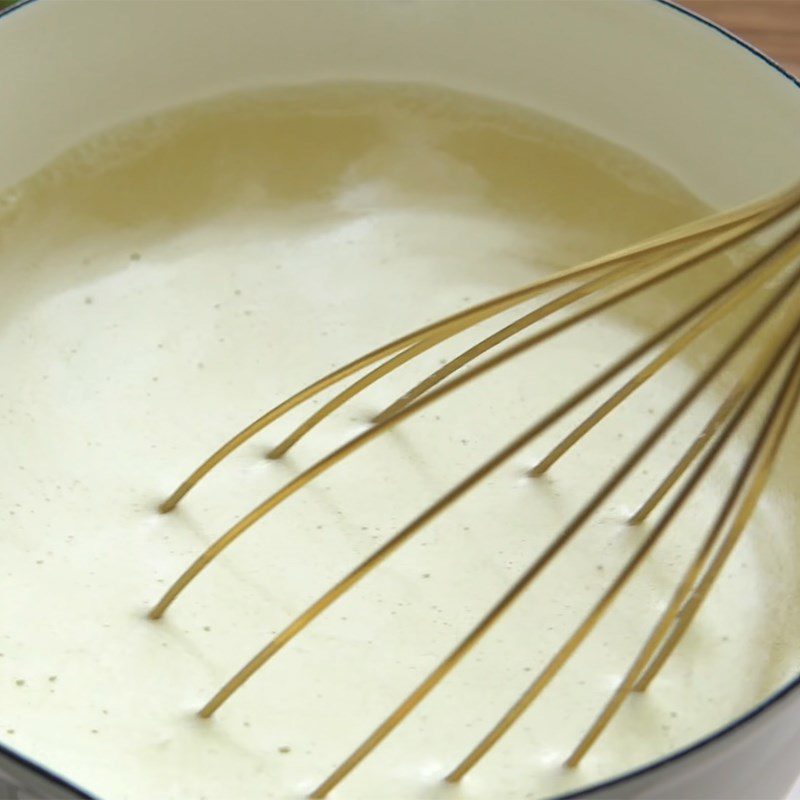
    Next, place a pot on the stove, add all the pineapple juice, 20ml of coconut milk, and then add a mixture of 50g of powdered sugar, 2 teaspoons of agar powder, and 1/2 teaspoon of jelly powder, stirring well.

    At this point, you can turn on the heat to boil the mixture. When you see many boiling bubbles, remove the pot from the heat and turn off the stove, continuing to stir until the mixture cools down to warm.

    Tip: To ensure the mixture blends evenly and boils faster, remember to stir while cooking.

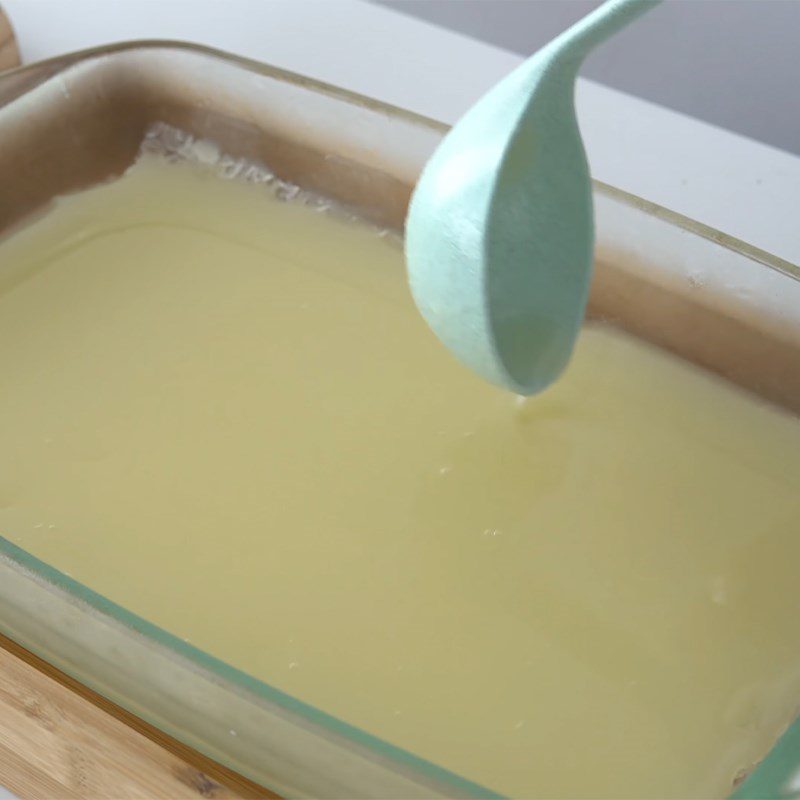
    Take the mold out and pour a layer of pineapple jelly on top, making sure the jelly layer is about 1/3 of the mold.

    Note:
    • To avoid ruining the structure of the dish, after pouring the layer of pineapple jelly into the mold, do not put it back in the refrigerator.
    • While low temperatures can make the jelly set quickly, for this dish, we should keep it slightly warm to ensure the layers of jelly stick together later.
    • The best way is to only use a fan to cool the jelly.
    Step 2 Cook and pour pineapple jelly Jelly in honeycomb shape
    Step 2 Cook and pour pineapple jelly Jelly in honeycomb shape
    Step 2 Cook and pour pineapple jelly Jelly in honeycomb shape
    Step 2 Cook and pour pineapple jelly Jelly in honeycomb shape
  • Cook and pour layer 2 jelly

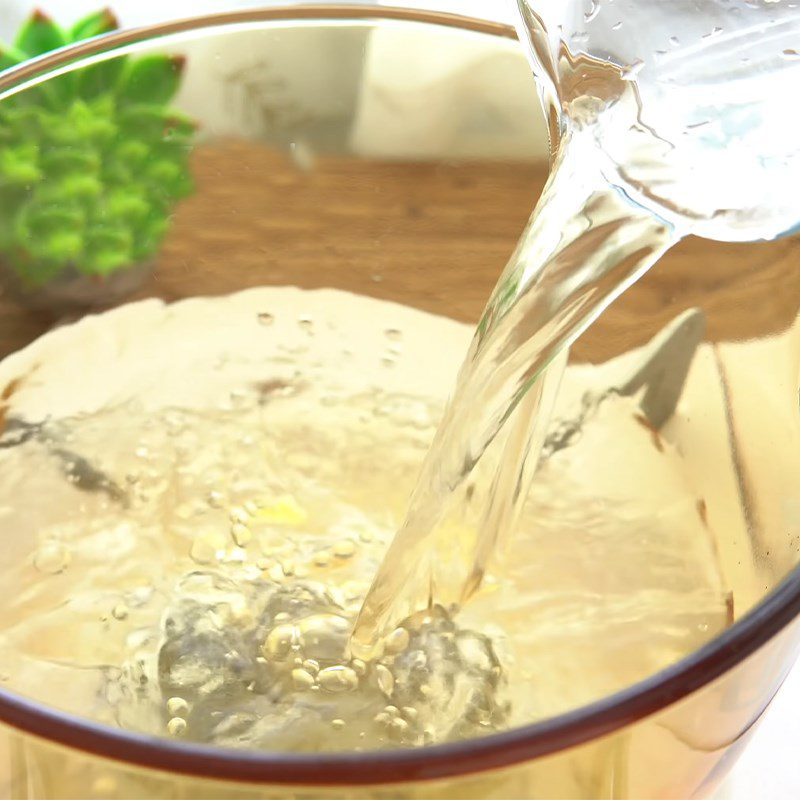
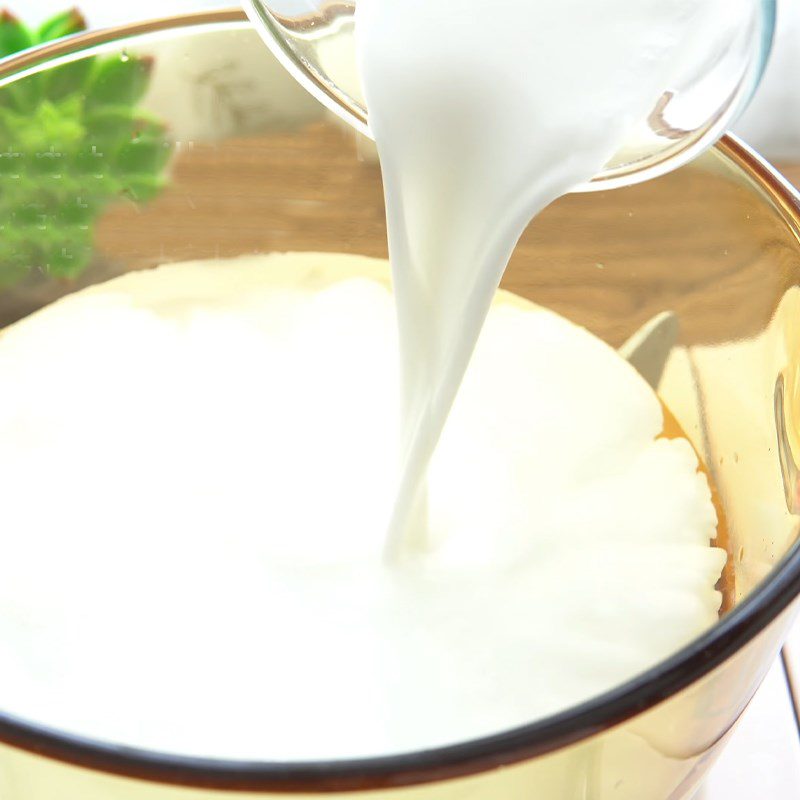
    Place a pot on the stove, add 700ml of filtered water, 200ml of coconut milk, 3 teaspoons of agar powder, 3/4 teaspoon of jelly powder, and stir well.

    Next, turn on high heat to bring the mixture to a boil, stirring continuously until you see many boiling bubbles, then turn off the heat and remove the pot from the stove.

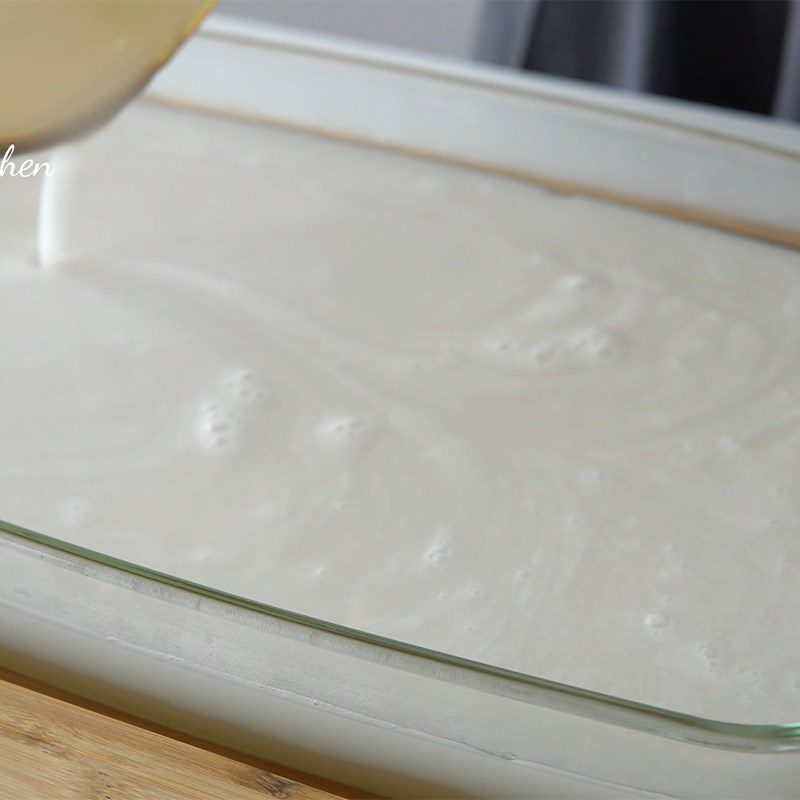
    Continue stirring until the mixture cools down, when it is warm again, pour layer 2 jelly over layer 1 jelly, the amount poured in should be similar to layer 1 jelly, continue using a fan to cool it down.

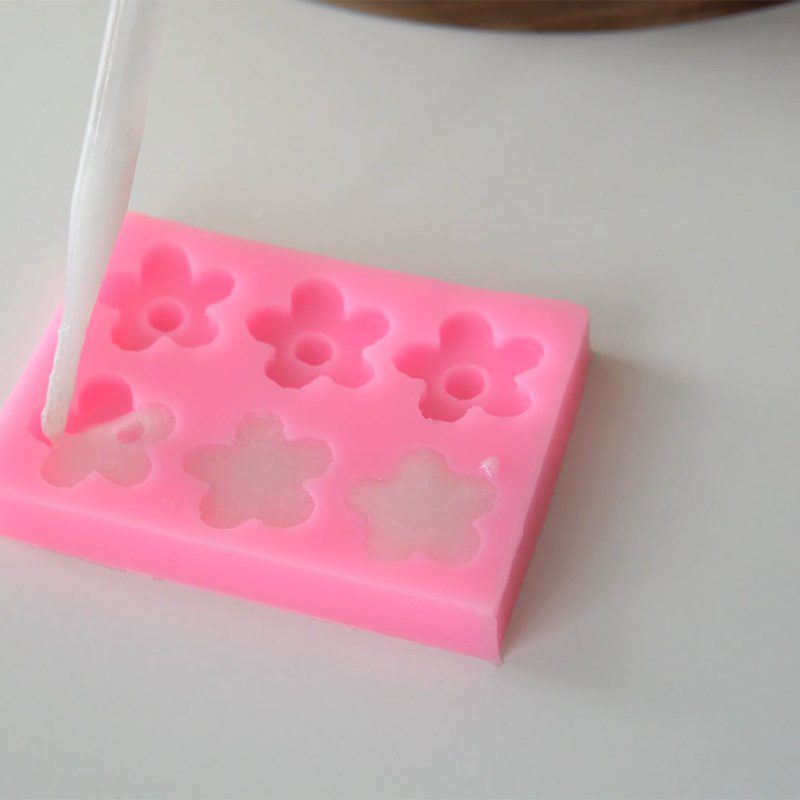
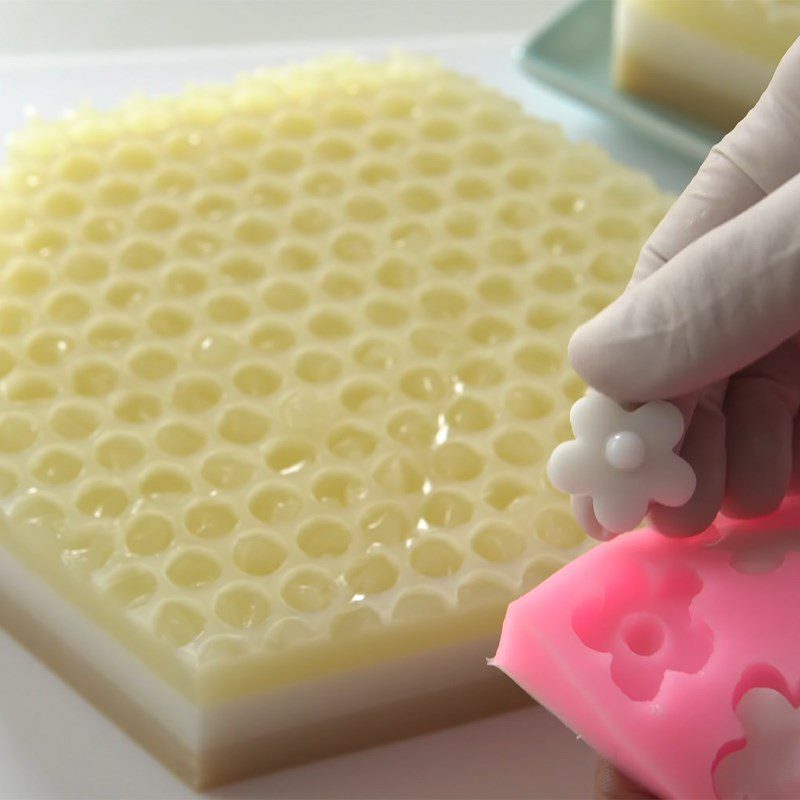
    Prepare a floral mold or any shape you prefer, lightly oil the sides of the mold and then slowly pour this jelly in, then place it in the refrigerator to set the jelly.
    Step 3 Cook and pour layer 2 Jelly in honeycomb shape
    Step 3 Cook and pour layer 2 Jelly in honeycomb shape
    Step 3 Cook and pour layer 2 Honeycomb jelly
    Step 3 Cook and pour layer 2 Honeycomb jelly
  • Cook and pour brown sugar jelly

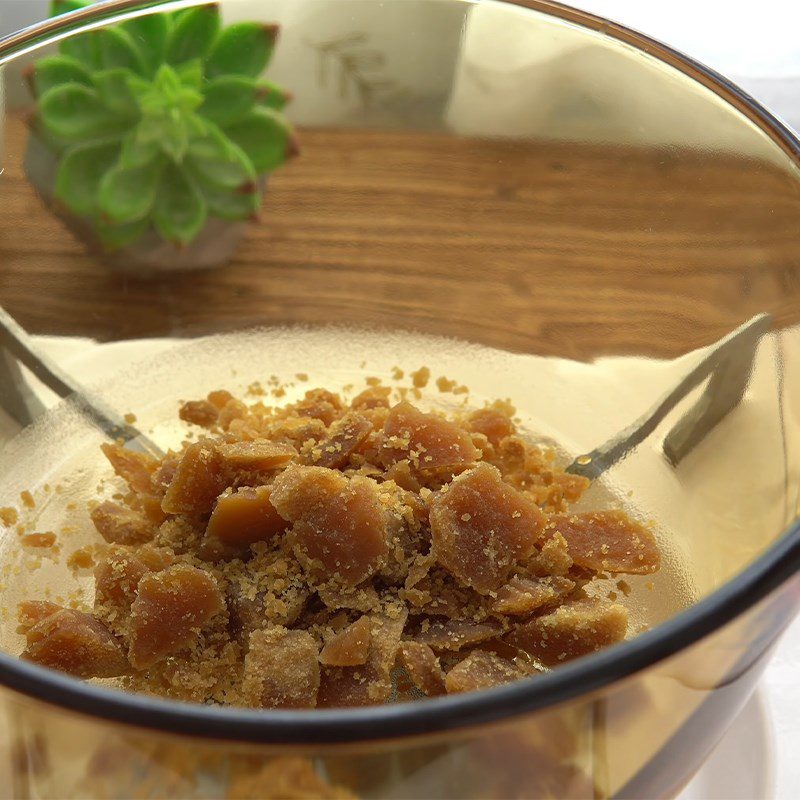
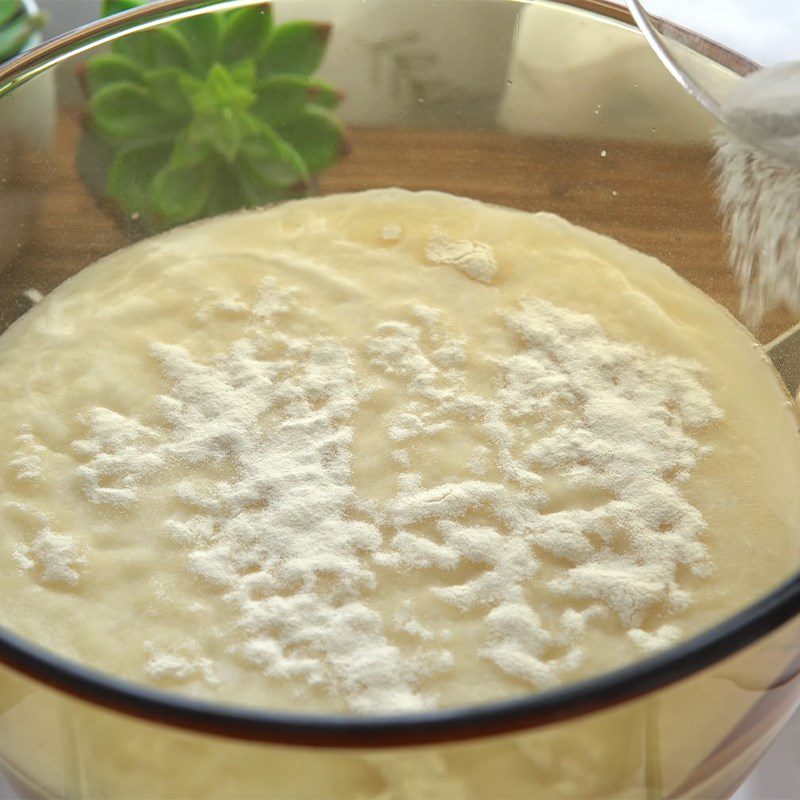
    Add 120gr of brown sugar, 720ml of filtered water, 180ml of coconut milk, 3 teaspoons of agar powder, 3/4 teaspoon of jelly powder, and stir well. Do the same as the pineapple jelly layer.

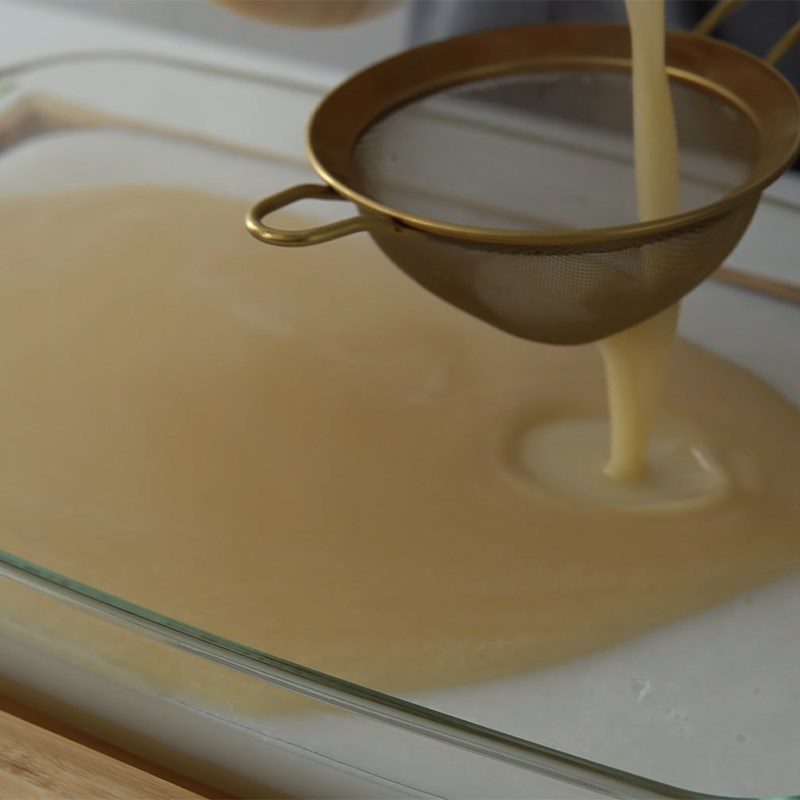
    When the mixture becomes warm, pour this final mixture over the 2 jelly layers, filling the jelly to the top of the mold.

    Tip: To make the mixture smoother and prettier, you should use a sieve to filter out the solids when pouring the brown sugar jelly.

    Finally, just leave the entire jelly mold outside and let it cool down gradually with a fan. After that, place it in the refrigerator to set overnight.
    Step 4 Cook and pour brown sugar jelly Honeycomb jelly
    Step 4 Cook and pour brown sugar jelly Honeycomb jelly
    Step 4 Cook and pour brown sugar jelly Honeycomb jelly
  • Completion and Decoration

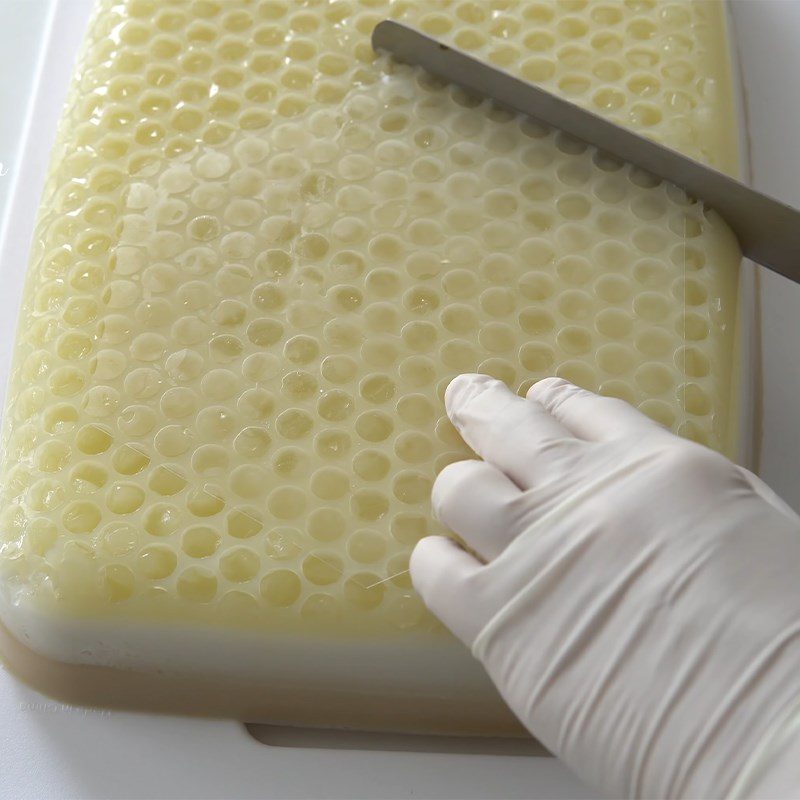
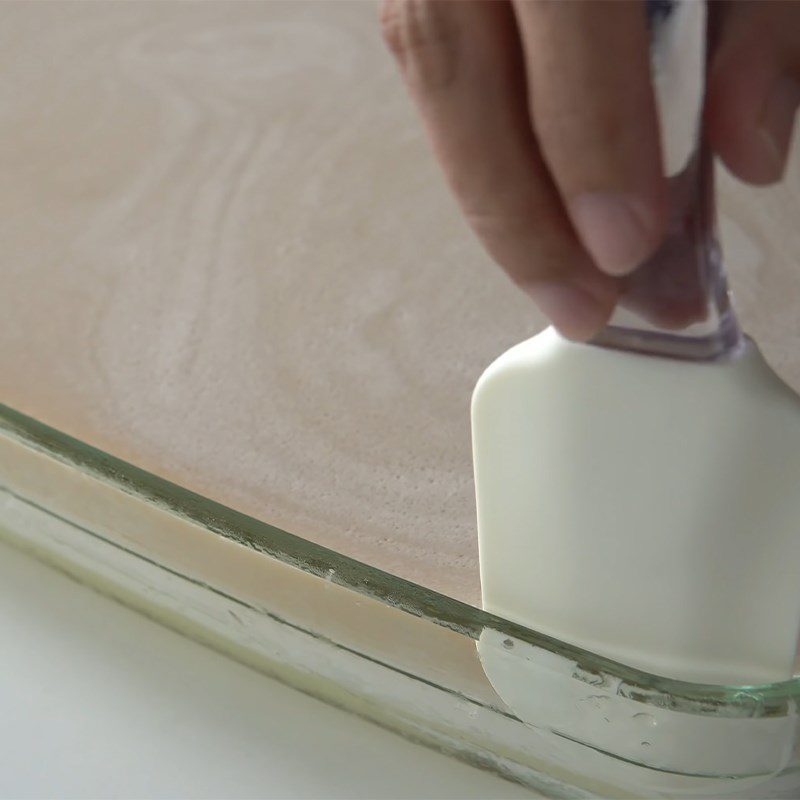
    Remove the mold and the shockproof film (bubble wrap), use a knife to cut along the edge and turn the mold upside down onto a plate to release the jelly.

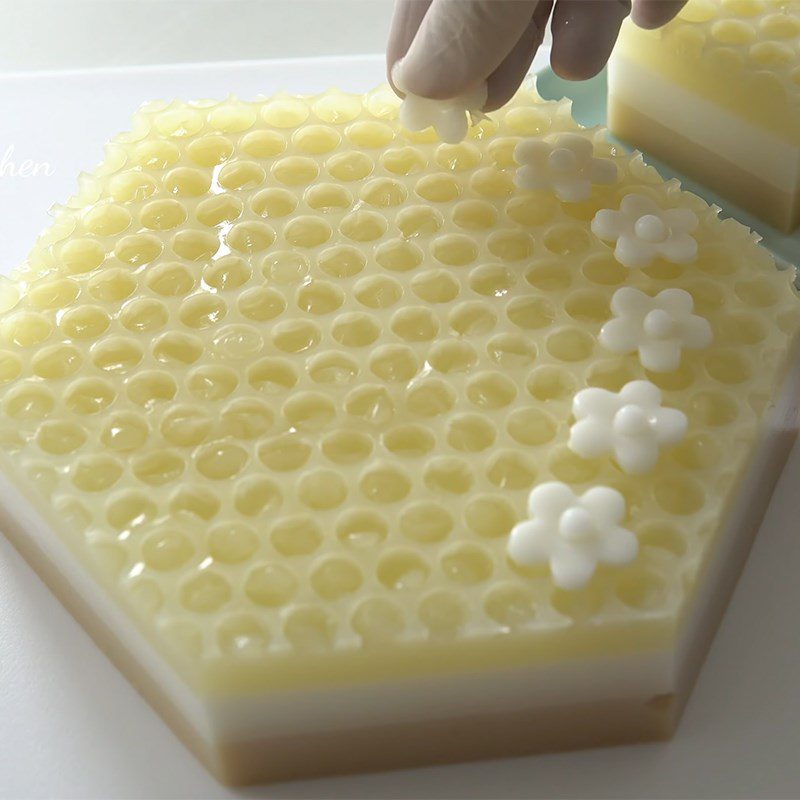
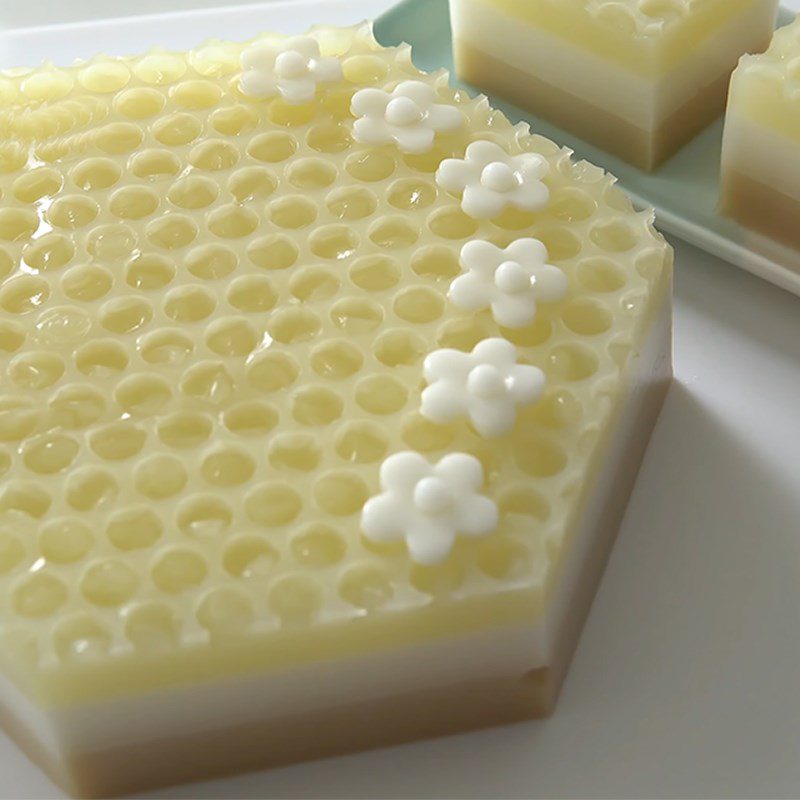
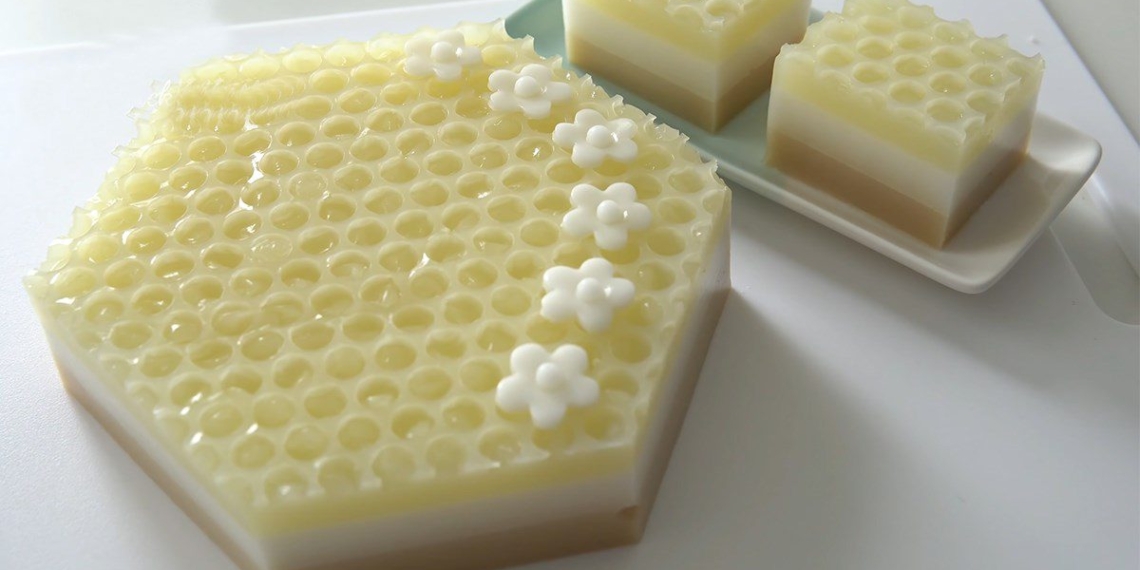
    Next, cut the jelly into hexagonal shapes resembling a honeycomb structure and decorate the top with a few flower shapes made from jelly.

    And that’s it, now you just need to enjoy it.
    Step 5 Completion and Decoration of Honeycomb-Shaped Jelly
    Step 5 Completion and Decoration of Honeycomb-Shaped Jelly
    Step 5 Completion and Decoration of Honeycomb-Shaped Jelly
    Step 5 Completion and Decoration of Honeycomb-Shaped Jelly
  • Final Product

    The honeycomb-shaped jelly you just completed has a beautiful color, a sweet aroma from coconut milk and pineapple. The jelly piece is both chewy, crunchy, and rich, making it appealing.

    Your family will surely be enchanted by this jelly!
    Step 6 Final Product Honeycomb-Shaped Jelly

Tips for Success

  • Remember to use the correct amount of water and agar powder so that the cake can set properly, making pouring the cake easier, faster, and more beautiful.
  • Absolutely do not pour the jelly layers into the mixture when it is too hot or too cold, as the risk of ruining the structure is very high.

Tips for Storing Jelly

  • You should store the jelly in a sealed plastic/glass container and then place it in the refrigerator at a temperature of 2 – 4 degrees Celsius.
  • Avoid placing the jelly right at the fridge door as the temperature can change when opening and closing, and do not place too many foods near the jelly as it can alter the cooling.
  • You should consume the jelly within 2 – 3 days when stored in the refrigerator.
See more:
  • How to make crispy corn jelly that is delicious and does not separate layers
  • 3 ways to make rose jelly for October 20 to give to your wife
  • How to make delicious and refreshing aloe vera jelly to cool off in summer

Hope that with the recipe introduced by Điện máy XANH today, you have successfully made this unique honeycomb jelly. Let’s show off your dessert-making skills to family and friends and enjoy it together.

*Refer to images and recipes from the YouTube channel Little Duck’s Kitchen
Cooking time: 30 minutes
Level: Medium
Tags: how to make jellyjellysoft jelly
Previous Post

How to Cook Delicious and Flavorful Roasted Chicken Rice That is Easy to Make at Home

Next Post

How to make delicious and irresistible baked pomelo fish in foil, rich in flavor

TasteT

TasteT

I am a food writer specializing in Vietnamese cuisine, sharing traditional recipes, cooking tips, and the culture behind every dish. My goal is to bring the authentic flavors of Vietnam to your kitchen.

Related Posts

2 Ways to Make Delicious and Crunchy Coconut Coffee Jelly at Home
Desserts

2 Ways to Make Delicious and Crunchy Coconut Coffee Jelly at Home

How to make beautiful and delicious butterfly pea flower jelly that is refreshing and irresistible
Desserts

How to make beautiful and delicious butterfly pea flower jelly that is refreshing and irresistible

How to make black grass jelly with chia seeds from refreshing, simple grass jelly powder
Snacks

How to make black grass jelly with chia seeds from refreshing, simple grass jelly powder

How to make delicious taro jelly topping for milk tea at home
Milk Tea

How to make delicious taro jelly topping for milk tea at home

How to make colorful jelly that is crunchy, delicious, and visually appealing
Desserts

How to make colorful jelly that is crunchy, delicious, and visually appealing

2 ways to make fragrant and rich pandan soybean jelly with coconut – simple and unique
Desserts

2 ways to make fragrant and rich pandan soybean jelly with coconut – simple and unique

Next Post
How to make delicious and irresistible baked pomelo fish in foil, rich in flavor

How to make delicious and irresistible baked pomelo fish in foil, rich in flavor

Leave a Reply Cancel reply

Your email address will not be published. Required fields are marked *

Navigate

  • About
  • Privacy Policy
  • Contact

Recent Recipes

How to make delicious custard apple smoothie with creamy milk

How to make delicious custard apple smoothie with creamy milk

2 Ways to Make Bitter Melon Hotpot with Vegetarian Sausage and Light Mushrooms for Cooling Down

2 Ways to Make Bitter Melon Hotpot with Vegetarian Sausage and Light Mushrooms for Cooling Down

Browse by Category

  • Beef Dishes
  • Beverages
  • Braised Food
  • Cake
  • Chicken Dishes
  • Desserts
  • Dried and Fermented Dishes
  • Festivals & Holidays
  • Fried Food
  • Grilled Food
  • Hot Pot
  • Ice Cream
  • Juices
  • Kitchen Tips
  • Liquid Dishes
  • Milk Tea
  • Porridge
  • Rolls and Salads
  • Salad
  • Smoothies
  • Snacks
  • Soup
  • Steamed Food
  • Stir-fried Dishes
  • Sweet Soup
  • Vegetarian Dishes

Browse by Ingredients

beef beef stew braised fish cake dish dessert fried dish grilled dishes how to cook porridge how to make cake how to make ice cream into the kitchen mixed salad dish noodle soup snacks soup dish sponge cake steamed dish stir-fried dish stir-fried noodles vegetarian dish

© 2024 TasteVN - The ultimate Vietnam food destination for cooking tips, recipes, and more.

Welcome Back!

Login to your account below

Forgotten Password?

Retrieve your password

Please enter your username or email address to reset your password.

Log In
No Result
View All Result
  • Home
  • Main Dishes
    • Beef Dishes
    • Braised Food
    • Fried Food
    • Steamed Food
    • Stir-fried Dishes
    • Soup
    • Grilled Food
    • Hot Pot
    • Liquid Dishes
    • Chicken Dishes
    • Dried and Fermented Dishes
    • Vegetarian Dishes
    • Porridge
  • Desserts
    • Cake
    • Ice Cream
    • Sweet Soup
    • Desserts
  • Beverages
    • Beverages
    • Juices
    • Milk Tea
    • Smoothies
  • Snacks
    • Rolls and Salads
    • Salad
    • Snacks
  • Tips & Holidays
    • Festivals & Holidays
    • Kitchen Tips

© 2024 TasteVN - The ultimate Vietnam food destination for cooking tips, recipes, and more.