TasteVN
  • Home
  • Main Dishes
    • Beef Dishes
    • Braised Food
    • Fried Food
    • Steamed Food
    • Stir-fried Dishes
    • Soup
    • Grilled Food
    • Hot Pot
    • Liquid Dishes
    • Chicken Dishes
    • Dried and Fermented Dishes
    • Vegetarian Dishes
    • Porridge
  • Desserts
    • Cake
    • Ice Cream
    • Sweet Soup
    • Desserts
  • Beverages
    • Beverages
    • Juices
    • Milk Tea
    • Smoothies
  • Snacks
    • Rolls and Salads
    • Salad
    • Snacks
  • Tips & Holidays
    • Festivals & Holidays
    • Kitchen Tips
No Result
View All Result
TasteVN
No Result
View All Result
Home Cake

How to Make Deliciously Rich Taro-filled Fried Cakes Super Simple

by TasteT
3 months ago
in Cake
483 10
0
how to make sweet potato filled deep fried cakes simple delicious 11836
740
SHARES
3.5k
VIEWS
Share on FacebookShare on Twitter
  • Preparation

    1 hour

  • Cooking

    30 minutes

  • Difficulty

    Easy

This weekend, do you have any plans to showcase your cooking skills with a cake to treat your family? If not, TasteVN will share with you how to make delicious and fragrant taro-filled fried cakes that are extremely simple! Let’s get started in the kitchen and make this cake right away!

Quick view hide
1 Mix the dough
2 Kneading and Proofing the Dough
3 Preparing and Steaming Taro
4 Make taro cream filling
5 Divide the dough and fry the cakes
6 Inject the filling into the cakes
7 Final Product

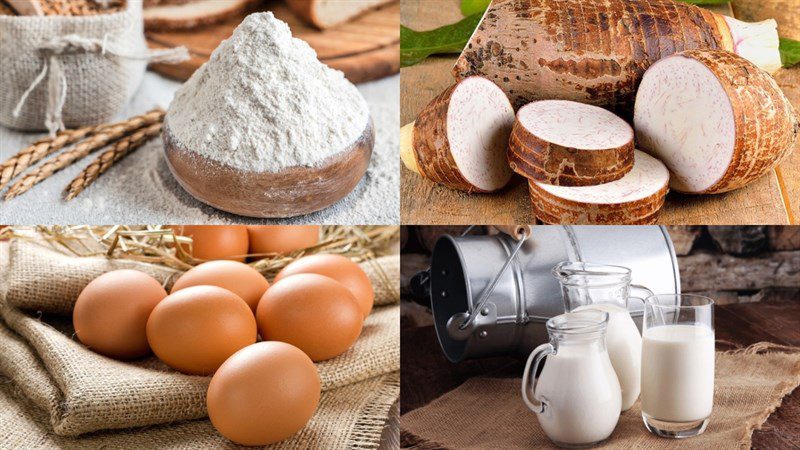
Ingredients for Taro-Filled Fried Cakes Serves 6 people

All-purpose flour 200 gr Taro 130 gr Unsweetened fresh milk 75 ml Whipping cream 175 gr Unsalted butter 25 gr (softened) Chicken egg 1 piece Egg yolk 1 piece Yeast 4 gr Taro flour 1/8 teaspoon (or cornstarch) Cooking oil 200 ml Sugar 6 tablespoons Salt a little

How to Choose Good, Non-Fibrous Taro

  • Choose medium to large taro roots. The flesh inside should be dark purple; conversely, if the color is pale, it indicates poor quality taro.
  • Additionally, the more starch in the taro, the better, which means the more “eyes” on the surface, the better. At the same time, the skin should look rough, with horizontal lines and many roots, and dirt should still cling to the skin.
  • Avoid buying taro with too few or no eyes, and with very smooth skin, as these are signs that the taro may be fibrous and bland.
See details: How to Choose Good, Non-Fibrous Taro

Ingredients for taro-filled doughnuts

Tools required

Egg beater, hand blender, steamer, deep frying pan, ladle, bowl,…

How to make Taro-filled doughnuts

  • Mix the dough

    First, prepare a bowl with 4g of yeast and 3 tablespoons of warm water, stir well, and let it soak for about 7 – 10 minutes for the yeast to activate.

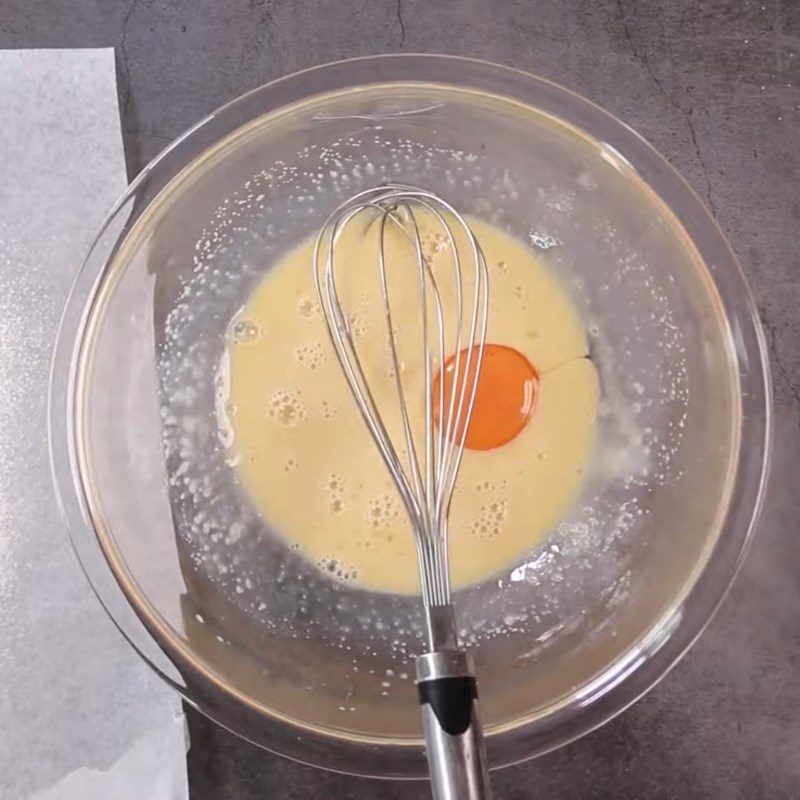
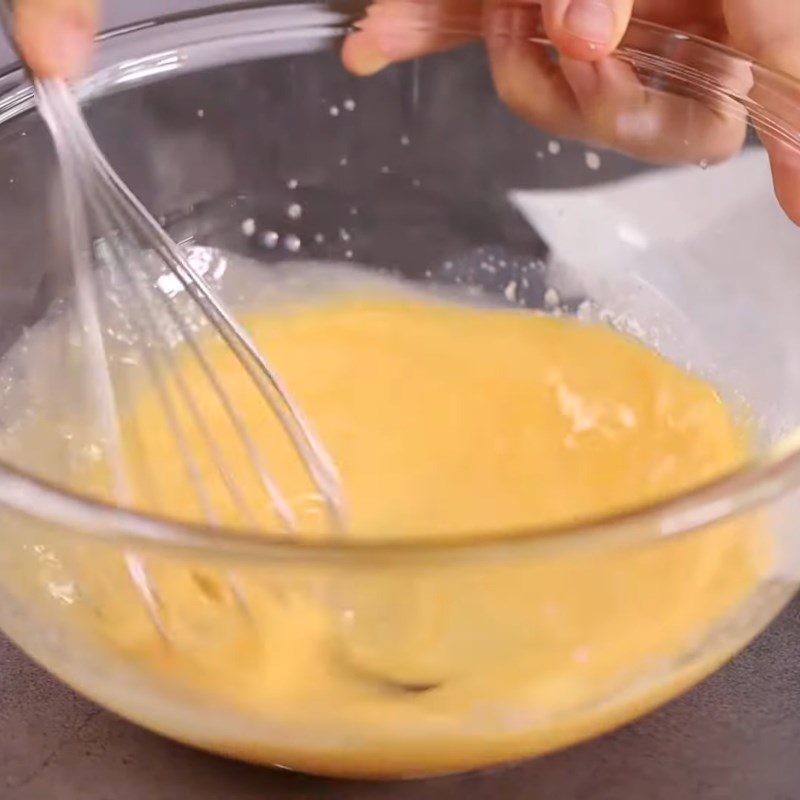
    Next, take a bowl and add 75ml of unsweetened fresh milk, 3 tablespoons of sugar, 4g of activated yeast, 1 chicken egg, and 1 egg yolk, then use the egg beater to mix until the mixture is well combined and smooth.
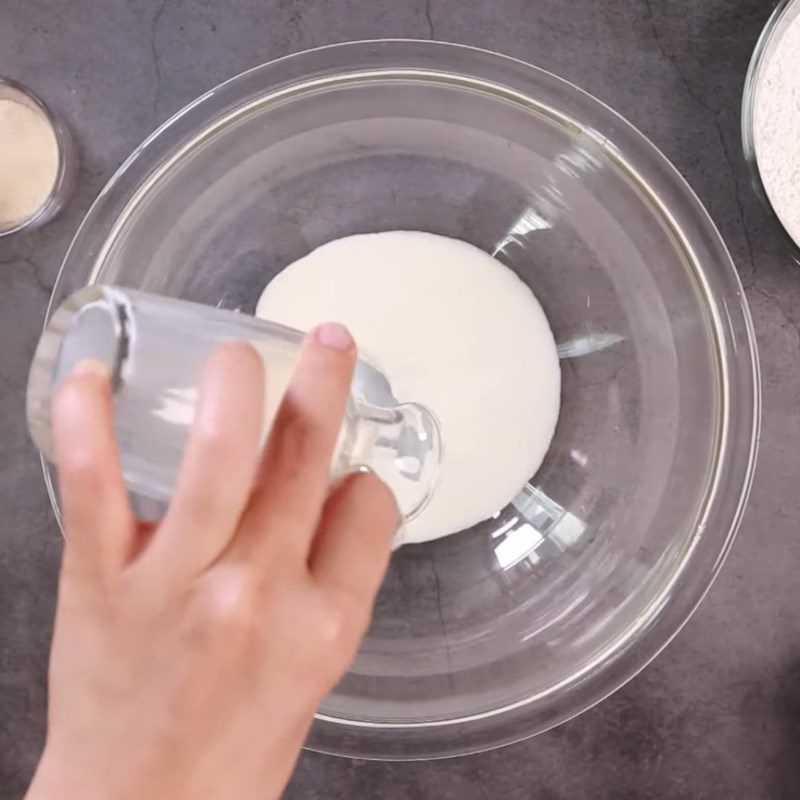
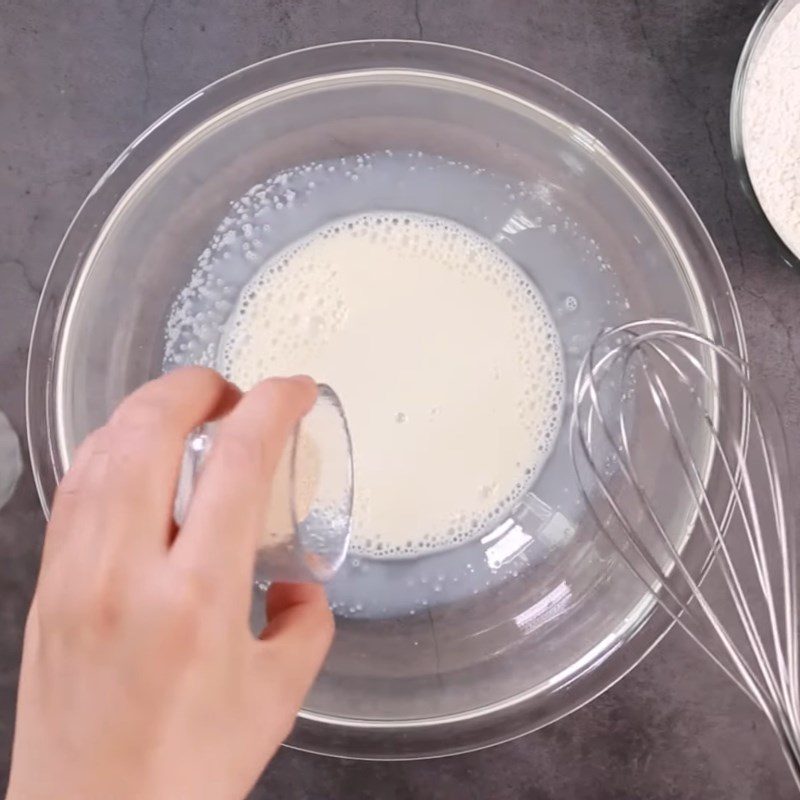
    Step 1 Mix the dough for taro-filled doughnuts
    Step 1 Mix the dough for taro-filled doughnuts
    Step 1 Mix the dough for taro-filled doughnuts
    Step 1 Mix the dough for taro-filled doughnuts
  • Kneading and Proofing the Dough

    Next, sift 200g of all-purpose flour using a sieve, then add it to the bowl of the egg mixture you just mixed.

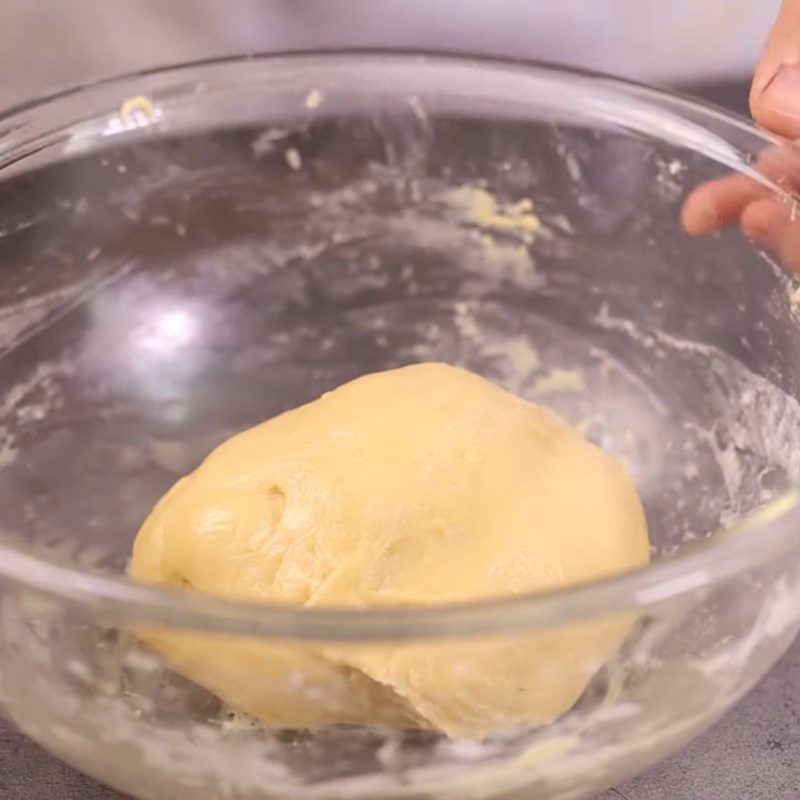
    Then, use a hand mixer to beat at medium speed for 5 – 7 minutes until the dough forms a cohesive, sticky mass.

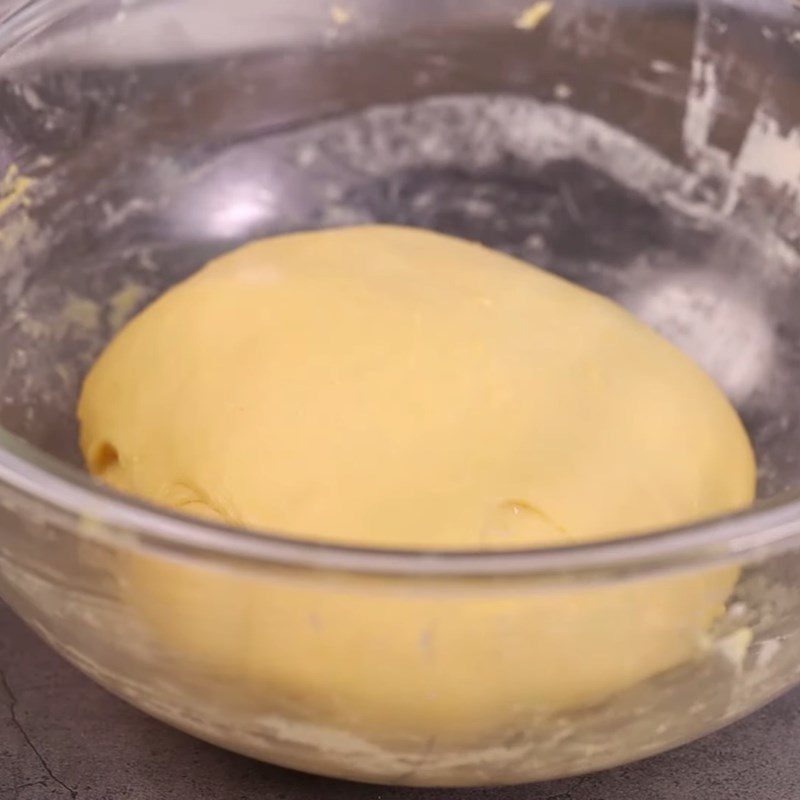
    Continue by adding 25g of unsalted butter (softened) and 1/2 teaspoon of salt, then beat with the mixer for another 2 – 3 minutes. Finally, cover the bowl of dough with a clean cloth and let it proof for about 45 – 60 minutes to rest.
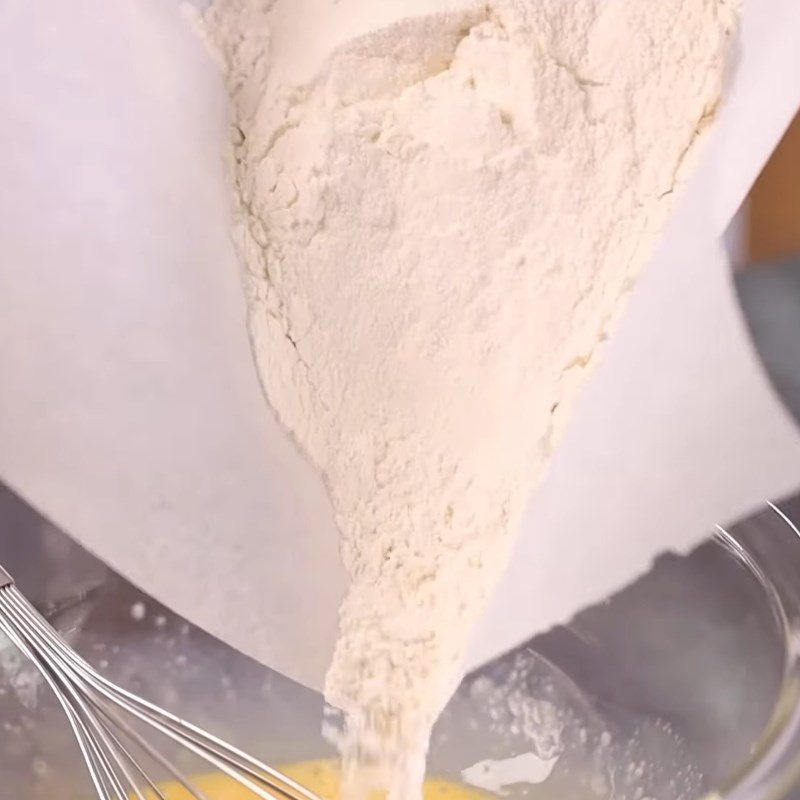
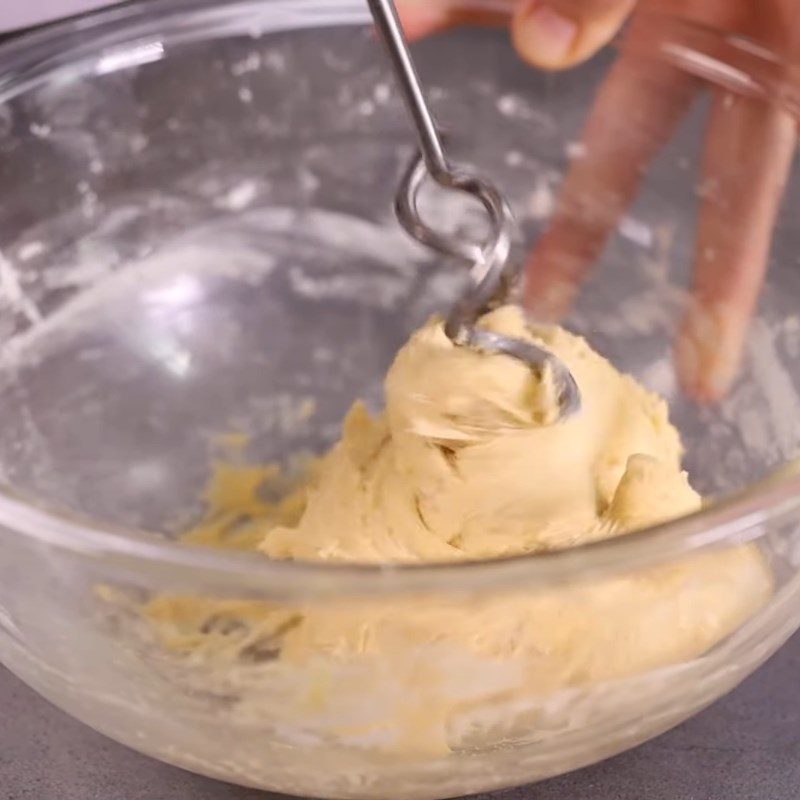
    Step 2 Kneading and Proofing the Dough for Taro-Filled Pancakes
    Step 2 Kneading and Proofing the Dough for Taro-Filled Pancakes
    Step 2 Kneading and Proofing the Dough for Taro-Filled Pancakes
    Step 2 Kneading and Proofing the Dough for Taro-Filled Pancakes
  • Preparing and Steaming Taro

    Peel the taro and soak it in a mixture of diluted salt water, then cut it into small pieces using a knife.

    At the same time, place a steamer on the stove, add water to the bottom compartment, place the taro in the top compartment, and steam for about 15 – 20 minutes over medium heat until the taro is tender, then turn off the heat and transfer it to a bowl.

    Tip: To avoid itchy hands, wear gloves while peeling and do not let the taro soak in water!
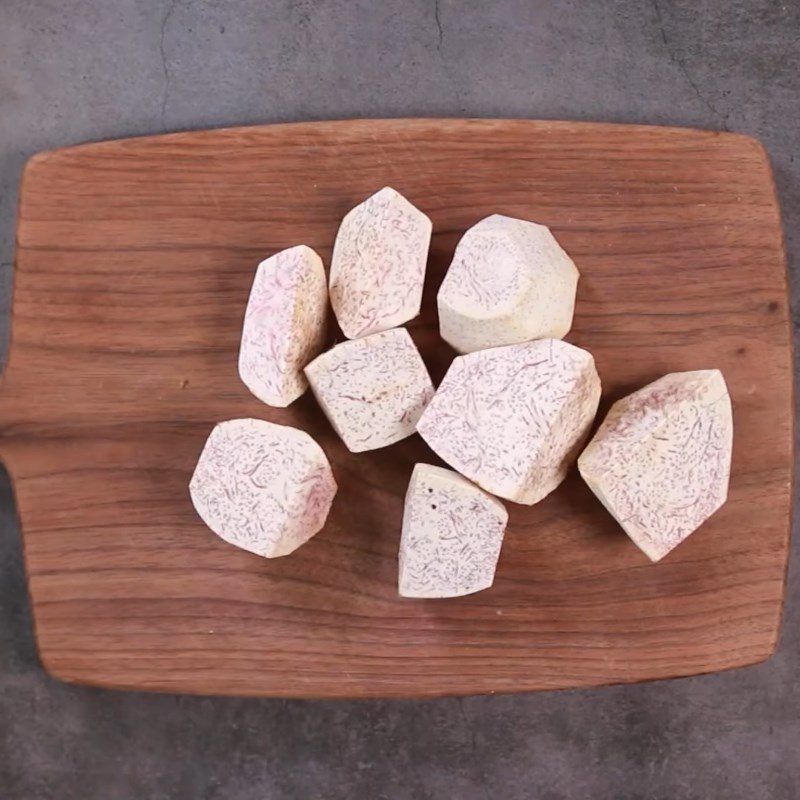
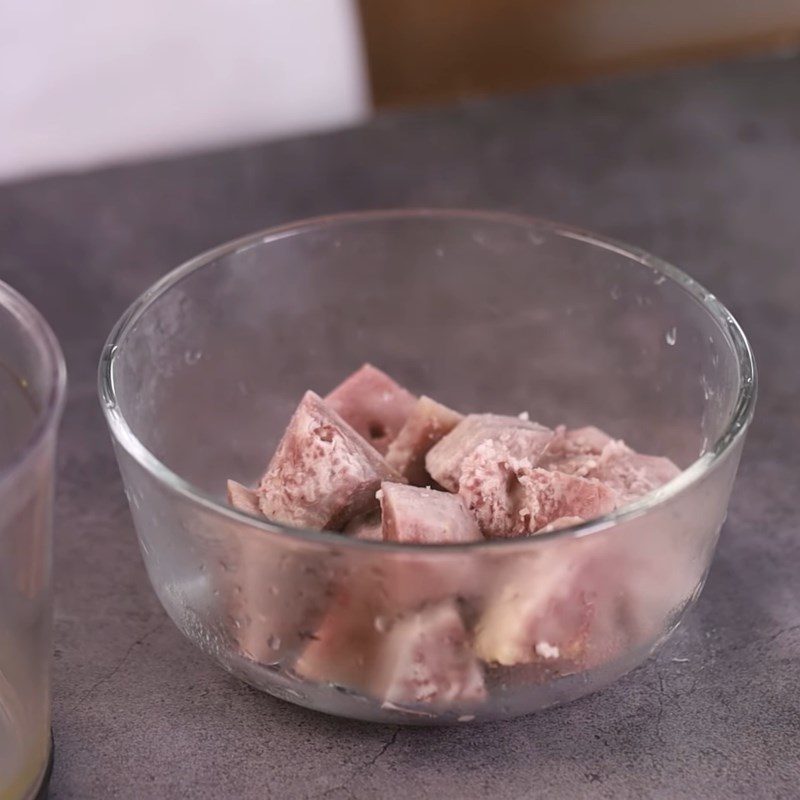
    Step 3 Preparing and Steaming Taro for Taro-Filled Pancakes
    Step 3 Prepare and steam taro Taro-filled donuts
  • Make taro cream filling

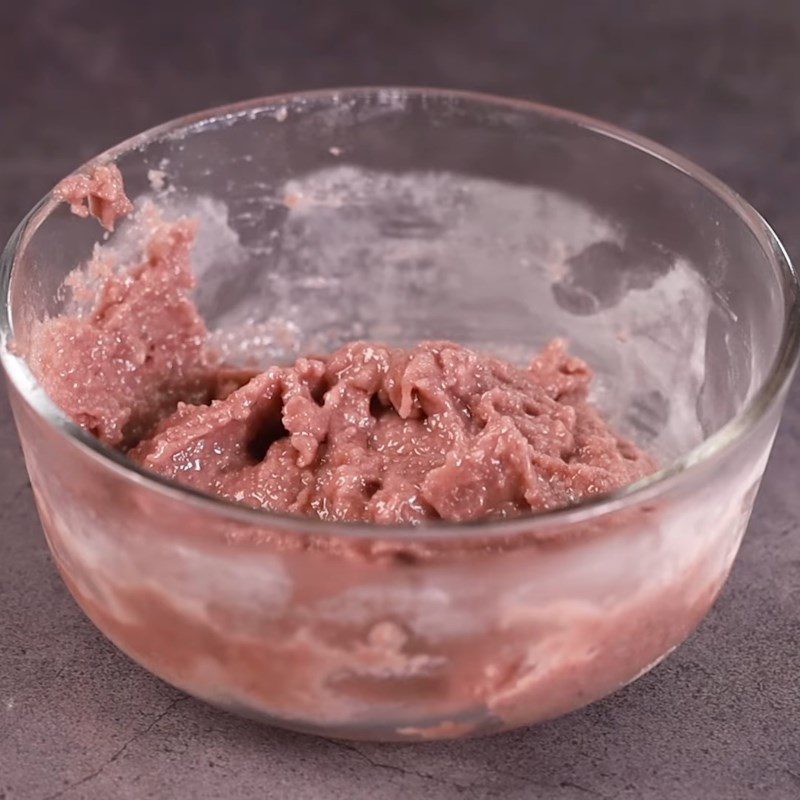
    Take a handheld blender and add 130g of steamed taro and 3 tablespoons of sugar, then blend at medium speed for 5 – 7 minutes until the taro is smooth, then turn off the machine and transfer to a bowl.

    Next, with 175g of whipping cream, pour it into a cup, and use a hand mixer to beat it until the cream is soft and forms light peaks.

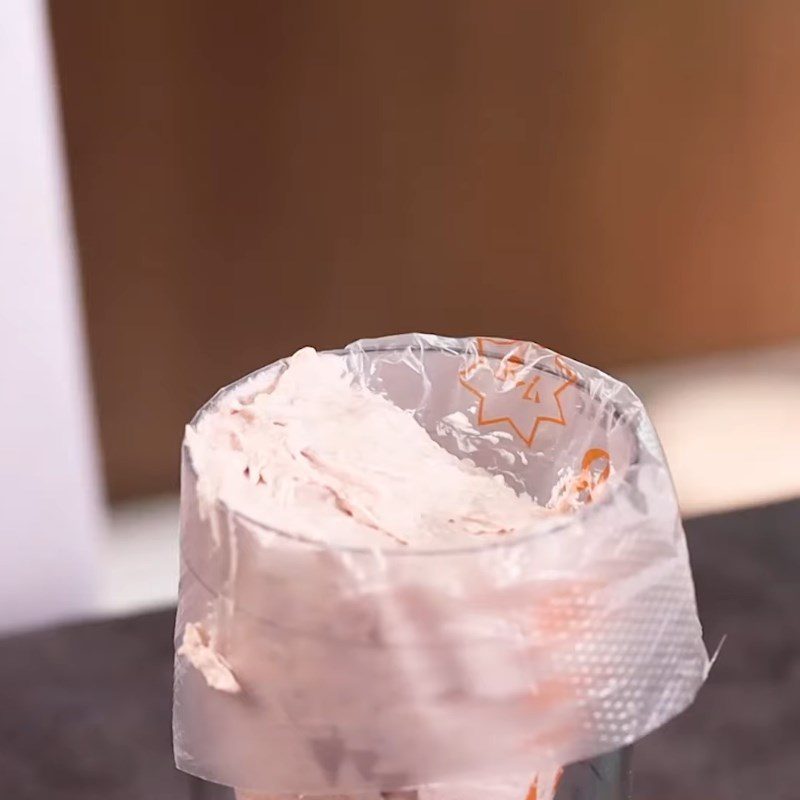
    Finally, add the whipped cream to the blended taro along with 1/8 teaspoon of taro powder, mix well until the mixture is combined, then transfer it to a piping bag.
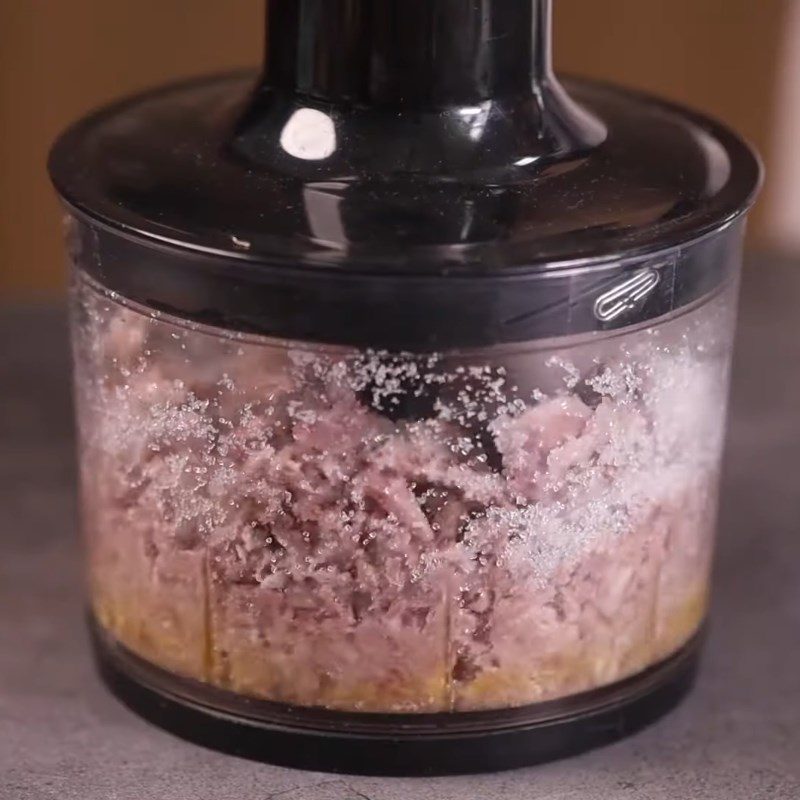
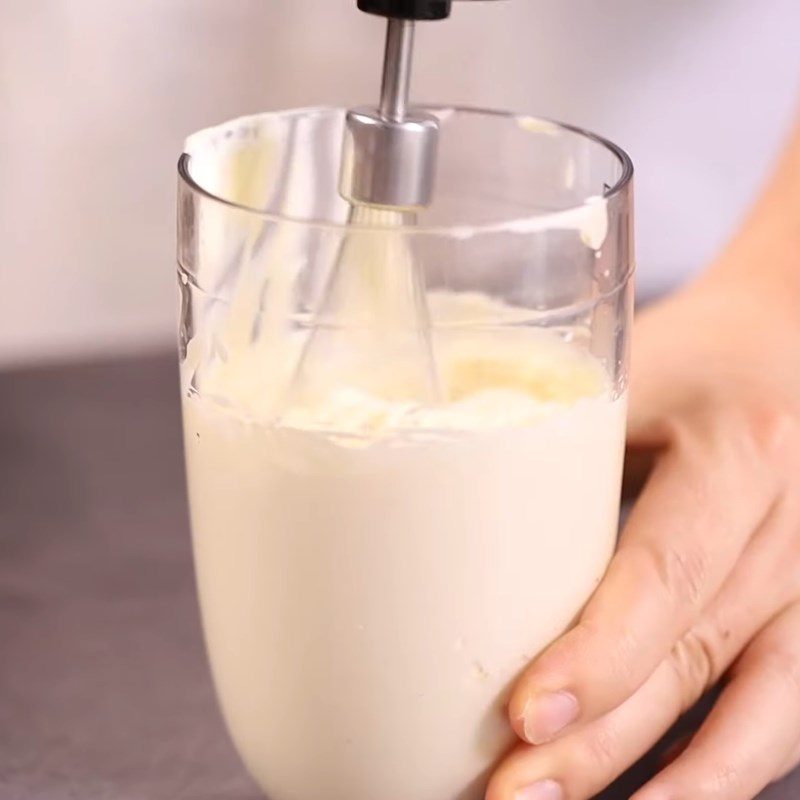
    Step 4 Make taro cream filling Taro-filled donuts
    Step 4 Make taro cream filling Taro-filled donuts
    Step 4 Make taro cream filling Taro-filled donuts
    Step 4 Make taro cream filling Taro-filled donuts
  • Divide the dough and fry the cakes

    Once the dough has risen, divide it into 8 – 10 small dough pieces and shape them into nice round balls with your hands.

    Next, place a deep pan on the stove with 200ml of cooking oil and heat it over medium heat.

    When the oil is bubbling, add each portion of the cake dough, frying and gently stirring for about 7 – 10 minutes, until the cakes puff up and are golden brown on both sides, then turn off the heat and transfer them to a plate to drain the oil.
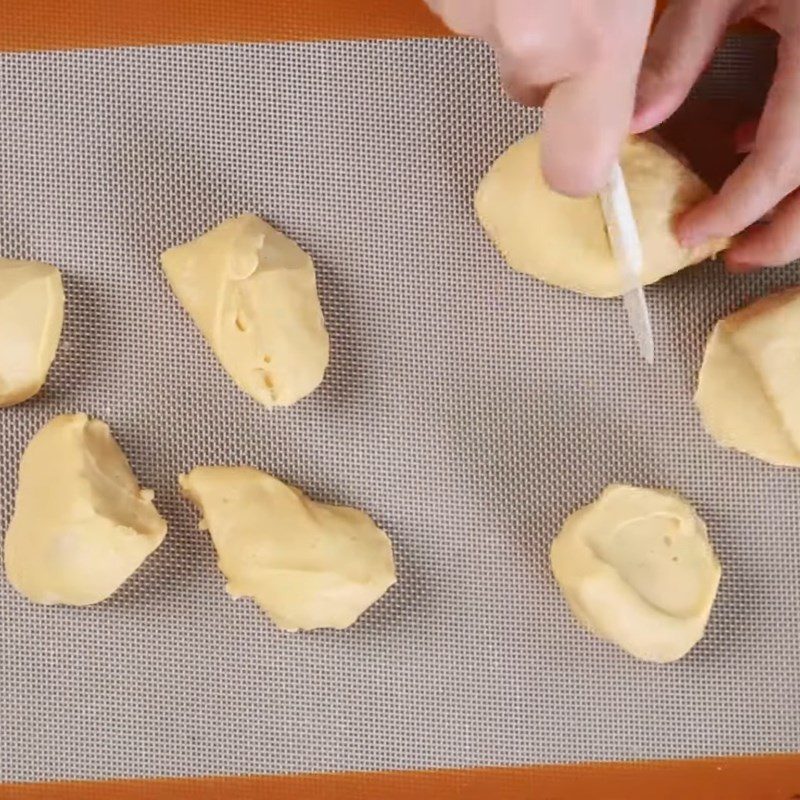
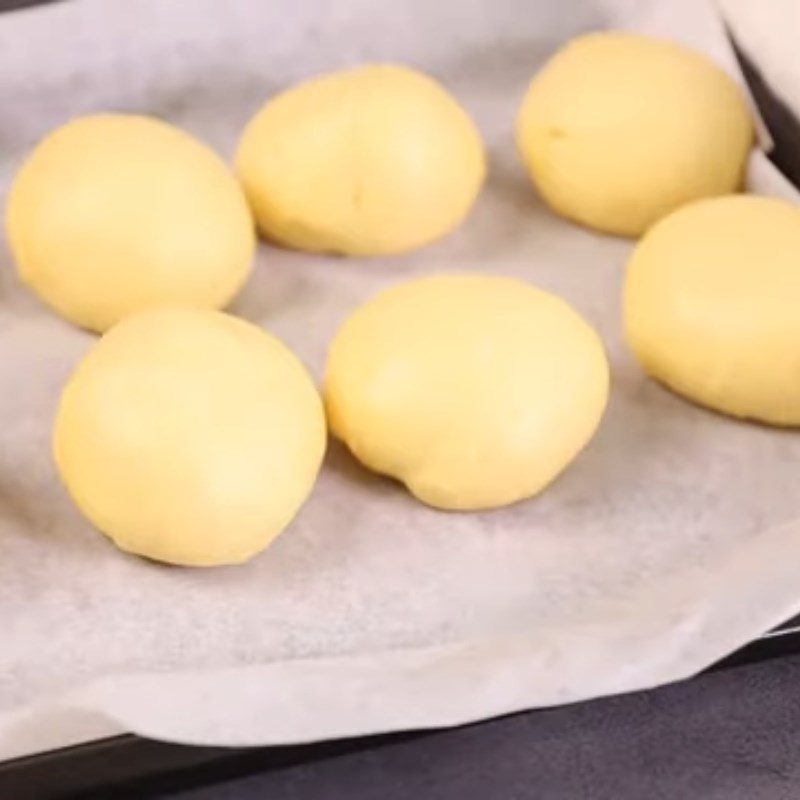
    Step 5 Divide the dough and fry the cakes Taro-filled fried cakes
    Step 5 Divide the dough and fry the cakes Taro-filled fried cakes
    Step 5 Divide the dough and fry the cakes Taro-filled fried cakes
    Step 5 Divide the dough and fry the cakes Taro-filled fried cakes
  • Inject the filling into the cakes

    Finally, use chopsticks to poke a small hole in the side of each cake, then inject the taro filling into the cake. Continue this process until all the fried cakes are filled.

    Tip: To avoid breaking the fried cakes, do not overfill them!


    Step 6 Inject the filling into the cakes Taro-filled fried cakes
    Step 6 Inject the filling into the cakes Taro-filled fried cakes
  • Final Product

    The taro-filled donuts are puffed up with a shiny brown exterior that makes you want to take a bite right away.

    Hot donuts with a soft and chewy outer layer combined with rich and nutty taro filling. Oh, serving this dish to the family is just “the best”!

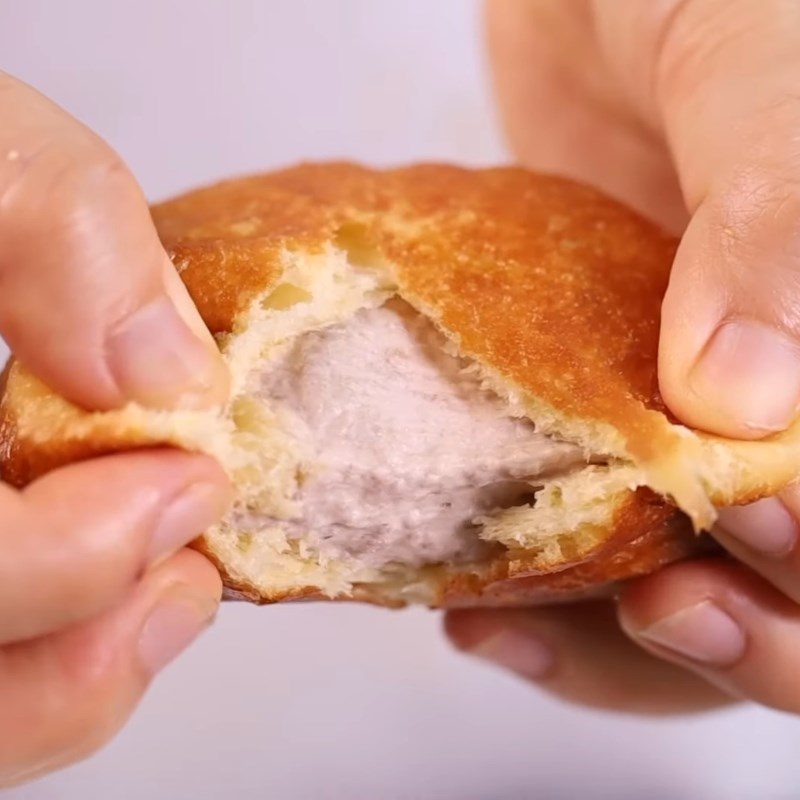
    Step 7 Final Product Taro-filled Donuts
    Step 7 Final Product Taro-filled Donuts

See more:
  • How to make crispy and delicious taro cheese donuts
  • How to make mango pie – crispy mango-filled donuts, super simple
  • How to make shake donuts without baking powder, simple and delicious that everyone loves

With the article on TasteVN, we have brought you the recipe for making taro-filled pancakes that is delicious and rich, which everyone will love. We hope that the recipe above will be really helpful for everyone!

Cooking time: 30 minutes
Level: Easy
Tags: doughnuts recipetaro doughnutstaro doughnuts recipetaro-filled doughnutstaro-filled doughnuts recipe
Previous Post

How to Make Beautiful and Delicious Peach Blossom Buns Easily at Home

Next Post

How to cook light mushroom and soft tofu soup with chives and minced meat for the whole family

TasteT

TasteT

I am a food writer specializing in Vietnamese cuisine, sharing traditional recipes, cooking tips, and the culture behind every dish. My goal is to bring the authentic flavors of Vietnam to your kitchen.

Related Posts

No Content Available
Next Post
How to cook light mushroom and soft tofu soup with chives and minced meat for the whole family

How to cook light mushroom and soft tofu soup with chives and minced meat for the whole family

Leave a Reply Cancel reply

Your email address will not be published. Required fields are marked *

Navigate

  • About
  • Privacy Policy
  • Contact

Recent Recipes

2 Simple and Delicious Ways to Cook Spicy and Sour Octopus Hotpot for Rainy Days

2 Simple and Delicious Ways to Cook Spicy and Sour Octopus Hotpot for Rainy Days

Simple, Crunchy Jellyfish Salad with Banana Flower Everyone Loves

Simple, Crunchy Jellyfish Salad with Banana Flower Everyone Loves

Browse by Category

  • Beef Dishes
  • Beverages
  • Braised Food
  • Cake
  • Chicken Dishes
  • Desserts
  • Dried and Fermented Dishes
  • Festivals & Holidays
  • Fried Food
  • Grilled Food
  • Hot Pot
  • Ice Cream
  • Juices
  • Kitchen Tips
  • Liquid Dishes
  • Milk Tea
  • Porridge
  • Rolls and Salads
  • Salad
  • Smoothies
  • Snacks
  • Soup
  • Steamed Food
  • Stir-fried Dishes
  • Sweet Soup
  • Vegetarian Dishes

Browse by Ingredients

beef beef stew braised fish cake dish dessert fried dish grilled dishes how to cook porridge how to make cake how to make ice cream into the kitchen mixed salad dish noodle soup snacks soup dish sponge cake steamed dish stir-fried dish stir-fried noodles vegetarian dish

© 2024 TasteVN - The ultimate Vietnam food destination for cooking tips, recipes, and more.

Welcome Back!

Login to your account below

Forgotten Password?

Retrieve your password

Please enter your username or email address to reset your password.

Log In
No Result
View All Result
  • Home
  • Main Dishes
    • Beef Dishes
    • Braised Food
    • Fried Food
    • Steamed Food
    • Stir-fried Dishes
    • Soup
    • Grilled Food
    • Hot Pot
    • Liquid Dishes
    • Chicken Dishes
    • Dried and Fermented Dishes
    • Vegetarian Dishes
    • Porridge
  • Desserts
    • Cake
    • Ice Cream
    • Sweet Soup
    • Desserts
  • Beverages
    • Beverages
    • Juices
    • Milk Tea
    • Smoothies
  • Snacks
    • Rolls and Salads
    • Salad
    • Snacks
  • Tips & Holidays
    • Festivals & Holidays
    • Kitchen Tips

© 2024 TasteVN - The ultimate Vietnam food destination for cooking tips, recipes, and more.