-
Preparation
15 minutes
-
Cooking
3 hours 30 minutes
-
Difficulty
Medium
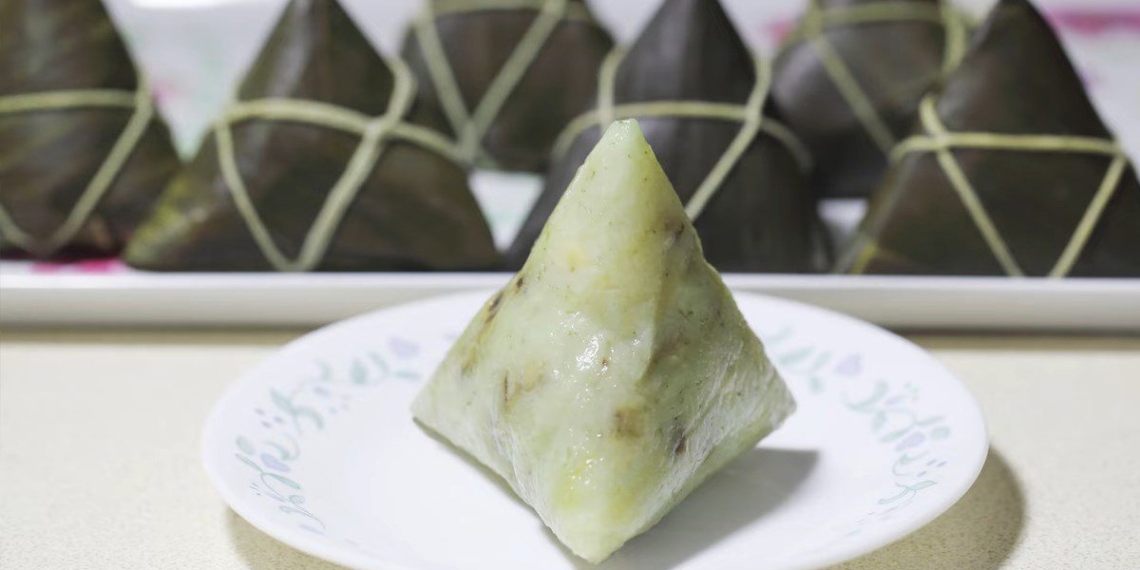
Soft and chewy white bean sticky rice cake, fragrant from the beans, lightly rich in coconut milk. With this preparation method, you can freely enjoy cake dishes with any side dish, from pickles to sesame salt, all are very delicious. Into the kitchen with TasteVN to make it!
Ingredients for White Bean Sticky Rice Cake For 13 cakes
Sticky rice 600 gr White beans 200 gr Coconut milk 400 ml Salt 2 teaspoons Banana leaves a little
How to choose good ingredients
How to choose good sticky rice
- Select sticky rice grains that are large, uniform in size, opaque white, have a shiny exterior, and are not broken.
- Avoid choosing grains that are dusty, have fluff, or are yellow in color.
- Additionally, good sticky rice will have a natural fragrant smell, characteristic of the rice variety. In contrast, sticky rice that has been stored for a long time usually loses its aroma and does not retain its deliciousness when cooked.
- You can taste the sticky rice; if it has a slight sweetness and no strange smell, it is good sticky rice.
- You can refer to good sticky rice varieties such as: yellow flower sticky rice, Tu Le sticky rice, Dien Bien mountain sticky rice, goose sticky rice, and velvet sticky rice.
How to choose good white beans
- Choose plump, round, shiny beans that are of uniform size.
- Avoid selecting shriveled or withered beans.
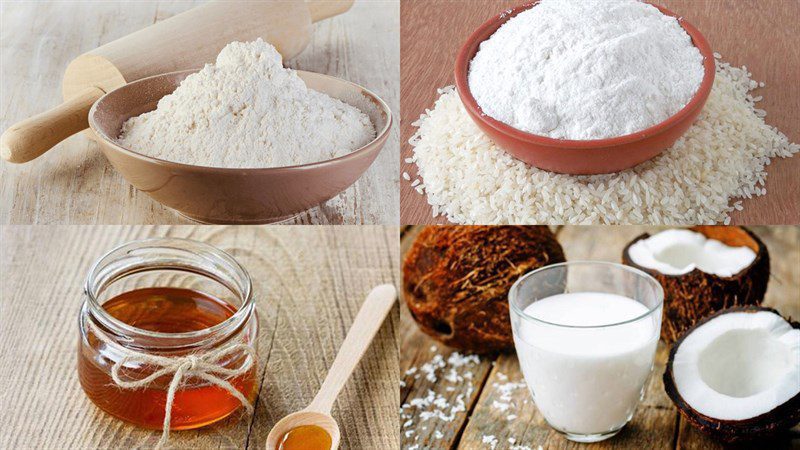
Tools to use
Electric pressure cooker, non-stick pan, bowl, spoon, basket,…
How to make White Bean Sticky Rice Cake
-
Soak sticky rice and beans
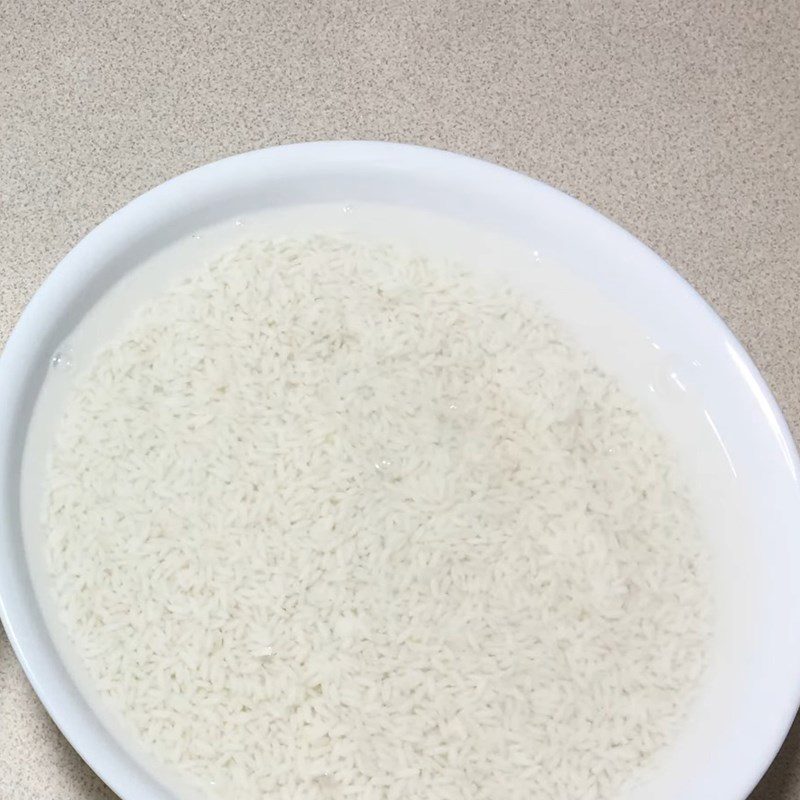
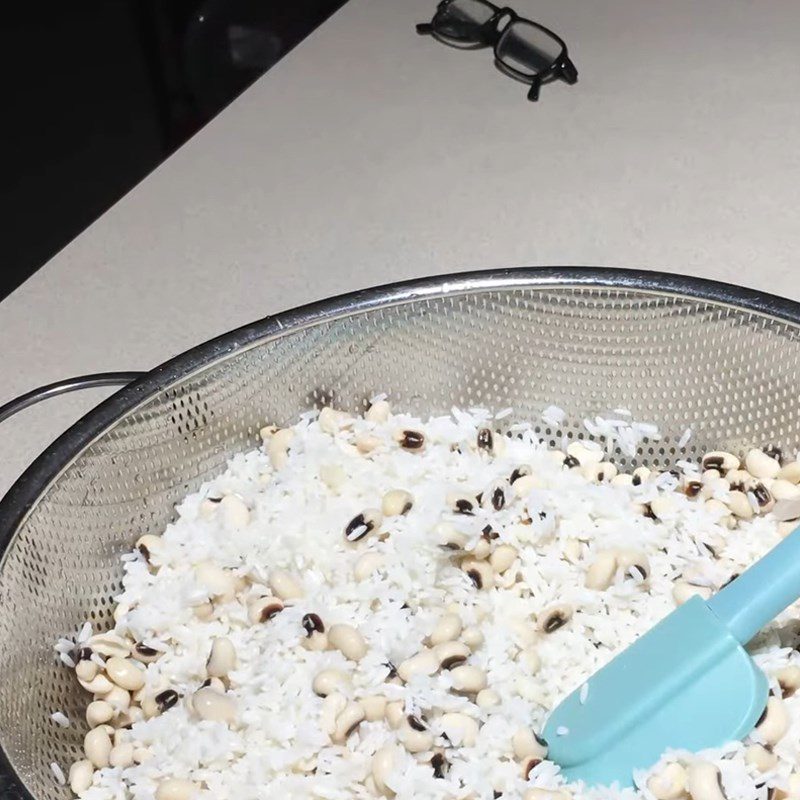
Wash the white beans and sticky rice thoroughly several times, then soak these two ingredients in clean water for at least 6 hours.
After 6 hours, drain the beans and sticky rice through a sieve to remove excess water, then mix them evenly with 2 teaspoons of salt.
See more: Why should you soak beans before cooking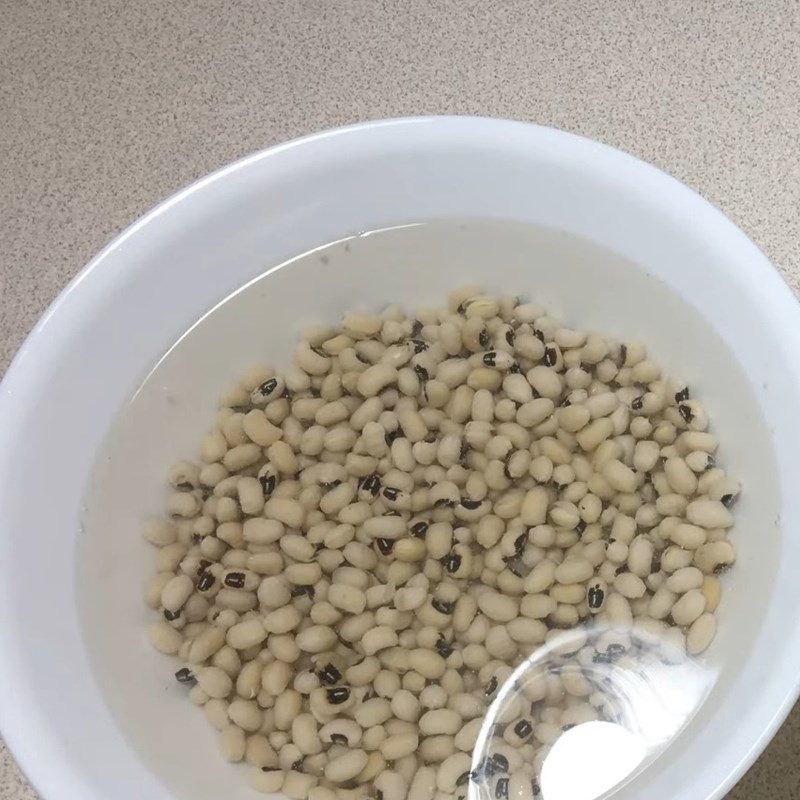
-
Sauté sticky rice and white beans
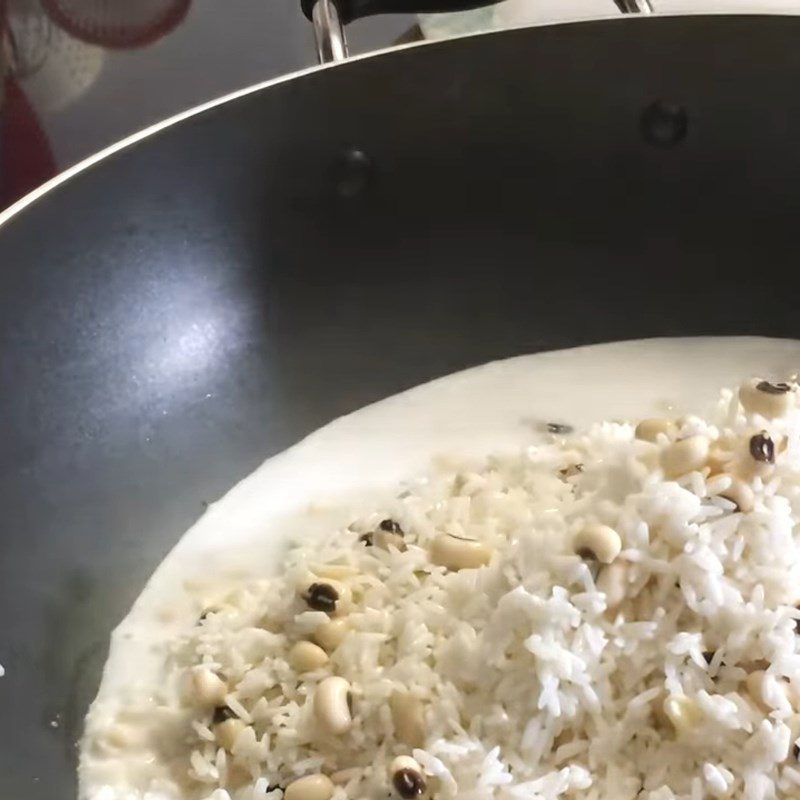
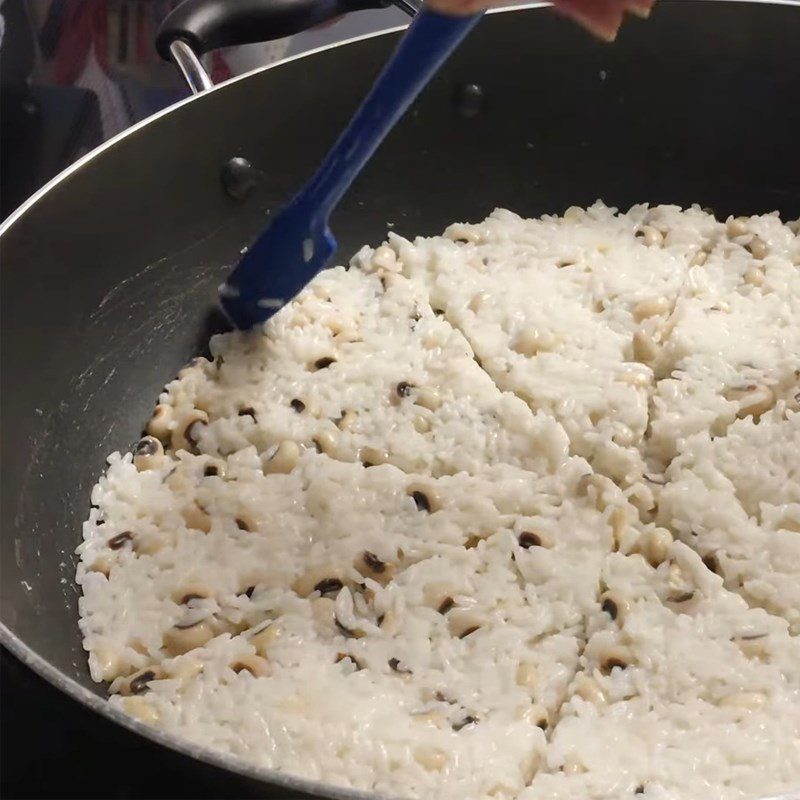
Put a pan on the stove, add 400ml of coconut milk, 100ml of water, and the mixture of sticky rice and beans.
Stir the mixture over medium heat for 15 – 20 minutes until the liquid in the pan dries up, and the sticky rice is slightly chewy and soft.
-
Wrapping sticky rice cake
First, cut banana leaves into several pieces measuring 12 x 30cm. Divide the sticky rice filling into 13 equal parts.
Place 1 part of 2 pieces of banana leaves on top of each other, making sure the rough side of the leaves is facing each other, one side is smooth and one side is rough.
Then, fold one part of the leaf upwards to create a funnel.
Next, evenly spread one part of the sticky rice inside the cake and tightly wrap the leaves around it. Finally, just tie the string around the cake.
Tip for wrapping sticky rice cake without tearing: To prevent the leaves from tearing while wrapping, you need to ensure that the banana leaves used are soft and flexible. You can sun-dry the leaves for about 1 hour, heat the leaves over the stove, or boil them briefly to soften them.
-
Cooking sticky rice cake
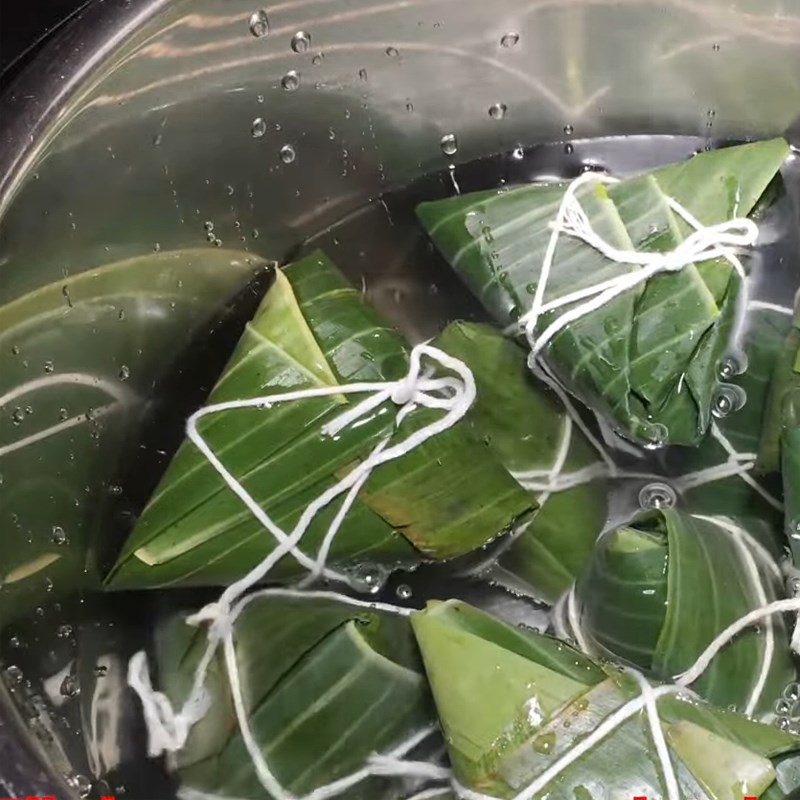
Place the cakes in the electric pressure cooker, pour boiling water in until the cakes are submerged.
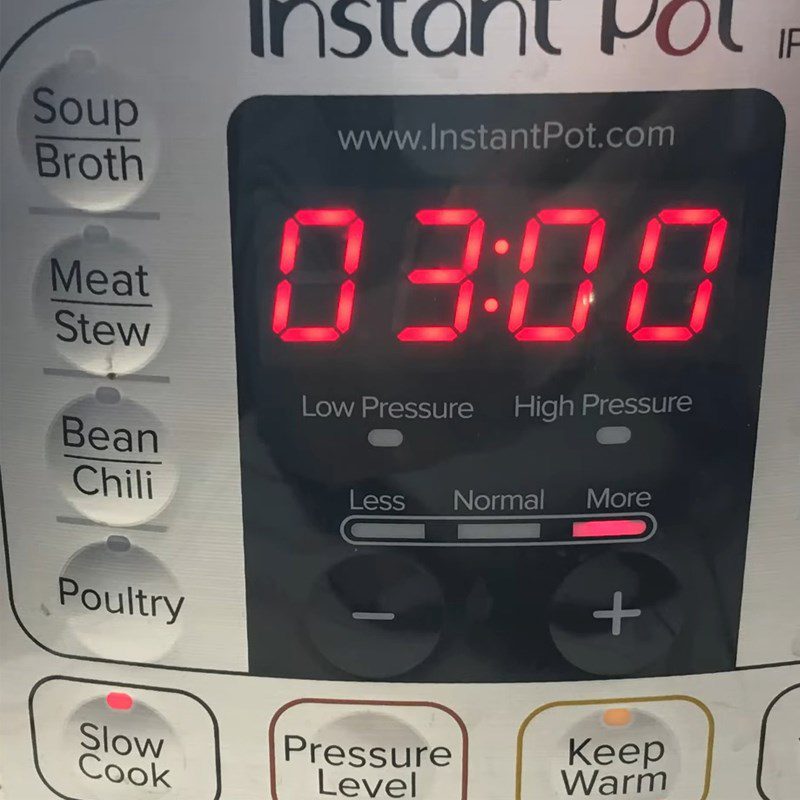
First, cook on the “Slow cook” setting for 3 hours. Then, turn off the cooker and let the cakes rest for another hour to complete.
Tip:
- If you don’t have an electric pressure cooker, you can boil the cakes in a regular pot over low heat for 3 hours.
- When boiling, remember to always ensure that the water level in the pot is sufficient to submerge the cakes, otherwise the cakes will be undercooked!
-
Final Product
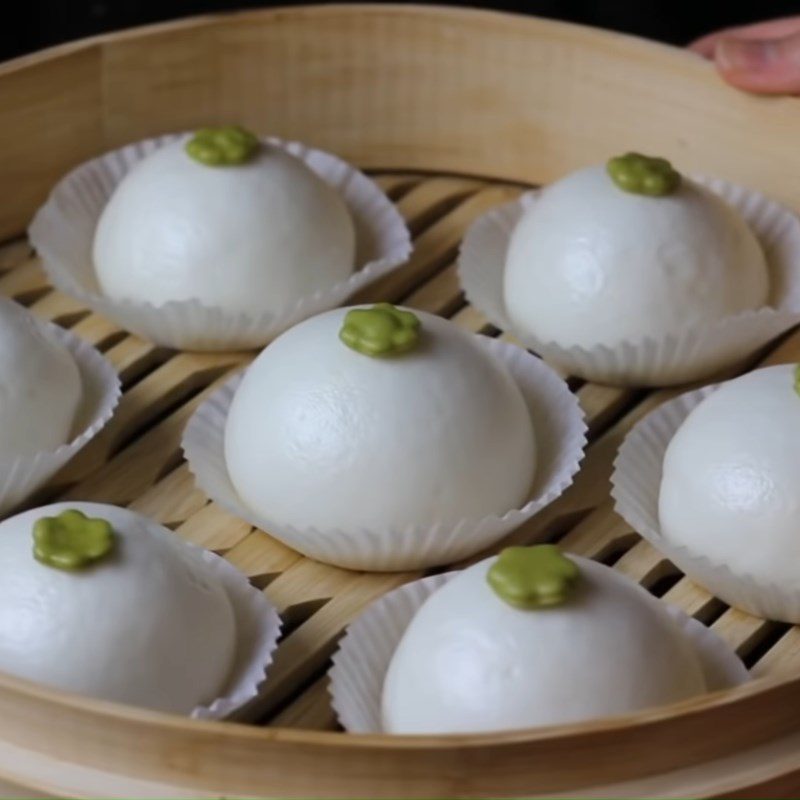
White bean Banh U is soft and chewy, with a rich flavor of white beans combined with a bit of fragrant creaminess from coconut milk, making it extremely easy to eat. You can enjoy the cake with pickled vegetables or with sesame salt, both are very delicious.
How to Store the Cake
Store the cake at room temperature in a cool place for 1 – 2 days. You can also put it in the refrigerator for about 3 – 5 days, and when you eat, just reheat it in the microwave.
It’s not too difficult to make these delicious and fragrant white bean cakes by yourself, is it? Let’s get into the kitchen and make them, TasteVN wishes you success!
*Source of the recipe and images from the YouTube channel Thuy Do Michigan
