TasteVN
  • Home
  • Main Dishes
    • Beef Dishes
    • Braised Food
    • Fried Food
    • Steamed Food
    • Stir-fried Dishes
    • Soup
    • Grilled Food
    • Hot Pot
    • Liquid Dishes
    • Chicken Dishes
    • Dried and Fermented Dishes
    • Vegetarian Dishes
    • Porridge
  • Desserts
    • Cake
    • Ice Cream
    • Sweet Soup
    • Desserts
  • Beverages
    • Beverages
    • Juices
    • Milk Tea
    • Smoothies
  • Snacks
    • Rolls and Salads
    • Salad
    • Snacks
  • Tips & Holidays
    • Festivals & Holidays
    • Kitchen Tips
No Result
View All Result
TasteVN
No Result
View All Result
Home Desserts

3 Simple Unbeatable Ways to Make Yogurt with an Electric Pressure Cooker, Smooth and Delicious

by TasteT
1 month ago
in Desserts
463 30
0
how to repair with electric pressure cooker simple easy 14795
739
SHARES
3.5k
VIEWS
Share on FacebookShare on Twitter

Yogurt is a dessert that is delicious, nutritious, and refreshing, driving away the summer heat. Today, TasteVN will bring you 3 ways to make yogurt using a pressure cooker to help you create creamy, attractive batches of yogurt. Let’s get cooking and try it out right away!

Quick view hide
1 Mix the yogurt mixture
2 Ferment the yogurt
3 Final product
4 Sterilize the tools
5 Cooking Fresh Milk
6 Mixing Yogurt Mixture
7 Yogurt Incubation
8 Separating Yogurt Whey
9 Final Product
10 Prepare the yogurt mixture
11 Ferment the yogurt
12 Final Product

1. Yogurt made with an electric pressure cooker

Yogurt made with an electric pressure cooker
  • Preparation

    10 minutes

  • Processing

    11 hours

  • Difficulty

    Easy

Ingredients for Yogurt made with an electric pressure cooker For 6 jars

Condensed milk 395 gr Yogurt 122 gr Fresh milk 1 liter

Ingredient images

Ingredients for yogurt made with an electric pressure cooker

Tools needed

Electric pressure cooker, glass jars, measuring cup, bowl, whisk,…

How to make Yogurt using an electric pressure cooker

  • Mix the yogurt mixture

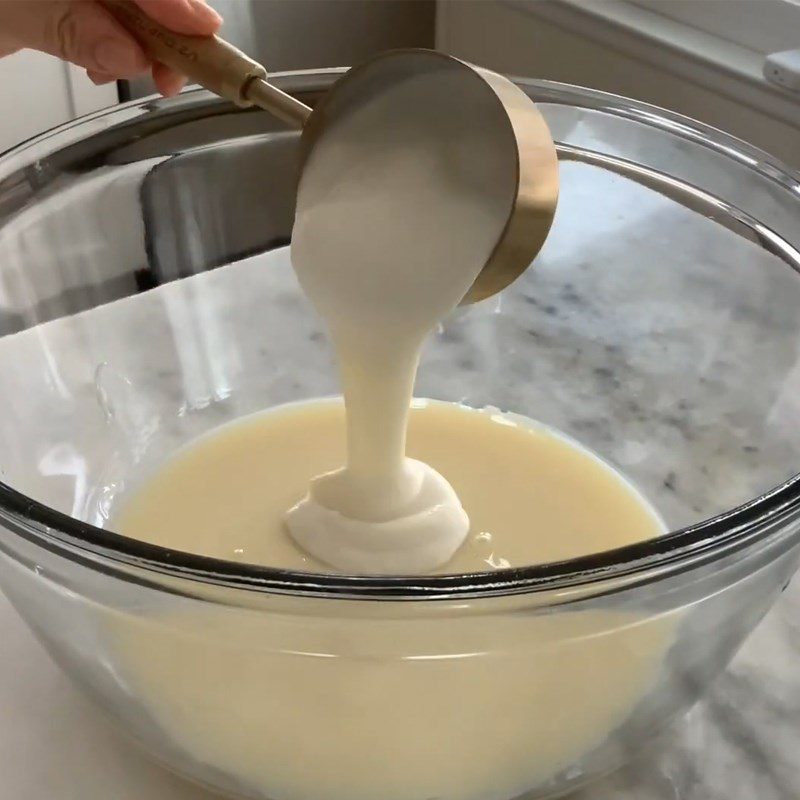
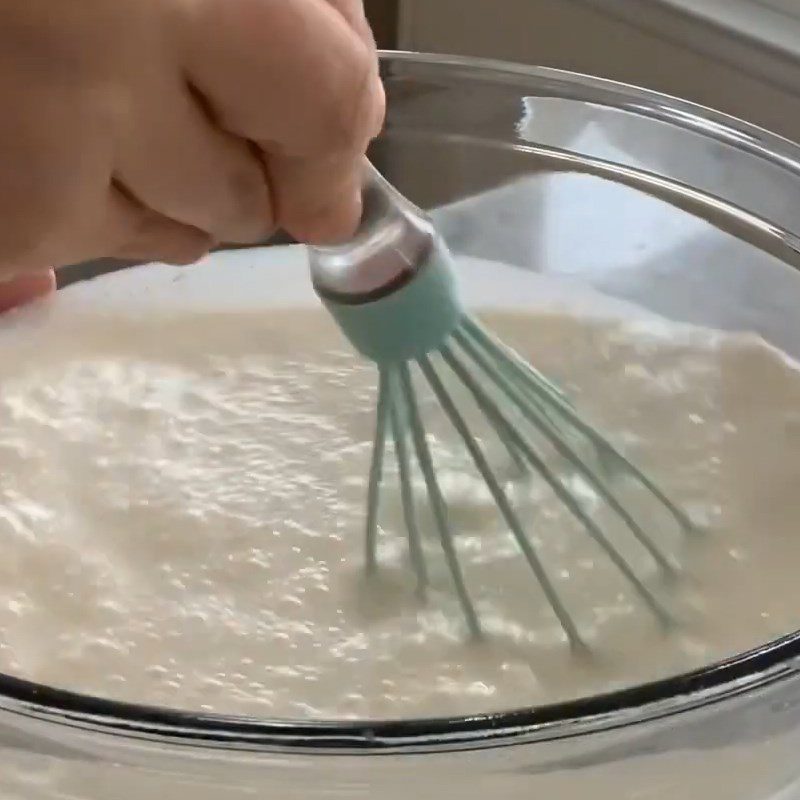
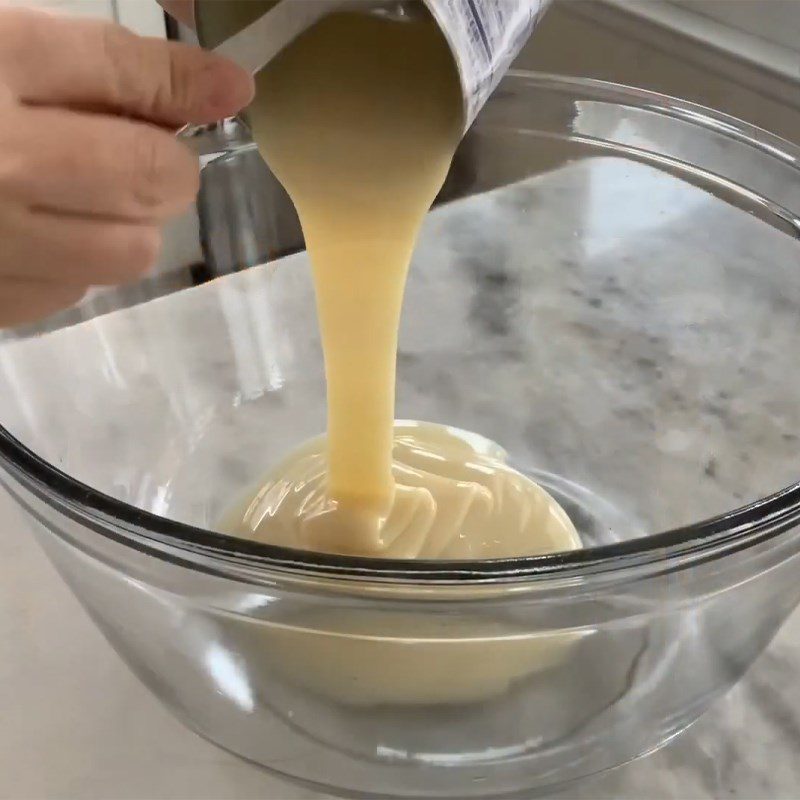
    First, prepare a bowl. Then, add 1 can of condensed milk, 122g of yogurt, and 150ml of fresh milk, and use a whisk to mix the ingredients well.

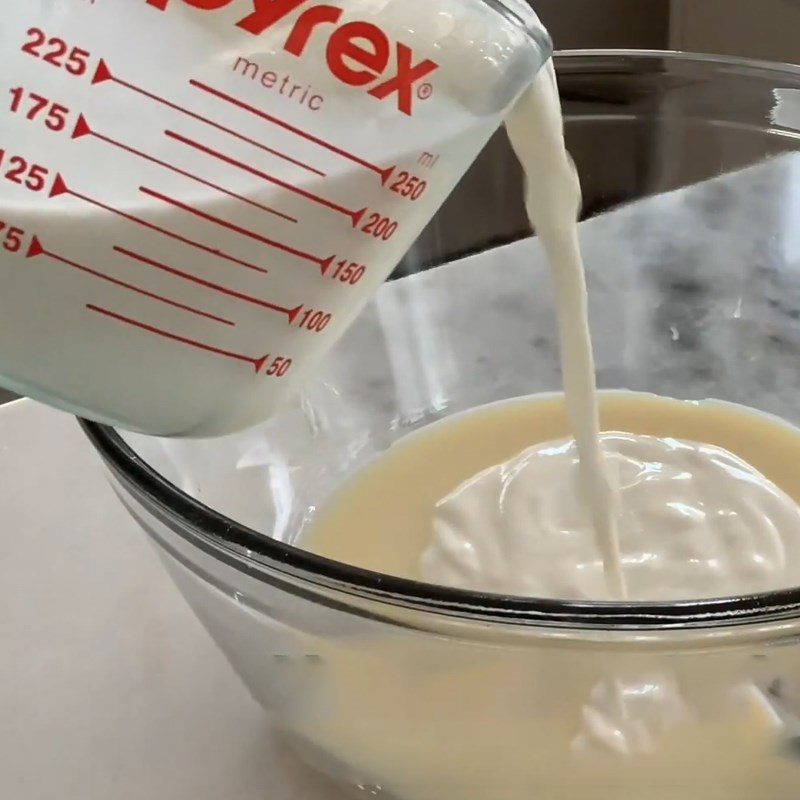
    Next, add another 750ml of fresh milk and continue to stir well.
    Step 1 Mix the yogurt mixture Yogurt using electric pressure cooker
    Step 1 Mix the yogurt mixture Yogurt using electric pressure cooker
    Step 1 Mix the yogurt mixture Yogurt using electric pressure cooker
    Step 1 Mix the yogurt mixture Yogurt using electric pressure cooker
  • Ferment the yogurt

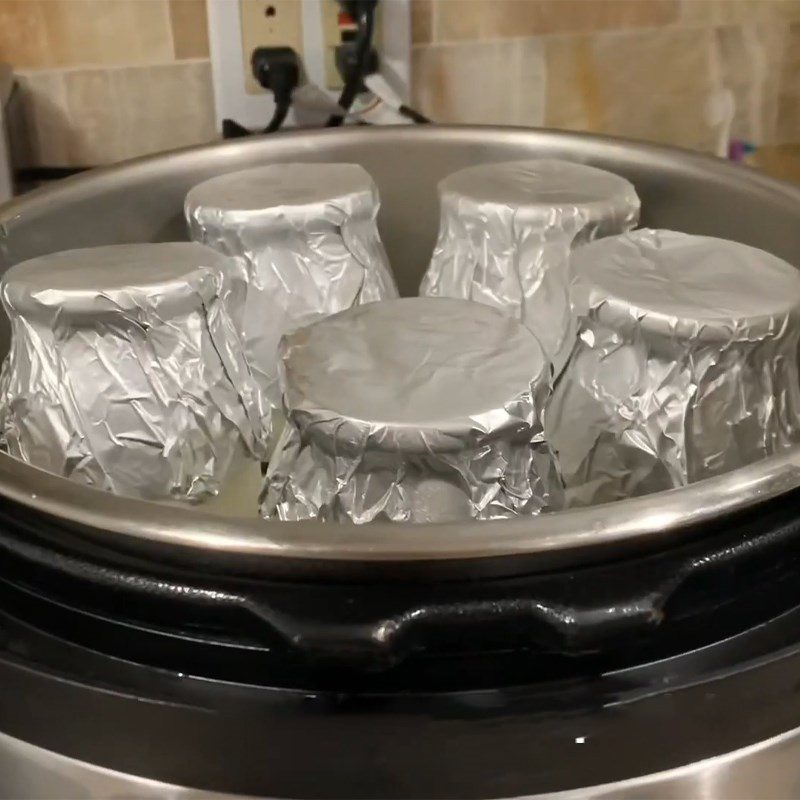
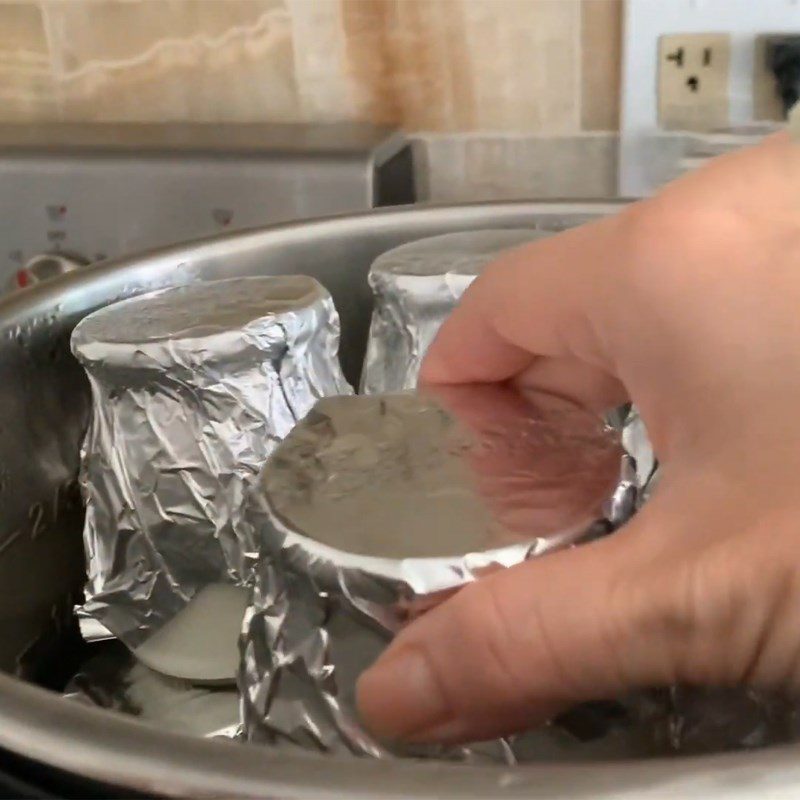
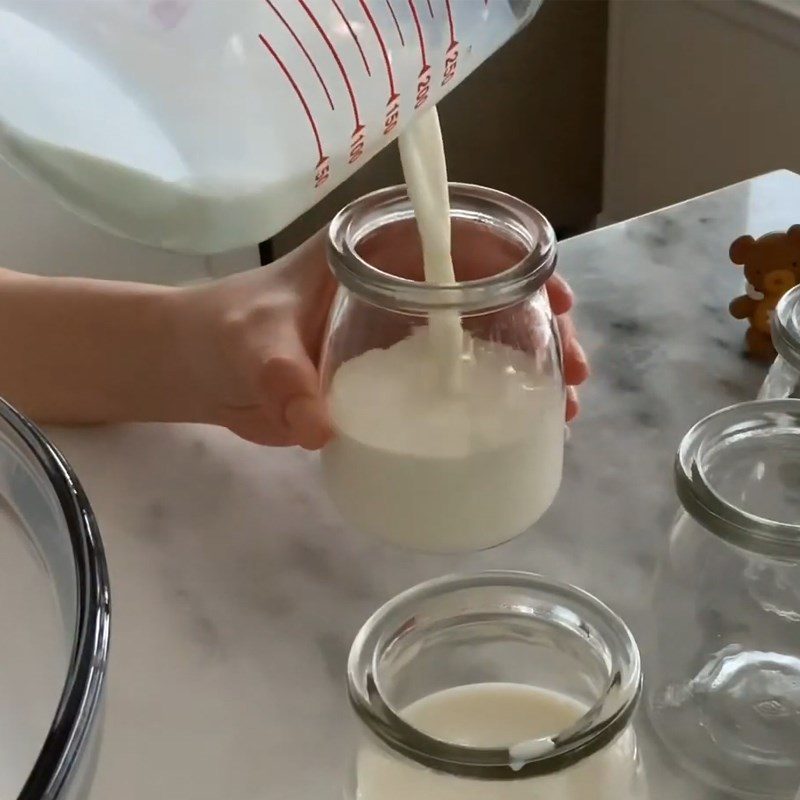
    Pour the yogurt mixture into small glass jars. Next, take a large piece of aluminum foil, cut it into squares, and cover the openings of the yogurt jars. Use your hands to press firmly so that the foil sticks better.

    Prepare the electric pressure cooker, pour 1 cup of hot water into it, and arrange the yogurt jars inside. Close the lid tightly and select the yogurt fermentation mode, setting the fermentation time for about 11 hours.

    Tip:

    • Covering with aluminum foil will help prevent steam from escaping the yogurt jars during fermentation.
    • If you want to increase the sourness of the yogurt, ferment for about 14 hours.

    When it’s ready, take it out and let it cool. Finally, place the yogurt in the refrigerator for about 4 hours. After that, you can enjoy it.
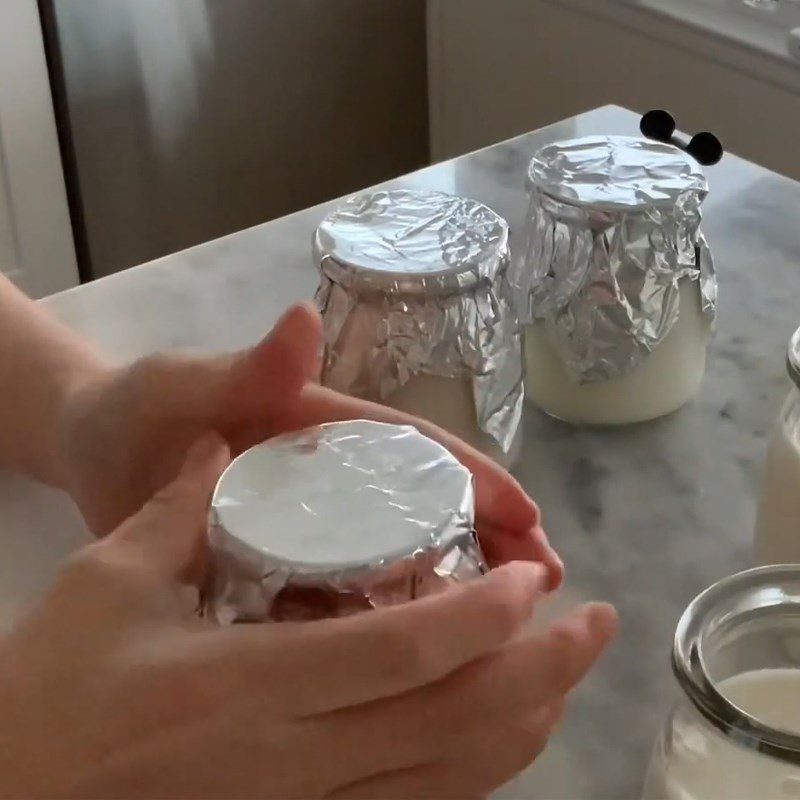
    Step 2 Incubate yogurt Yogurt with electric pressure cooker
    Step 2 Incubate yogurt Yogurt with electric pressure cooker
    Step 2 Incubate yogurt Yogurt with electric pressure cooker
    Step 2 Incubate yogurt Yogurt with electric pressure cooker
  • Final product

    Yogurt made with an electric pressure cooker has a smooth, appealing appearance. When you eat it, you will feel the sweetness along with the fragrant flavor that will captivate you endlessly.

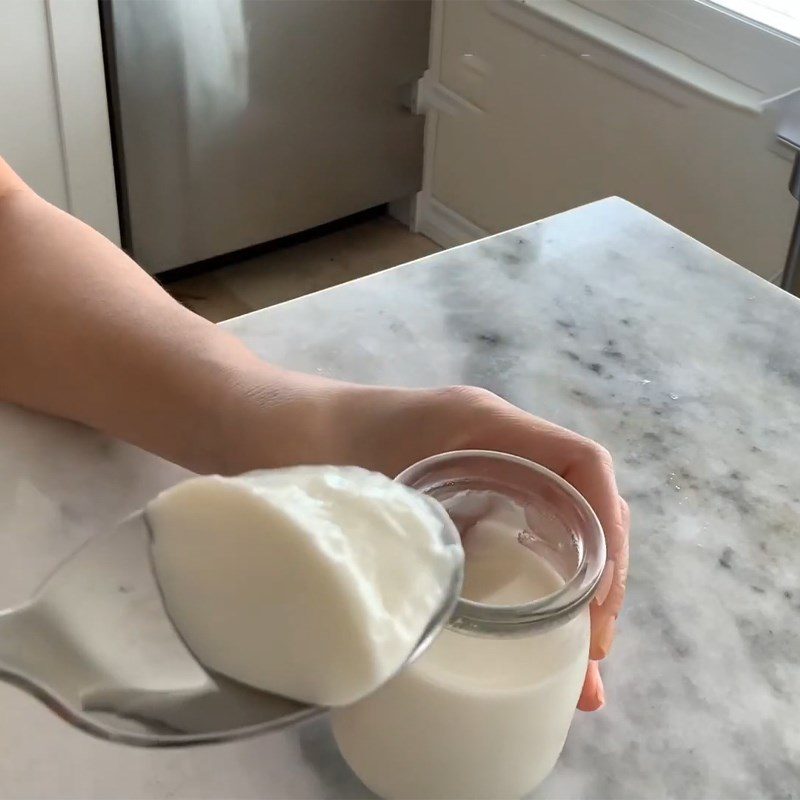
    Step 3 Final product Yogurt with electric pressure cooker
    Step 3 Final product Yogurt with electric pressure cooker

2. Greek yogurt with electric pressure cooker
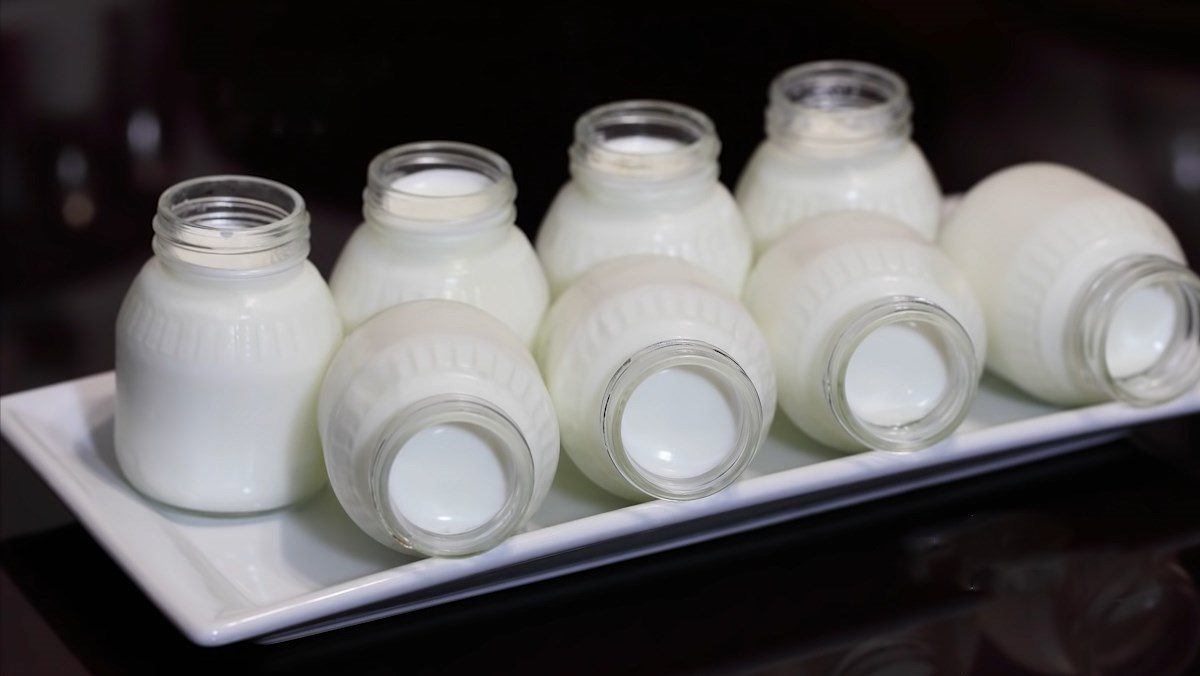
Greek yogurt with electric pressure cooker
  • Preparation

    10 minutes

  • Processing

    9 hours 30 minutes

  • Difficulty

    Easy

Ingredients for Greek Yogurt using an Electric Pressure Cooker For 8 jars

Fresh milk 1 liter Plain yogurt 1 teaspoon

Ingredient Images
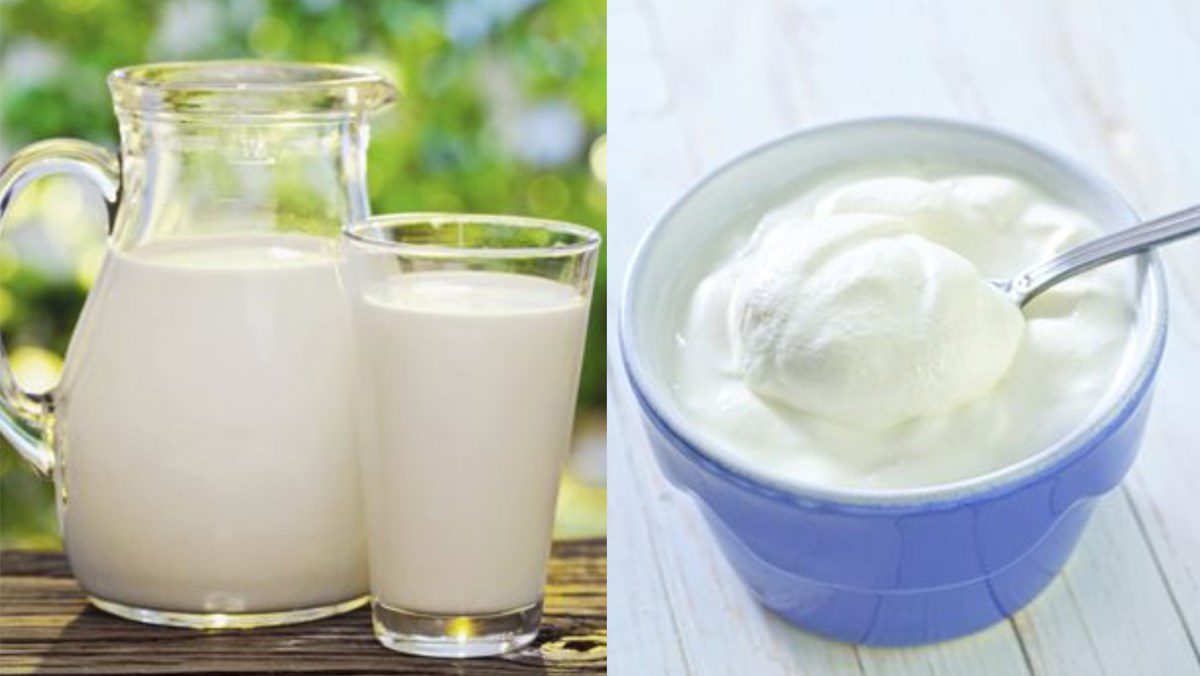
Ingredients for yogurt made with an electric pressure cooker

Tools Required

Electric Pressure Cooker, glass jar, measuring cup, sieve, coffee filter,…

How to Make Greek Yogurt using an Electric Pressure Cooker

  • Sterilize the tools

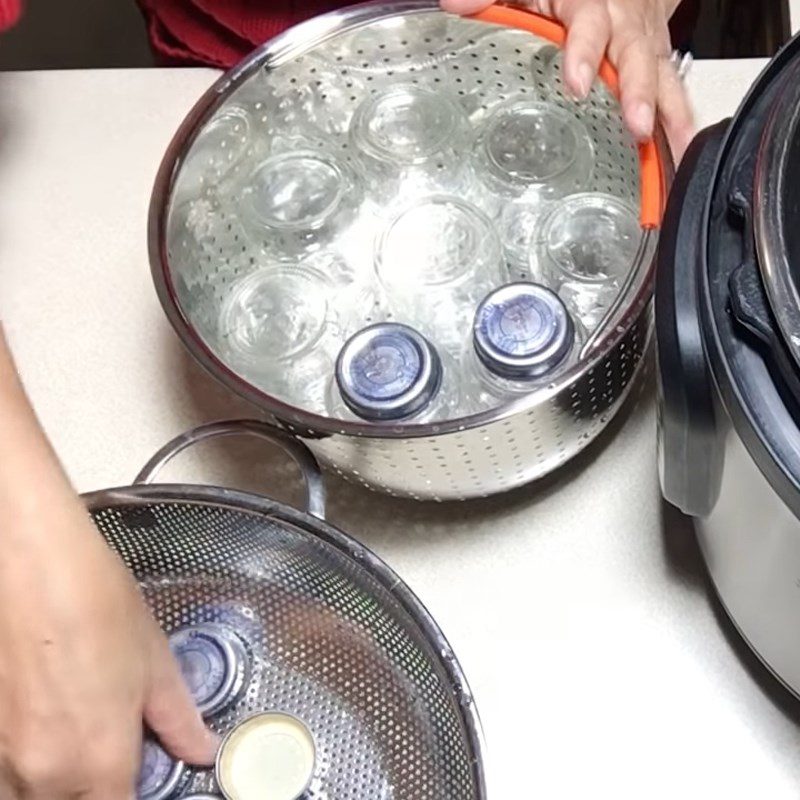
    First, add 1 cup of water to the pot. Then, place the tools into a basket and put it into the pressure cooker and cover it.

    Select the steam mode with high pressure and set it for about 1 minute.
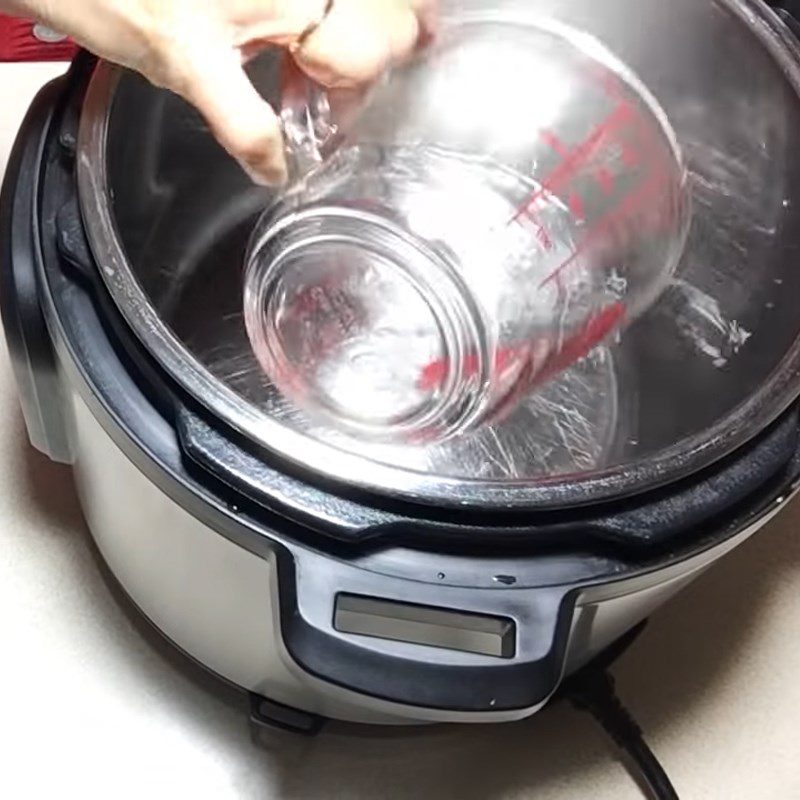
    Step 1 Sterilize tools for Greek Yogurt using an electric pressure cooker
    Step 1 Sterilize tools for Greek Yogurt using an electric pressure cooker
  • Cooking Fresh Milk

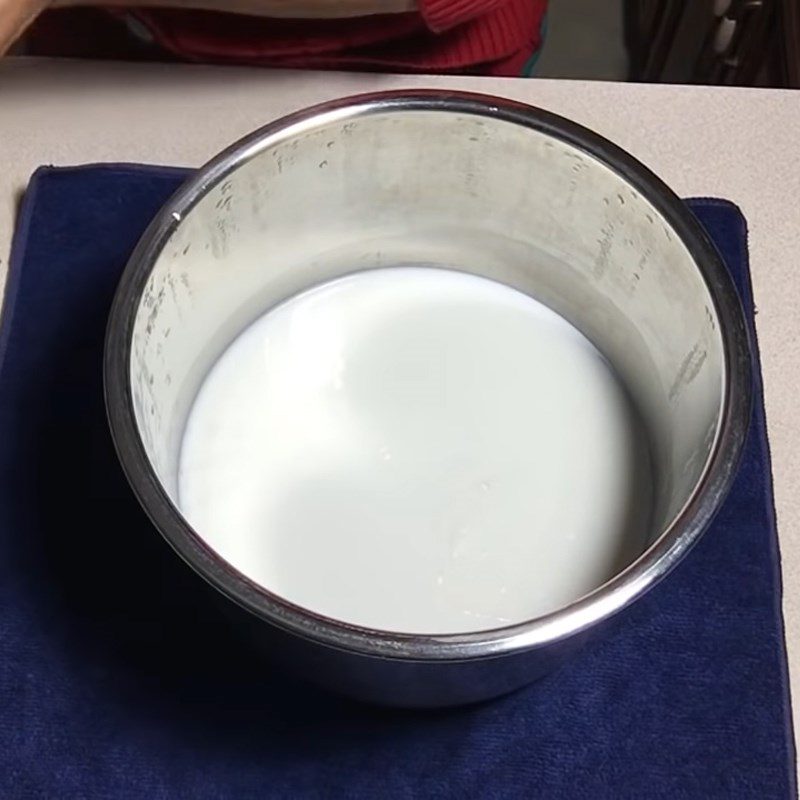
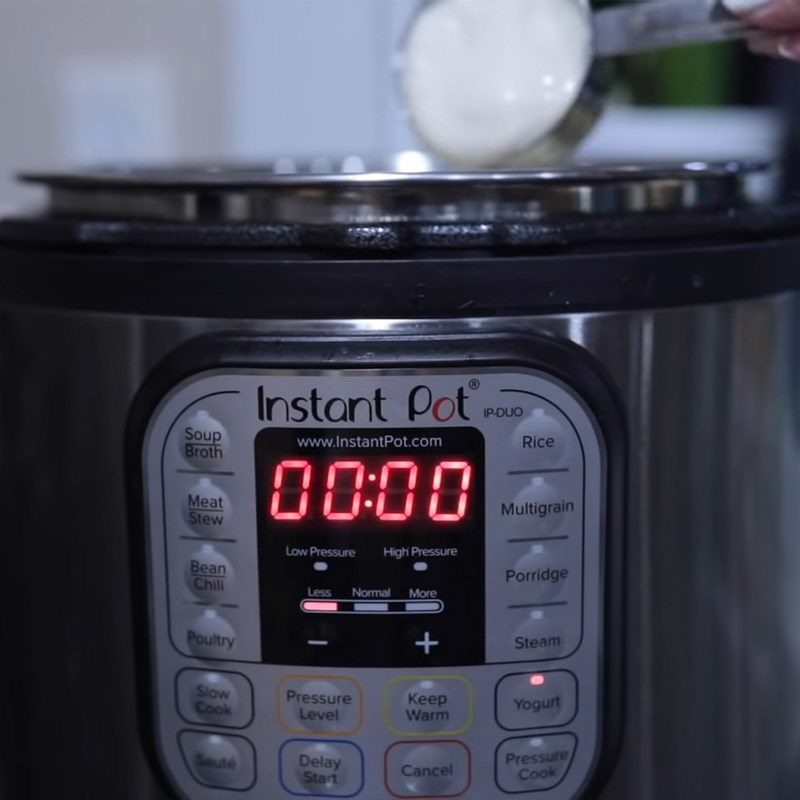
    You put 1 liter of pure fresh milk into the pressure cooker and close the lid. Next, select the yogurt mode and cook for about 30 minutes until the milk reaches 83 degrees Celsius.

    After that, take it out and cool the milk down to about 43 degrees Celsius. You use a spoon to skim off the cream.
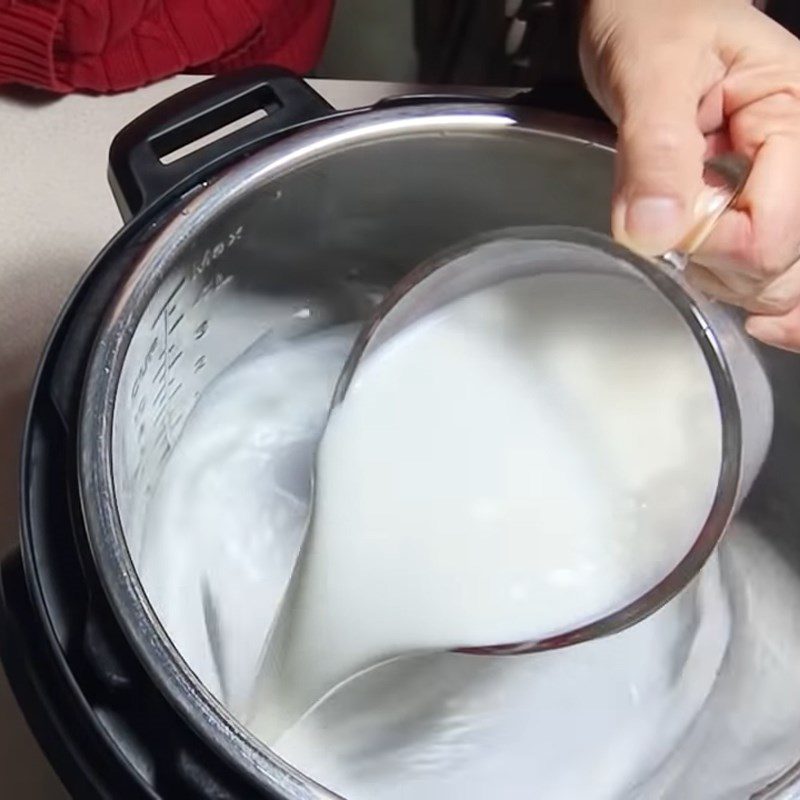
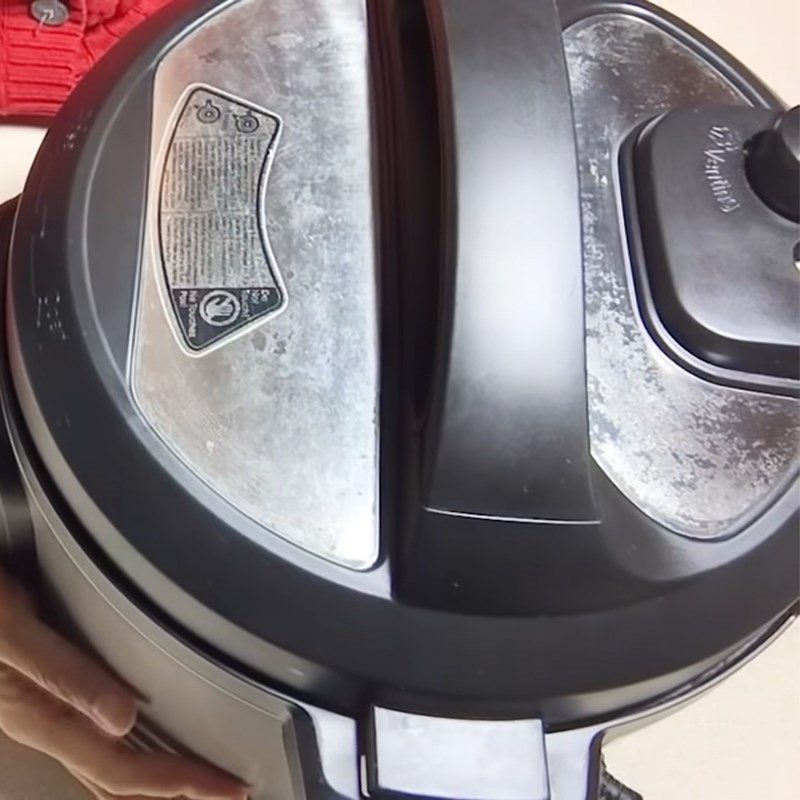
    Step 2 Cooking fresh milk Greek yogurt using an electric pressure cooker
    Step 2 Cooking fresh milk Greek yogurt using an electric pressure cooker
    Step 2 Cooking fresh milk Greek yogurt using an electric pressure cooker
  • Mixing Yogurt Mixture

    You add 1 teaspoon of pure yogurt and stir well. Next, pour the milk mixture into each sterilized small glass jar.
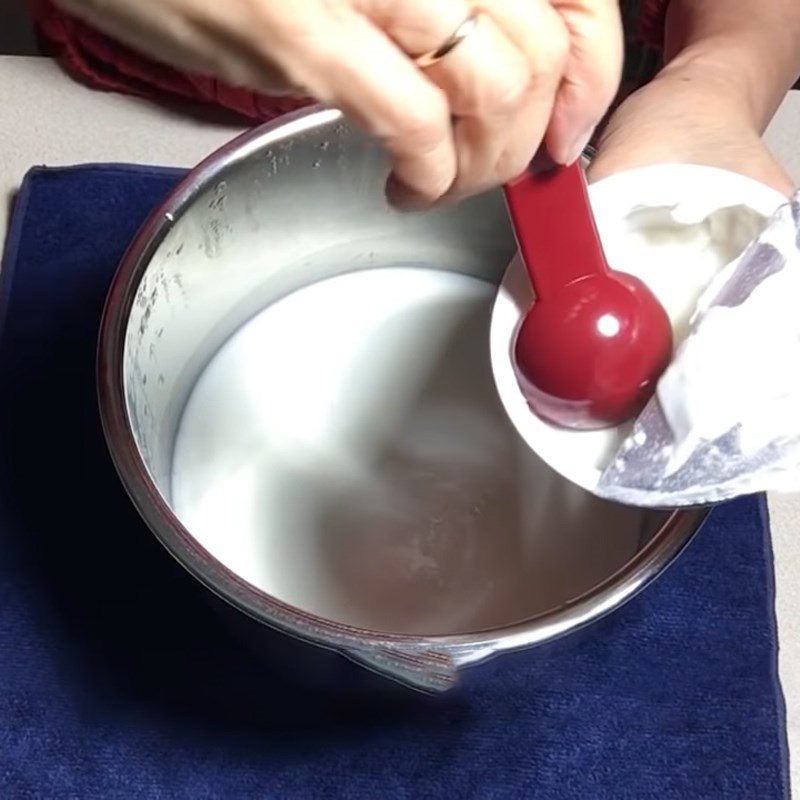
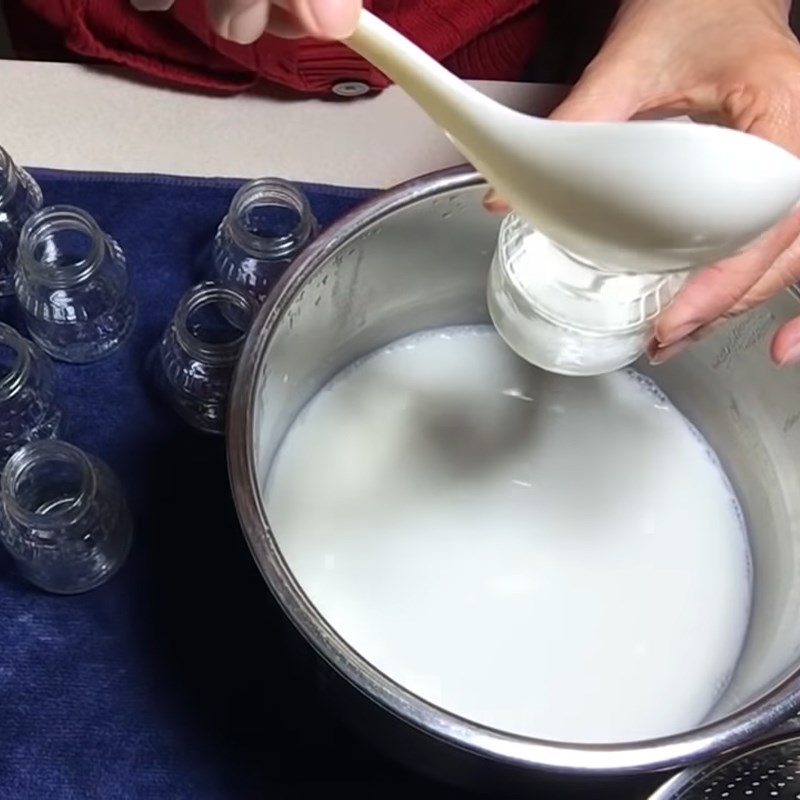
    Step 3 Mixing yogurt mixture Greek yogurt using an electric pressure cooker
    Step 3 Mixing yogurt mixture Greek yogurt using an electric pressure cooker
  • Yogurt Incubation

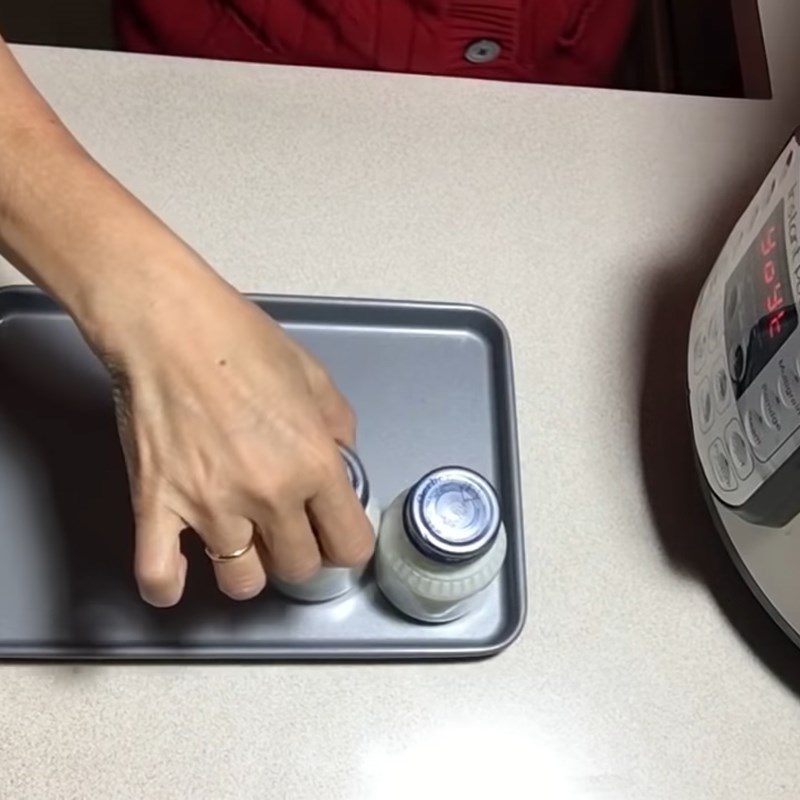
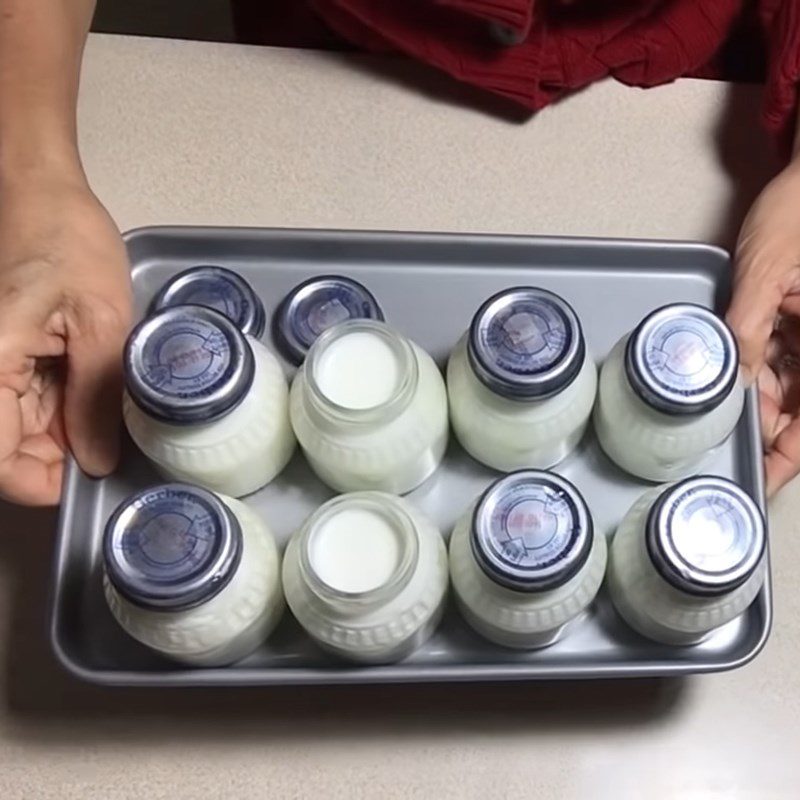
    First, arrange the jars of yogurt in the electric pressure cooker. Next, select the yogurt mode, set it to normal, and let it incubate for about 9 hours.

    When done, take it out to cool. Then, place it in the refrigerator for about 2 hours. Once the yogurt has set, take it out to proceed to the next step.
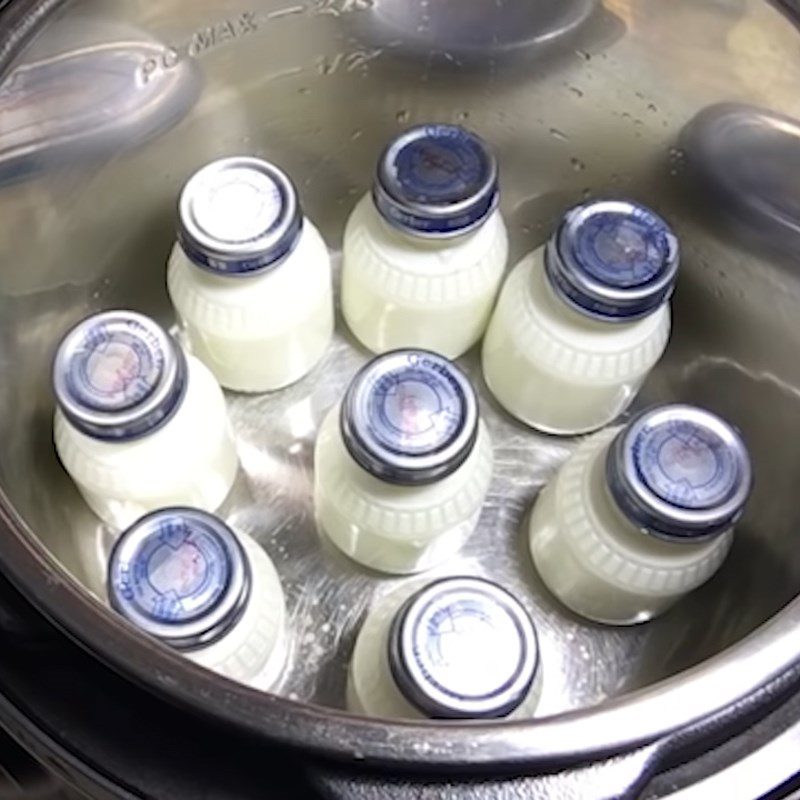
    Step 4 Yogurt Incubation Greek Yogurt using electric pressure cooker
    Step 4 Yogurt Incubation Greek Yogurt using electric pressure cooker
    Step 4 Yogurt Incubation Greek Yogurt using electric pressure cooker
    Step 4 Yogurt Incubation Greek Yogurt using electric pressure cooker
  • Separating Yogurt Whey

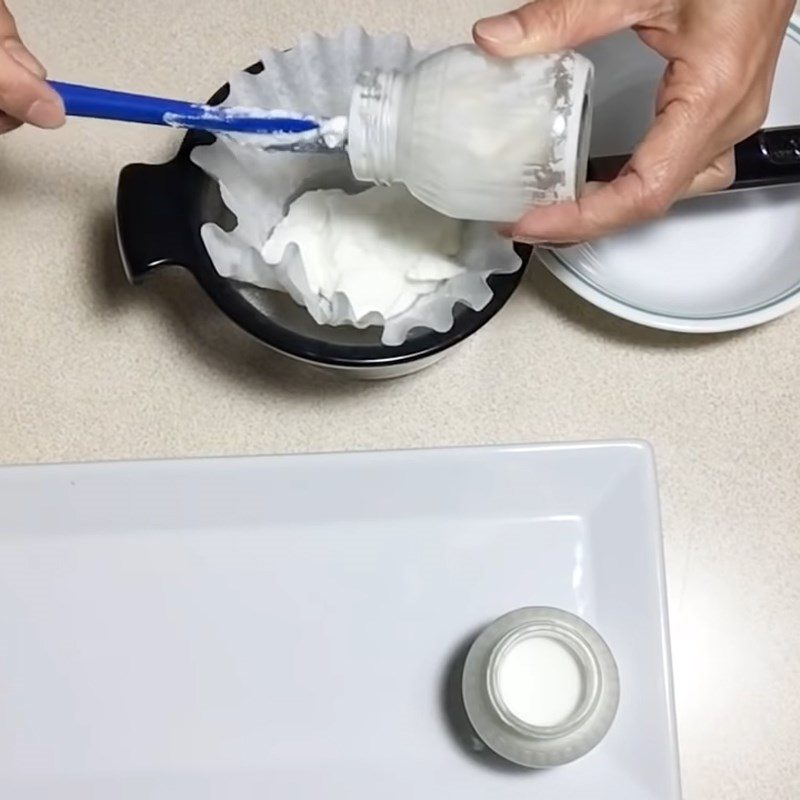
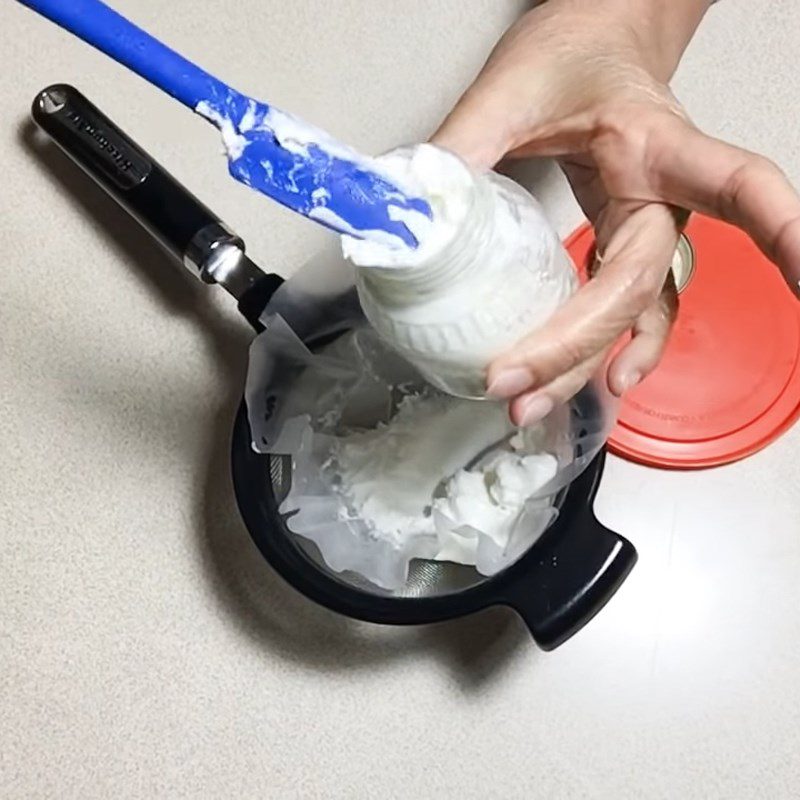
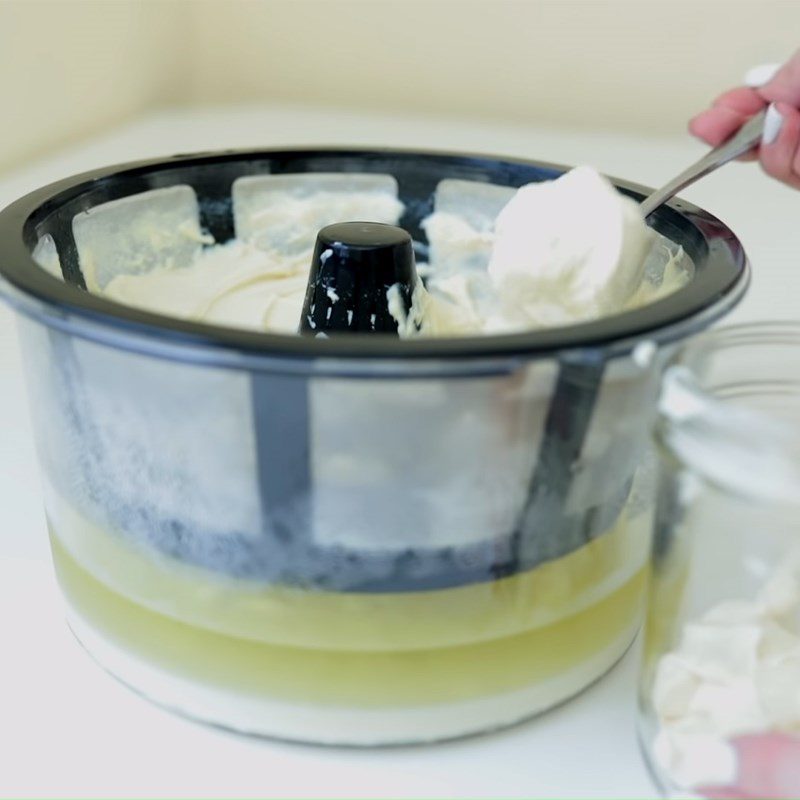
    Prepare a sieve and place a coffee filter on top. Next, pour the jar of yogurt into it and let it sit for about 2 hours to drain off all the whey.

    When the yogurt is dry, open the filter and put it back into the jar for later use.
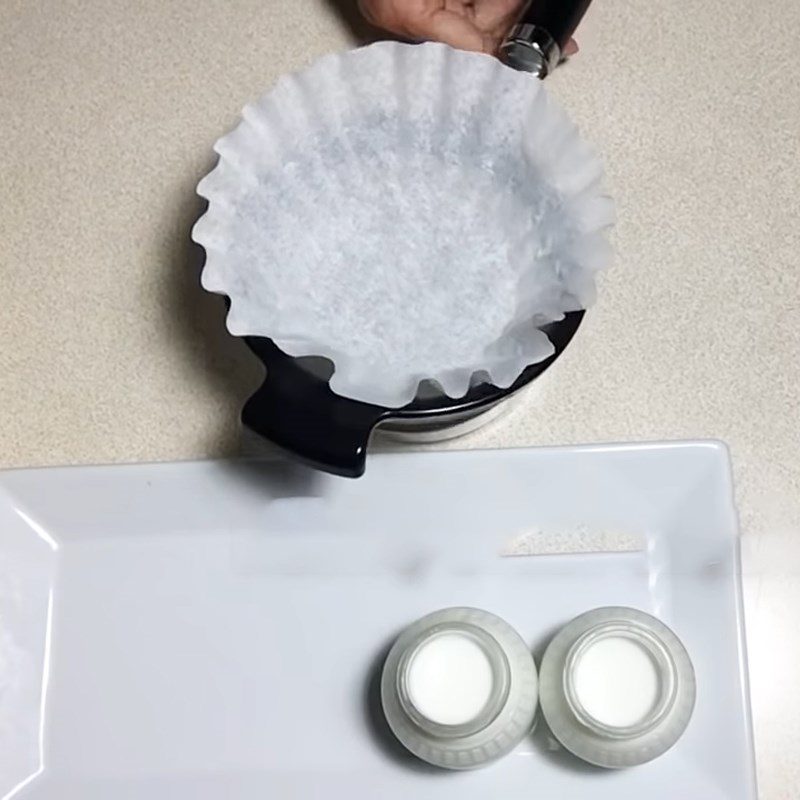
    Step 5 Separating Yogurt Whey Greek Yogurt using electric pressure cooker
    Step 5 Separating Yogurt Whey Greek Yogurt using electric pressure cooker
    Step 5 Separating Yogurt Whey Greek Yogurt using electric pressure cooker
  • Final Product

    Delicious, nutritious Greek yogurt. With a creamy texture and an appealing smooth appearance.

    When eaten, it has a refreshing sour taste and is creamier compared to regular yogurt. It is guaranteed to be extremely tasty.
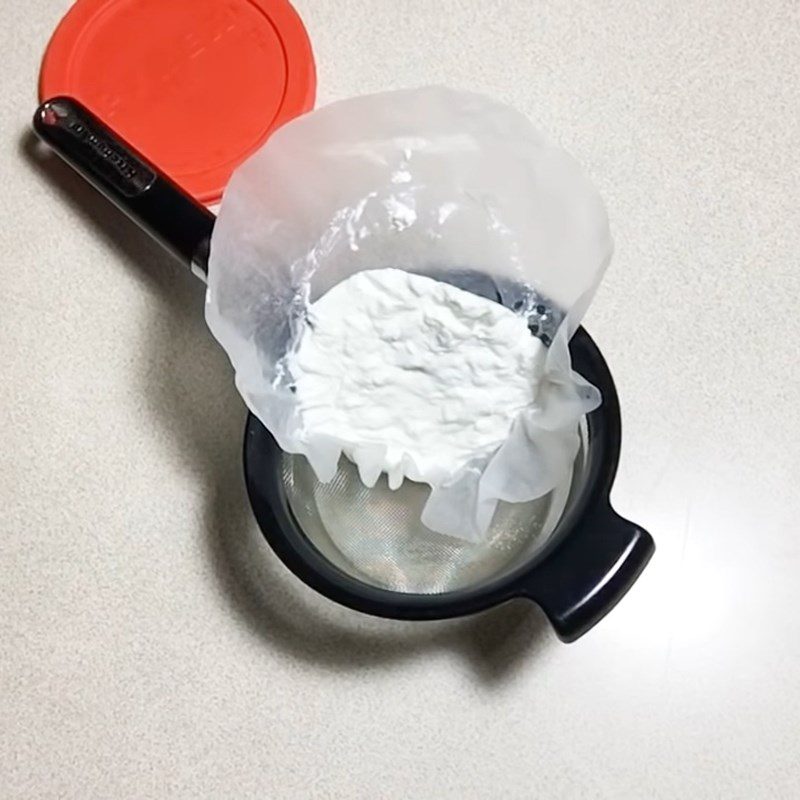
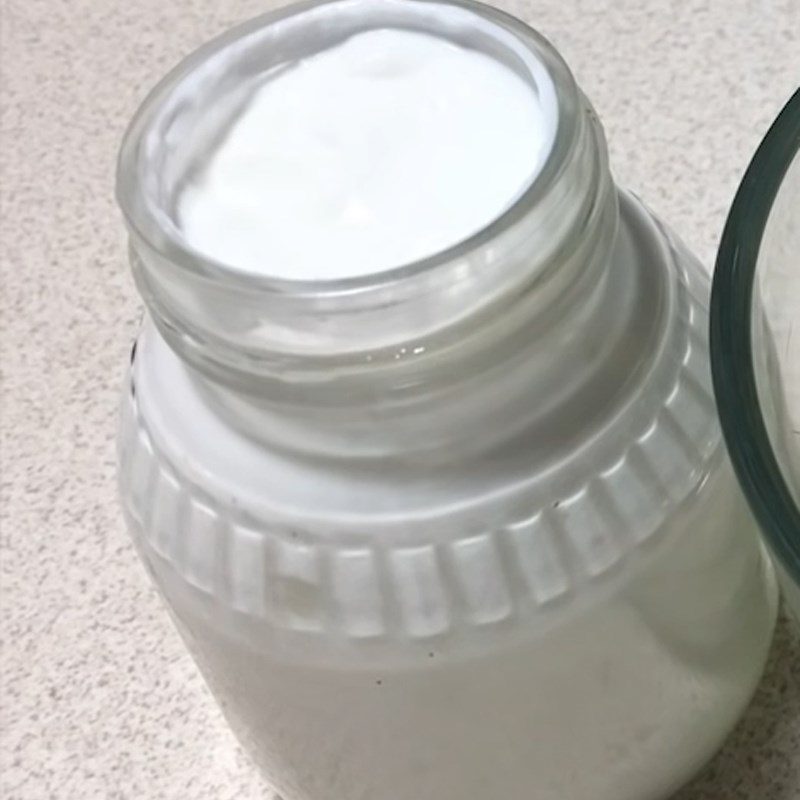
    Step 6 Final Product Greek yogurt made with electric pressure cooker
    Step 6 Final Product Greek yogurt made with electric pressure cooker

3. Soy Milk Yogurt made with Electric Pressure Cooker
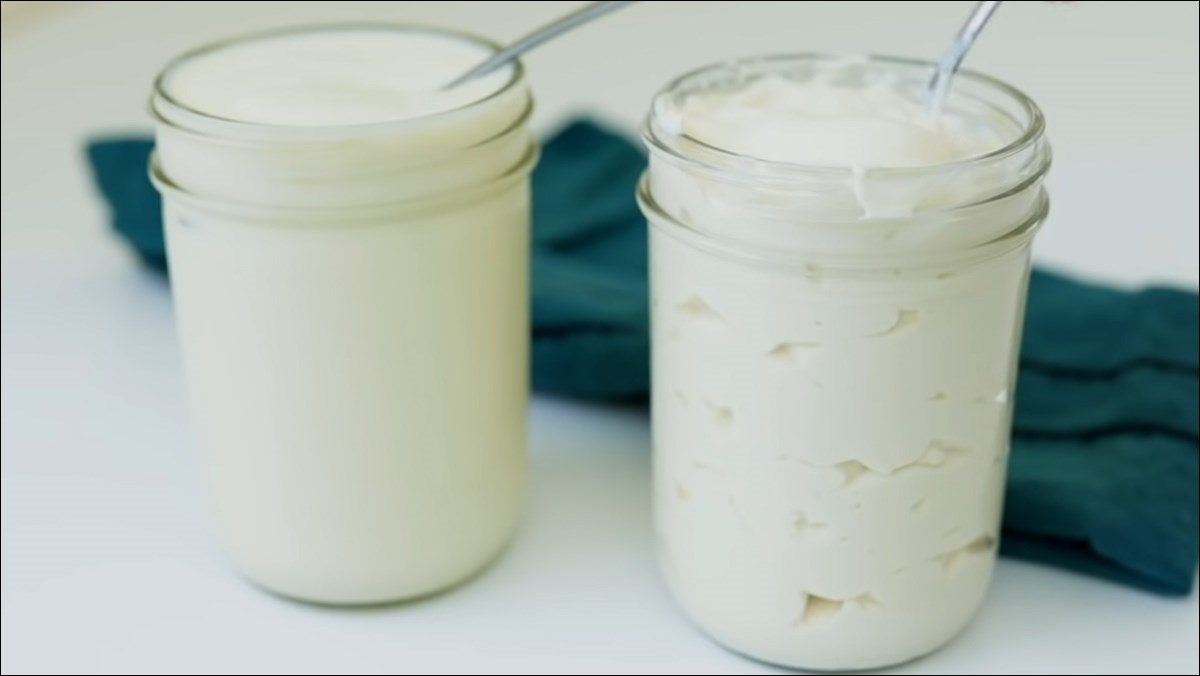
Soy Milk Yogurt made with Electric Pressure Cooker
  • Preparation

    10 minutes

  • Processing

    12 hours

  • Difficulty

    Easy

Ingredients for Soy Milk Yogurt made with Electric Pressure Cooker For 2 jars

Soy milk 4 liters Yogurt 75 gr Fruits 100 gr (Choose as desired)

Ingredient Image
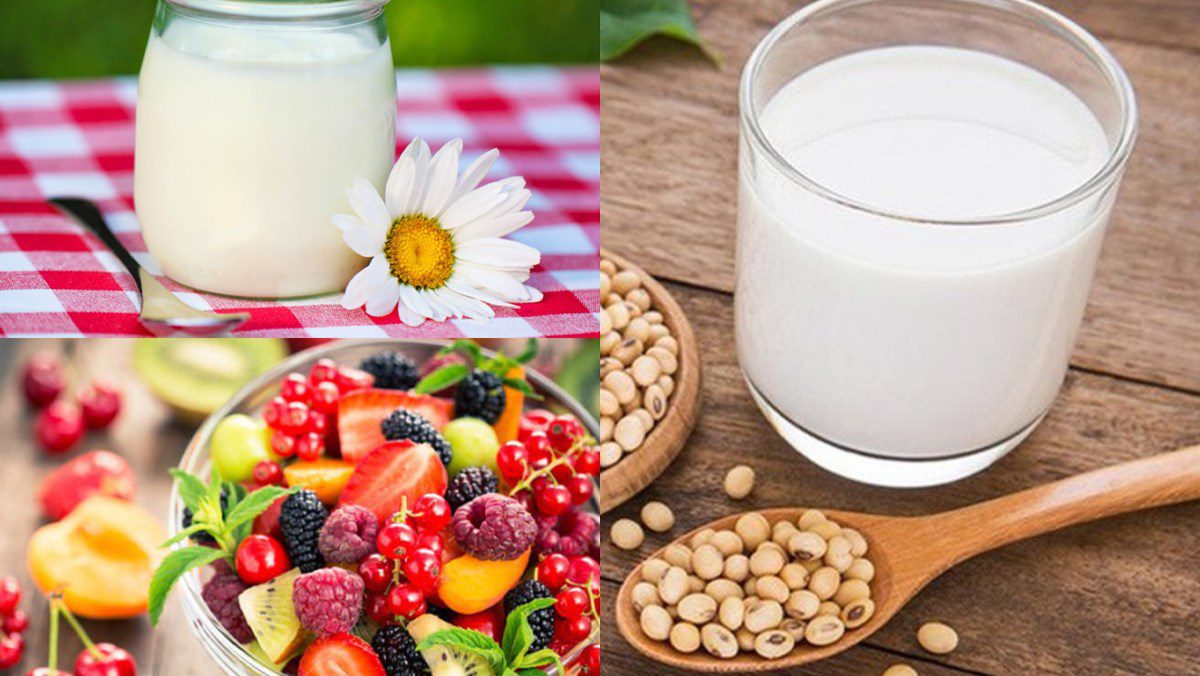
Ingredients for yogurt made with electric pressure cooker

Required Tools

Electric Pressure Cooker, glass jar, measuring cup, strainer, whisk,…

How to make Soy Yogurt using an Electric Pressure Cooker

  • Prepare the yogurt mixture

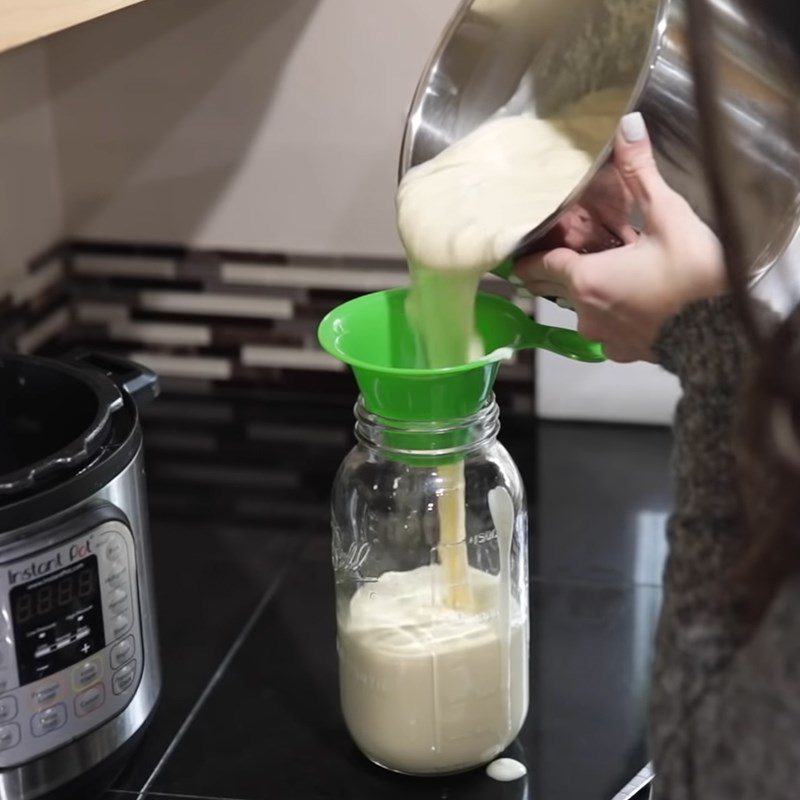
    First, pour about 4 liters of soy milk into the electric pressure cooker and heat it to a temperature of 83 degrees Celsius. Use a whisk to stir the mixture continuously.

    Once heated, remove the pot and cool it down to about 46 degrees Celsius. Add 75g of yogurt to the pot and mix the mixture thoroughly.
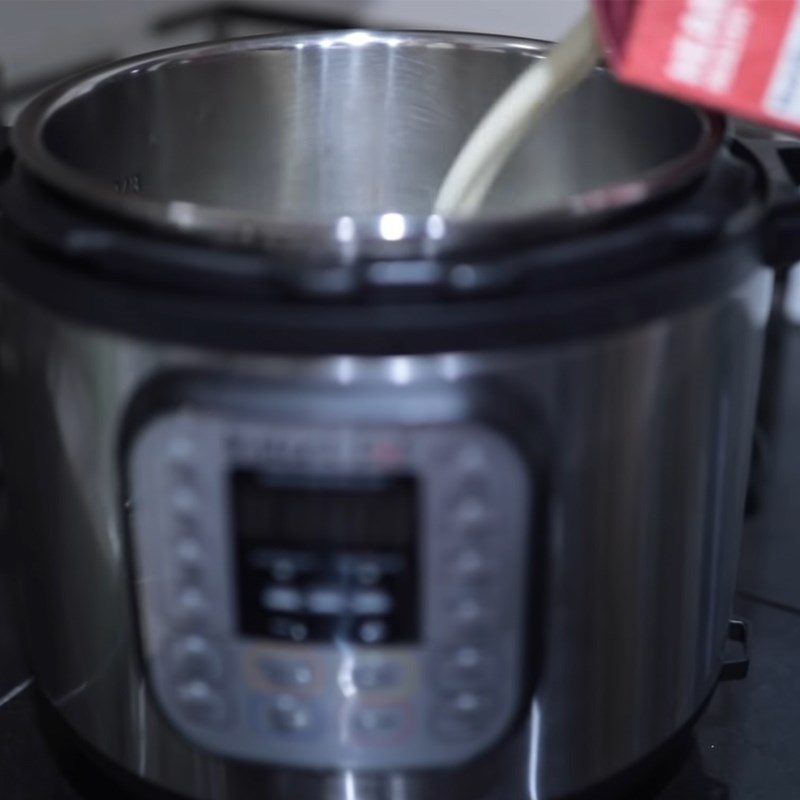
    Step 1 Prepare the yogurt mixture Soy yogurt using an electric pressure cooker
    Step 1 Prepare the yogurt mixture Soy yogurt using an electric pressure cooker
    Step 1 Prepare the yogurt mixture Soy yogurt using an electric pressure cooker
  • Ferment the yogurt

    Cover the pot and set the pressure release valve in the correct position to vent. Next, select the yogurt setting and set the timer for about 12 hours.

    When finished, turn off the pressure cooker and pour the yogurt into jars. To make the yogurt thicker, prepare a strainer and pour the yogurt into it, leaving it for about 24 – 48 hours until all the liquid is filtered out.

    Once ready, remove the yogurt from the strainer and place it into a glass jar. Add some fruits and enjoy!
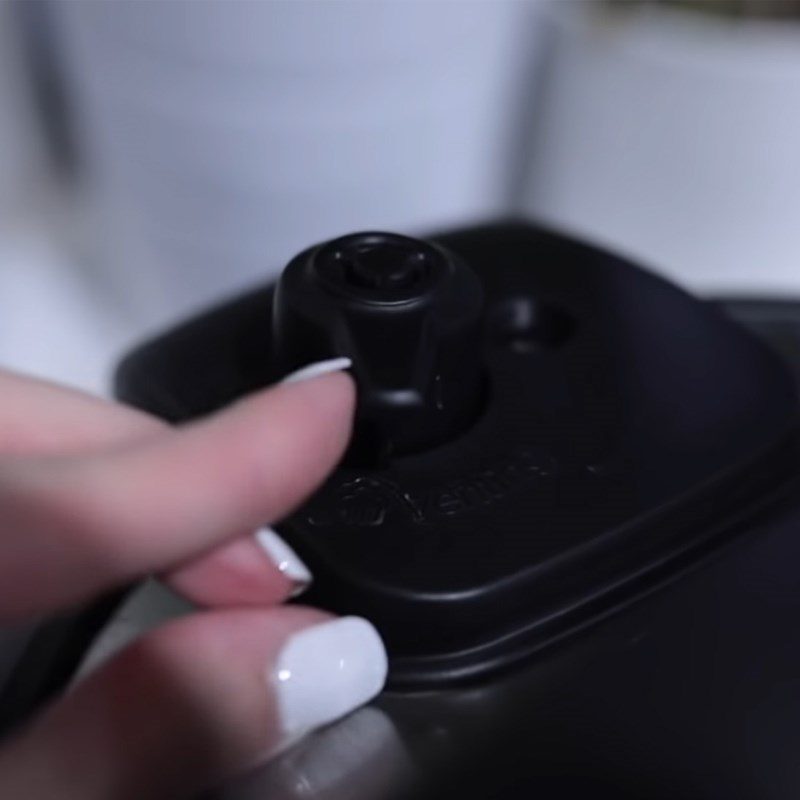
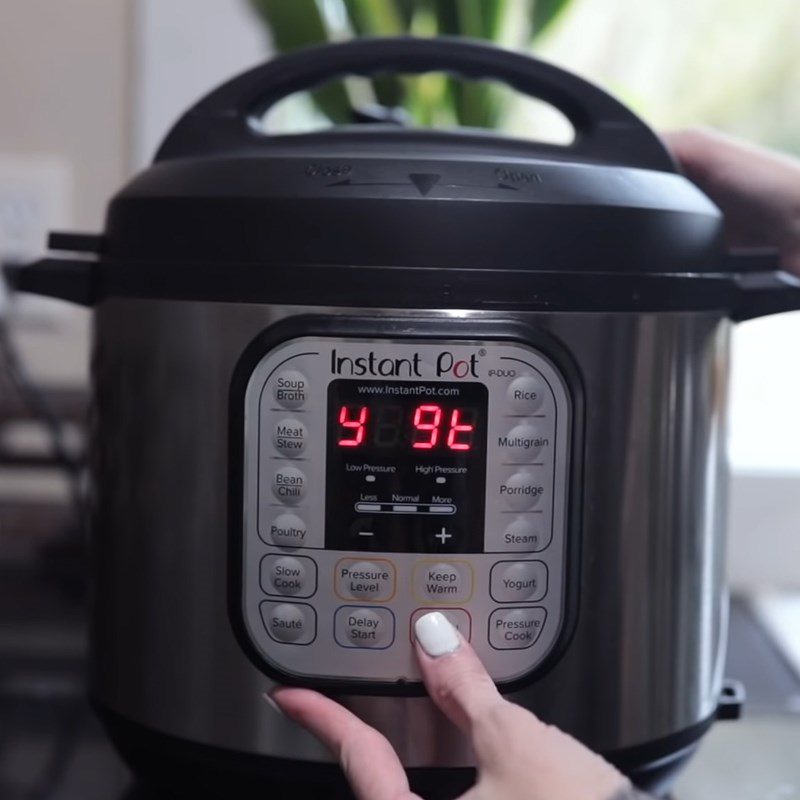
    Step 2 Ferment the yogurt Soy yogurt using an electric pressure cooker
    Step 2 Ferment the yogurt Soy yogurt using an electric pressure cooker
    Step 2 Incubate soy milk yogurt using an electric pressure cooker
    Step 2 Incubate soy milk yogurt using an electric pressure cooker
  • Final Product

    Soy milk yogurt looks smooth and appealing, combined with the distinctive flavor of soybeans along with a light sweet and sour taste that is extremely delicious and nutritious.

    You can serve it cold to enhance its flavor!

    Step 3 Final product Soy milk yogurt using an electric pressure cooker

See more:

  • How to make chicken egg yogurt – Creamy chicken egg yogurt, not sticky
  • How to make chia seed yogurt, good for weight loss and health
  • 3 ways to make yogurt using whole milk powder, creamy and smooth

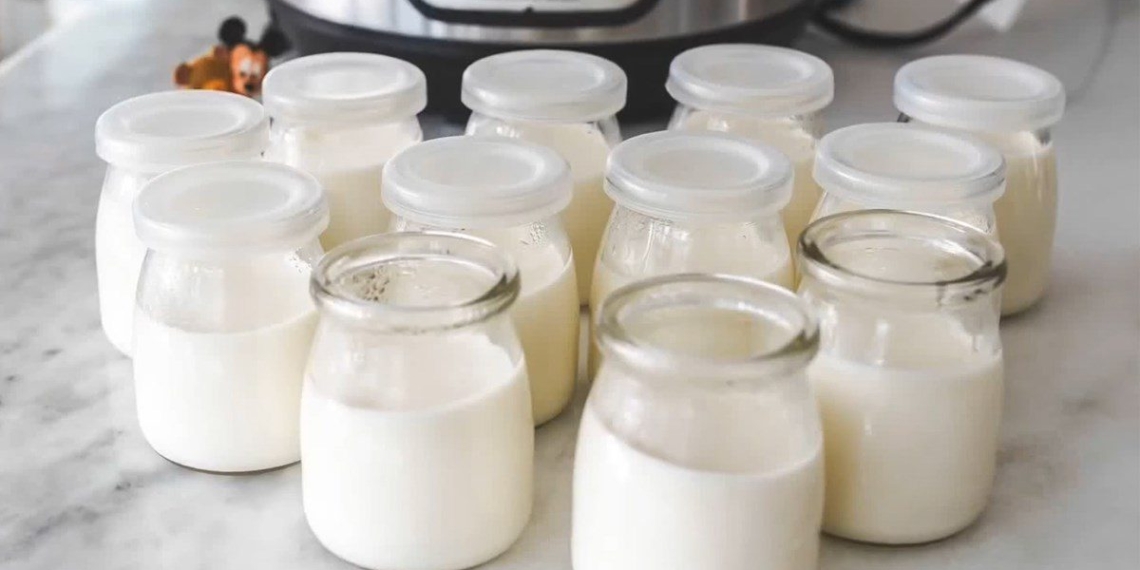
Thus, TasteVN has brought 3 ways to incubate yogurt using an electric pressure cooker that are both simple and yield delicious, appealing batches of yogurt. Wishing you success with the tips from this article!
Cooking time: 570 minutes
Level: Easy
Tags: how to incubate yogurt with a pressure cookerhow to make yogurthow to make yogurt with a pressure cookeryogurtyogurt making with a pressure cooker
Previous Post

2 Ways to Cook Soft, Fragrant, Nutritious Porridge for Babies Using a Slow Cooker

Next Post

How to make pickled garlic with chili that doesn’t turn green at home for long-lasting storage

TasteT

TasteT

I am a food writer specializing in Vietnamese cuisine, sharing traditional recipes, cooking tips, and the culture behind every dish. My goal is to bring the authentic flavors of Vietnam to your kitchen.

Related Posts

How to Make Delicious and Simple Chocolate Yogurt That Never Fails
Desserts

How to Make Delicious and Simple Chocolate Yogurt That Never Fails

How to make smooth and delicious Milo yogurt easily at home
Desserts

How to make smooth and delicious Milo yogurt easily at home

2 ways to make delicious avocado yogurt, visually appealing
Desserts

2 ways to make delicious avocado yogurt, visually appealing

2 ways to make chilled, delicious strawberry with yogurt and condensed milk
Desserts

2 ways to make chilled, delicious strawberry with yogurt and condensed milk

2 ways to make creamy, deliciously soft Dalat cheese yogurt
Desserts

2 ways to make creamy, deliciously soft Dalat cheese yogurt

3 ways to make delicious creamy cheese yogurt that you’ll love, guaranteed success
Desserts

3 ways to make delicious creamy cheese yogurt that you’ll love, guaranteed success

Next Post
How to make pickled garlic with chili that doesn’t turn green at home for long-lasting storage

How to make pickled garlic with chili that doesn't turn green at home for long-lasting storage

Leave a Reply Cancel reply

Your email address will not be published. Required fields are marked *

Navigate

  • About
  • Privacy Policy
  • Contact

Recent Recipes

2 Ways to Make Bitter Melon Hotpot with Vegetarian Sausage and Light Mushrooms for Cooling Down

2 Ways to Make Bitter Melon Hotpot with Vegetarian Sausage and Light Mushrooms for Cooling Down

4 ways to make delicious and nutritious steamed pumpkin with eggs, meat, seafood, and lotus seeds

4 ways to make delicious and nutritious steamed pumpkin with eggs, meat, seafood, and lotus seeds

Browse by Category

  • Beef Dishes
  • Beverages
  • Braised Food
  • Cake
  • Chicken Dishes
  • Desserts
  • Dried and Fermented Dishes
  • Festivals & Holidays
  • Fried Food
  • Grilled Food
  • Hot Pot
  • Ice Cream
  • Juices
  • Kitchen Tips
  • Liquid Dishes
  • Milk Tea
  • Porridge
  • Rolls and Salads
  • Salad
  • Smoothies
  • Snacks
  • Soup
  • Steamed Food
  • Stir-fried Dishes
  • Sweet Soup
  • Vegetarian Dishes

Browse by Ingredients

beef beef stew braised fish cake dish dessert fried dish grilled dishes how to cook porridge how to make cake how to make ice cream into the kitchen mixed salad dish noodle soup snacks soup dish sponge cake steamed dish stir-fried dish stir-fried noodles vegetarian dish

© 2024 TasteVN - The ultimate Vietnam food destination for cooking tips, recipes, and more.

Welcome Back!

Login to your account below

Forgotten Password?

Retrieve your password

Please enter your username or email address to reset your password.

Log In
No Result
View All Result
  • Home
  • Main Dishes
    • Beef Dishes
    • Braised Food
    • Fried Food
    • Steamed Food
    • Stir-fried Dishes
    • Soup
    • Grilled Food
    • Hot Pot
    • Liquid Dishes
    • Chicken Dishes
    • Dried and Fermented Dishes
    • Vegetarian Dishes
    • Porridge
  • Desserts
    • Cake
    • Ice Cream
    • Sweet Soup
    • Desserts
  • Beverages
    • Beverages
    • Juices
    • Milk Tea
    • Smoothies
  • Snacks
    • Rolls and Salads
    • Salad
    • Snacks
  • Tips & Holidays
    • Festivals & Holidays
    • Kitchen Tips

© 2024 TasteVN - The ultimate Vietnam food destination for cooking tips, recipes, and more.