-
Preparation
1 hour
-
Difficulty
Medium
If you are looking for a recipe to make salted egg taro mochi mooncakes that are large and thin to eat and to gift to relatives and close friends, then check out this cake recipe from TasteVN and get cooking right away.
Ingredients for Salted Egg Taro Mochi Mooncakes For 5 pieces 300gr
All-purpose flour 400 gr Taro 400 gr Mashed salted egg yolk 200 gr Mashed taro 500 gr Sugar syrup 260 gr Purple sweet potato flour 2 gr Glutinous rice flour 120 gr Powdered sugar 110 gr Fresh milk 160 gr Unsalted butter 55 gr Peanut oil 100 gr Lye water 8 gr Pork floss 75 gr (meat floss) Mayonnaise 40 gr Corn syrup 15 gr Water 15 gr Chicken egg 1 piece
Tools needed
Air fryer with steaming function, non-stick pan, meat grinder, mixing spoon, whisk, 300gr mooncake mold, kitchen scale, brush,…
Image of ingredients

How to make Salted Egg Taro Mochi Mooncake
-
Making the salted egg yolk filling
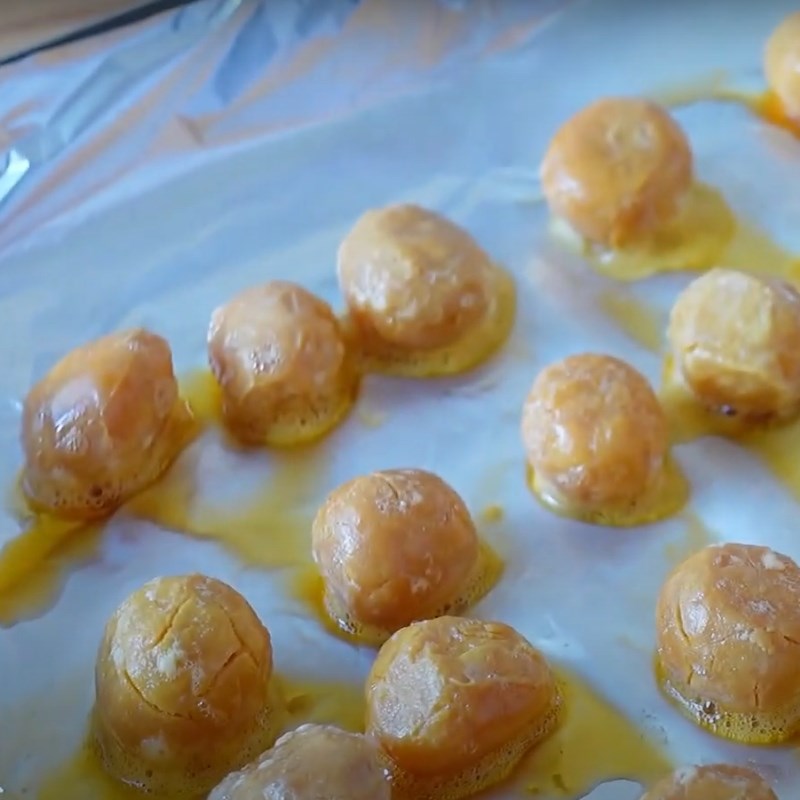
200g of salted egg yolk will be equivalent to 22 yolks. You should arrange the yolks on a tray, spray a little white wine on top, then place them in the air fryer to bake at 180 degrees Celsius for 10 minutes.
Tip:- If you use whole salted eggs, after separating the yolks, remember to rinse them with water to clean off the egg whites. The egg whites are the reason why salted eggs still have a fishy smell.
- White wine or cooking wine will help eliminate the fishy smell of the salted egg yolks. If you don’t have a spray tool, you can dip the yolks in wine before baking.
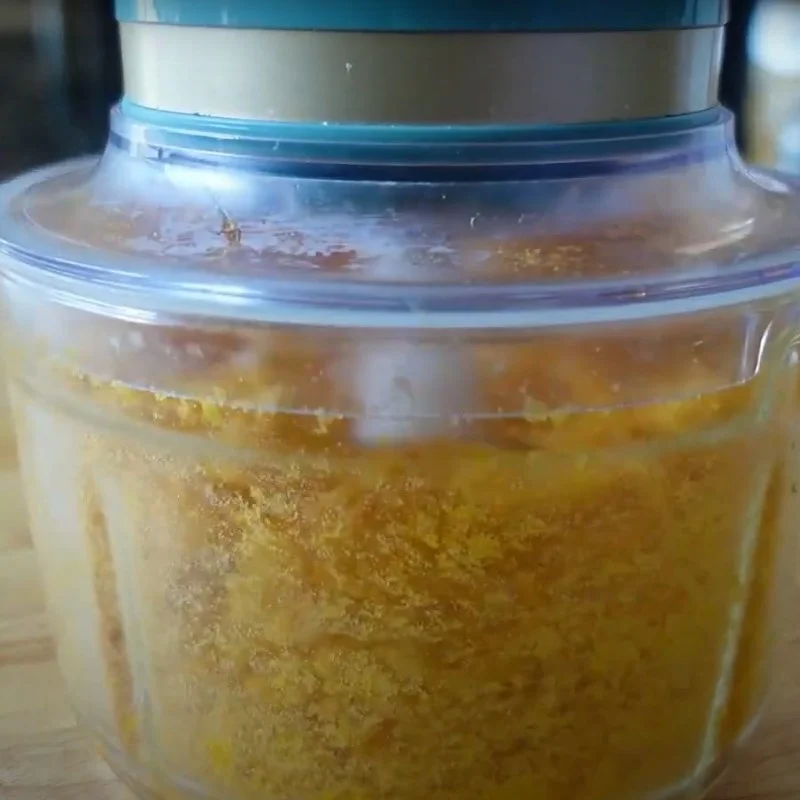
After baking the yolks, place them in a meat grinder to puree.
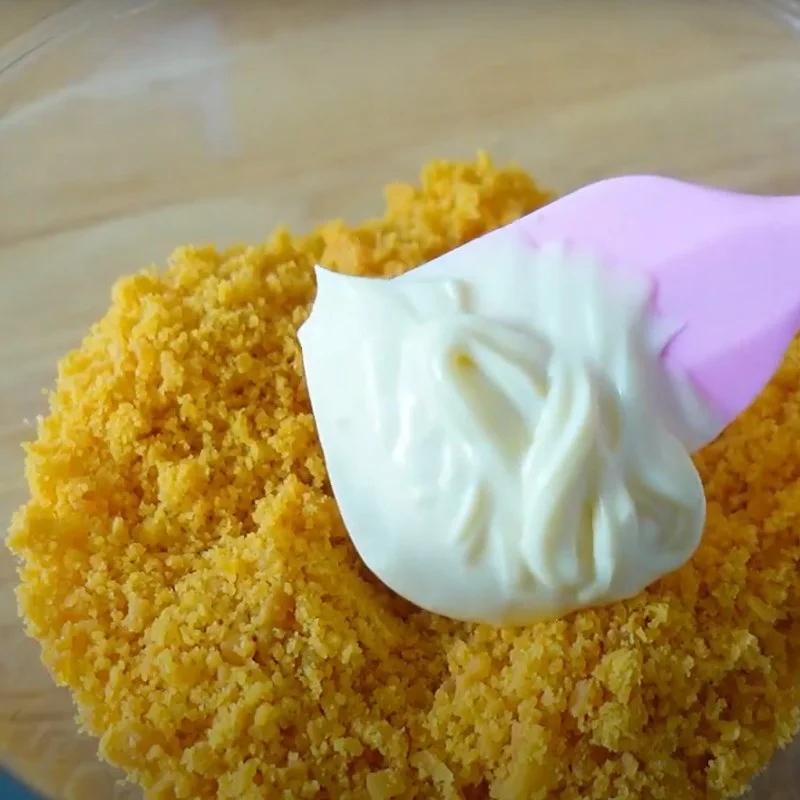
Next, put the pureed salted egg yolks into a bowl, add 75g of mayonnaise, and use a whisk to mix well so that the mixture binds together.

-
Make mochi filling
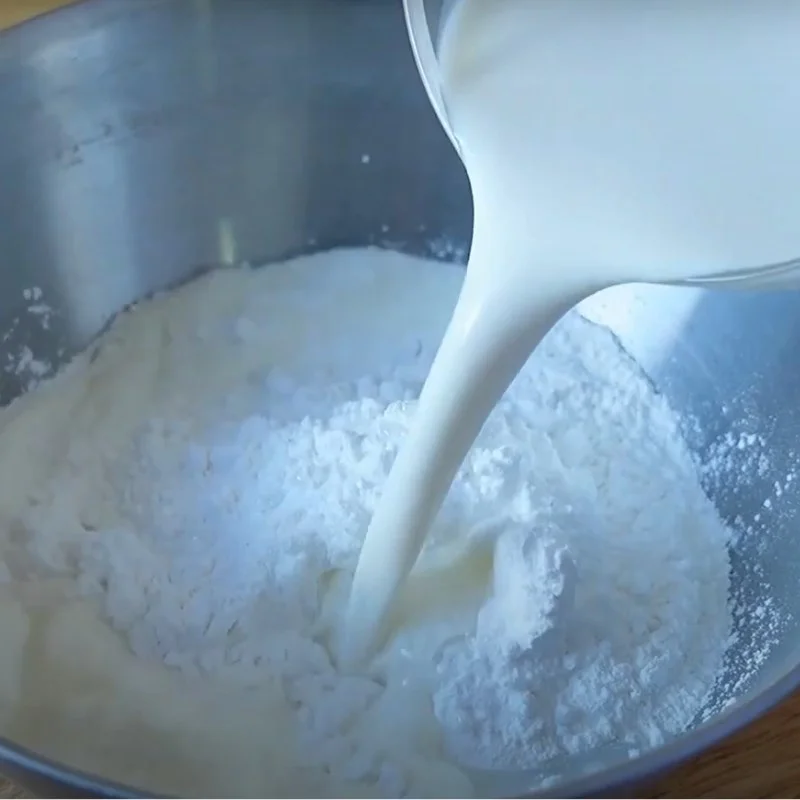
You prepare a large bowl, add 120g of glutinous rice flour, 30g of powdered sugar, 15g of corn syrup, and 160g of fresh milk, then proceed to mix the above mixture well.
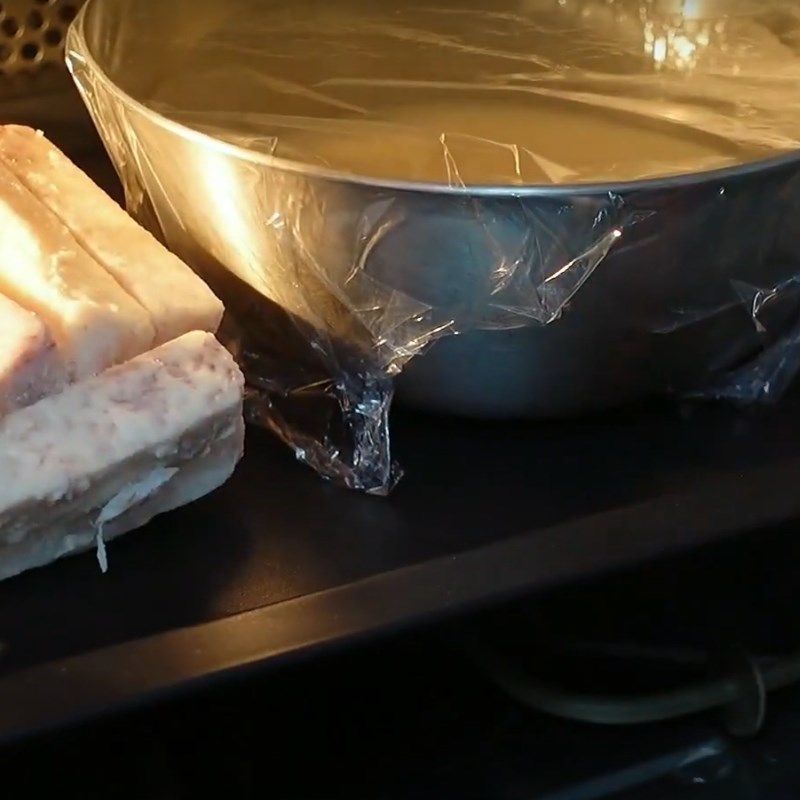
Next, you cover the mouth of the bowl with plastic wrap and place it in the air fryer to steam for about 20 minutes.
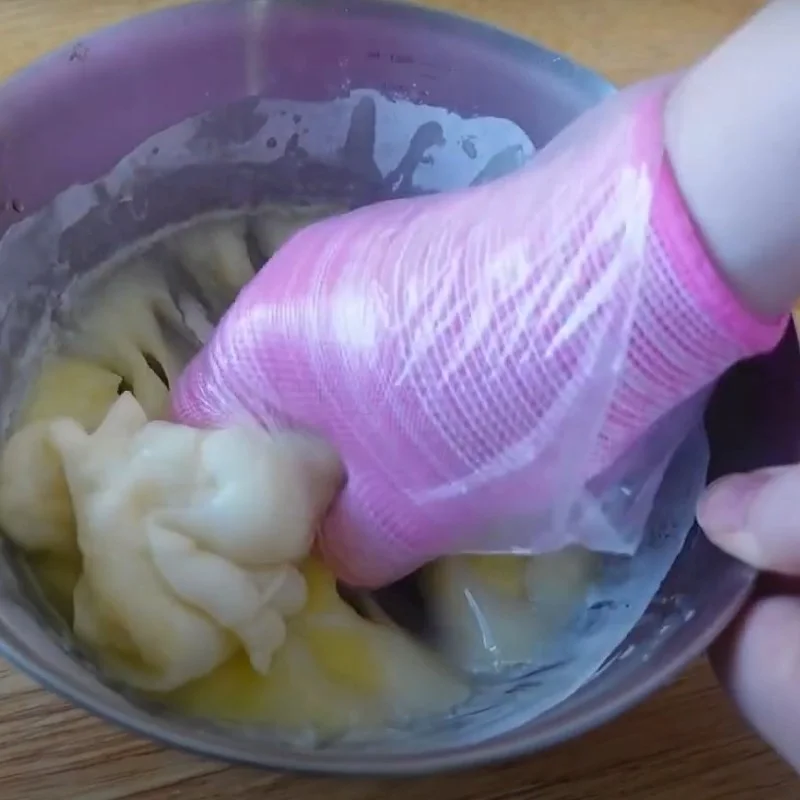
Tip: While steaming the mochi filling, you can add the diced taro to steam at the same time to save time.After steaming, the mochi will be dry and no longer watery. At this point, you should wear gloves and proceed to knead the mochi with 15g of unsalted butter for about 5 minutes so that the mochi absorbs the butter flavor and becomes more chewy.
Tip:- You should knead the mochi with butter while it is still hot or you can wait for it to cool slightly, but do not let the mochi cool completely as the butter will not blend with the mochi when kneading.
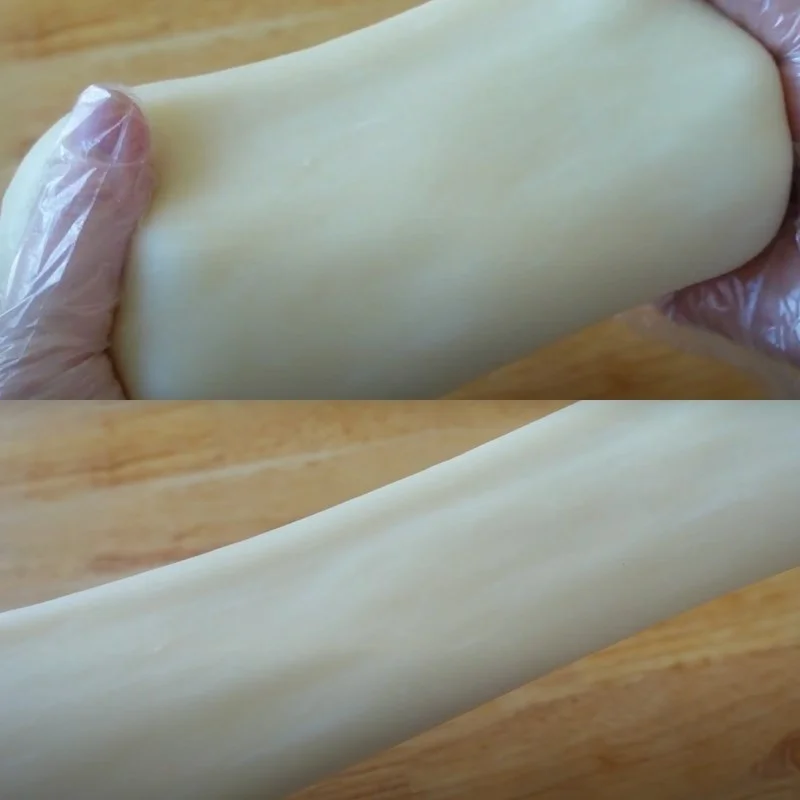
- When kneading, if you see that the mochi has formed a smooth, elastic structure that can be stretched without breaking, then the mochi is ready.
-
Making Taro Filling
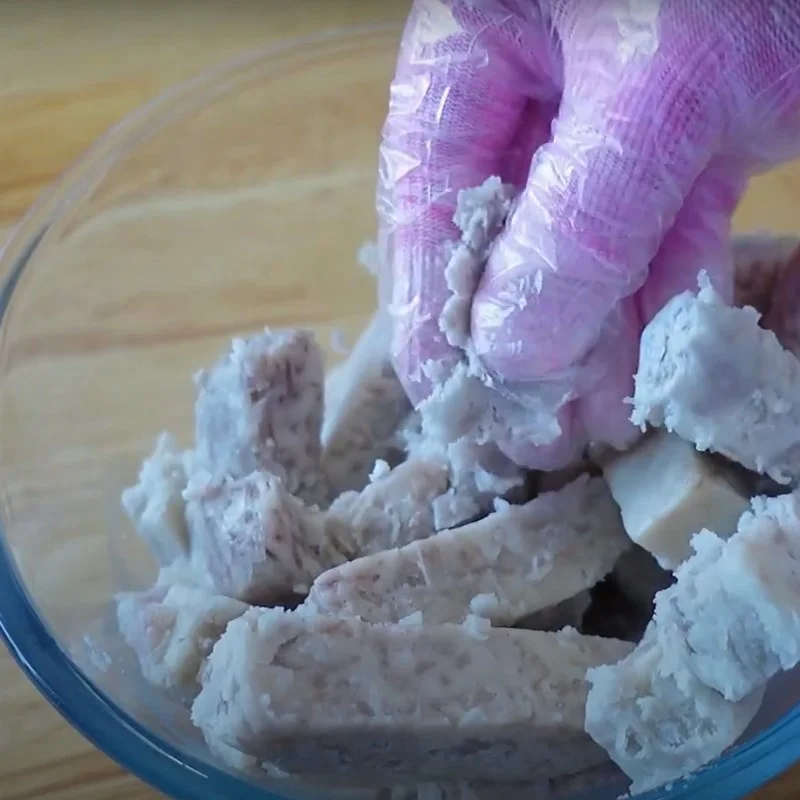
After steaming the taro until cooked, you also use your hands to mash it finely and mix in 2 grams of purple sweet potato flour to enhance the color of the taro filling.
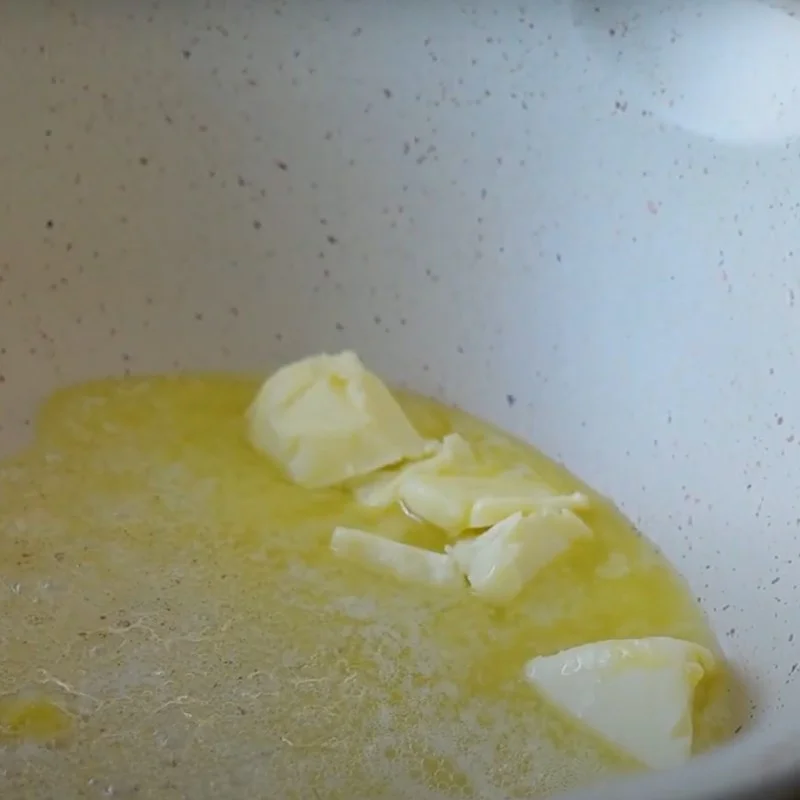
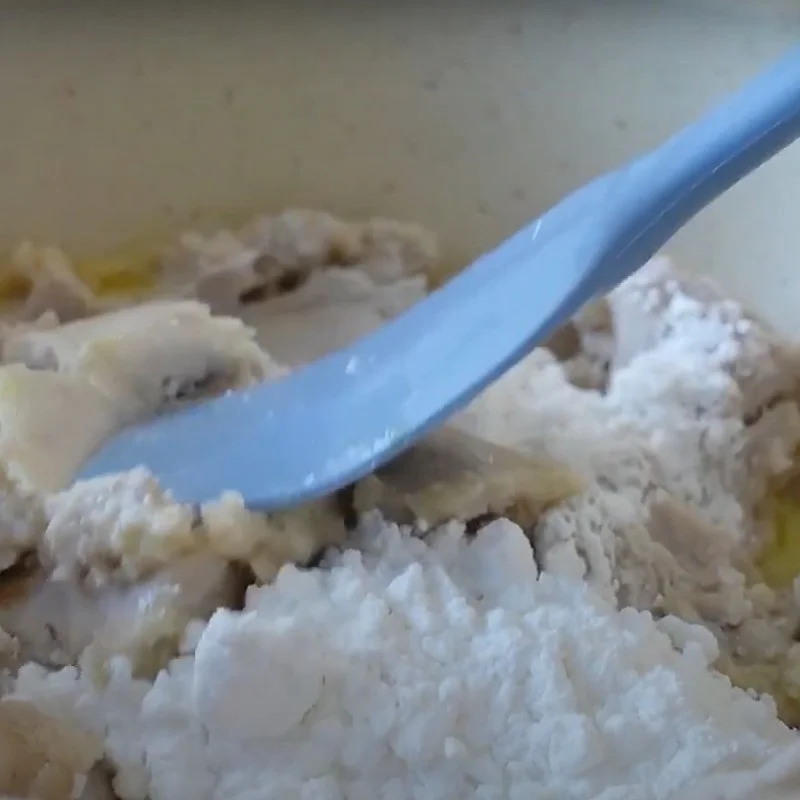
Tip: You can increase the amount of purple sweet potato flour if you want the taro filling to have a deeper color. Alternatively, you can replace 500 grams of taro with 450 grams of taro combined with 50 grams of purple sweet potato for a natural color.Next, you place a non-stick pan on the stove, add 40 grams of unsalted butter to the pan. You melt the butter, then add in the mashed taro, and add 80 grams of powdered sugar, then use a spatula to stir evenly to cook the taro filling.
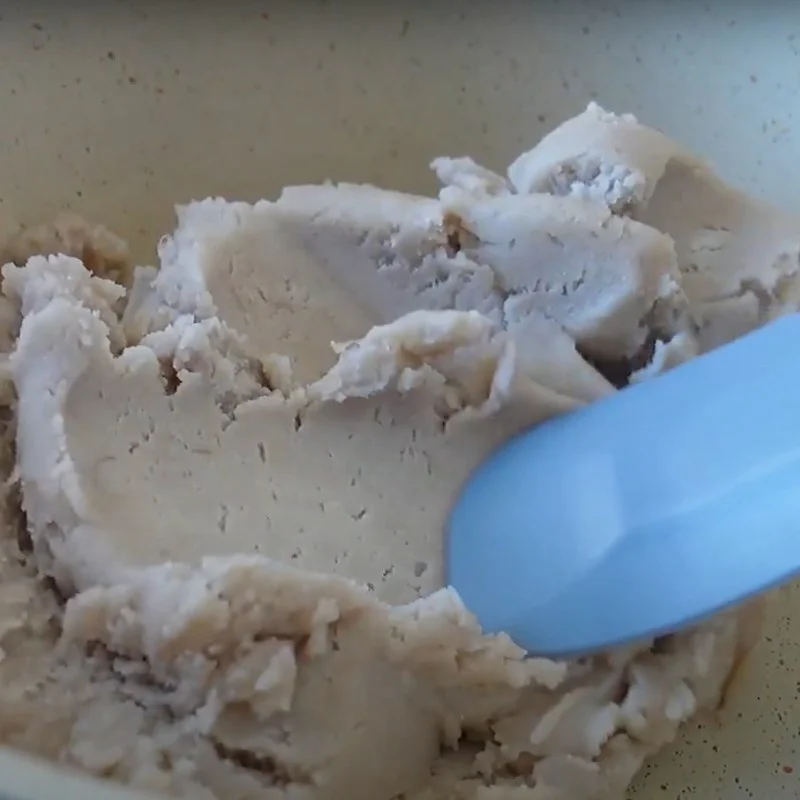
You cook the filling until it becomes dry and smooth, then you can turn off the heat.
-
Making the dough
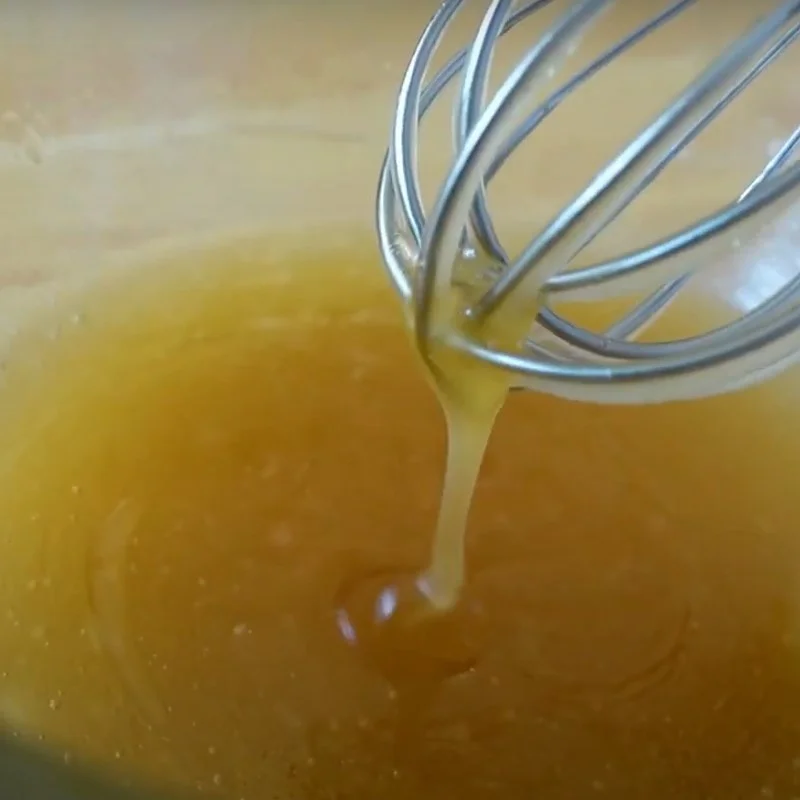
You add 260g syrup and 100g peanut oil into a bowl, then add 8g of lye water and use a whisk to mix well until the mixture is combined and slightly opaque.
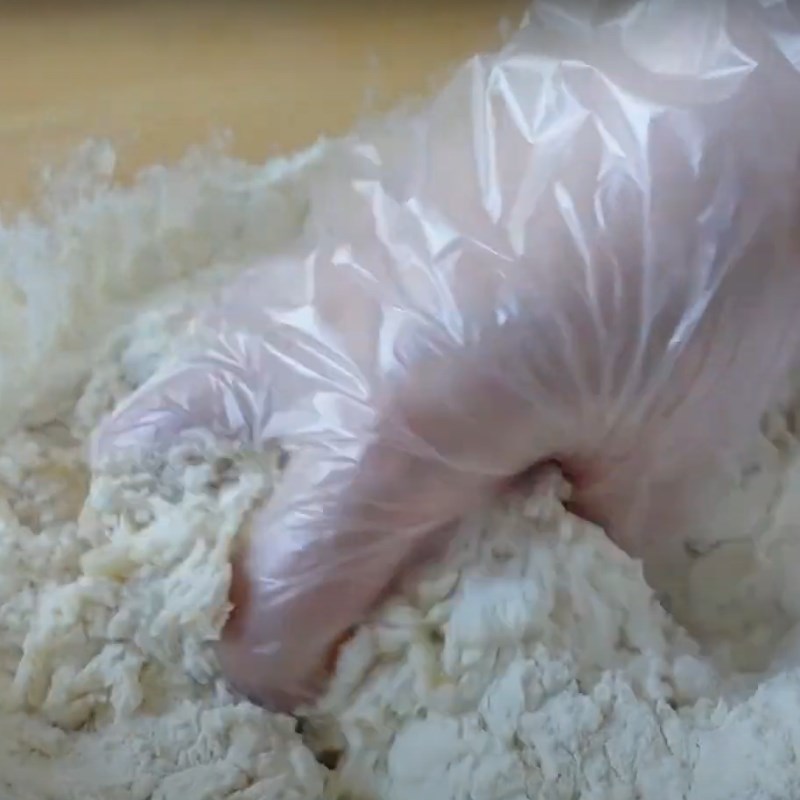
At this point, you can add 400g of all-purpose flour and knead it together with the syrup. Knead until there is no dry flour left, and the dough is easy to form into a ball.
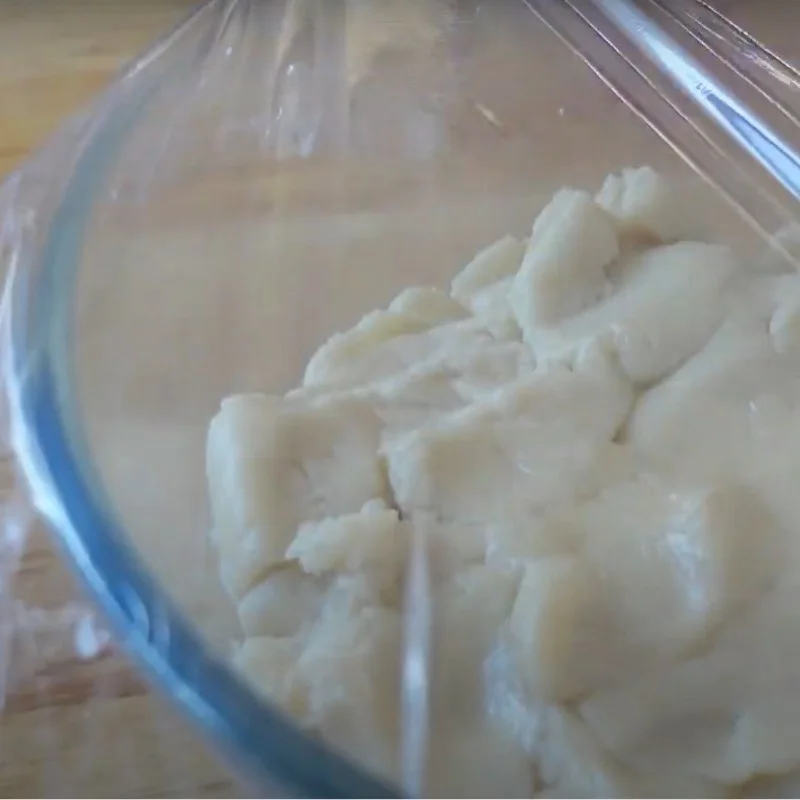
Tip: When adding flour to knead, you should add it gradually because each type of flour has different water absorption capacities. Avoid adding too much flour at once, as it can make the dough dry, making it difficult to shape and causing the cake to crack after baking.Then, cover the bowl with plastic wrap and let the dough rest for 30 minutes.

-
Shape the giant filling ball
In this recipe, with the amount of ingredients above, you can make 5 mooncakes, each weighing about 320g.
To shape each cake, you need 140g of cake skin, 100g of taro filling, 50g of mochi filling, 50g of salted egg yolk filling, and 15g of finished floss.
For the 140g of cake skin, divide it into 2 parts of 70 – 70. The taro filling should also be divided into 2 parts of 50 – 50.
First, place a layer of cling film on the table or cutting board, then put the mochi filling out to flatten it.
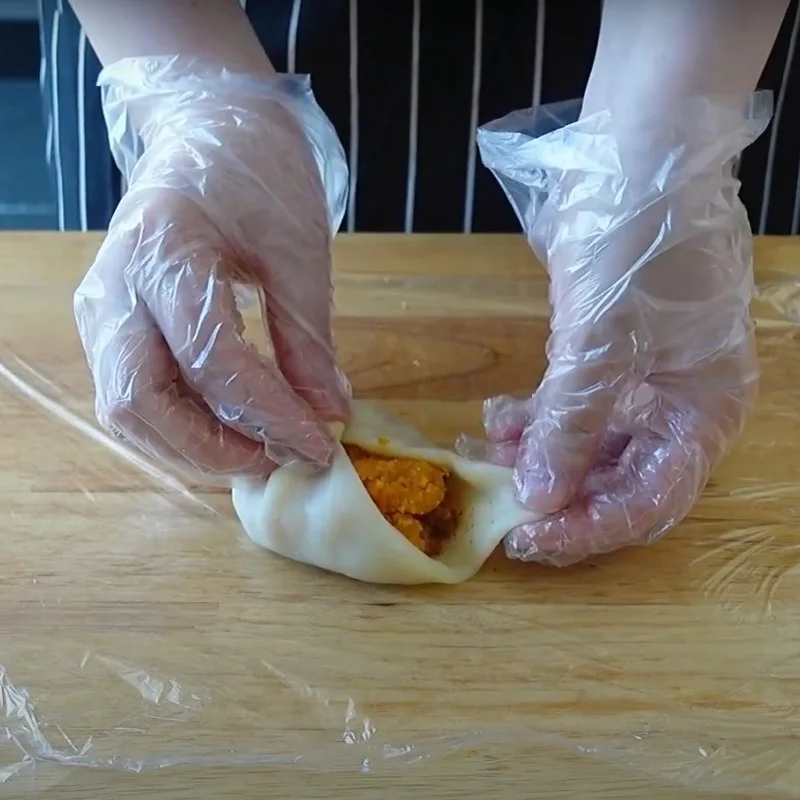
Next, add the floss in the center, then place the salted egg yolk filling on top, and carefully gather the edges of the mochi to form the filling ball.
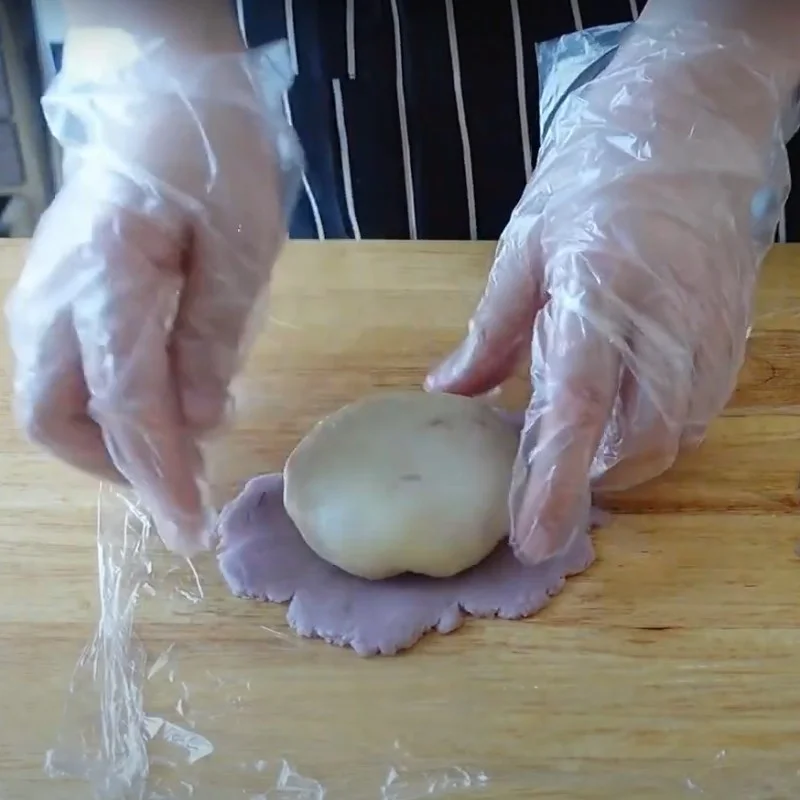
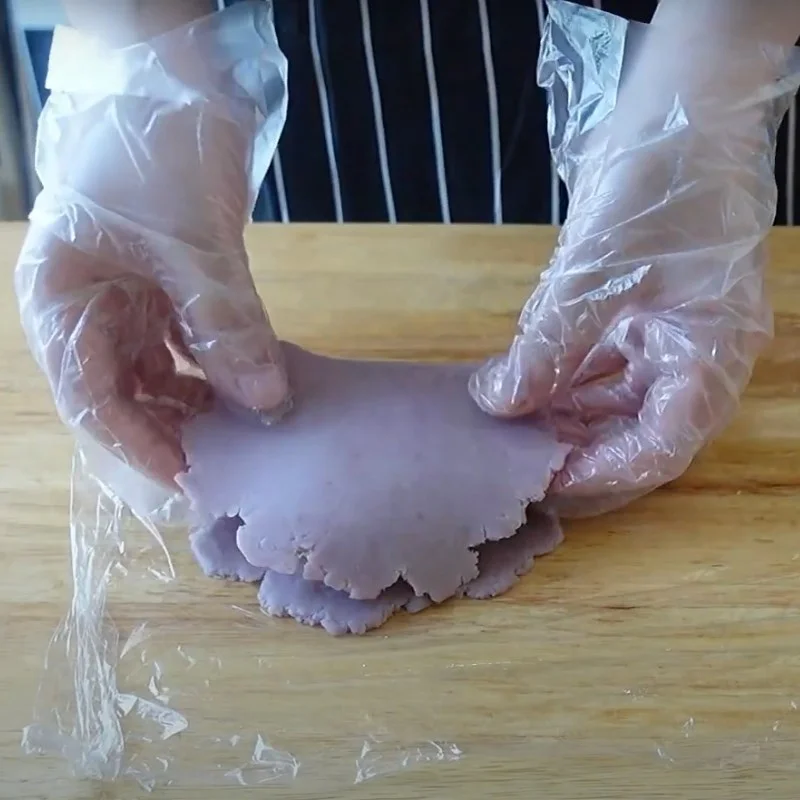
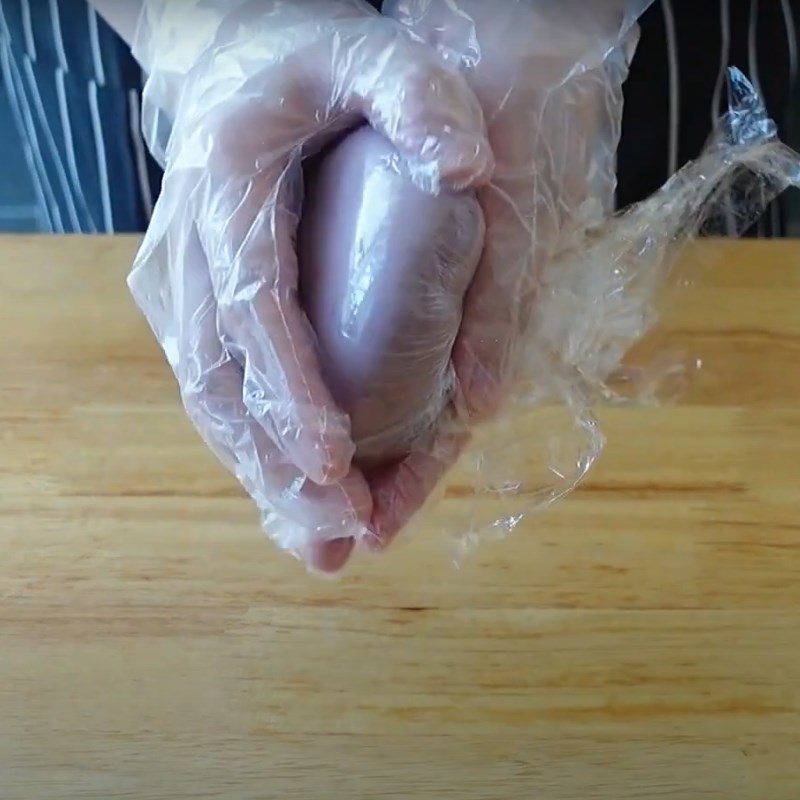
The next step is to place the two taro fillings on the table and flatten them. Place the mochi filling on one side of the taro filling, carefully fold the other side over the mochi, and press the edges so that the taro filling wraps around the mochi filling.
-
Forming the mooncake
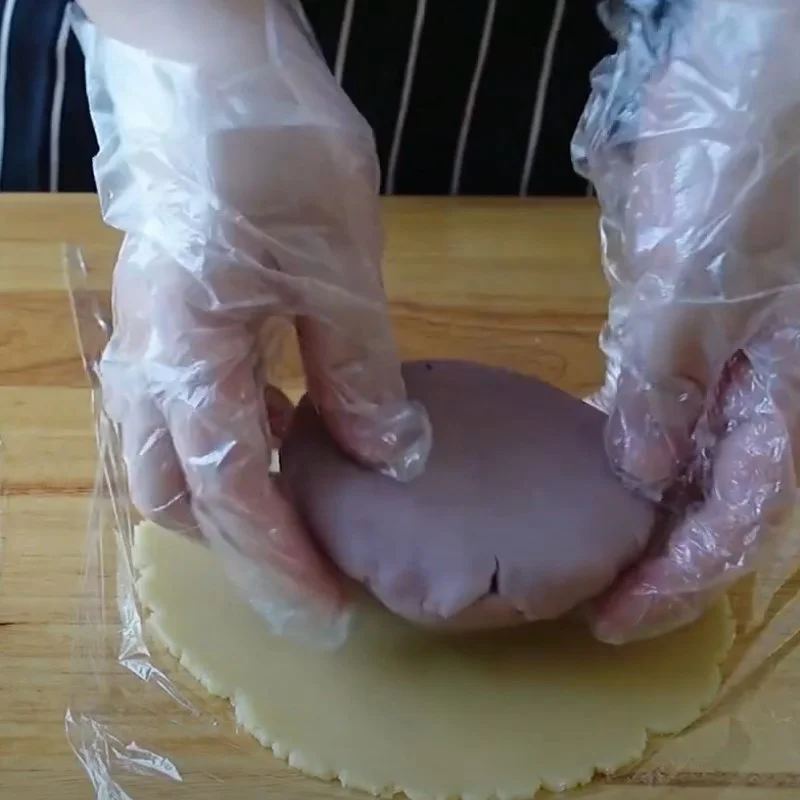
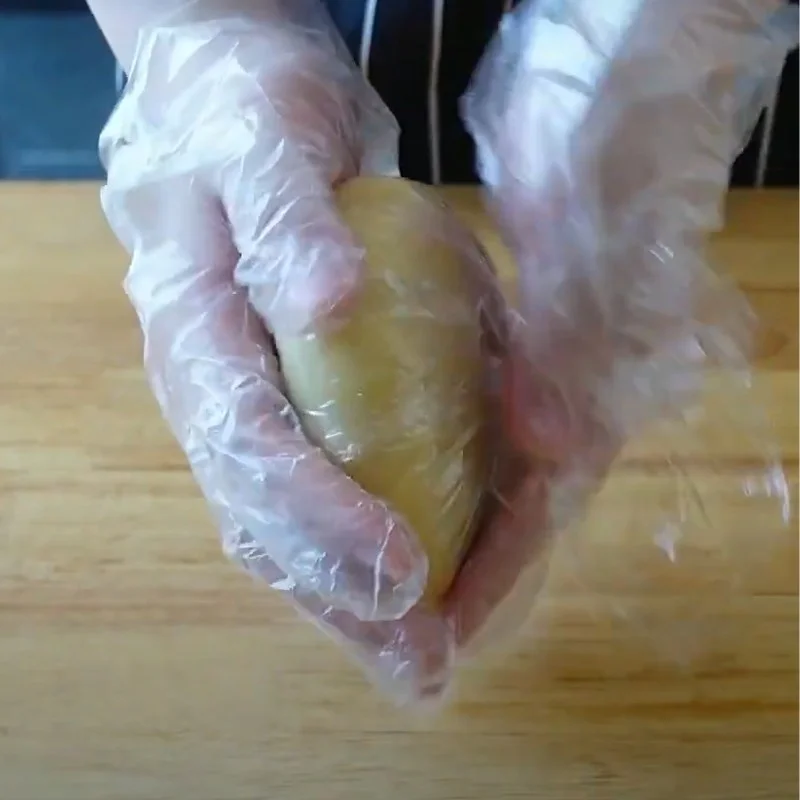
You also perform similar actions with the cake crust. Use a rolling pin to roll out the crust more evenly, then use two layers of cake crust to wrap around the filling.
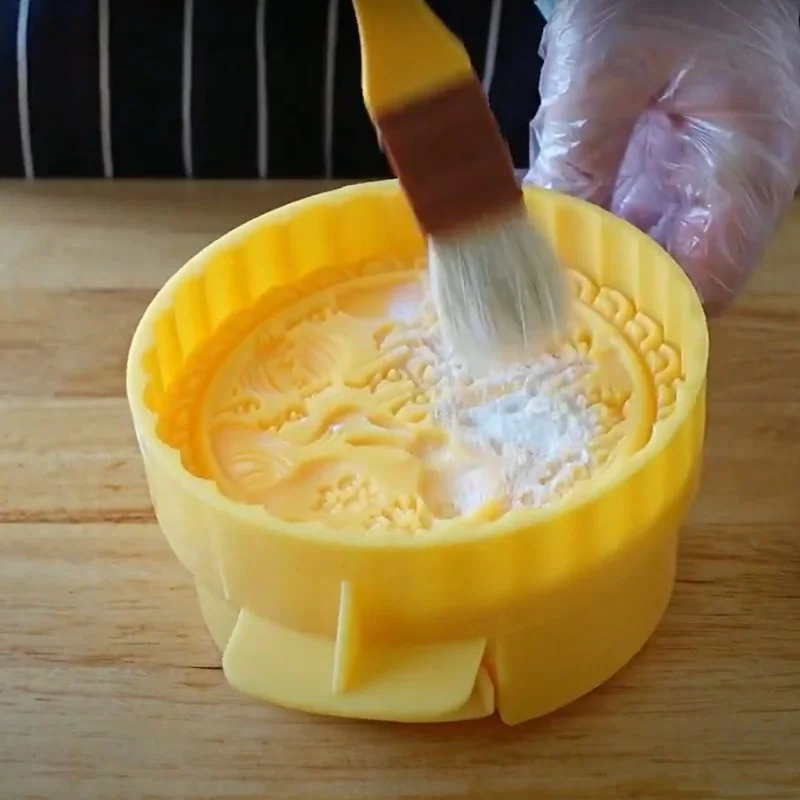
Next, use a brush to apply a thin layer of dry flour to the mold for shaping the cake, then tap the mold gently to let excess flour fall off.
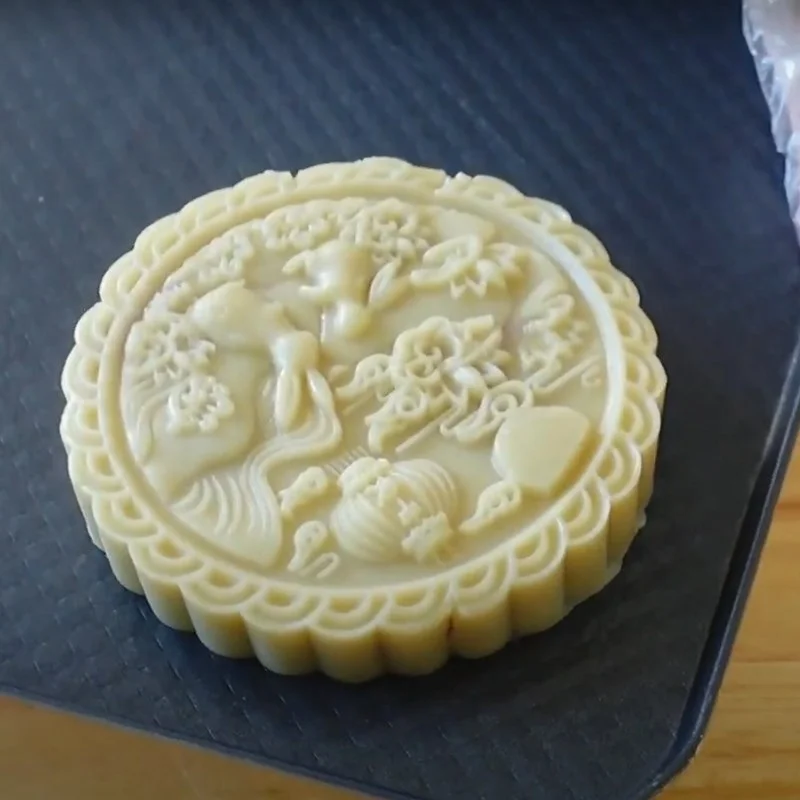
After that, place the cake into the mold, gently press to fill the gaps in the mold. Next, carefully remove the cake and place it on the baking tray.
-
Baking the mooncake
Place the mooncake in the air fryer, select the convection baking mode (2-way baking mode) and bake the cake at 190 degrees Celsius for 6 minutes.
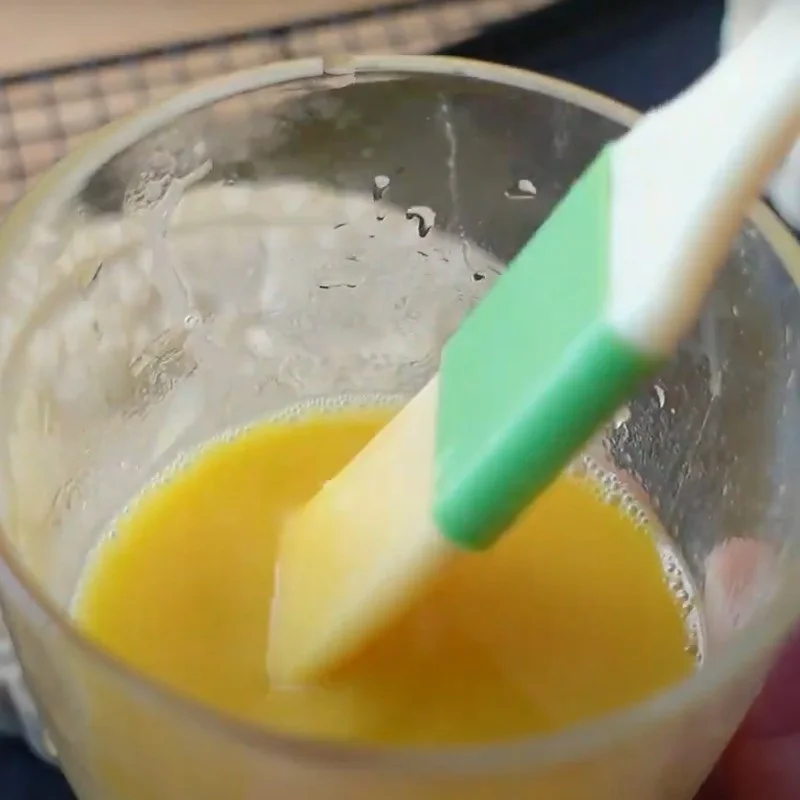
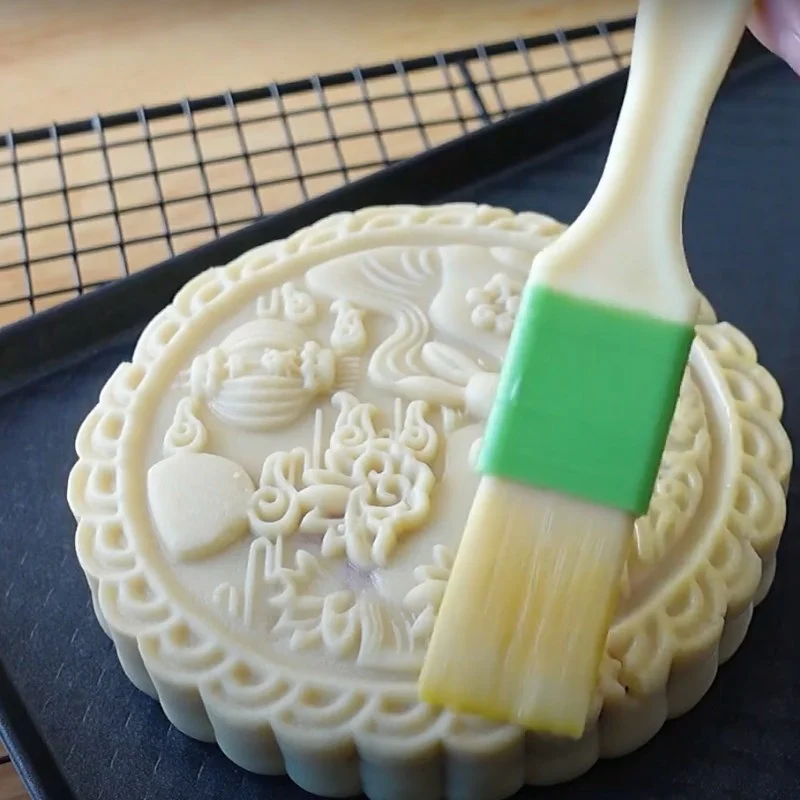
After that, take the cake out. Crack an egg into a bowl, separate the yolk and half of the egg white, then beat them well. Next, use a brush to dip into the egg mixture and evenly coat two thin layers on the surface of the mooncake.
Tip:- Do not brush too much egg yolk as it will ruin the pattern on the surface of the cake.
- You should use a bristle brush instead of a silicone brush to apply the egg because a silicone brush can easily leave brush marks.
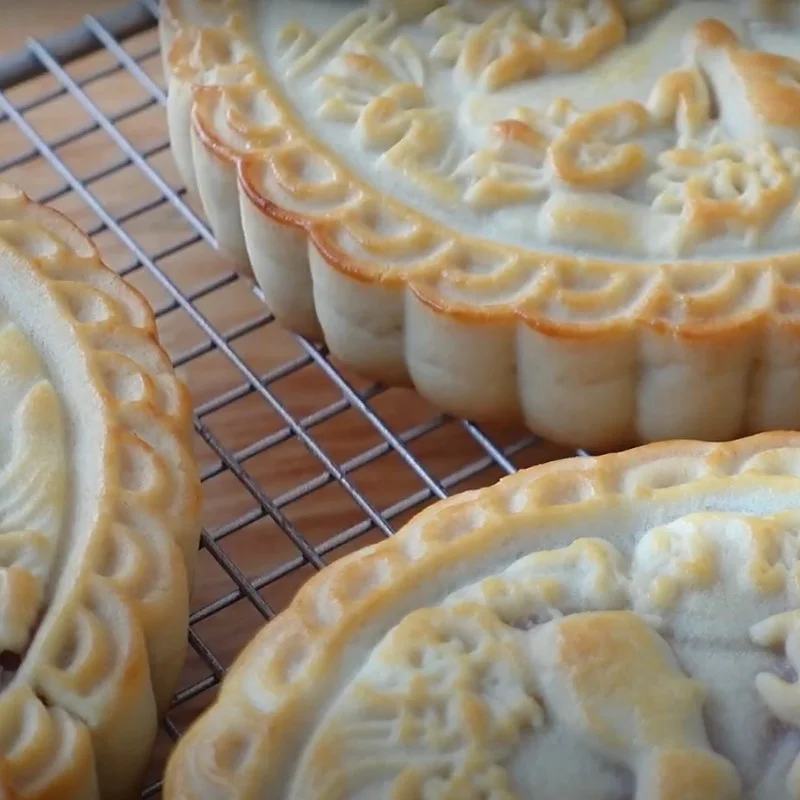
Put the cake back into the fryer to bake for another 6 minutes to finish.
-
Finished Product
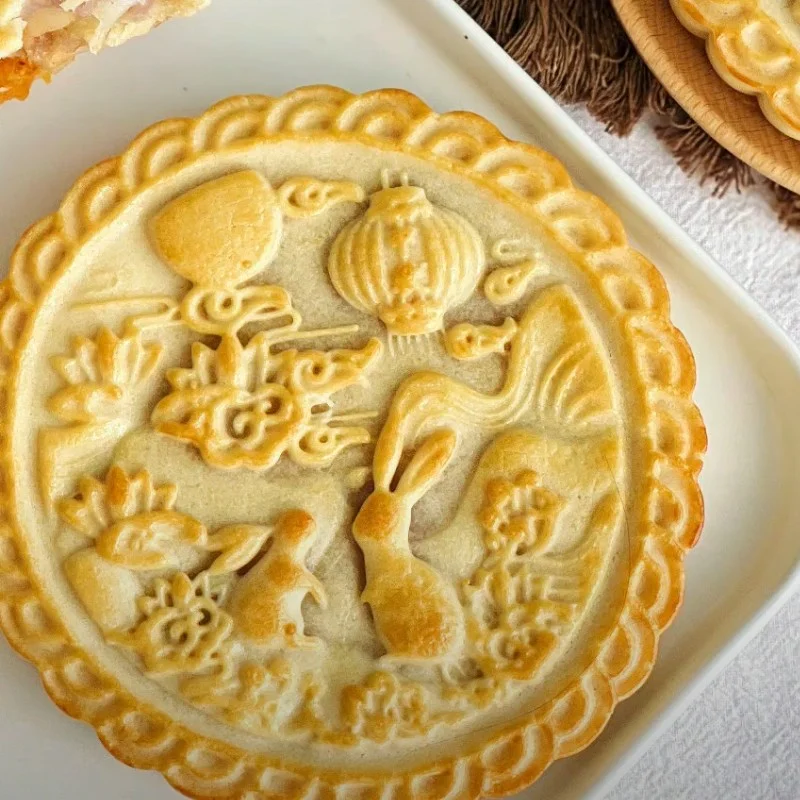
After baking, you can eat the mooncake mochi with taro and salted egg right away or wait until the next day for the cake to settle, which will make the crust taste better.
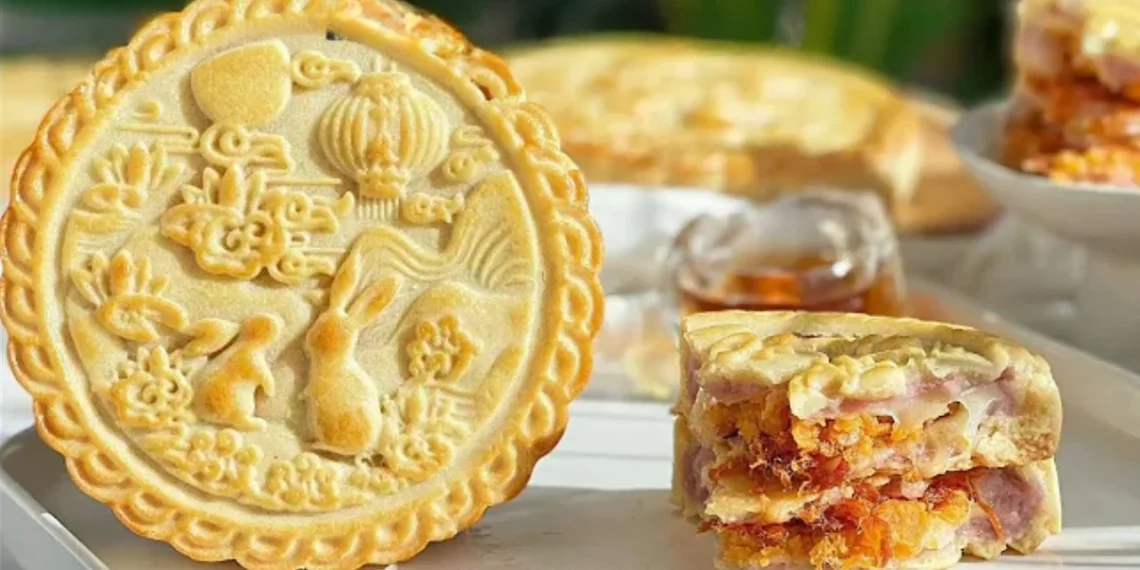
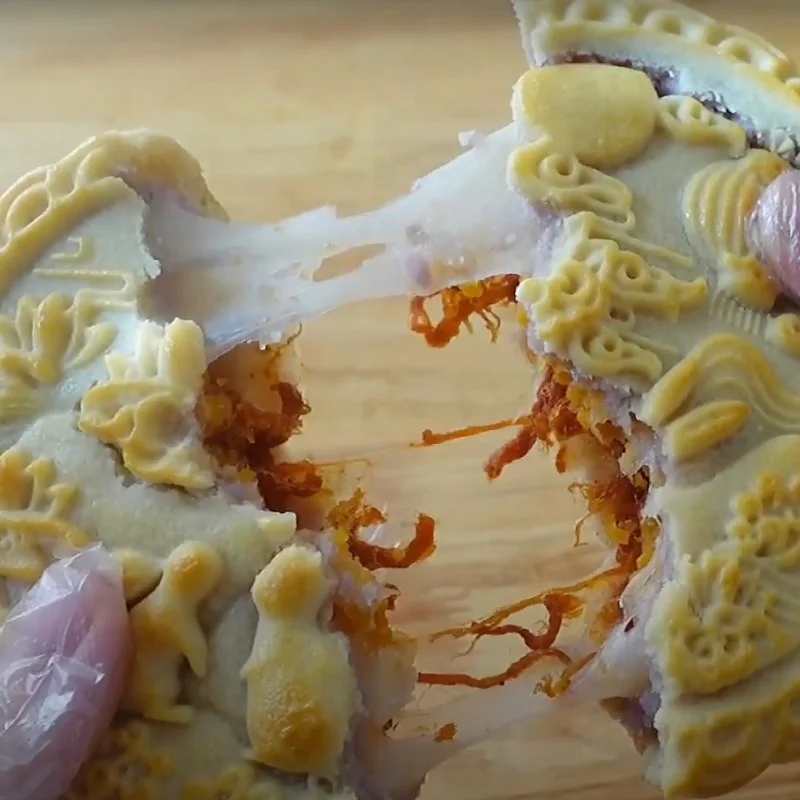
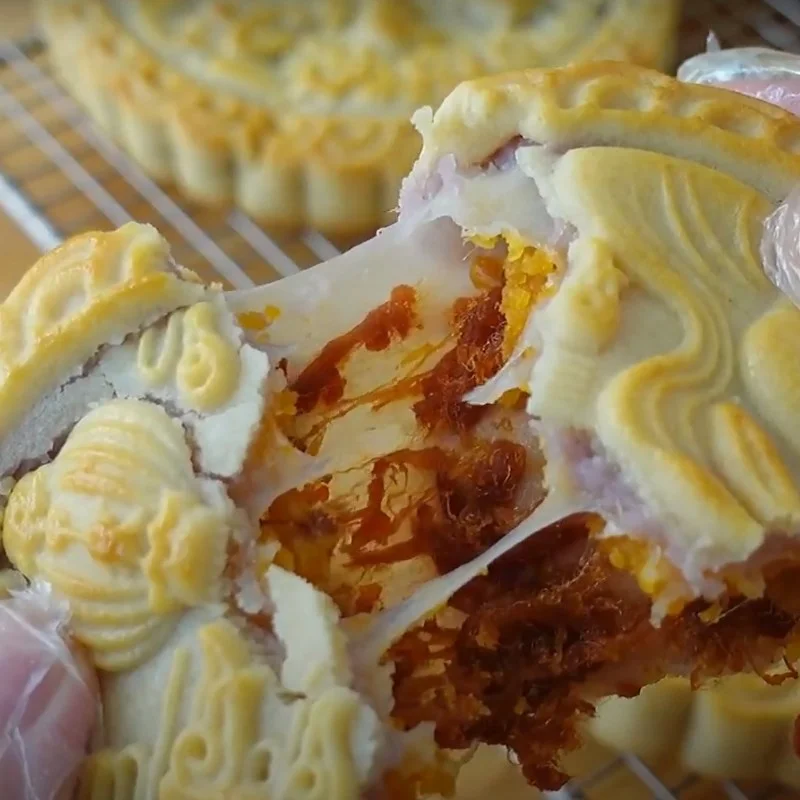
The cake is large and thin. When cut, you will see the taro filling enveloping the soft mochi filling inside, along with the salted egg and pork floss that looks incredibly appealing.
Because of the salty fillings of salted egg and pork floss, when combined with the sweet taro filling and the soft, chewy mochi, it won’t feel greasy at all.

Although the recipe for making mochi mooncake with taro and salted egg has quite a few steps, the result is that you will have cakes that are not only beautiful but also delicious. If you have time, try making this cake right away as a gift for your loved ones and friends.
